Laser & Vinyl Cutting
Laser Cutting
This week I focused on laser & vinyl cutting. At the beggining of the week, I just went inside the lab and had no clue what I was doing. I fanagled my way over to the 120 Watts laser cutter in the Architecture Lab and found that it was almost always busy. Because it was always busy, I decided to come back at night when no one was there. This was both a good and a bad decision.
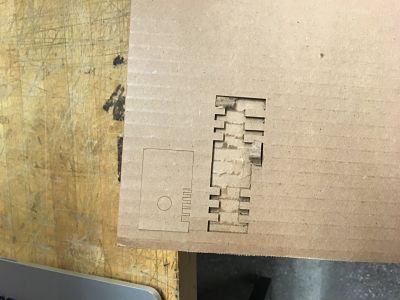
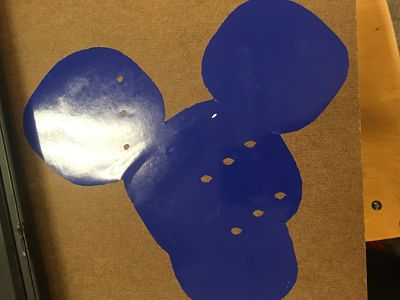
Above you can see the aftermath of me trying to play around with the laser printer and find out what the best width was for the cardboard junctions to connect together. Foolish me thought that the settings that were on the wall for the laser printer were accurate. Thankfully, a graduate architecture student walked in and helped me figure the specs for my cut out. I ended up having to go over 50% power,500 freq. & 8% speed.
I ended up printing a lot of different cardboard widths to test out which were the best junctions. I ended up going with the .13 inches or 3.3 mm.
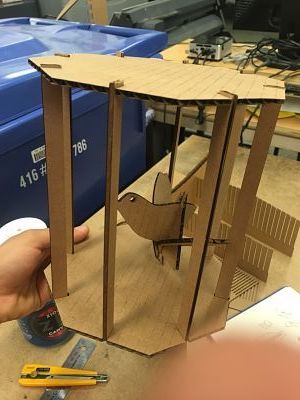
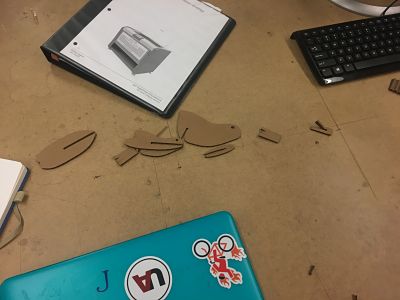
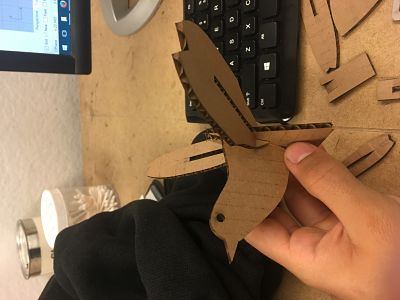
After that I decided to make a bird in a birdcage that swung and I started to do a design in rhino. A long while after and after many attempts I finally got the design made and printed and I ended up with the bird below.
Vinyl Cutting
This week I also tried my hand at vinyl cutting. Before I actually cut vinyl, I had no clue what it was. I actually thought that vinyl was the same as velcro :$. But yeah, when I got to vinyl cutting I thought that I had broken the machine because when I tried printing, the machine never received the print. I thought that I had broken the machine but as it turns out,
it was actually not broken but simply unplugged from the computer.
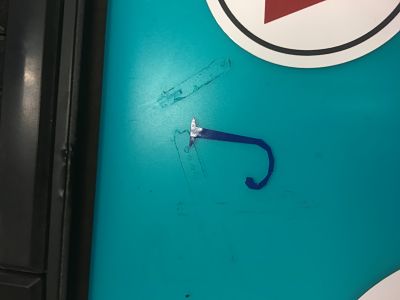
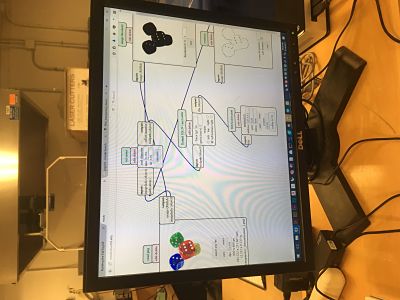
I tried my hand and printing dice and I tried to see if it would come out well.
Sadly, it didn't come out so great but now I think I have a better sense of how the vinyl cutter works and hopefully I can make a better sticker next time.