To me, 3D printers and scanners are at best, an underwhelming trinket-making and prototyping tool and at worst, a way to end up with a headache and a pile of inedible spaghetti. I imagine part of that perspective comes from the types of printers I’ve used. The ones I’ve operated myself are the Ultimaker, Sindoh, Zortrax, Makerbot, and UpMini, with varying degrees of success. I’ve also sent files to the ZCorp (and excavated them), but I don’t deal with the settings or start the print, so I can’t claim mastery of that one.
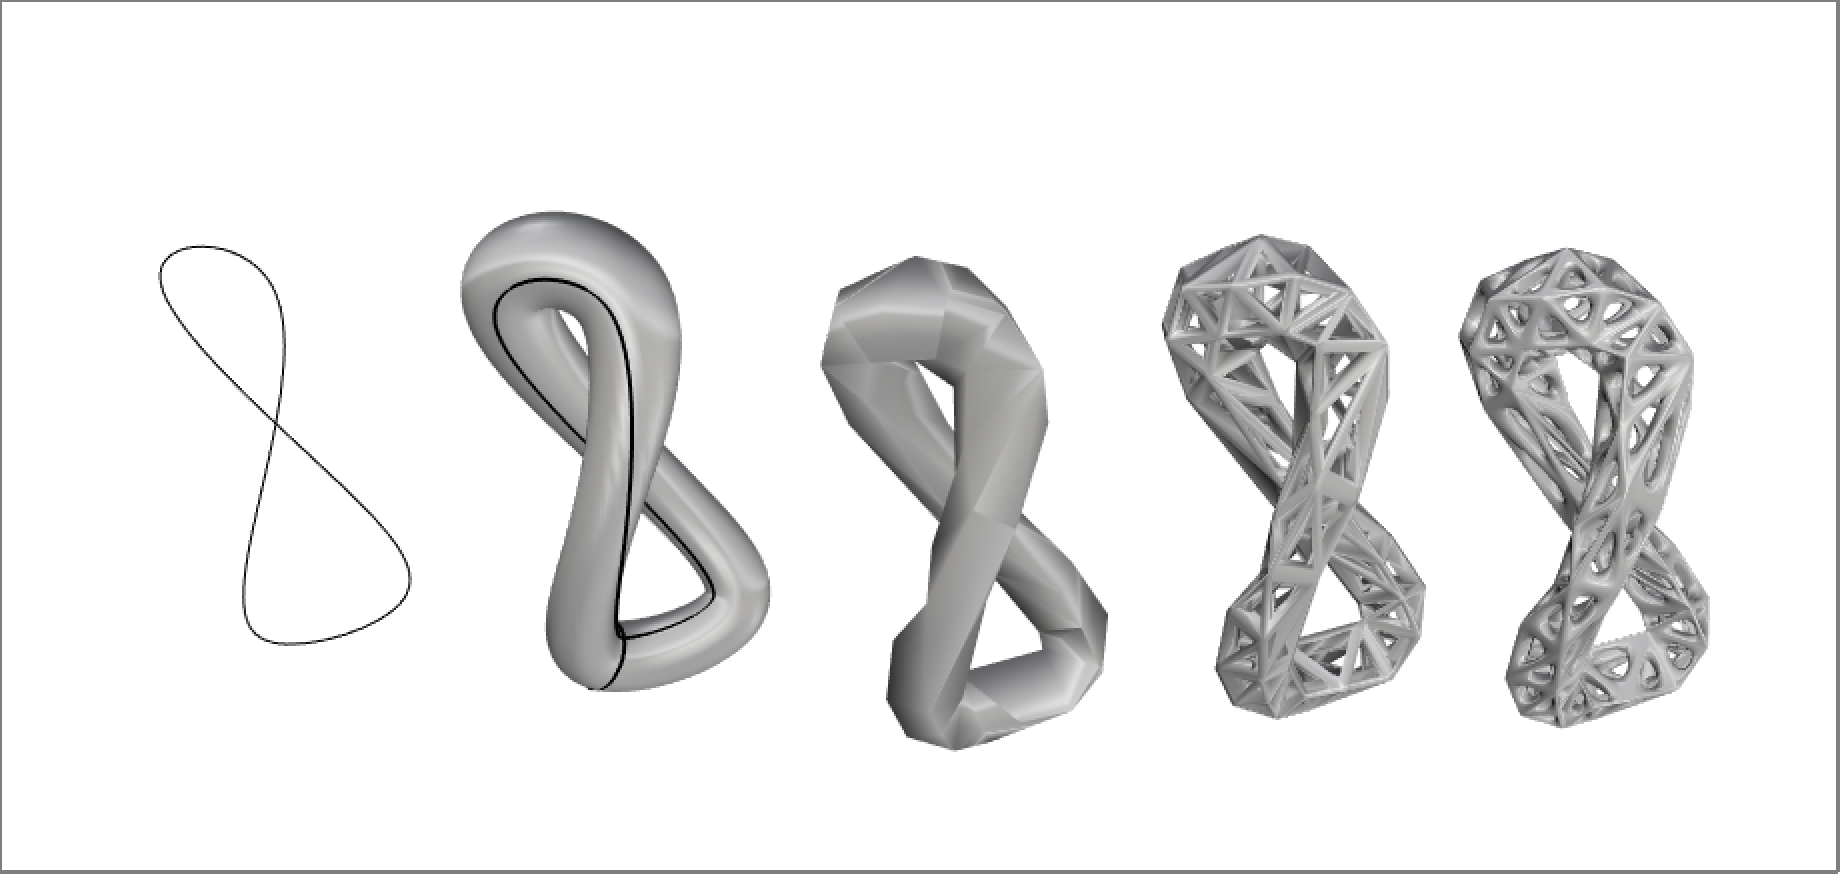
For this assignment, I tried to aim high with my design. I was inspired by the designs of Nervous System, so I downloaded WeaverBird for Rhino and began playing around with porous structures, eventually developing a mobius strip shaped object with an organic grid pattern that I developed using WeaverBird’s carpet and loop commands.
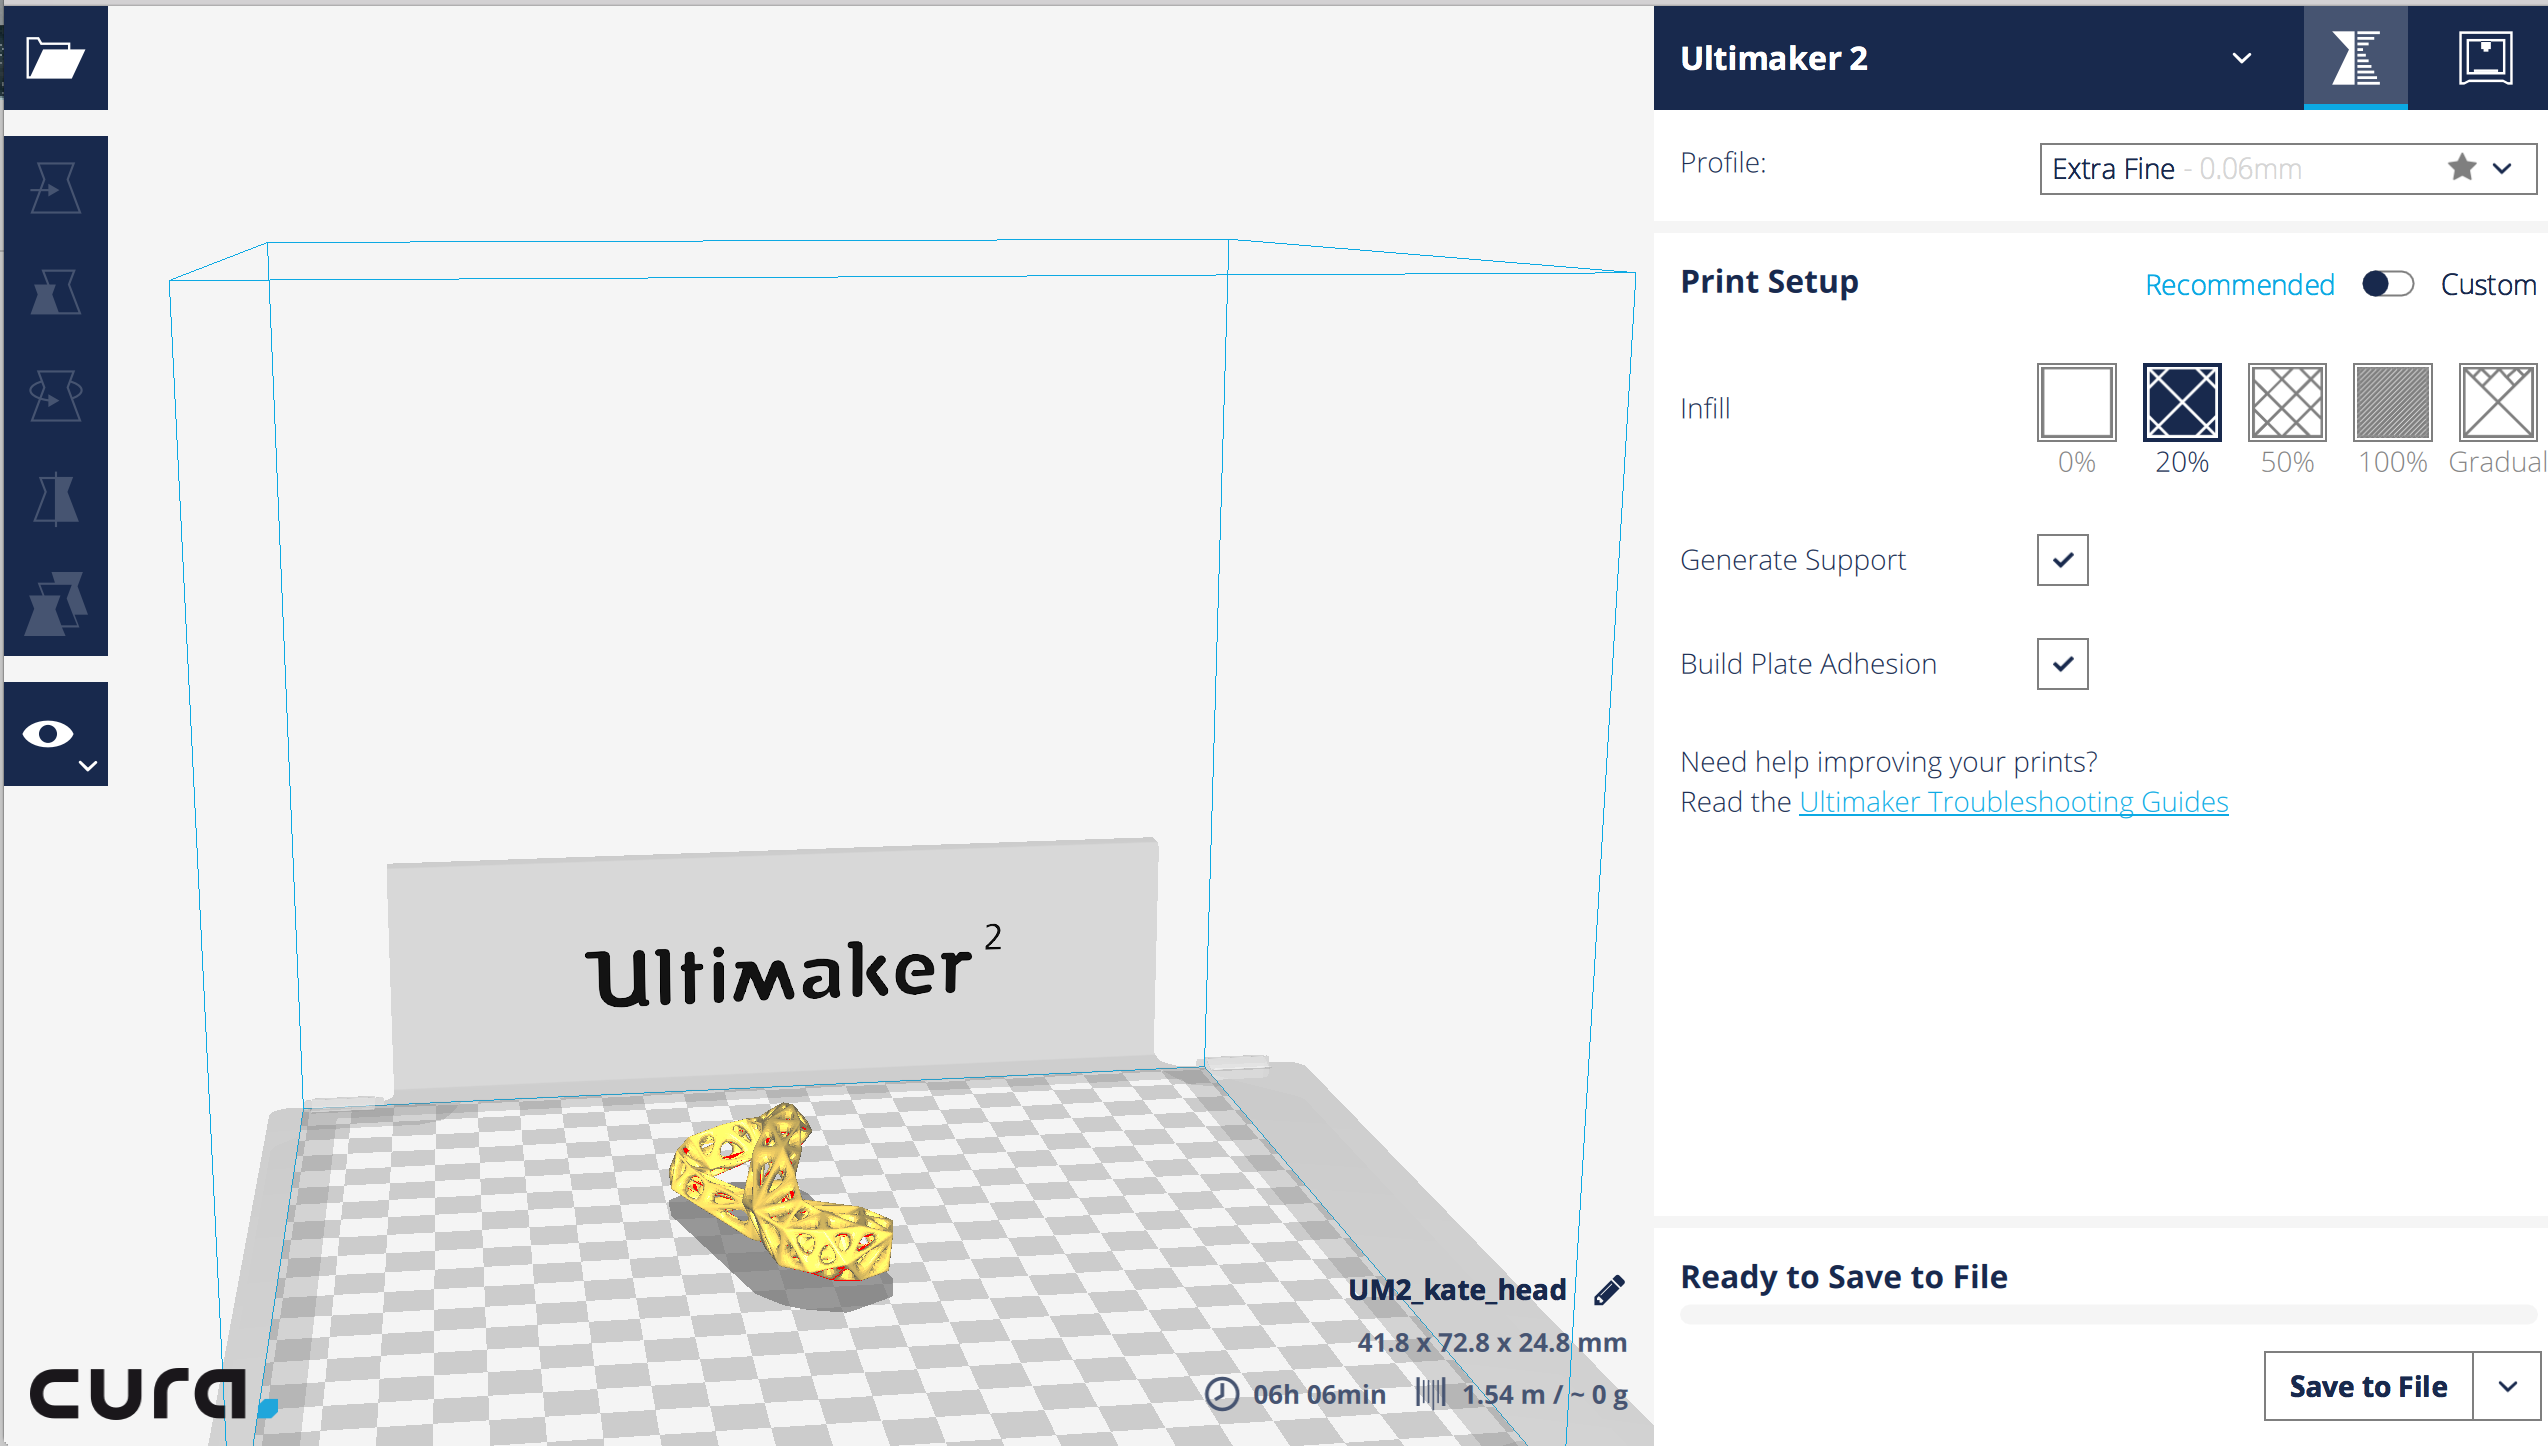
Unfortunately, modeling it was the easy part. I first tried printing it on the Ultimaker (all the architecture Sindohs were either broken or in use), with minimal success. While the overall shape worked out, the print was messy and the support material was nearly impossible to remove.
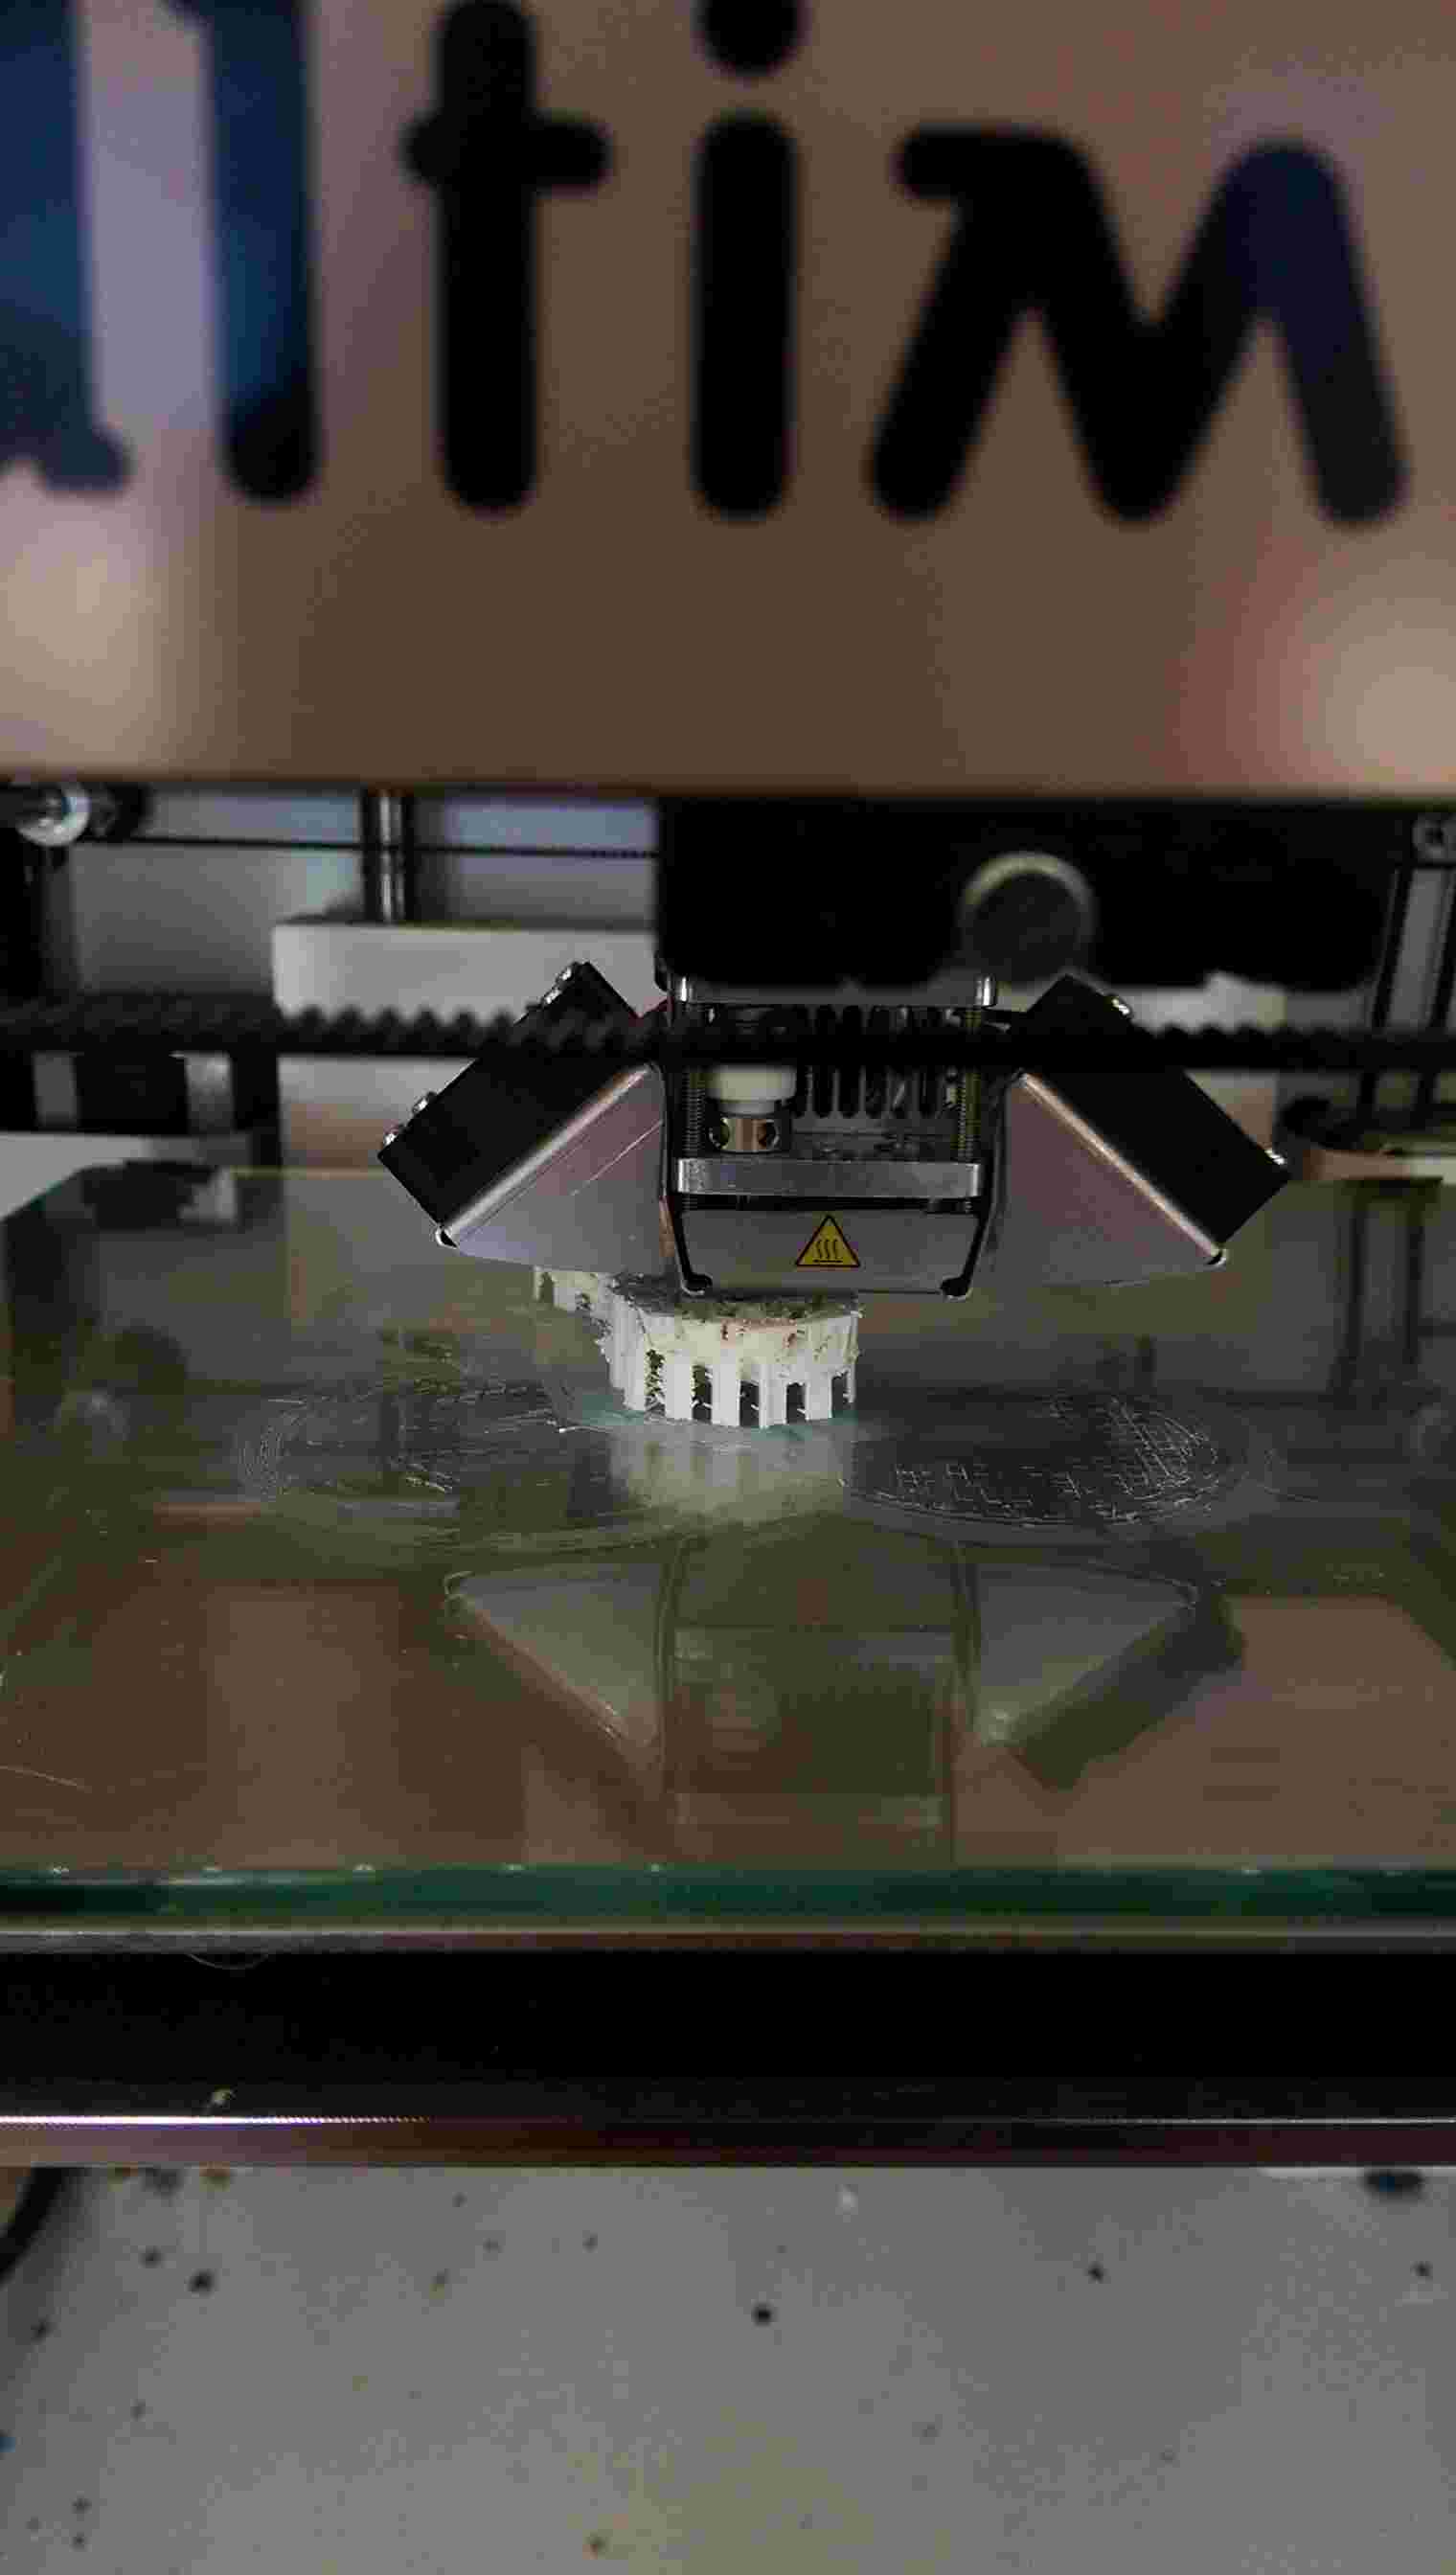
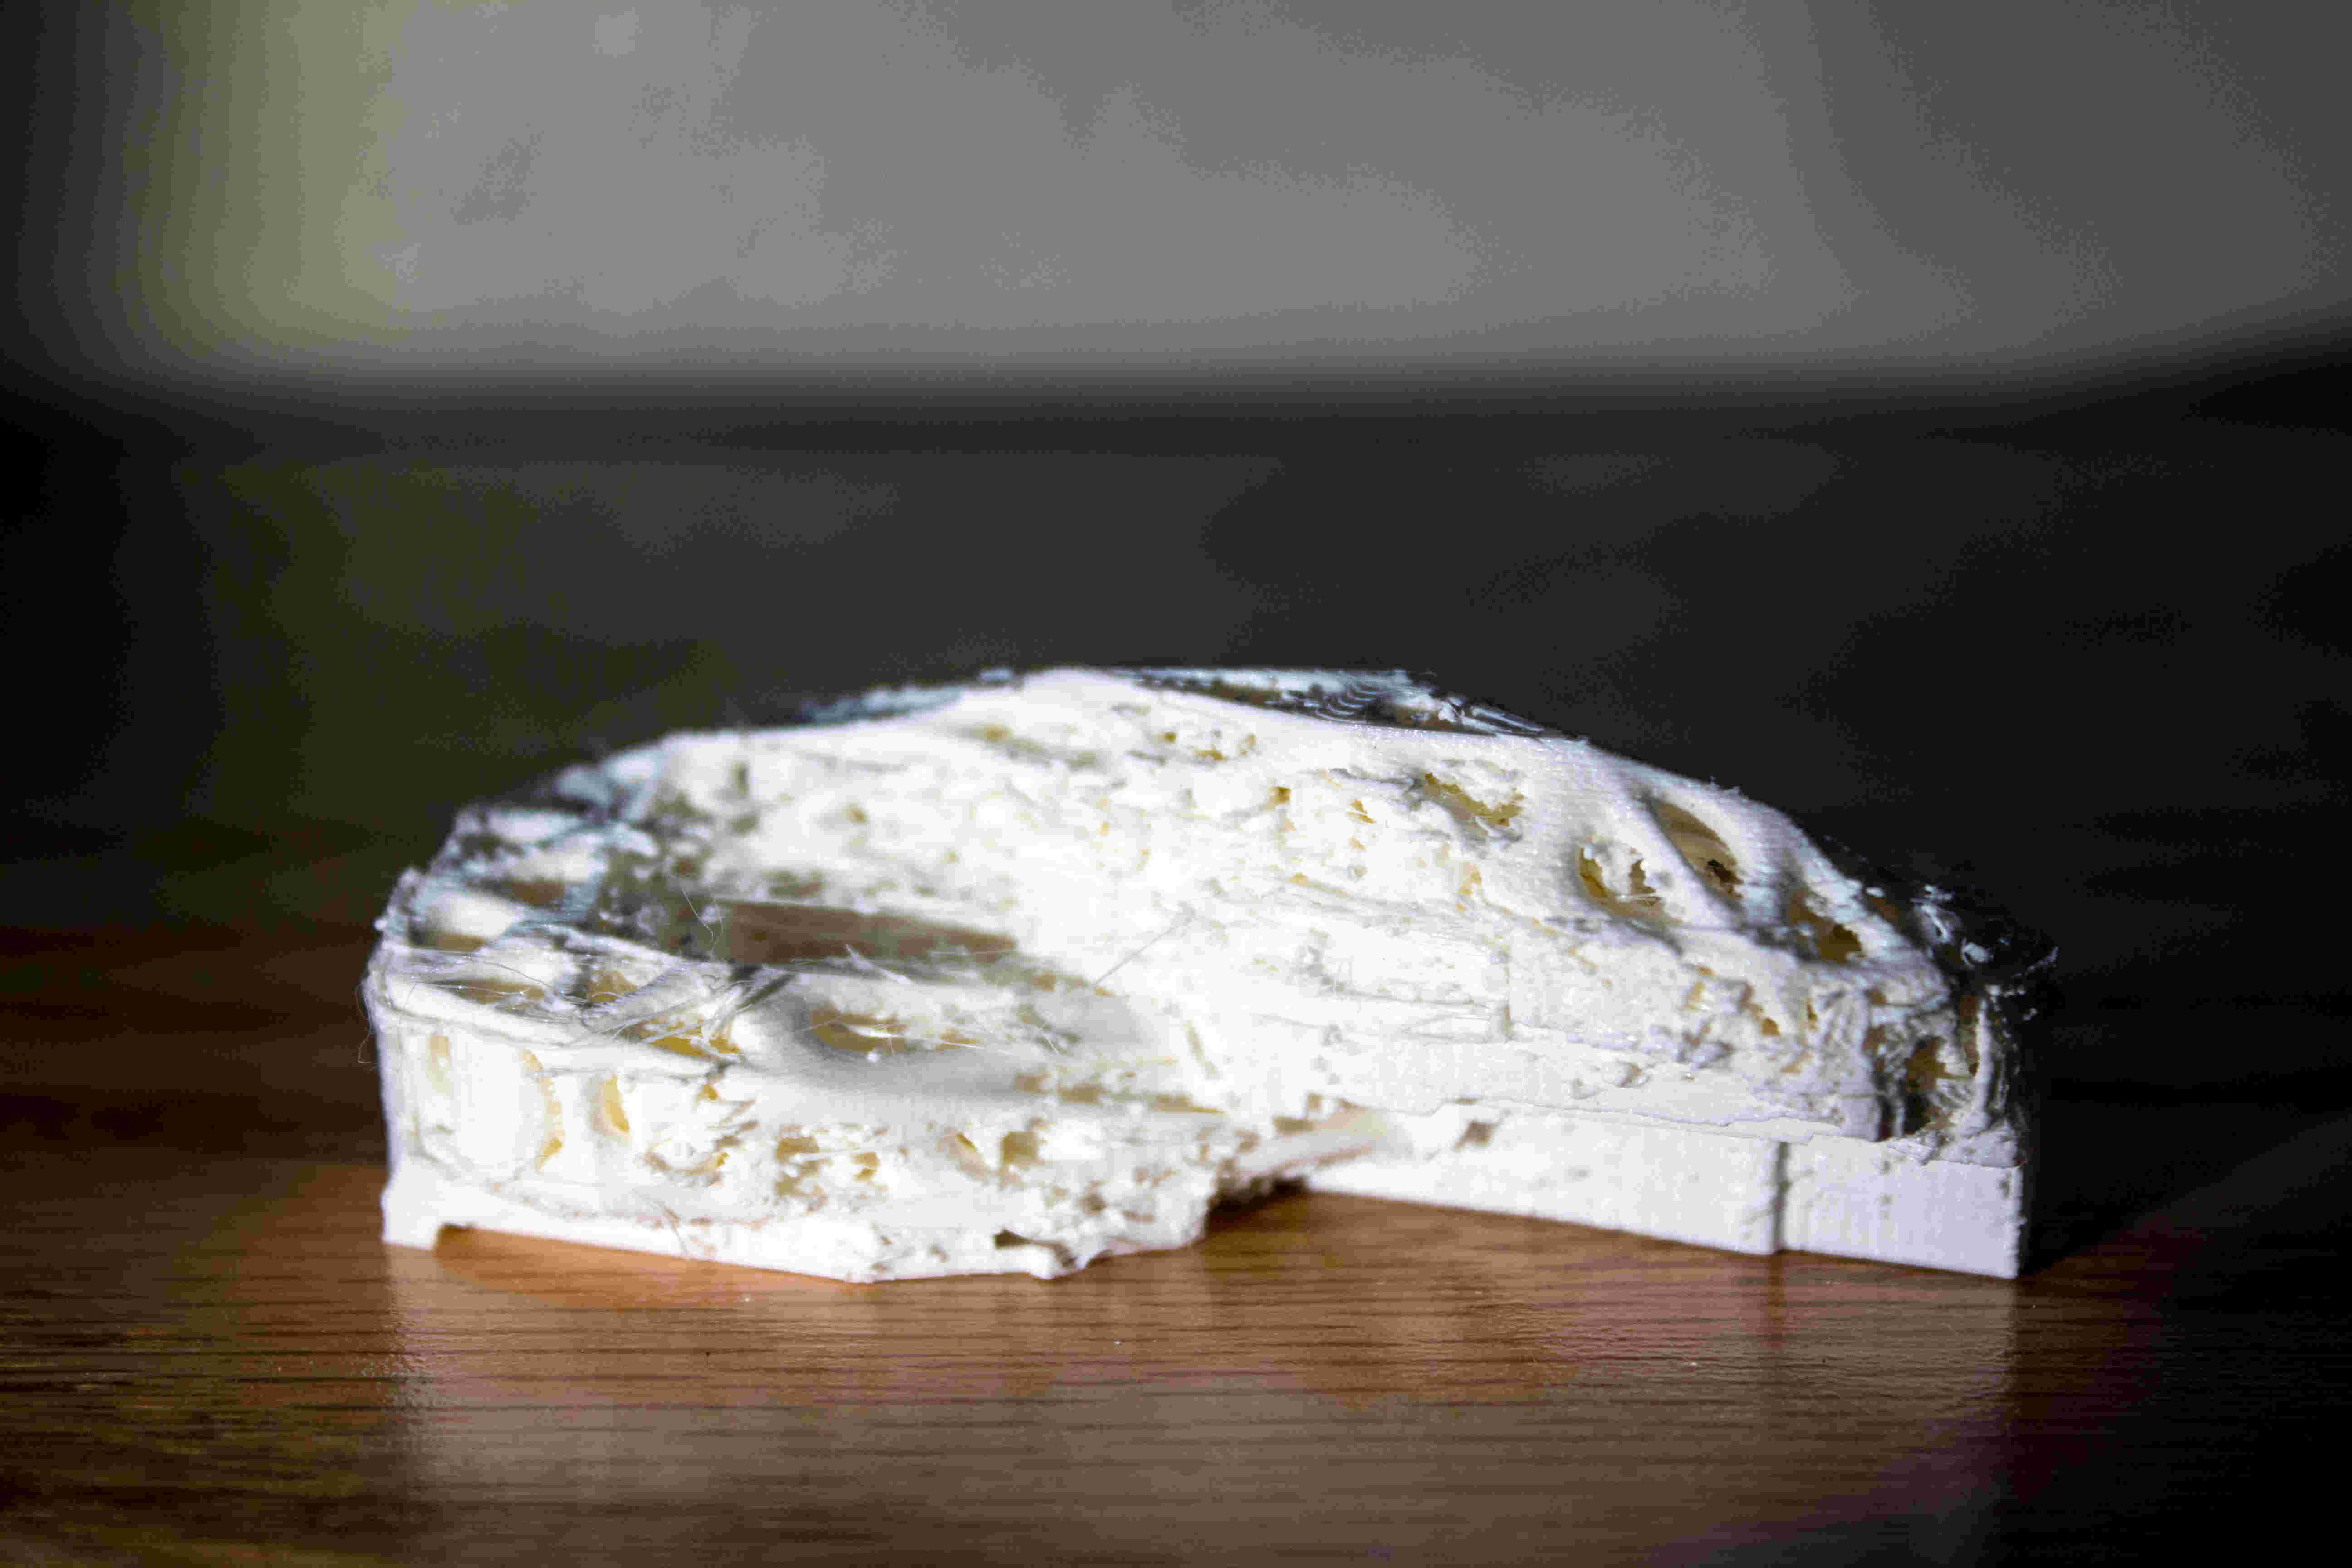
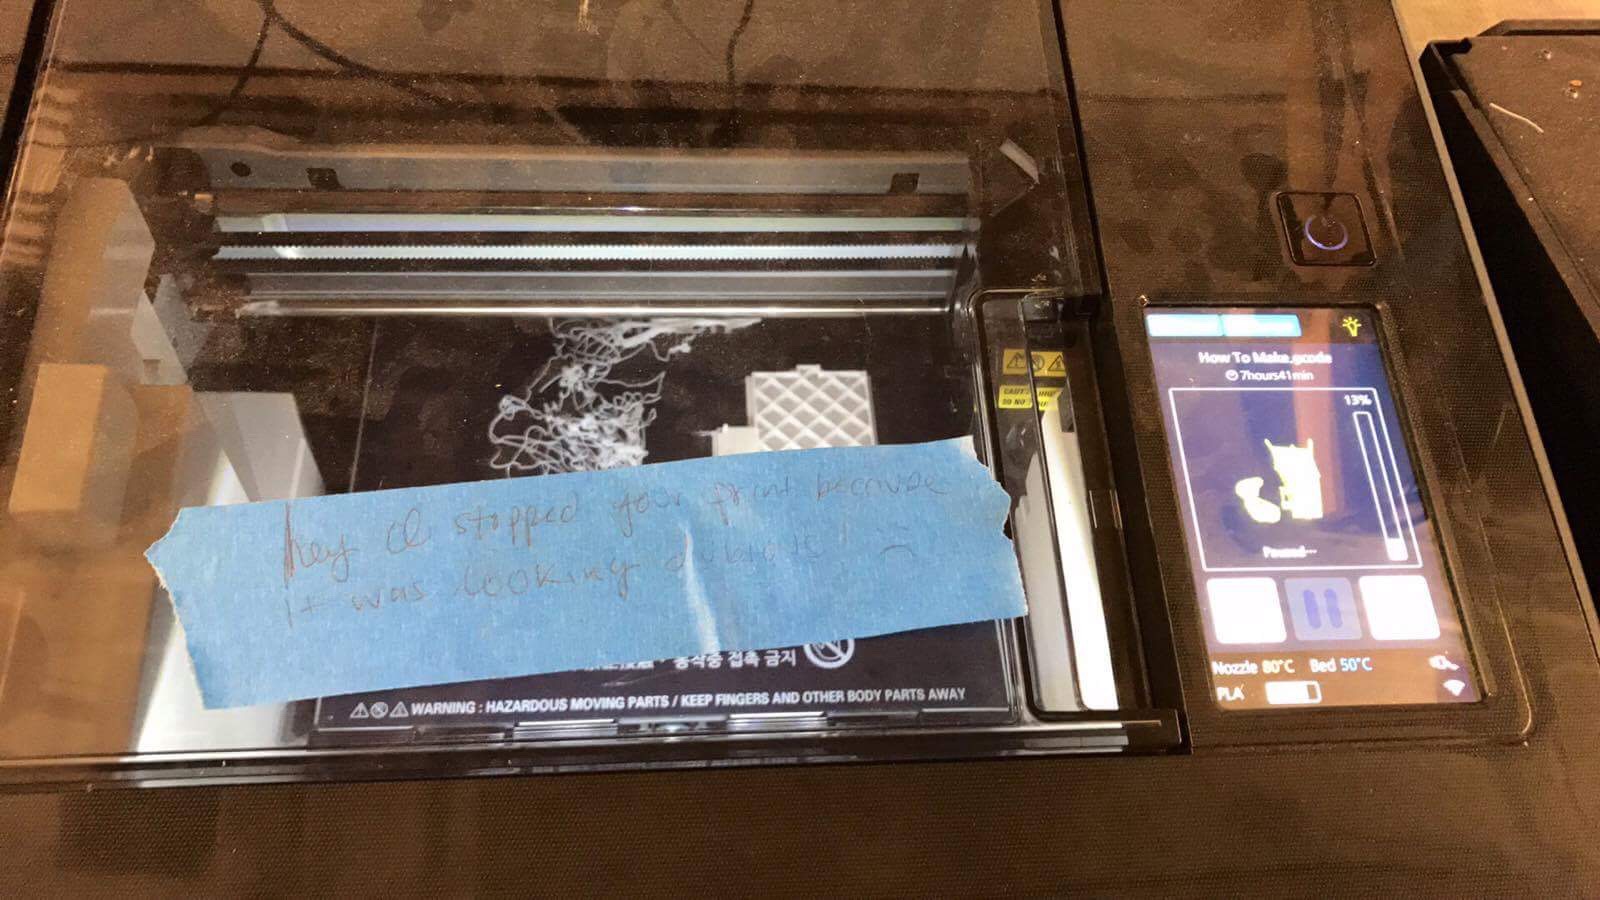
A couple of hours into that print, one of the Sindohs became available, so I tried another attempt. This one turned into a proper pile of spaghetti (thanks to Kyle Branchesi for sharing the printer and sending the photo below). After I began generating yet another pile of spaghetti on a Zortrax in another shop, I gave up on the design. While a perforated mobius strip looks interesting and could potentially work well on a printer with dissolvable support material, it was not going to work out on the printers I had the ability to operate myself, so I decided to go in another direction with my design.
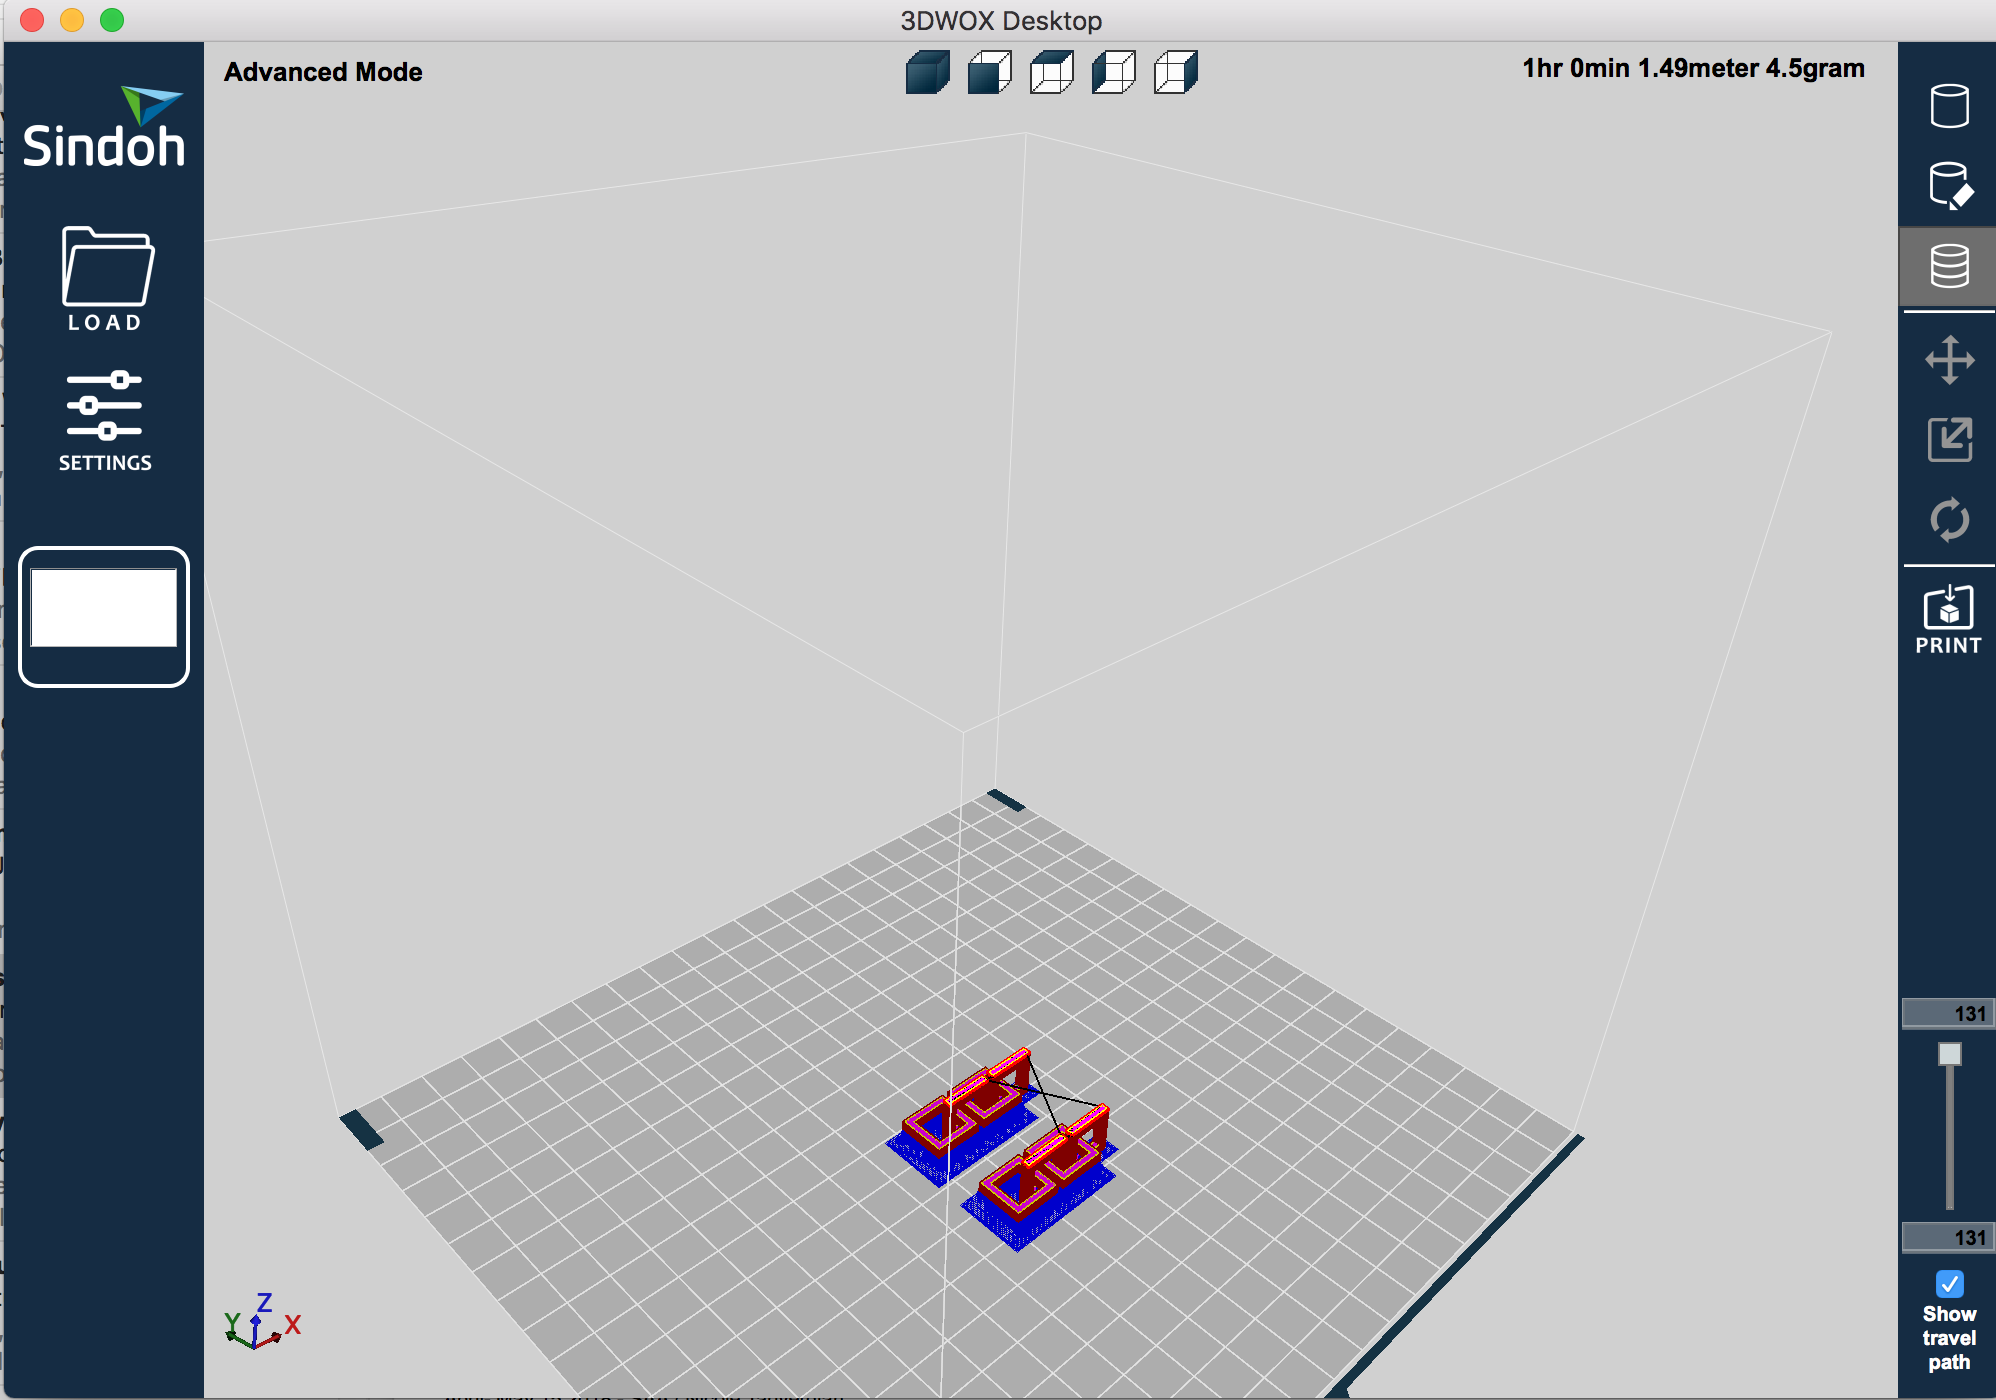
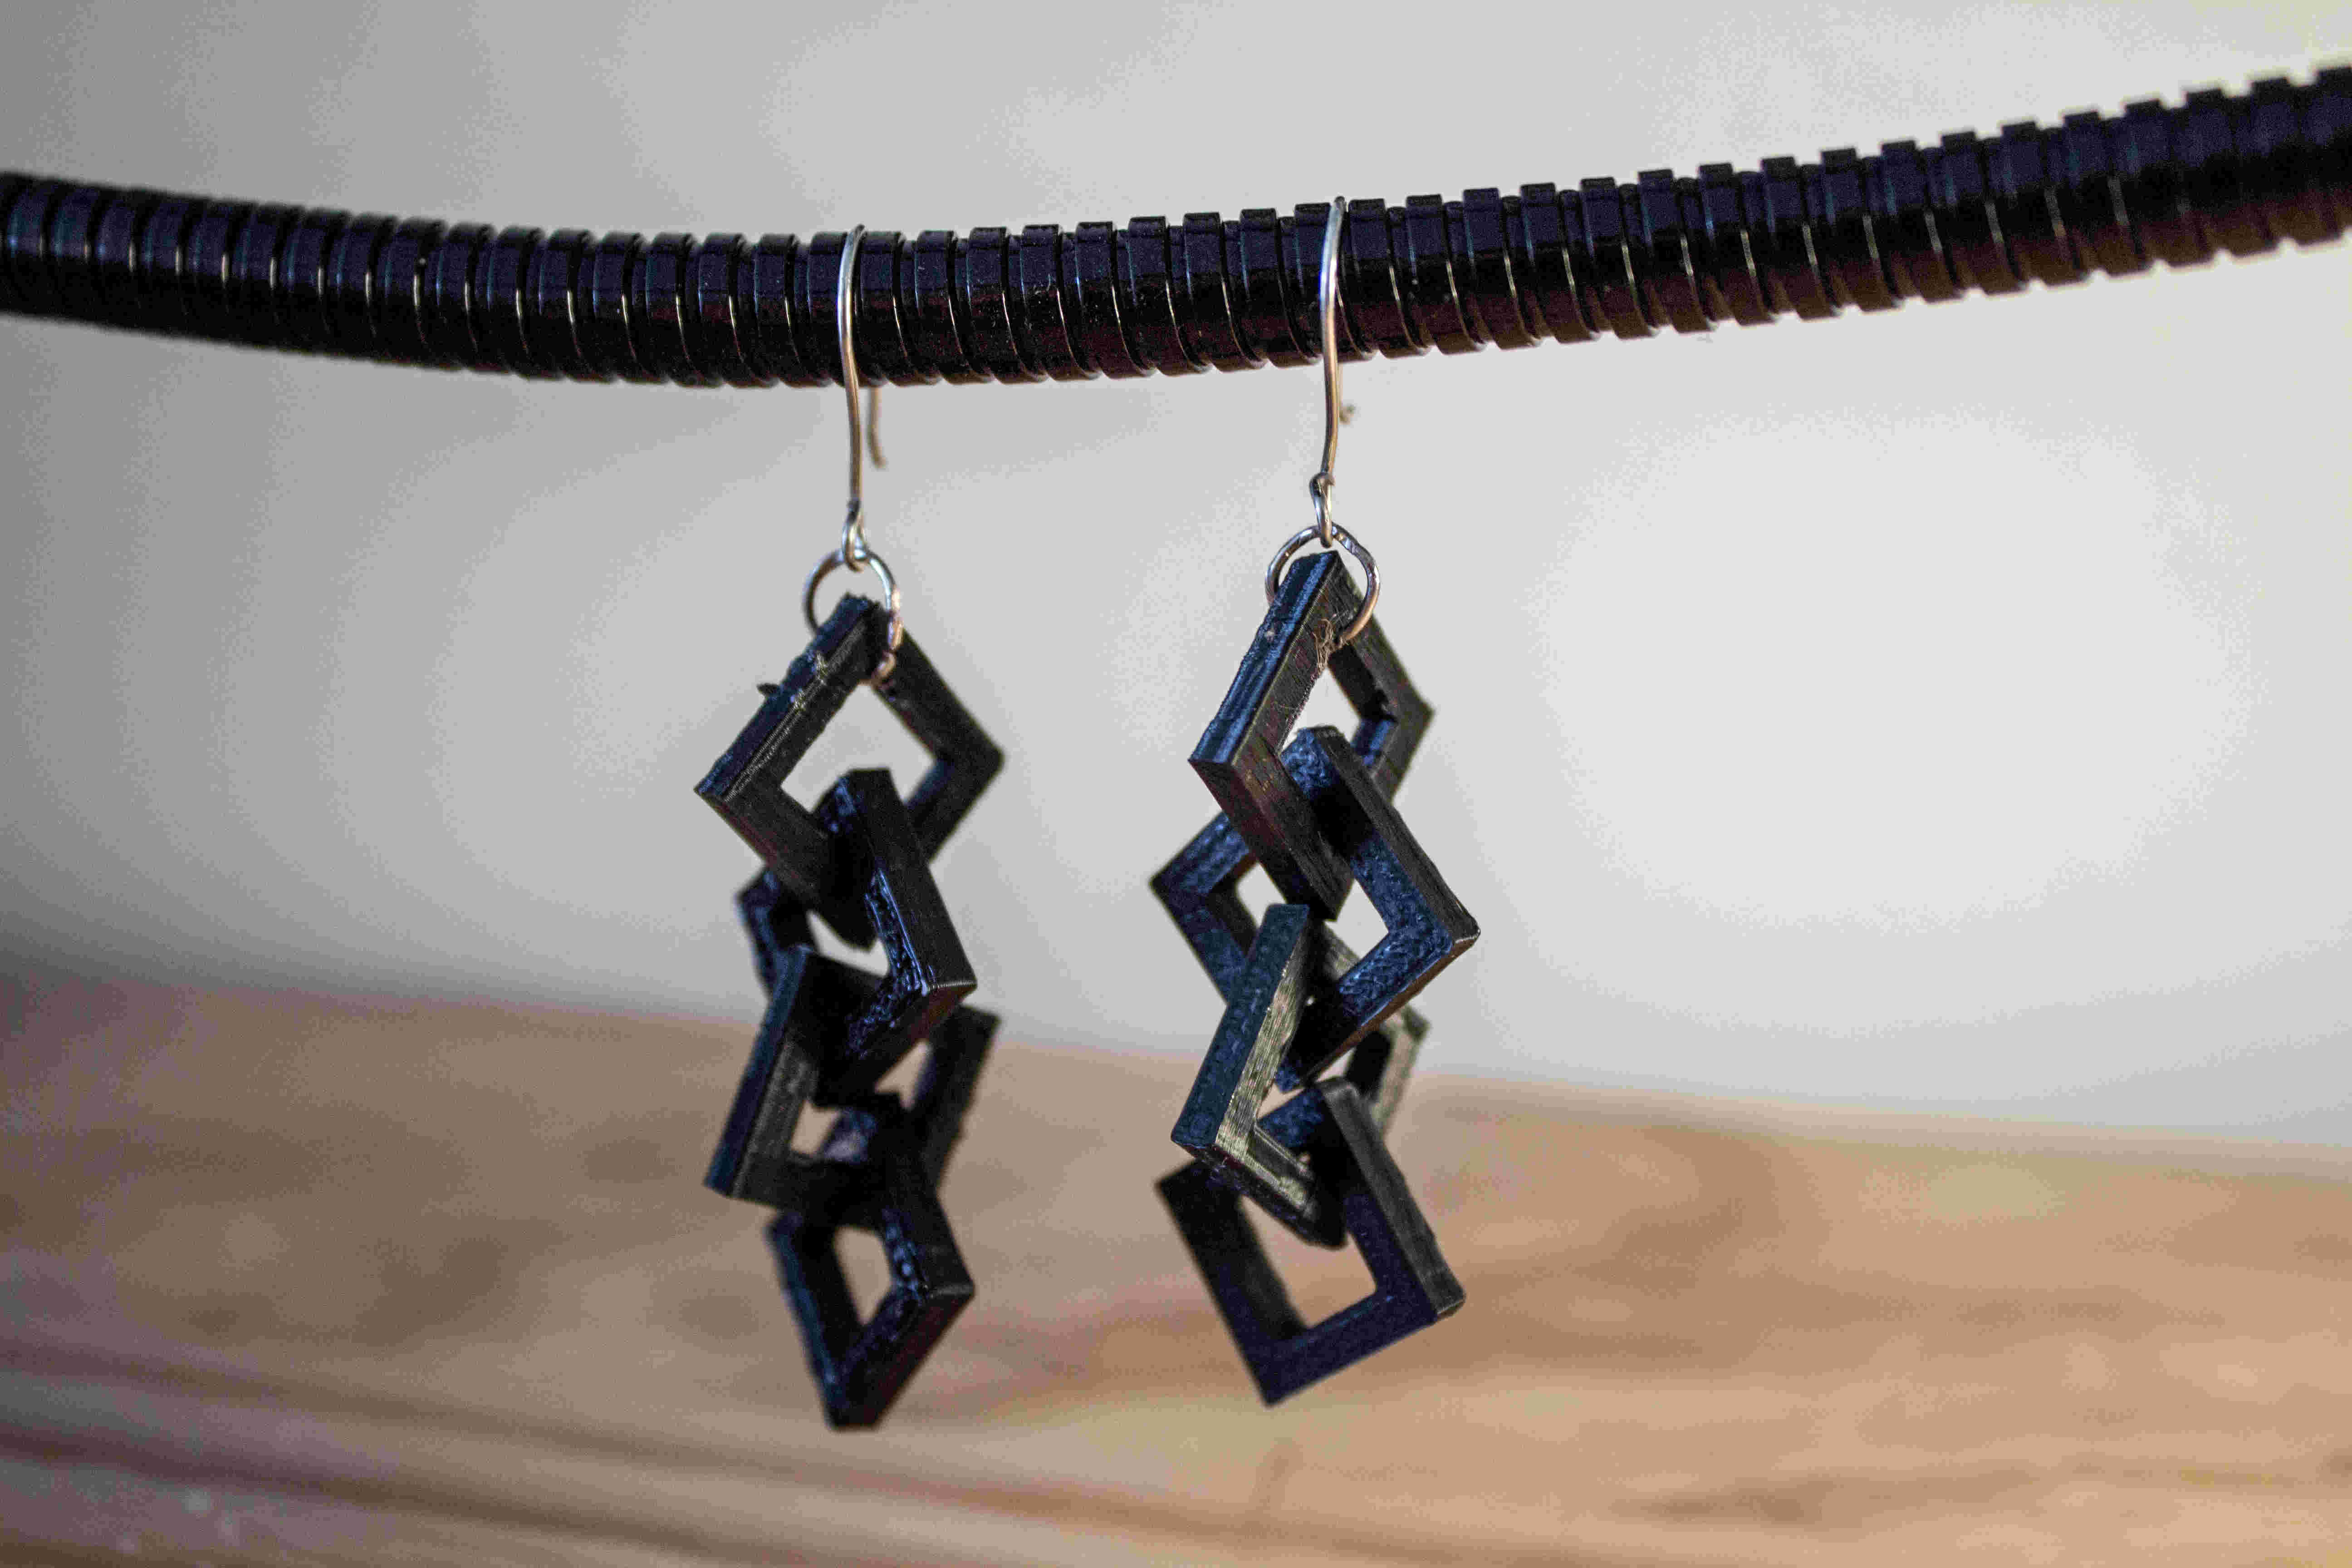
One advantage of additive manufacturing over subtractive is the ability to create parts with little to no assembly after machining. I decided to create a geometric chain that would work better with the low resolution of the printers and led itself to actually separating from its support material. My final design is two small square chains that can be attached to ear wires to be worn as earrings.
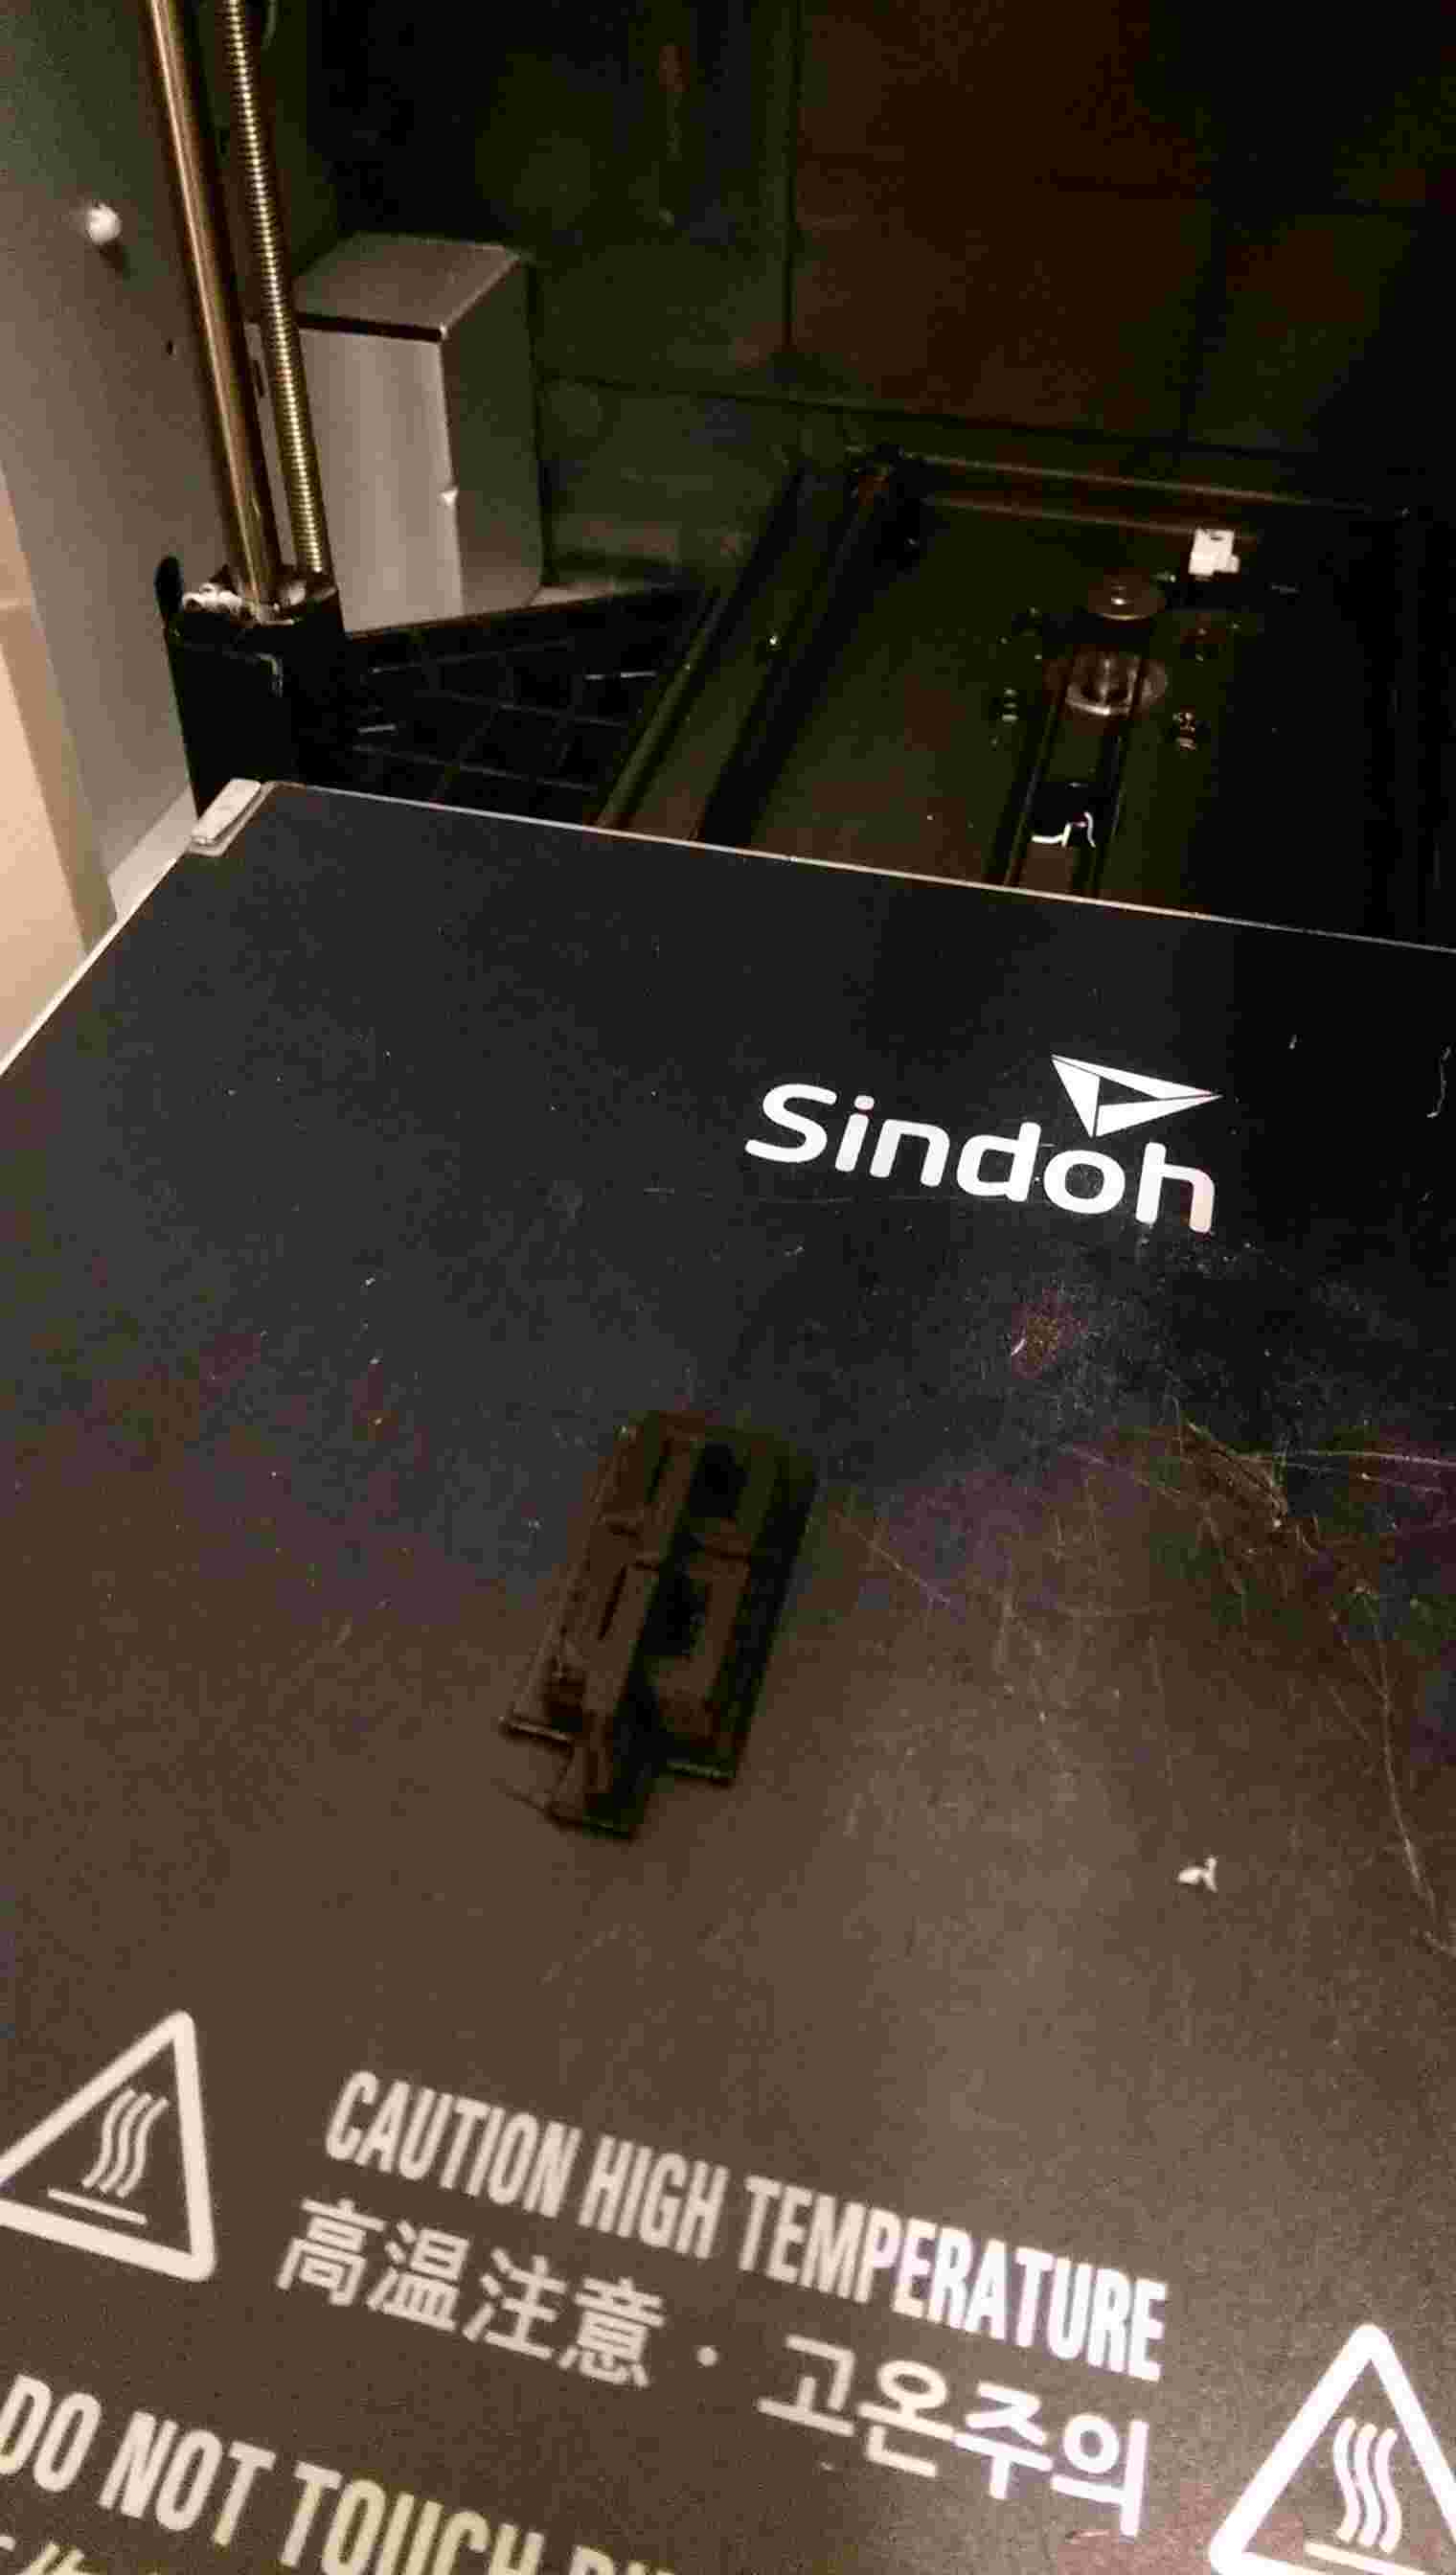
The final prints came out much cleaner and separated easily from the support material, leaving me with chains that have distinct links that move naturally and even jingle like other chunky jewelry.

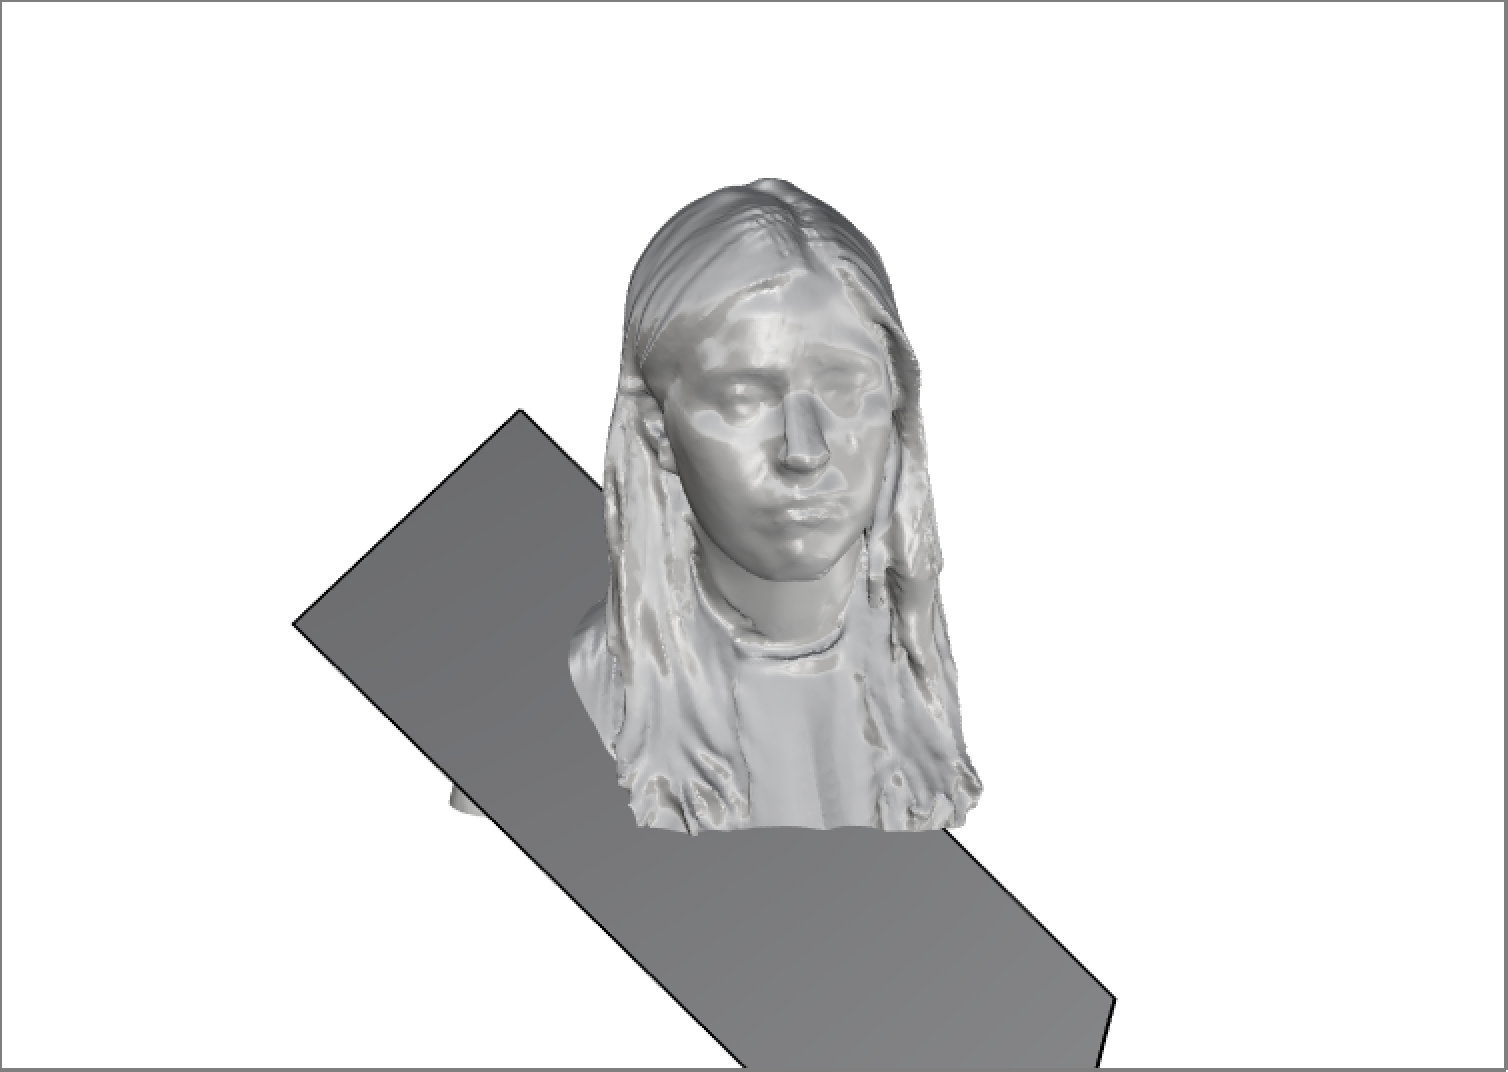
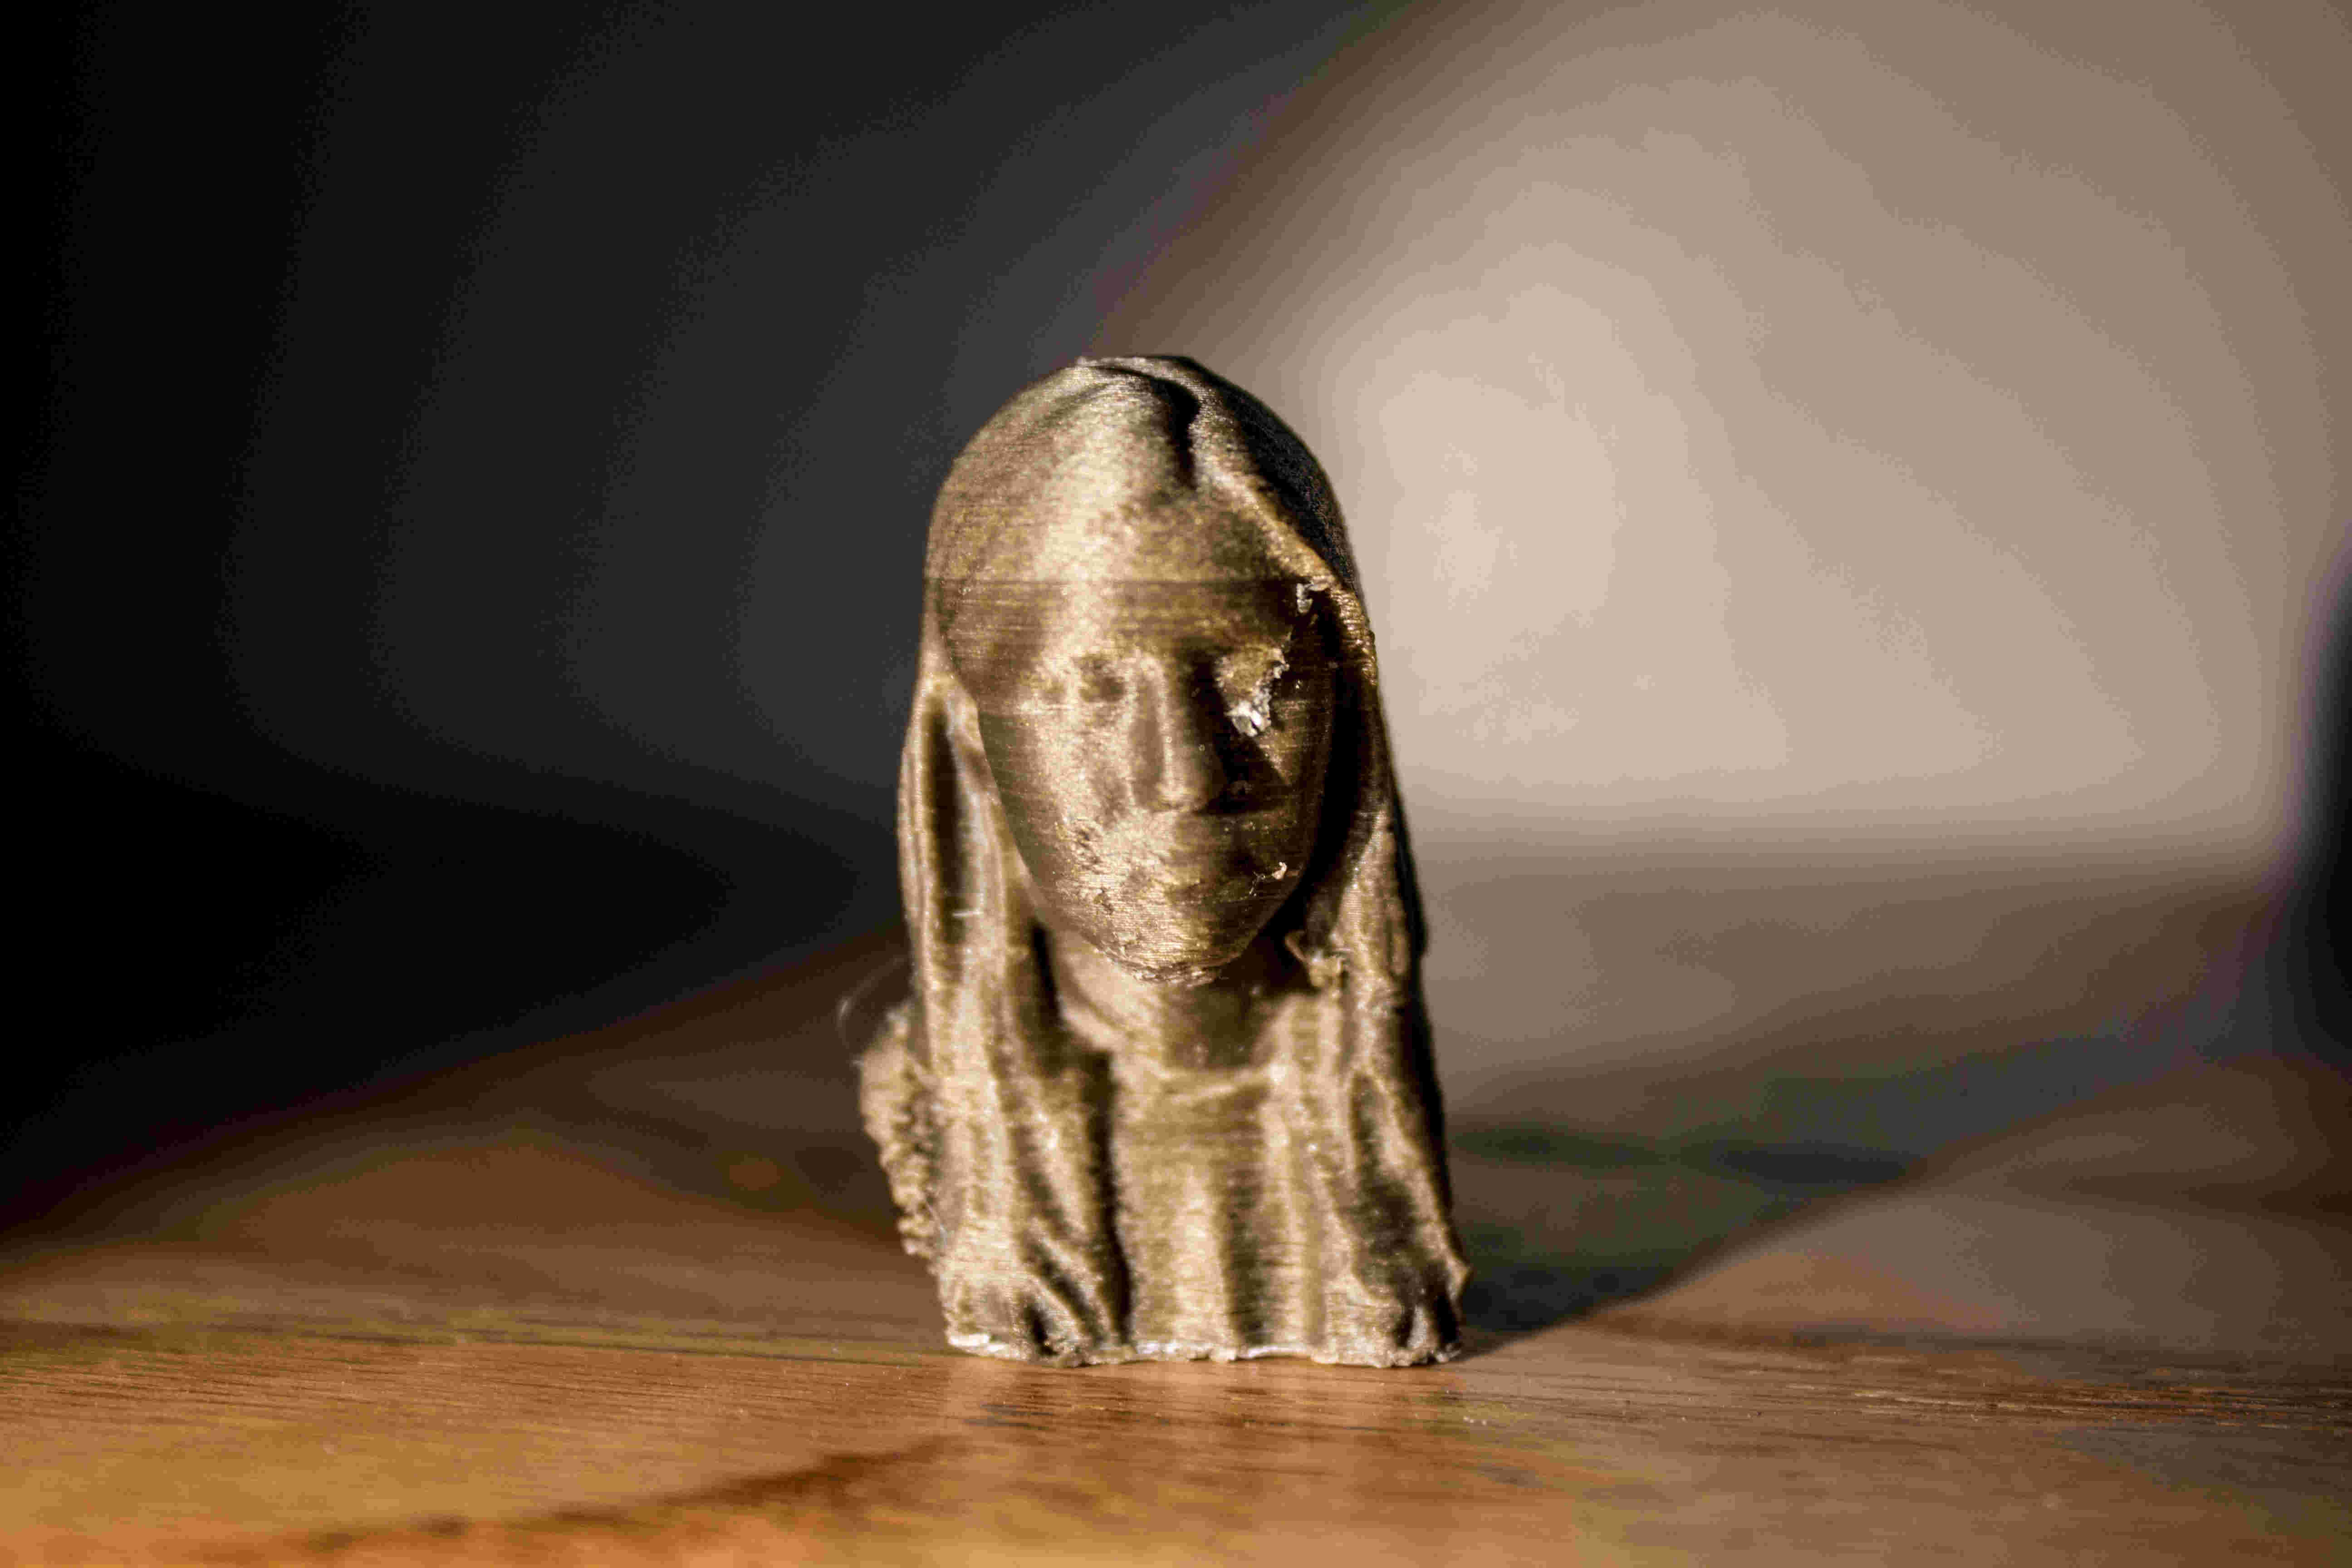
For the scanning component, I tried scanning a variety of objects, but the resolution was too low to produce any interesting results, and the chain attaching the scanner to the way made it hard to scan anything large. I ended up getting a partner to help me scan my own head, and I cleaned up the file a bit in Rhino and printed it out on an Ultimaker in another shop. The resolution was not the best, but it looked enough like me to be creepy and earn a permanent place of honor at the bottom of my desk drawer.
Perhaps in the future if I have more than a week to design, fabricate, and document a 3D printed part, I will try out a more advanced printer or different printing technique, but for now I’ll stick with CNC cutting and milling whenever I can.
https://cad.onshape.com/documents/106defce1139fef78859de03/w/fe09a84cb8041bc2ca2c4da1/e/f64deef81fb243767fa5704a
For this assignment, I tried to aim high with my design. I was inspired by the designs of Nervous System, so I downloaded WeaverBird for Rhino and began playing around with porous structures, eventually developing a mobius strip shaped object with an organic grid pattern that I developed using WeaverBird’s carpet and loop commands.
Unfortunately, modeling it was the easy part. I first tried printing it on the Ultimaker (all the architecture Sindohs were either broken or in use), with minimal success. While the overall shape worked out, the print was messy and the support material was nearly impossible to remove.
A couple of hours into that print, one of the Sindohs became available, so I tried another attempt. This one turned into a proper pile of spaghetti (thanks to Kyle Branchesi for sharing the printer and sending the photo below). After I began generating yet another pile of spaghetti on a Zortrax in another shop, I gave up on the design. While a perforated mobius strip looks interesting and could potentially work well on a printer with dissolvable support material, it was not going to work out on the printers I had the ability to operate myself, so I decided to go in another direction with my design.
One advantage of additive manufacturing over subtractive is the ability to create parts with little to no assembly after machining. I decided to create a geometric chain that would work better with the low resolution of the printers and led itself to actually separating from its support material. My final design is two small square chains that can be attached to ear wires to be worn as earrings.
The final prints came out much cleaner and separated easily from the support material, leaving me with chains that have distinct links that move naturally and even jingle like other chunky jewelry.
For the scanning component, I tried scanning a variety of objects, but the resolution was too low to produce any interesting results, and the chain attaching the scanner to the way made it hard to scan anything large. I ended up getting a partner to help me scan my own head, and I cleaned up the file a bit in Rhino and printed it out on an Ultimaker in another shop. The resolution was not the best, but it looked enough like me to be creepy and earn a permanent place of honor at the bottom of my desk drawer.
Perhaps in the future if I have more than a week to design, fabricate, and document a 3D printed part, I will try out a more advanced printer or different printing technique, but for now I’ll stick with CNC cutting and milling whenever I can.
https://cad.onshape.com/documents/106defce1139fef78859de03/w/fe09a84cb8041bc2ca2c4da1/e/f64deef81fb243767fa5704a