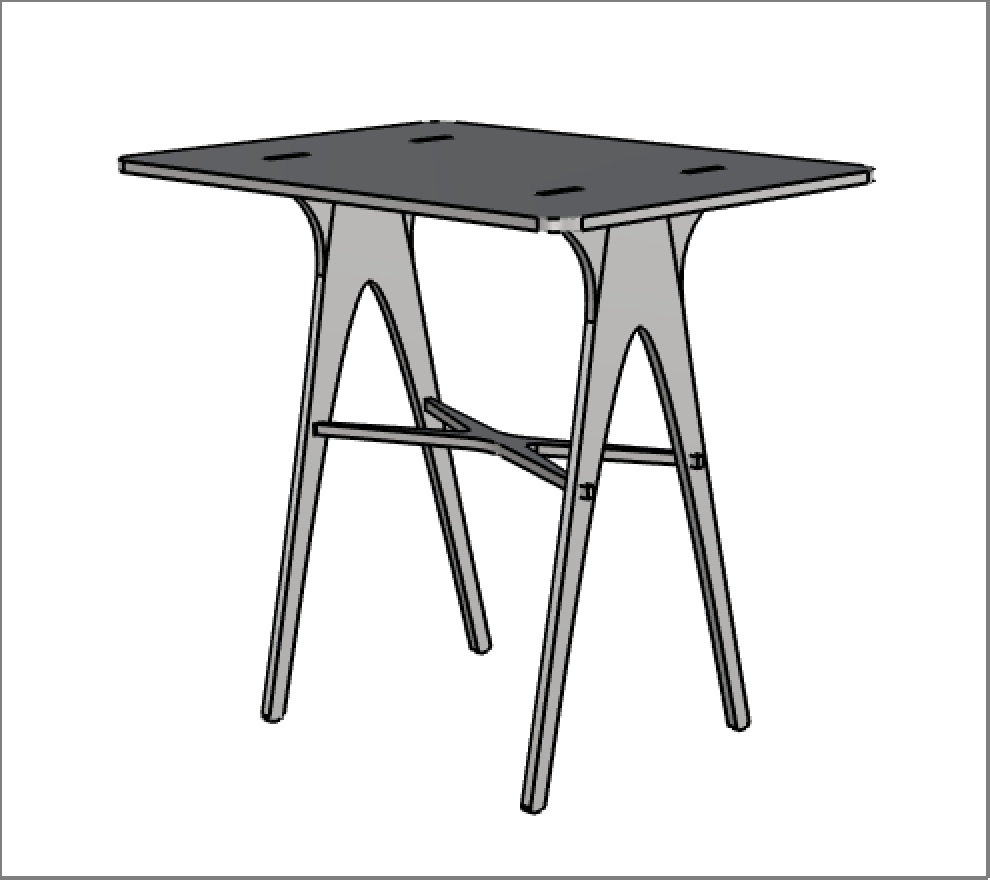
This week we were tasked with making something big, a challenge that came with a bit of fine print. Yes, it had to be big, but it couldn’t be so big that I couldn’t carry it across campus from N51 to a lounge where I could store it for a bit to the Media Lab for class and then back across the river and up four flights of stairs to my room. And then it had to fit in my room. So “make something big” really meant “make something bigger than a breadbox”. Given that the only reasonable target location for this assignment was the ~2’ square space between my bed and my chair, I decided to make an end table.
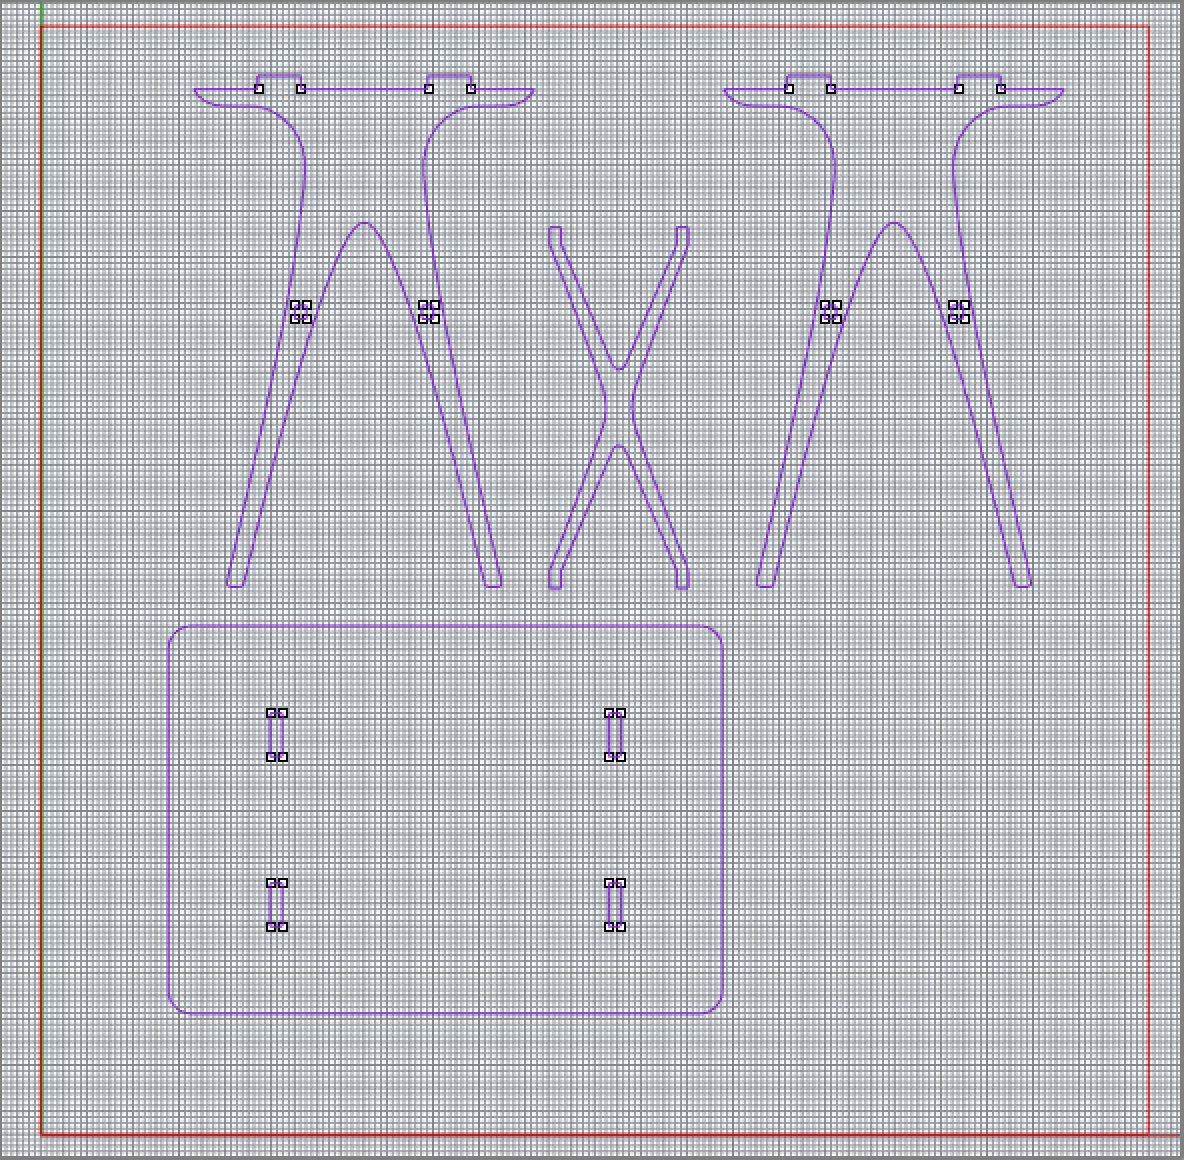
Making something big with CNC machining still gives me mildly painful flashbacks to the time I had to make a chair on the Onsrud using a single piece of plywood and no glue and spent hours aggressively sanding and whacking my pieces with a mallet to get them to fit together, so I decided to keep it somewhat simple this time around. I sketched out a bunch of ideas in Rhino, and ended up with a wishbone-chair inspired design with a rectangular top. I sketched it out in 3D, then used the “Make2D” command on each piece to generate my cut sheet.
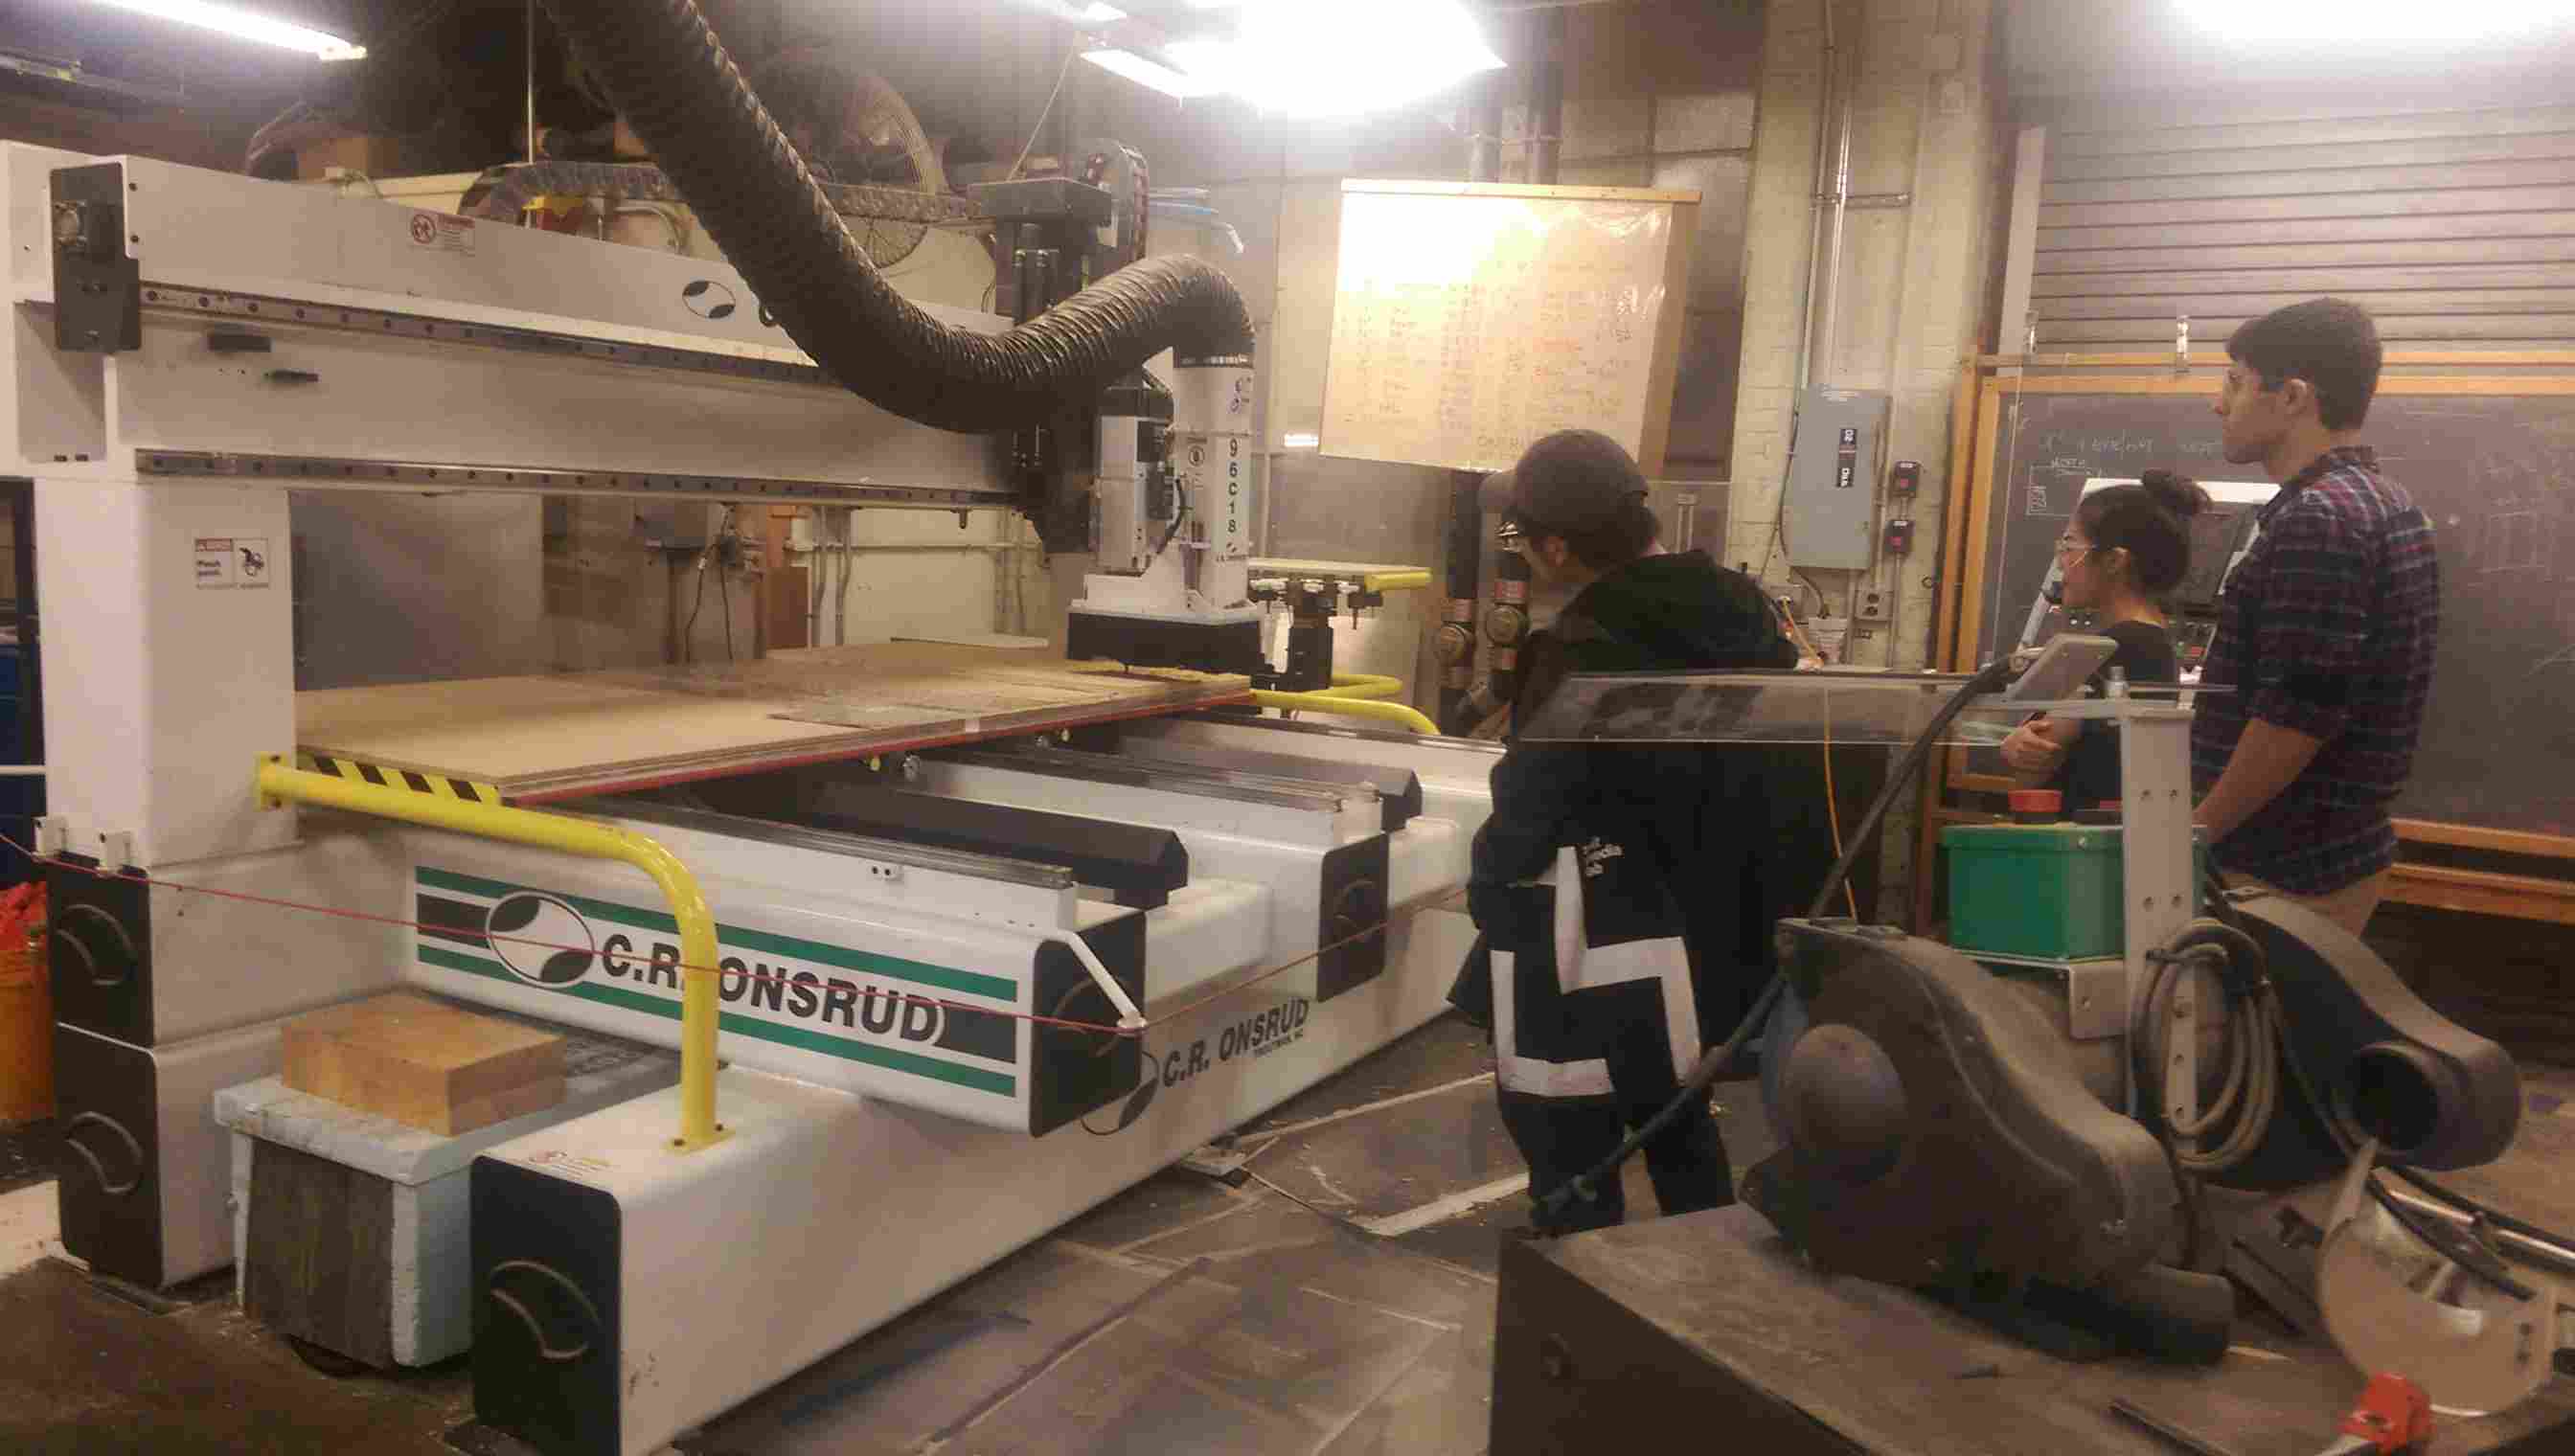
I then refined it for machining, thickening up certain pieces so that they wouldn’t break and adding points in the corners of pockets for drilling dog-bone holes later. I also measured the OSB with calipers and resized my joints based on the thickness (0.53”). I exported that geometry and brought it into MasterCAM on the shop computer, and Calvin helped me set up tool paths and create my GCode. I teamed up with Jackie, who was also doing something small enough for her to easily carry, and we fit both of our jobs on a single 4’x8’ sheet.
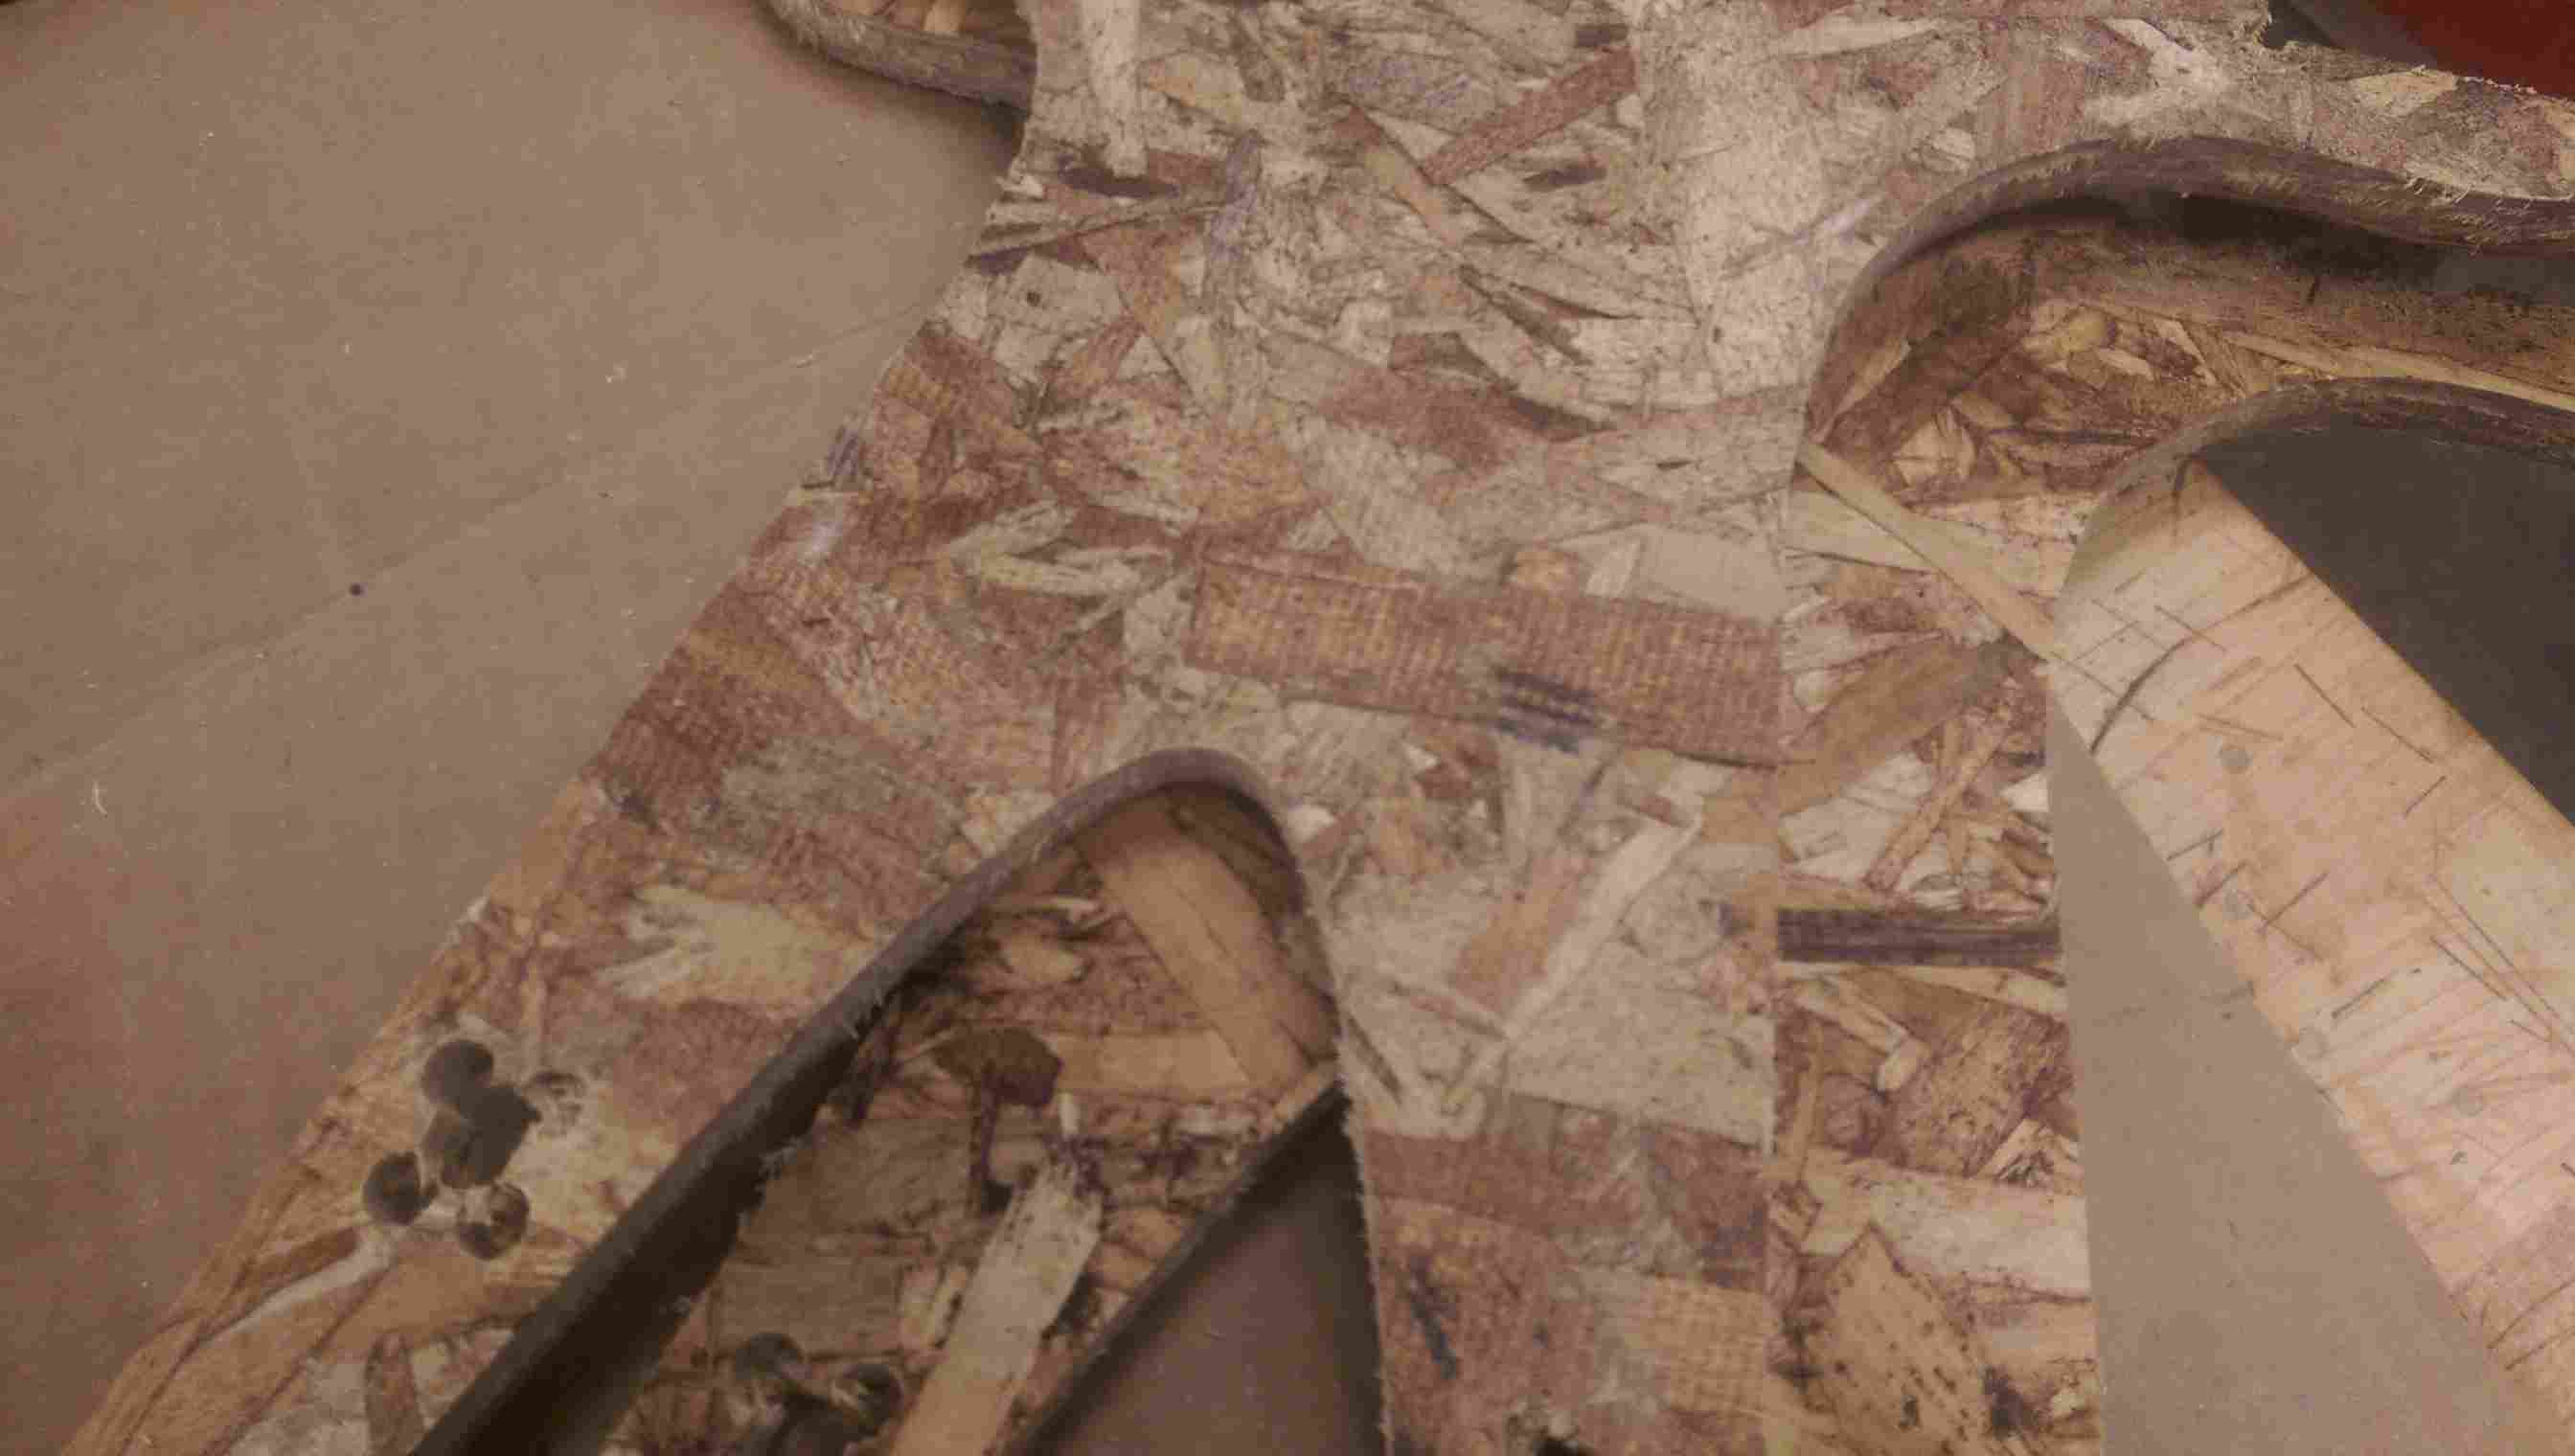
The actual cutting only took about 10 minutes with the 3/8” compression end mill, but we realized that we had made the onion skin a bit too small, so some of Jackie’s pieces got loose and shifted and needed to be redone. The vacuum table managed to hold my parts pretty well though, and they came out great on the first try.
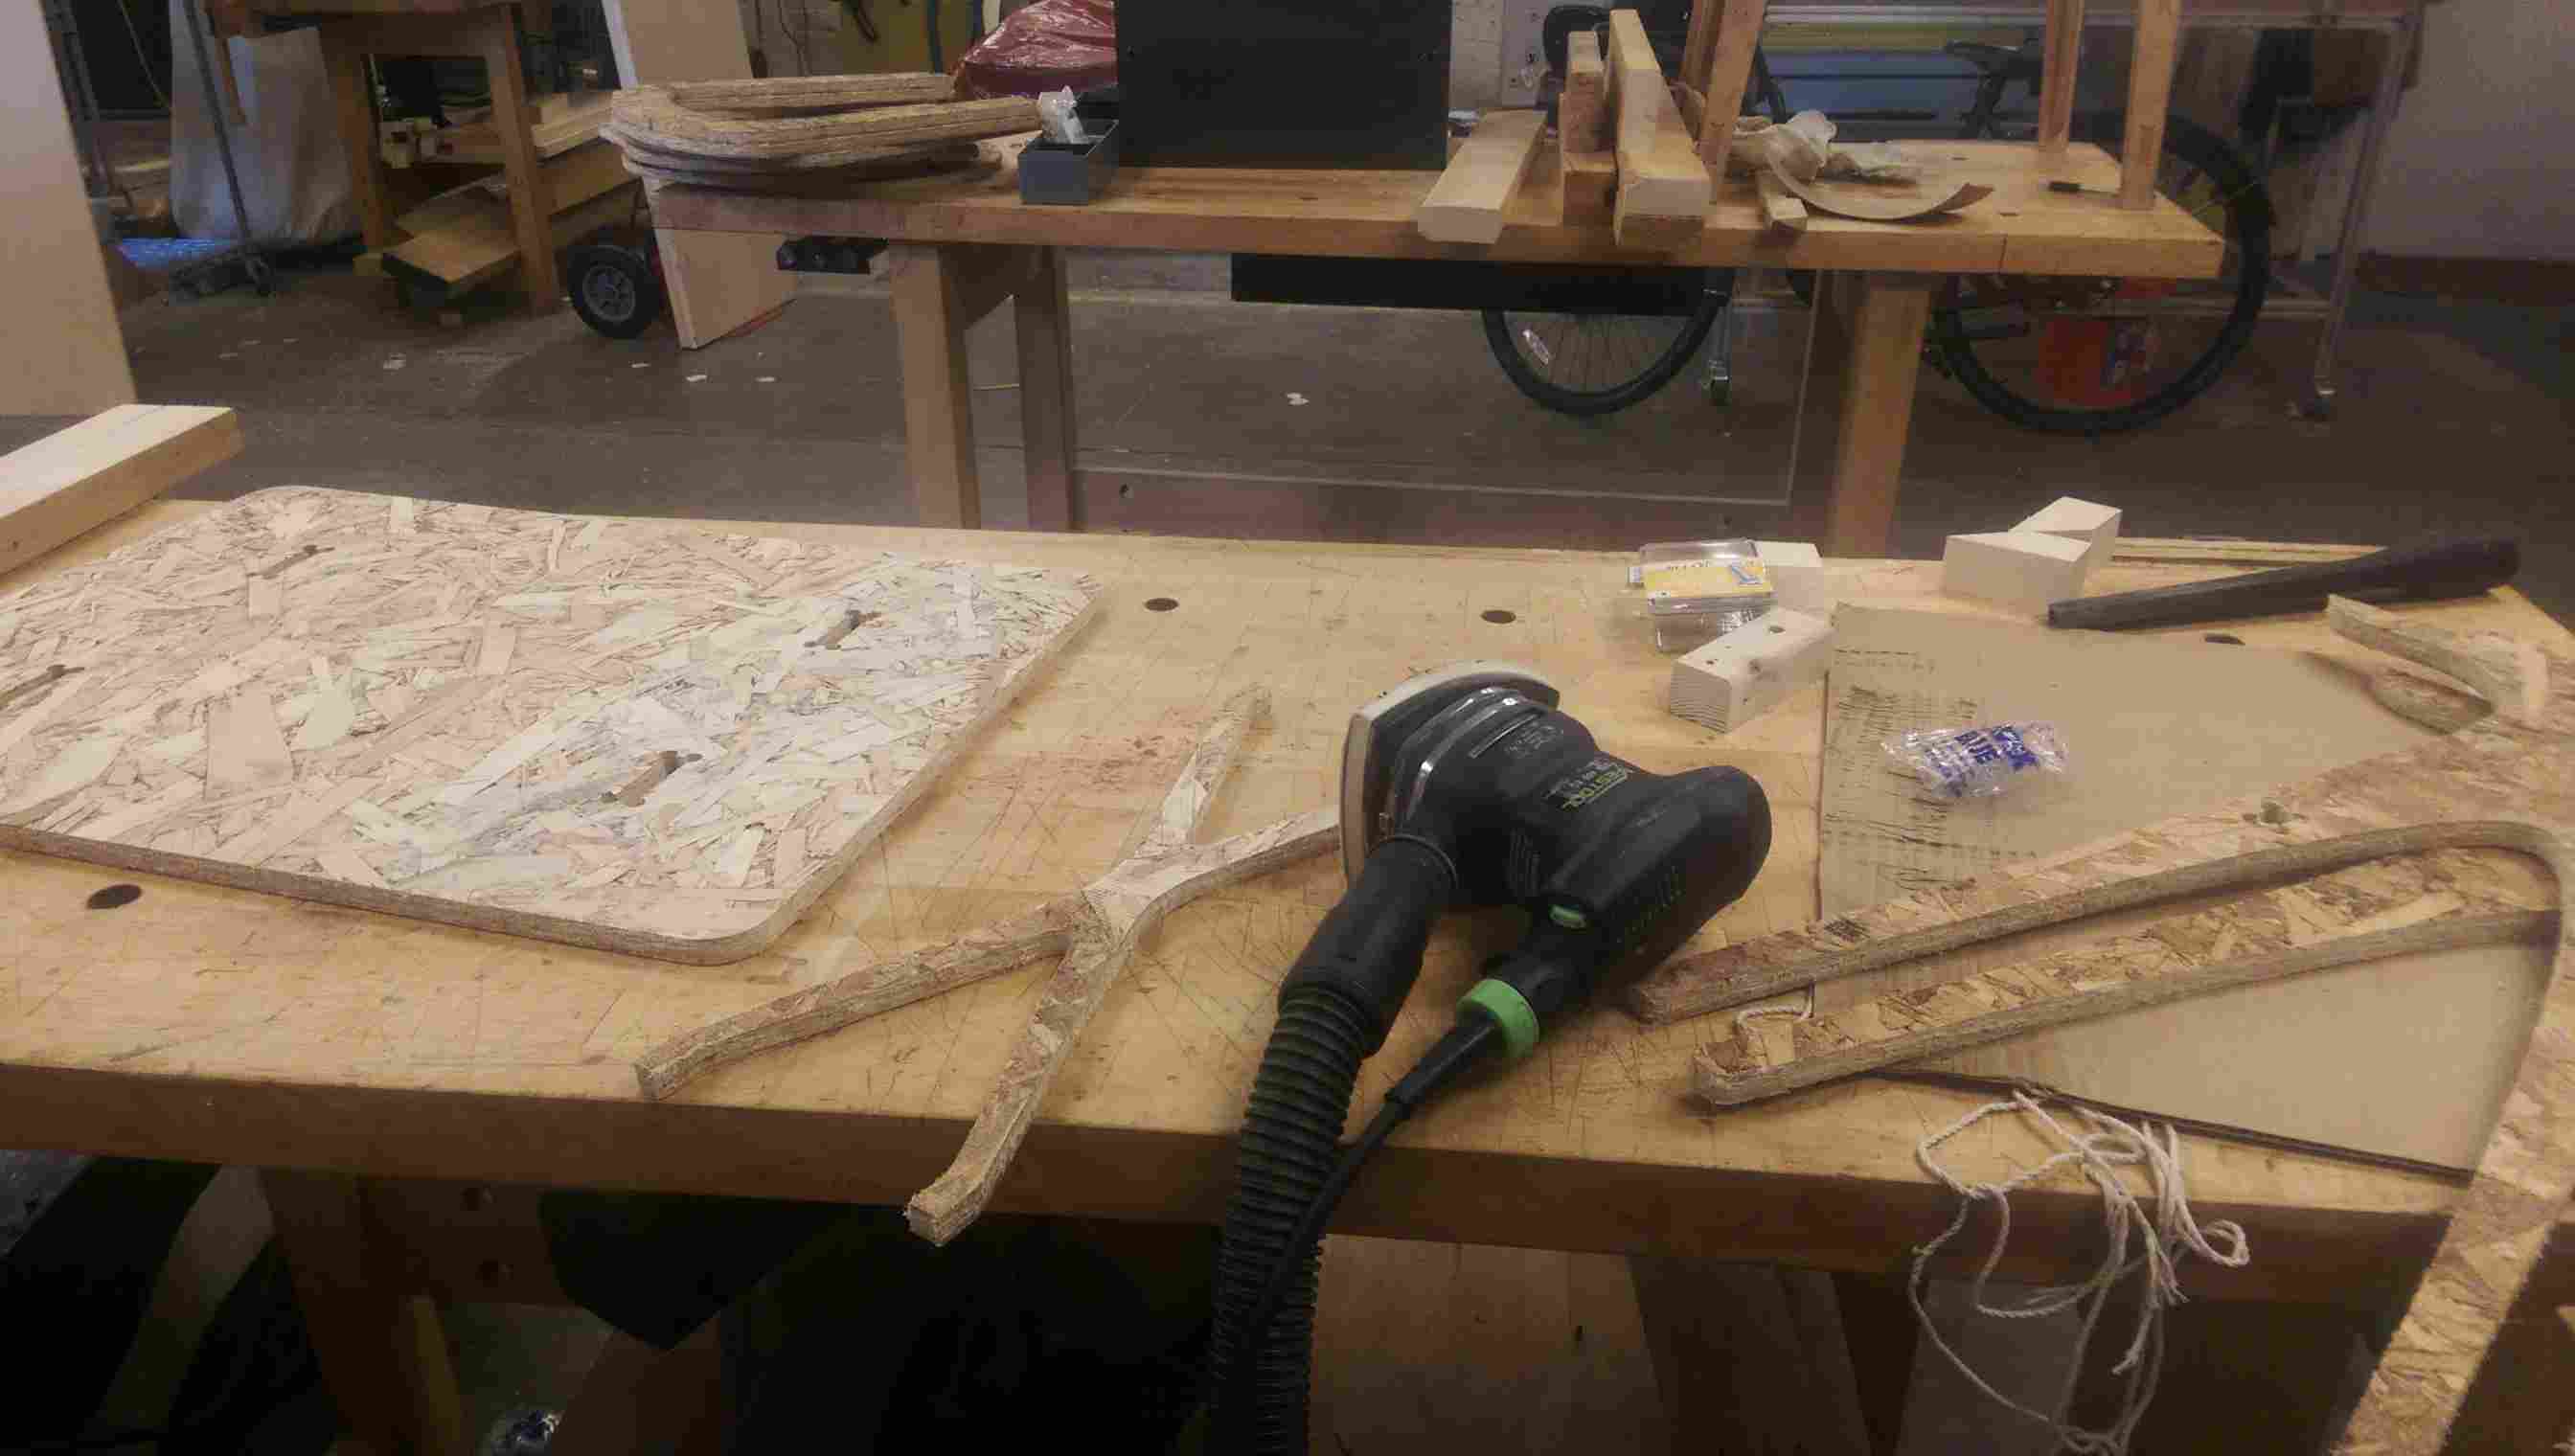
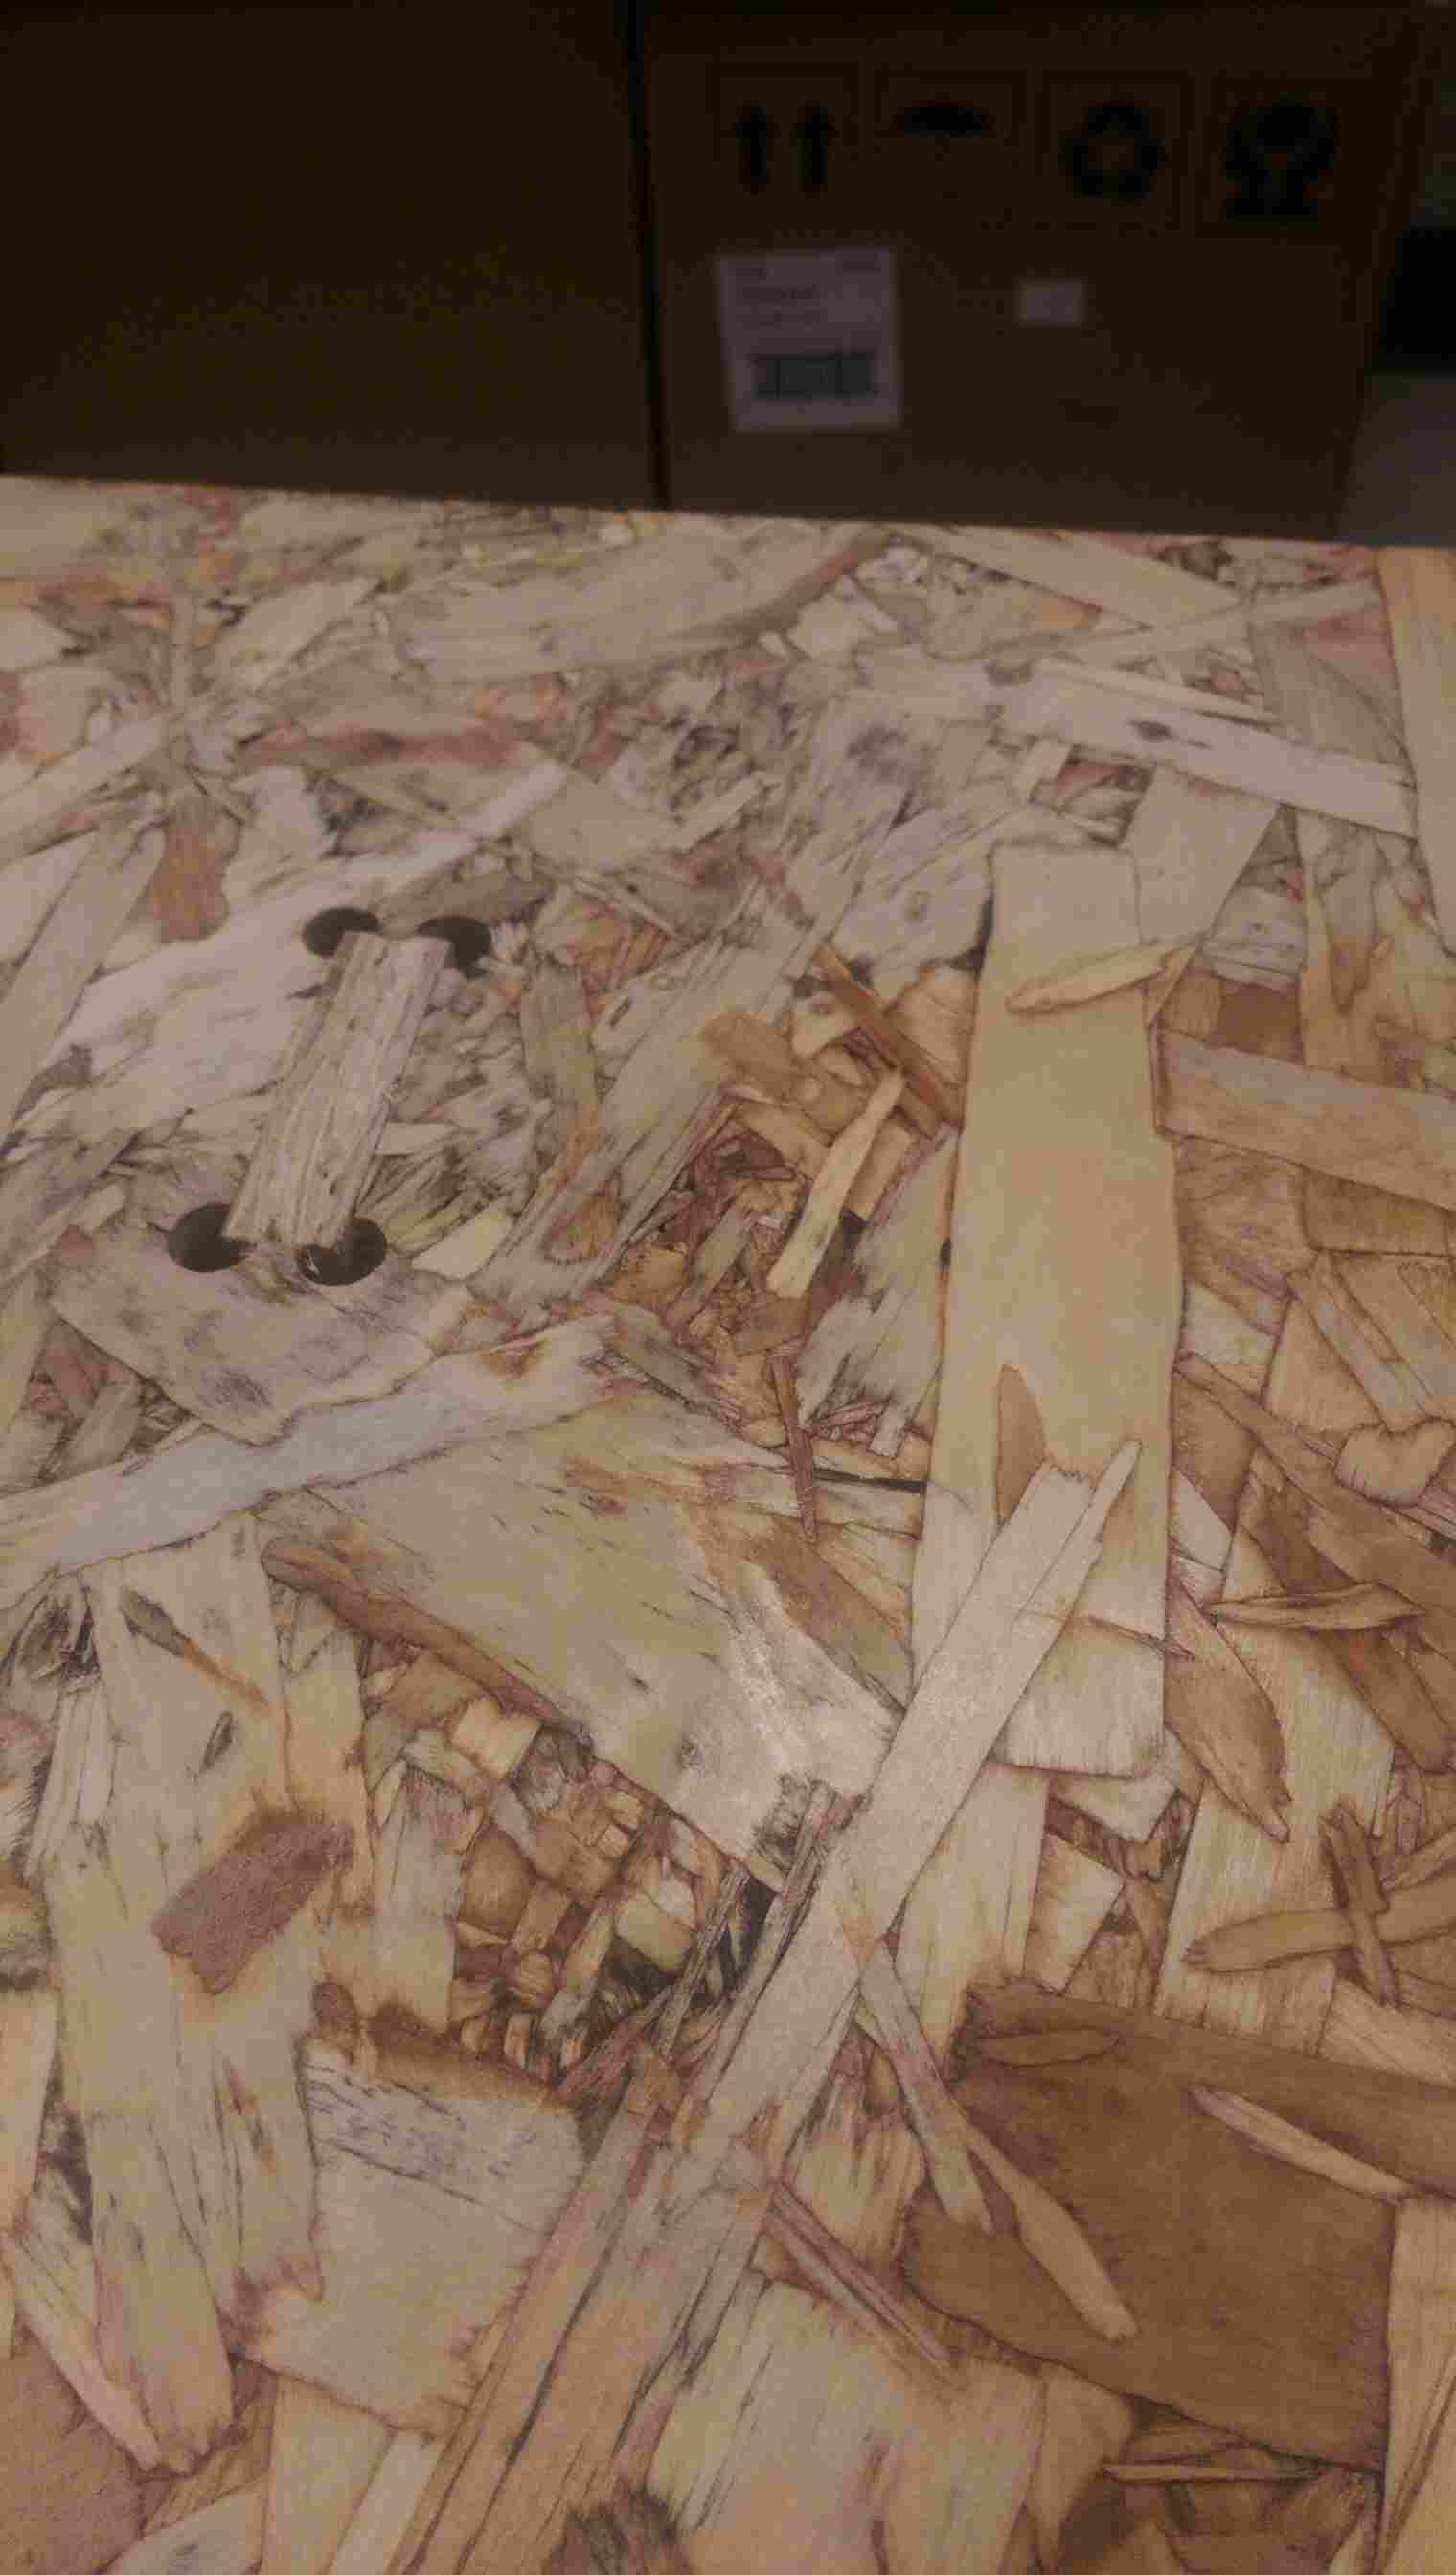
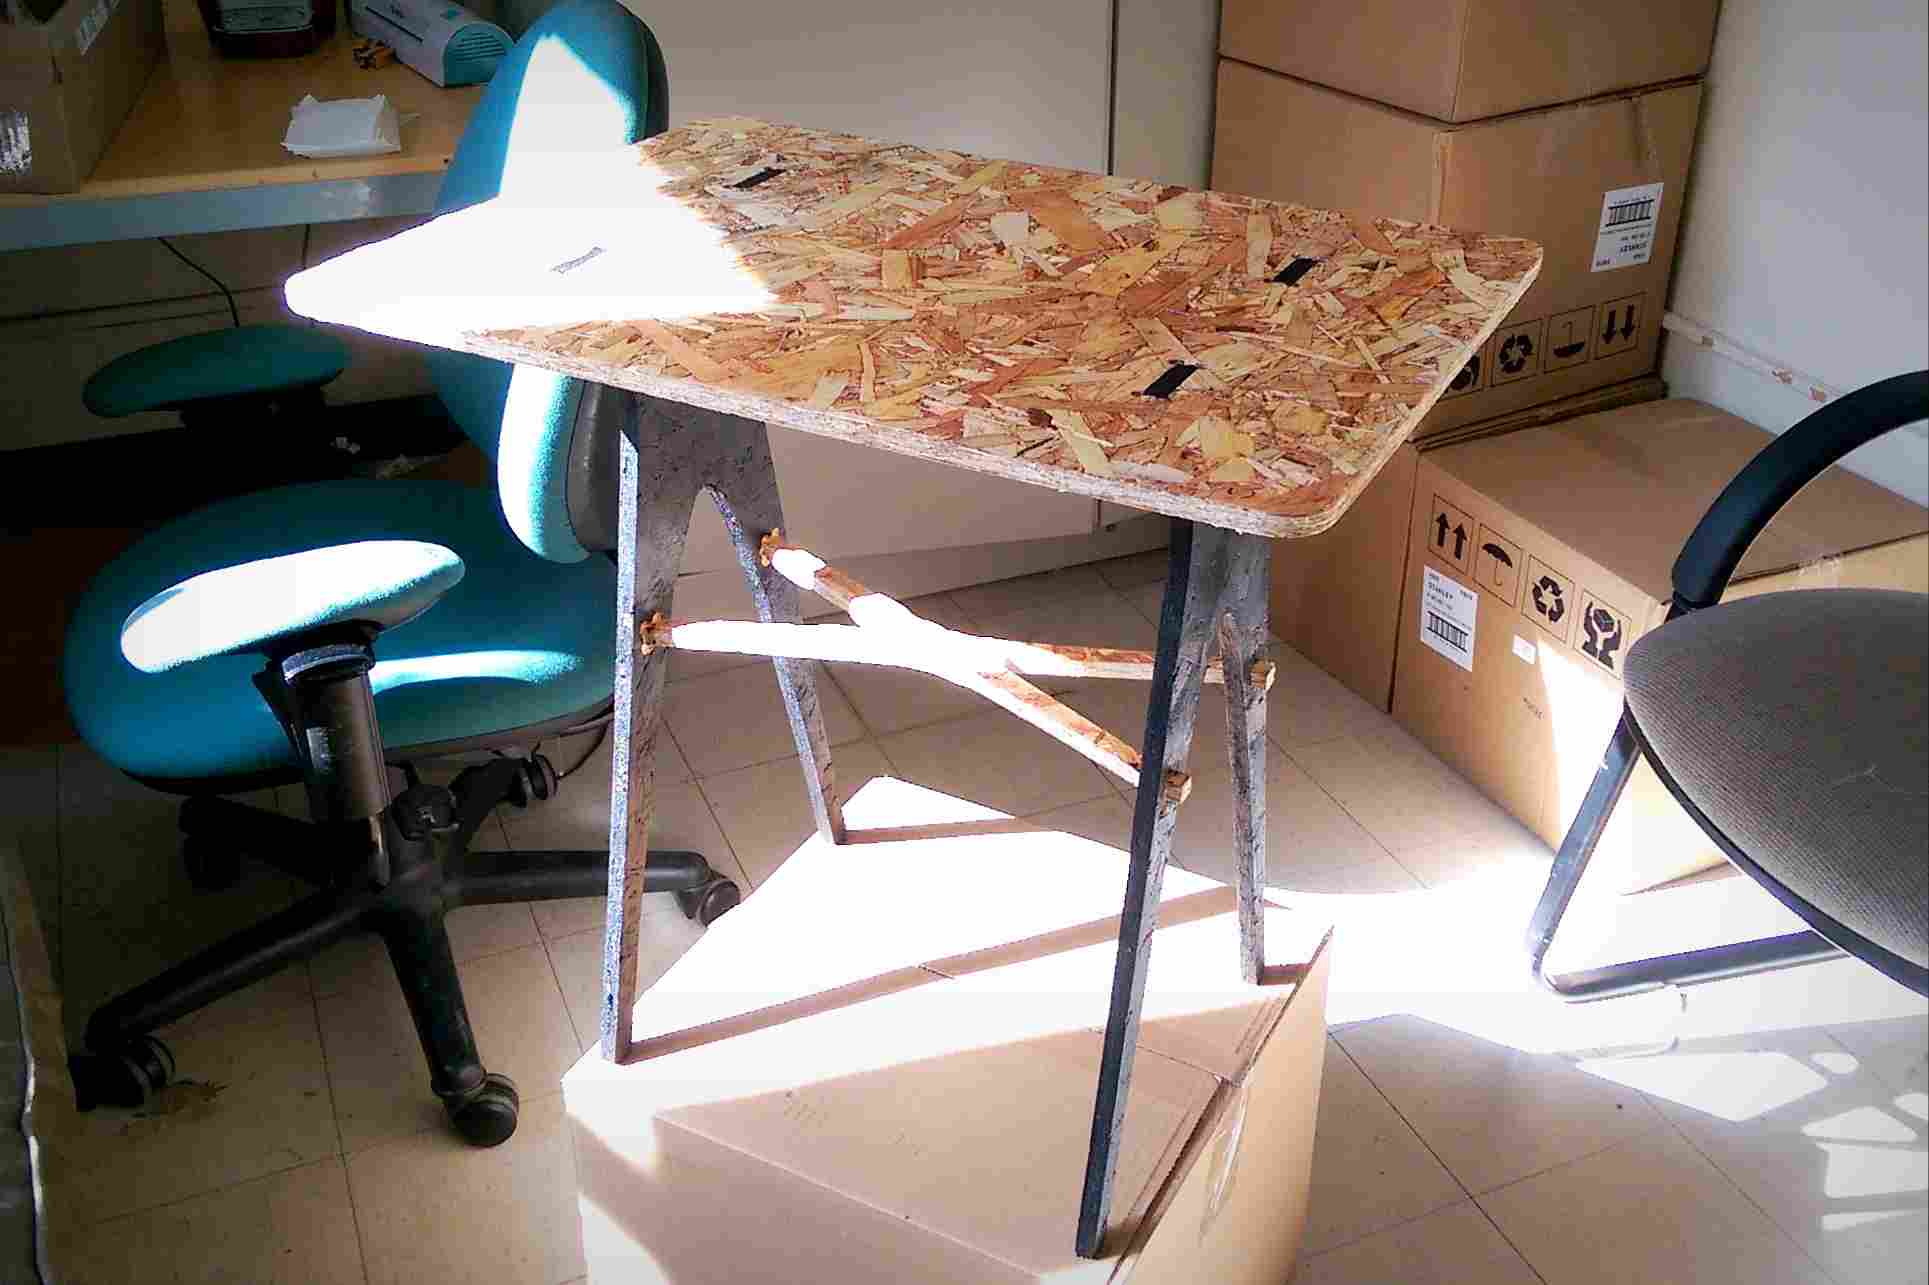
Of course, OSB needs a lot of work to look nice and not give you a ton of splinters, so I spent another half hour or so sanding my pieces. I then assembled them and tested out the table. It was a bit wobbly (the OSB flexed way more than I expected and the legs were still on the thin side), but I was pretty happy with it. I then finished it with some wood polish and black paint, and I had a great little table to use in my room!
Making something big with CNC machining still gives me mildly painful flashbacks to the time I had to make a chair on the Onsrud using a single piece of plywood and no glue and spent hours aggressively sanding and whacking my pieces with a mallet to get them to fit together, so I decided to keep it somewhat simple this time around. I sketched out a bunch of ideas in Rhino, and ended up with a wishbone-chair inspired design with a rectangular top. I sketched it out in 3D, then used the “Make2D” command on each piece to generate my cut sheet.
I then refined it for machining, thickening up certain pieces so that they wouldn’t break and adding points in the corners of pockets for drilling dog-bone holes later. I also measured the OSB with calipers and resized my joints based on the thickness (0.53”). I exported that geometry and brought it into MasterCAM on the shop computer, and Calvin helped me set up tool paths and create my GCode. I teamed up with Jackie, who was also doing something small enough for her to easily carry, and we fit both of our jobs on a single 4’x8’ sheet.
The actual cutting only took about 10 minutes with the 3/8” compression end mill, but we realized that we had made the onion skin a bit too small, so some of Jackie’s pieces got loose and shifted and needed to be redone. The vacuum table managed to hold my parts pretty well though, and they came out great on the first try.
Of course, OSB needs a lot of work to look nice and not give you a ton of splinters, so I spent another half hour or so sanding my pieces. I then assembled them and tested out the table. It was a bit wobbly (the OSB flexed way more than I expected and the legs were still on the thin side), but I was pretty happy with it. I then finished it with some wood polish and black paint, and I had a great little table to use in my room!