Week 13: Composites
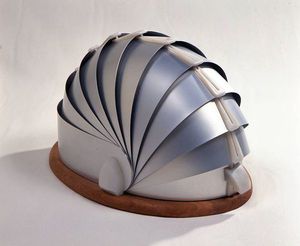
I was planning on making a sort of “armadillo” inspired light. I really like the aesthetic of paper lanterns and lamps, but they are delicate. I felt like a stronger version of this sort of lamp would be a fun project for composites.
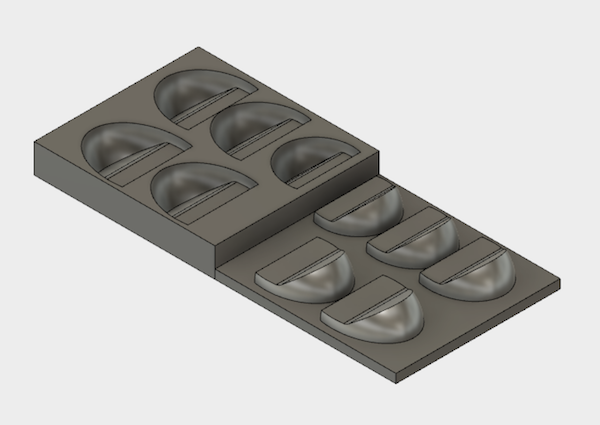
First designed and milled the shapes. I milled the shapes. I wanted a half-shell shape with 5 parts, so the angle of each shell piece is ~36 degrees. I am doing a press mold because I wanted the shape to be very smooth on both sides.


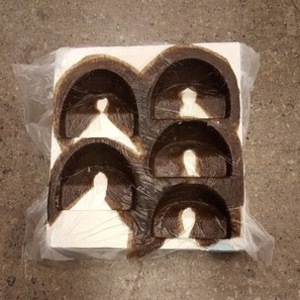
I gessoed the mould with four different coats before realizing that I could just use plastic wrap and spray adhesive instead of a gesso-wax combination.

Then I cut the the fabric for the composites. I based it off of a paper cut out I made. I used thinner burlap for a more delicate aesthetic.


After that was the actual composite-making. The ratio of this epoxy was 100:43 (almost 2:1). The fabric I was using was quite absorbent so the fabric to epoxy ratio I used was around 1:5. Epoxy can cause allergic reactions when in contact with skin, so I wore a plastic coat and two pairs of gloves. We were able to work safely outside of the fume hood (but with the fume hood still on) because this epoxy had a low volatility.
Since my hands were covered in epoxy, I did not get to document the actual composite process. I did my layup first on a plastic sheet. To prepare the composite, I lay one sheet of fabric, poured some epoxy and then spread it using the spreader. I added a second piece and third of fabric and repeated the spreading process. After that I would lay the combined three sheets on my mould.

I had some processing to finish my composite.

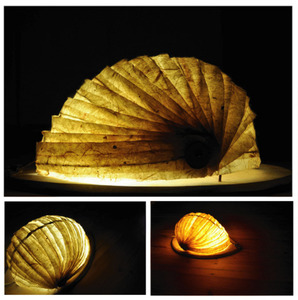
Only one of my final composites turned out as smooth as I would have liked.

My final composite:

