Week 2: Cutting
On Tuesday I learned something about parametric designs: they're rather difficult. Or, at least, they require a different sort of thinking from drawing on paper. You want to make the bare minimum element, and then replicate that symmetrically across the shape.Laser Cutter
For the lasering cardboard project, I decided to go for a sort of hub-and-spoke thing-- with a triangular element that could make a little lantern-like shape. The ultimate goal was a silly hat. My first attempt at parametric CADing in Fusion360 didn't completely describe the shape that I wanted, so any small manipulation would end up in disaster: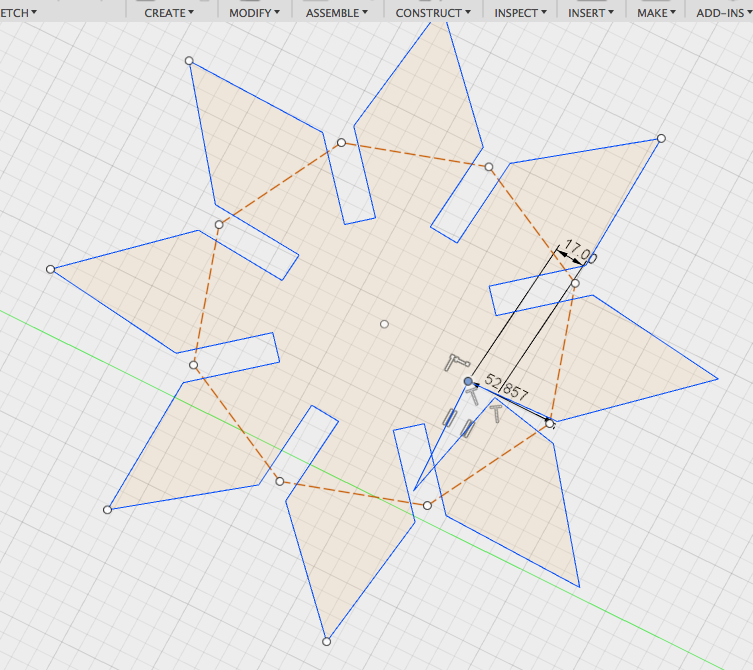
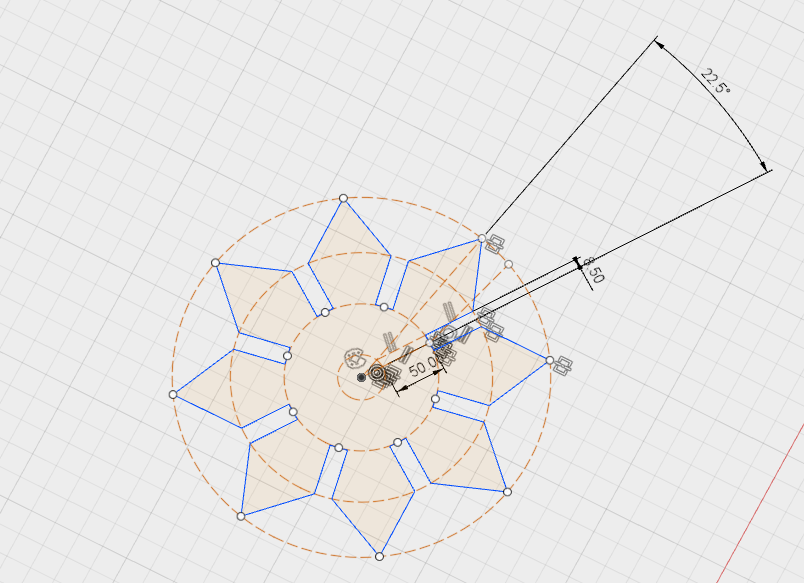
My friend Ned came along and helped me out by explaining how to define my parameters on the outside of a circle:
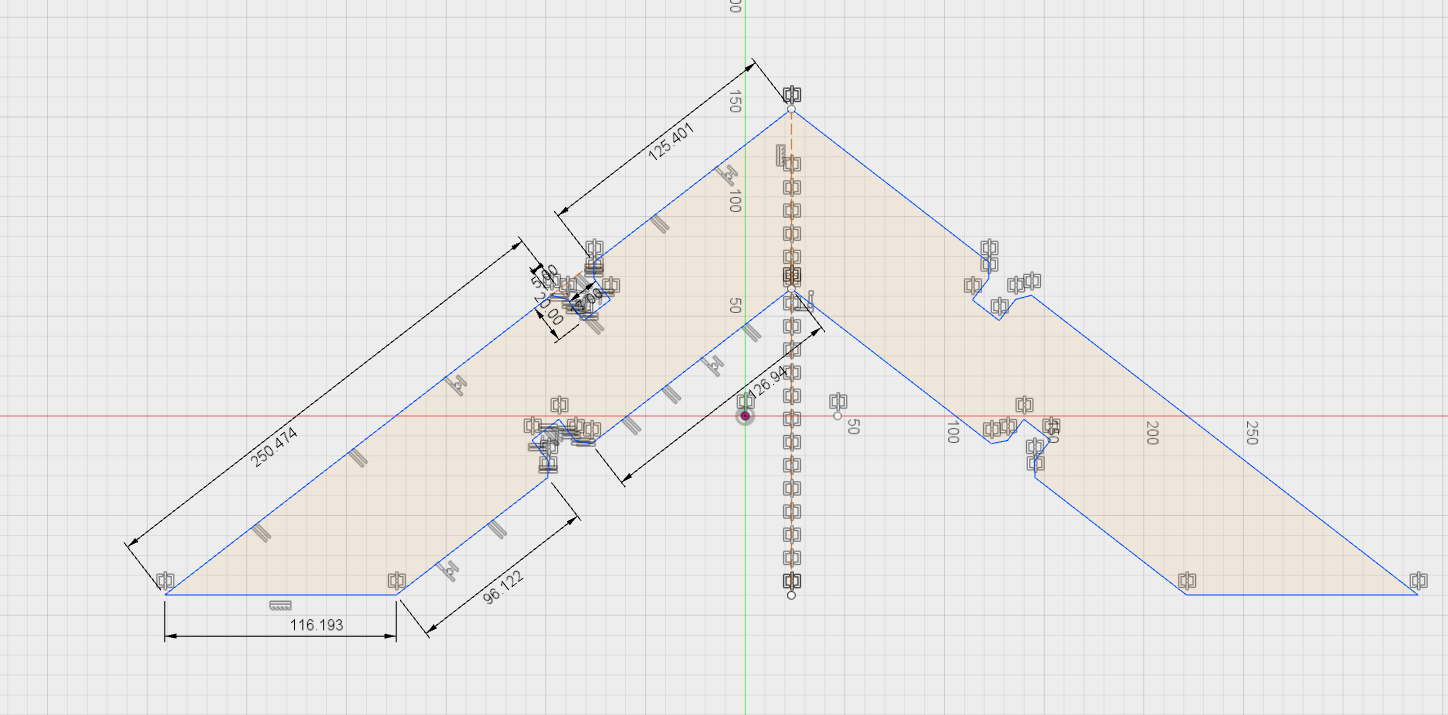
My triangle element wasn't as neatly defined, so it ended up crashing Fusion360 a few times:
Eventually, I made something moderately serviceable and got it into CorelDraw:
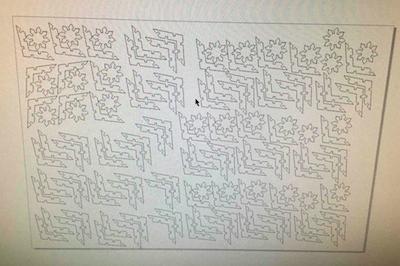
Then I cut out lots of little shapes:
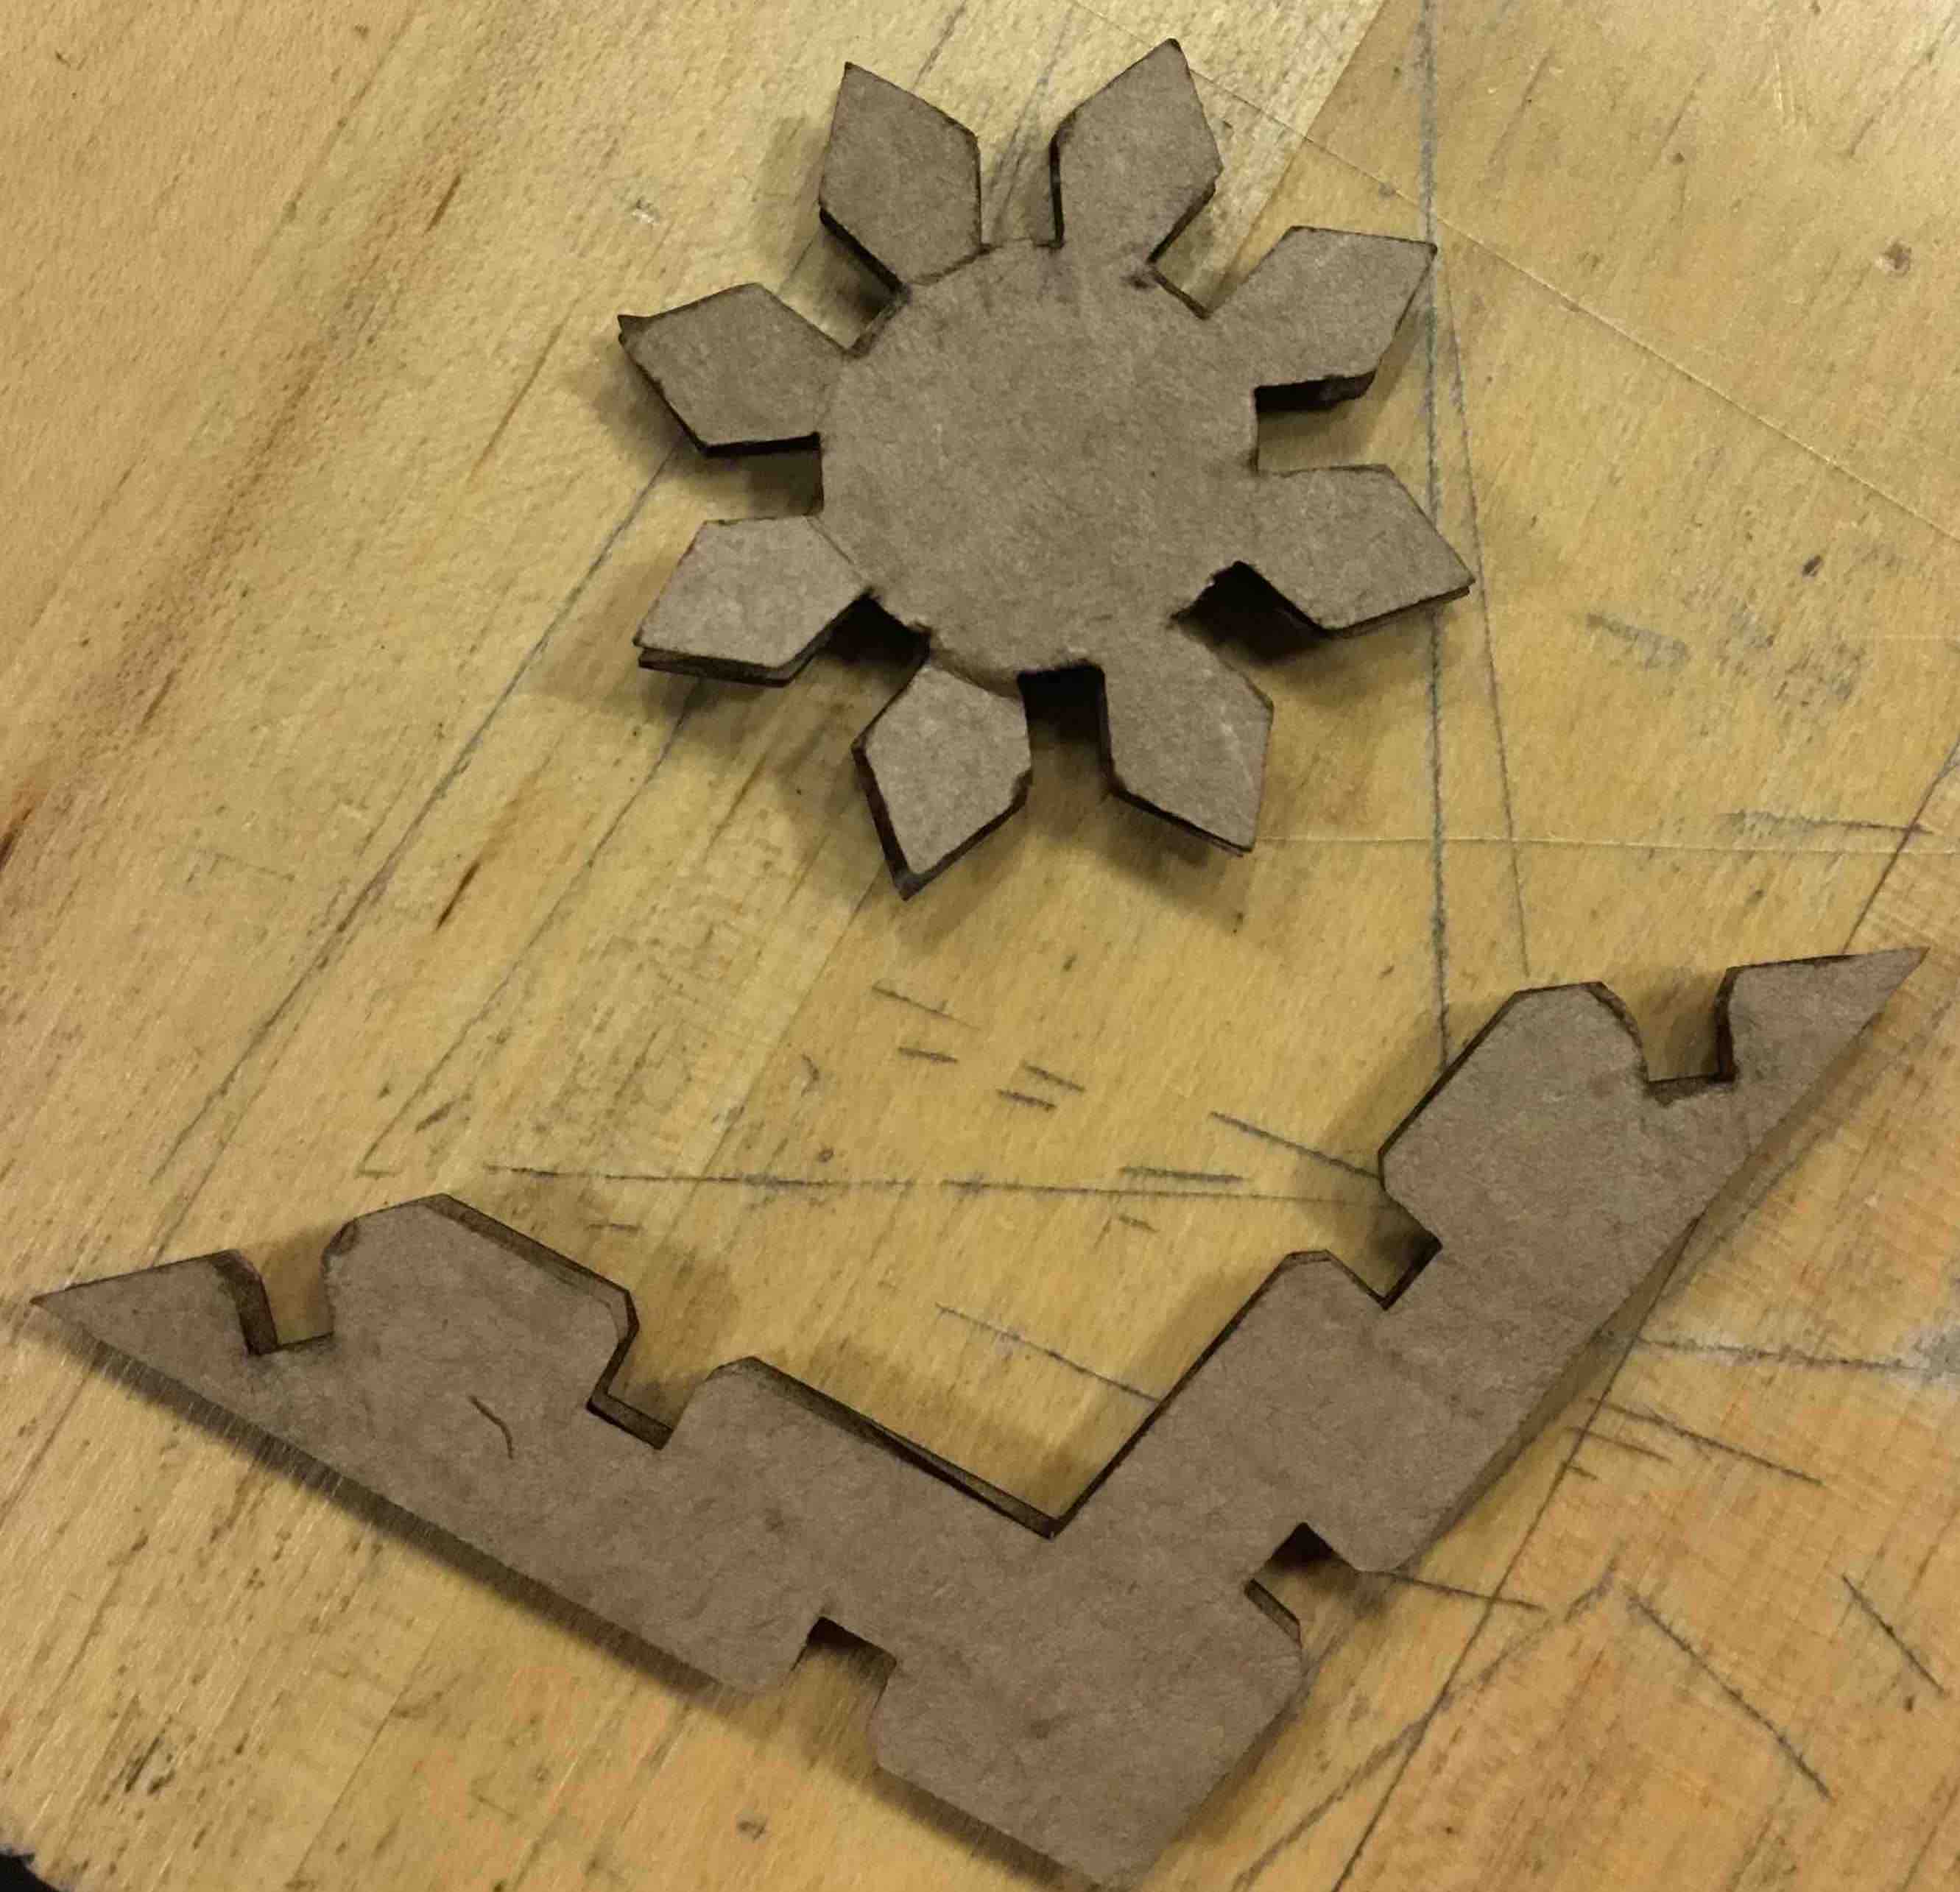
And stuck them together to make little modules:
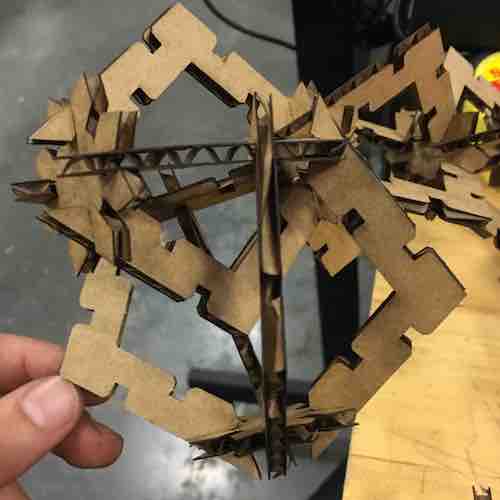
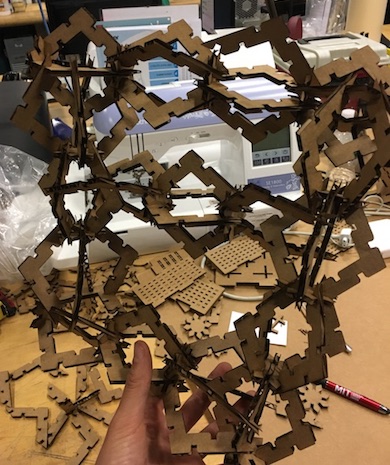
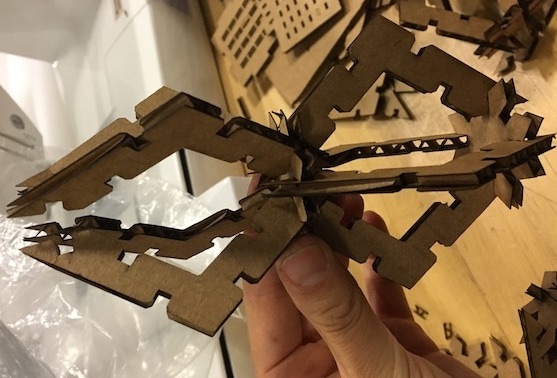
Finally I made a crown
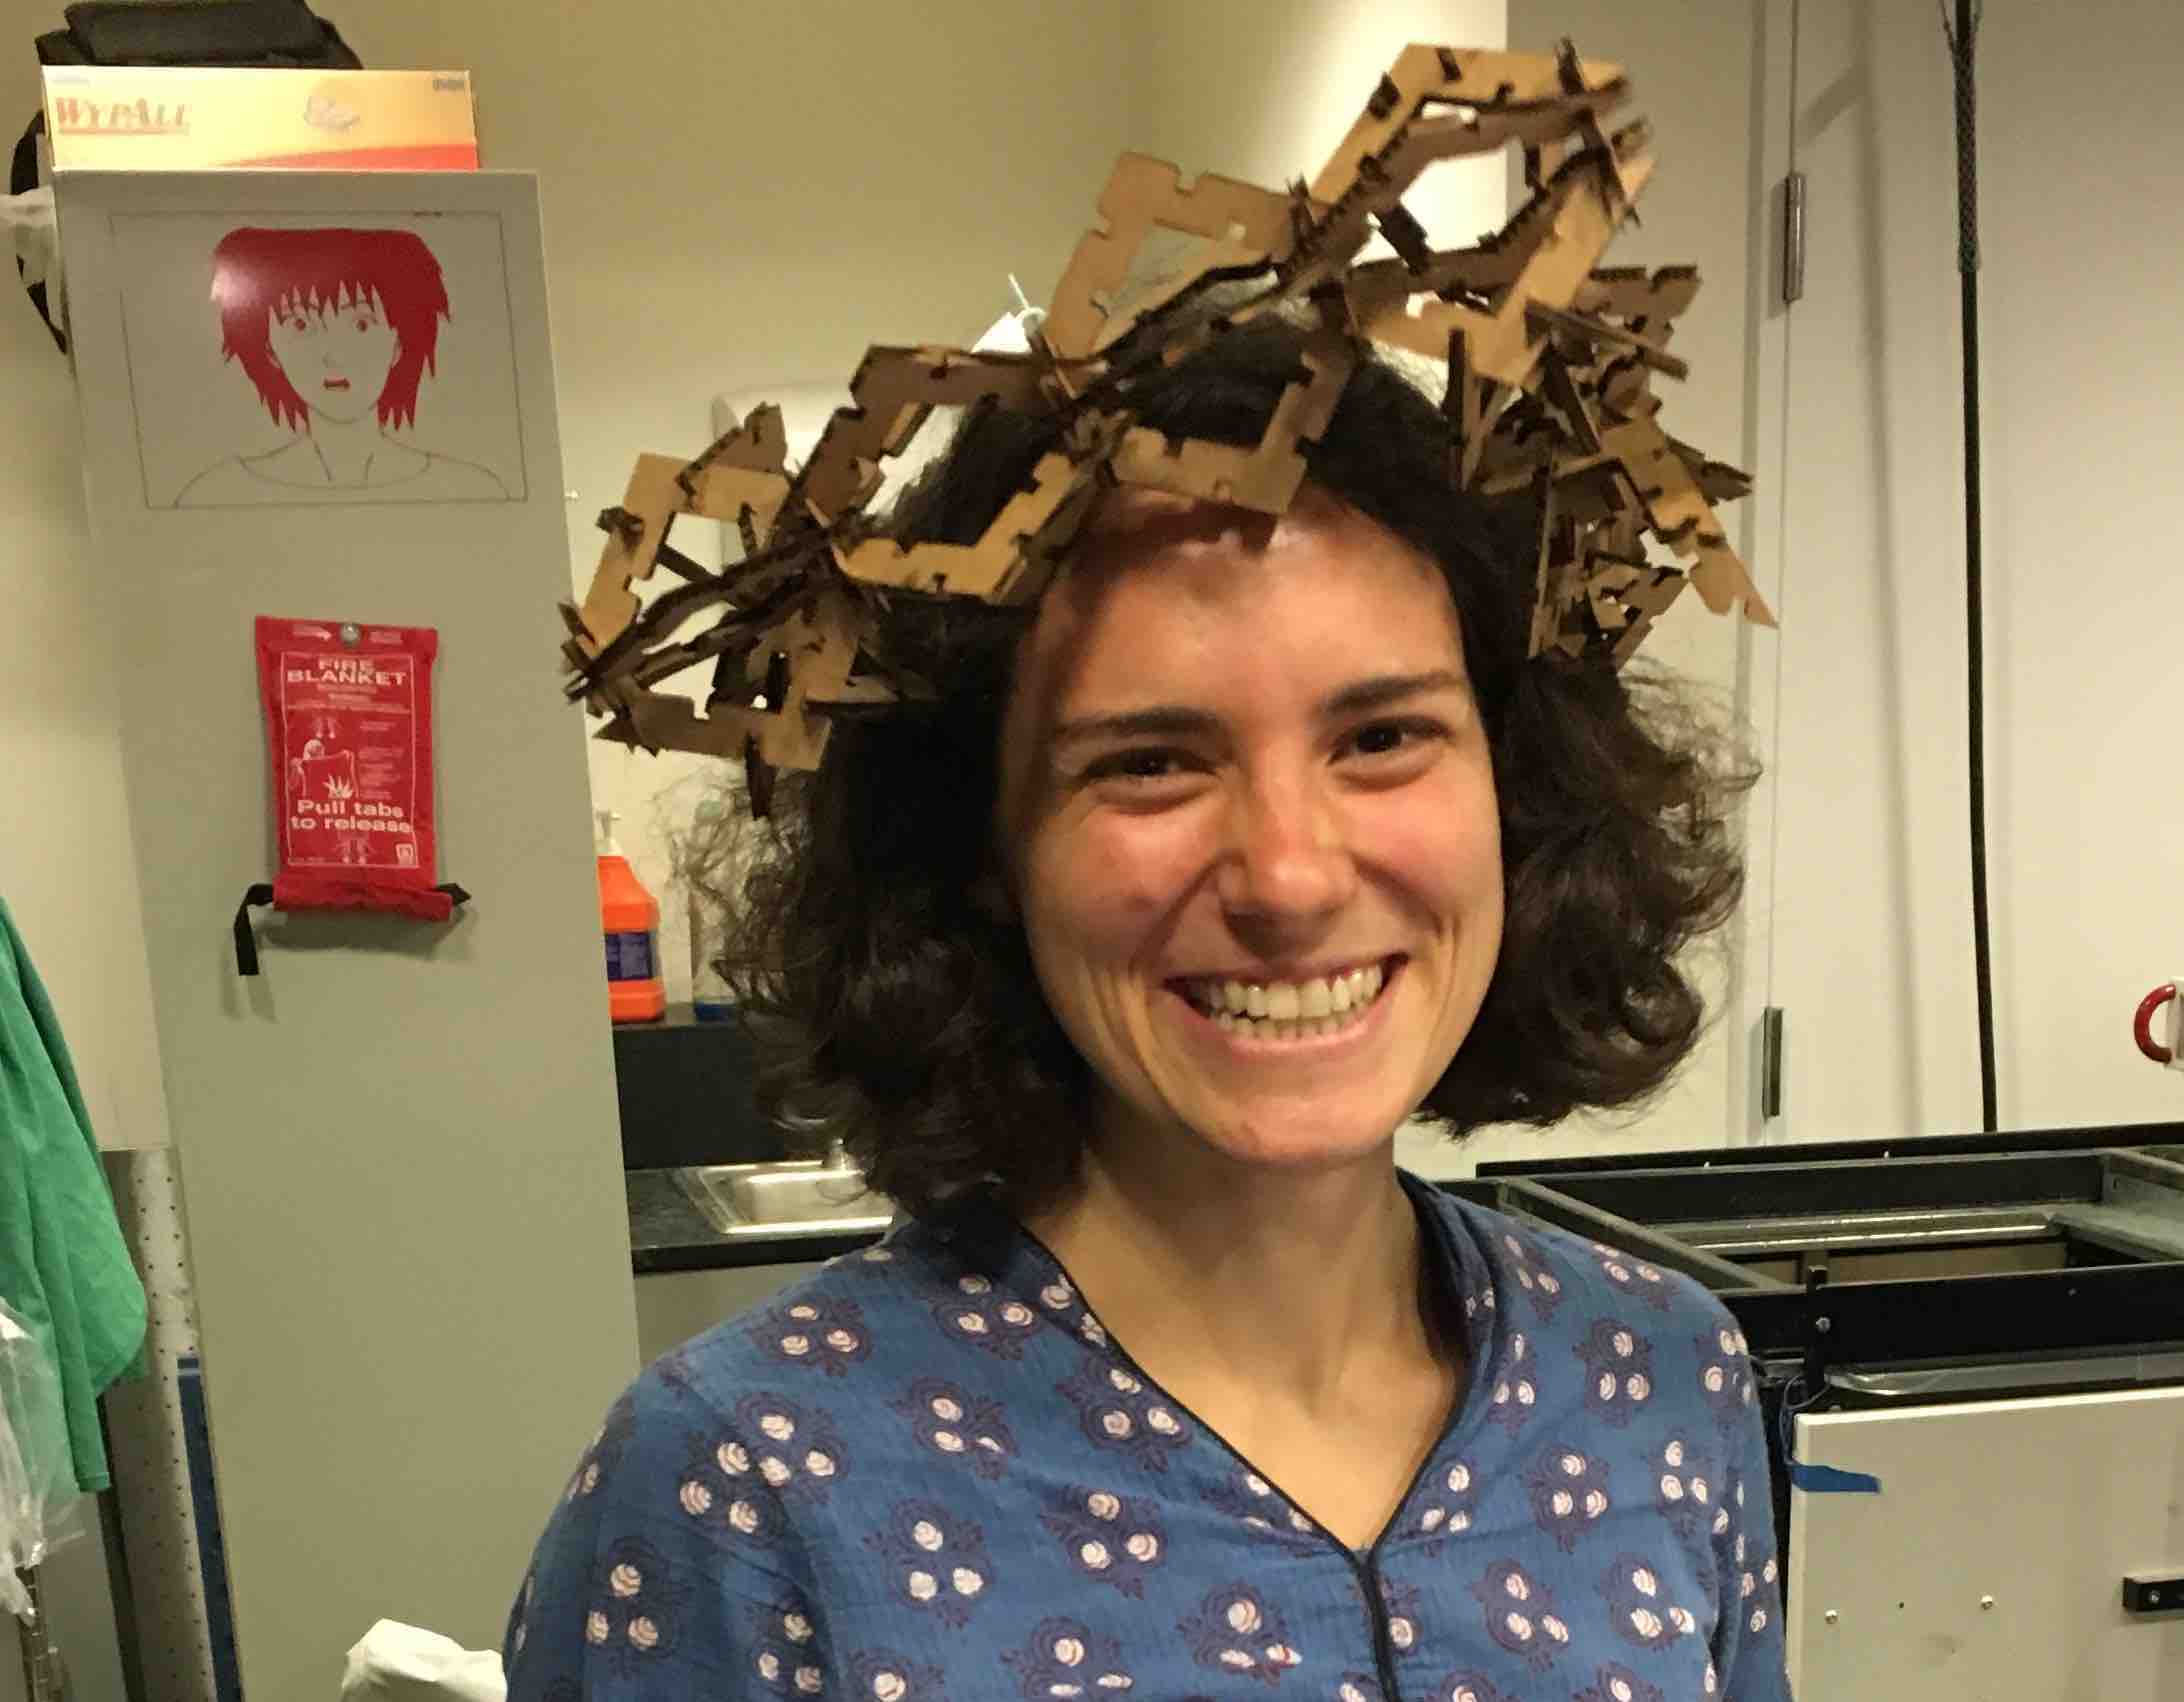
Which I spent another hour trying to turn into a proper silly hat ...but my triangular pieces didn't have much structural integrity when trying to hold the weight of too many pieces, and it all fell apart:
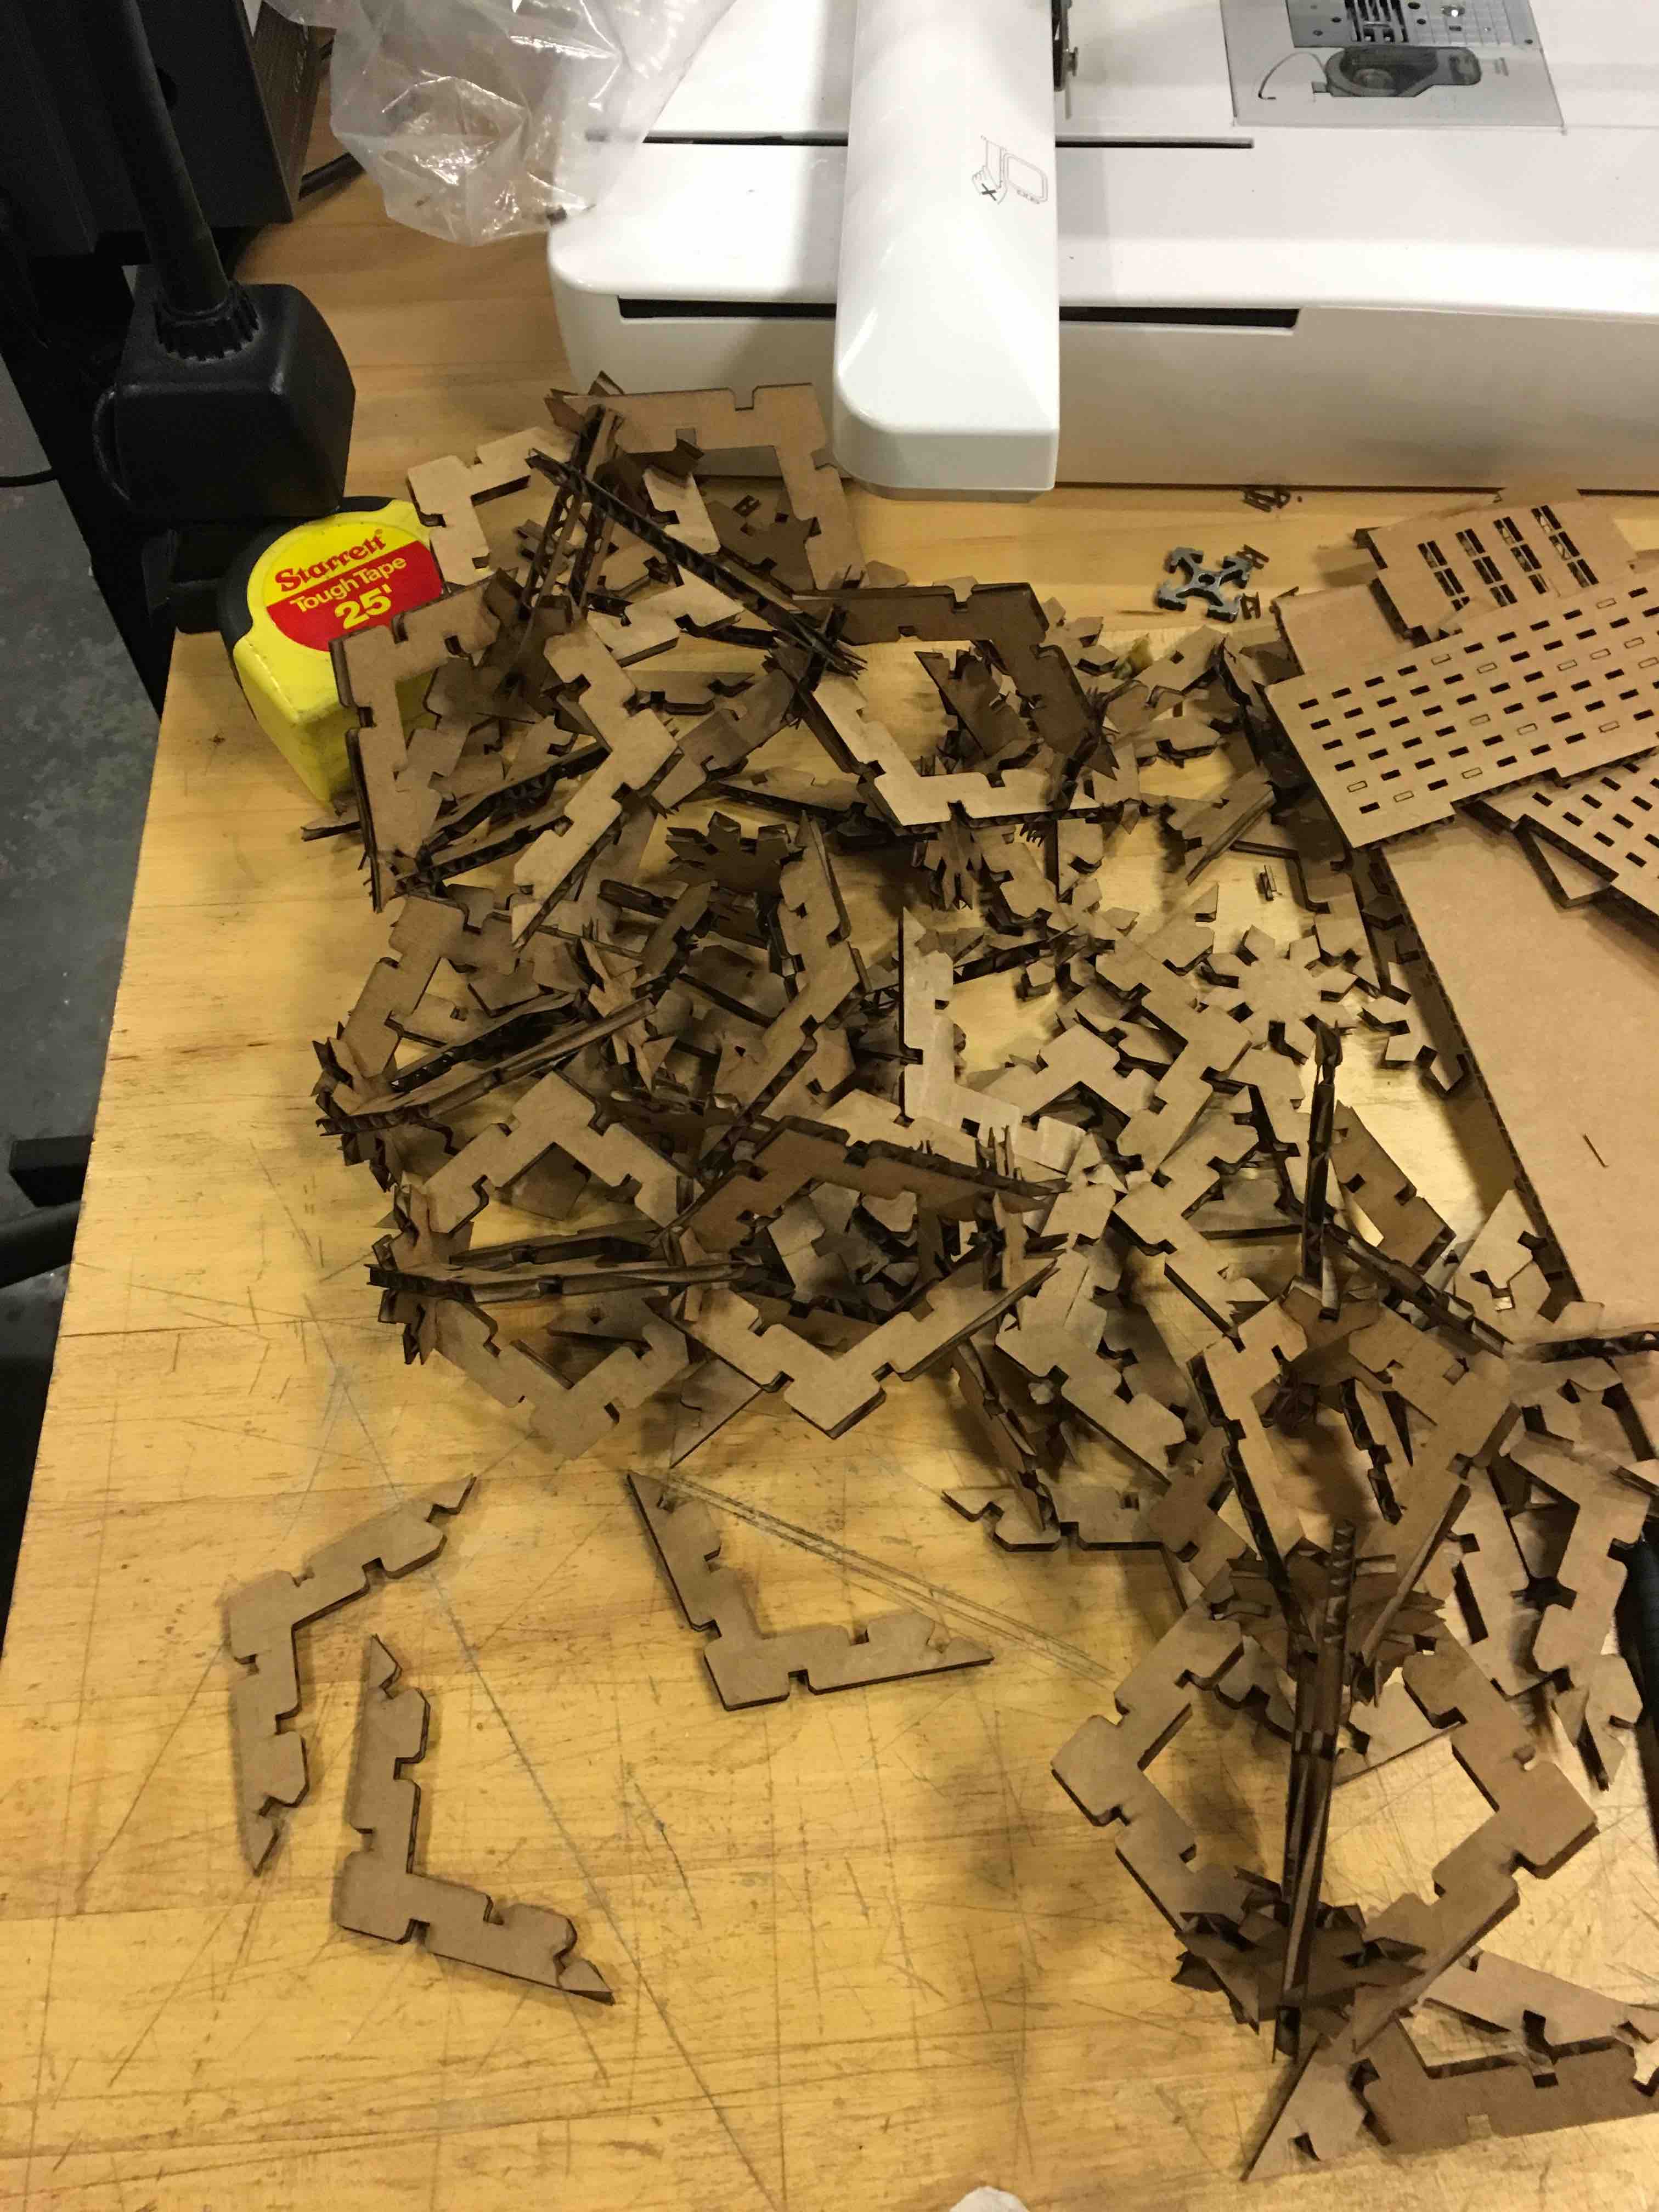
I eventually packed all my pieces up and resolved to try again, perhaps with a different arrangement...
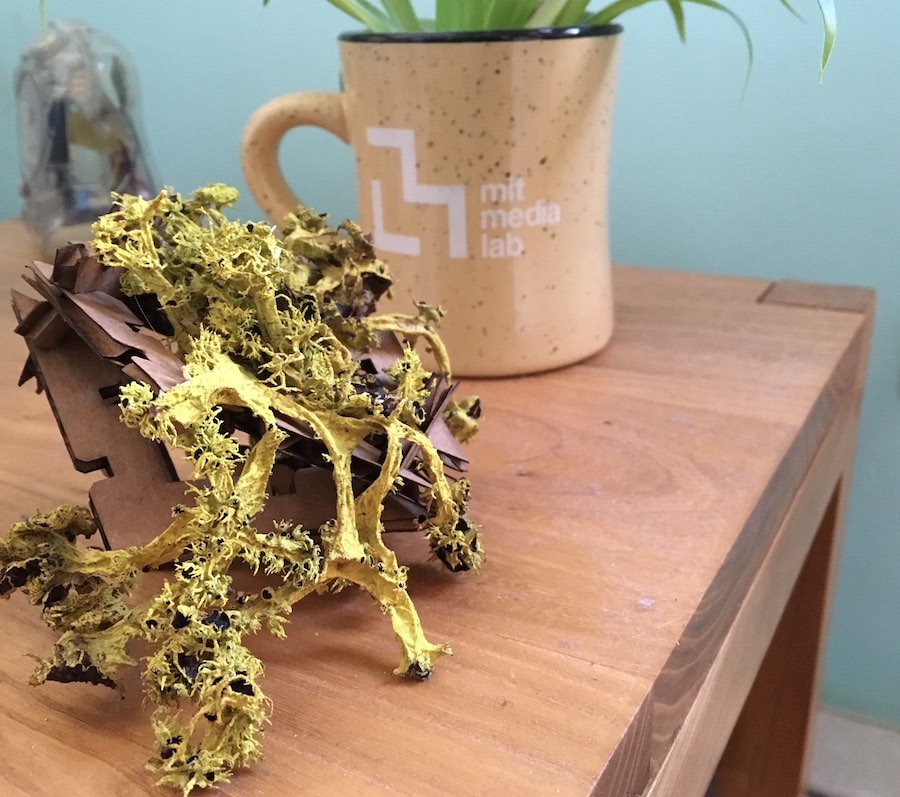
At least the single module is good for holding my house-lichen:
Vinyl Cutter
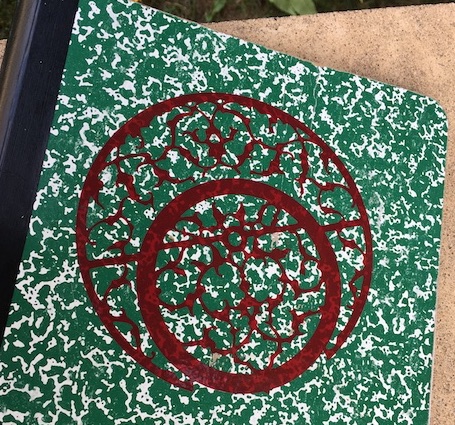
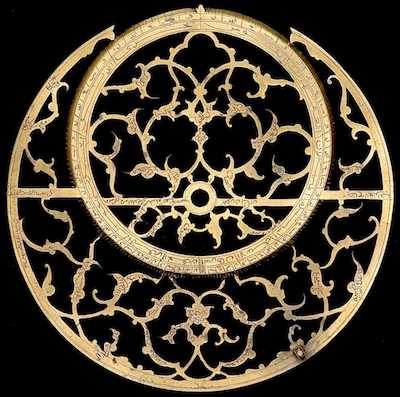
I also learned something on the vinyl cutter! I have an image of an astrolabe from the photo collection of Oxford's Museum of the History of Science.
I made a stroke around the shape to capture the outline, then manually went through and deleted all the little text:
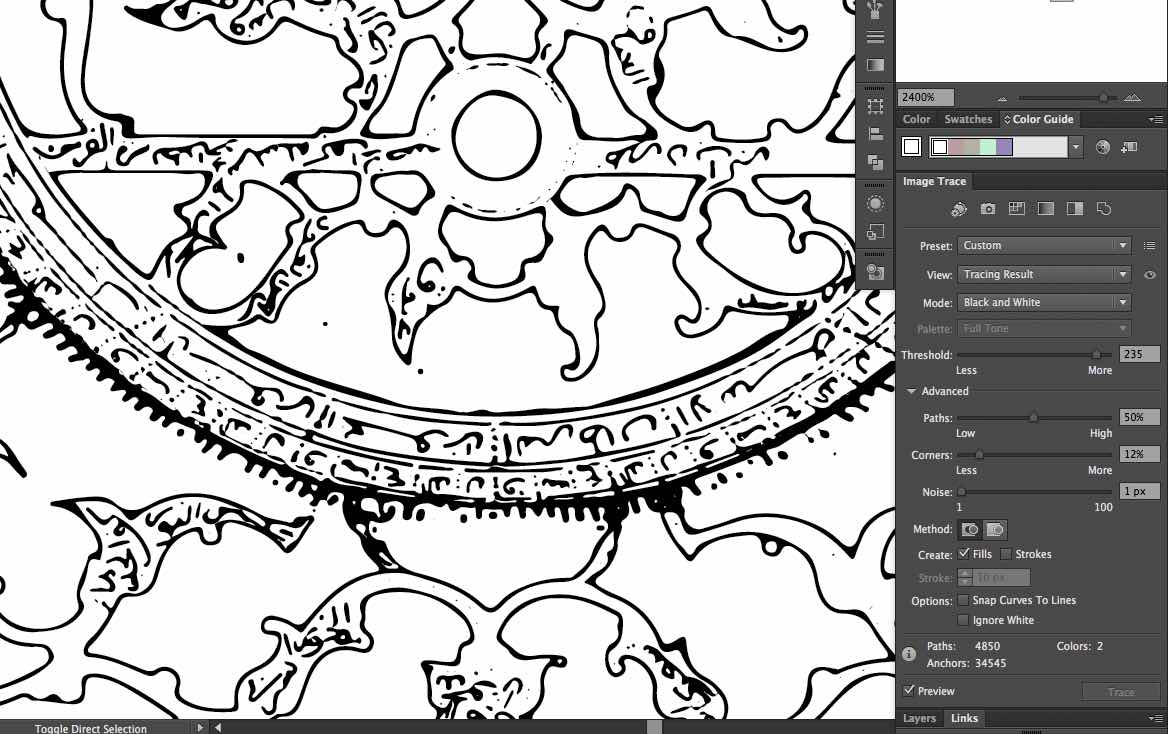
The problem is, something funky happened when I vectorized my image-- and it resulted in a bunch of connected line segments rather than curves:
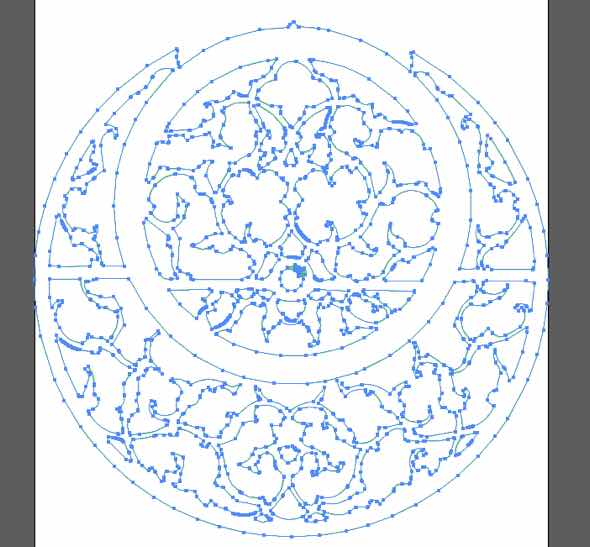
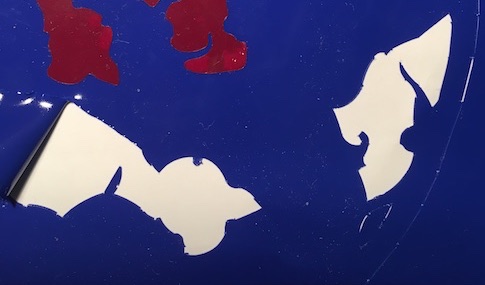
When I tried to print this out on the vinyl cutter, the knife kept lifting up and down and things got both slow and ugly. I stopped the vinyl cutter before it finished the run, and sure enough all the smooth edges (in blue) appeared jagged (especially compared to the smoothness of the final cut, in red):
Luckily, Oscar was there and could help me out! He suggested that I go back to the original pre-vector image and perform the following steps in Photoshop:
- Shrink the image size to roughly the size that I actually want to print (30cm)
- Lower the resolution from 999 pixels/inch to a more reasonable 300 pixels/inch
- Create a new layer, and fill in the interior of the design in black
- Delete the original outline layer
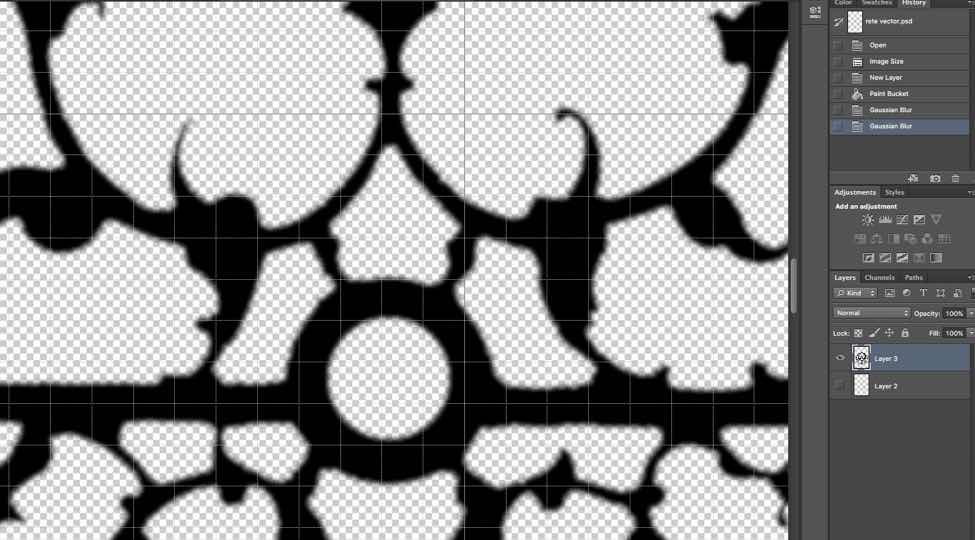
- Use a Gaussian blur to blur the outlines of the image.
- Export to Adobe Illustrator to vectorize (by performing an image trace and then transforming it into a vector).
Here's what the image looks like after a good blur:
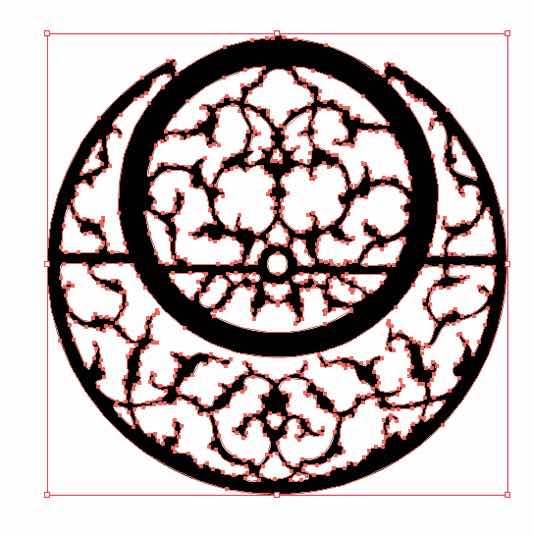
After exporting, it came out much smoother and with fewer nodes on top of each other:
When I finally re-printed, it turned out beautifully!