Week 3: Milling
This week I milled a circuit board! My FabTinyISP even worked perfectly the first time around (after I sorted out how to actually connect the cables.This surprised me, because of all the things that can apparently go wrong when milling a circuit board on the Modela. Here's a partial list:
- The underlay is damaged
- The sacrificial layer atop the underlay needs replacement
- The surfaces are dirty/dusty
- You screw the screws on too tight (past the point where the allen wrench twists slightly
- You don't notice that the tip of the endmill is damaged
- You let the endmill drop when you're replacing it and the tip breaks
- The Modela has some buffering issue
- You forget to write down the origin and then can't restart milling from the same place
- You change the settings on Fab Modules and don't notice
- You don't tape the board down smoothly so it doesn't lay flat
- You forget to wear safety glasses and shreds of metal fly into your eyes
Amazingly, after Kreg's exceedingly helpful training, I went step-by-step through Brian's instructions for milling the FabTinyISP and nothing went wrong at all. Our group didn't even break any end mills (while I was in the shop, at least). It was awesome.
I had class during my team's gather-to-test-the-Modela-settings party, but I caught up with everyone afterward and saw their test of the 1/64" endmill (image via Burha):
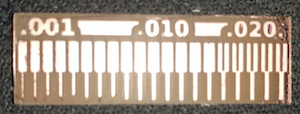
I think the main lesson here is that we've got a very fine mill when the Modela is working properly. The lines look gorgeous (and the bit on the right side is just from an old board). I was excited to get started, and went through my notes line-by-line with some help from Pinar to ensure that I was setting up the machine properly. I used all the default Mods settings.
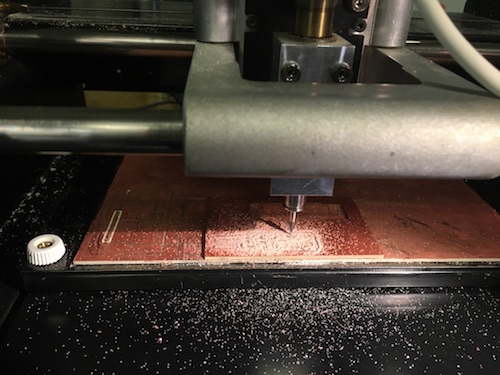
When milling, the Modela kicked up a little pile of dust-- an indication that everything was working well:
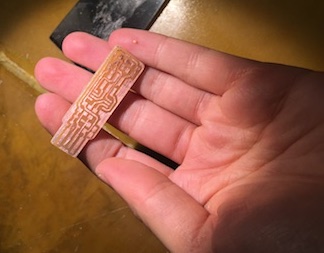
The traces milled out well, using the 1/64th bit:
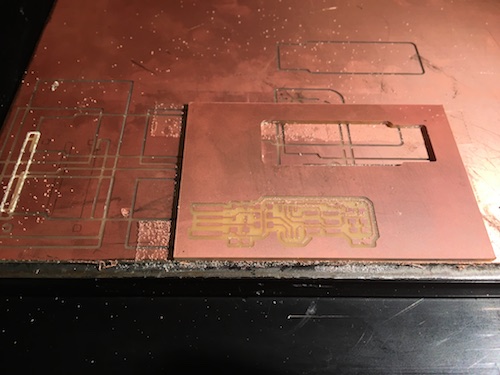
The outline milled out well, using the 1/32nd bit:
My soldering worked (reasonably) well, though I'm not that adept at soldering surface-mount components so many of my solder joints started out a bit fuzzy rather than smooth and shiny. Even after re-melting the initially clunky ones solder joints, they weren't as shiny as expected:
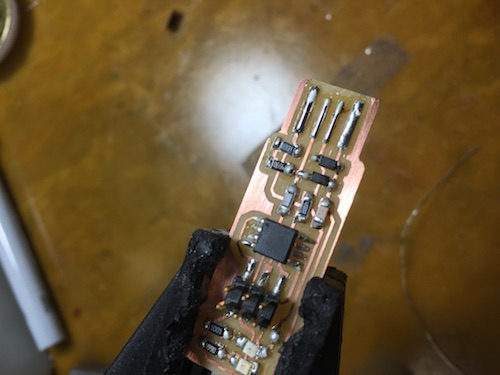
(Was the soldering iron too hot? Or too cold? I had it on the setting 75, and then tried turning it down to 70 but didn't notice much of a
difference. Note to self: ask the TAs!)
Luckily, the board worked fine when I first plugged it in:
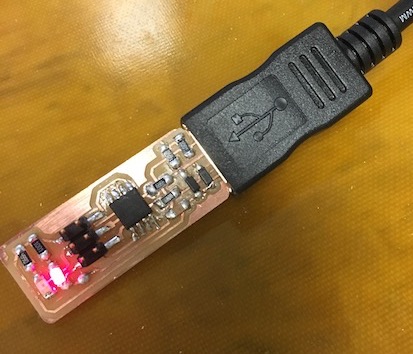
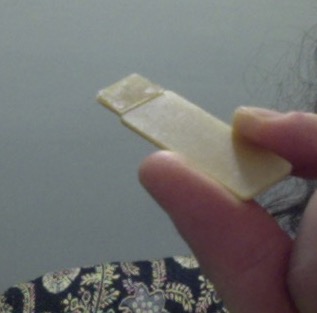
But the LED kept varying in brightness, indicating a loose connection. I followed Brian's advice, and build up a bit more solder on the USB leads as well as double-stick-taping a piece of plastic packaging to the back of the board:
When the LED was finally lighting up solidly, I tested everything thing out with a multimeter and all the connections seemed decent.
Then I tried to install the programming environment on my Mac. This proved more difficult than anticipated-- I couldn't run the Make command due to the error missing xcrun at: /Library/Developer/CommandLineTools/usr/bin/xcrun
After some quick Googling, Stack Overflow helped me out!
I just needed to reinstall the Xcode Command Line Tools with the command xcode-select-install.
My next challenge was figuring out how exactly to connect my FabTinyISP to the programmer to the computer.
I tried
Computer --> Programmer --> FabTiny
but avrdude flashed a bunch of exciting error messages (including informing me that things "failed miserably"). I messaged my group for help, and discovered that the FabTiny actually needs USB power while it's being programmed. So the correct arrangement is
USB power-->Fab Tiny-->Programmer-->Computer
This time, I was able to run the make flash and make fuses commands without any issues. To double-check, I unplugged the programmer from my FabTiny and looked to see if my Mac recognized the FabTiny as its own unique USB stick. And it did:
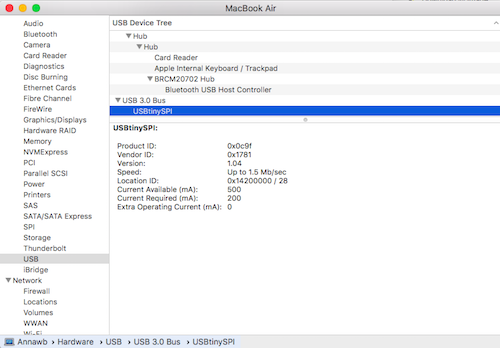
I don't get the details of how this happened (yet), but I totally created a functional circuitboard out of a blank sheet and some raw components! Super exciting.
Then I wanted to make a new FabTiny to program for myself, but Erin and I ran into Issue #7 (some kind of buffering problem), and the Modela stopped responding to our commands after Erin cancelled a bad job. We asked our amazing shoperone Tom for help, and he explained that we needed to clear out the buffer. We Googled around and tried a few combinations of button-pressing on the Modela, but the issue still wouldn't resolve itself-- so we posted an issue and our wonderful TA Amanda came to the rescue. For future reference, here are Amanda's instructions:
hit stop mods server on the desktop and close the browser with mods open
hit start mods server on the desktop and open mods again
try to move the machine with mods- don't mess with any of the buttons in the Web Socket Serial module
if this still doesn't work, try some of the commands under Mods Connection Debugging in the mods docs
I think the problem seems to be when you hit the "Open" button under Serial Device in the Web socket serial module. It puts mods in a state where it throws an error about a port being locked. If this happens, close the browser, stop mods server, start mods server, then open the browser again and don't mess with any of the buttons in the Web socket serial module. Run another file or try to move the machine and it should work fine.