Week 4: 3D Scanning and Printing
3D Scanning
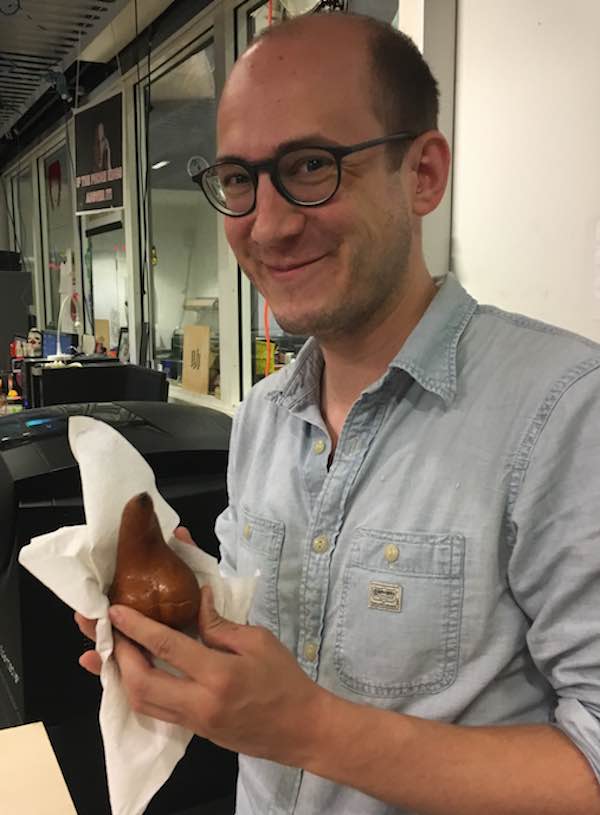
My friend Christoph found a very interestingly-shaped pear the other week, and it's become the mascot of their house. When it started getting mushy, he stuck it in the freezer until I could scan it. This week, the time finally came to immortalize his interesting pear.
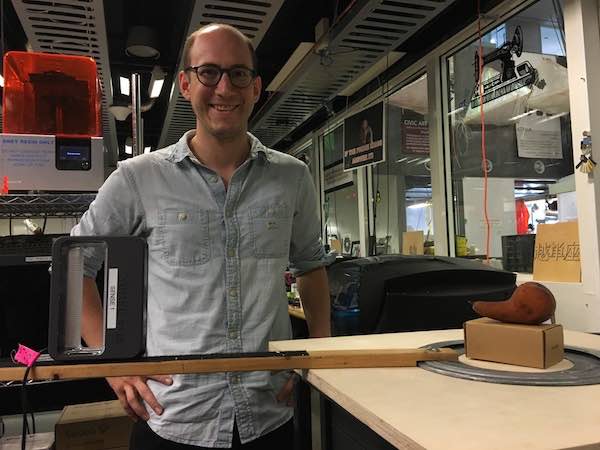
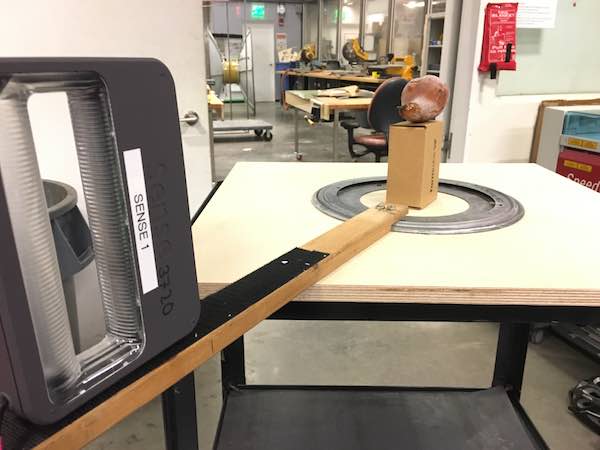
We used the Sense V1 3D Scanner and the circular rig that John and Tom set up:
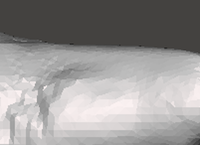
The first bit scanned properly, but then the scanner started losing track of the image:

Initially we thought that this was because the pear was defrosting and white ice crystals were growing around the outside, but then John came over and sorted us out. The problem was, we were too far away from the scanner-- so we moved the scanner to the ideal-spot pencil mark and then tried again.
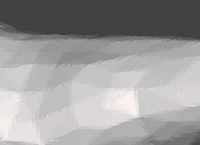
This time, the image scanned beautifully!

We erased the background and used the Sense program's touch-up tools to smooth out some of the rough parts. The resulting scan was an excellent color replica of our original pear, so I exported it as a .OBJ and shared it to SketchFab: By the time we finished the scan, the frozen pear was melting and falling apart. So we ate it. It was tasty.
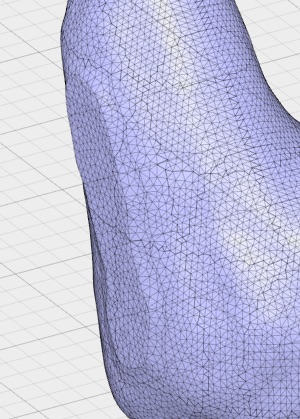
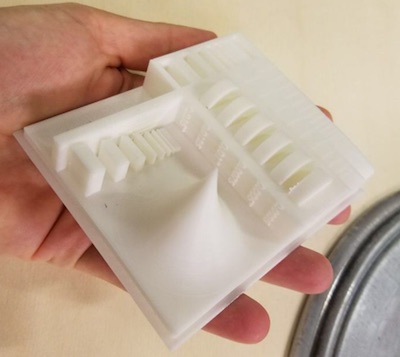
Then we wanted to 3D print it, but I had to touch up the flatness on the bottom-- so it's rounded like a proper pear rather than sitting on a tiny pedestal. I first tried to do this in Rhino, but got confused and realized that the software was way more powerful than I needed. Then, I turned to Fusion 360 and used the mesh tools Smooth and Erase and Fill to round out the mesh:
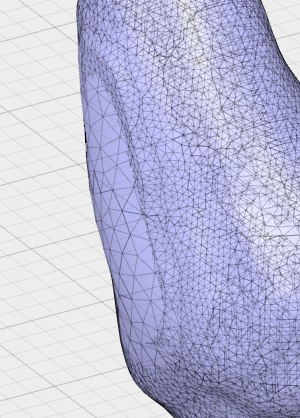
Finally I brought it into Meshmixer, to (1) reduce the mesh, (2) simplify the number of vertices for 3D printing, and then (3) use the surface smoothing brush to adjust the jagged edges:
 (2)
(2)  (3)
(3)
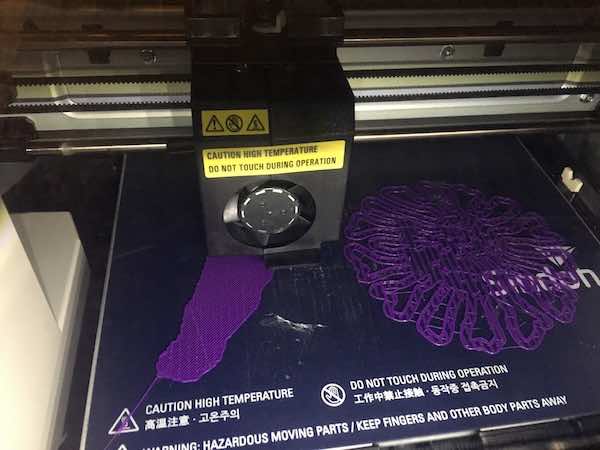
Once the pear was smooth and curvaceous, it was time to send the job to the Wox Sindoh 3D printer, using PLA! I decided to share a print-plate with Agnes, so we prepped everything using the Wox software (adding baseplate supports and choosing a medium print quality), and then exported our double-print file to Gcode. We loaded up the USB, noting that it would take over a day to print:
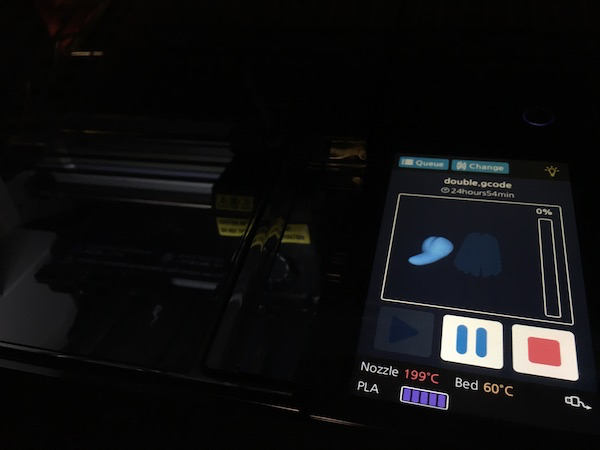
We hastily double-checked whether Wox automatically creates a lattice infill for its prints, so it won't all be solid inside... which the software does, so we started the job and the printer began laying down plastic for the baseplate supports in a tasteful purple filament:
12 hours later, about halfway through the print:
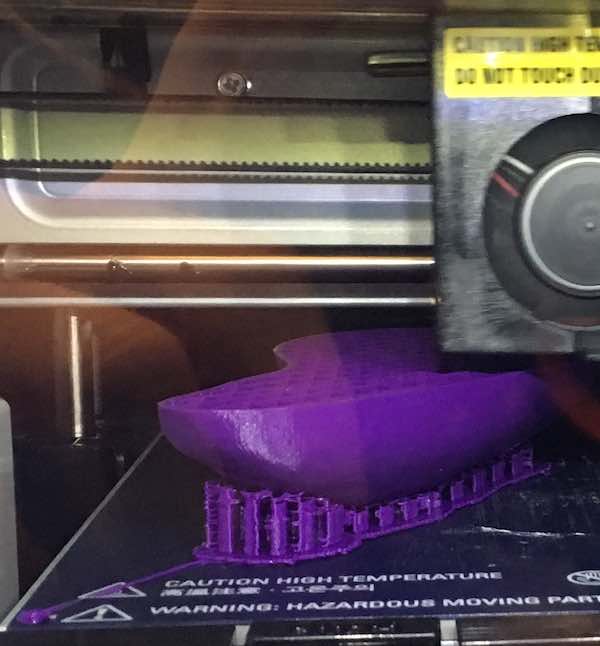
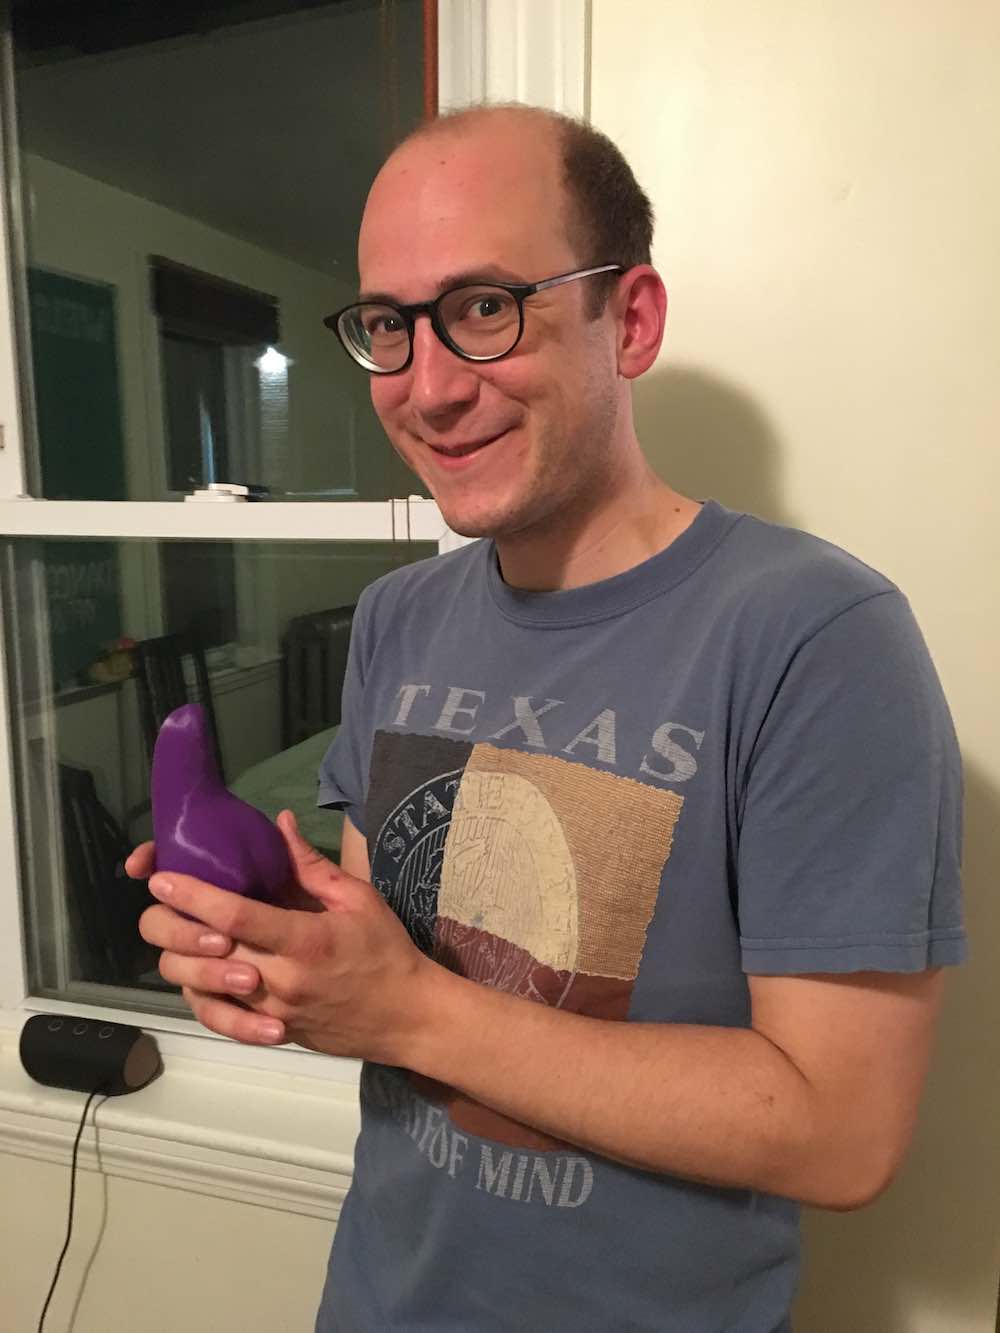
And then finally:
3D Printing: Test Print
Our group downloaded Amanda's printer stress test to test out the resolution of the Wox Sindoh printer along several axes. It took a full 14 hours to print on the highest quality, but the final result was astoundingly good quality:
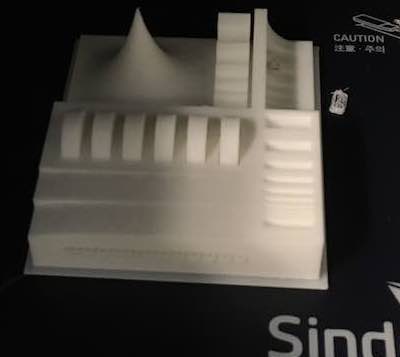
(Right image via Pindar)
3D Printing: Designing from Scratch
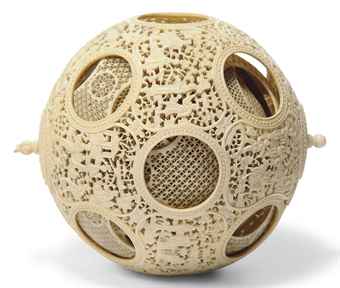
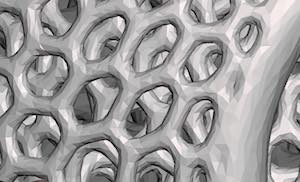
My friend and I came up a bunch of exciting things that can only be manufactured through 3D printing, such as a conical seashell with a little ball inside, or NASA's 3D printed chainmail pattern. The only limitation was our complete lack of familiarity with CAD modeling, so eventually we settled on something that seemed easy enough to model: nested sphere earrings. We wanted something similar to this intricate Chinese puzzle ball:
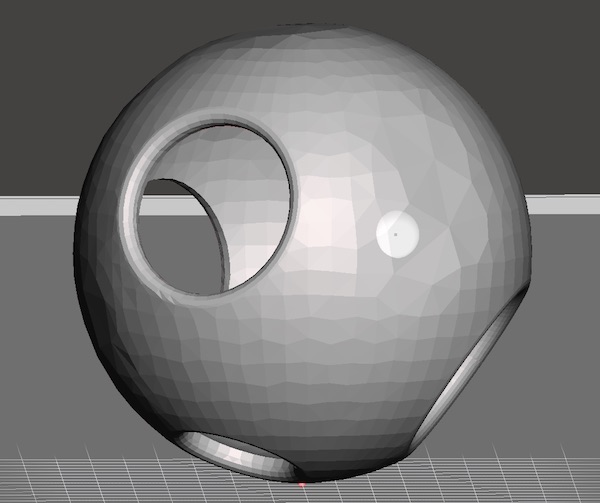
I made a sphere with some holes on Fusion 360, and chamfered the holes:
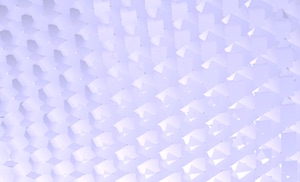
Then I duplicated this sphere twice and nested the two inside the original. I played around with adding patterns to the surface, and discovered that Meshmixer has a really easy-to-use way of adding intricate lace patterns to any surface: the "dual edges" tool:
This video explains how to use Meshmixer to create Voronoi patterns, which are patterns made by separating out a plane into different regions based on certain distances between points. The video helpfully shows how to make more natural-looking, uneven Voronoi patterns by reducing the mesh density at some points and keeping it as the default width in others.
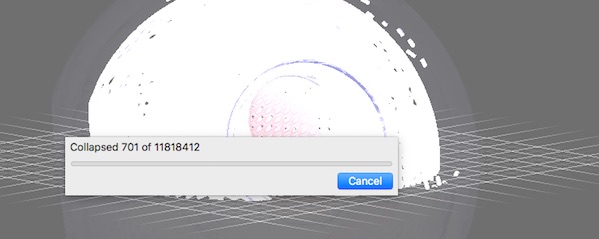
Meshmixer is very easy and intuitive to use, and almost felt like cheating after trying my hand with Rhino and Blender... but I'll come back to those again someday. Even though Meshmixer makes the process pretty simple, you still have to follow the right order of operations. I initially tried reducing the mesh first and then using the Make Solid functionality (as recommended on a Youtube video). Things seemed to work, but then I wound up with the spinning-ball of doom as Meshmixer failed to compile the billions of vertices in my patterned model:
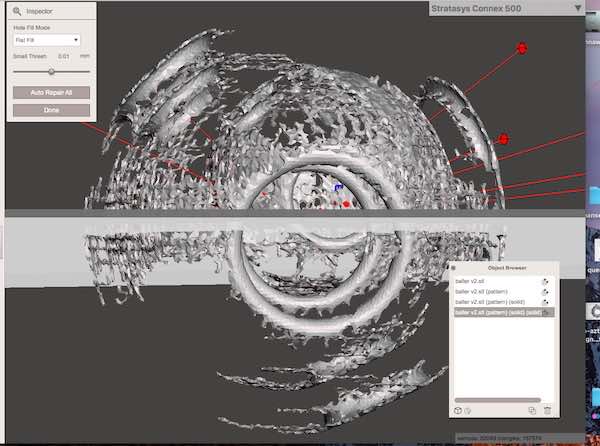
Once it finally worked, my spheres looked more like the ravaged Death Star than the intended puzzle ball-- and the Inspector tool revealed all sorts of errors in the mesh structure:
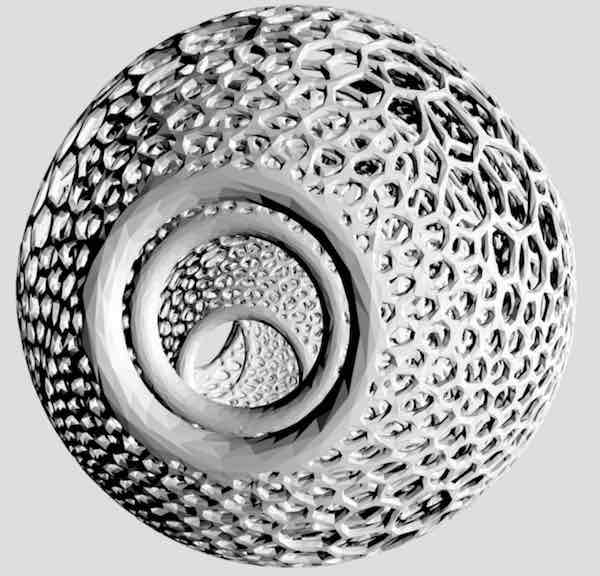
What happened? I think I did the right steps in the wrong order-- I should've started by first reducing the mesh (so my CPU can handle it), and then making it into a solid. I then decided to start over with just one sphere, and later-- after I patterned the first one-- duplicate that for the inner spheres. This worked out much better with a single sphere, and Meshmixer only found two errors when I ran the Inspector function. Finally error-free, I exported this to an .stl... and it was hundreds of megabytes. I reduced the mesh twice again, reducing the resulting file size to 25% of the original (though it was still 121MB) and emailing it off to Tom for printing:
Tom printed two of them in different sizes (my original size was the small one) on the Stratasys Objet Eden260VS, and I was excited to check it out and dissolve the support materials:
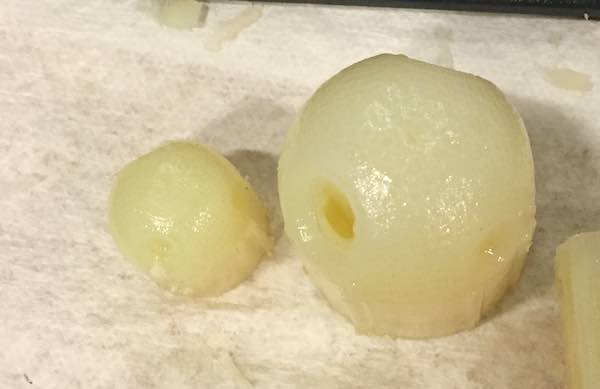
Problem is, I thought that the support materials would be chemically dissolved through a passive process that didn't require going through and poking out all the hundreds of Voronoi holes-- but the CBA shop usually uses a water-blaster and manual force to dissolve the supports from Objet prints! I tried water-blasting, and ended up breaking through the fragile mesh:
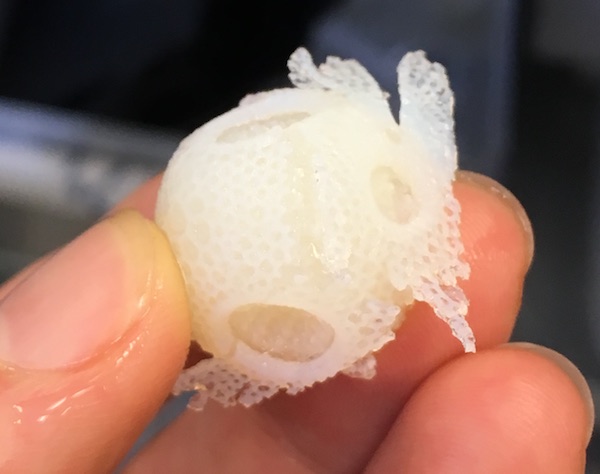
The small sphere broke apart as soon as I tried to separate out the base:
Tom suggested that I find a warm water-bath agitator. So I left it sitting in warm water for a while, shaking it occasionally, and some of the outside supports dissolved:
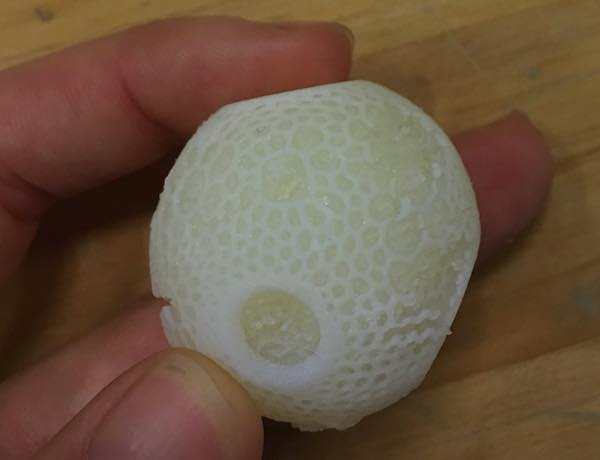
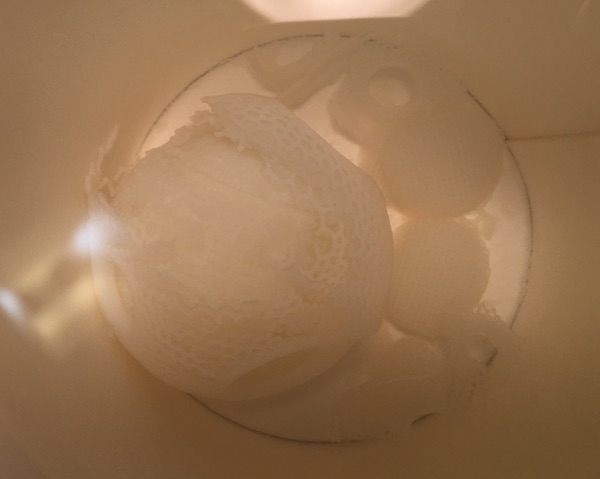
Still, there's so much more support material inside-- and two more nested balls that are completely submerged in supports! The printer has amazing resolution... if only I could get the spheres out of their supporting material. My classmate Casey suggested that I use the warm water agitator at the EECS shop, which works well for fragile things. But we weren't sure if the chemistry for the EECS printer was the same, so I decided to only test it out with the small ball. Here it is before:
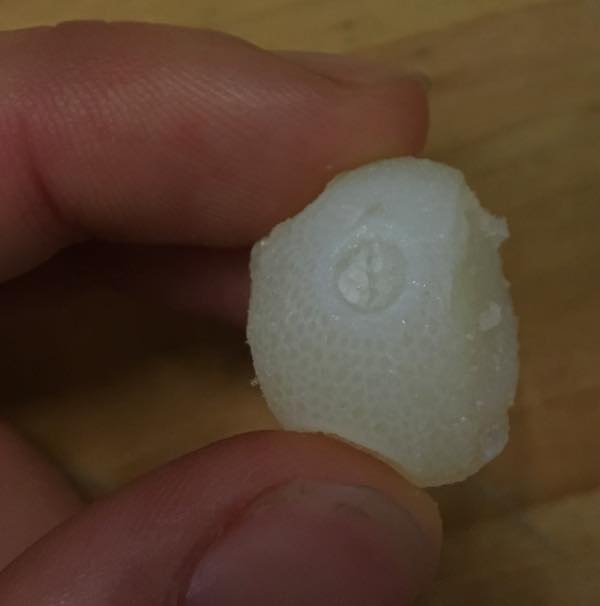
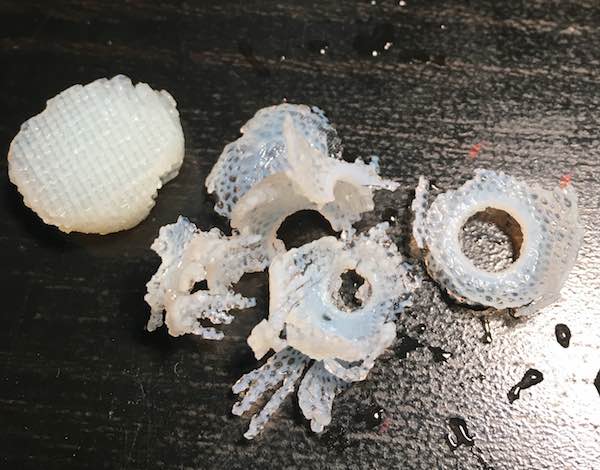
It kind of worked-- that is, it definitely helped dissolve the support, but the actual print was so delicate that it just disintegrated as I took the print out of the water bath. Interestingly, looking at the cross-section, the inside balls had barely printed at all since the detail was probably too fine:
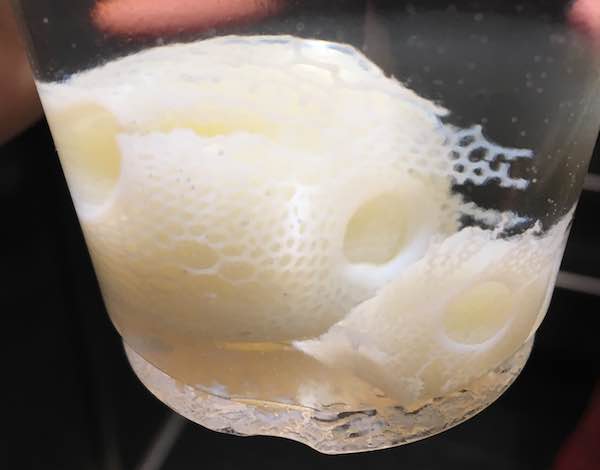
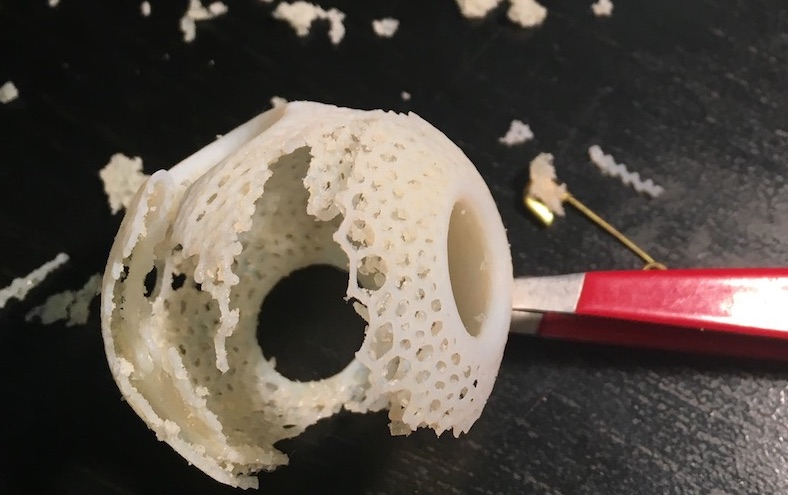
A special thank you to Tom, who totally foresaw this and enlarged my print for the second iteration! At least I still had the large one. I continued to agitate it in a coffeecup filled with warm water, and I carried it around to my classes. By the time I got home, after around 10 hours of sitting in lukewarm water with occasional agitation (as I walked), the outside ball had mostly dissolved-- leaving scraps of 3D-printed lace in its wake (shown here with some scraps of the smaller ball):
What could I have done differently? Obviously the details in my design were way too precise for the original small print, and the nested ball thing didn't work with so much hard-to-excise support materials. On further consideration (and after some consultation with Tom), we realized that none of the printers in the CBA shop would work all that well for this design: the extrusion printers can't achieve such fine detail, and the FormLabs printer would require too many supports that would have to be mechanically removed. Perhaps a different type of material would have resulted in a functional puzzle ball, if I could chemically dissolve the support after printing.
On the design side, the way in which I patterned the spheres ended up turning both the outside and inside surfaces of each sphere into a Voronoi lattice, so there was very little structural material remaining throughout the entire print. To fix this entire thing, I could make each sphere into a solid entity with a single pattern running through both sides of each shell, which could at least double the thickness of the shells. (I actually tried to do this the first time I imported into Meshmixer, but couldn't figure it out and then decided I liked the 6 layers of lattice.) I should make the whole print larger, too.
If I had enough patience and time, I suppose I could take a hint from the master craftspeople who made the original puzzle balls out of jade and ivory, and meticulously clear out every spherical layer with a drill or chisel.
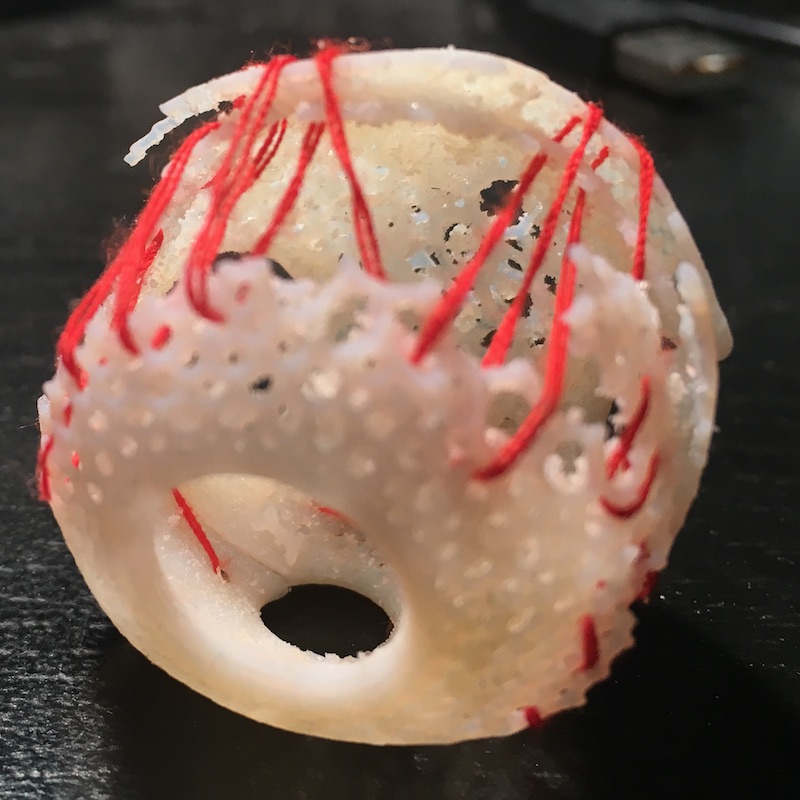
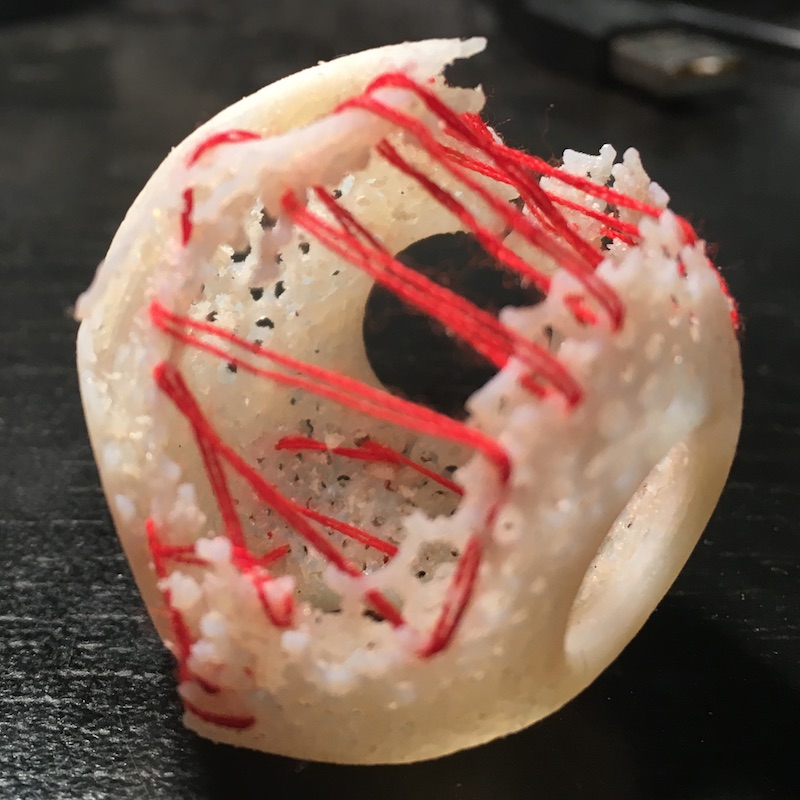
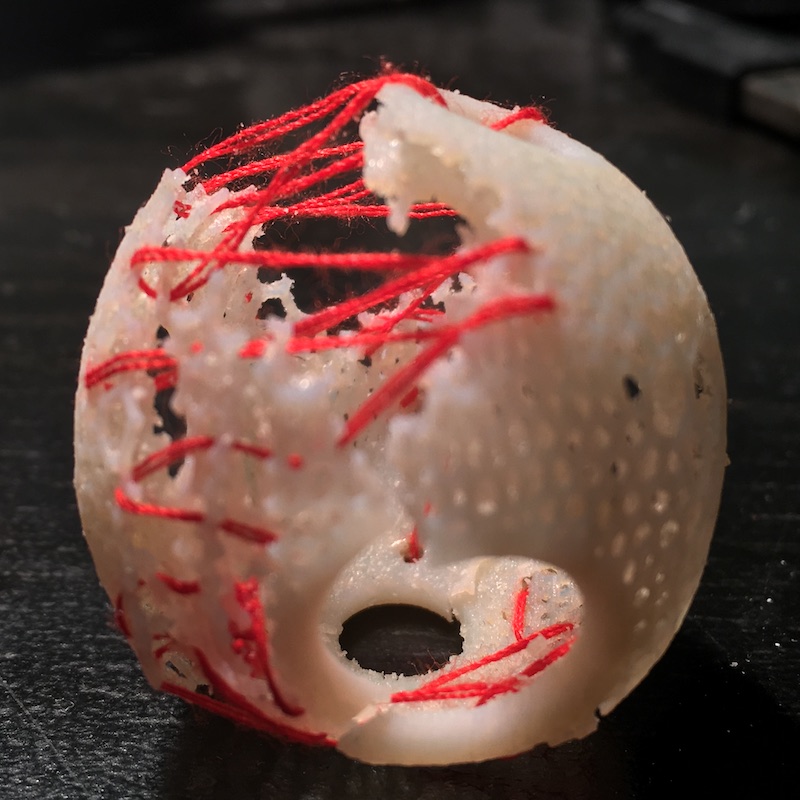
Meanwhile, I'm going to call this a Highly Educational Experience. Perhaps I can say the destroyed Death Star look is artistic or something:

Update: several weeks later
The inner parts of the 3D print dried up, so I removed them with tweezers.
Since the lace outside of the ball had ripped, I decided to fix it the same way that I fix most ripped things: with a needle and thread. Now it looks even more like some kind of Art...
Back to homepage