Week 6: Computer Controlled Machining
Designing Something Big
This week we had to build something big. After some deliberation, my housemates Ned and Pweaver decided that we should make a little lending library box outside our house.

Ned (pictured here impersonating a velociraptor) had a clever idea of fitting the library inside the fence, which seemed cool but ended up being too complicated for my lack of CAD skills. Instead we decided to fit the box on top of the fence posts, so we went out to measure the fence and test the library placement with a sheet of cardboard.
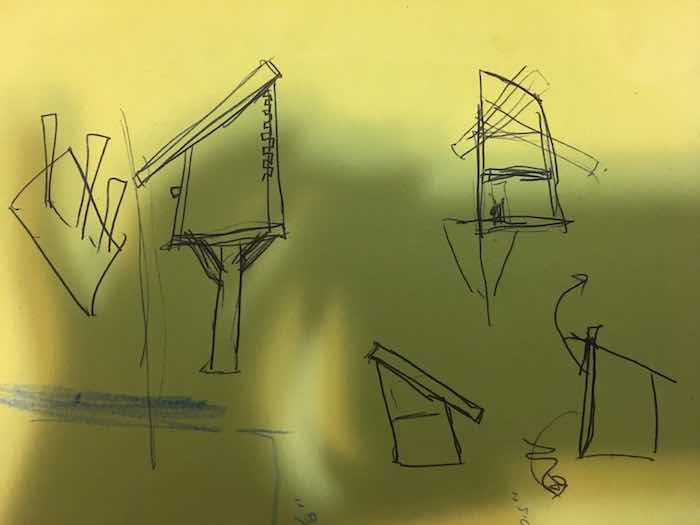
I first made some paper sketches to think about how large the library should be, how it should fit on the fence, and which way the roof should face. (This last one ended up being obvious once we decided the door should open downwards!)

I moved to Fusion 360 to do the actual modelling, starting with the fence and a couple of books.
Pweaver helped me thinking about the right order of operations for CADding the library, which went like this:
I eventually built up the library box to fit the books. My first CAD iteration turned into a hopeless mess when I forgot to create separate bodies, and then set the wrong reference points, and then couldn't get things to line up... but luckily Pweaver was home and straightened me out.
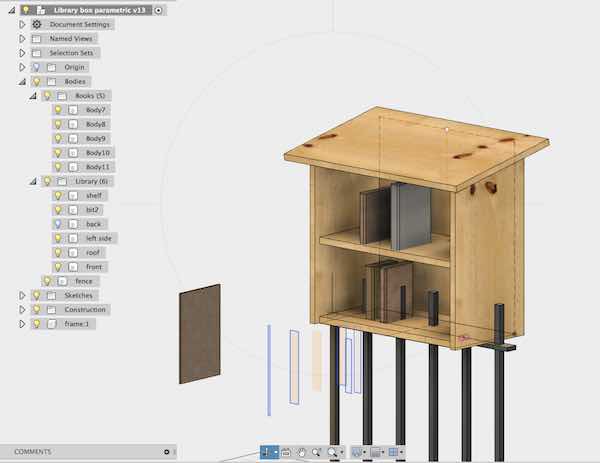
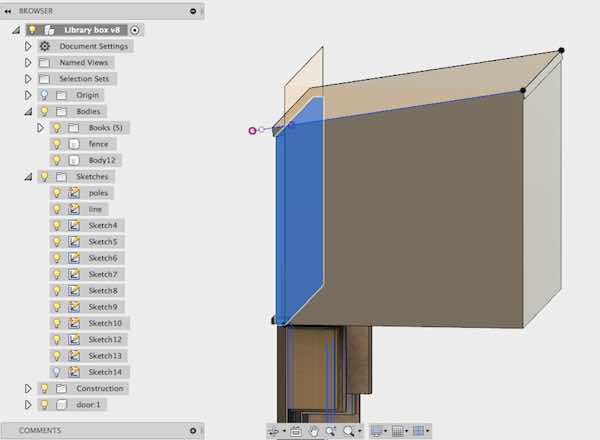
Then I started over with new, labelled bodies for each side– and referenced all the tricky slanted angles off of solidly stationary parts of the box, which worked much better. I had some fun with the surface materials.
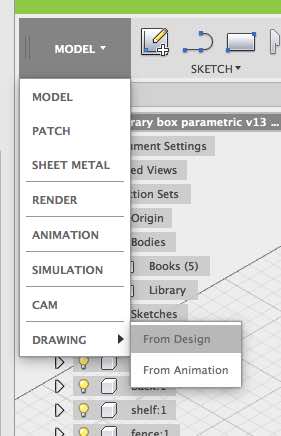
After some tinkering, I figured out how to export each side of the box to a scaled drawing. Since the sides lay in different planes, I had to export each side one at a time to the same drawing, and then choose the right planar view so everything could be laid out flat for cutting on one sheet. (There may have been a better way to do this, but this didn't take long.)

The roof was tricky, because it has an angle of about 20˚ so I couldn't choose one of the default planes (top, bottom, left, or right). I eventually just rotated the roof flat in the CAD model, and then exported it to the drawing.

I laid out the drawing in Fusion and added some dimensions, then exported it as a DWG.
Building Something Big
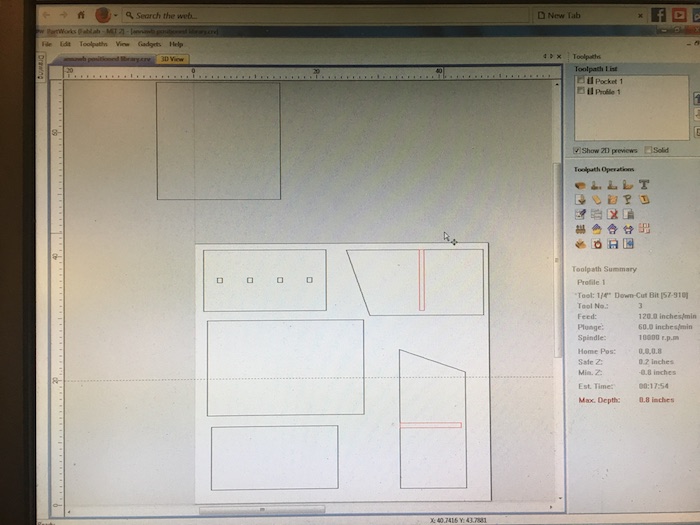
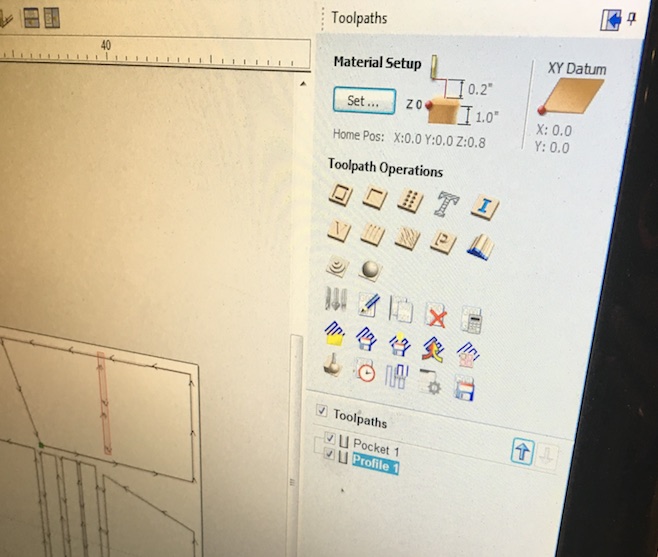
After an exciting run to Home Depot with Pinar and Burhan– in which our rental car was too small and we had to re-cut all the wood– we all made it back to the shop with some sturdy sheets of 3/4" pine plywood. Since I needed to do two runs on my sawed-in-half plywood, I used the Shopbot's Partworks software to prepare two sheets for cutting. Somehow the dimensions didn't export well from Fusion, so I had to manually resize every individual part appropriately. Luckily the resize tool allowed me to type in my preferred width dimension (even for the slanted pieces), and it all worked out.
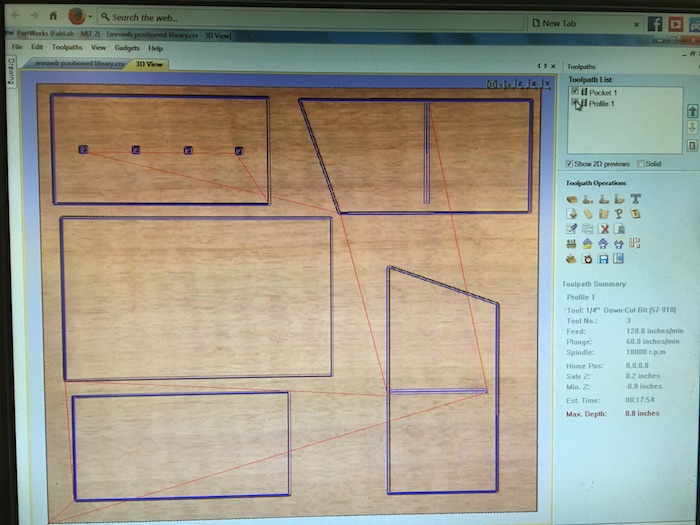
I checked the cutting toolpath before exporting.
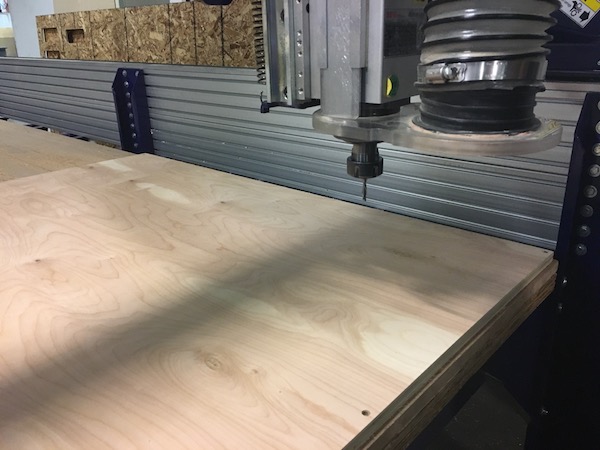
After screwing down the board, it was still a little bowed in the middle. I decided to run with it anyway...
On my first run, I forgot to ensure that the Shopbot would carve the pockets for the shelf before cutting out the rest of the pieces! So I had to stop the run and sort that out, with some help from Tom. We also adjusted the cutting depth from .8" up to .75", since the mill was cutting through some of the pieces before it was actually done milling them out-- which could result in the safety hazard of flying parts.
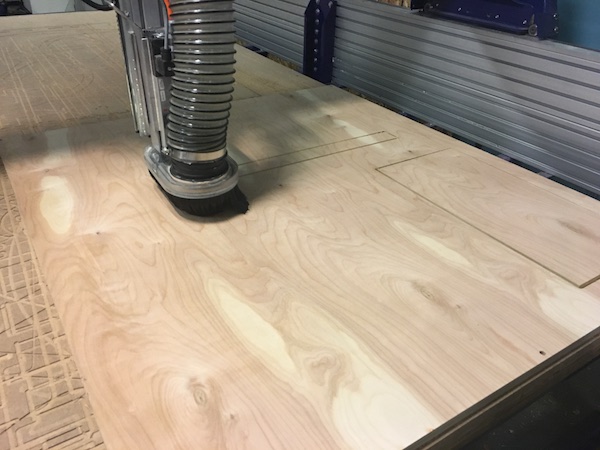
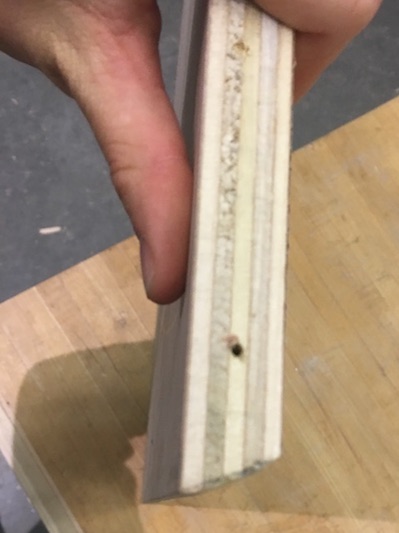
Everything milled out smoothly, except for a couple sides where the Shopbot didn't quite cut all the way through. These were easy enough to fix with the sanding belt, though-- I just sanded off the excess wood.
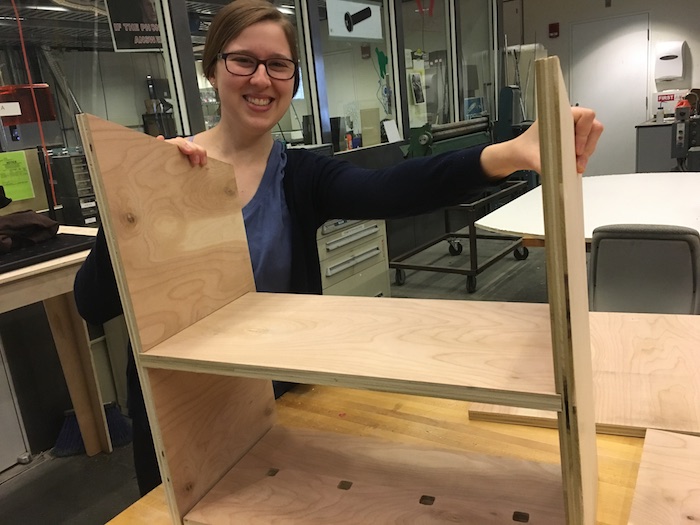
Once I got everything milled and sanded, I recruited my friend Conleigh to help hold everything together and check the tolerances. The corners all lined up, and the shelf fit!
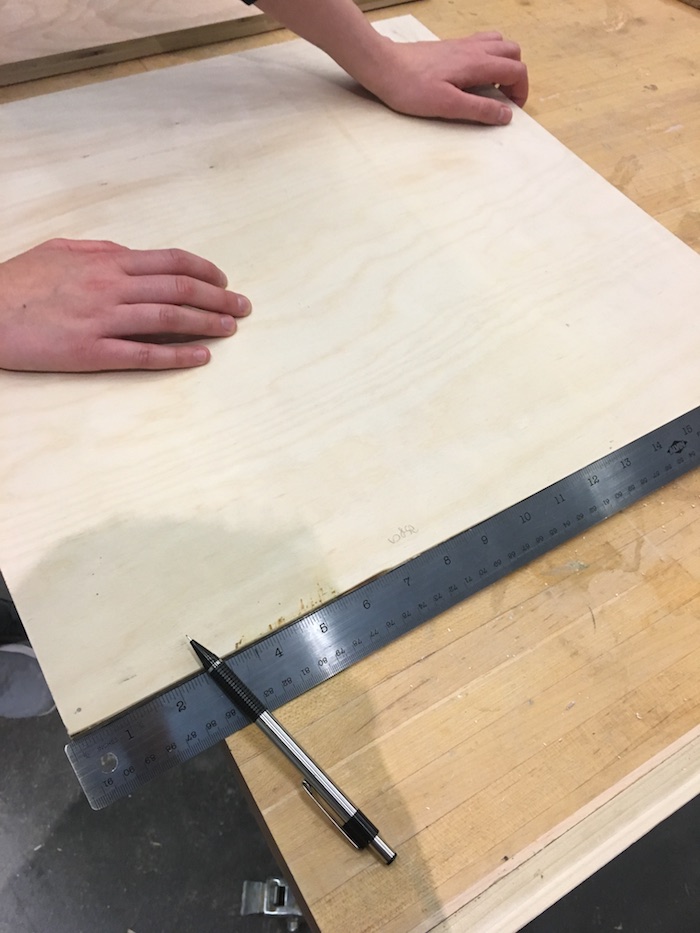
Next I got out a ruler and pencil and marked where to drill holes for the screws.
I then used the belt sander to shave an angled corner on the back, so it would be flush with the roof.
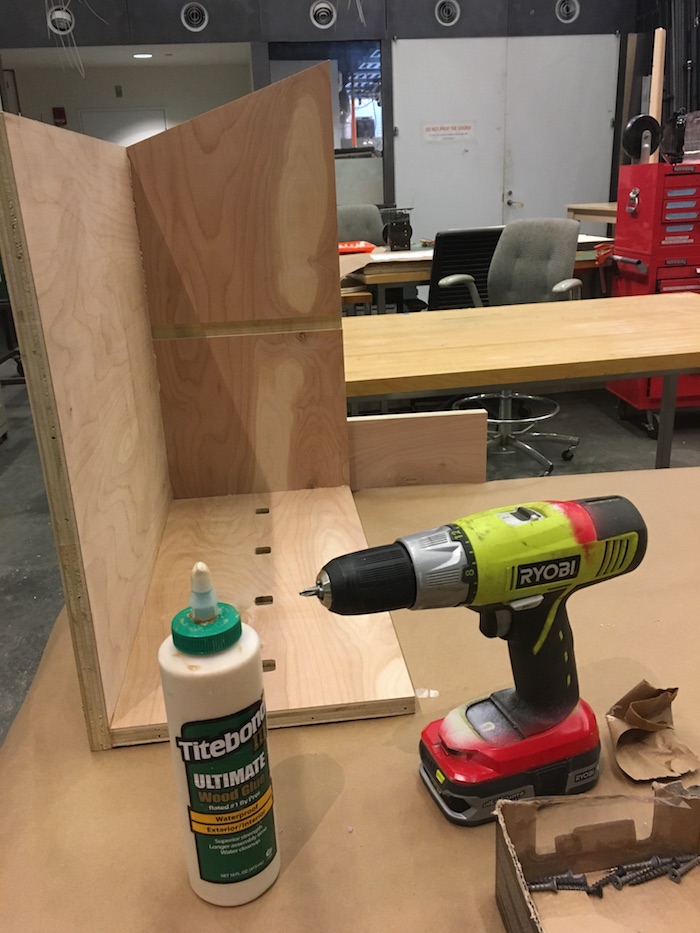
Next it was time to start assembling things. I laid down wood glue along the edges of each board, and then put screws into the holes I'd drilled earlier.
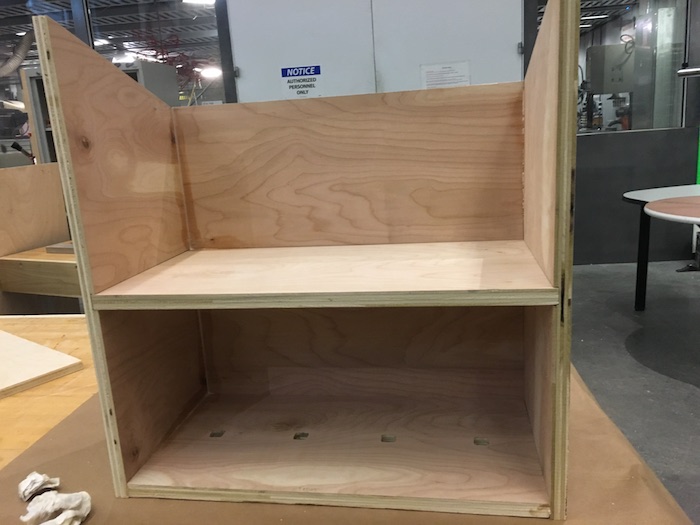
I inserted the shelf, which luckily still fit (though it was a bit tight).
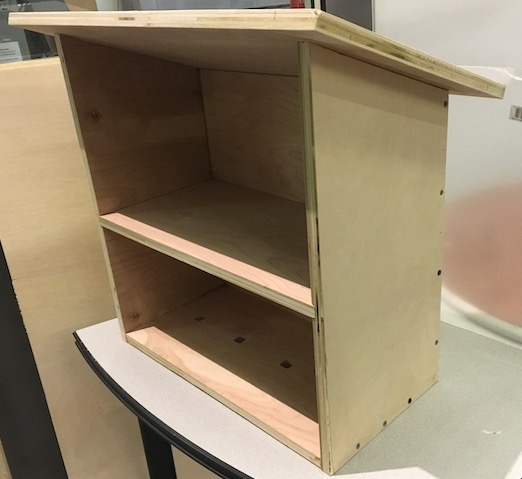
Finally, I finished the box by adding the roof. It turned out just like my CAD model!
 My next steps are to coat the inside, paint the outside, and then put clear acrylic on for the door...