Week 7: Embedded Programming
Arduino IDE
The other week I installed the Arduino IDE (integrated development environment), which required downloading just one application and then pasting a URL into a handy auto-install link within Arduino (see this page from High Low Tech for details). Arduino also comes with a sweet suite of libraries and sample "sketches" of code.
I then spent way too long trying to debug why my Arduino blinky code
wasn't working, and then figured out that I just had both the pin number wrong and the wrong USB port.
At first I thought my failure to get the light blinking even though the code seemed to compile might have something to
do with the fact that avrdude decided my "user configuration file is not a regular file" and then "skipped" it... but
I just had the wrong pin. (The multimeter helped me out here!)
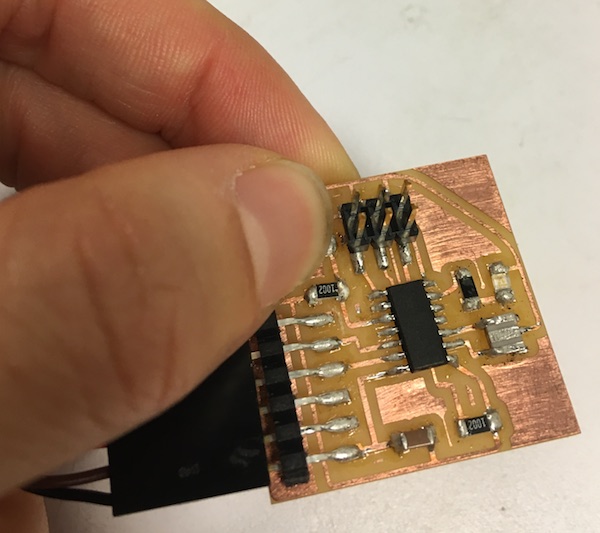
The Arduino system apparently recognizes pins based on which internal pin designation they use-- not the external pin number!
So even though my LED is attached to pin #6, Arduino recognizes it as pin 7 (PA7, to be precise) because that's how ATTiny numbers it:
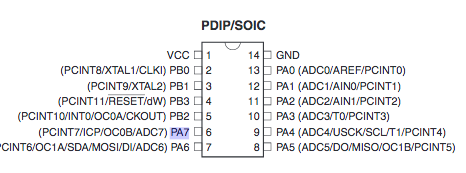
(Image via the ATtiny datasheet)
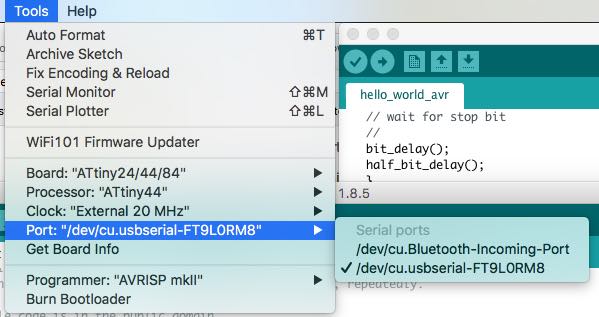
Once I sorted out the right pin number, I had to make sure that all the Arduino settings were correct and tinkered around with the two
different USB ports until I got things working:
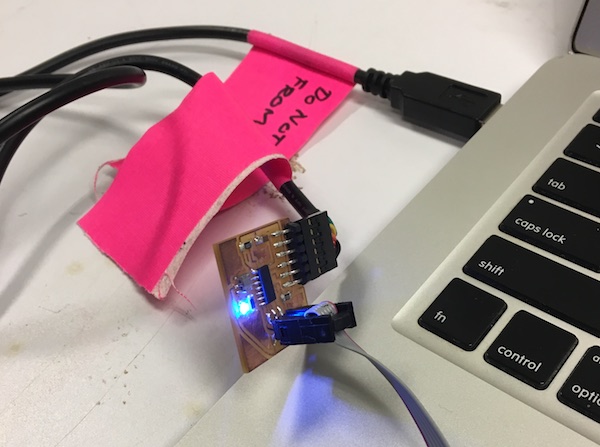
When I re-uploaded the default Blink code with both the programmer and my ATtiny44 board connected to my laptop (to power the ATtiny),
my LED finally lit up! Success!
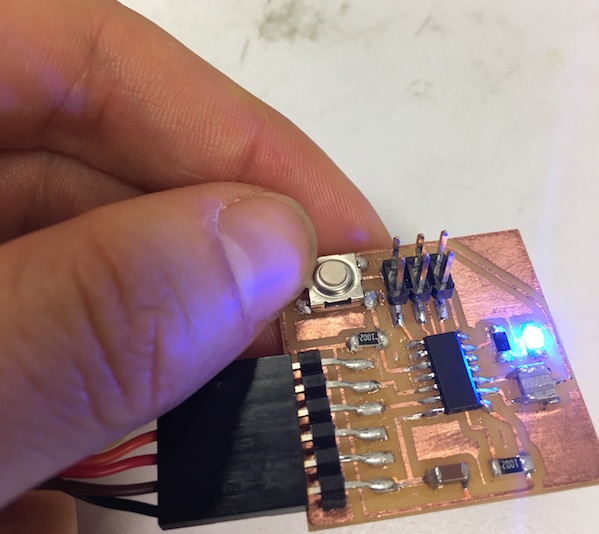
Getting excited, I opened the default Digital Button code, changed the pin numbers to correspond to my board, and uploaded that too.
That also worked beautifully-- meaning the LED turned off when I pressed the button!
Everything is awesome! Programming with the Arduino libraries is the easiest thing ever! (Actually I thought the opposite would happen and the
button would turn on only when I held the button down... but hey something worked. It's an easy fix to swap the button condition from HIGH to LOW.)
Anyway here's the code I used, modified very slightly from the Arduino example Button sketch:
const int buttonPin = 3; // the number of the pushbutton pin
const int ledPin = 7; // the number of the LED pin
int buttonState = 0; // variable for reading the pushbutton status
void setup() { // initialize the LED pin as an output:
pinMode(ledPin, OUTPUT); // initialize the pushbutton pin as an input:
pinMode(buttonPin, INPUT);
}
void loop() {
// read the state of the pushbutton value:
buttonState = digitalRead(buttonPin);
// check if the pushbutton is pressed. If it is, the buttonState is HIGH:
if (buttonState == HIGH) {
// turn LED on:
digitalWrite(ledPin, HIGH);
} else {
// turn LED off:
digitalWrite(ledPin, LOW);
}
}
Eclipse IDE
I decided to try out the Eclipse IDE and compare it to Arduino. Since I've got a Mac, Atmel's IDE was unfortunately out of the question.
My first impression upon reading through the Eclipse website was confusion: this is clearly a powerful programming tool,
but how can I make it work with (a) my Mac and (b) my ATTiny chip? My first attempt at installing Eclipse didn't even open because my "JKM" was
outdated. Huh? I turned to Google, and found this helpful Instructables guide by hkol which guided me through the four (4!) different things that I had to install from separate
websites in order to get Eclipse up-and-running.
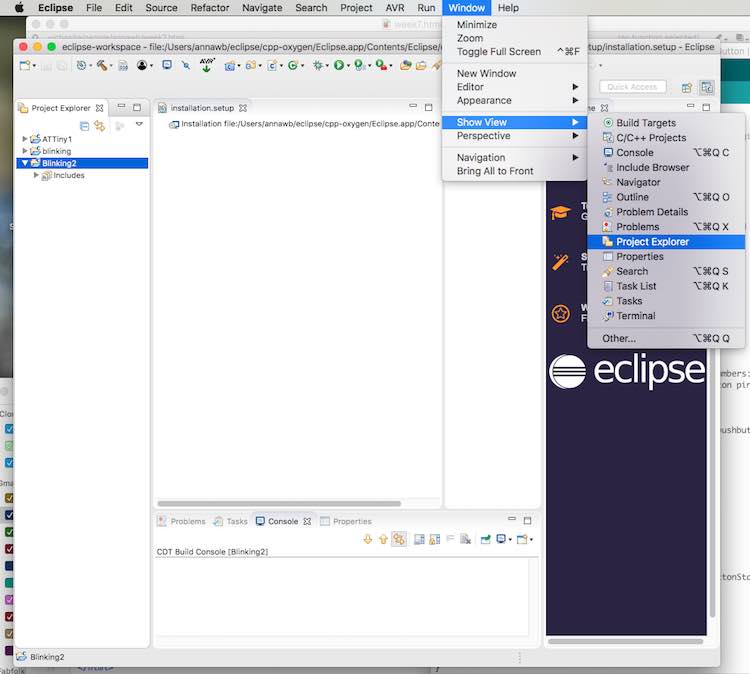
My next impression upon opening Eclipse was also confusion: what do all these buttons mean? Where even is the place where I type the code?!
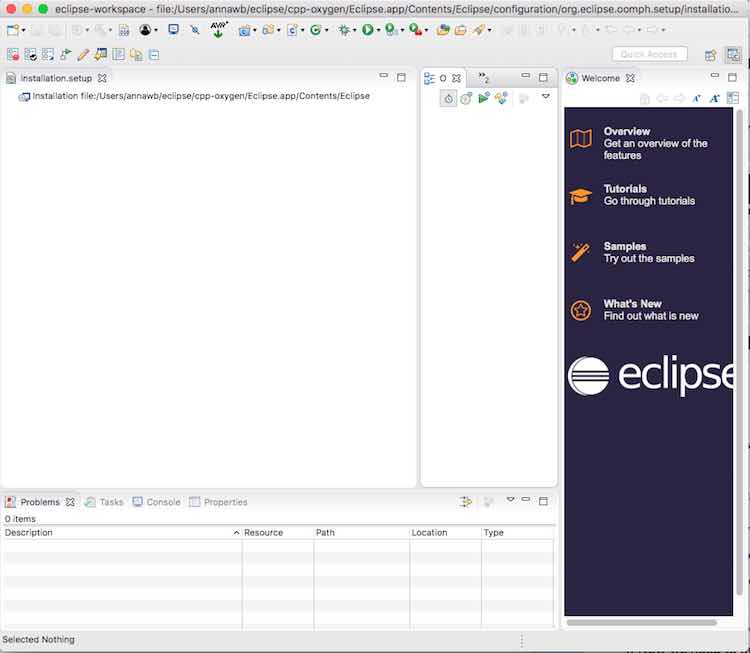
Oh wait, it was hiding. hkol's Instructables told me I had to change the view options to even see my project:
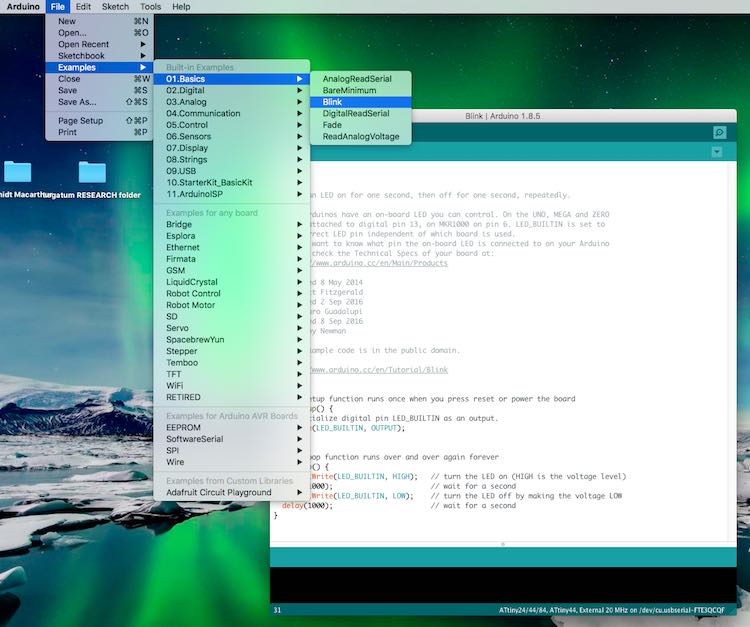
Compare this to Arduino, where the coding window loads automatically and it takes all of two seconds to find a sample sketch to start
modifying immediately:
I don't know how to program from scratch, so I started by Googling around for people coding ATtiny. I found Chris Kuethe's page, which offered a sample Arduino blink
code in all the obtuse simplicity of C... but 90 minutes worth of struggling to figure out the right way to talk to the AVRISP programmer
ended up nowhere. I kept getting some version of this error:
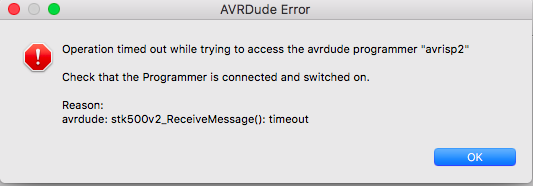
Was I getting the port name wrong? (I looked up my USB ports in the Terminal under the dev directory, and tried both the usbmodem and usbserial,
to no avail. Did I just need to restart my computer because the programmer thought that Arduino and/or my command line
prompts were still talking to it? No, but I can't rule that out. None of my classmates in the electronics shop had any idea, so I gave up.
Time to return to Arduino's good old bloated user-friendliness!
I tried copy-pasting hkol's code into Arduino, but it sparked some errors. I then tried
Chris Kuethe's Blink tutorial, and compared Arduino's pin map to the ATtiny pin map.
Since my LED is on port A, I changed his B ports to A ports. This seemed a bit sloppy because it cycles power to all the A ports
rather than just the LED pin on A7, but I couldn't easily figure out how to just target the right pin.
Anyway, I got the C-code working on my board by adding a setup step, a colon, and some brackets. (I'm not at all
sure that this is the right way to do things, but hey the light blinked!) Here's the final blink code:
void setup() {
DDRA = 0xff //set all pins on port A as outputs (initialize pins)
;while(1){
PORTA = 0xff; //turn port A pins to high power
_delay_ms(500);
PORTA = 0x00; //turn port A pins to low power
_delay_ms(500);
}
}
In conclusion, I'm definitely using the Arduino IDE next time-- or at least until it starts slowing me down! I'll also spend some time learning more C...