How To Make (Almost) Anything
Trip to Home Depot!
This week we are covering computer controlled machining. The main tool for the week is the ShopBot. The Shopbot is a large, computer controlled, drill. It costs only about 20K and can cut all sorts of large wooden pieces. As such, our goal for this week is to make something big!
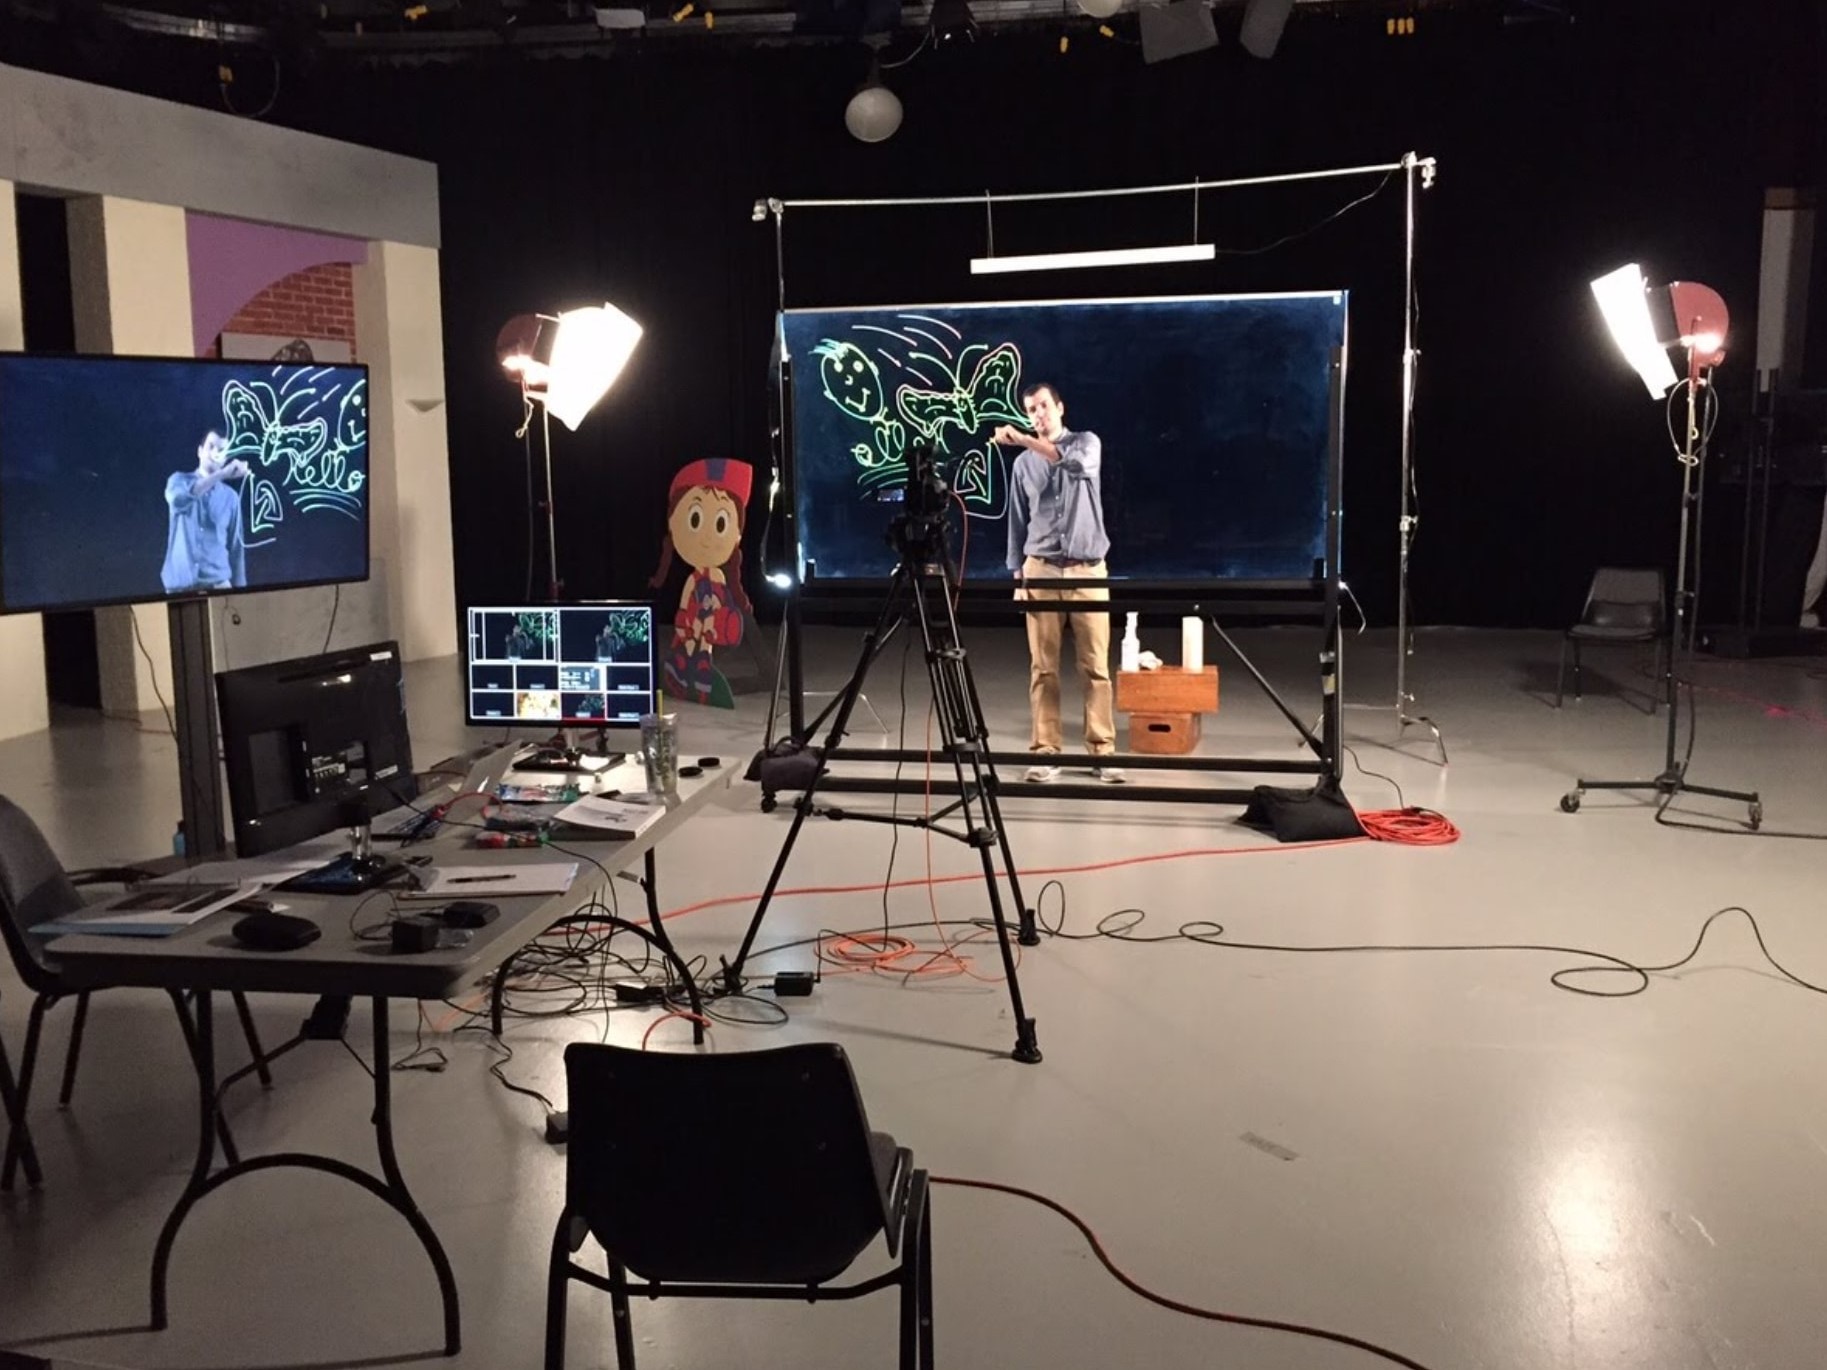
In my other time, I work on an education centered startup called Knack and for the sample 'teaching' videos we have made till this point we have used a blackboard. Lightboards, on the other hand, are these glasspanes on which people write with neon markers. They look really cool. This week was my chance to make a light board of my own - or better yet a lightboard desk!!
In my head this would be broken into two segments: the desk and the panel.
The Desk Cad
I was really nervous of how I might even begin to make my own desk. As such, I decided to start simple and look at someone else's design. I went to open desk, which has really great open source table designs.
Some of the designs look really cool, but as I tried to download the designs, I was told that I needed to join the maker profile to download the files. I decided to join and made an account, but then was told I needed to email the makers - which I then did, but sadly no one got back to me.
I then realized that while most of the files we not seperate in this way, some of the files were still accessable. I decided to start then by downloading the dxf for this long table.
I then tried to open this table in fusion, but sadly fusion did not work so well with this type of file. It is strange because fusion makes it quite easy to export in dxf. Eventually, I uploaded to the online dxf viewer by autodesk to make sure I had the right file and then worked on the file on a computer in the lab.
With the open desk file at hand, I tried to understand the file. There seems to have been four sets of pieces: the legs, the braces connecting the legs together, the desk-top, and the angle joints connecting the legs to the desk-top. I sort of understood how these pieces fit together, but I decided that if I really wanted to understand how it all worked I would need to make the file with cardboard.
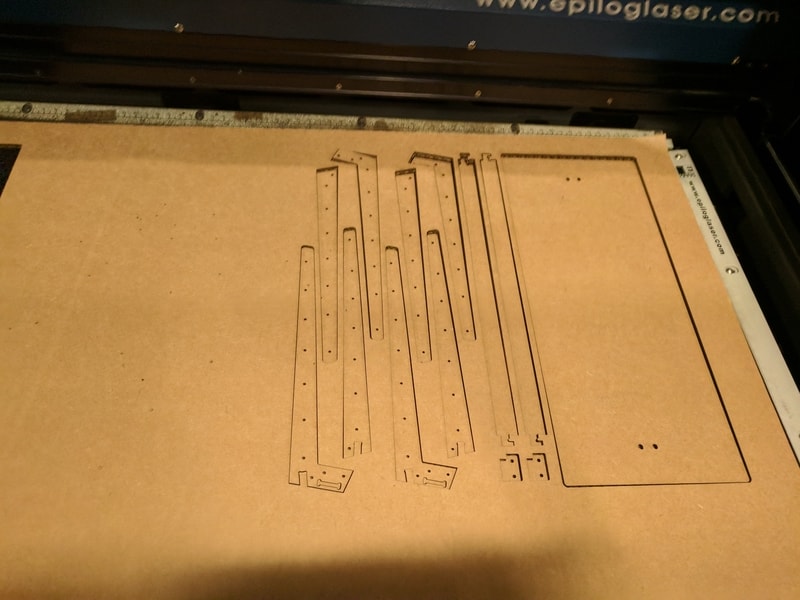
I went off to the lazer cutter and set the files to print. Now I could not produce an exact duplicate as I couldn't make small pockets in the cardboard - it wa all cut or not at all. It was a good enough duplicate to understood how the pieces all fit together however. Afte the pieces were cut, I used some super glue to piece em all together.
I really understood how the design worked after I made the table.
1) The Legs were cut into pieces so that they could be condensed into a quarter in the page.
2) There were many through cuts that allowed for the pieces to then be press fit together.
3) The entire piece was supposed to be stuck together by wood glue and press fit joints, except for the desk-top which was screwed to the angle plates.

With a better understanding of how the design worked, I made some modifications: I made the through cuts into half-cuts so that the joints could have higher connected surface area and be hidden. I also decided to adjust the radio of the legs to the widght of the table and got rid of the holes along the legs (I couldn't figure out what they even did).
With the new design in hand, I signed up for some shop time! We had to work in groups this week because the machines could be dangerous. I was happy enough with this arrangement because even though it mean each cut would take twice the time (once for my cuts, then for my partners) I got to work with other people and that is always fun.
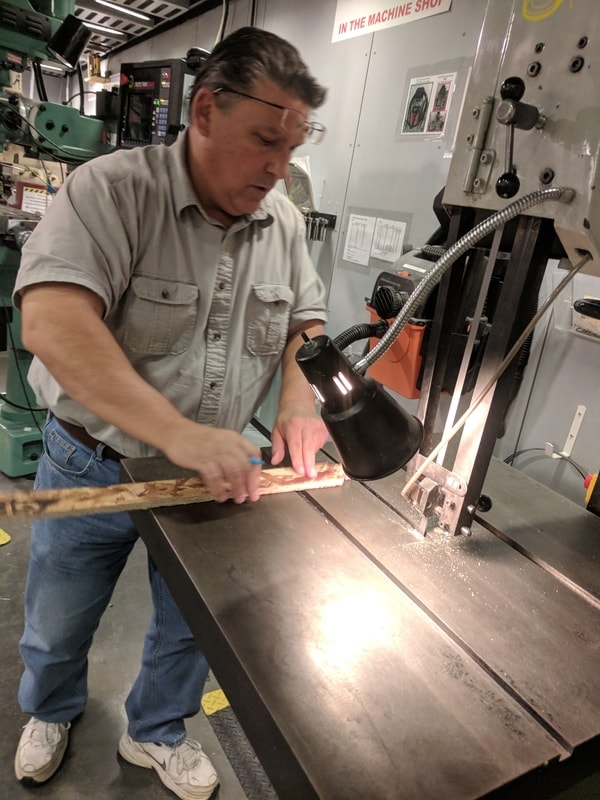
My first partner for the week was Emily! She was making a large figure with the epoct log showing off in the center. We started to set the machine together. First got the OSB and held it into our bed with four screws. We then got the 1/4" drill bit in the machine, zeroed the access, and were about read to go.
This may sound like a simple process, but basically Tom had to sit with us and walk us through it all - even the bits that should have been really easy like turning the machine on. Thanks Tom!
Emily uploaded her tool path and then began to cut! The machine was cutting correctly, but we soon began to notice that the vaccum on the drill was too strong and began to eat up her piece! We freaked out a little and then stopped the machine. Tom came over and suggested we add tabs. As it turns out, we tried with one tab - but the vaccum broke it and still ate the pieces. Luckly, by the time we saw that happen again we had cut the remiaing small pieces.

My first experience with the Shopbot was sucessful, but sadly Emily and I used up the entire two hour slot just cutting her piece so I made another appointment two days later before Anna.
In the meantime, Pinar had wanted to make a crib and thusly posted saying that she wanted to go to homedepot. I saw the message on gitlab and decided that I also wanted to attend, as I actually wanted to use the desk and the OSB was rough and kept giving me splinters. Thusly, I also signed up and said I could rent the zipcar.
I had never gone to home depot before and after talking with Pinar about how close it was to campus, I decided to rent a local CRV for an hour. The next day, Anna (with her housemate), Pinar, and I met at the garage to pick up the car.
We soon realized that with the twenty minute total transport time, we'd only have about half an hours in the store so we had to be efficient. We arrived without incident and then ran into the store. Pinar and Anna both got really nice 4x8 ft pieces and I settled for a nice 28" by 40" 1/4" piece of cederwood for the cover of the desk. I then also ran over and got 24x30", 3/32" glass. I was really happy the total only came to $20! We also made it though the store in 15 minutes!
So Pinar and Anna had cut the 4x8 ft into two 4x4 pieces, but sadly the car only had 46" along the diagonal so we had to go back and cut it again and thusly we spent a total of 40 minutes at the store. With time thin and the car reserved in ten minutes, we went over to the media lab and like a trained army quickly unloaded the wood onto the grass (I wish I had video) and the returned the car. Sadly we were 10 minutes late, but I did call zipcar afterwards and they said they'd get back to me about canceling the $50 late fee. In the end, however, it was a good time - we got the wood and had a real bonding experience!
Back in the shop, I made another time to cut the next morning. Sadly, my partner was asleep during our time, but the Anna walked in and so I decided to cut with her. I set the board and loaded the file - everything was set up cleanly. (Ok maybe Tom had to help me a lot again.) I then put in the 1/8" drill bit and set the machine to go. Everything went perfectly, but I soon realized that because I used the 1/8" bit and wanted to cut to .52" but also wanted to be safe and only cut 1/8" down at a time, my machine was going to take a long time. In the end, the milling took an hour and a half!!!
Luckily, I was able to cut the pieces alright and so I then began the assembly. I had four pieces for each leg, I decded to take some wood glue and press them together over night. Sadly, I realzied that becasuse the cut features had to be connected - the smooth side of the board that I had milled was on the outside and the legs were really rough.
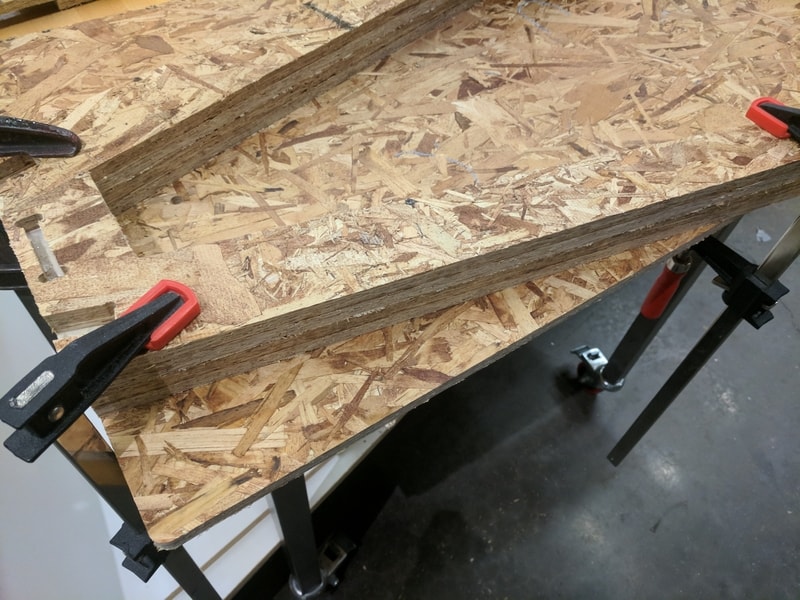
The next morning, I came in to add the braces, but then I realied that while I had cut the size of the press fit joint on the leg, I had not done the same for the braces so I now had braces too big for my legs. Luckily, John was around and offered to mill the braces end thinner for me. During the cutting on the lathe, John got a huge splinter and his finger started bleeding but he just brushed it off. It was all quite impressive.
I then connected the braces to the legs and it worked!.. But then the braces broke :(
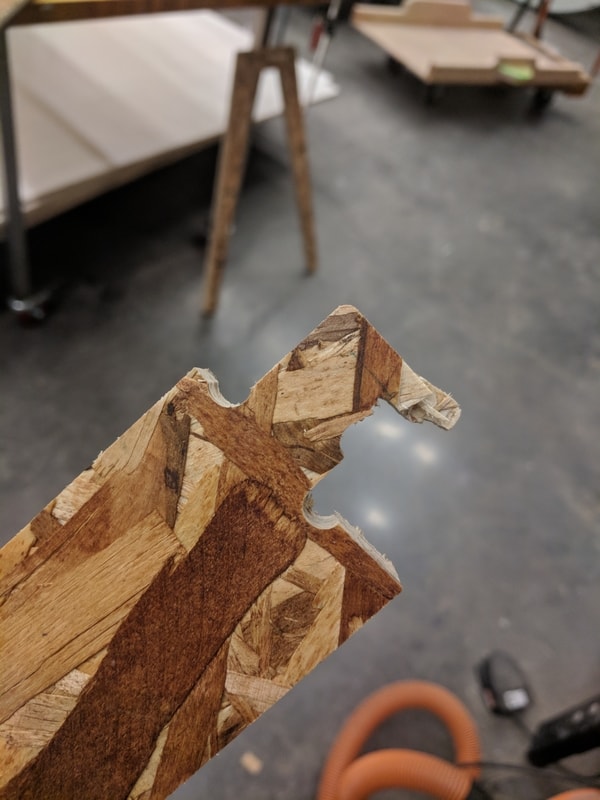
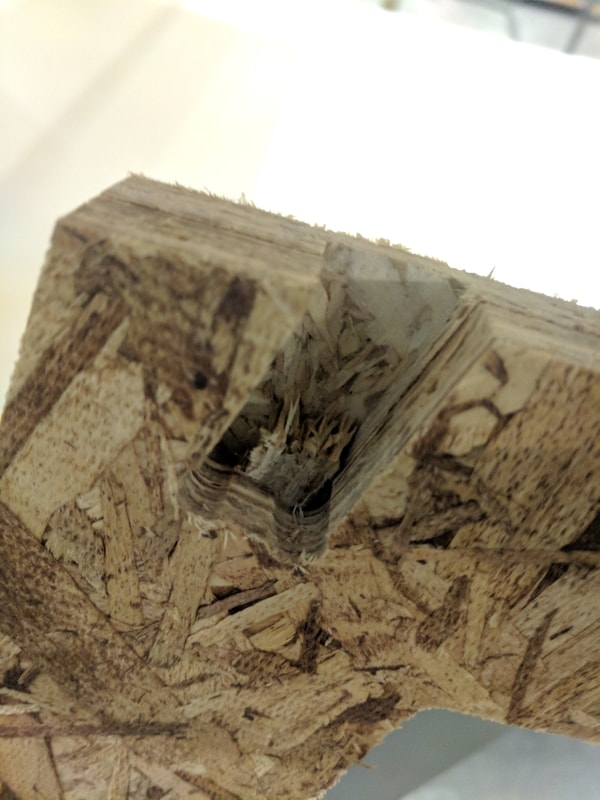
The joints were now so thin that they had just broken when trying to hold the table legs together. I then procceded to try joining them with wood glue or screws, but all of it really didn't work and the legs kept falling apart again and again and again.
I then decided that I would just move on and connected the legs to the desk. That process went over really well and I realized that if I had done this first the pressure on the braces would havee been less (or atleast there would have been less torque) and they probably would have survived.
Even connecting the legs to the desk, however, took a long time. We were out of 10-24 nuts and when I asked Tom he was quite frustrated that they had been all used and none. The entire week I realized how hard this week was for him. At one point the 1/8" collet was missing and at other times people left before cleaning after themselves. Tom even came in on the weekends. He really put a lot into this week.
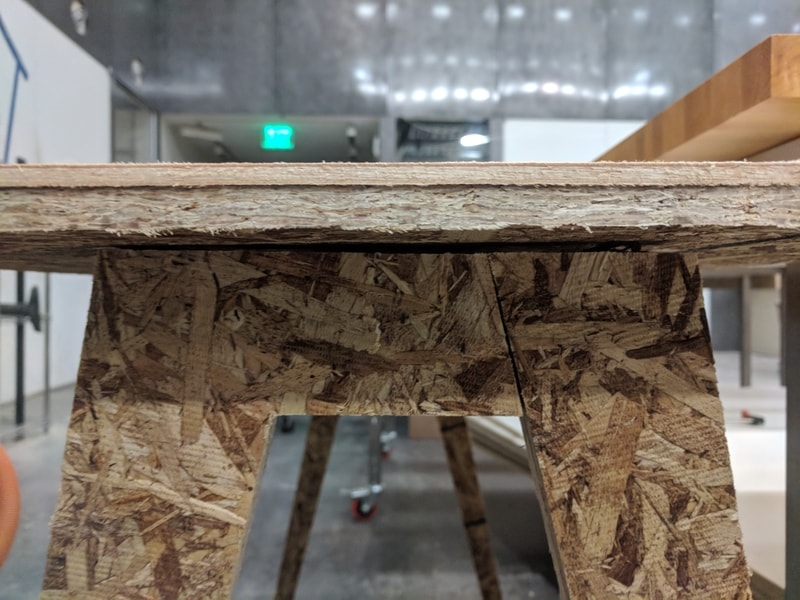
Back to the table, I then decided to manually use pressure to connect the braces to the legs and made them fit.
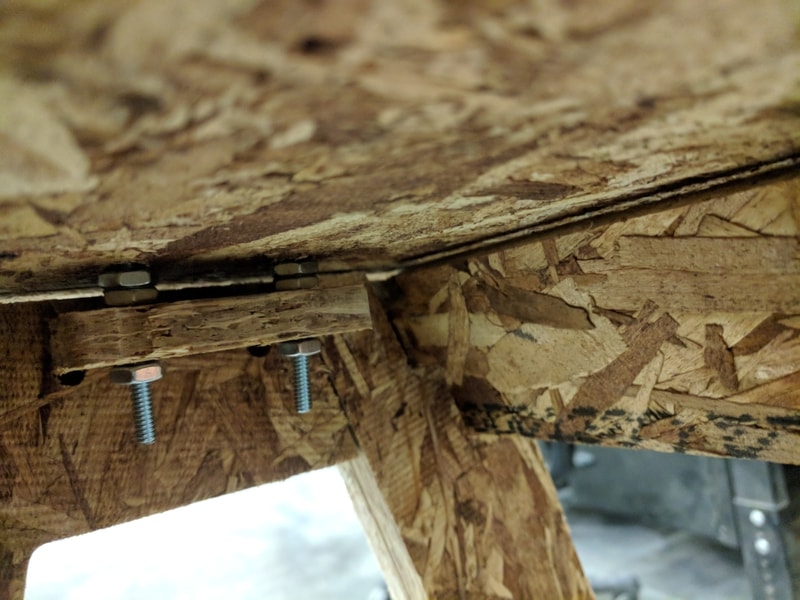
I added more screws from the top of the desk to the legs as well, but sadly wasn't able to get them perfectly flat.
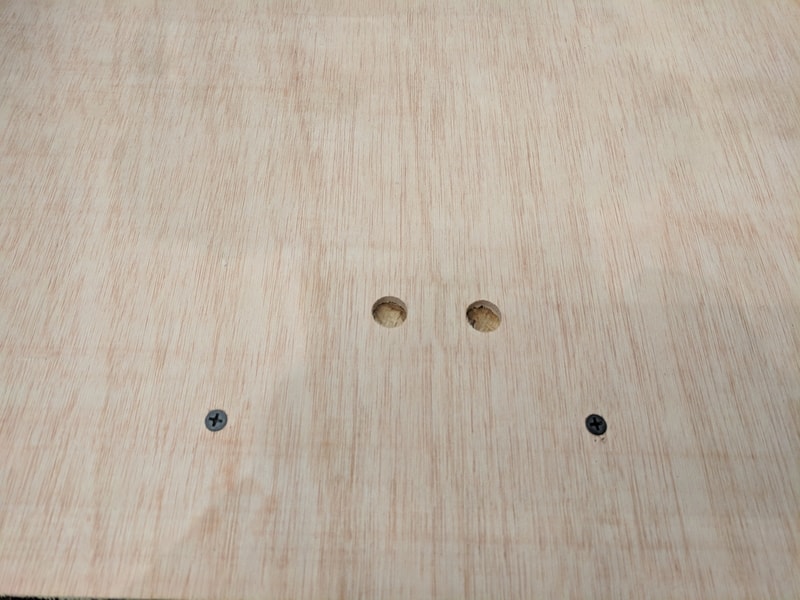
I then went to cut a cover layer for the table from the nice wood. I decided I'd like the top layer to be slightly bigger however so I could get a lip on the table. Sadly, I learned that while the table did scale - the holes for the bolts did not and in the end I had to just add some other wood screws of my own.
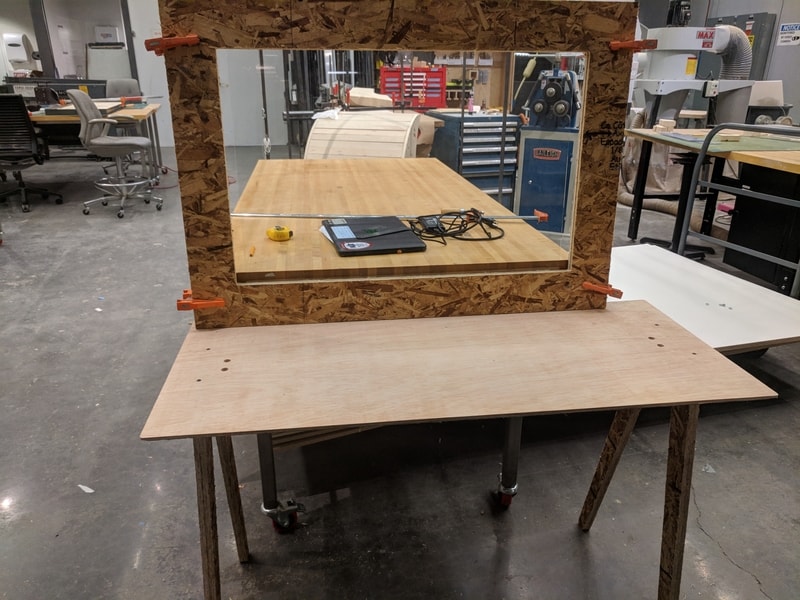
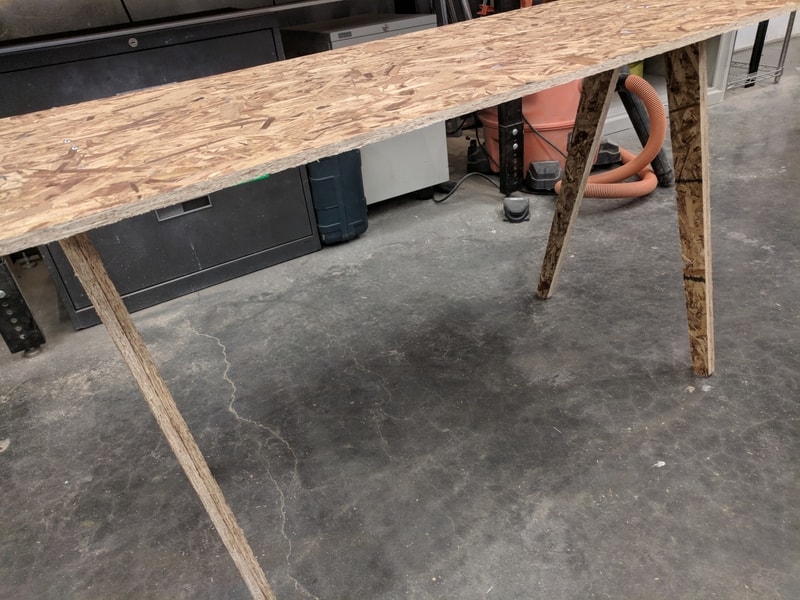
It was at this point that I noticed the table was really unstable so I decided to copy the design for the electronics lab and cut some long legs for the table. I also cut a frame for the glass, I milled out a 3/64 grove in the wood so the glass would fit just snug when pressed against hte two sides.
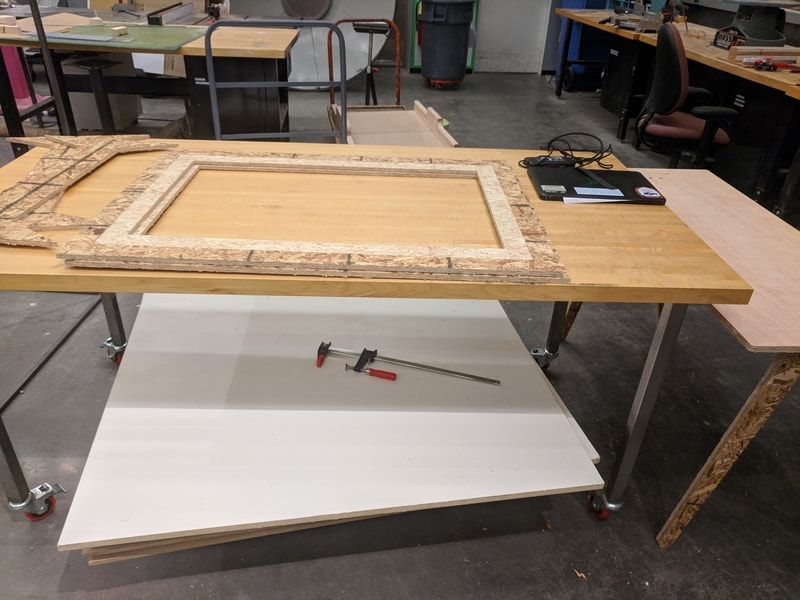
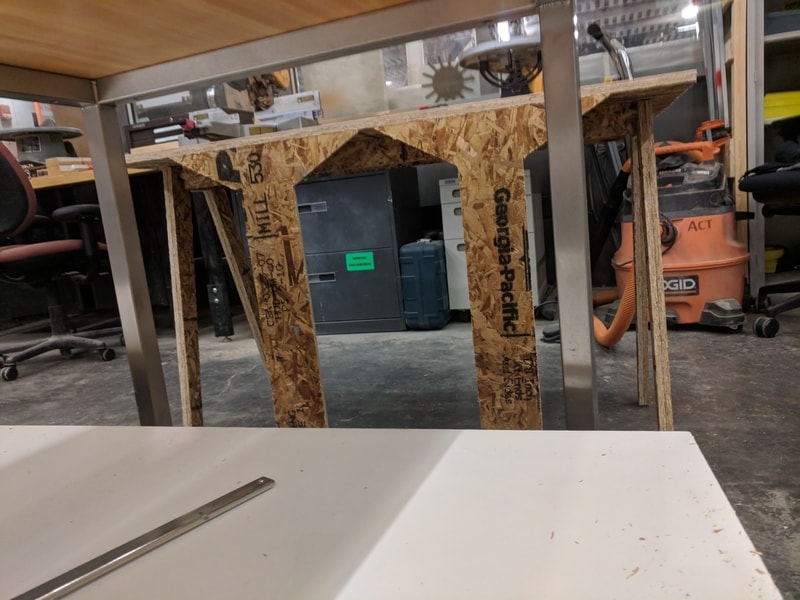
I realized when I cut it out that I had made the frame 24 by 36 instead of 24 by 30 - measure twice cut once kids! I tried to find the extra space and set measurements to cut it (fun fact: clamps make great straight edges), but decided I actually really liked the look.
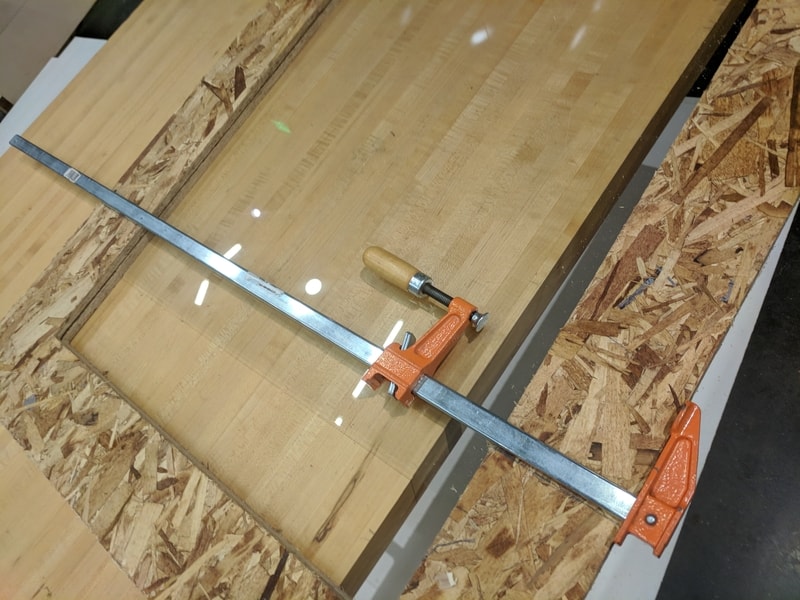
I then added some metal sharp screws to the frame and some extra wood glue. I clamped the two frames together. Now I have yet to connect the frame to the table - I will after I bring it home. I have also ordered some paints at home and hope to coat over the osb.
Here's a look at the end product!