How To Make (Almost) Anything
Week 1 - Computer Controlled Cutting
Introduction
This week, we were tasked with cutting all the things, using a laser cutter and a vinyl cutter. More specifically, we were asked to create a pressfit construction kit made of cardboard that could be assembled into many configurations and to make something with the vinyl cutter.
Press-Fit Kit
Parametric Design
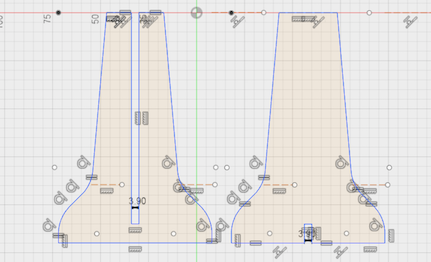
Figure 1: Trunk Primatives
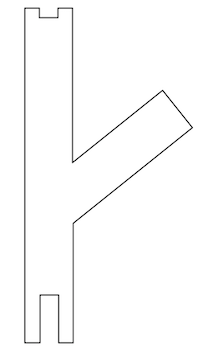
Figure 2: Branch Primative
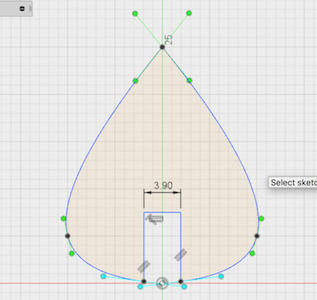
Figure 3: Leaf Primative
In addition to creating primatives that were reconfigurable, the pressfit contruction kit needed to be parametric to accomodate different thickness of cardboard, as well as allow for adjustments based on how much offset was necessary to create an appropriately snug fit. I chose to use fusion 360 to design my primatives for a reconfigurable tree design. I was attracted to the tree model as in computer graphics trees are a common example of parametric and procedural modeling. Additionally, I wanted to create something that would appear organic even though there were only 4 distict primatives, tree trunk X, tree trunk Y, branch and leaf. I set the constraints in fusion 360 such that the size of the slot was adjustable for each primative.
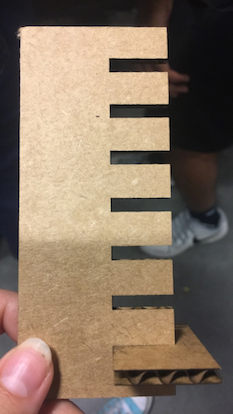
Figure 4: Interlocking Notches
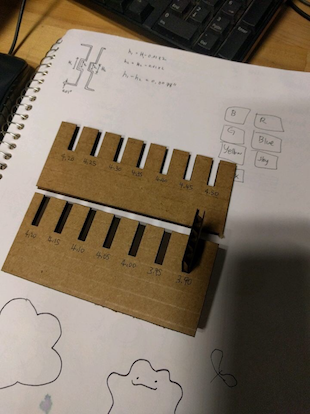
Figure 5: Notch Dimensions
As a group, we laser cut test pieces of cardboard to determine the appropriate offset size for the cardboard and determined the optimal fit to be 3.9mm. In the figures above, you can see our test pieces.
Laser Cutting
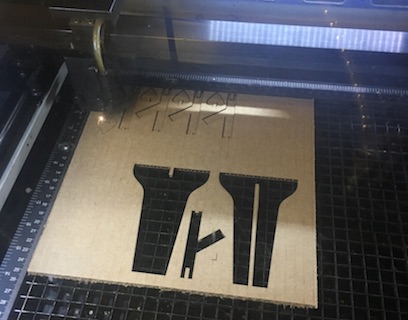
Figure 6: Laser Cutting Primatives
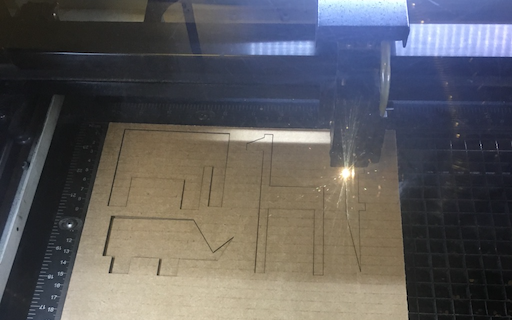
Figure 7: Laser Cut Low-Poly Animals
I didn't run into much trouble laser cutting my pieces. Converting my files to .dxf was somewhat cumbersome from fusion 360 as I couldn't specify which edition of dxf to convert too. This created some bizarre mismatches in corelDRAW. Luckily, I was able to import my dxf into rhino and re-export to dxf with a compatible edition for corelDRAW, otherwise, the splines were incorrect. On the latest version of corelDRAW (installed on the vinyl cutter computer), this conversion is unnecessary. In addition to the tree primatives, I created several low-poly animals in Adobe Illustrator.
Assembly
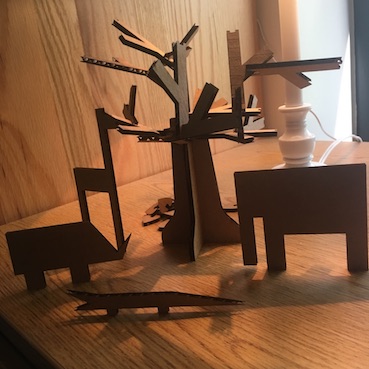
Figure 8: Assembled - No Leaves
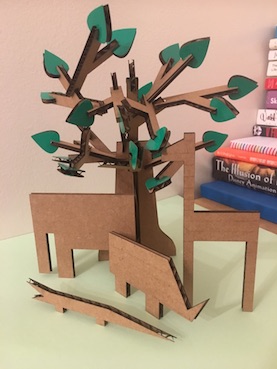
Figure 9: Assembled - With Leaves
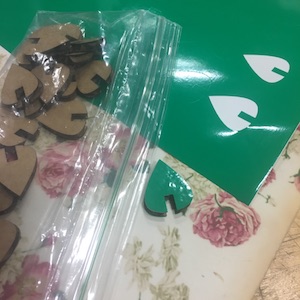
The kit was fairly simple to assemble. There are no defined notches for the branches to lock to each other and the trunk which allowed for organic expression. The leaves locked nicely into the branch notches. The scale of the tree seemed appropriate for
animal sizes. Vinyl stickers were added to the leaves to create color contrast.
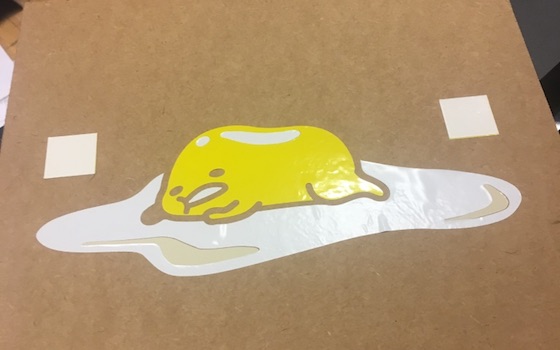
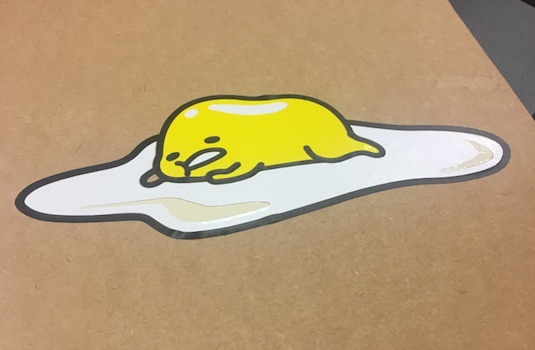
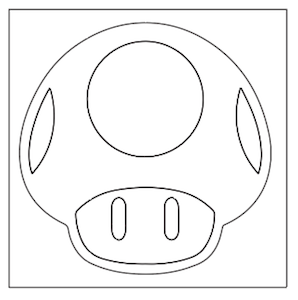
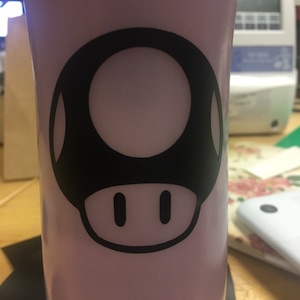
I had so much fun using the vinyl cutter. I created stencil like stickers for my water bottle, cut leaves for my press-fit kit, and created a registered sticker of gudetama.
The vinyl cutter was fairly simple to operate, but there was some trial and error to determine appropriate speed and force values. I used Adobe Illustrator to create my designs. Additionally, by adding
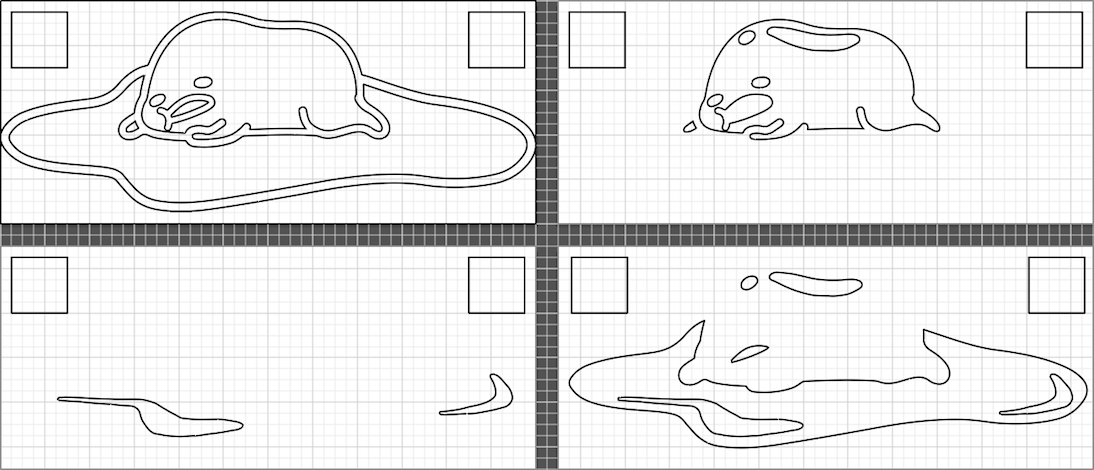
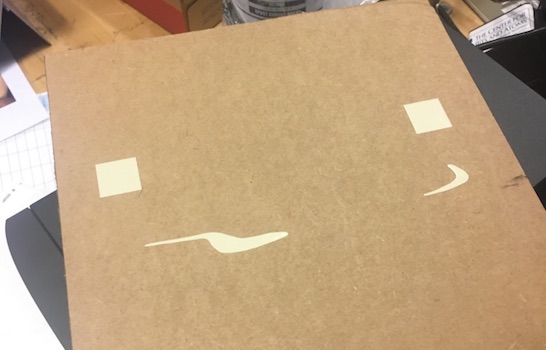
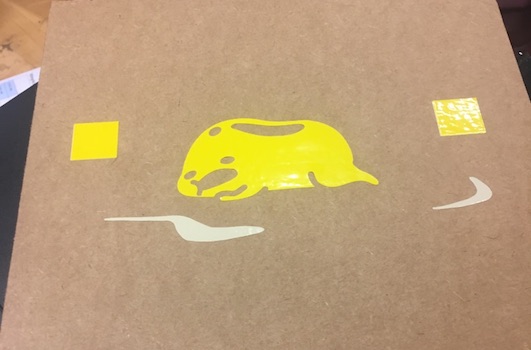
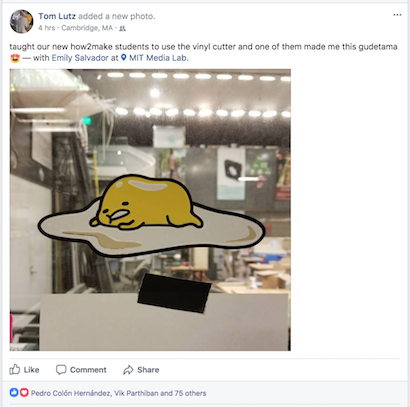
a bounding box around each sticker, I was able to utilize the negative space of each sticker to create two stickers per cut. Figure 10: Nintendo Vector Figure 11: Nintendo Mushroom Figure 12: Leaf Assembly Figure 13: Gudetama Vectors Figure 14: Gudetama - Layer 1 Figure 15: Gudetama - Layer 2 Figure 16: Gudetama - Layer 3 Figure 17: Gudetama - Layer 4 Figure 18: Tom's FB Page :D Vinyl Cutting
Gudetama