How To Make (Almost) Anything
Week 13 - Composites
Introduction
This week in htmaa, we learned how to cast composites using epoxy and burlap. Grace was super helpful in her tutorial. During the training, the most important consideration was safety. We wore goggles, gloves and masks, as well as long sleeve shirts to minimize exposure to the uncured epoxy. Grace demonstrated how to measure, mix, pour, spread and compress the composite.
I decided to make a ukulele case, as my friend had made me this beautiful laser cut ukulele and I wanted to keep it safe!
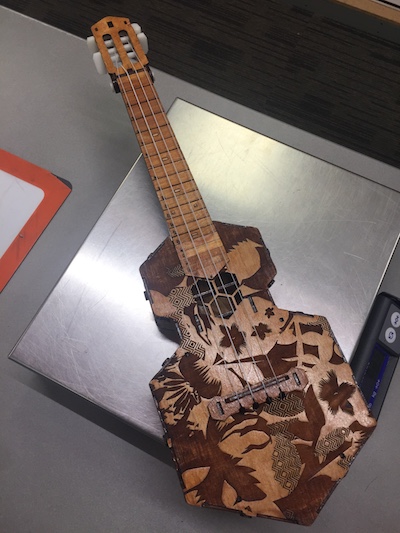
Figure 1: Isn't it incredible?!
Design
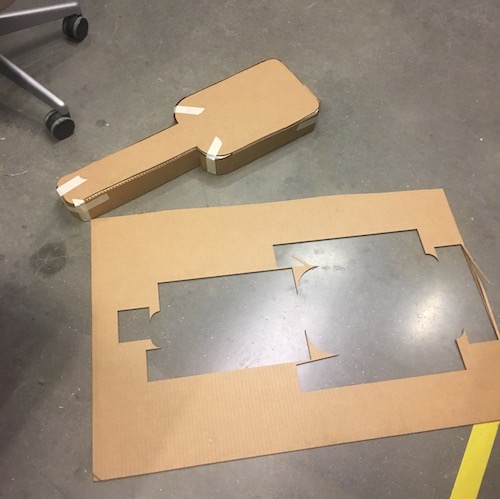
Figure 2: Assembling the cardboard mold
The first step is to create a mold with subtle features to use as the support structure for the cast. Many people in the class used foam, but I chose to create a mold out of cardboard for this assignment. I measured the ukulele and modeled a simple case in Rhino. It was important that my design was a developable surface for the next step. By using the unroll surface feature, I was able to create a design that could be fold-fabricated using cardboard and the laser cutter. Additionally, this same shape could be used to cut my fabric to drape over the mold.
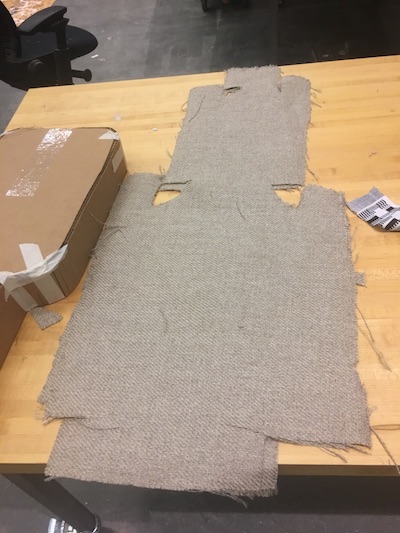
Figure 3: The cut burlap
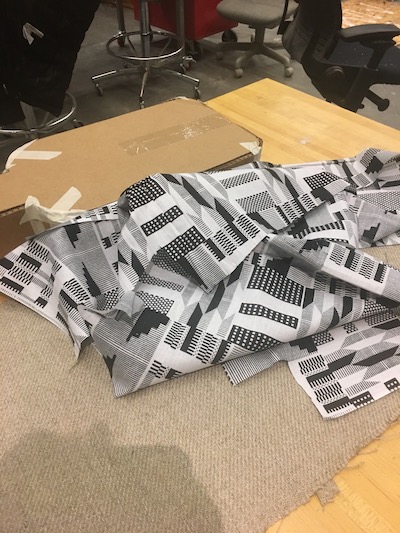
Figure 4: The fun fabric
I manually cut flexures into my cardboard to fold up the surface and was pleased that everything fit together fairly well. Next, I cut the fabric to fit onto the surface. I decided to use two sheets of the structural burlap material and one sheet of a print I picked out at the fabric store. Once I had my mold and fabric prepared, I moved to the ventilated area in the shop to mix and pour the epoxy.
Fabrication
I laid a piece of saran wrap over my cardboard to prevent the epoxy from leaking into the cardboard mold. I prepared my bleeder (a sheet of plastic-y material with holes punctured in it to force excess epoxy out of the composite) and breather (100% cotton sheet for absorbing excess epoxy) sheets in an attempt to minimize working time with the epoxy. I mixed 200g of the part A mixture with 80g of the part B mixture and quickly went to work saturating my fabric with the mixture. I ran out of epoxy half way through covering my second sheet of burlap, so mixed another batch with the same ratios. I decided it was best to be conservative when mixing epoxy as if there's too much left over, there's potential for an uncontained exothermic reaction.
Once I had covered both layers of burlap and the decorative layer of fabric with epoxy, I covered all three layers with the bleeder sheet and the breather fabric. I placed the entire setup into a vacuum sealing bag and removed the air with the vacuum pump. I left the bag in the shop overnight and came back the next morning to retrieve my cured composite.
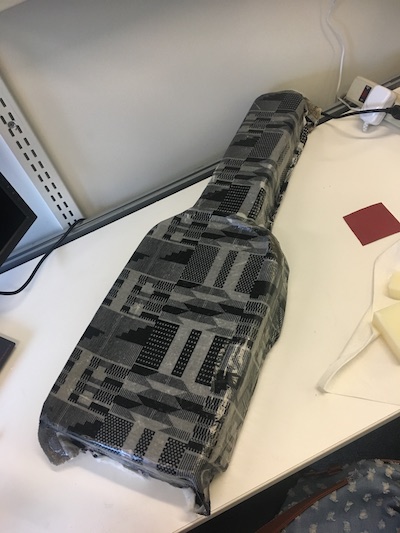
Figure 5: The finished case (to be continued...)
Overall, I'm happy with how my piece turned out. I still need to figure out how to create a foam inlay for holding the ukulele. Additionally, I need to create a lid for the case. I love the fabric and how it blended with the epoxy. I will also probably apply a layer of varnish and sand the surface at a later date!