- read the safety data sheet (SDS) and technical data sheet (TDS) for the resins that you're using
- design and fabricate a 3D mold (~ft2) and produce a fiber composite part in it, with resin infusion and compaction
This week, I learned how to make a product out of composites. It was a lot of fun, and reminded me why I like this class. I think I wanna do more with it in the future - this week I just wanted something I could use in my final project.

A composite, I learned, is something made up of various parts/elements (thanks dictionary.com). The stuff we are making will have fiber for tension and resin for compression. We are going to use natural fibers and epoxy. I missed the training because I had a quiz in another class, but my labmates got me caught up on the process very quickly.
I decided to make a coaster this week for my candles to sit on. I can place it on the top of my alarm clock. I used Onshape to make a simple coaster shape, as pictured below. I've realized that although I struggled quite a bit at the beginning, I'm starting to able to CAD simple designs really quickly. Here is what the design looked like.
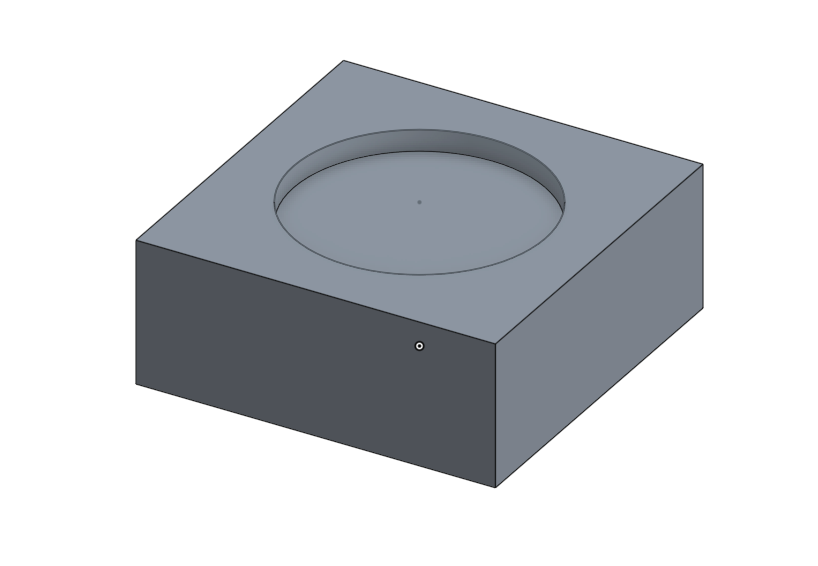
Since my design was so simple, however, TA Grace recommended that I just use layers of burlap until I reach the same thickness as my coaster mold. This wouldn't quite fit the parameters of the assignment, but I figured that I would still learn how to do a composite, and I have experience creating a positive mold from Molding and Casting. As an added benefit, I would more easily be able to do different shapes!
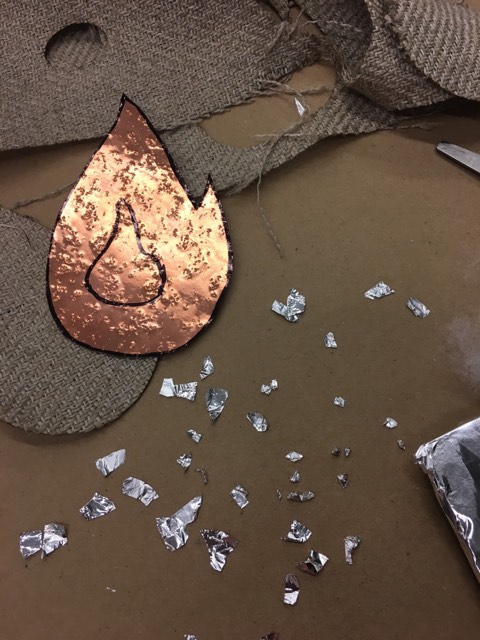
Since I'm melting candles without fire in my final project, I thought it would be really funny to make a flame-shaped coaster. Clever, I know. So I hand-cut out some flame shaped burlap pieces.
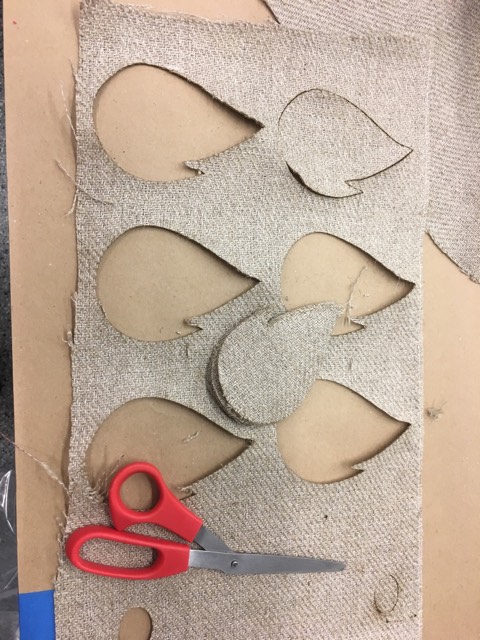
Just kidding! I laser-cut them. I found an image of a flame that I really liked, made it into a vector, cleaned it up, tested the settings for laser-cutting burlap, and then cut out some pieces. Then I gathered all the supplies for the composite, including a thin, holy pink plastic sheet that would keep the epoxy from sticking to this white resin-soaking fluffy sheet.

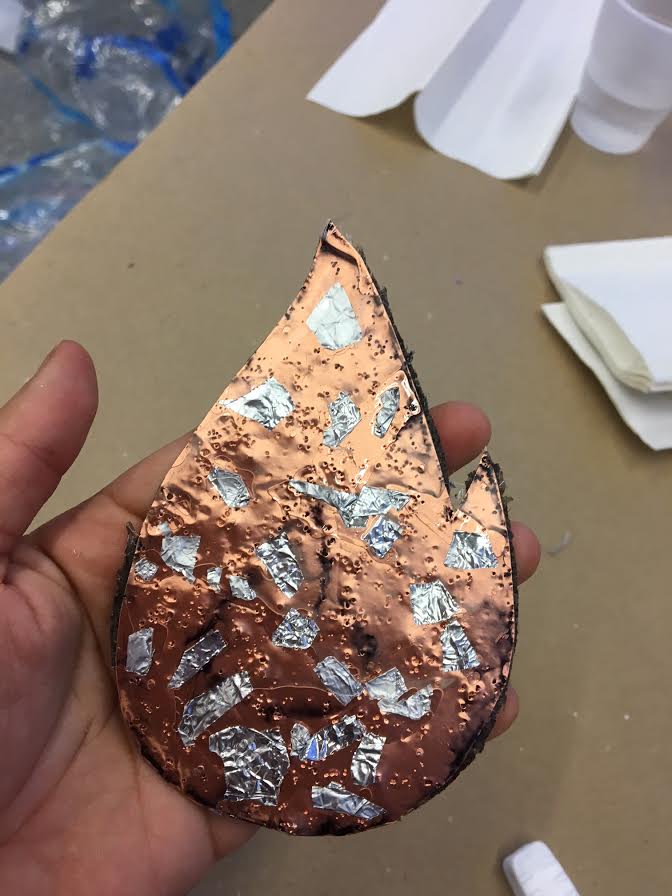
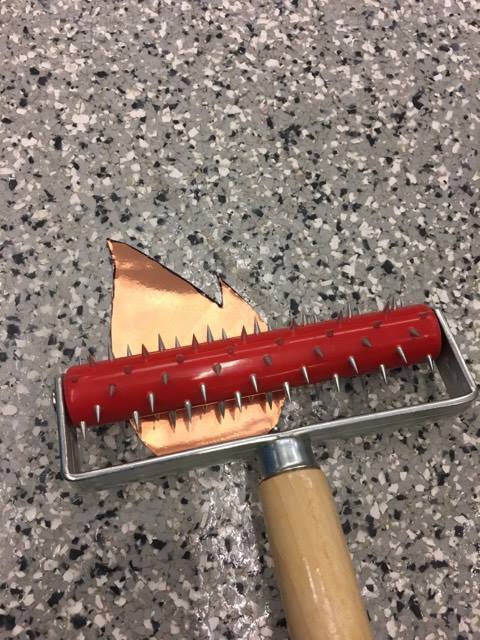
I also wanted to add something to make the coaster prettier than just brown burlap. I found some copper sheets that are usually used with the vinyl cutter. However, the layers for the composite need to be porous or else the epoxy wouldn't stick, so I made holes in it. Then I also tore up some aluminum foil for some additional fun.

I covered a piece of cardboard with aluminum foil, and sprayed it with some resin protectant. Then I mixed the parts of the expoxy together - the ratio is 100g Part A to 43g Part B, but since my coaster is fairly small, I only did 1/4th of this (keeping the ratio the same, of course).
Then I took the mixed epoxy and laid down a layer on the cardboard. After that, I put down a piece of the flame burlap, making sure it was in the right orientation for the copper flame. I pushed it on firmly until some of the epoxy started seeping through the holes in the burlap. Then I layered on some more epoxy, and put on my next burlap piece. I did this a total of 4 times, making sure each burlap was completely soaked in epoxy.
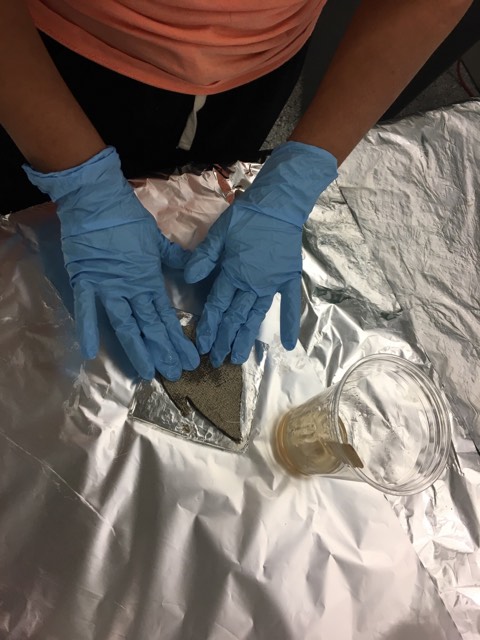
This method was recommended by Grace, and I have to say it was simple, neat, and effective! Some people covered the pieces in epoxy before putting it on, and I think that's a bit messier. After my piece was about as thick as I wanted it, I put on the holy copper layer, put on some more expoxy, and sprinkled on the foil pieces.

Then, I added the pink plastic layer, and the white fuzzy soaking-up stuff.

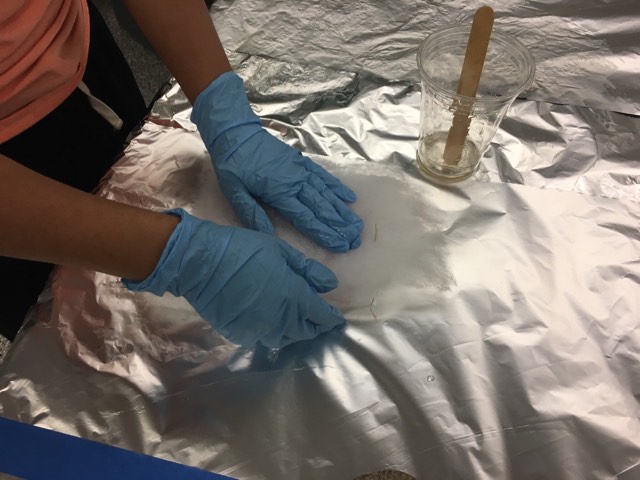
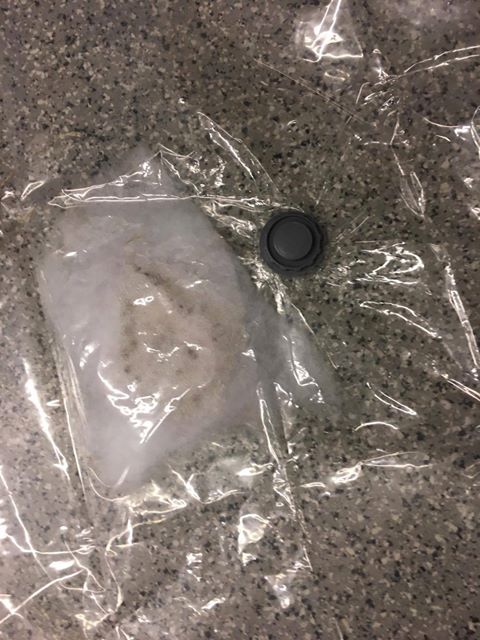
The final step was to place it in a vaccuum seal, and this part proved to be the trickiest step because my piece was so small. We used giant vaccuum seal bags; put the part inside, and suck up the air through the vaccuum, making sure to tighen the knob immediately. However, this "immediately" thing didn't work out so well for me, because my composite was small and even a little air getting back in made a big diffference. I kept trying, and in doing so, pulled out most of the extra epoxy anyway. Here's a picture of the vaccuum sealed bag.
I took it out of the vaccum seal the next day, and am very very pleased with the results! I like the way it looks, and think it'll go well with my final project - simplistic but unique.
