This week, I learned about different types of wood and how to cut them using a computer-controlled cutting machine. My room is quite "smol," so I made a something big to give me more space.
Goals
Class Assignment:
make something big, using a computer-controlled cutting machine
My Personal Goals:
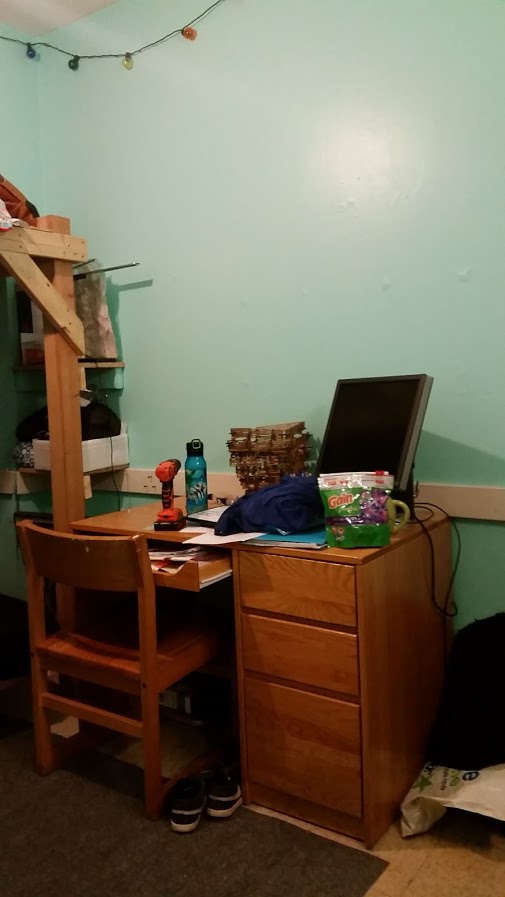
Solve my problem of not having enough space to put things in my room.
Experiment with curved lines on OSB plywood.
Brainstorm for final project - look at past projects for ideas of what people have done!
Things I learned
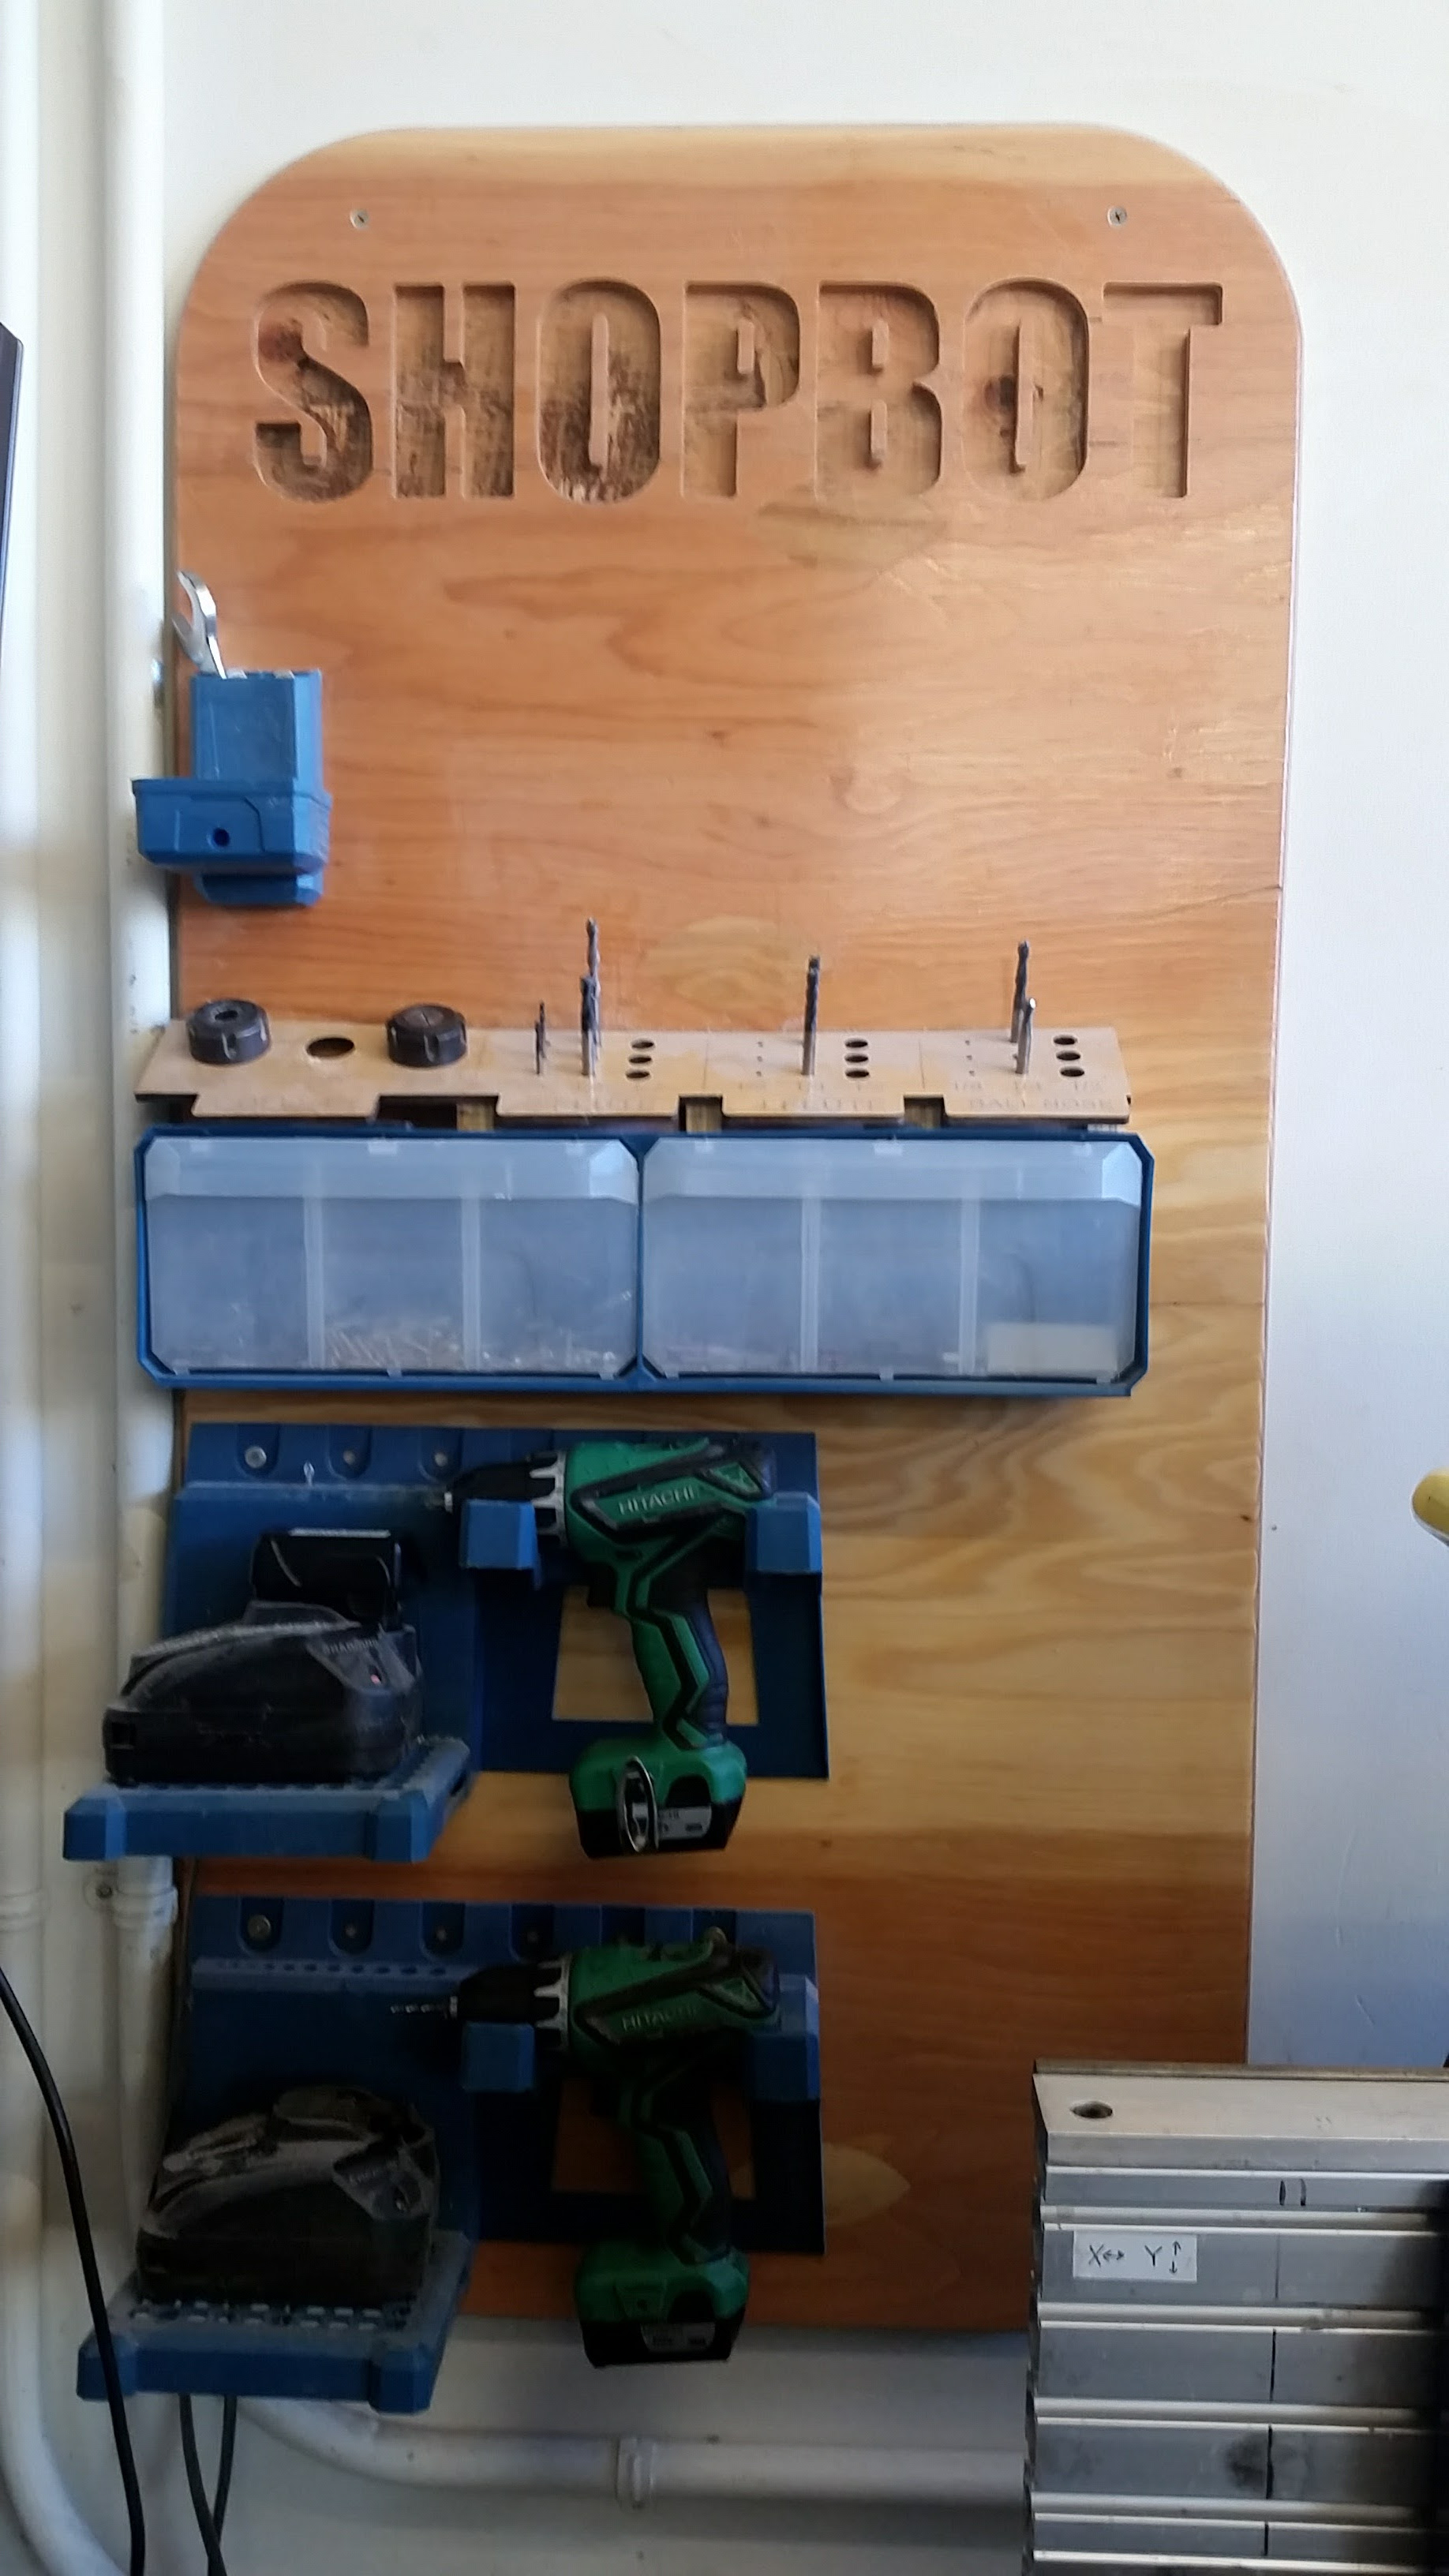
How to use a ShopBot CNC machine - including safety, set-up, setting up the design plan, routing paths
Taking some extra time initially saves a lot of headache in the future. Setting up the routing paths was really tedious, and there were some steps that if I'd been working by myself, I'd have taken shortcuts. Setting up the files took three times the amount of time to actually cut them. However, when they were finally cut, everything ran smoothly, the pieces turned out exactly as I'd planned, and we didn't waste any extra wood. Being patient was definitely worth the end result.
Defining goals at the beginning makes it easier to have a game plan and/or choose a project for the week. Because I knew that my objective was to create space in my room, I was able to choose building a wall shelf over some of my more complicated ideas.
The Process + Pics
Deciding what to make
I was between a few ideas, but one of my goals for this week was to create something useful for my room. I went with making a shelf because I have a lot of unused wall space, but nearly no floor space left.
Making the file to trace
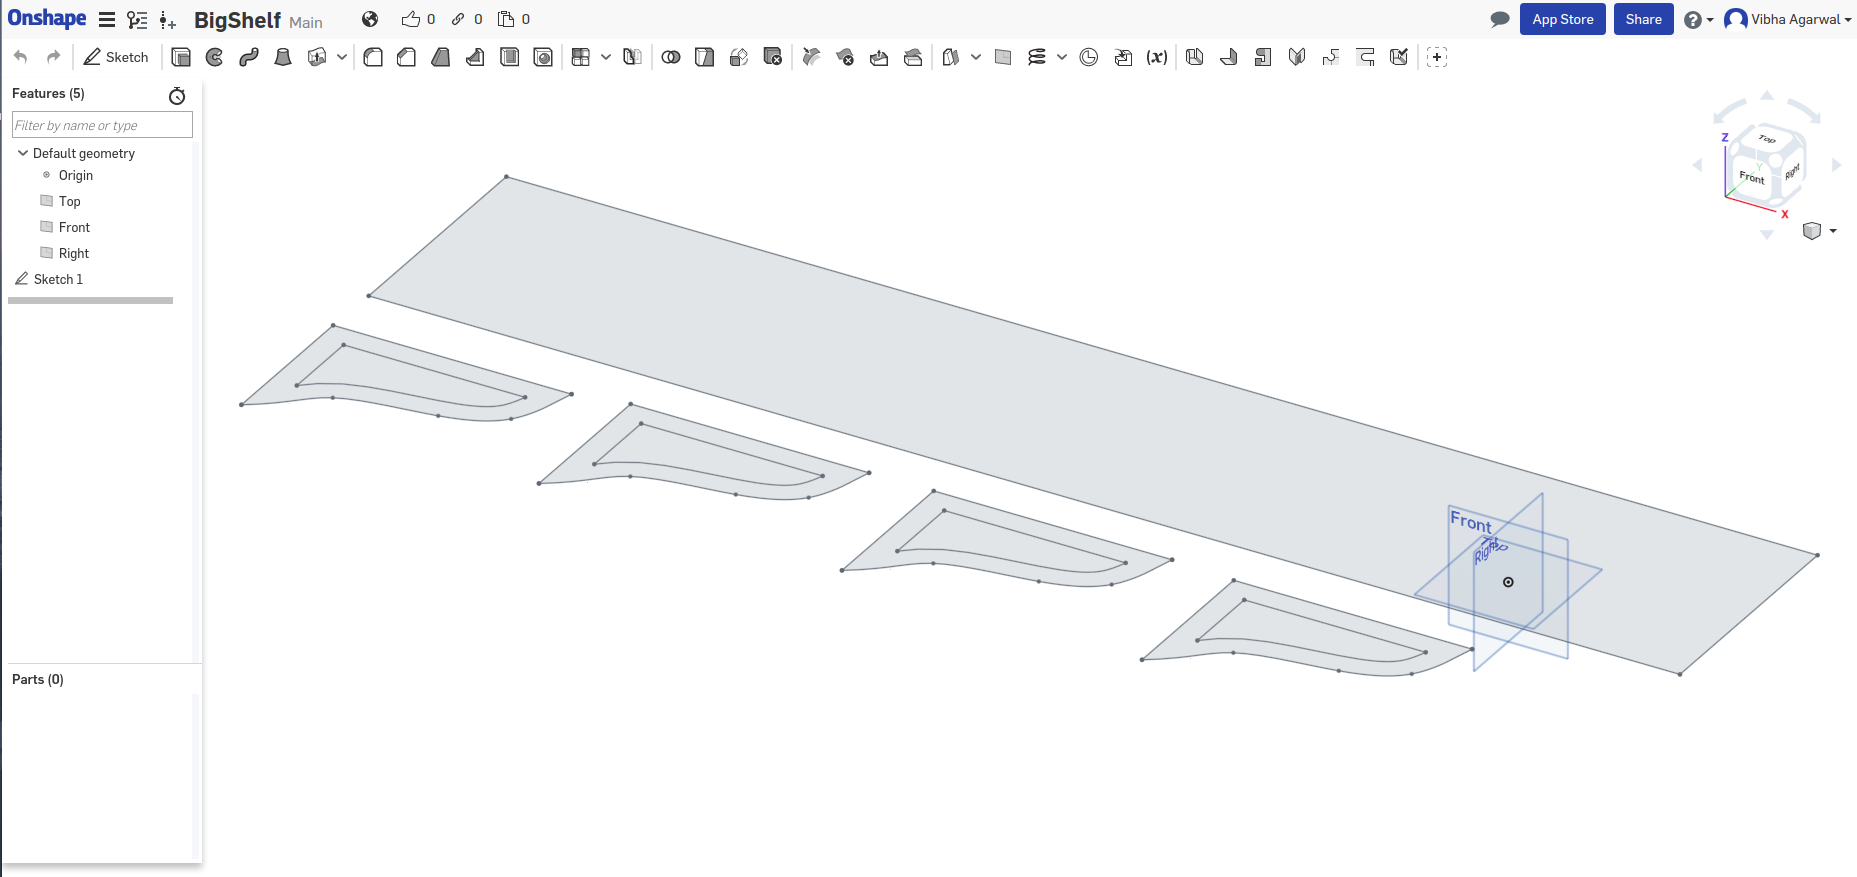
I used Onshape to design my shelf, because it provided the features I needed, and I haven't downloaded a Fusion360 equivalent on my Linux partition yet. My supports initially had geometric pattern cuttouts that I designed, but Gavin suggested to have an open design to have more support for the shelf. After a few changes, this is what my CAD file looked like:
I saved the file as a .dxf and got ready to cut it!
Setting up and using the ShopBot
Before starting the cutting, we had to set up the physical board and set up the software and trace routes. For the board, we screwed the plywood onto a the base (which had a sacrificial layer for accidental deep cuts). For the drill bit, we used a down-cutting 1/4inch bit. I learned that the drill should only drill down to a depth less than or equal to the width of the bit, meaning that for each full cut, the drill would trace over the path twice.
For the computer side of the set-up, we imported our files onto the path carving software used by the ShopBot, and arranged the traces onto the board. All the cuts had to be closed loops, to make sure the bit would follow a reasonable path. Then, we set the X-Y origin and did a dry run to make sure no funny business was going on. Using the metal plate and the bit to complete a circuit, we set the Z-axis as well. I thought this was a really cool concept! We cut out some trial pieces to make sure everything was in order, and I got a chance to cut out both my support pieces:
I decided to use the second one because it was quicker to cut and easier to sand/clean (although now I wish I had used the first one because it's more fun-looking and unique.)
These pieces looked alright, so we went ahead and made more paths and finished cutting out everything.
Assembly
Lastly, I had to make it ready to go in my room. The OSB wood itself isn't too ugly (I like the hodgepodge pattern), but it does look cheap and wouldn't match my room. After much debate (this might've been the hardest part), I chose to paint it white.
The plan is to screw the flat board to the supports, and then the supports to the wall. I plan to do it later in the week.
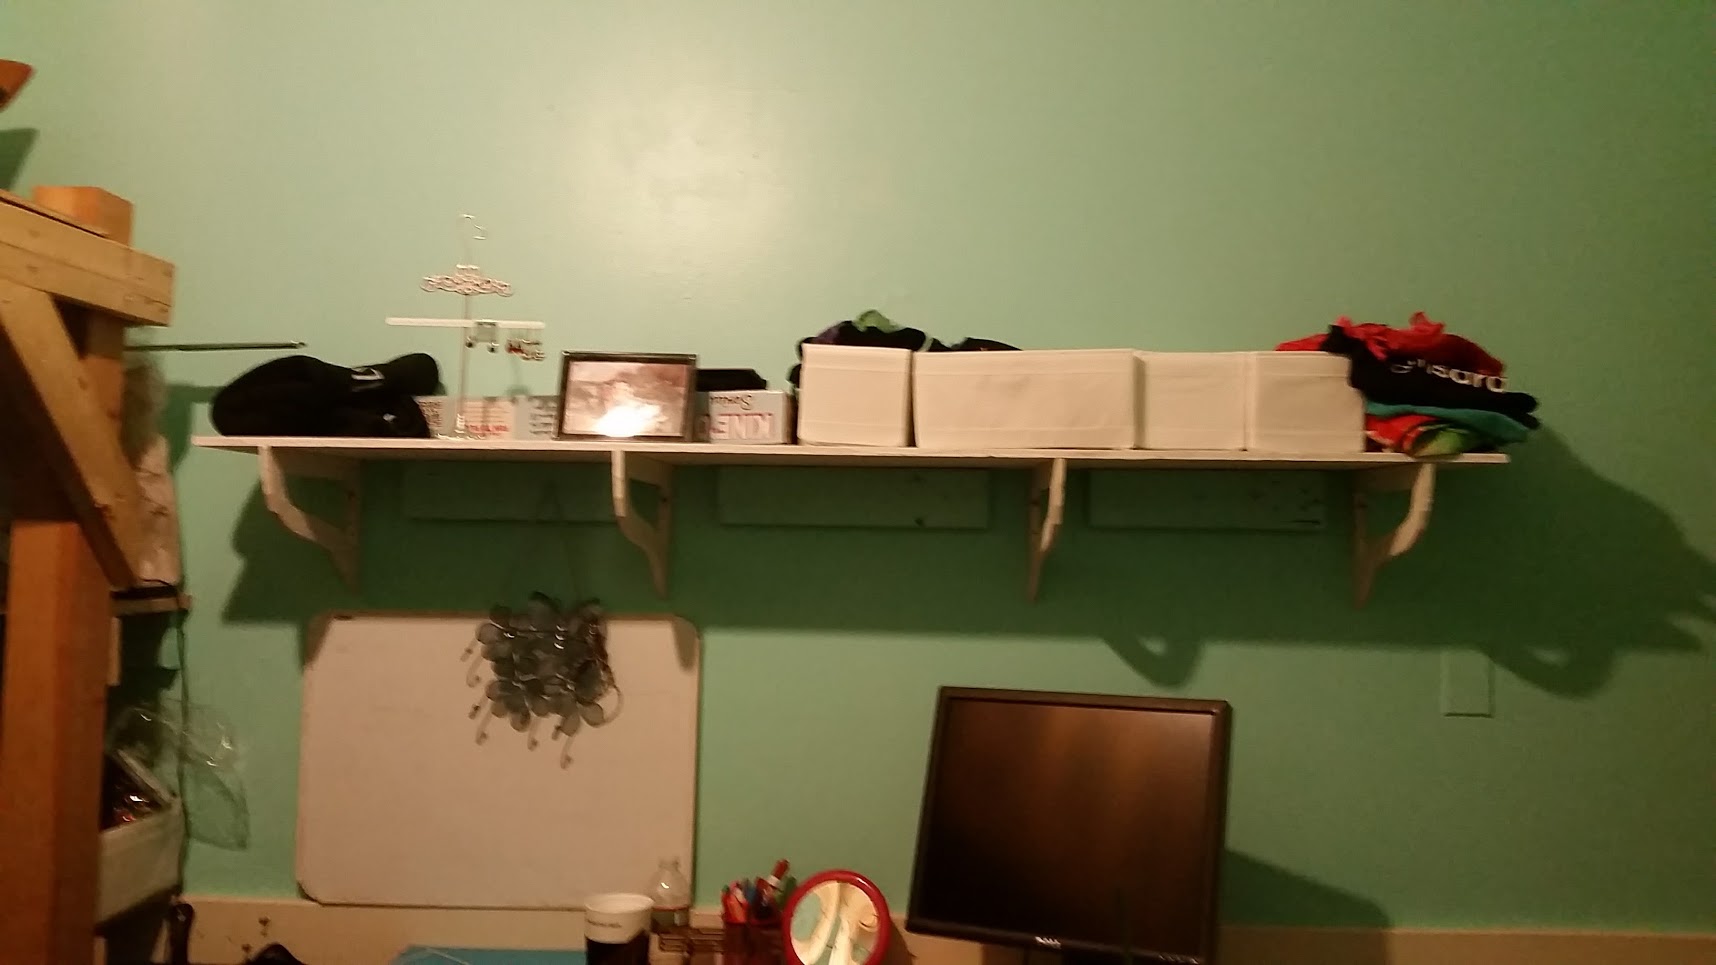
UPDATE: here's what the finished shelf looks like on the wall!
Some of the screws wouldn't go into the wall for unverified reasons (probably a stud or pipe or something) so I ended up adding extra support beneath the shelf with 2 x 4s. The finished thing is pretty sturdy for what I want to put on it, and it goes really well in my room. I definitely feel the benefit of added space already, so I'm happy!
 I saved the file as a .dxf and got ready to cut it!
 I decided to use the second one because it was quicker to cut and easier to sand/clean (although now I wish I had used the first one because it's more fun-looking and unique.)
These pieces looked alright, so we went ahead and made more paths and finished cutting out everything.
I decided to use the second one because it was quicker to cut and easier to sand/clean (although now I wish I had used the first one because it's more fun-looking and unique.)
These pieces looked alright, so we went ahead and made more paths and finished cutting out everything.

 The plan is to screw the flat board to the supports, and then the supports to the wall. I plan to do it later in the week.
UPDATE: here's what the finished shelf looks like on the wall!
Some of the screws wouldn't go into the wall for unverified reasons (probably a stud or pipe or something) so I ended up adding extra support beneath the shelf with 2 x 4s. The finished thing is pretty sturdy for what I want to put on it, and it goes really well in my room. I definitely feel the benefit of added space already, so I'm happy!
The plan is to screw the flat board to the supports, and then the supports to the wall. I plan to do it later in the week.
UPDATE: here's what the finished shelf looks like on the wall!
Some of the screws wouldn't go into the wall for unverified reasons (probably a stud or pipe or something) so I ended up adding extra support beneath the shelf with 2 x 4s. The finished thing is pretty sturdy for what I want to put on it, and it goes really well in my room. I definitely feel the benefit of added space already, so I'm happy!