- design a 3D mold around the stock and tooling that you'll be using, machine it, and use it to cast parts
- Make something cute/unique!
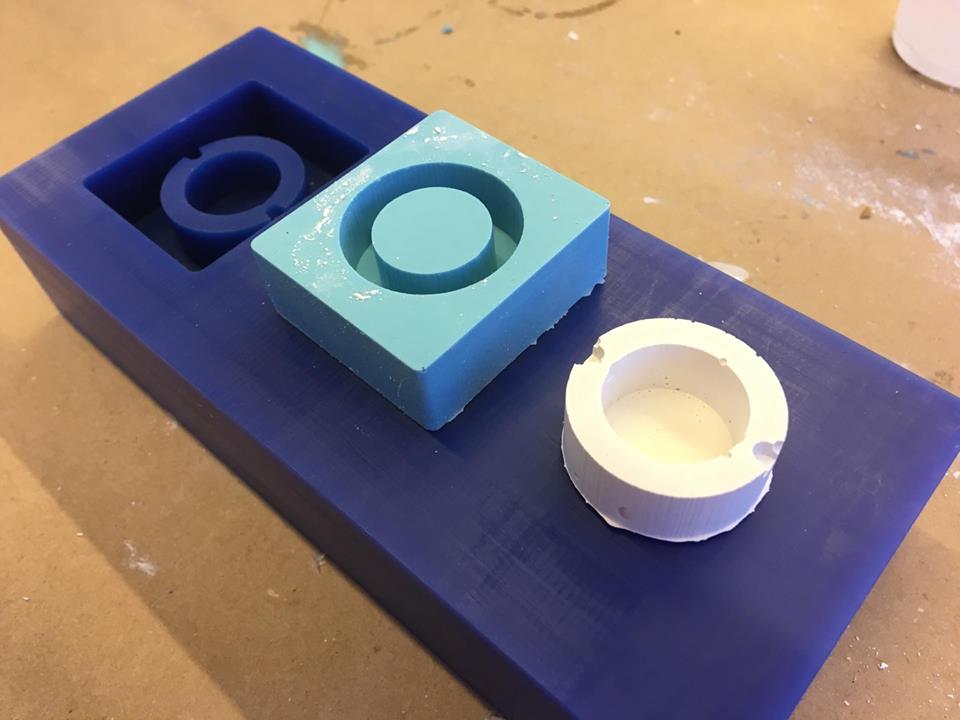
This week, I learned how to make a positive wax mold, then ffrom that a negative oomoo mold, and from that a positive plaster-of-paris object. This was one of my favorite weeks, even if my initial design didn't work. It's just fun to make the molds and the plaster objects, and they turn out really nice.
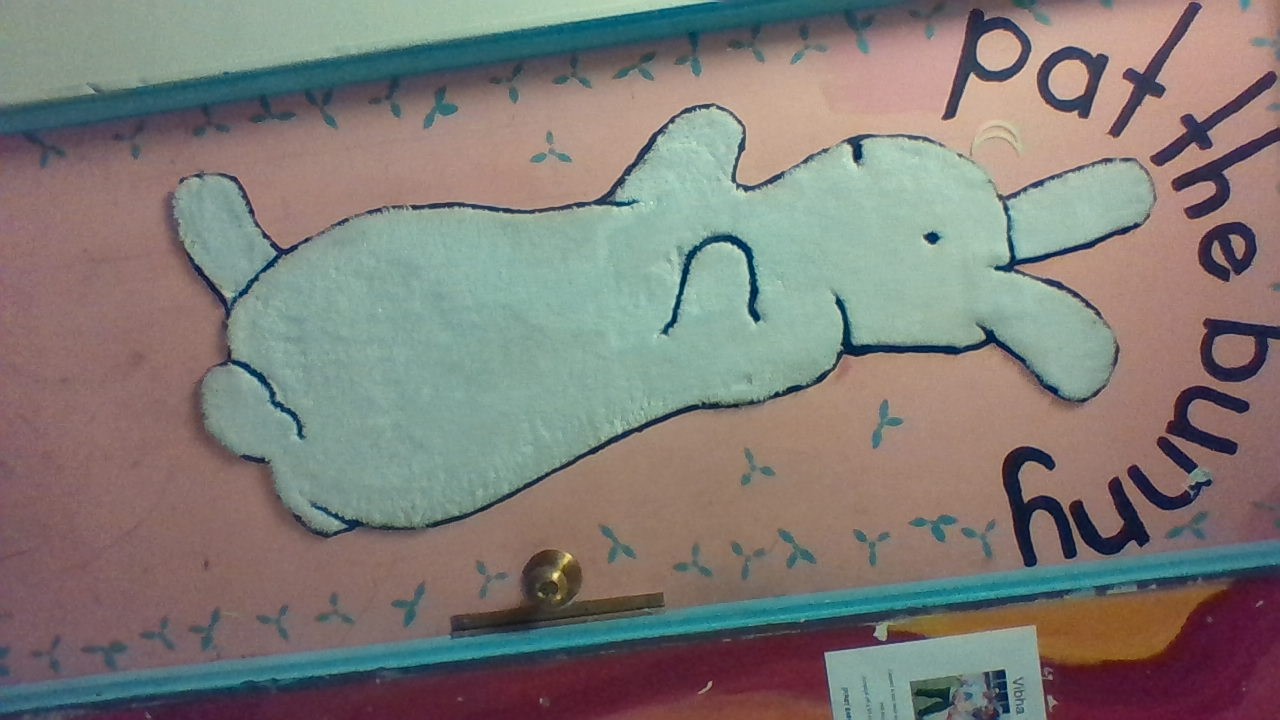
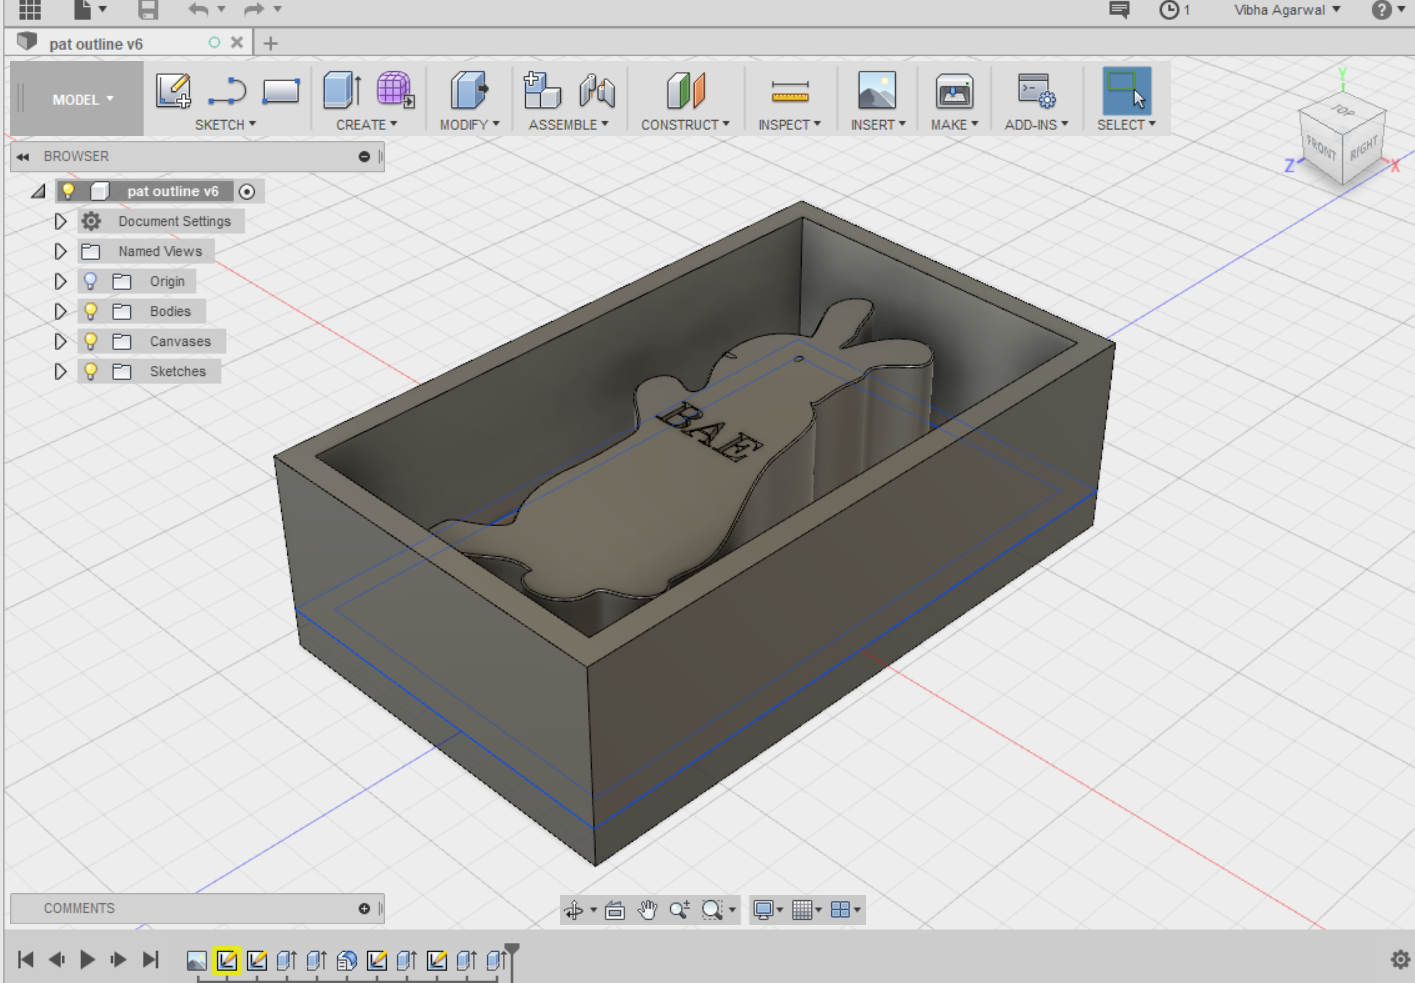
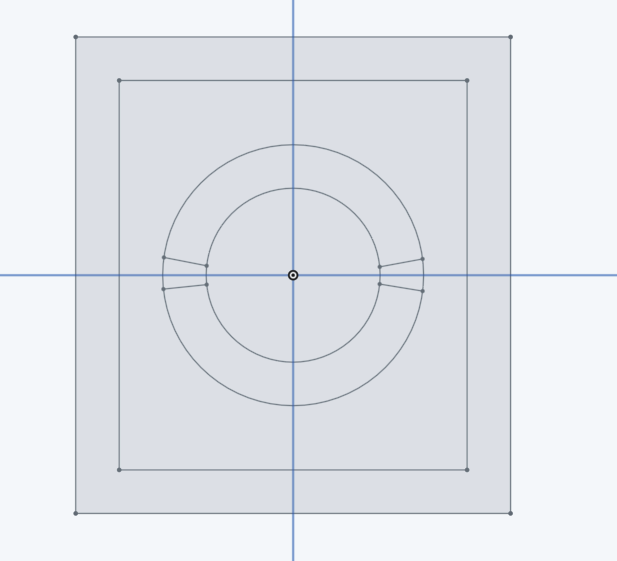
I wanted to make chocolate molds for my hall; I thought it would be cute if I made a mold of the bunny on my door with our fake coed-sorority letters (BAE) on it. I took a picture of my door, created a canvas in fusion, traced the bunny with splines, and then made the walls around the bunny. I ran into quite a few complications with such a complex shape, but here's what it looked like:
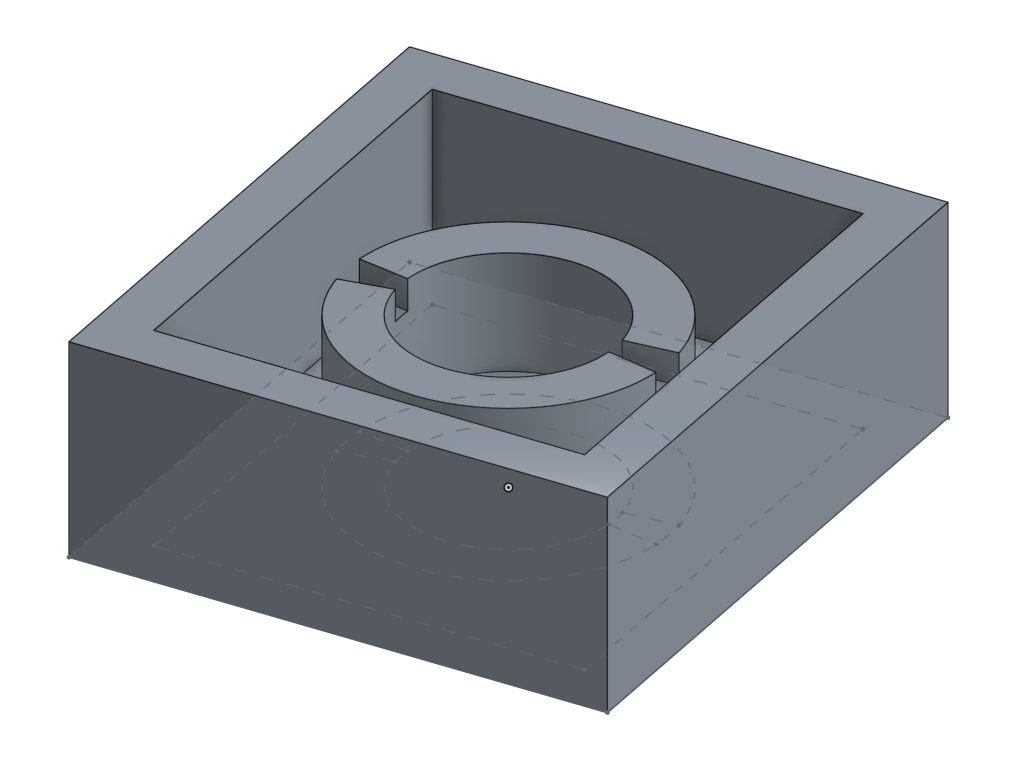
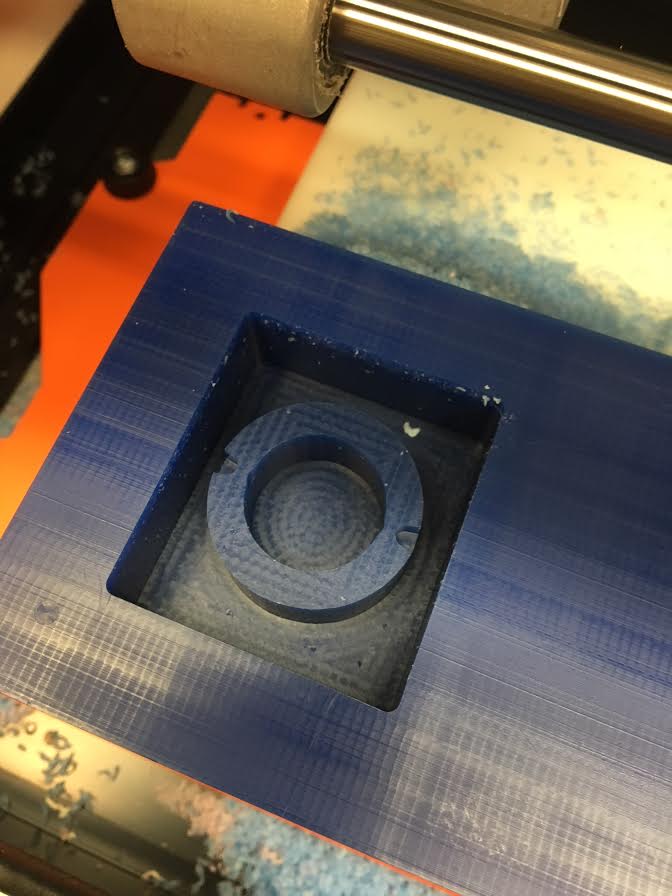
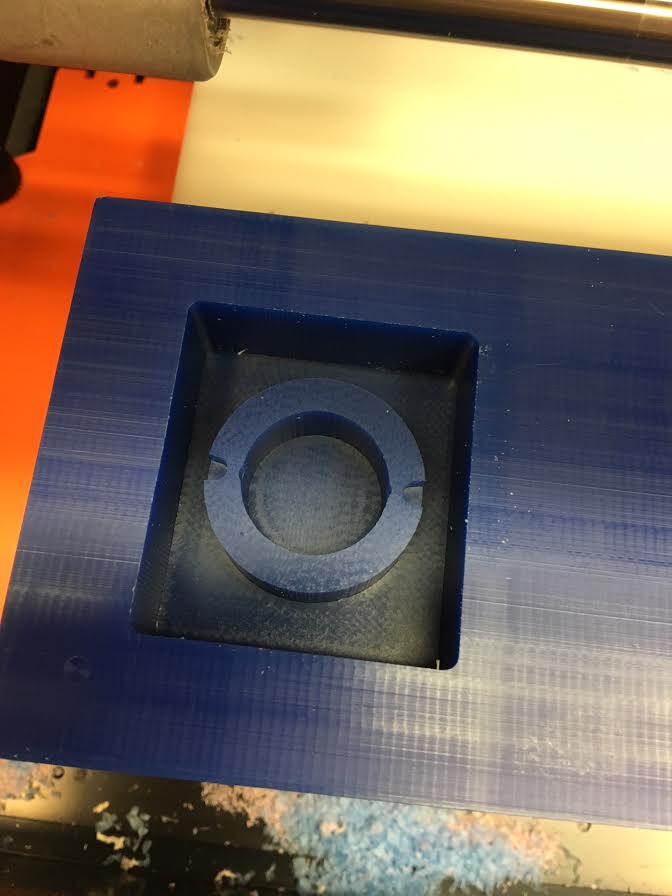
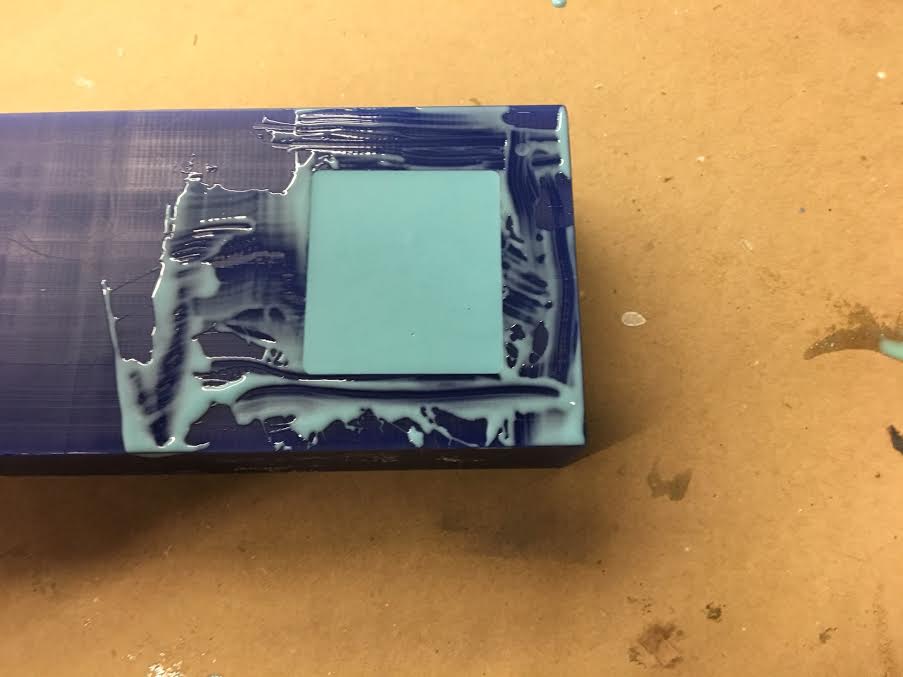
We had learned how to use the machines during our training; I decided to use the Roland to do my mold. We used fabmodules instead of mods for this. This was much easier to set up than the bunny. I set the scale to 1.25 to make it slightly smaller than my CAD, and set the dpi to 500, half the default. Then I calculated heights, set up the rough wax finish, and sent it to cut. Then I sent it through a smooth wax finish. This is what it looked like after the rough (left) and the smooth (right).
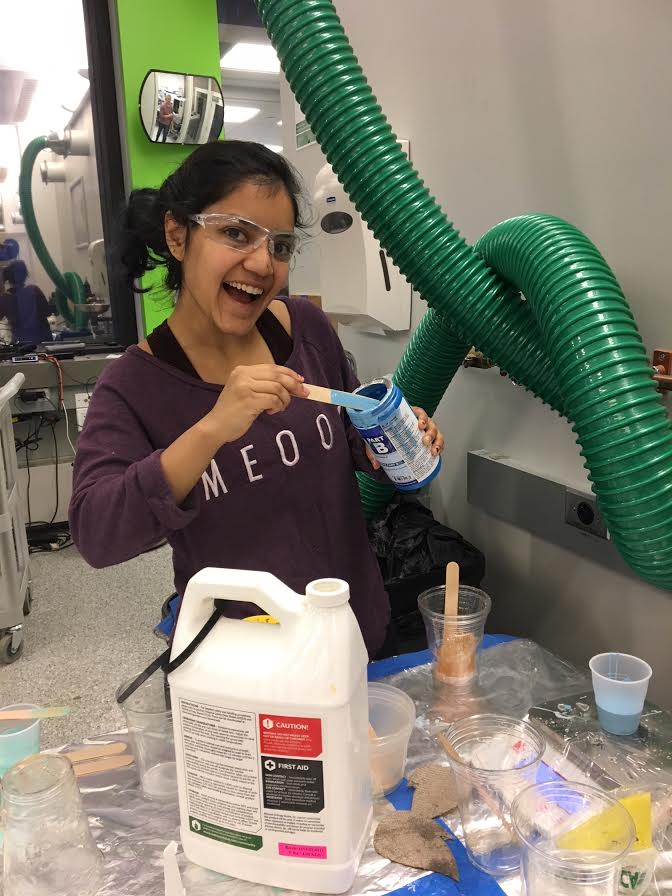
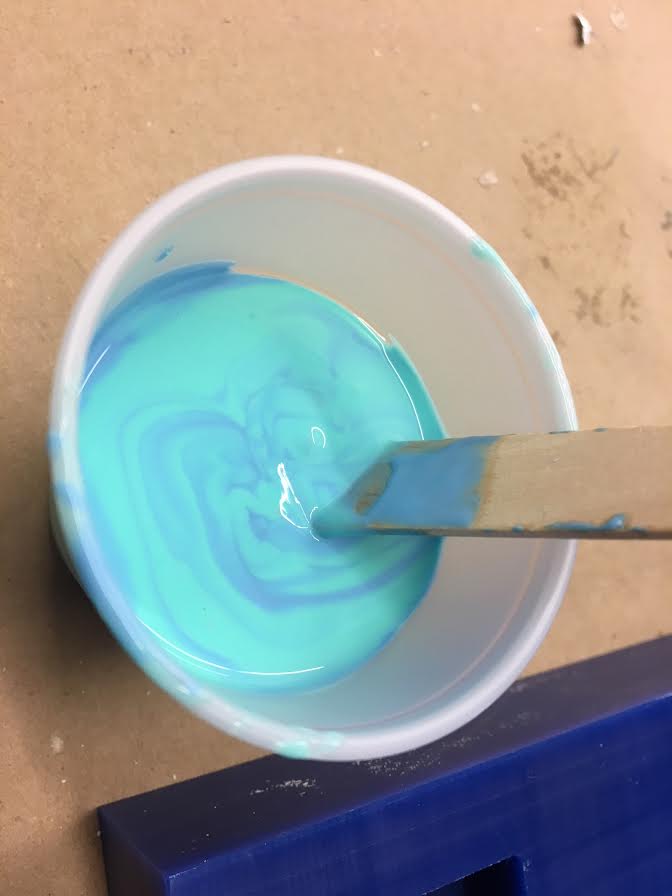
Making the oomoo mold was really simple. We had to mix Parts A and B in equal proportions by volume, or a 5:6 ratio by weight. I did it by weight because there was a scale handy nearby. I made sure it was mixed all the way, trying to avoid bubbles (and letting them settle when they inevitably appeared). Then I poured it into the wax mold, and let it sit overnight.

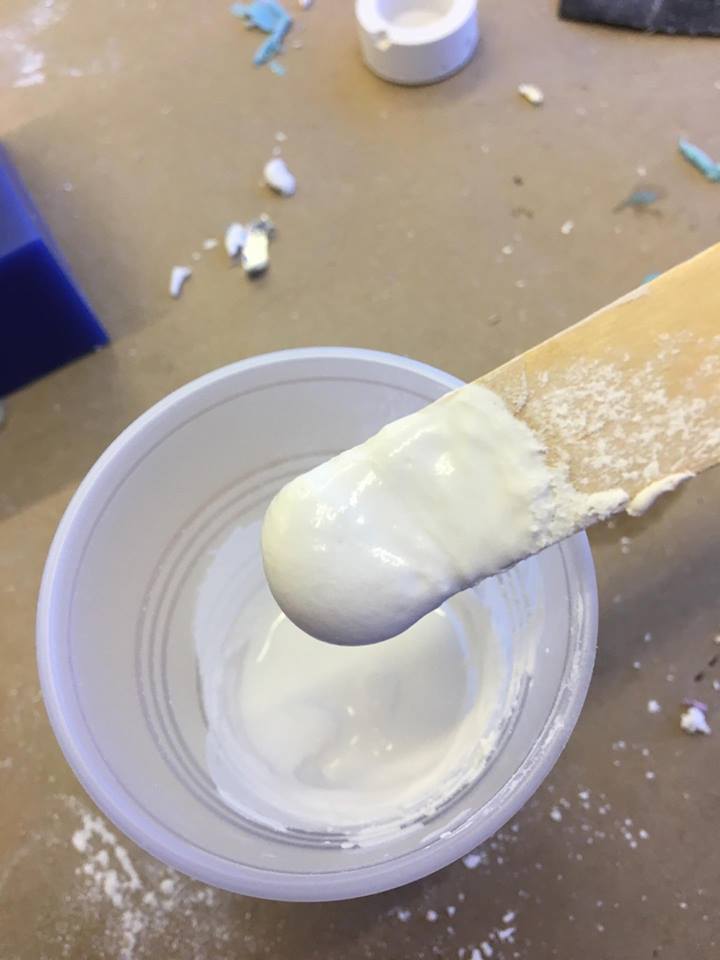
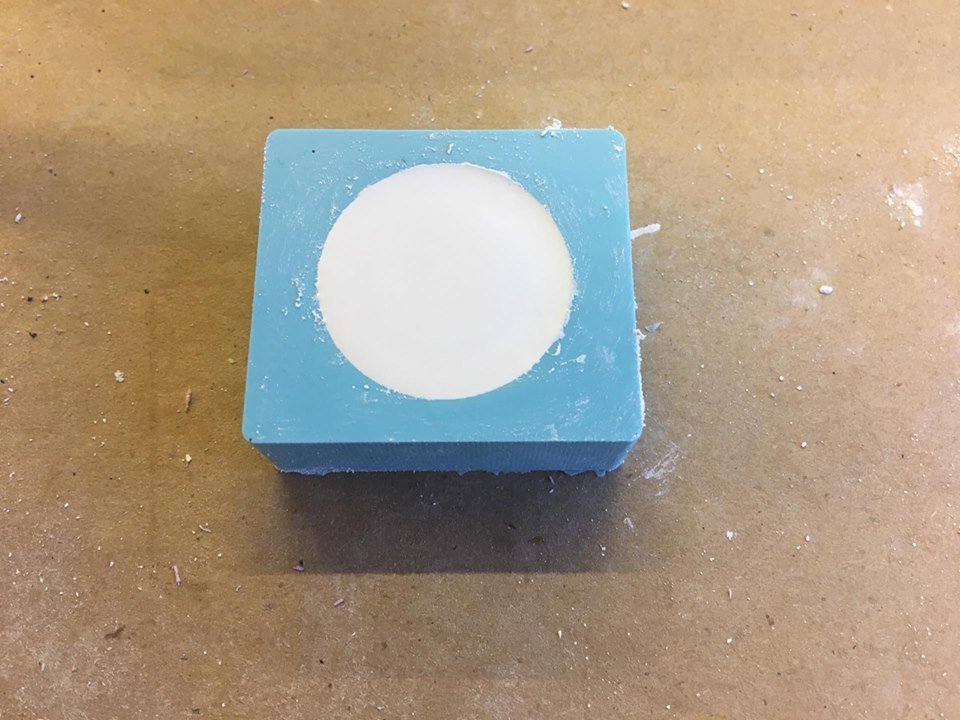
Mixing the drystone was the most fun part. I mixed about 15 grams of powder with 3 grams of water, slowly adding the powder to the water and avoiding bubbles. Then I poured it into my mold! Even though I only need two, I've already made four because it's just so fun!
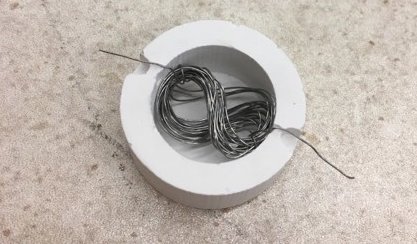
 I also tried wrapping and puting kanthal (resistive heating wire) into the mold to get ready for some wax melting testing.