Week 11: Interface and Application Programming
"Priyanka Learns HOW TO MAKE an App that Connects to Hardware!"
For my eleventh assignment for How to Make (Almost) Anything, I learned how to design an Android app on AppInventor that I plan to use for my final project. The goal is to be able to control a set of LEDs embedded inside a thick and thin textile shell--based on the pressure sensed from a force pad embedded inside a ball of foot pad--for my LED shoe final project.
I started off by checking in with Natalie, our friendly App Inventor inventor and liaison, who took me through a tutorial of App Inventor.
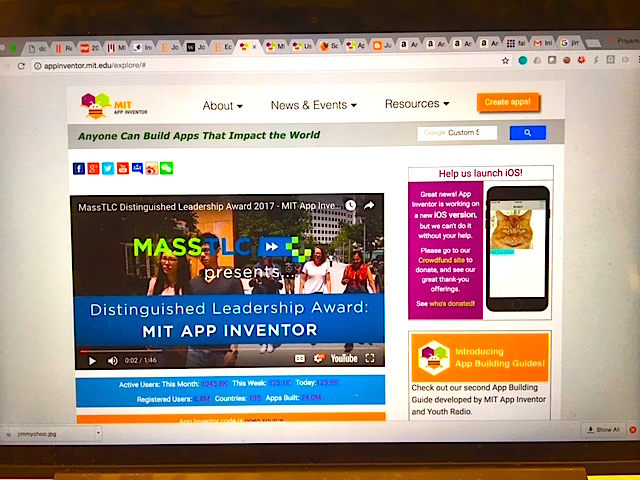
Figure 1: AppInventor Home Page
Here above is the home page for the tool. And below is my first attempt at creating the user interface screen for my app. It is very similar to Scratch, which I played with when I was growing up, and so the app interface itself was quite intuitive.
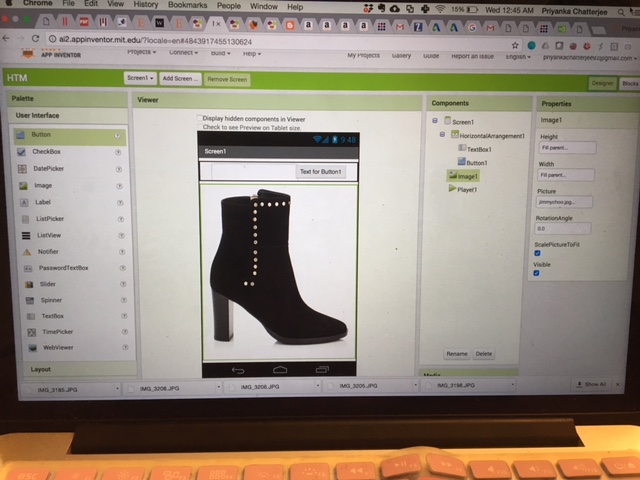
Figure 2: Designer Page of AppInventor
You can see above that I am already thinking about incorporating my final shoe project here, but I did do some other interesting things with sounds that Natalie taught me. In order to make the app interactive, you can set the different commands to do something. So, with Natalie's help, I was able to put in a mp3 file of a cat meowing.
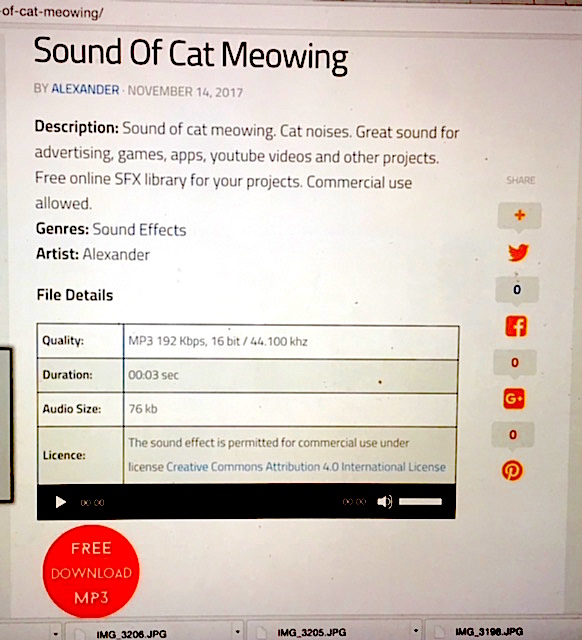
Figure 3: MP3 File - Cat Meowing
And then, below, a mp3 file of a dog barking
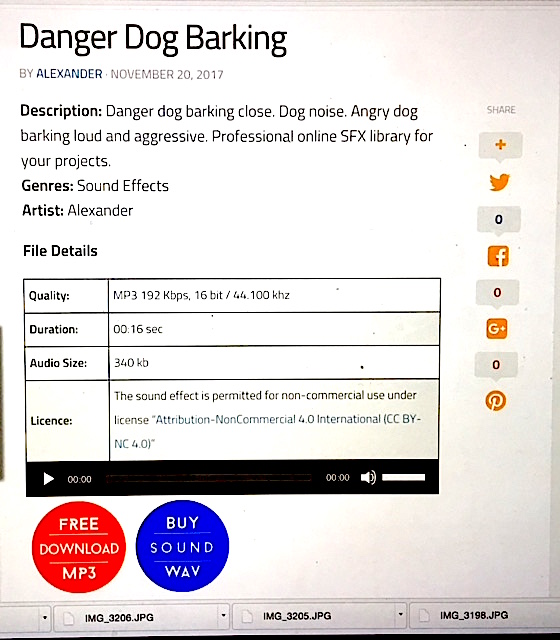
Figure 4: MP3 File - Dog Barking
From there I then created an if-then statement to connect the textbox and button that I inputted into my designer workspace for AppInventor to actually making a cat and dog noise when typing in "cat" or "dog" (respectively) in the textbox. Here is my "code" below.
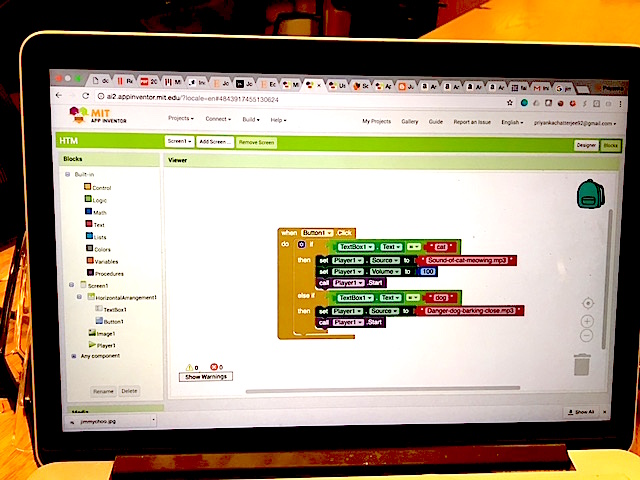
Figure 5: Code Scratch-like Page of AppInventor
To learn more about the interface itself, I was directed to the question marks by each element, and can then go deeper into what they all are doing.
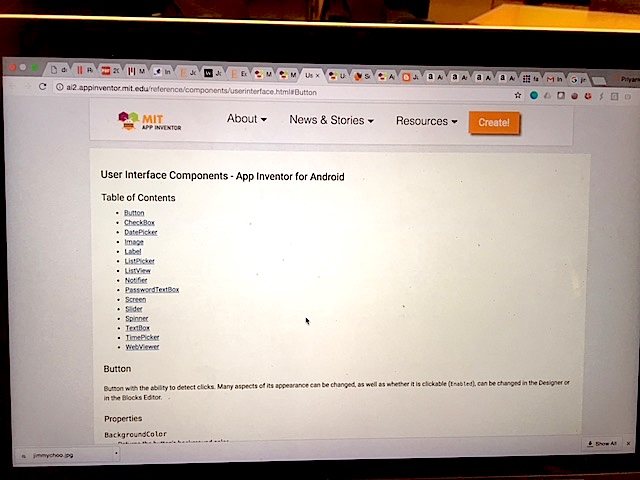
Figure 6: Useful ReadMe Page for Features found in AppInventor
I then looked at how I can exploit AppInventor further and actually use it for my final project. Natalie referred me to some tutorials on both the AppInventor site and the internet where makers all around the world have used the AppInventor software to create embedded systems using Bluetooth (which we will be doing for our final projects as well). I came across a very similar project to mine (not too hard, I guess) where a team in China created a varying BLE Bluetooth LED Strip. The step-by-step procedure can be found in Juliet's Blog, a screenshot of which is below.
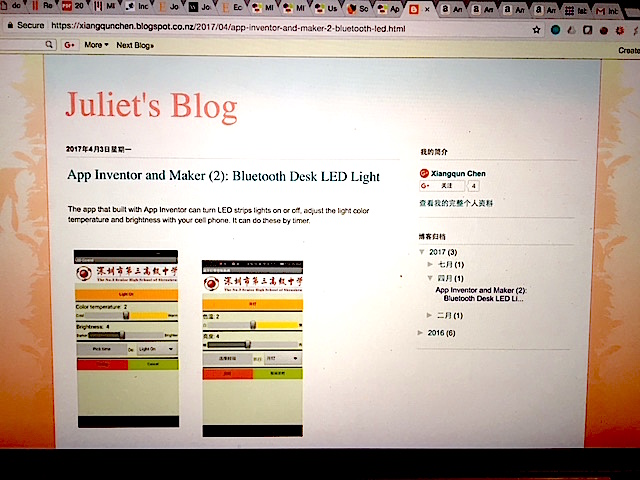
Figure 7: Useful Site for BLE for LEDs
The Chinese team even put together a video which I looked into closely and took notes for actually integrating this App into my final embedded systems project.
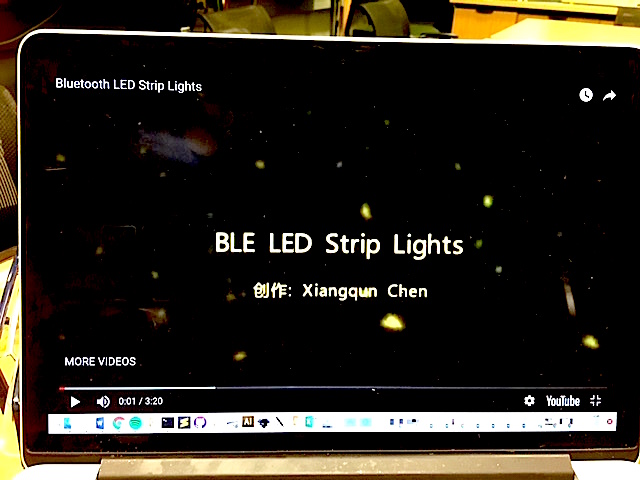
Figure 8: Starting the Useful Project Video
I was able to get a lot of insight into how the apps can be then connected to the hardware-software system, and I plan to duplicate this to some degree for my final project.
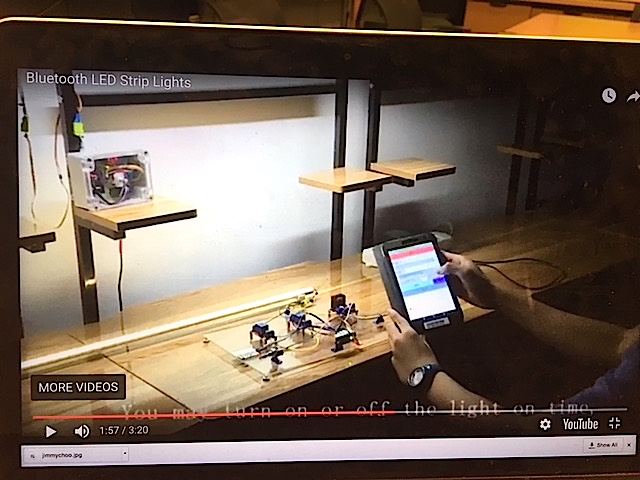
Figure 9: Project Demonstration Screenshot
Please check my Final Project Page for updates on this week's learnings and implementation!