Week 7: Molding and Casting
"Priyanka Learns HOW TO MAKE a Castable Shoe Sole in a Milled-Out Wax Mold!"
For my seventh (whew!) assignment for How to Make (Almost) Anything, I decided to continue my shoe-themed semester by attempting to design my first shoe sole in CAD, mill it out inside a block of wax using both rough and finished cutting on the Roland SRM 20 mini mill, mix Ooomoo silicone mold to pour into the wax cavity, and then cast DryStone into the Oomoo mold to create an actual part.
Before we got started with the week, we had to first be trained with the equipment, its software, and learn how to mix and pour the Ooomoo material properly to ensure a bubble-free mold.
Gavin started us off teaching us the software in the Roland SRM 20 mill (the same one we used for electronics production) through the fabmodules.org softward that Neil created, to download the STL file, set in the initial parameters, generate the toolpaths, and send the file to the mill to mill out our part.
Then, that Sunday, we learned what it takes -- the mixing and measuring tools (shown below) and all -- to mix the two parts of Oomoo properly and get an acceptable mold set and ready for casting.
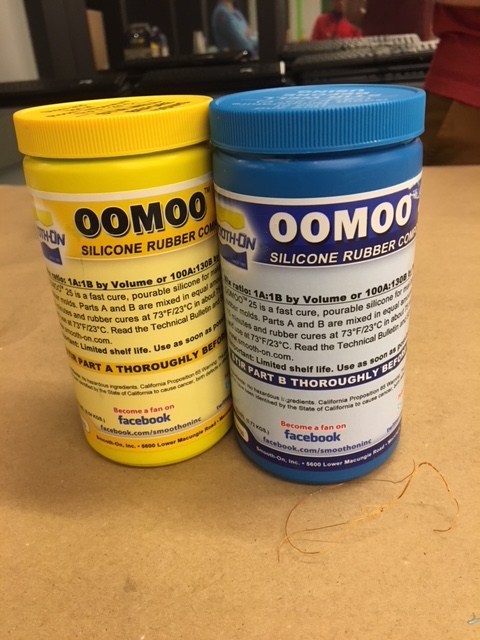
Figure 1: The 2-Part Oomoo
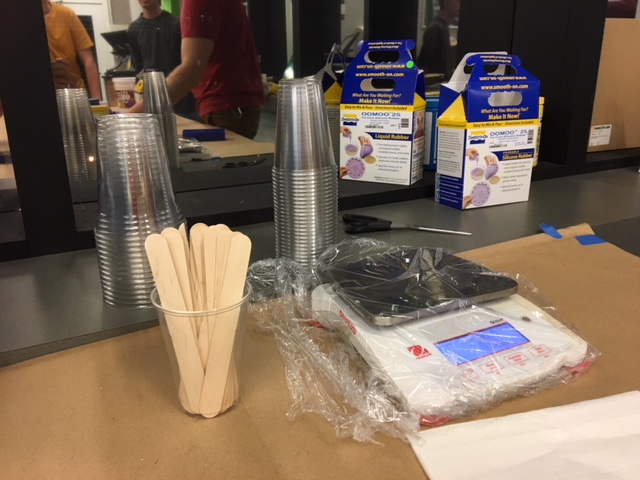
Figure 2: The Measuring Tools for Pouring & Mixing
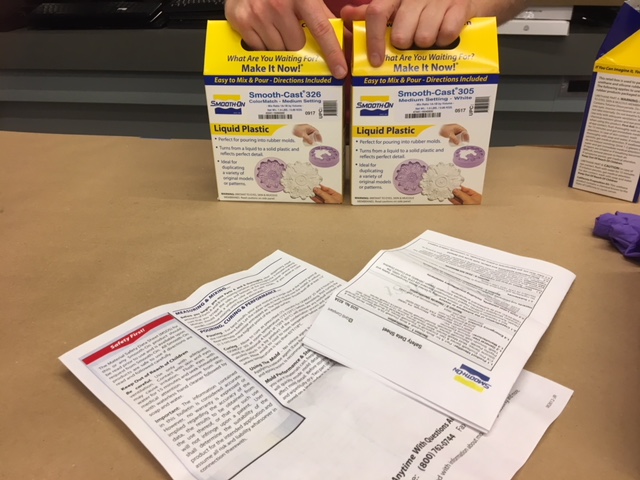
Also, here is some fancy casting material to create rubbery plastic shapes in our molds (which I plan to use for my final project when making my shoe's sole).
Then it was finally our chance to dive in! I really wanted to design a shoe, and I have never designed a shoe in CAD before, so that step actually tookthe longest for me this week. I started off sketching out the idea on paper, and figuring out what features I would need and the necessary steps I need to take in creating the CAD. I turned out to be harder than it looks. I went from iteration to iteration to finally, (ON TUESDAY!) getting to an acceptable design inside the wax mold.
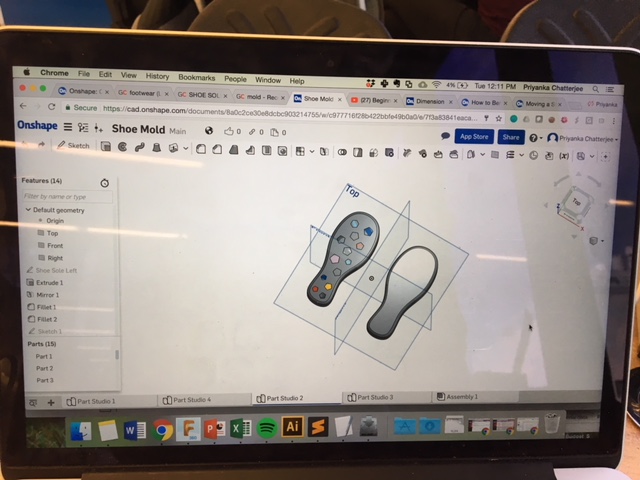
Figure 4: CAD Detail Practice
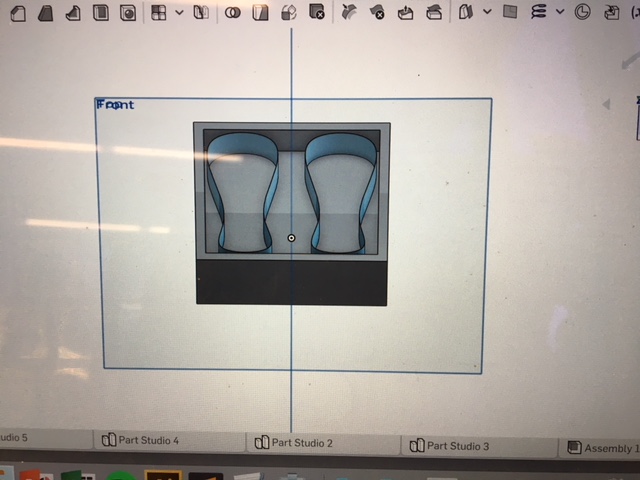
Figure 5: CAD Extrude Fail
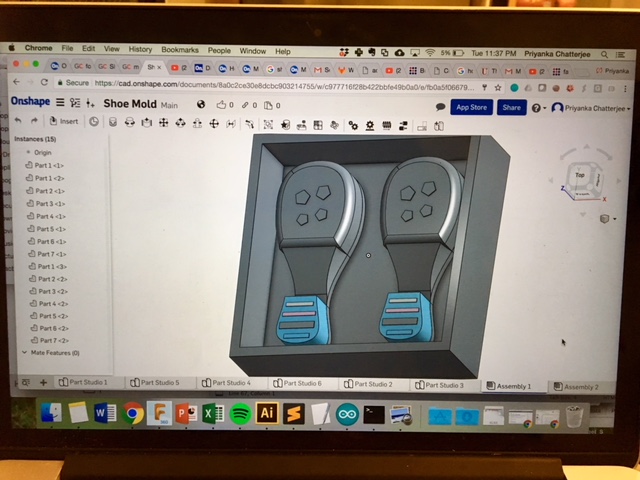
Figure 6: Final CAD Design in Onshape
Then it was time for me to actually do the milling on the Roland SRM 20. I converted the Onshape file to an STL format and then downloaded onto teh FabModules.org software. It was a little intimidating first, but once I read the directions from our TA Gavin, in the EECS lab section, and with his help, I was able to calculate the toolpaths for both the rough cut and the finished cut and then send both cuts to the printer (with wax shaving cleaning in between) :P.
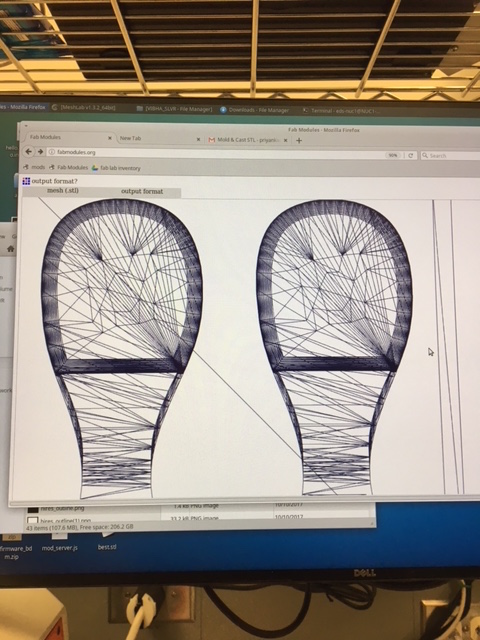
Figure 7: Toolpaths Generated from STL File
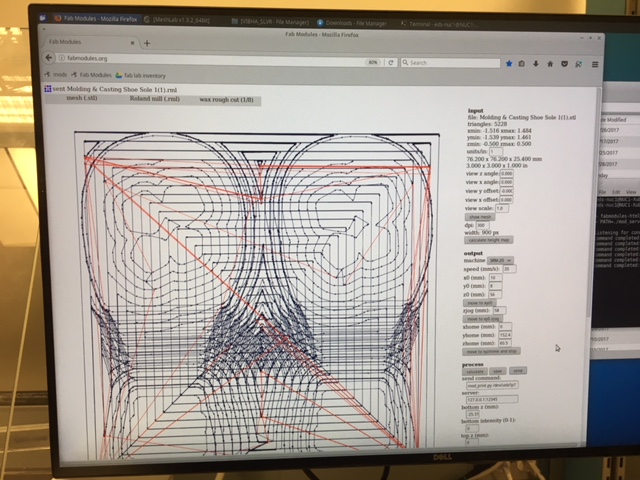
Figure 8: Rough Cut Toolpath Generated in FabModules
Once I set the origin, I made sure the dpi (resolution) was not too high and positioned the endmill effectively. Finally, I was ready to start milling!
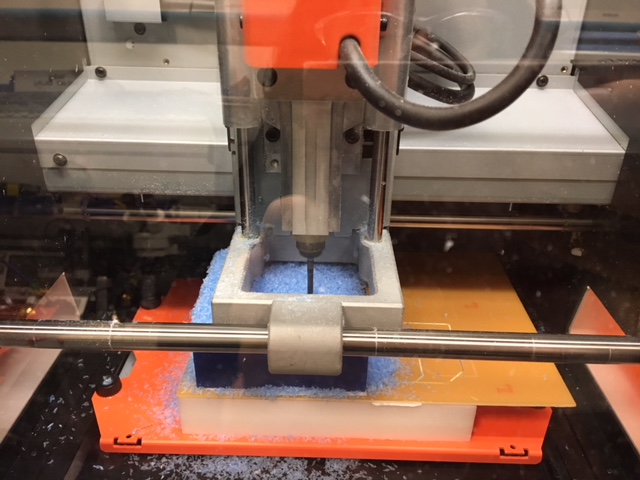
Figure 9: Milling my Wax Block!
After about an hour, the rough cut was finally completed, but at first, all I could see is a mountain of wax chip shavings ^_^
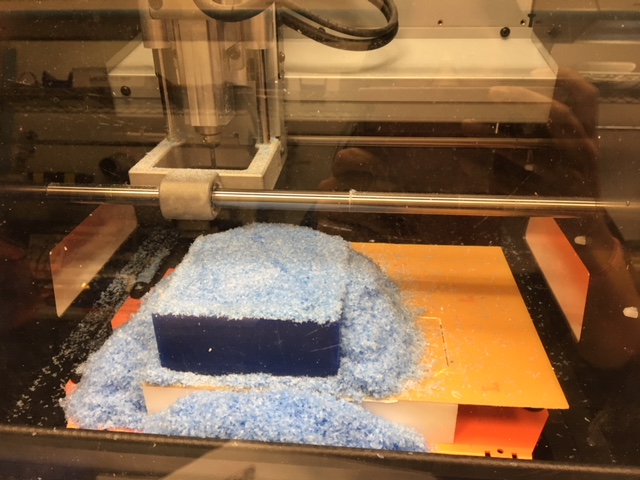
Figure 10: Wax Chip Avalanche
I then calculated the toolpath for the finished cut:

Figure 11: Finished Cut Toolpath Generated in FabModules
And then milled it out to get my final mold:
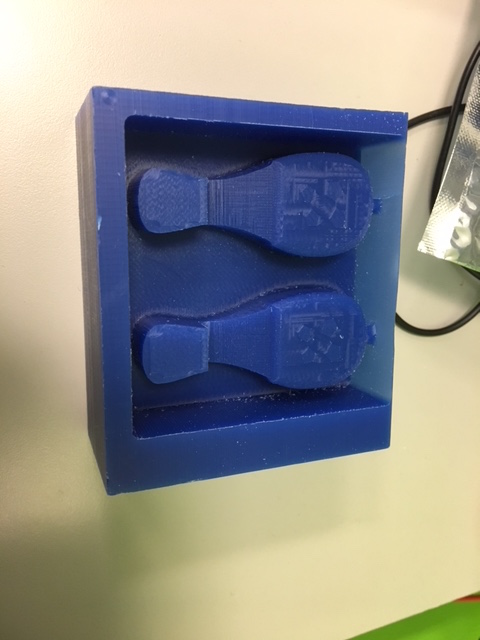
Figure 12: My Finished Mold!
Sadly (but at least somewhat fortunately) one wall side is very thin because the design barely fit inside the wax block. Already some parts (of the wax) were breaking on that side, and so, with the help of my labmate Ben, I reinforced the mold with some painter's tape.
It was finally time to get mixing! I started off gathering my materials and then started doing the mixing process where I combined 1:1.3 ratio of Oomoo Part A to Oomoo Part B, mix together in a plastic cup, transfer to another plastic cup, and then pour it carefully (to avoid bubbles in the mold) into my wax mold. The drystone part is also easy -- the instructions of mixing the powder with water are on the box, and it doesn't take long to do -- but I have yet to get to that step. I plan to finish with that right after class.
Here are all the materials I will need to finish my molding and casting assignment:

Figure 13: Drystone Casting Material at the Ready
And here I am deftly pouring and mixing the Part A Part B Oomoo combination to then pour into my wax mold.
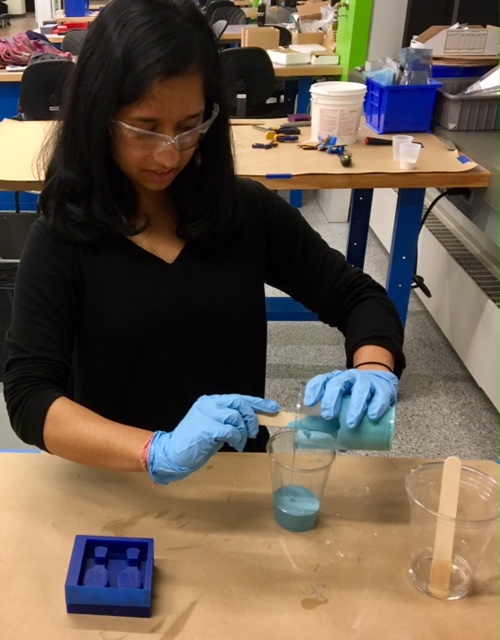
Figure 14: Me Perfecting my Mixing Technique :P
Now, here is my mold sitting and curing! I look forward to thereafter checking it for bubbles, possibly redoing the mold, and then casting the DryStone into the mold and creating a beautiful ceramic pair of heeled shoe soles. :)
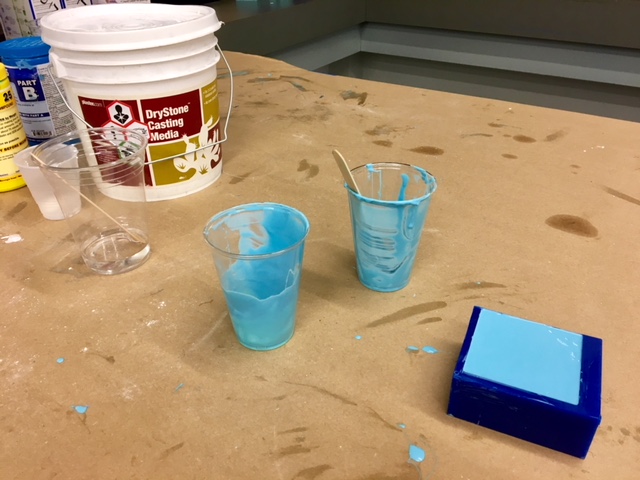
Figure 15: Mold Poured in Block to Set Overnight
To be continued!
"UPDATE!"
The day after class, I came back to check my mold and *dun dun dun* the mold was free of any bubbles!! However, one of the wax sides was very thin due to the milling bedsize abutting the edge of the wax block in use, and since also part of the mold at the top edges of the shoe die outline didn't mill out all the way, at the edge of the mold, we got two holes (and thus not a closed off cavity). Here below are pictures of the final Oomoo mold with the wax cavity.
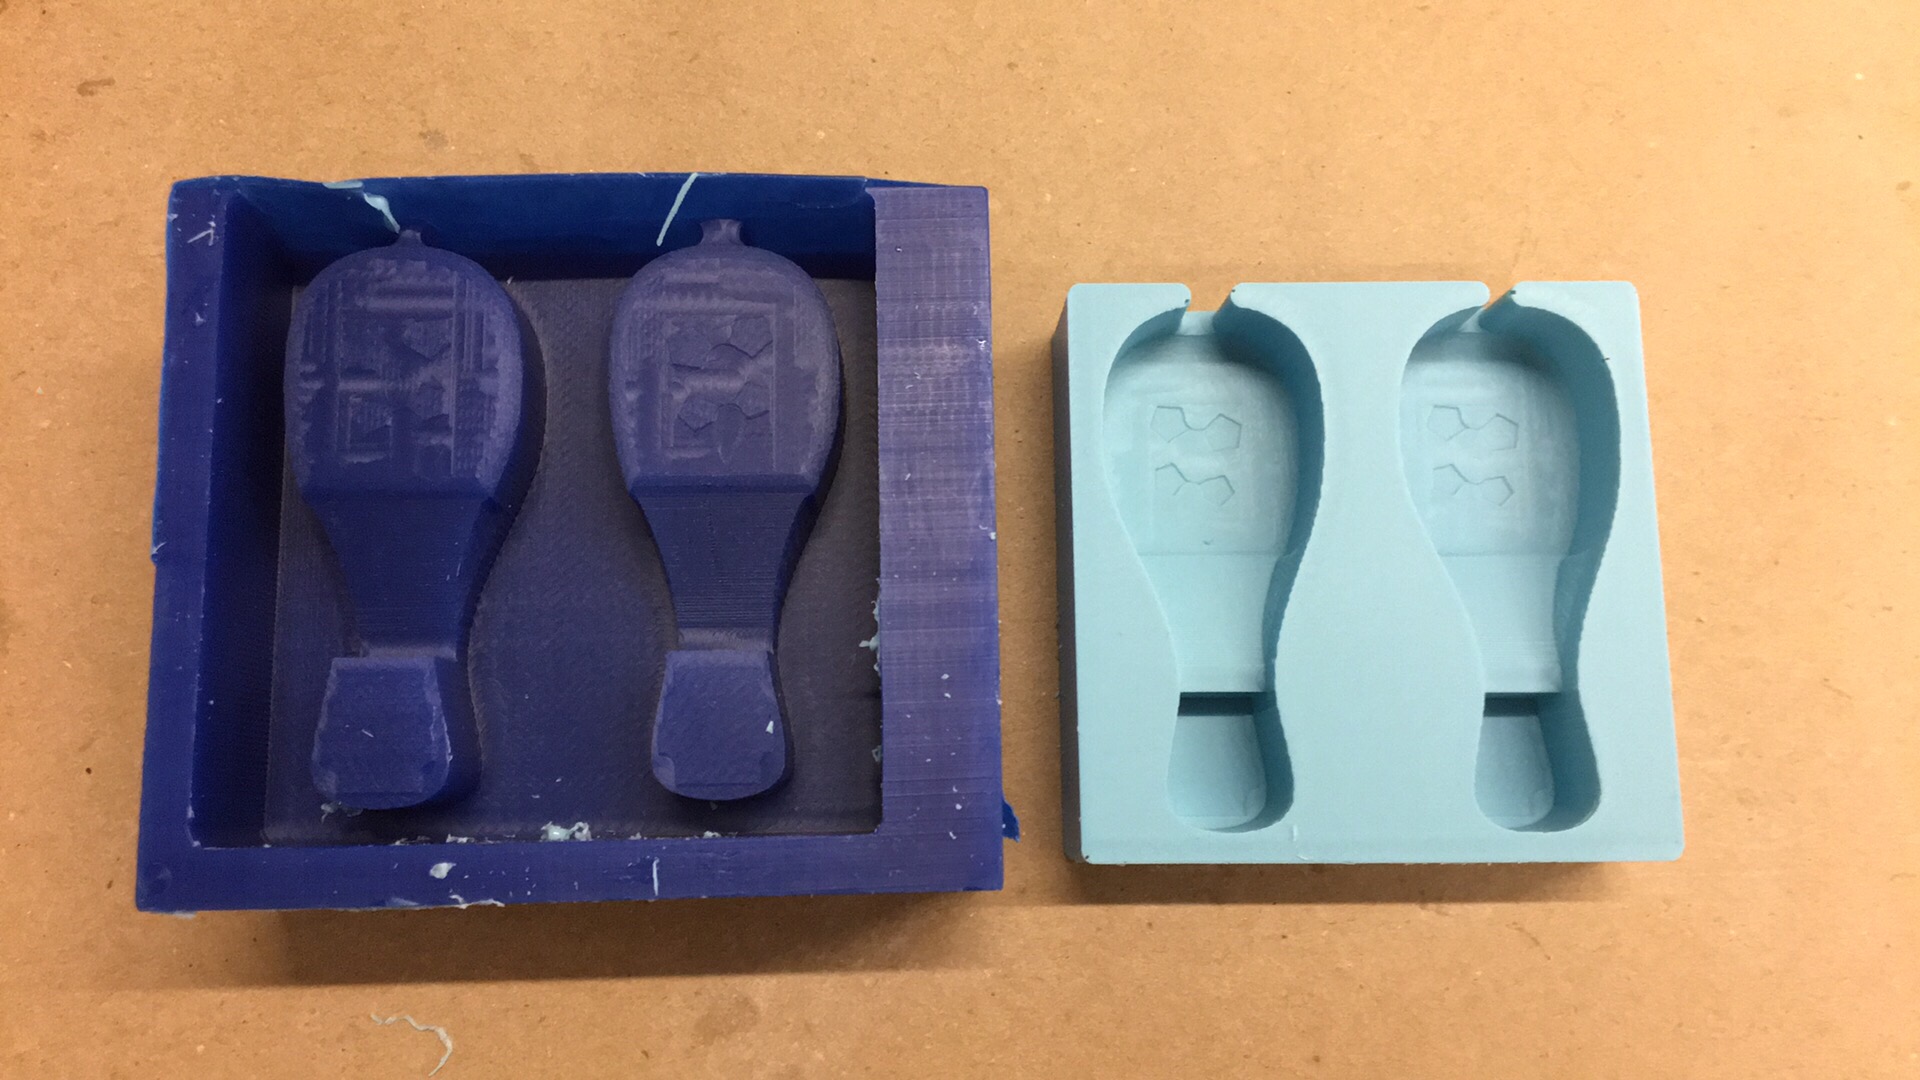
Figure 16: Wax Mold (Positive) with Oomoo Mold (Negative)
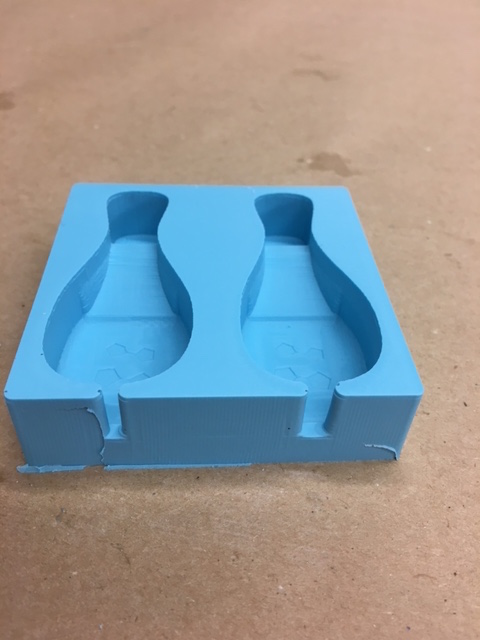
Figure 17: Oomoo Mold Holes due to Super Thin Wall of Wax Mold
I then moved on to the next step of preparing the Drystone. I first read the instructions to determine safety measures (for example, you don't want to inhale this stuff, so keep a distance from the particles -- though for small volumes, no need to use a fume hood, it seems) and the mixing ratio for drystone and water. It looks like a very small amount of water (9:50) ratio of water to drystone powder is needed for mixing and then pouring into my mold. I created the mixture with the proper ratio, but, in my haste, I didn't realize I didn't make enough drystone slurry to fit into my Oomoo mold. I poured in what I had and then made some more, but I still didn't make enough and so part of the mold cavity was not perfectly filled in. Also, due to the top edges of the mold having holes, I had to constrain that side of the mold with a piece of corrugated cardboard. Since masking tape apparently does not stick to the cardboard very well, I had to create a little cardboard fort that compressed against the holes and kept the drystone slurry from not seeping out of the mold cavity, which you can see below.
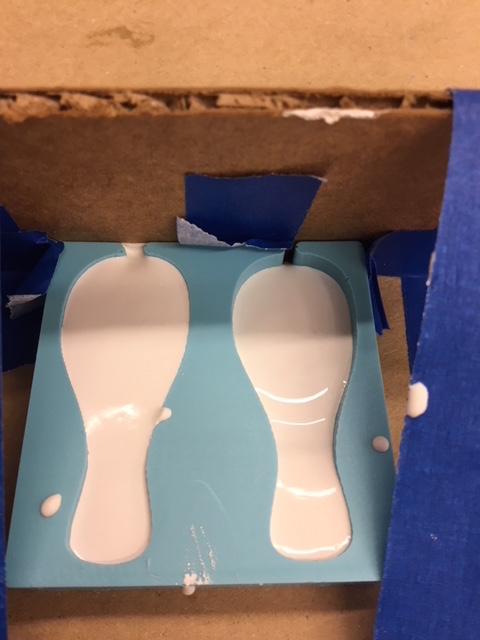
Figure 18: Drystone Casting Material Poured to Set
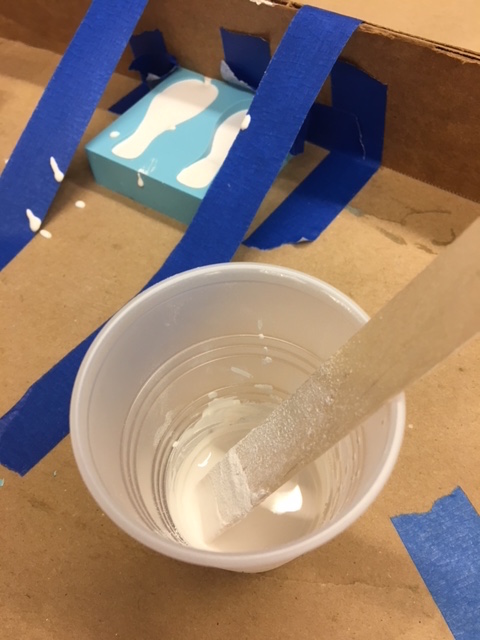
Figure 19: Drystone Casting Mixture and Fort to Keep It from Flowing Out of the Oomoo Mold Holes
Finally, I let the drystone mixture sit in the mold overnight and let it cure. The following day I took it out of the mold, and it didn't look that bad! I then put the drystone casts into my bag and brought them home, when one of the "shoe beds" readily broke at the thinnest width section. Nevertheless, here are pictures of two orientations of the drystone shoe castings 1. showing the overflow of the drywall at the point where holes were protruding from the cavity 2. Showing a thin crack when I accidentally dropped the model
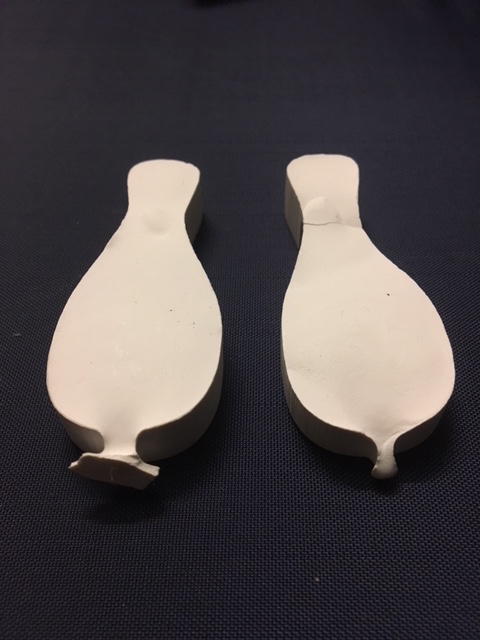
Figure 20: Unfortunate Overflow of Drystone from Holes
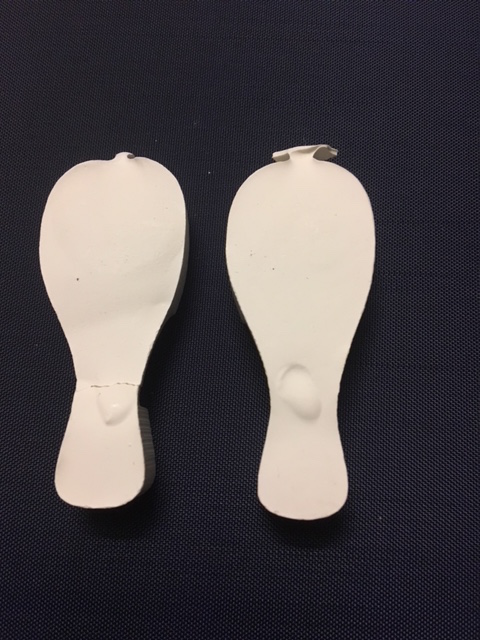
Figure 21: Drystone Cast Model with Crack
YAY! Now to preparing for my final project of actually molding and casting a rubber outsole and rubber insole of my LED "morphable" shoe!! Please see the Final Project Overview page for more! :D