Understanding Composites
We've all probably heard of certain composites such as carbon fiber and generally associate good material properties with them. The word composite itself means being made up of multiple parts or elements. With composite materials, we use a combination of a fiber mesh and add in a hardening resin in order to achieve both strong tensile strength and the ability to withstand strong compressive forces. Other examples of composites include reinforced concrete, plywood, and figerglass.
To dig into why composites are so strong, you have to visualize the composite a bunch of parallel sheets. When you apply pressure (force) to one side of the sheet, the fabric sheets closer to the force want to compress, and the fabric sheets on the other side of the composite want to stretch. But due to the tensile strength of the fiber part of the composite, the material is easily able to restrict this force.
Lots of composites like carbon fiber and fiberglass are extremely hazardous to work with because of the small fibers that can get stuck in your loungs if inhaled. In order to work with those materials, percautions such as industrial ventilation, respirators, goggles, gloves, and other safety materials. The materials we used this week aren't nearly as hazardous, but safety glasses, gloves, and good ventilation were used.
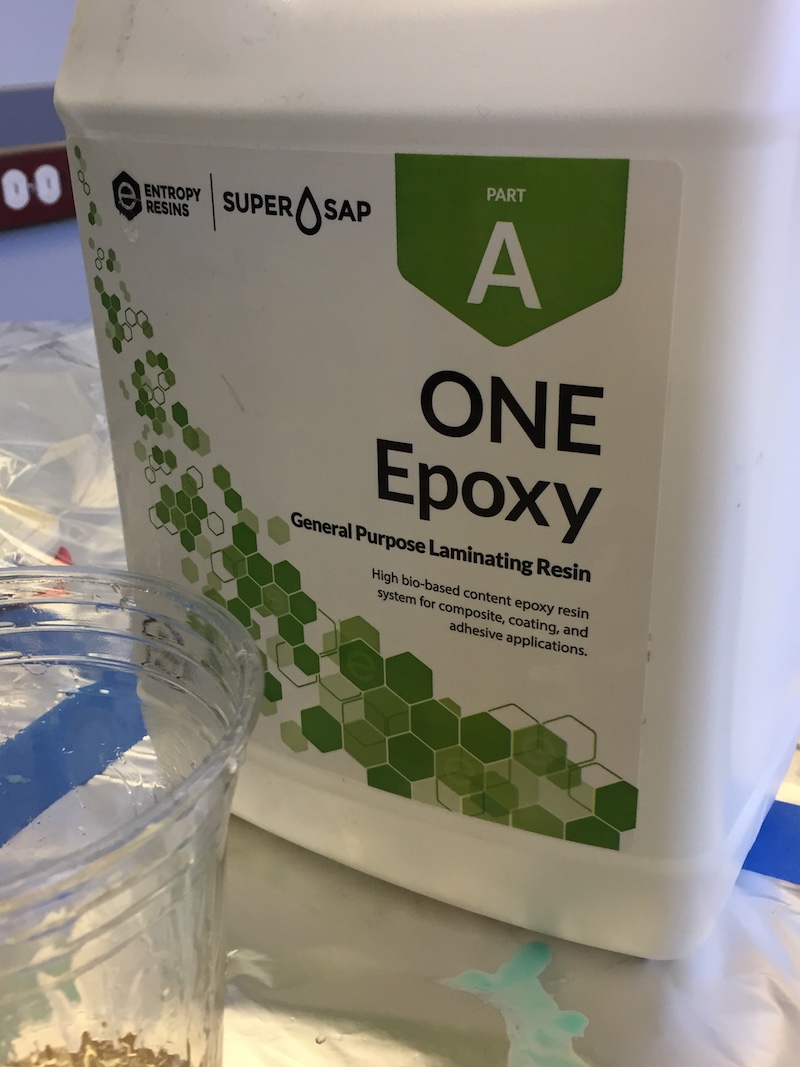
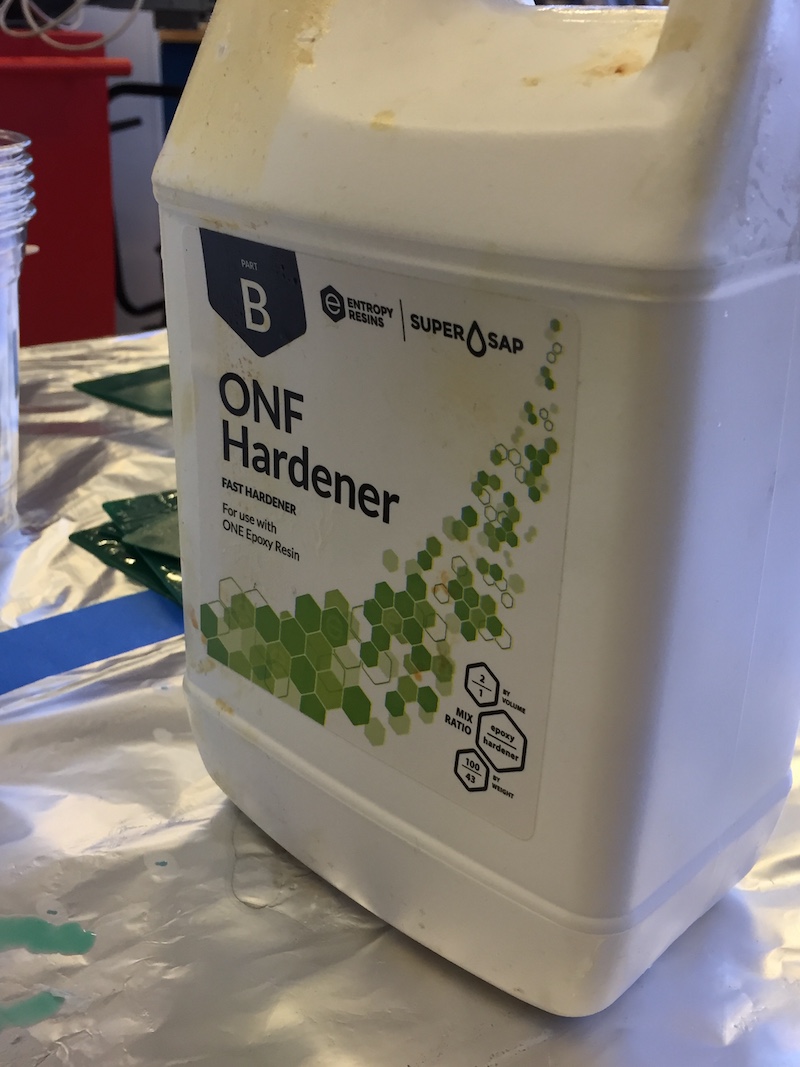
The fiber material I used this week was Burlap fiber. And the type of resin I used was this ONE Epoxy and ONF Hardener. These are high bio-based content which means it's much less of a hazard than dealing with glass fibers or carbon fibers.
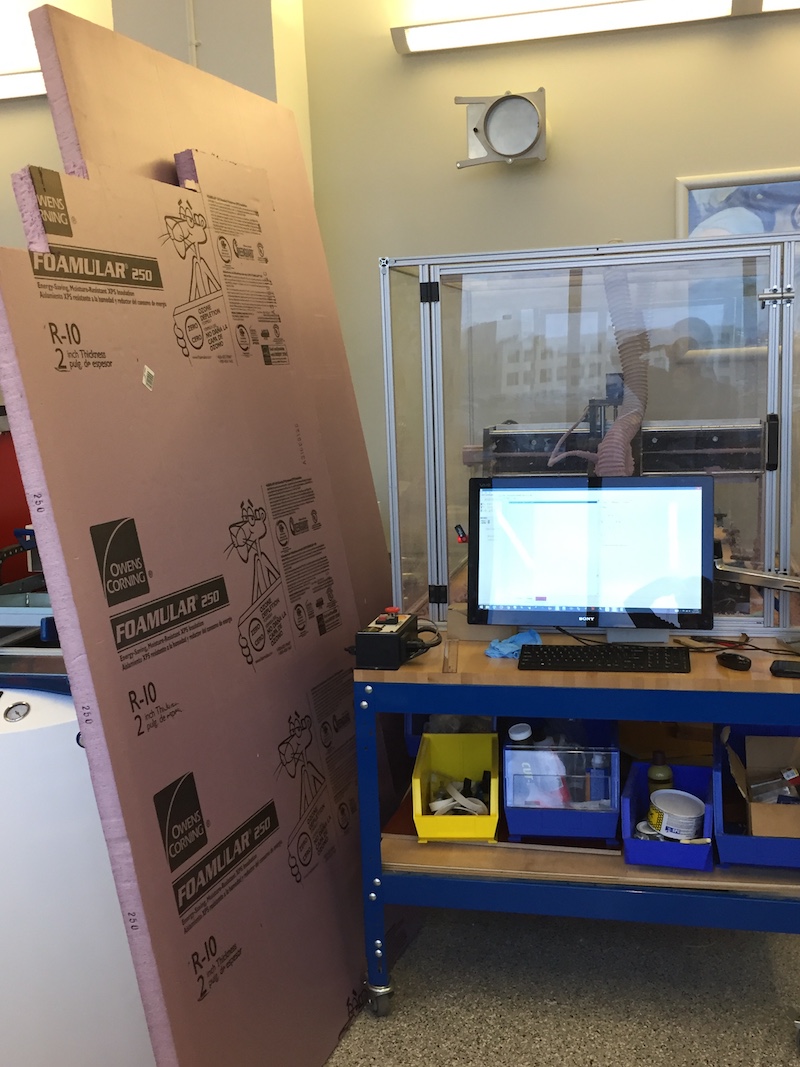
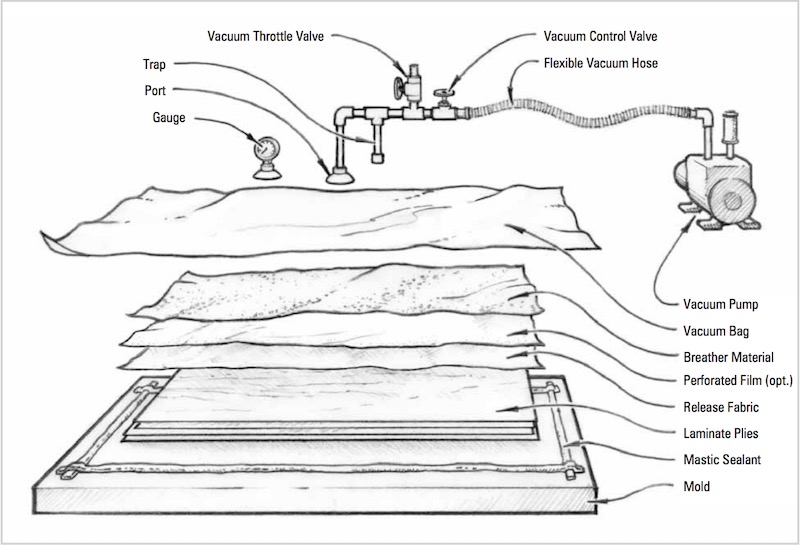
In addition to the fiber and resin elements, there are other things necessary to properlly molding a composite. This includes the mold itself, a sealant for the mold, a release fabric, breather material, and a vacum bag and pump (or just a clamp system). All these elements fit together in a way easily described by the following graphic:
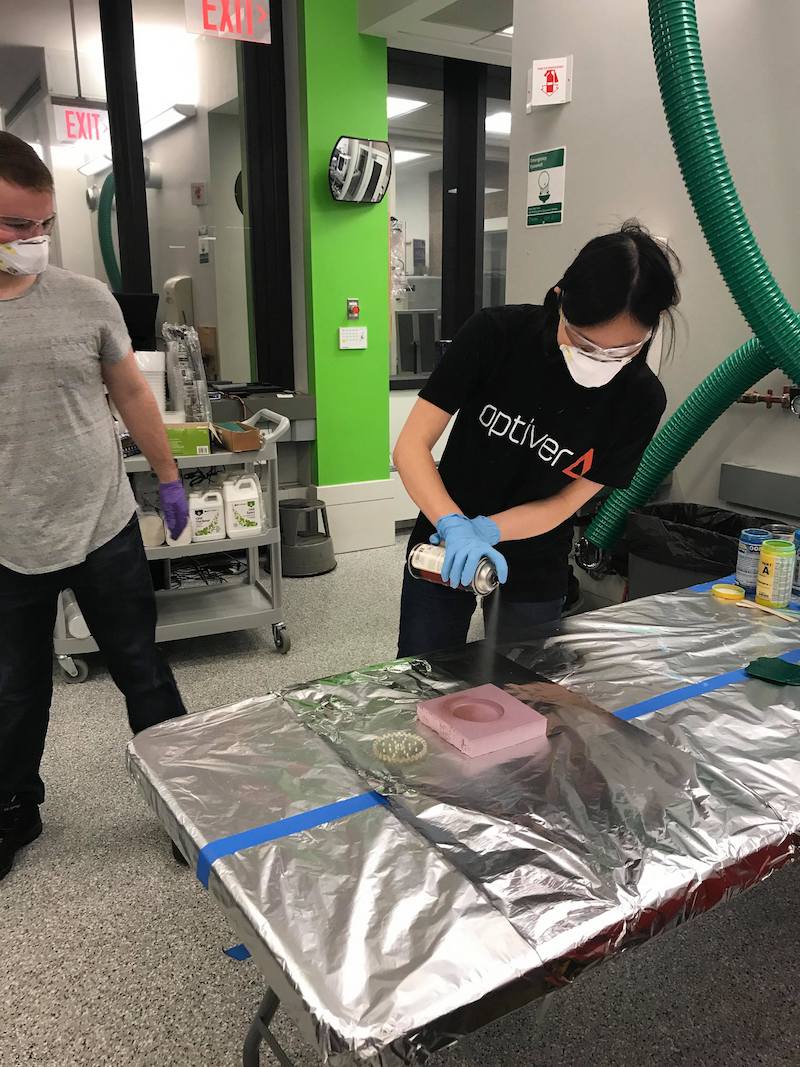
Making a Coupon
A coupon is just a sample composite piece that a bunch of us in the EECS class all helped to make. The shape was a drink coaster shape (stacked circles), and the purpose of doing one of these is to understand the process before attempting a more difficult shape or mold.
Right off the bat, the first thing we did wrong was directly spray the foam mold with release spray. This is supposed to go on top of tin foil or some other sealand that covers the foam mold. It turned out to react poorly with the foam as though the whole thing was eroding...

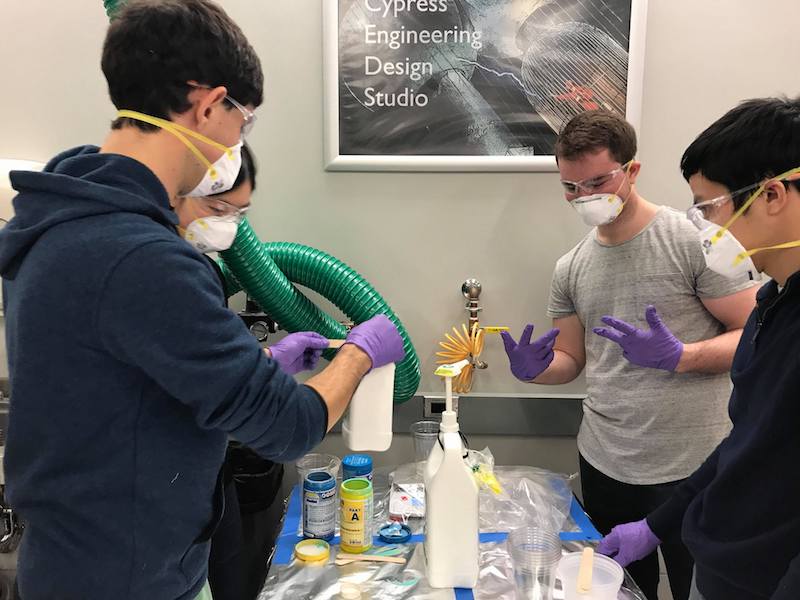
After that we mixed resin and poured a generous amount onto the burlap pieces. We were instructed to get the whole thing covered and soaked through to the other side. This being said, you don't want to oversaturate your fiber with resin because the majority of the strength comes from the fiber and not the resin.
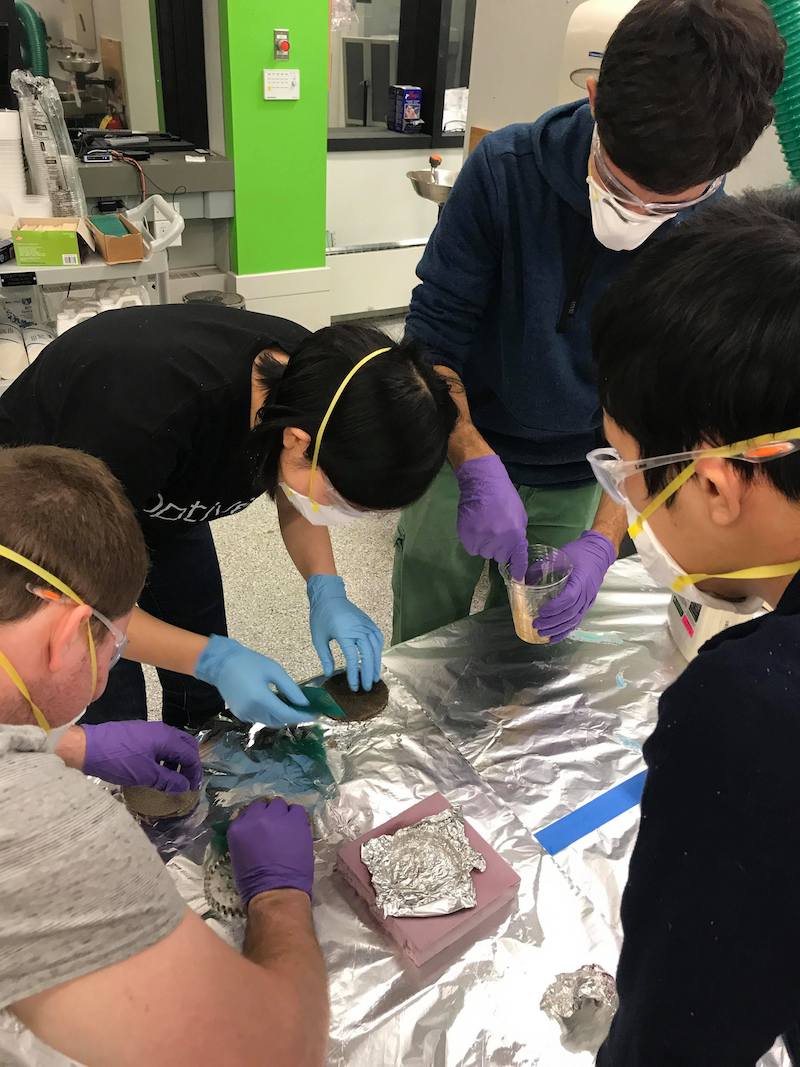
Lastly we covered the plies of resin-soaked burlap with a perforated breathable layer and then with white cotton(?) material that soaked up all the extre resin. Because the rest of my section was interested in clamping, we ended up wrapping our whole shape in tinfoil and clamping it for extra force. What this actually resulted in was an acrylic-filled composite drink coaster. Whatever we did, we couldn't get it all separated, so it was all just one hunk of different layers of material.
Making a Quadcopter Frame
For my project this week I wasn't quite sure what to do. To keep things relatively simple, I wanted to create a composite that would lie pretty much flat, but I also wanted it to be somewhat interesting. Looking around in my dorm room I noticed I had an old quadcopter lying in the corner. It hadn't worked in a couple years but I thought if I made a frame for this quadcopter, perhaps when I have more time over IAP I might be able to figure out how to recombine the rest of the electronics.
Below is a sketch of the model I created of the quadcopter frame:
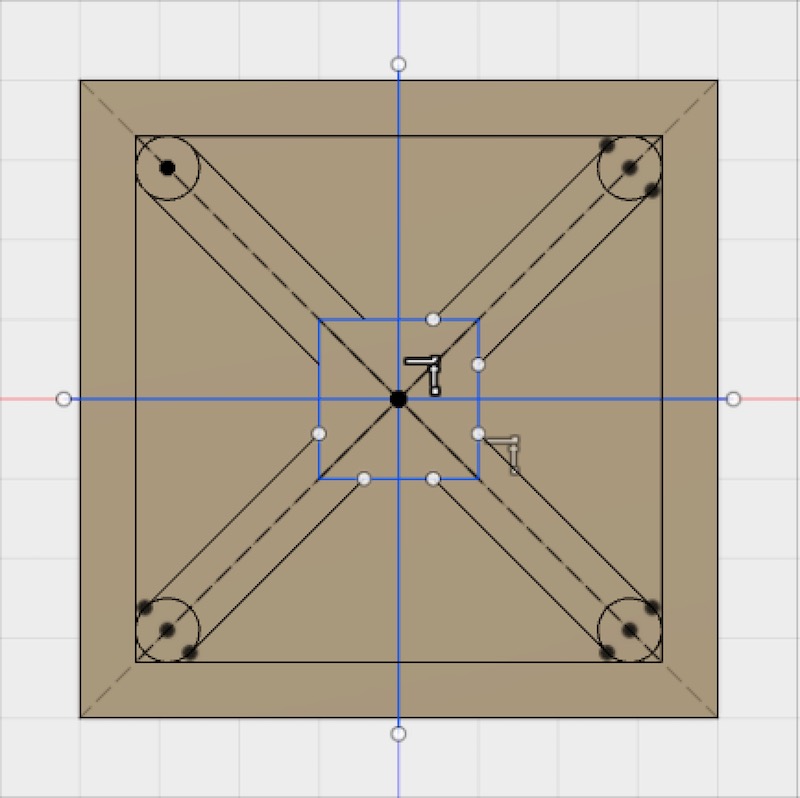
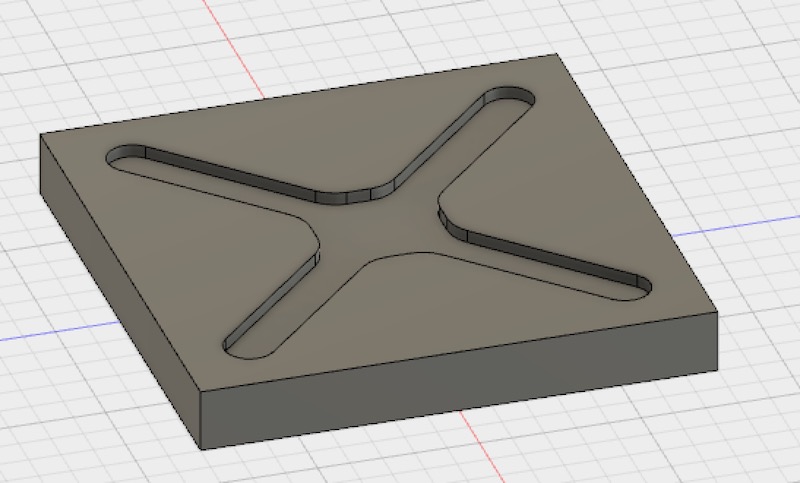
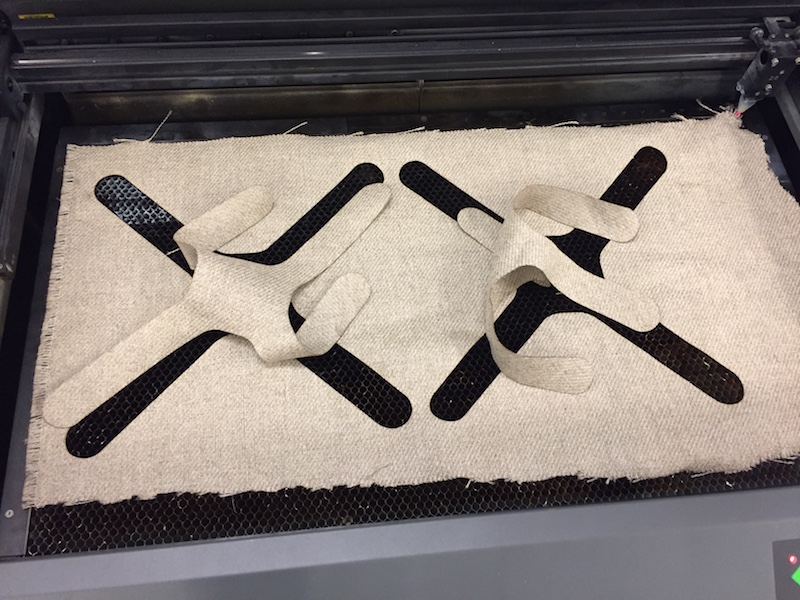
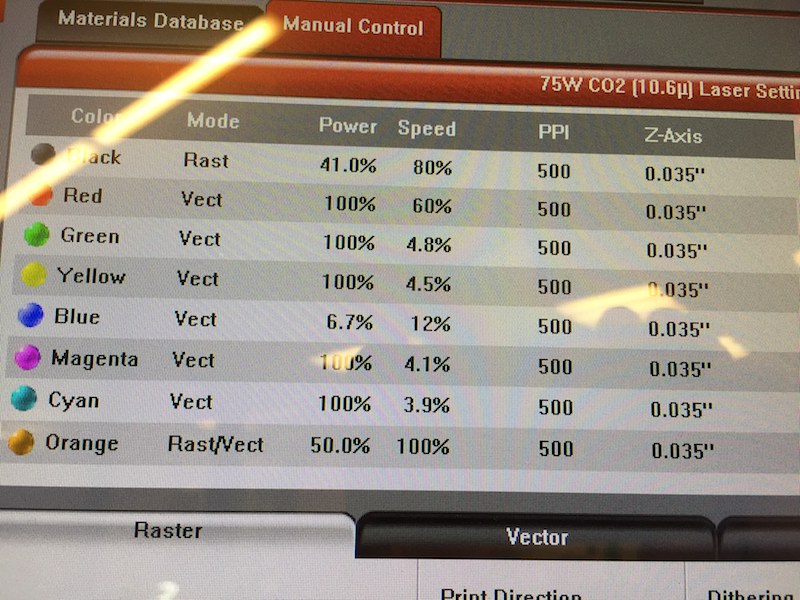
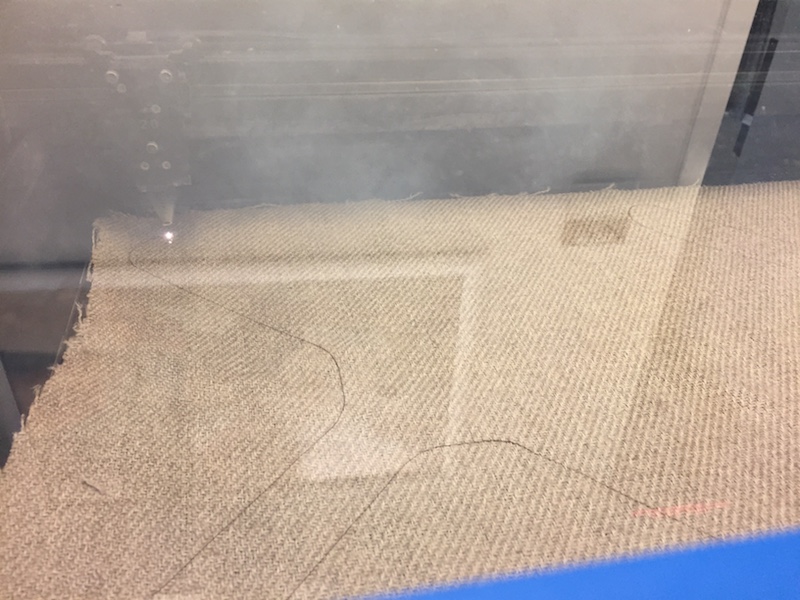
I laser cut the burlap, which easily smoked. In order to cut it, I turned the power up to 100% and the speed up to 60% so that it wouldn't create too much smoke or burn. Then, I had to run the laser job 2 or three times in order to cut all the way through the burlap, but it was a fairly clean cut.
Next I layed up all the layers of burlap, created my resin out of the epoxy and hardener, and placed it in the mold.
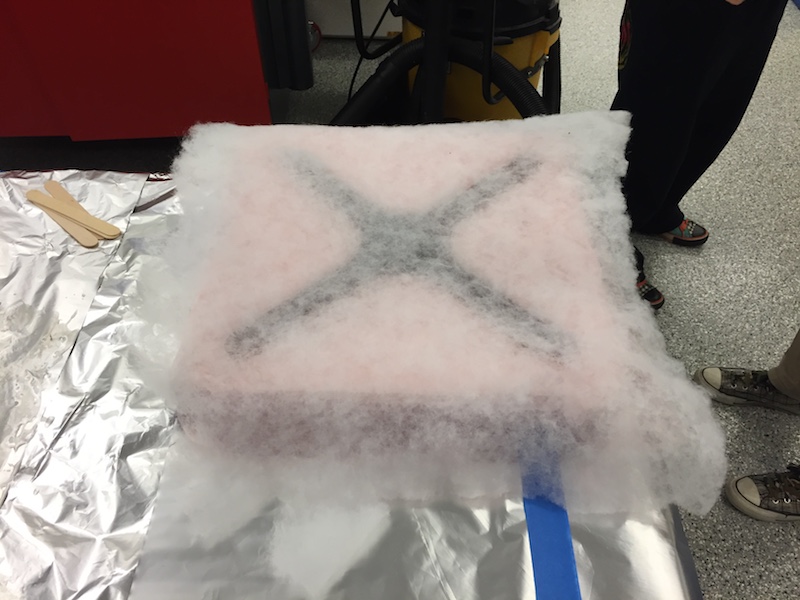
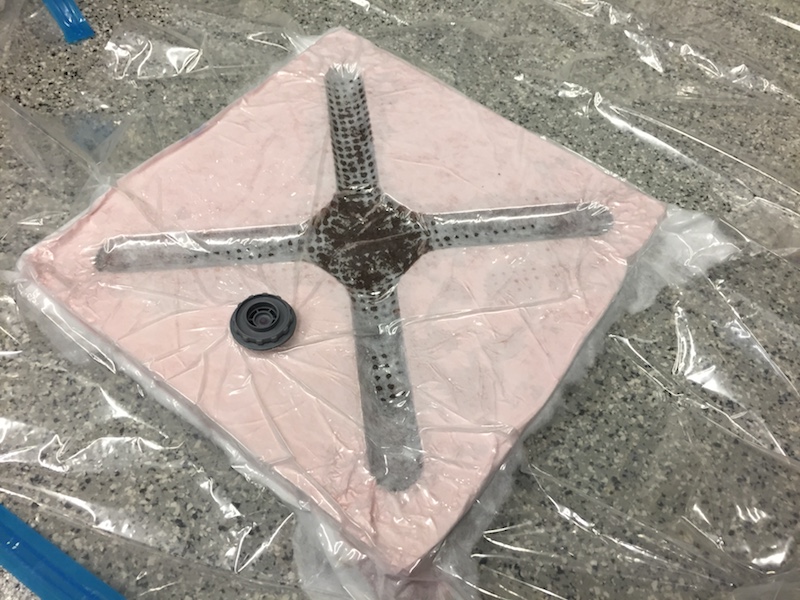
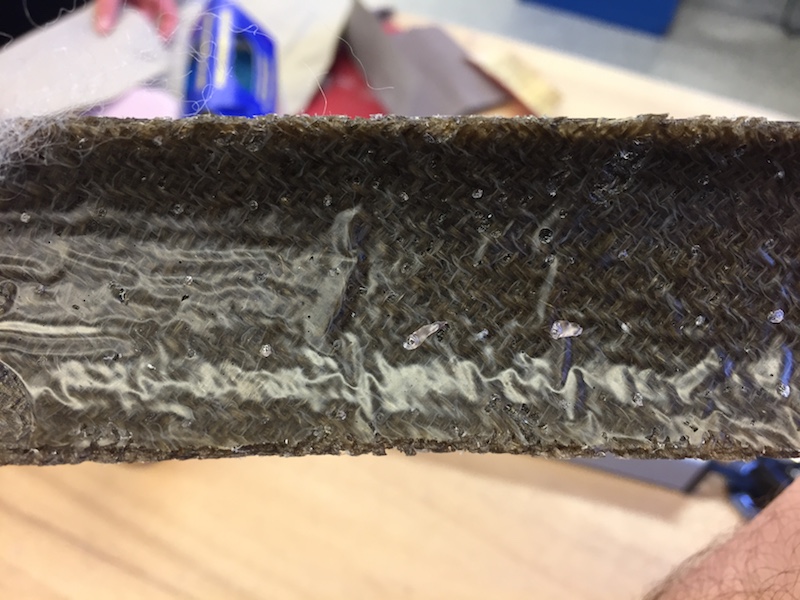
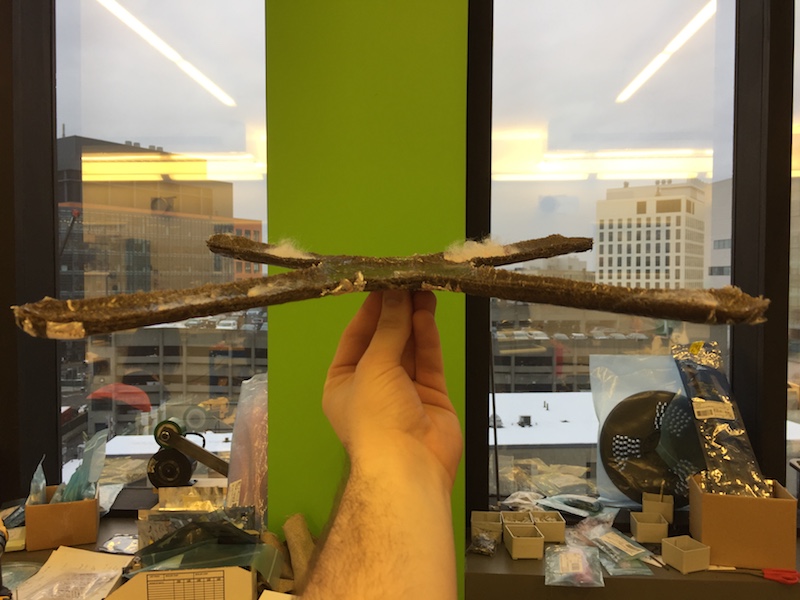
One thing to note is how extra resin was properlly coming out of the middle of my mold, but not so much the arms of the Quadcopter frame. This was because I had milled my mold too deep, and / or didn't lay enough layers of resin coated fiber. Because of this, the top of my burlap didn't align with the top of the mold, and so the release fabric and vacuum bag had to try and get into the crevices. Therefore there was more extra resin in the arms of my Quadcopter frame than I would have liked, and it also caused the whole composite to be heavier. There were also some pretty rough edges which were pretty difficult to file away.
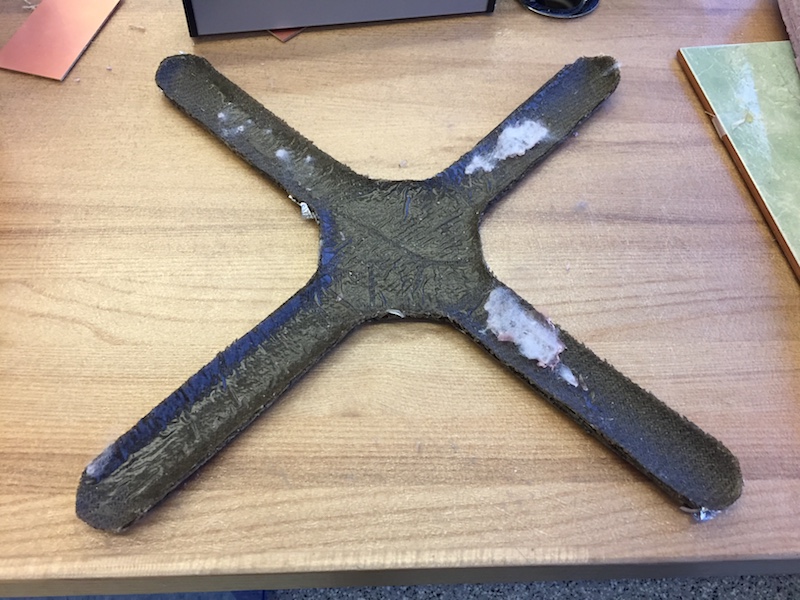
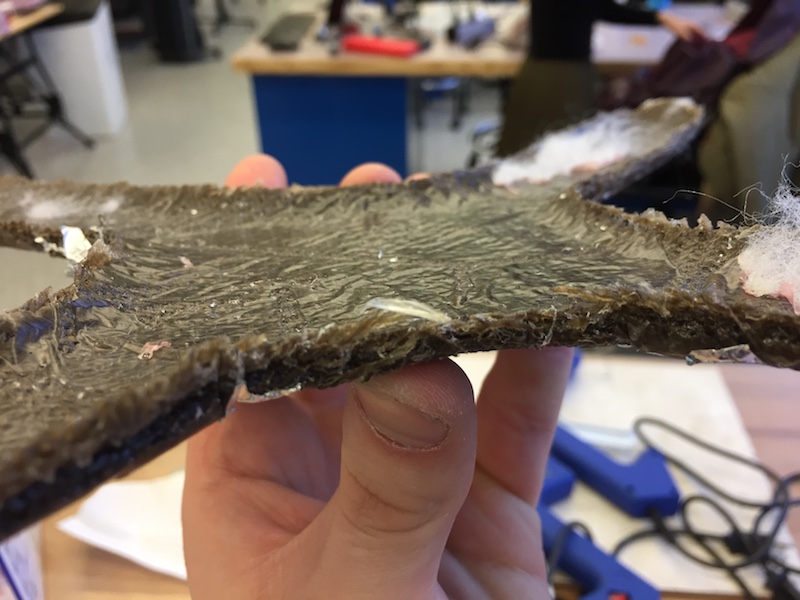
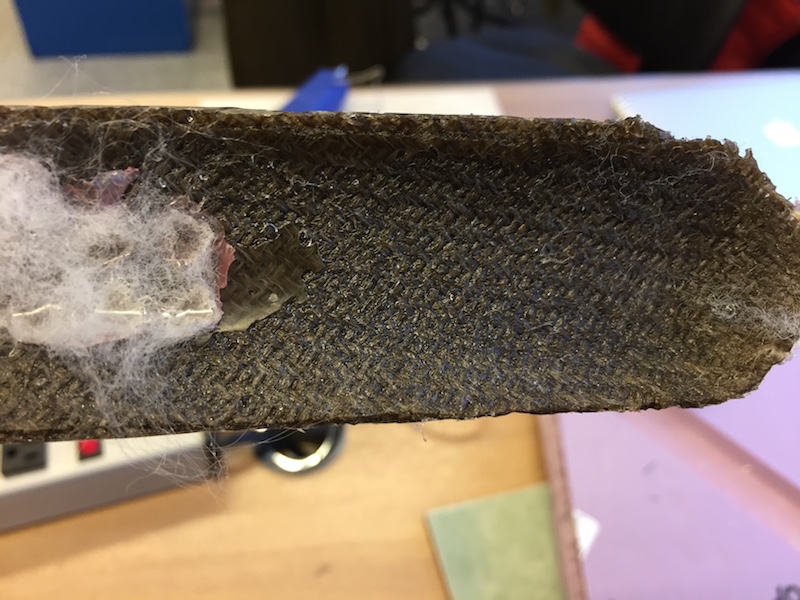
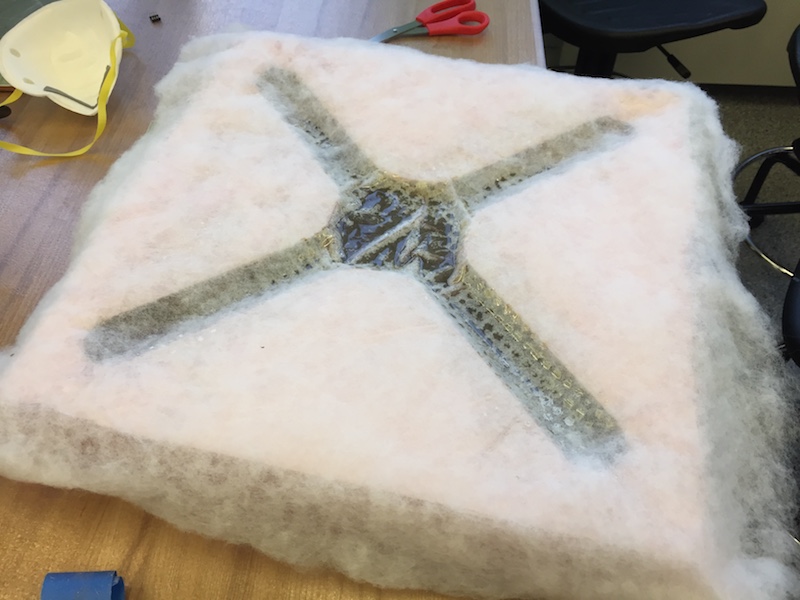
There were parts of the perforated film and breather material that just seemed glued onto my composite and I couldn't get off. I'm sure if I were to do this multiple times, the composite might come out nicer, but I also think there's always post-processing that needs to be done.
One thing I was suprised about was how on center it was, though.
Composite Design Tools
The design process behind making a composite is to go from a 3D shape (such as a bike frame, a quadcopter chassie, or another mold), and create a 2D shape that will properly lay over the 3D shape without folding or bunching. For relatively simple geometries (flat geometries and 3D bodies made up of a low number of simple polygons), this process isn't terribly difficult. But once curved surfaces are introduced, this becomes a lot more difficult.
Since it's almost Christmas, I'll restate this problem in a way we can all understand: We have a present (any 3D object) and our goal is to wrap the present with no folding, cutting, taping, etc. You might be able to do this for a rectangular prism, but once you get into curved sides the problem becomes exponentially harder. This is where new and cool design tools can't really help us out.
Terminology
Composite, Fiber, Resin, Epoxy, Hardener, Release Fabric, Breathable material, Compaction, Mold.
Technologies Used
Autodesk 360, Shark CNC Router, Burlap and Epoxy, Vaccum Bag for compaction
Resources Used
- Vacuum Bagging Techniques>
- HTMAA EECS Gitlab