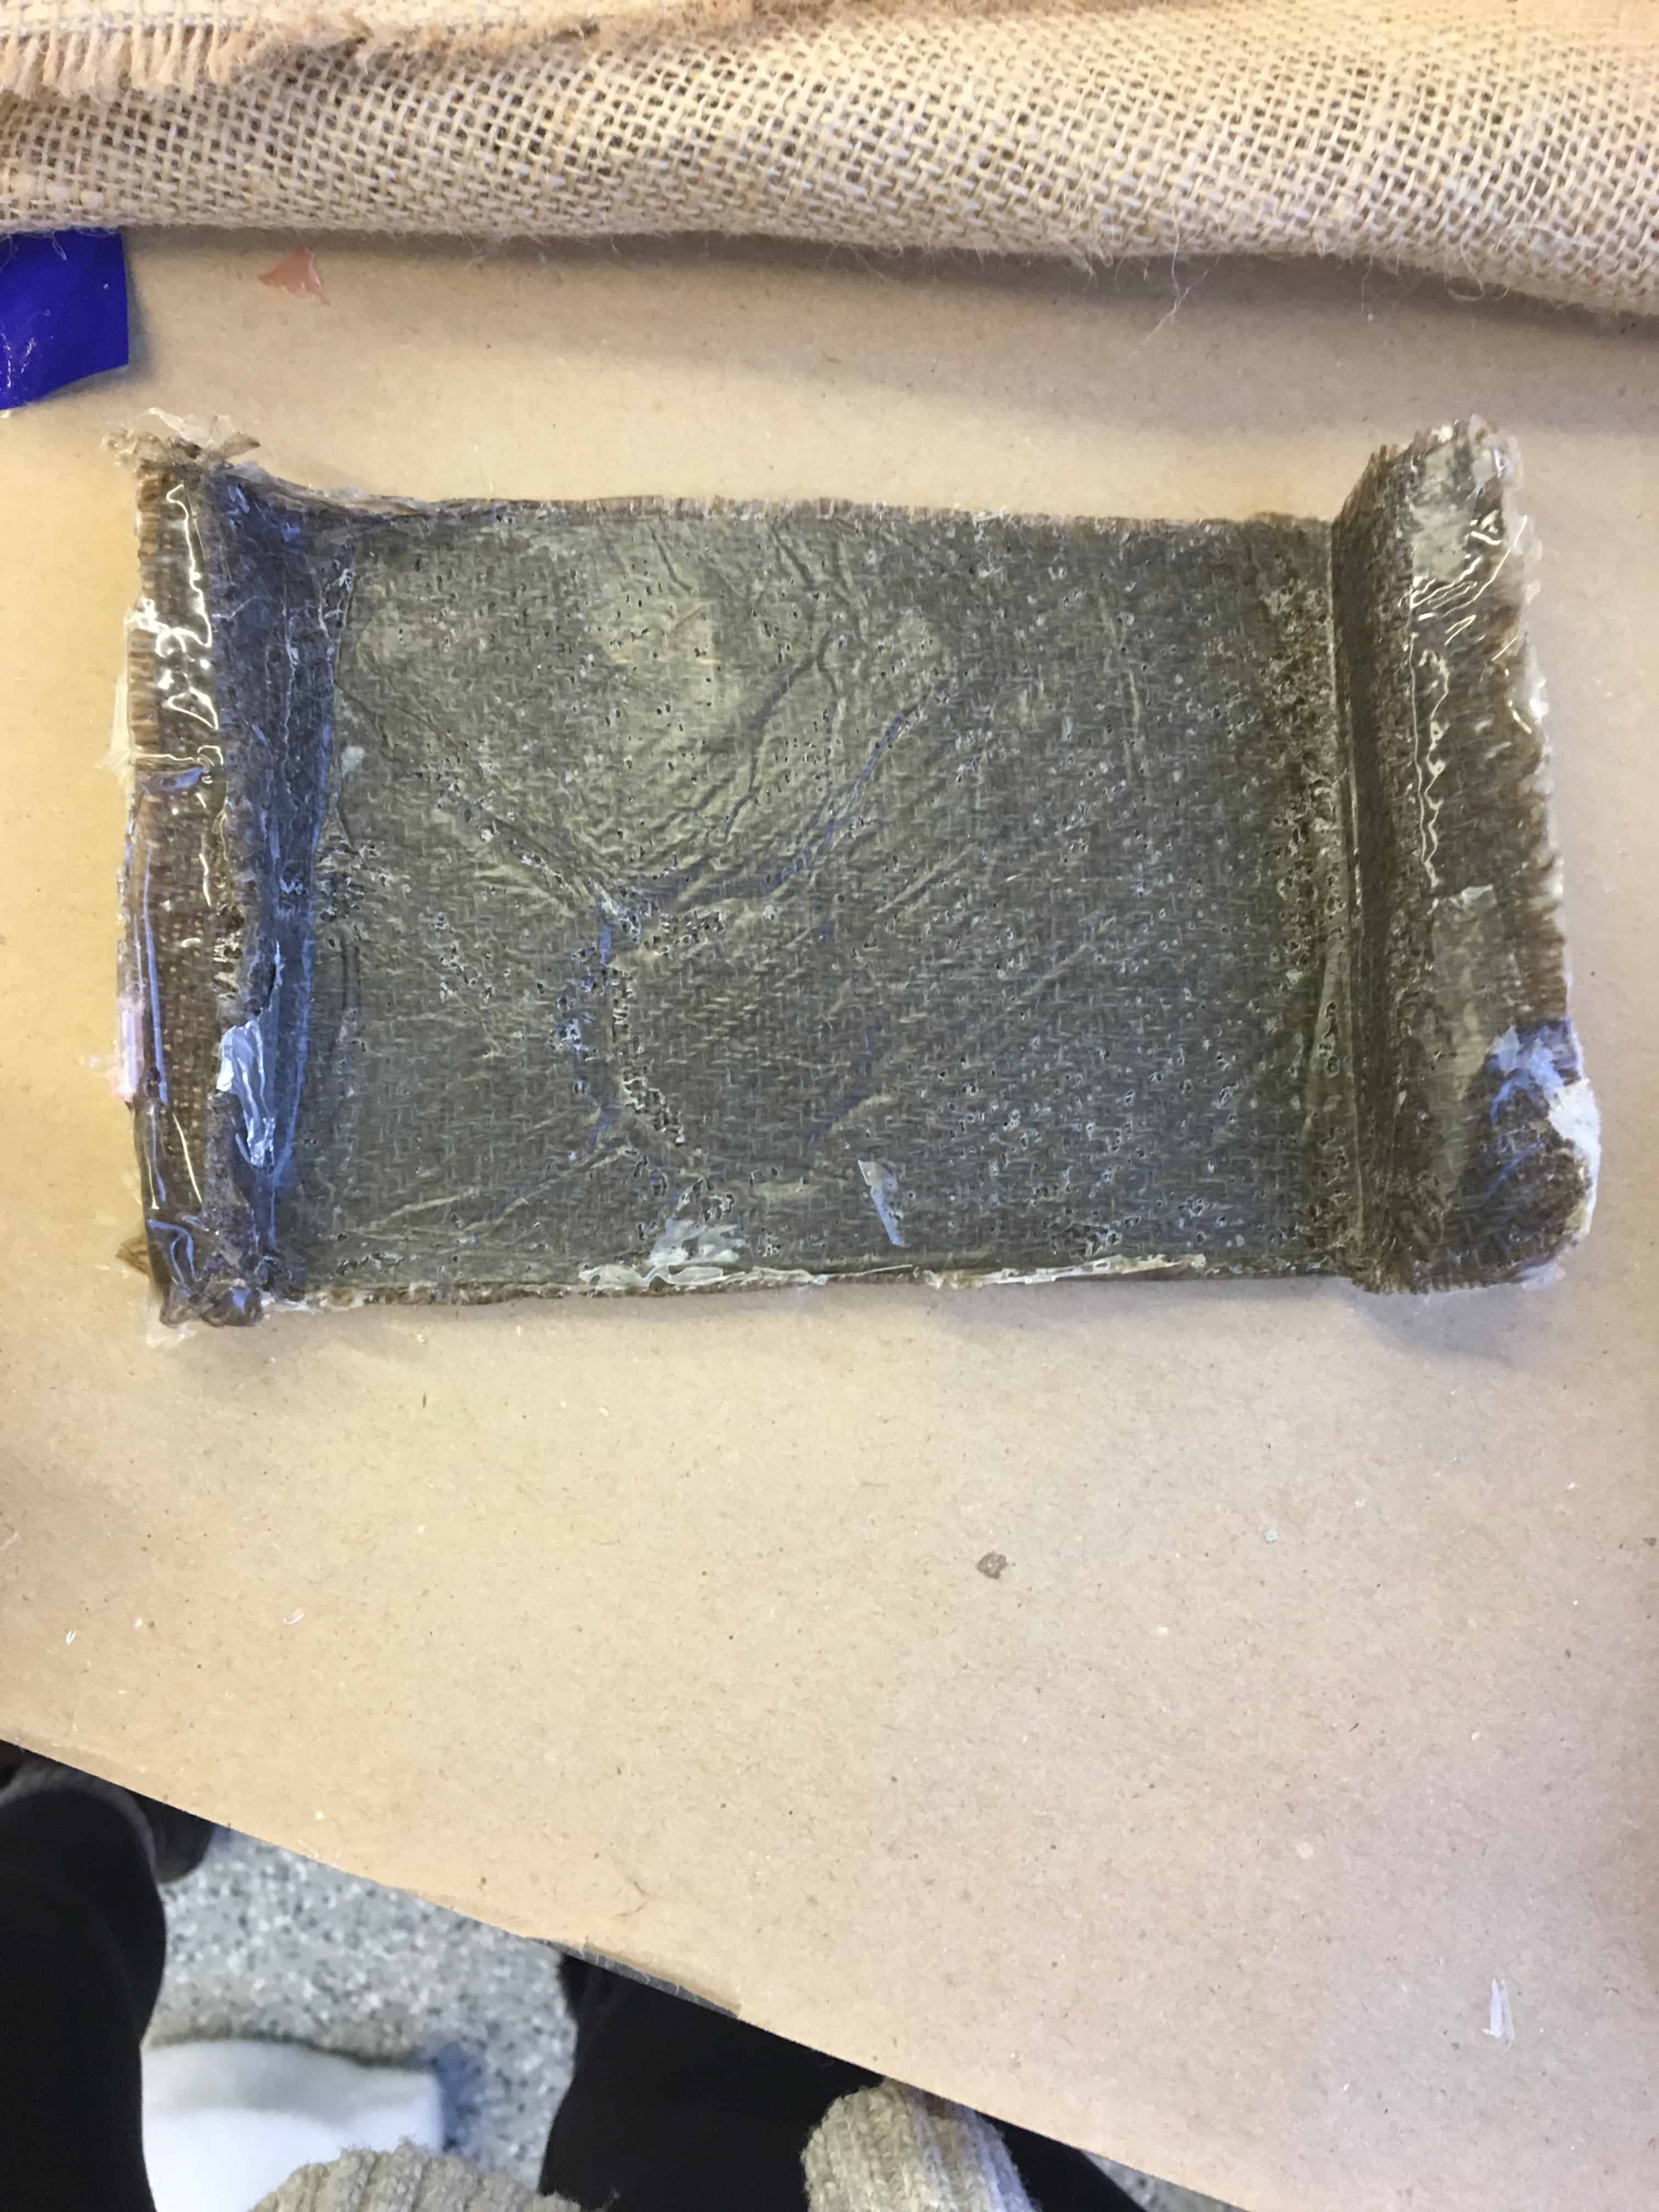
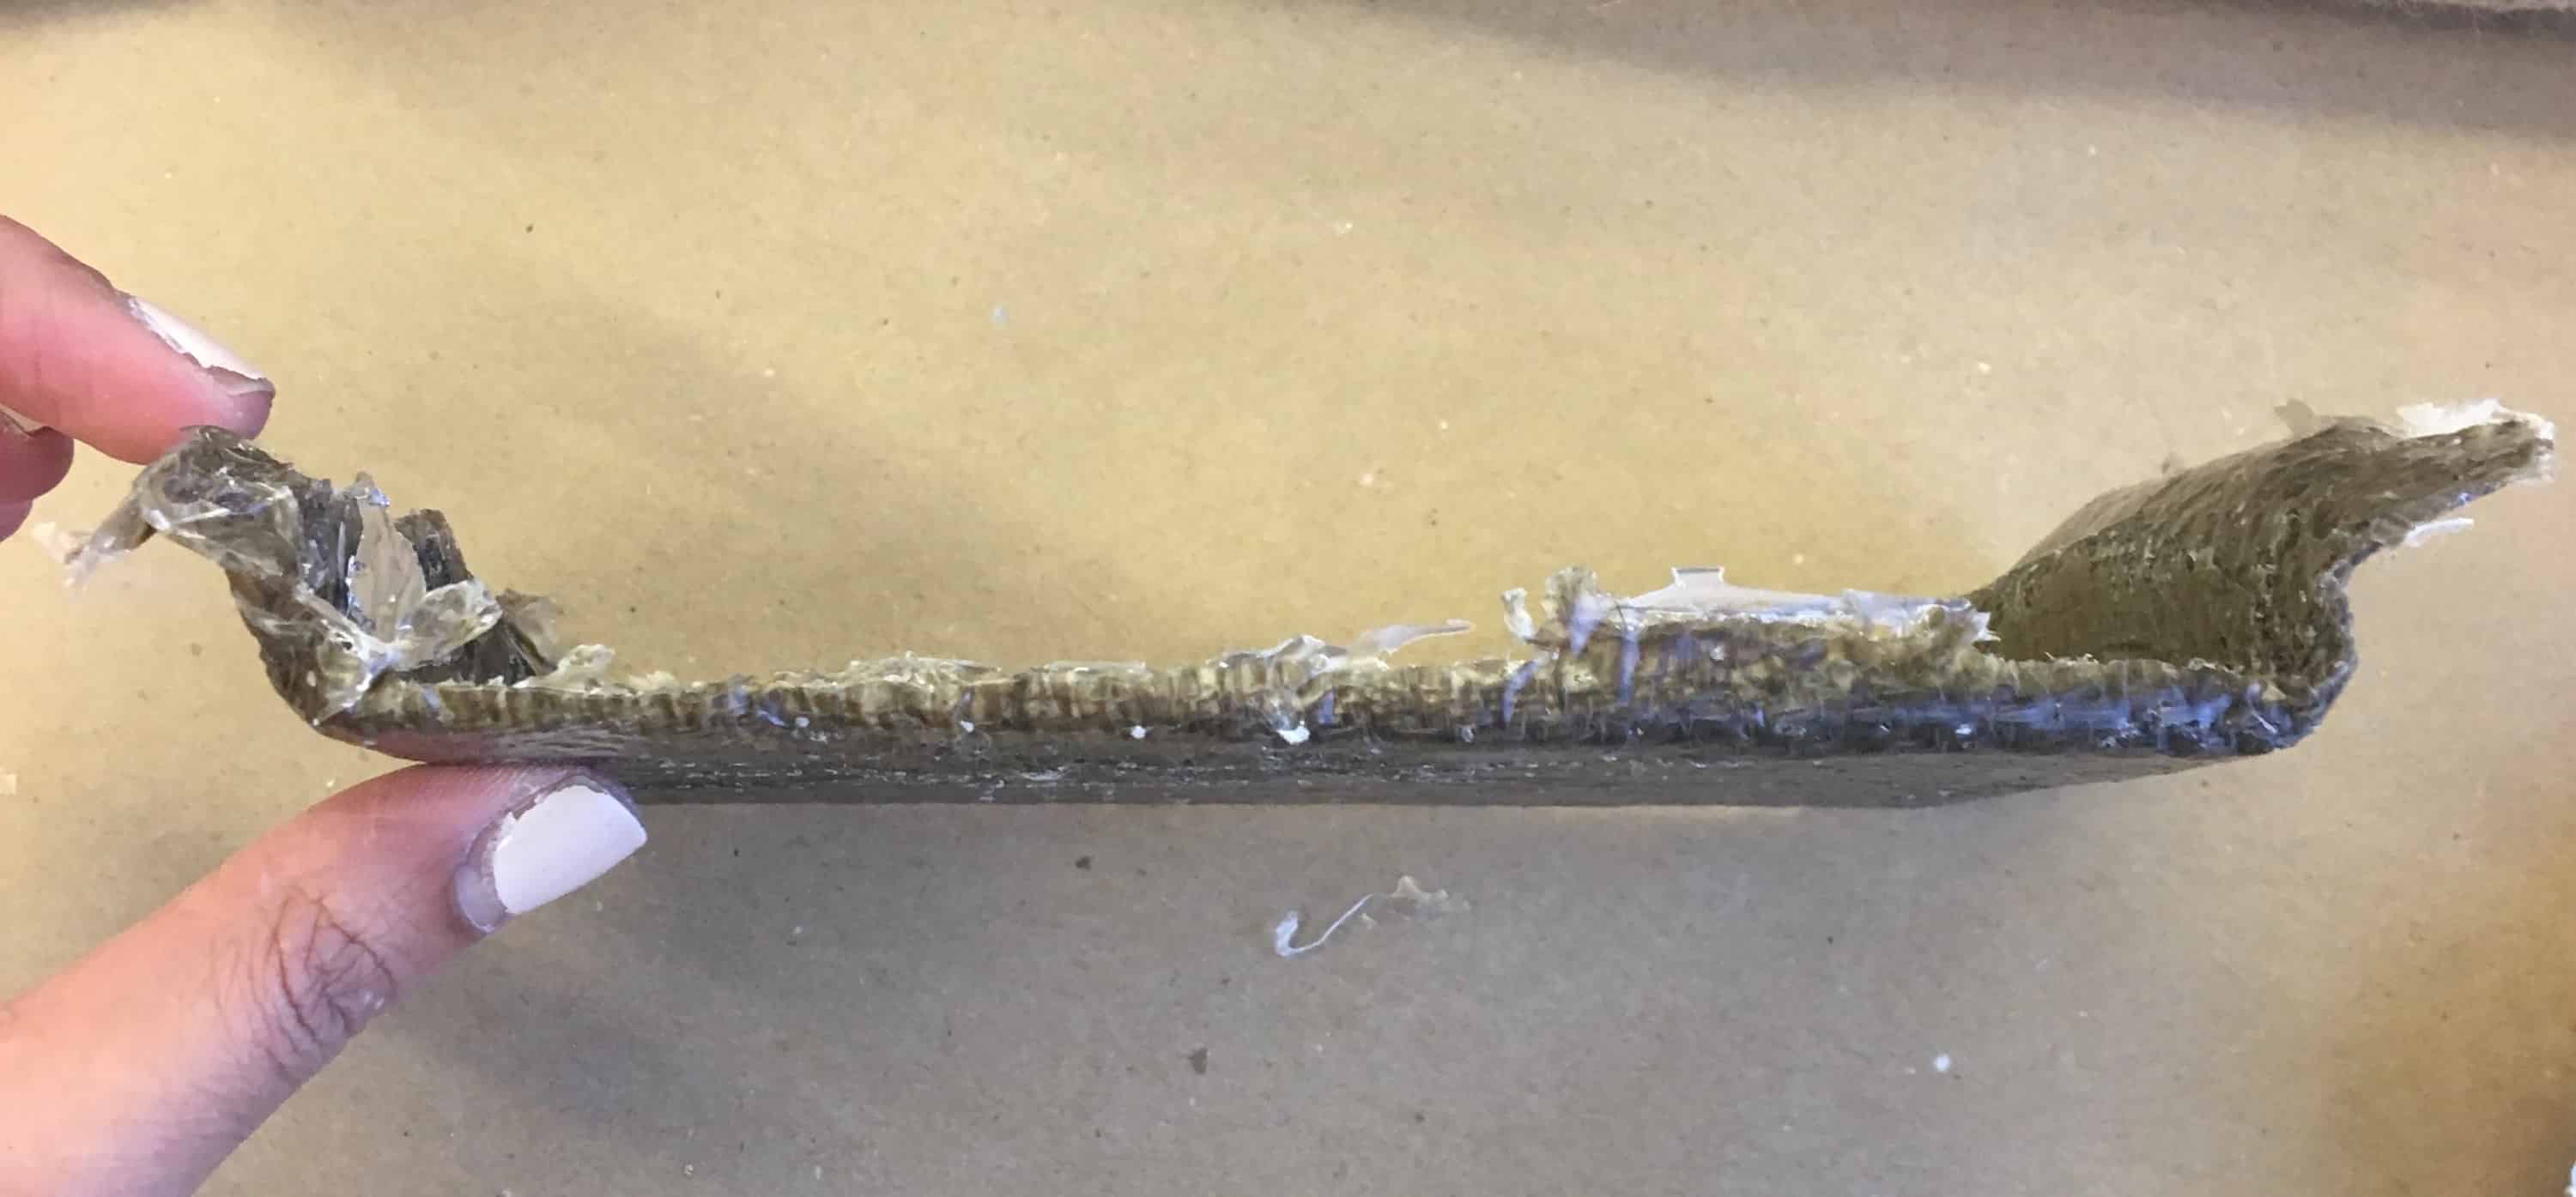
Here are the test pieces we made for the group assignment.
This week I want to make a bike seat for my stationary bike.
First, I tried to find CAD designs online but had many problems with this. - The CAD design stl's wouldn't open in OnShape - I had to pay (no thank you) - The ones that worked imported as meshes which I couldn't figure out how to edit in OnShape. I realize now that I could have tried Fusion and MeshLab, but I talked to some peers and they couldn't really get theirs to work in those programs so I decided to just design my own bike seat instead.
My design is a lot more simplistic that some of the ones online, just because of my CAD design abilities, but I like it. I dimensioned it by measuring the bike seat off my friend's bike.
Then, I put the design into VCarve to make sure it would generate all the toolpaths and such. I saw that the milling itself wouldn't take *too* long (like 45 minutes total) and the height of the design was just at the length of the foam - 2.5 inches. I've decided to sandwich two pieces of foam and then mill. I realize I could just reduce the height of the seat so that I'd only have to use one piece and I can easily do this, but I'm actually curious to try milling two pieces glued together, so why not try it.
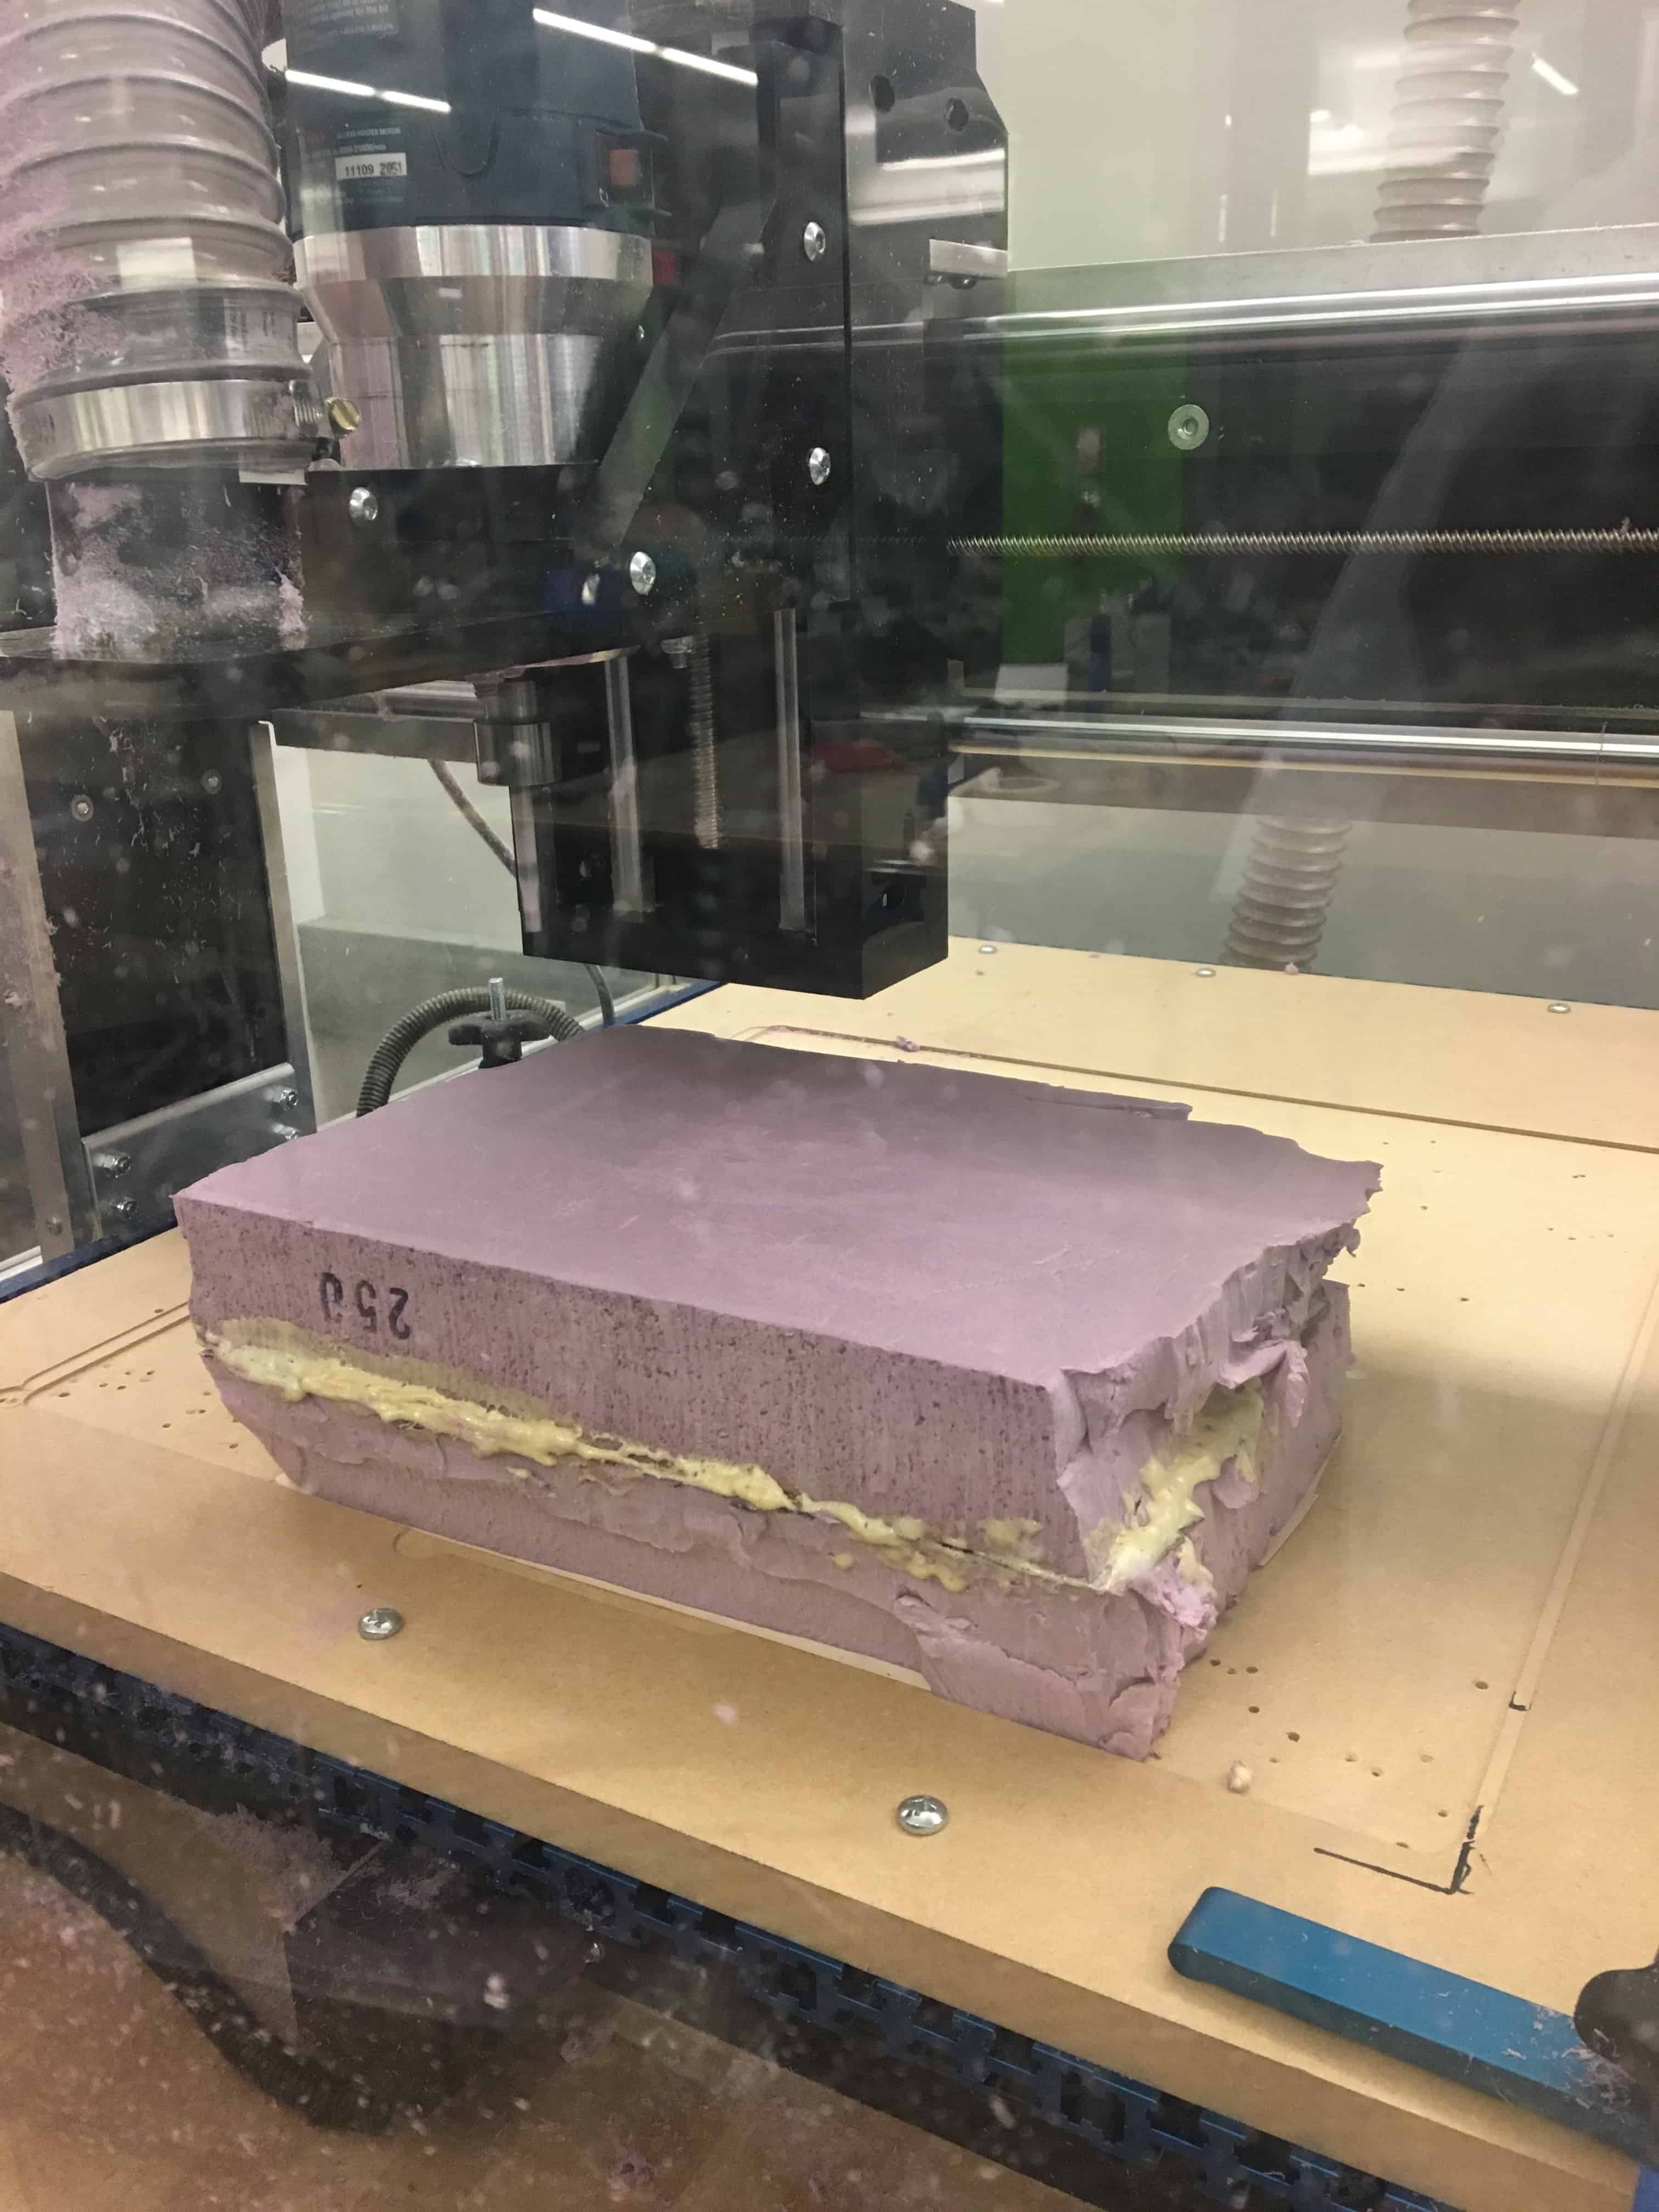
Don't do this.As a result, I've cut two 12"x9"x2.5" pieces of foam and secured them with Gorilla Glue. To clamp them, I found two pieces of wood and three clamps. I think I put too much glue which is why you can see some coming out of the sides. I also put napkins and foam under the clamps to make the whole thing level.
While that dries (for two hours) I might tweak my design. I'm considering putting some detail on the bottom as well and doing double-sided milling.
VCarve and the ShopBot only do 2D machining so I think the detail I put in on the seat is useless. I am confused though, because I really thought I saw other people doing curved edges and such so I am going to wait for Gavin to come in to ask.
So the program in question was Cut3D. It's used to convert stls to toolpaths. Then as per usual you use the Shark software to go toolpath to GCode.
So I would've thought that after my week machining for "making a machine" I would've been a pro but I made a few mistakes:
0. First, the foam pieces are supposed to be milled separately and then Gorilla-glued together. This is due to the limitation of the bit - it is not long enough to mill all the way down. Duh. I just forgot, nore on this below.
1. In Cut3D on the second pane under material size, I had the middle of the model selected, rather than the front corner. This made the machine think that where I zeroed it was in the middle, so when it started cutting it was off of the foam.
2. I got cocky, thought everything was perfect and didn't air cut. What happened was the design went off the end of the foam - I had been too conservative in my positioning of the x and y zero.
3. Since the top of the foam was scarred, I removed it from the bed (easily with a putty tool) and flipped it over, removing and replacing the tape onto the opposite side. The next time, I fixed the position and air cut which was good because...
4. When you change something and regenerate the toolpaths, you have to hit apply.
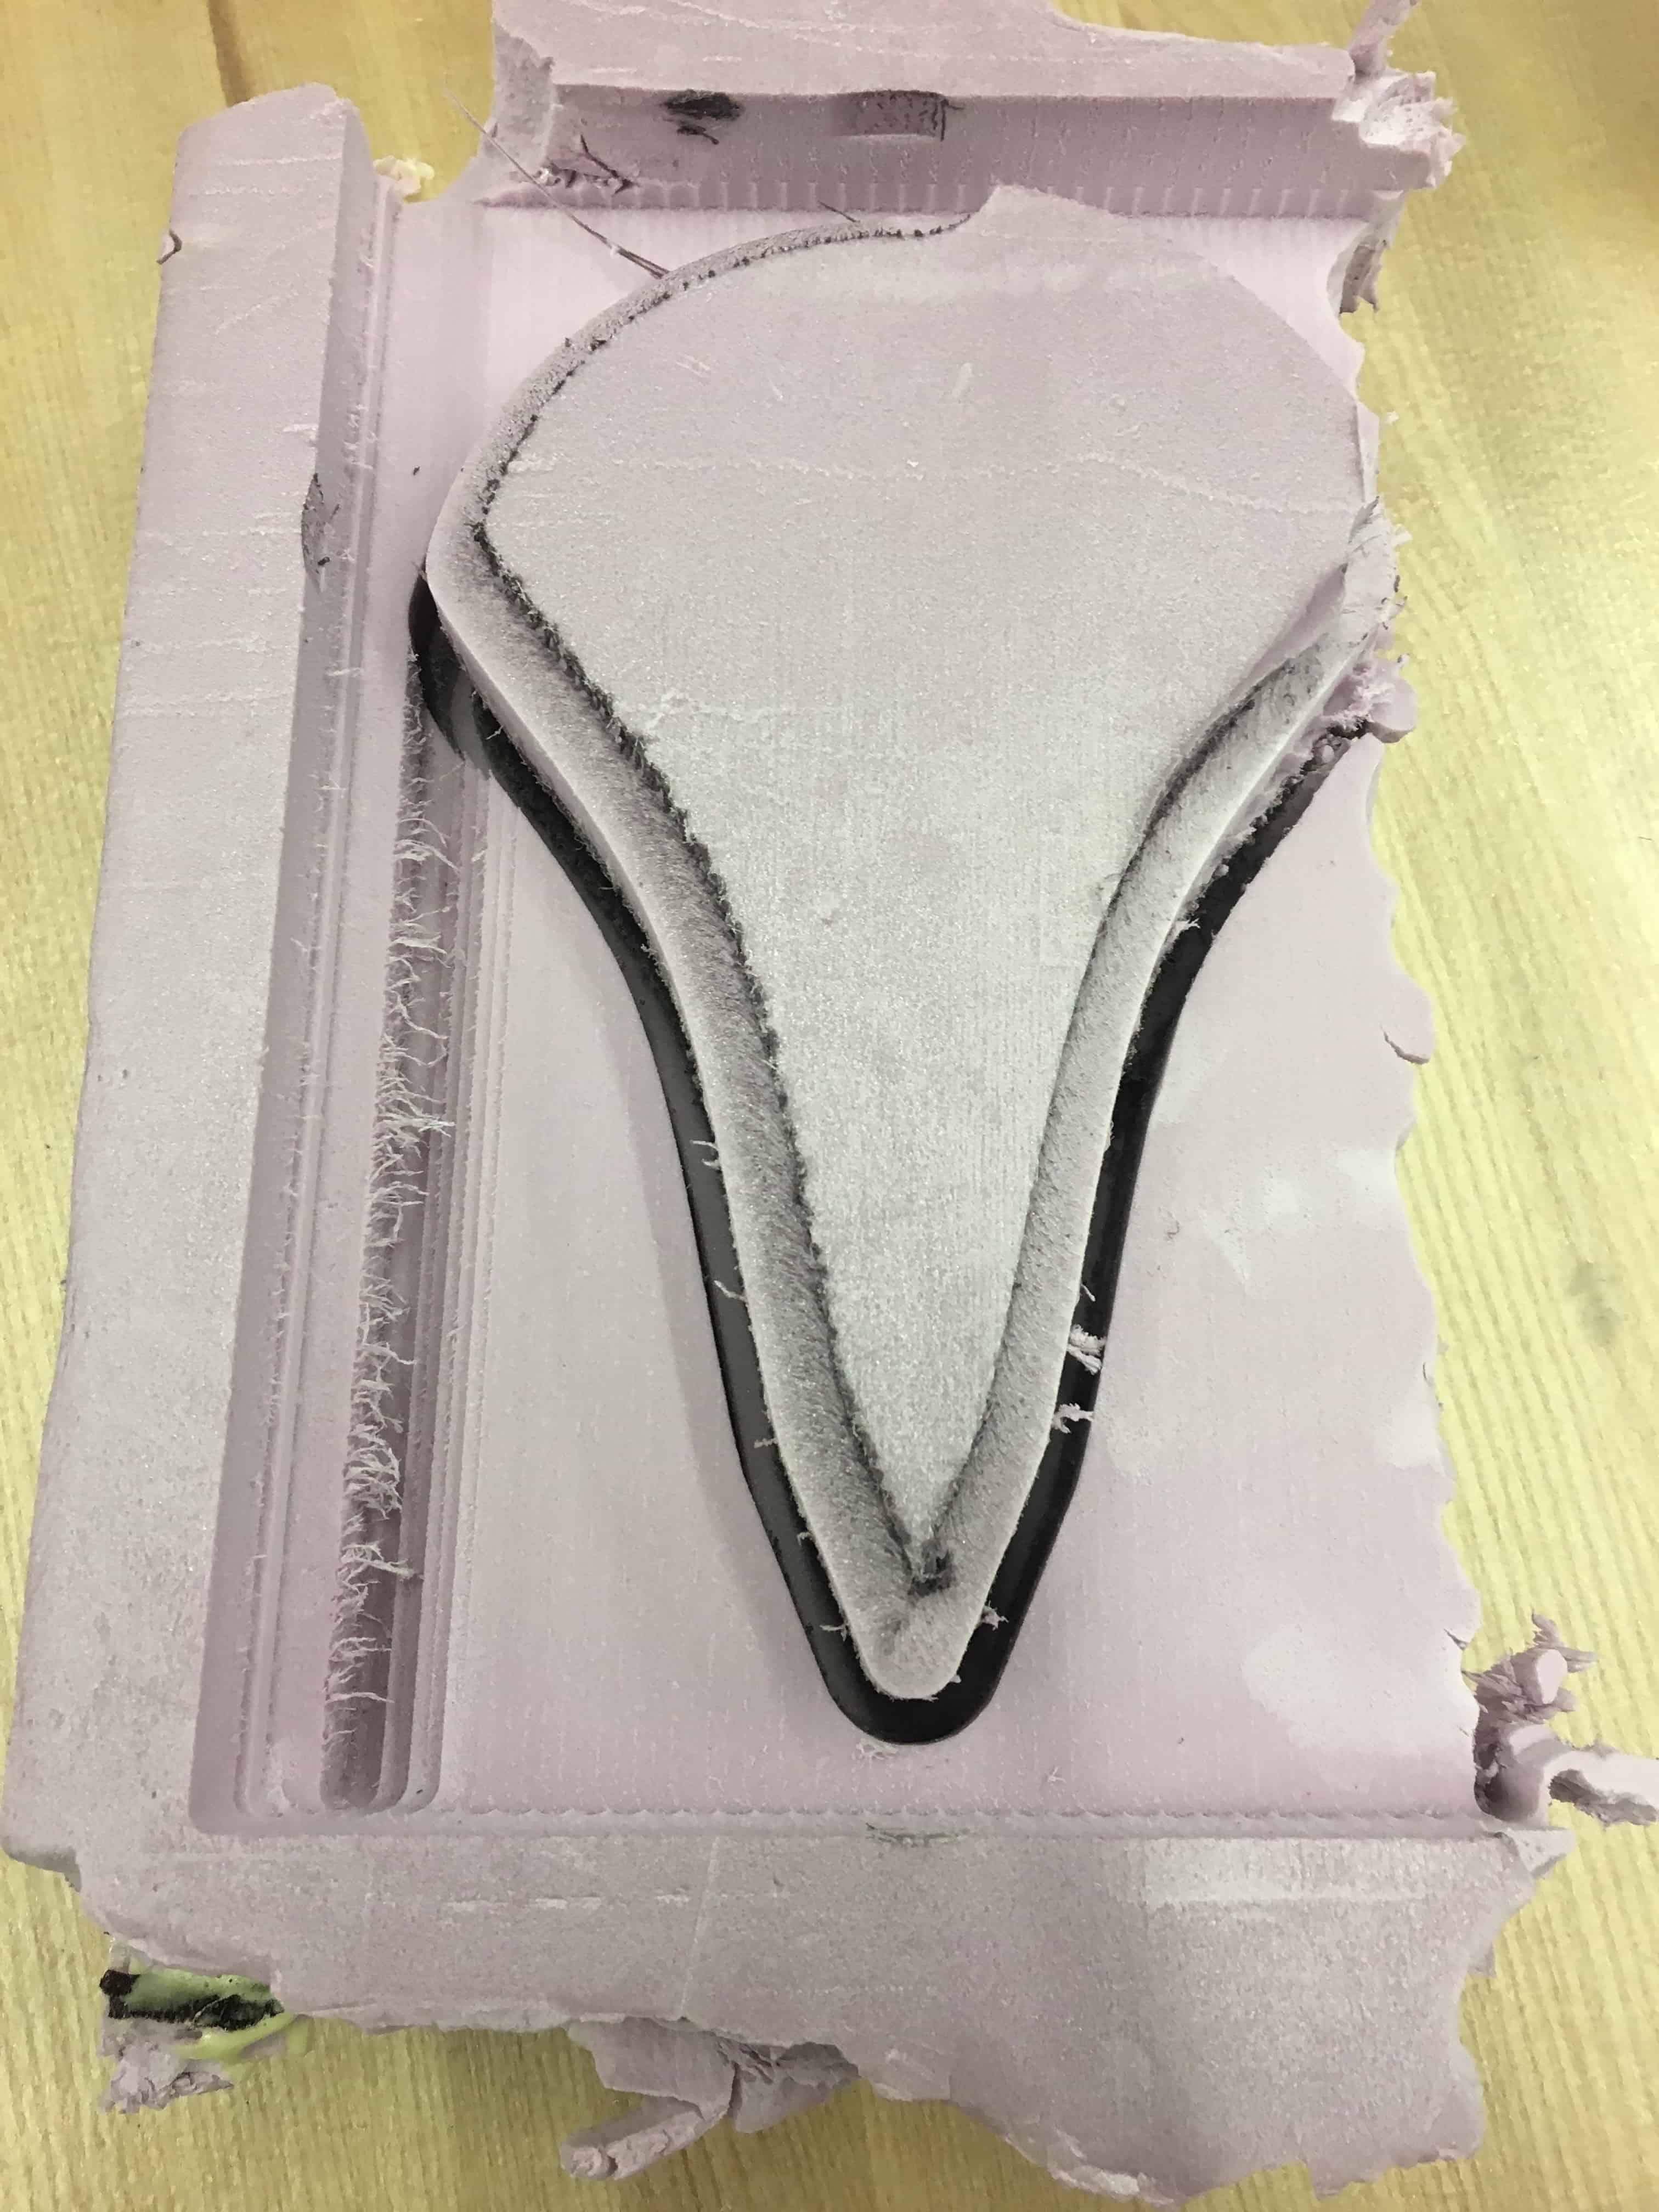
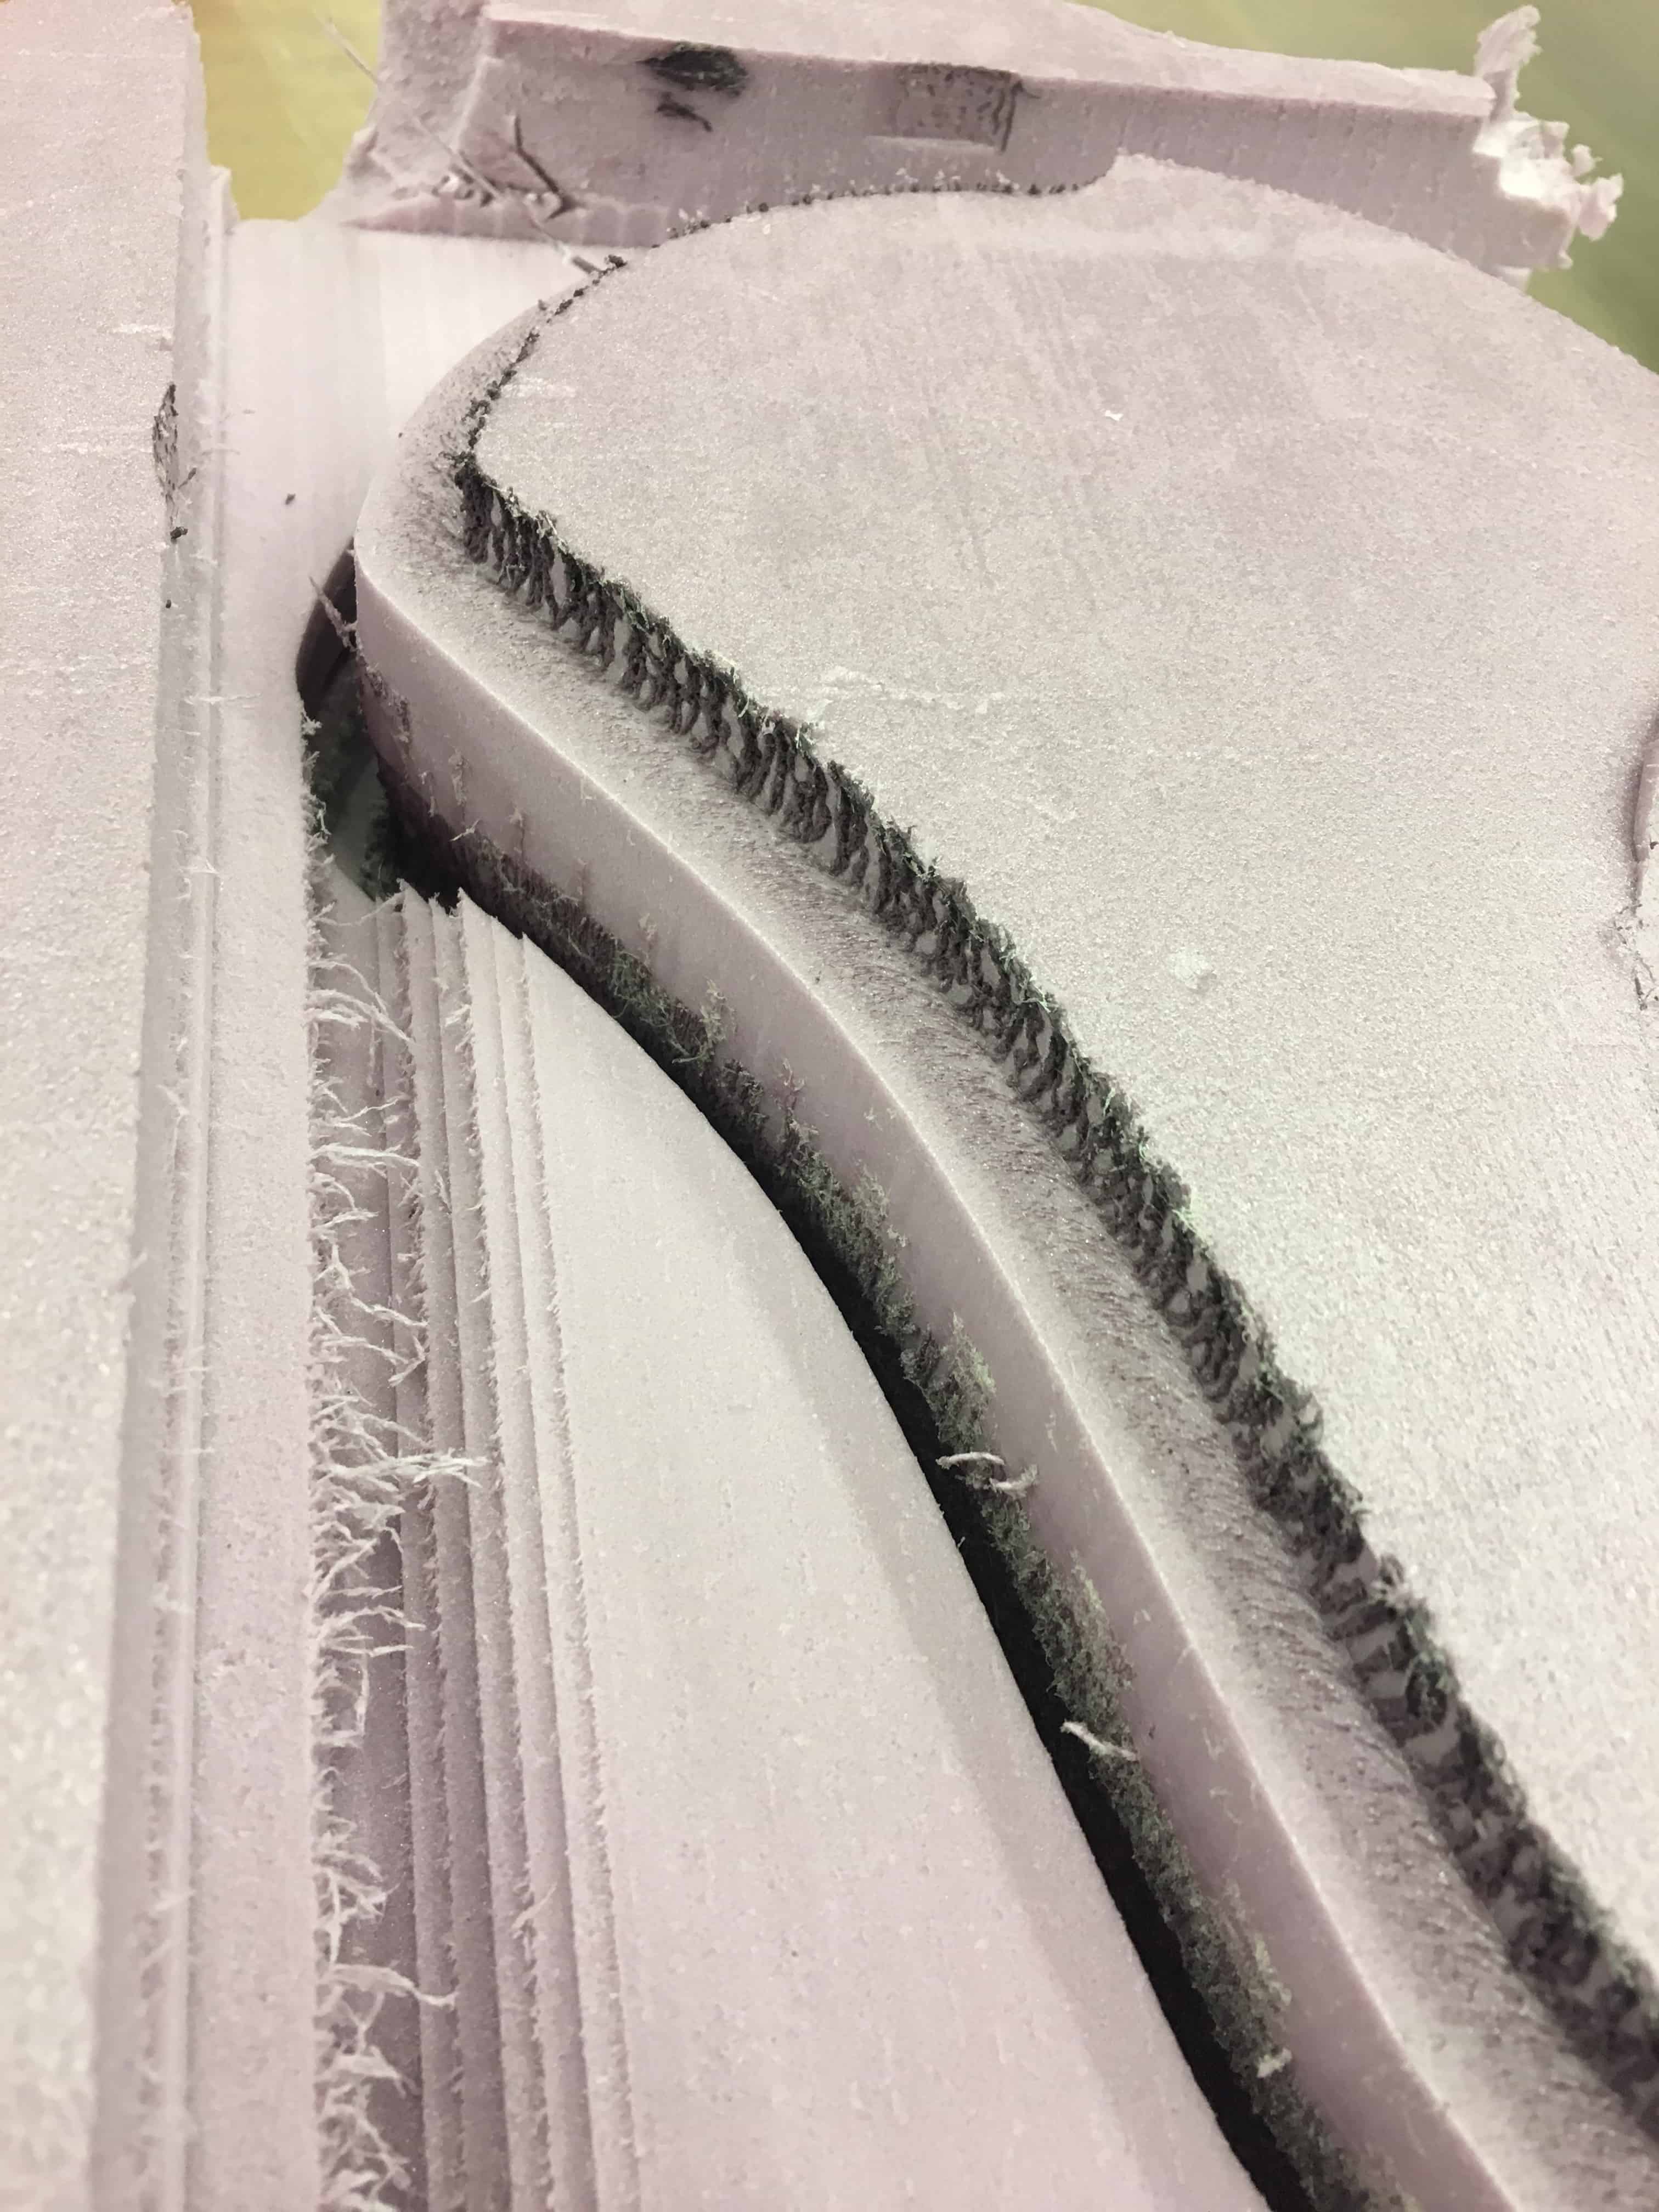
Now, finally, the bike seat is being milled and it looks pretty good. To deal with the height issue, I split the stl file into two, a top and bottom, both 1.5 inches long. I will mill them separately then glue them together.
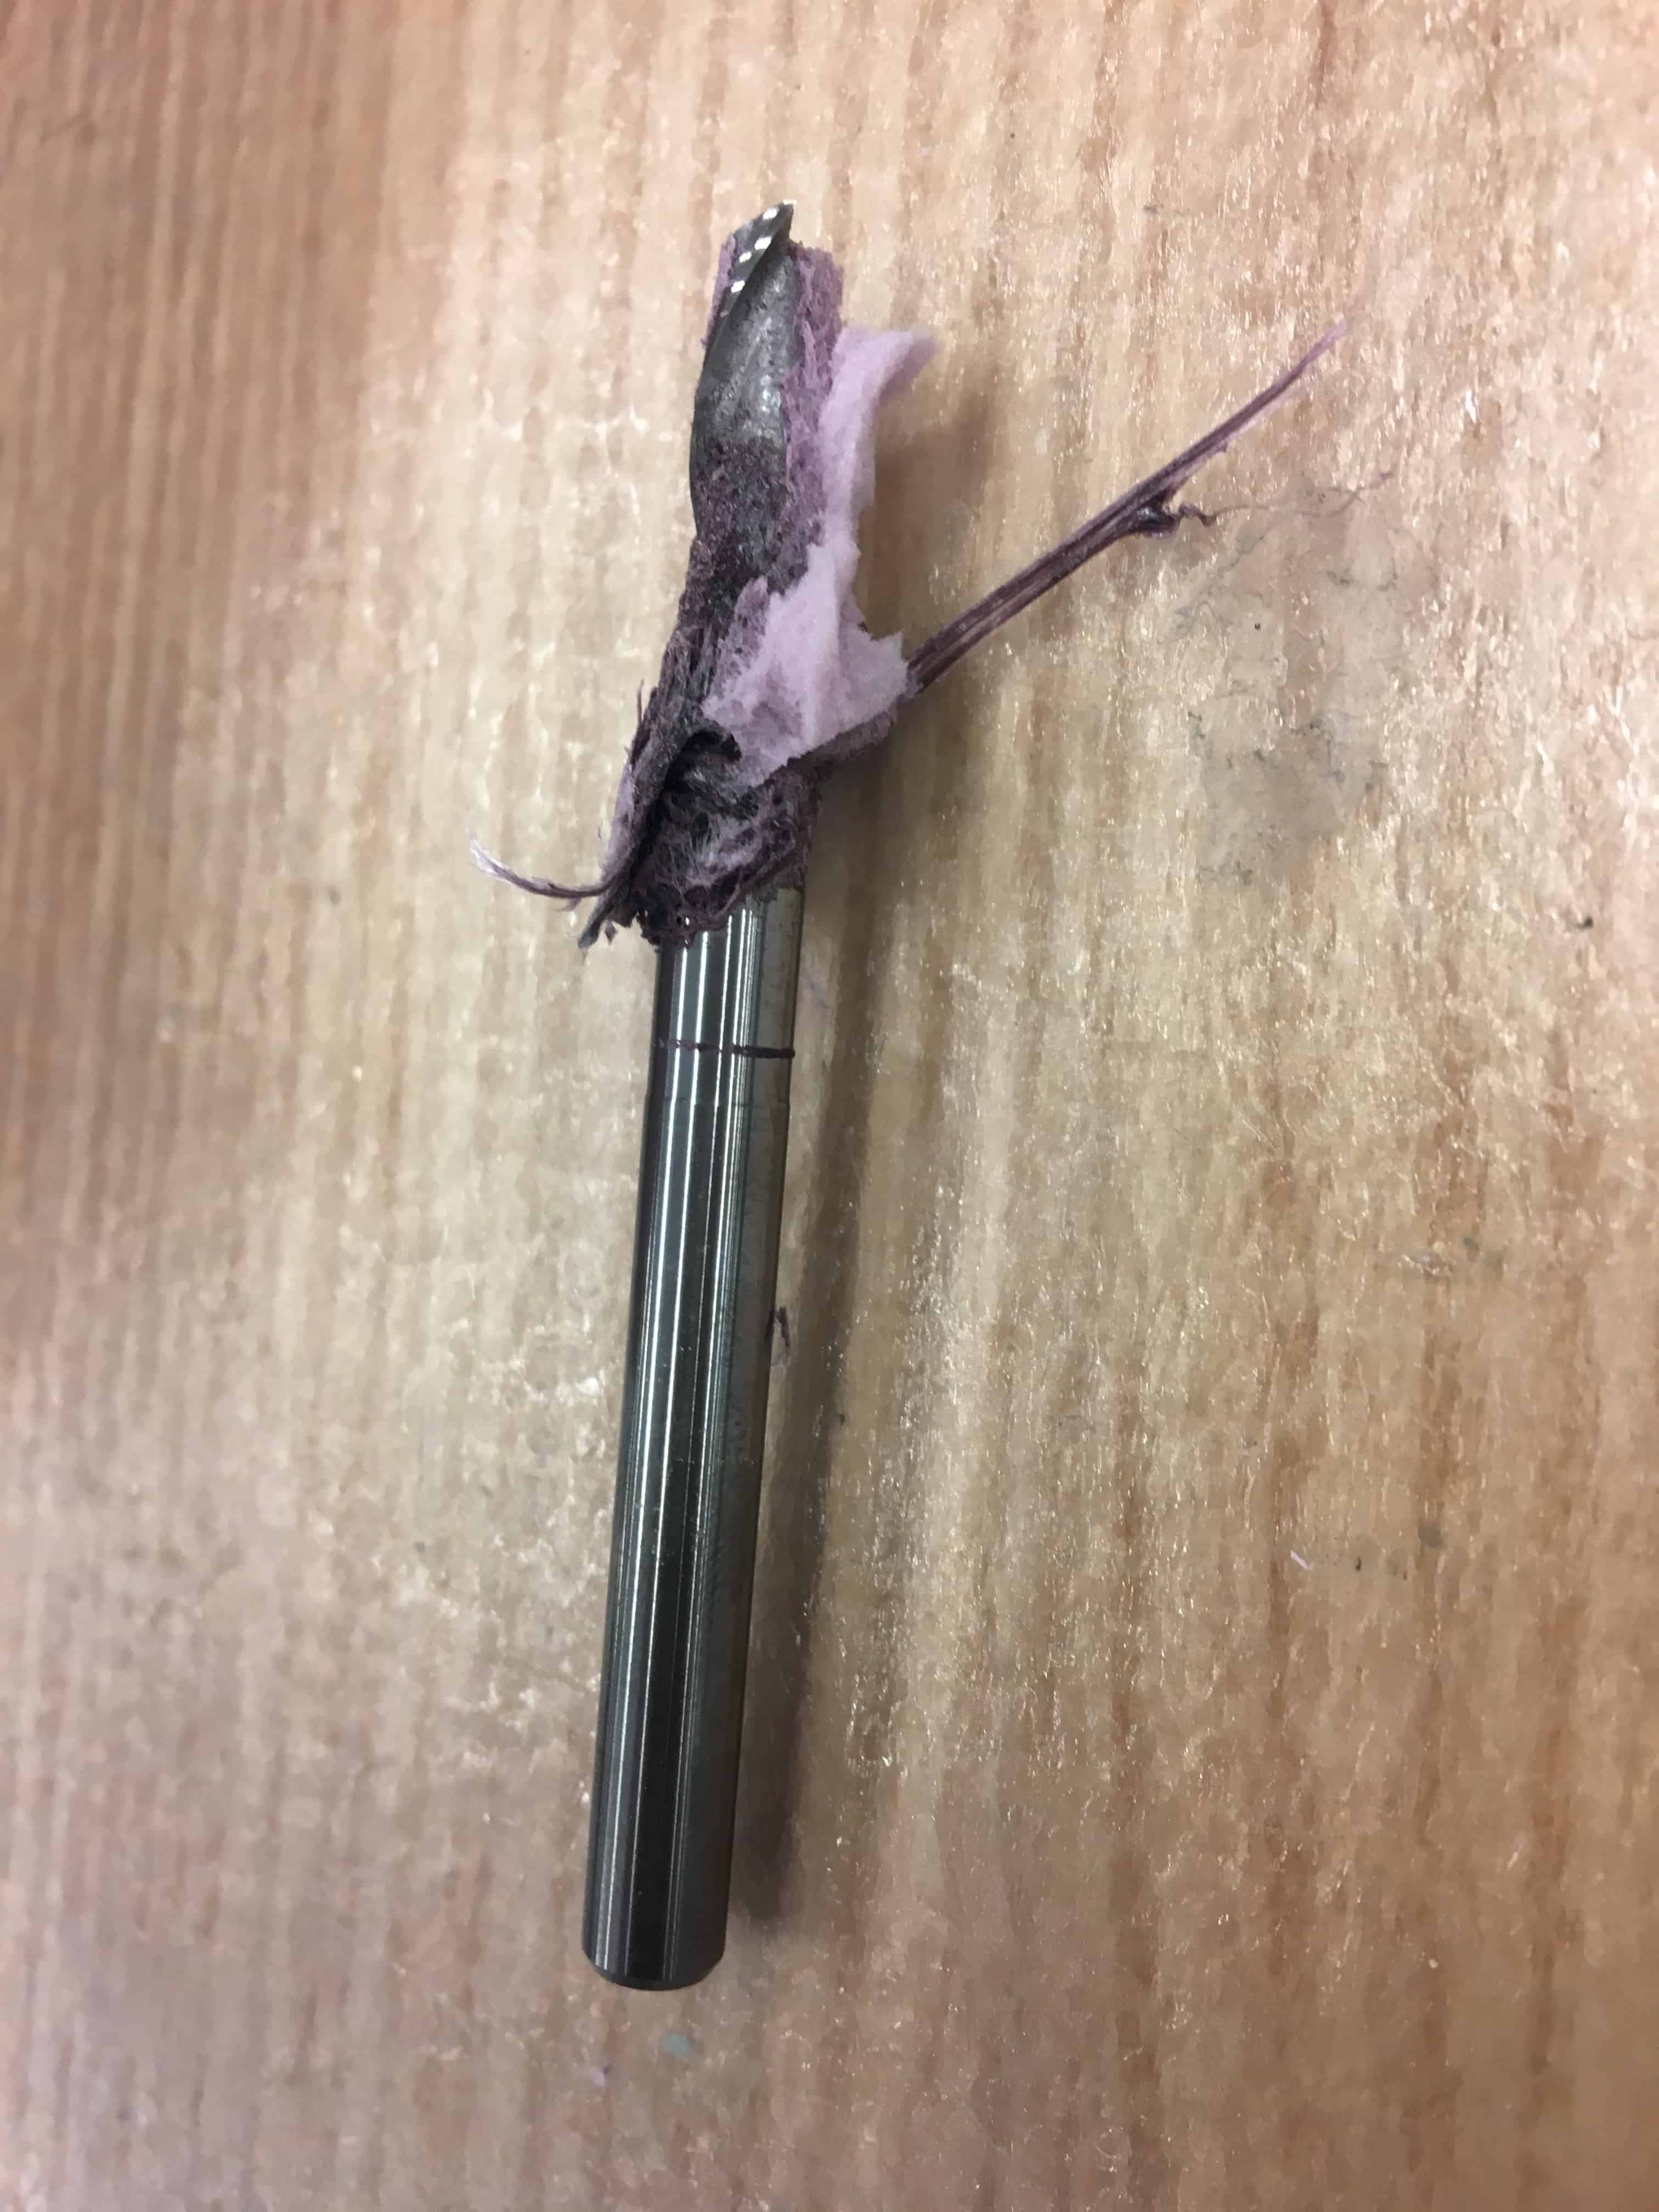
So it didn't work. The mill randomly lost its place, plunged down into the foam and then the tool holder part proceeded to burn the foam. The burnt-then-hardened foam is now stuck on the bit as well making it currently unusable. Gavin's theory is that the feed rate might have been too high so it threw the mill off and it lost its' positioning. I probably should've stopped the milling earlier, but it wasn't completely clear that things were going wrong.
As I was machining the second (bottom) piece, Dave made a good suggestion. Since the bottom piece had no detail, it would've made sense to have generated the toolpath by using a 2D image (the 2.5D cutting). This would've saved time because it would've cut less material. (And thus also save some clean up which is a headache, it took me a full 10 minutes to satisfactorily vacuum the Shark Bot). Also, the finishing cut on the bottom part is rounding the top edges slightly which I'm upset about because this is not what was shown in the finishing toolpath preview and is definitely not in the design. Luckily it's not a big deal for my seat because, one, I can just flip the part over, and, two, when wrapped in burlap that small detail will be inconsequential, but I just want milling to work exactly like I think it will. Finally, both my seats are actually slightly higher then the design because of the way I cut them out of the remaining foam.
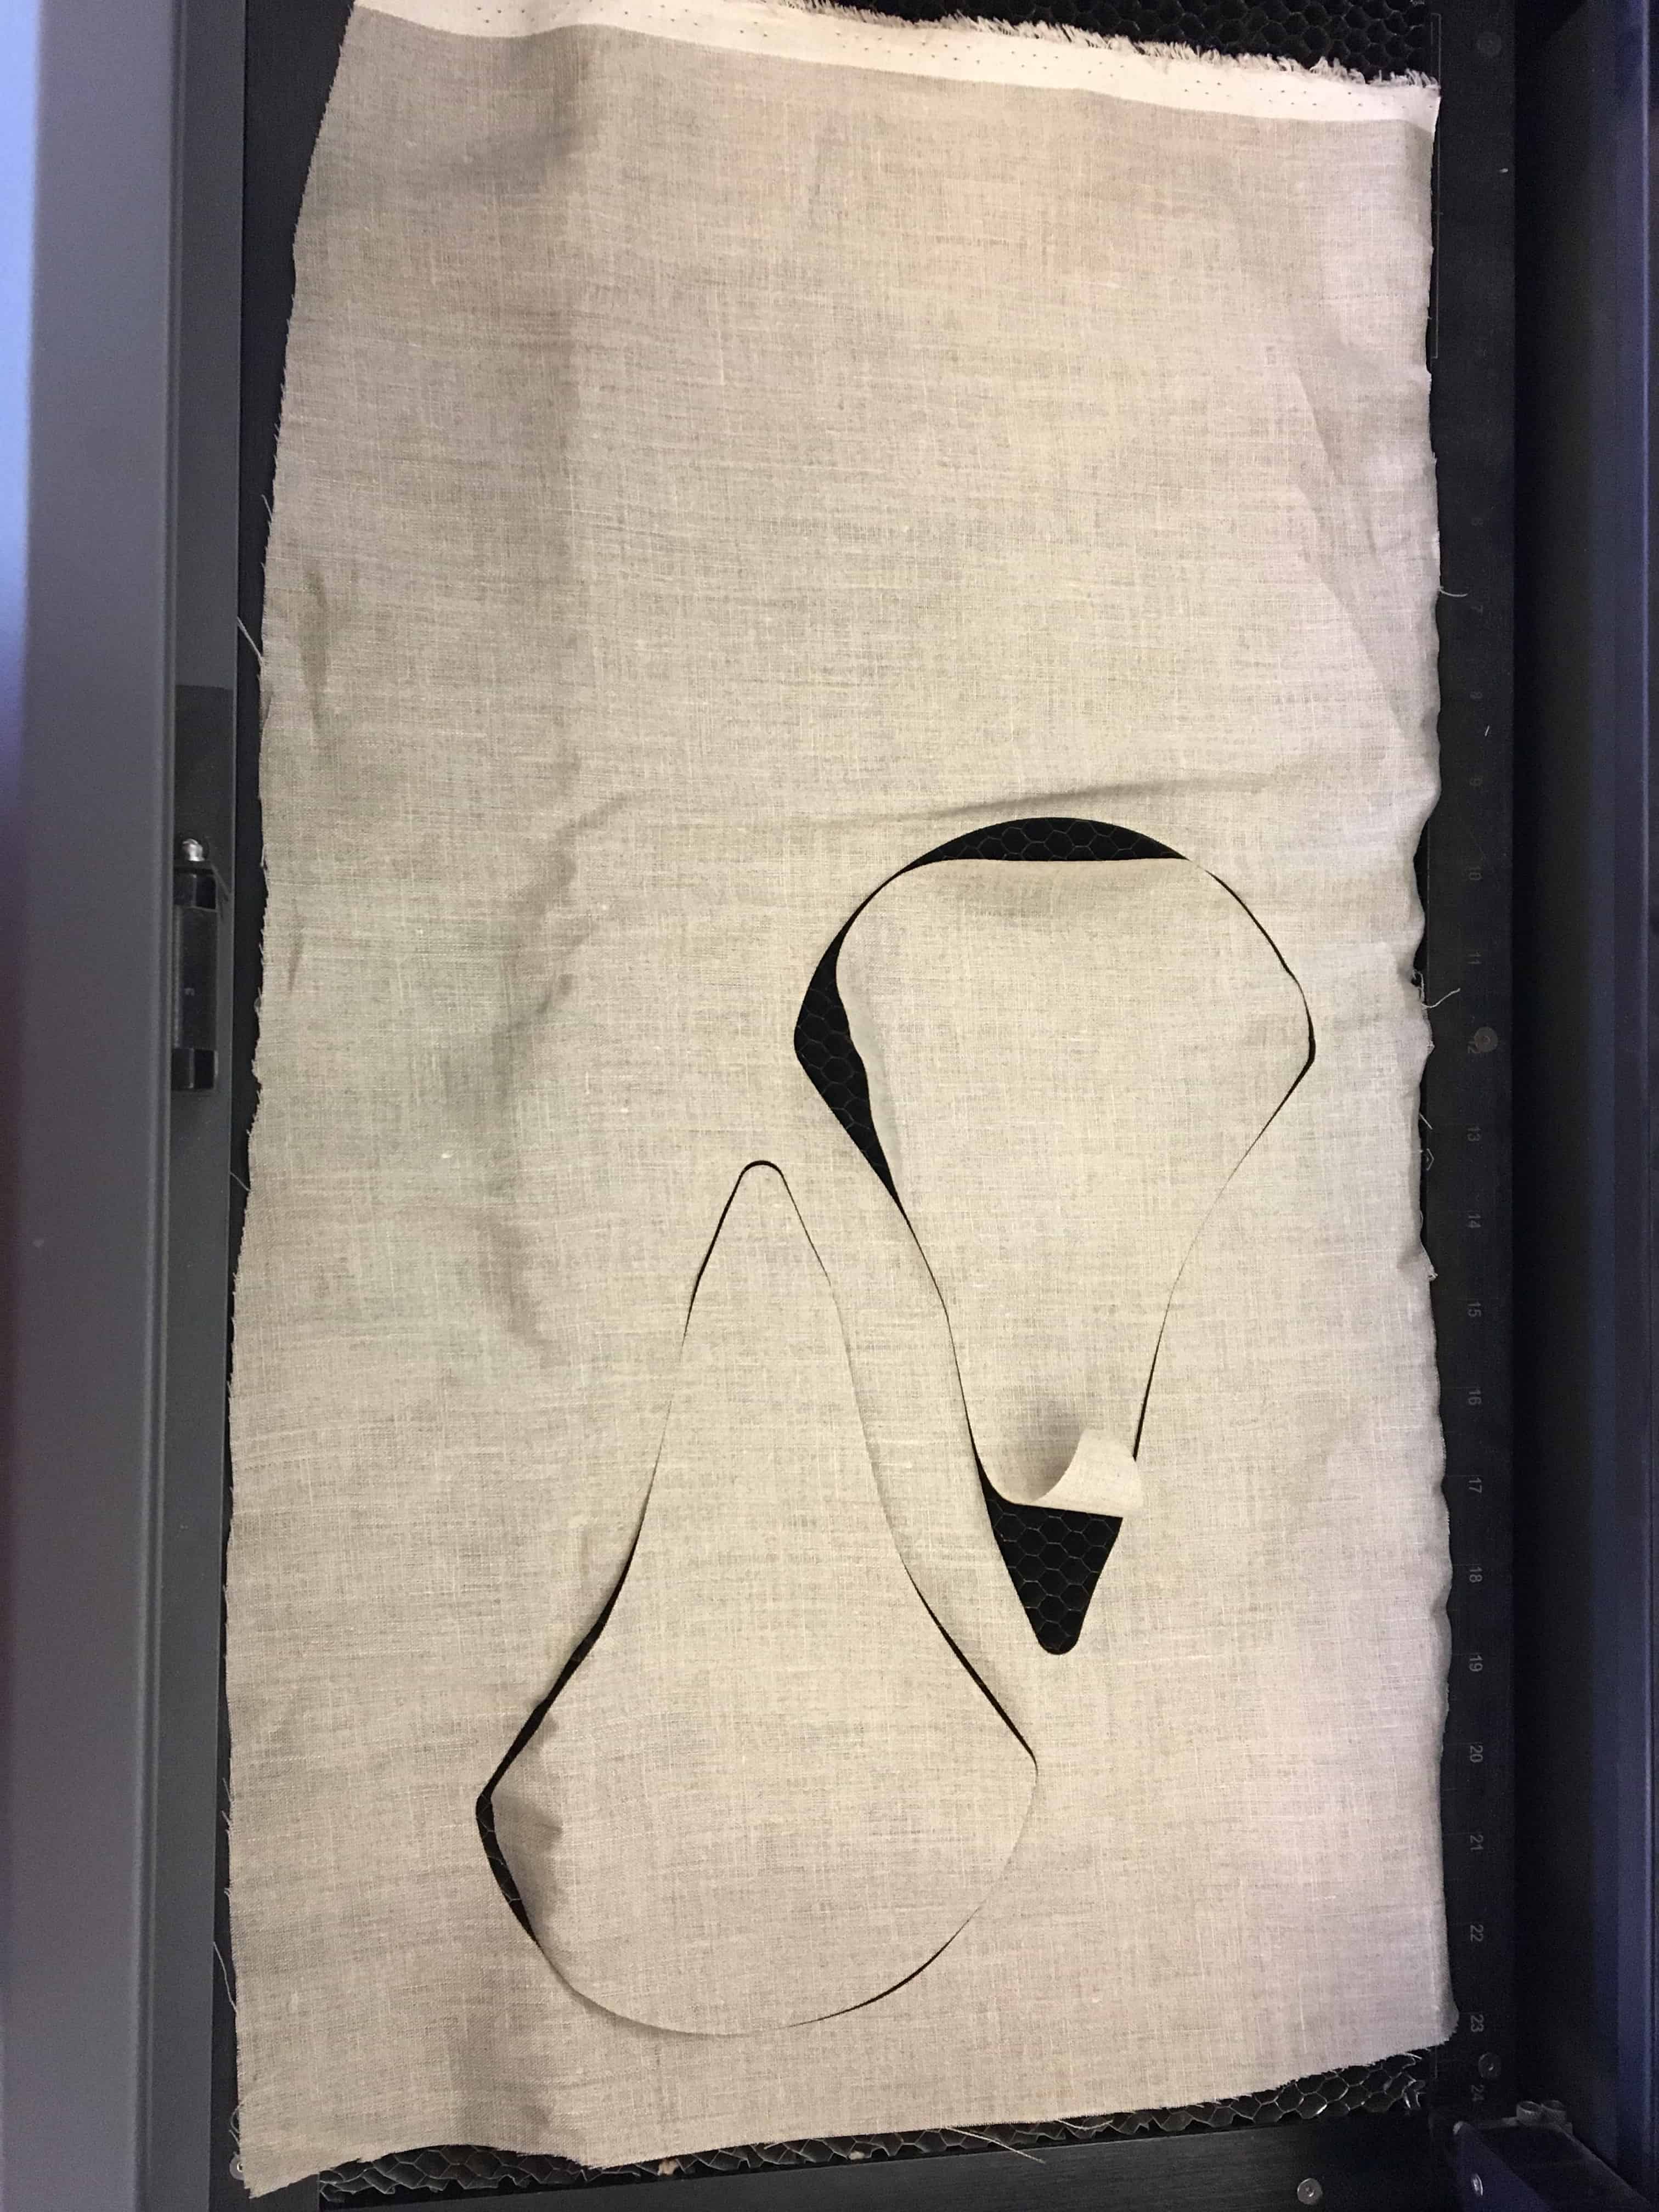
Today I laser cut the material I needed for the fabrics. I had some trouble loading the dxfs from OnShape. They weren't opening in Inkscape and I was getting this error:
I had tried making the design in Rhino earlier* so I made a dxf from there. Then I realized that in Corel Draw I just didn't have "All files" selected so only pdfs were showing up. A clue that could've told me this half an hour earlier was that many of the files on the USB weren't appearing, not just mine. However, because I'm impatient and always get "USB Not Ejected Properly" errors I thought it was because of that.
Anyway, once I had the shapes in Corel Draw it was easy. For the settings, I looked under fabric, Googled a few of them and decided that "twill" was probably the closest. The first cuts caused the edges of the design to curl a little, so I turned the strength down a total of 15% and it cut perfectly.
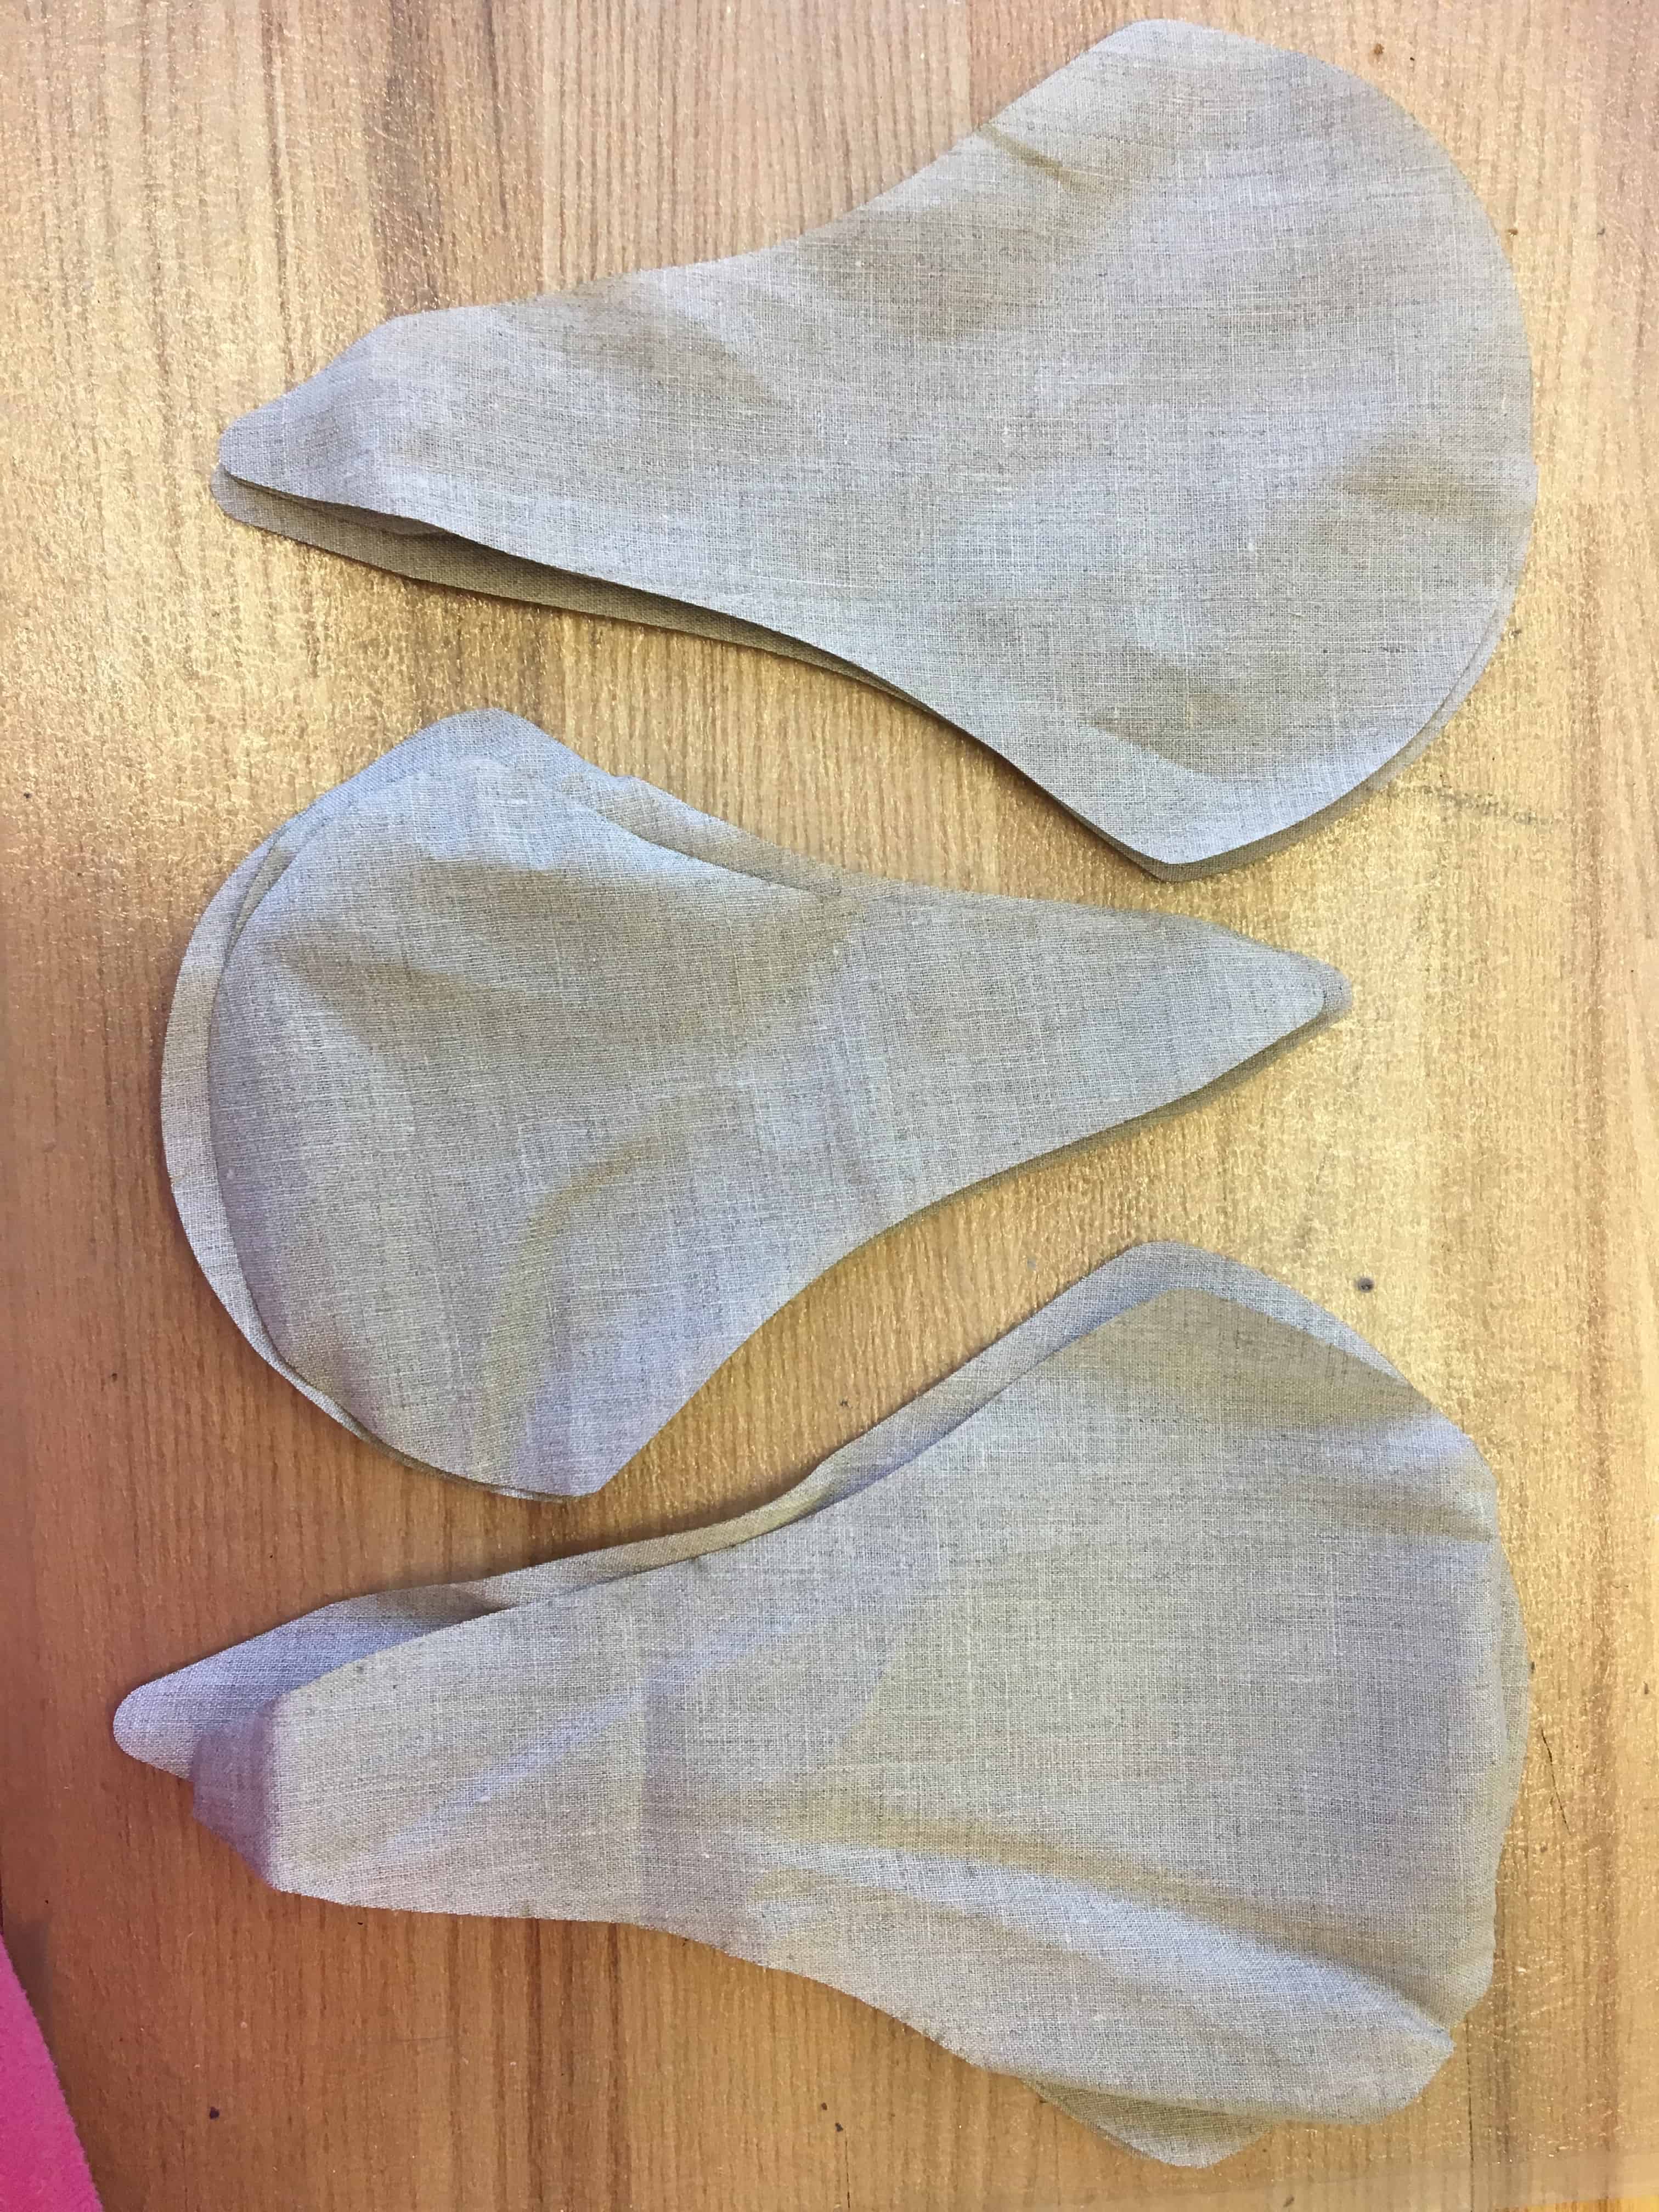
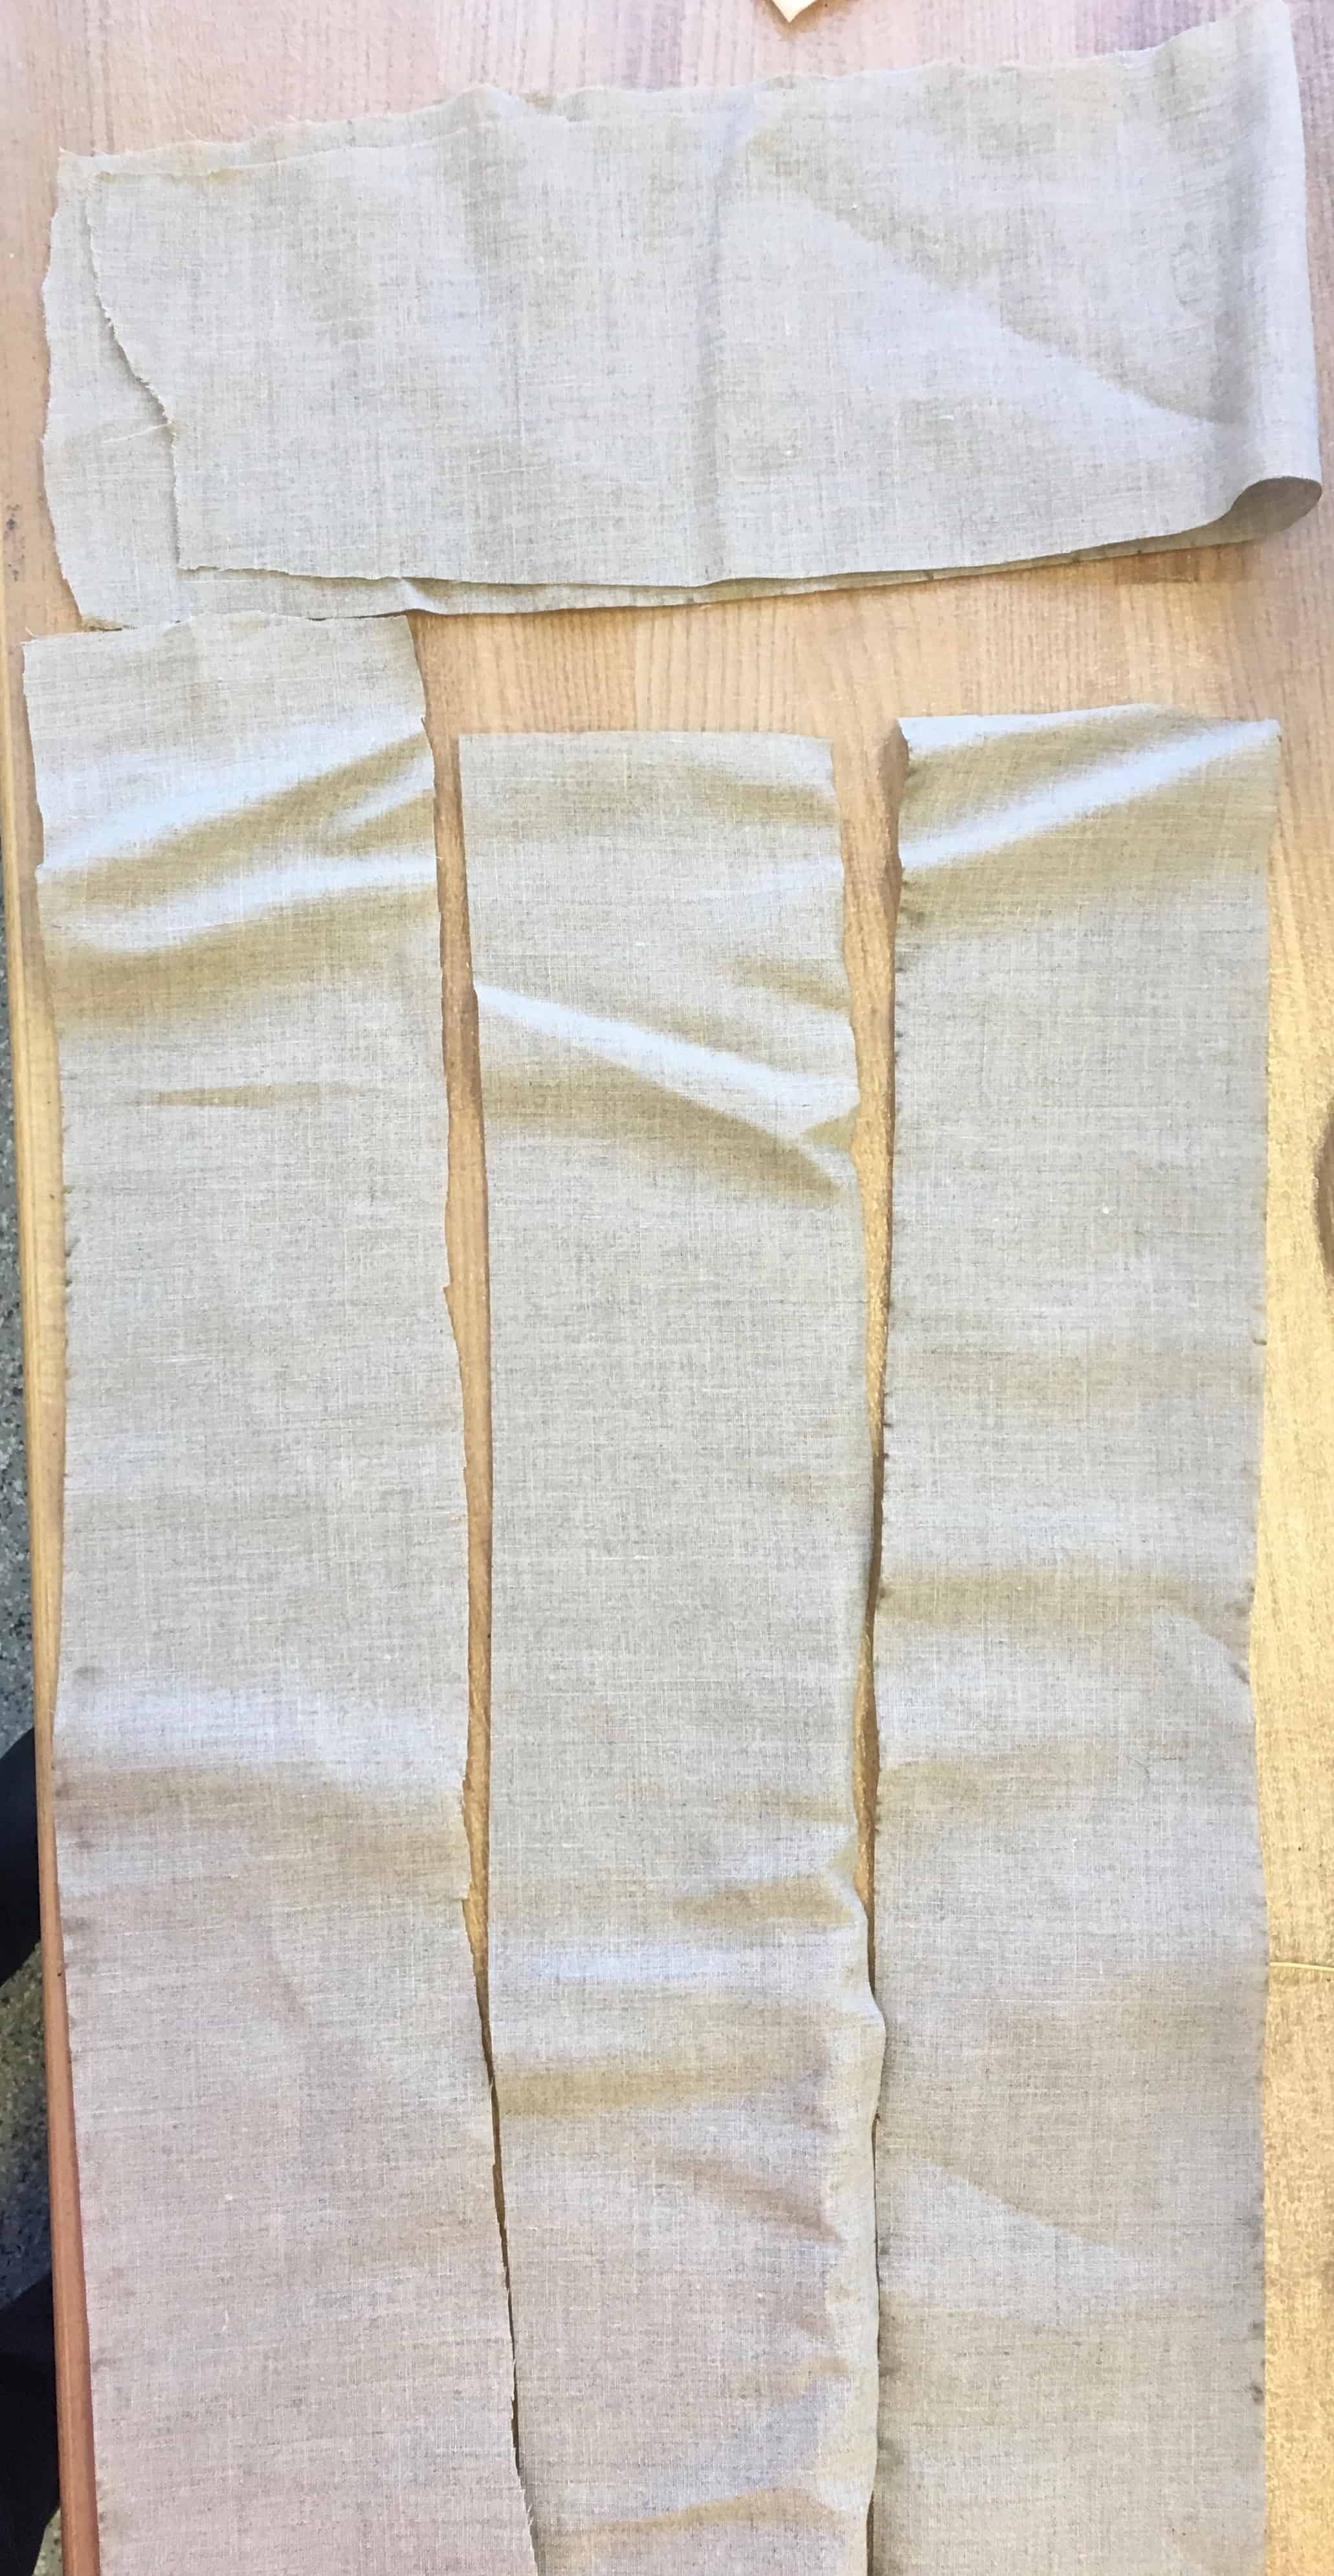
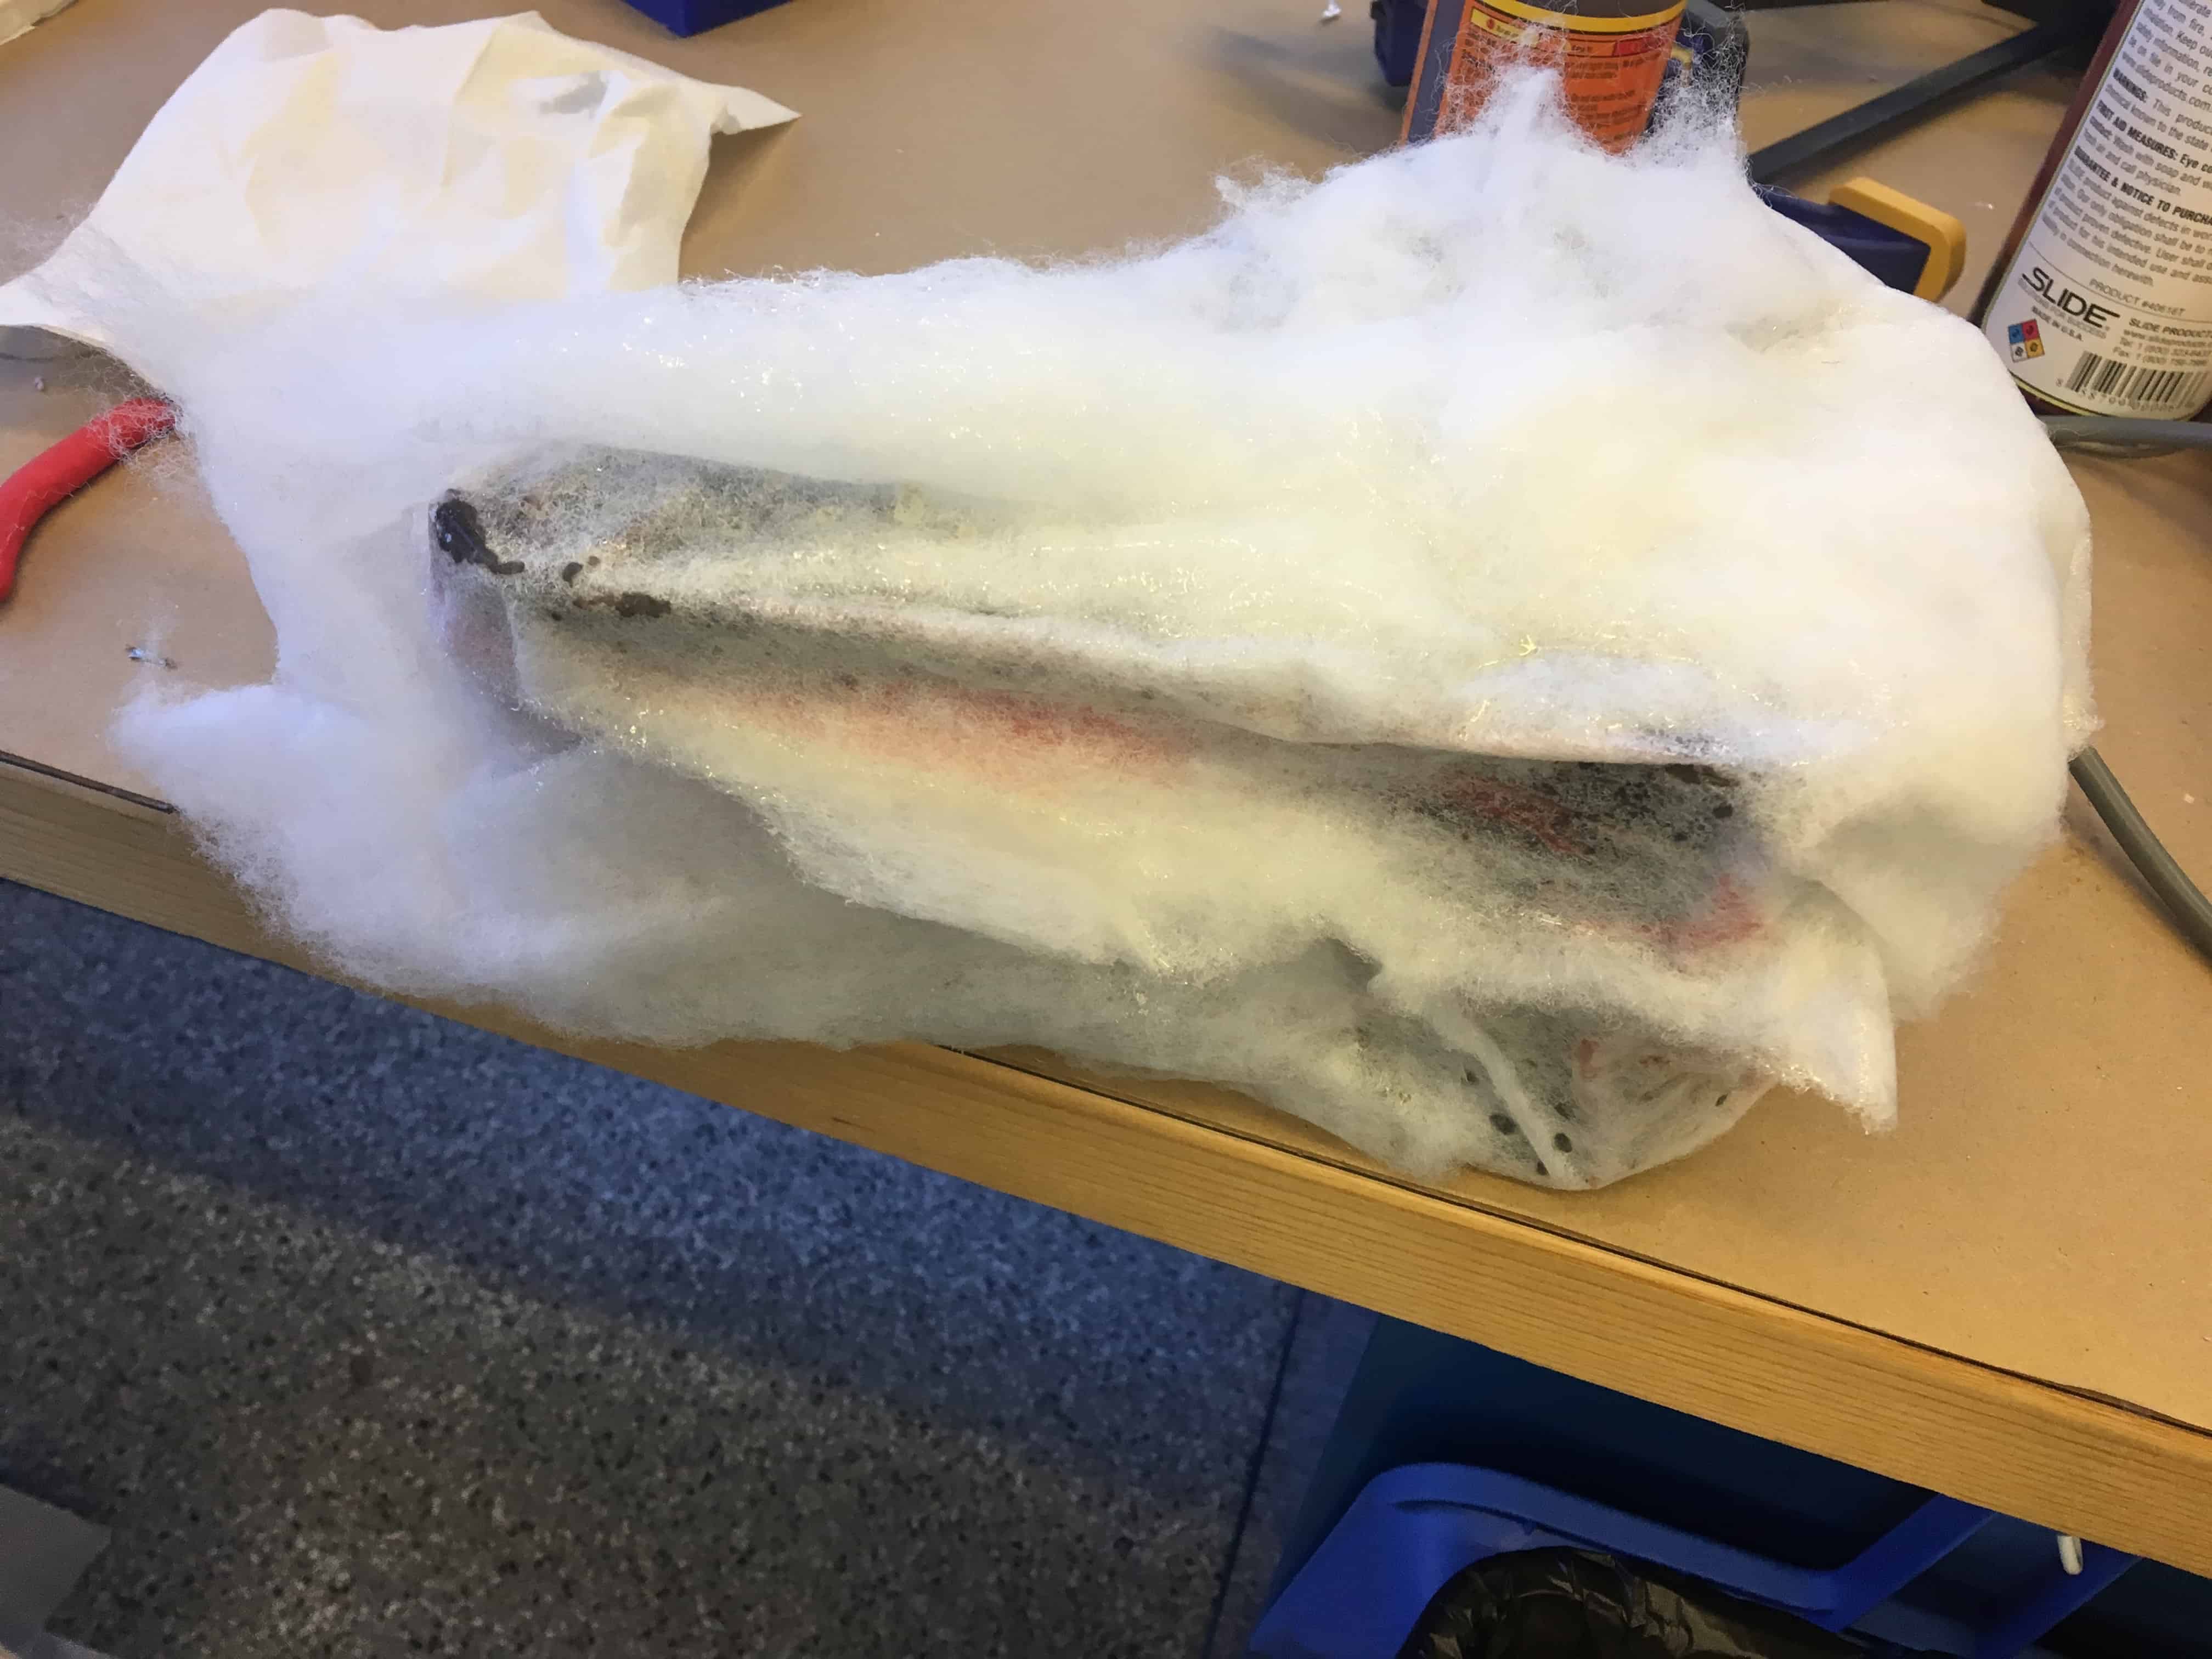
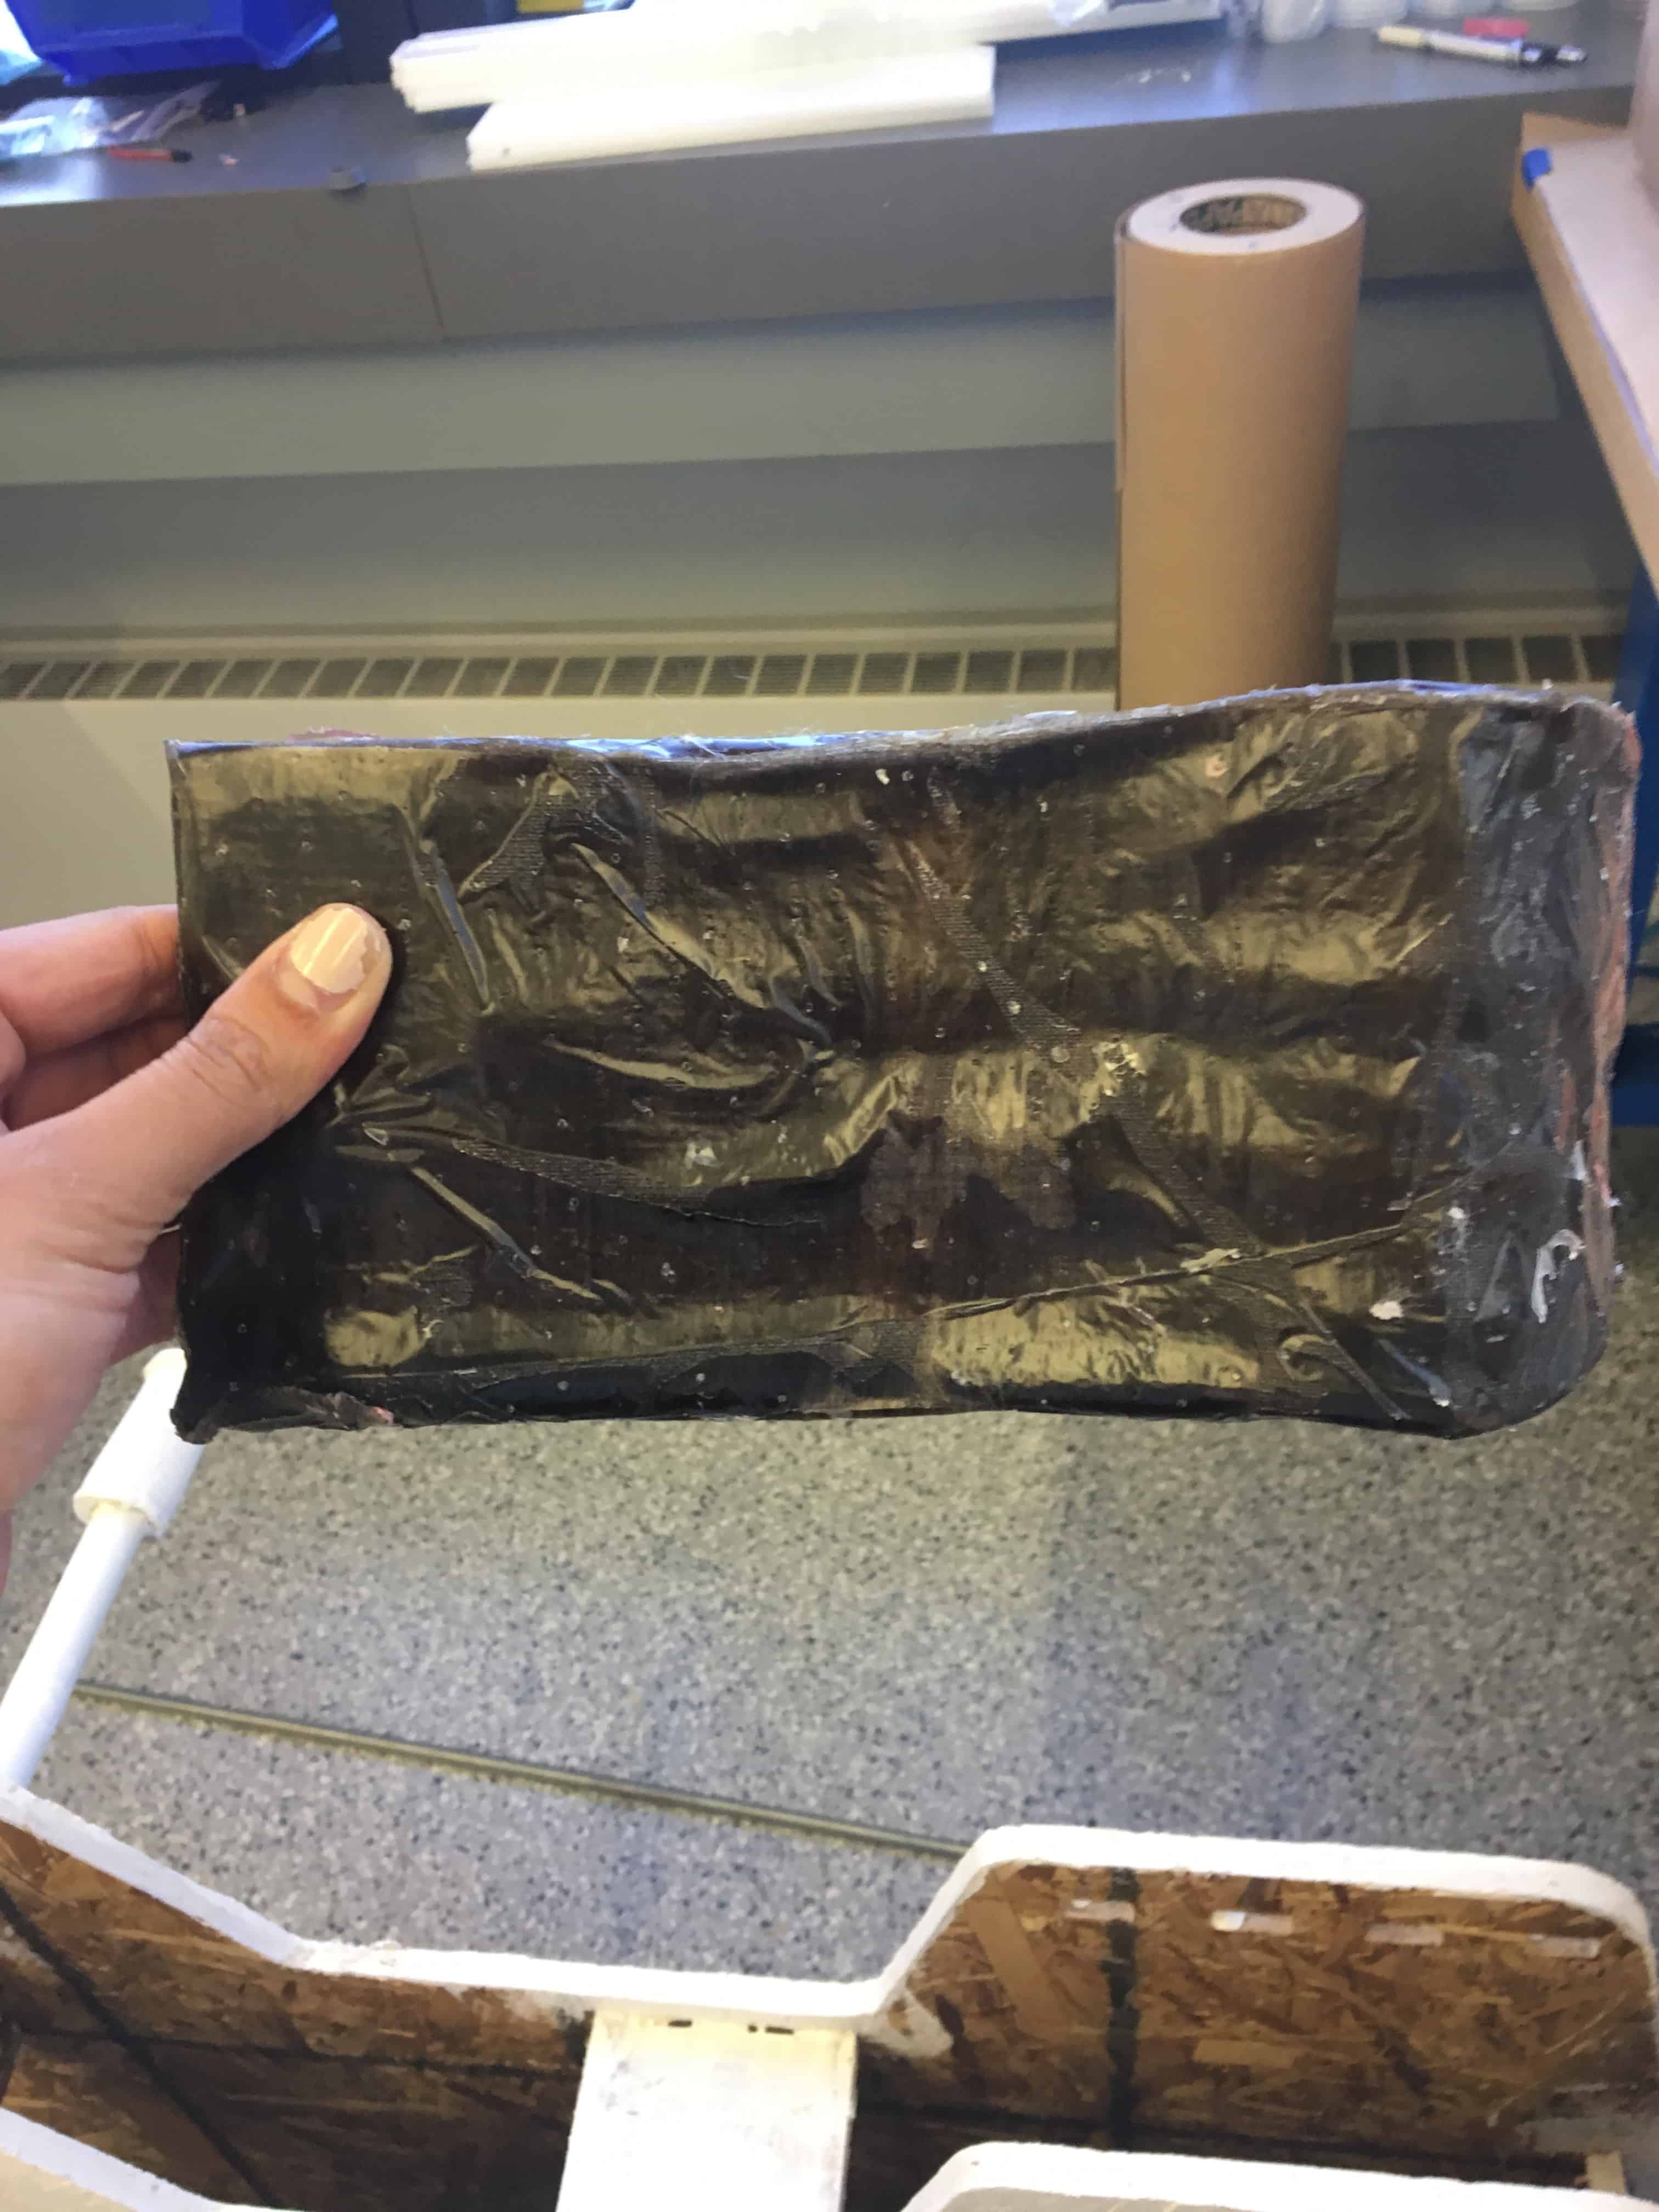
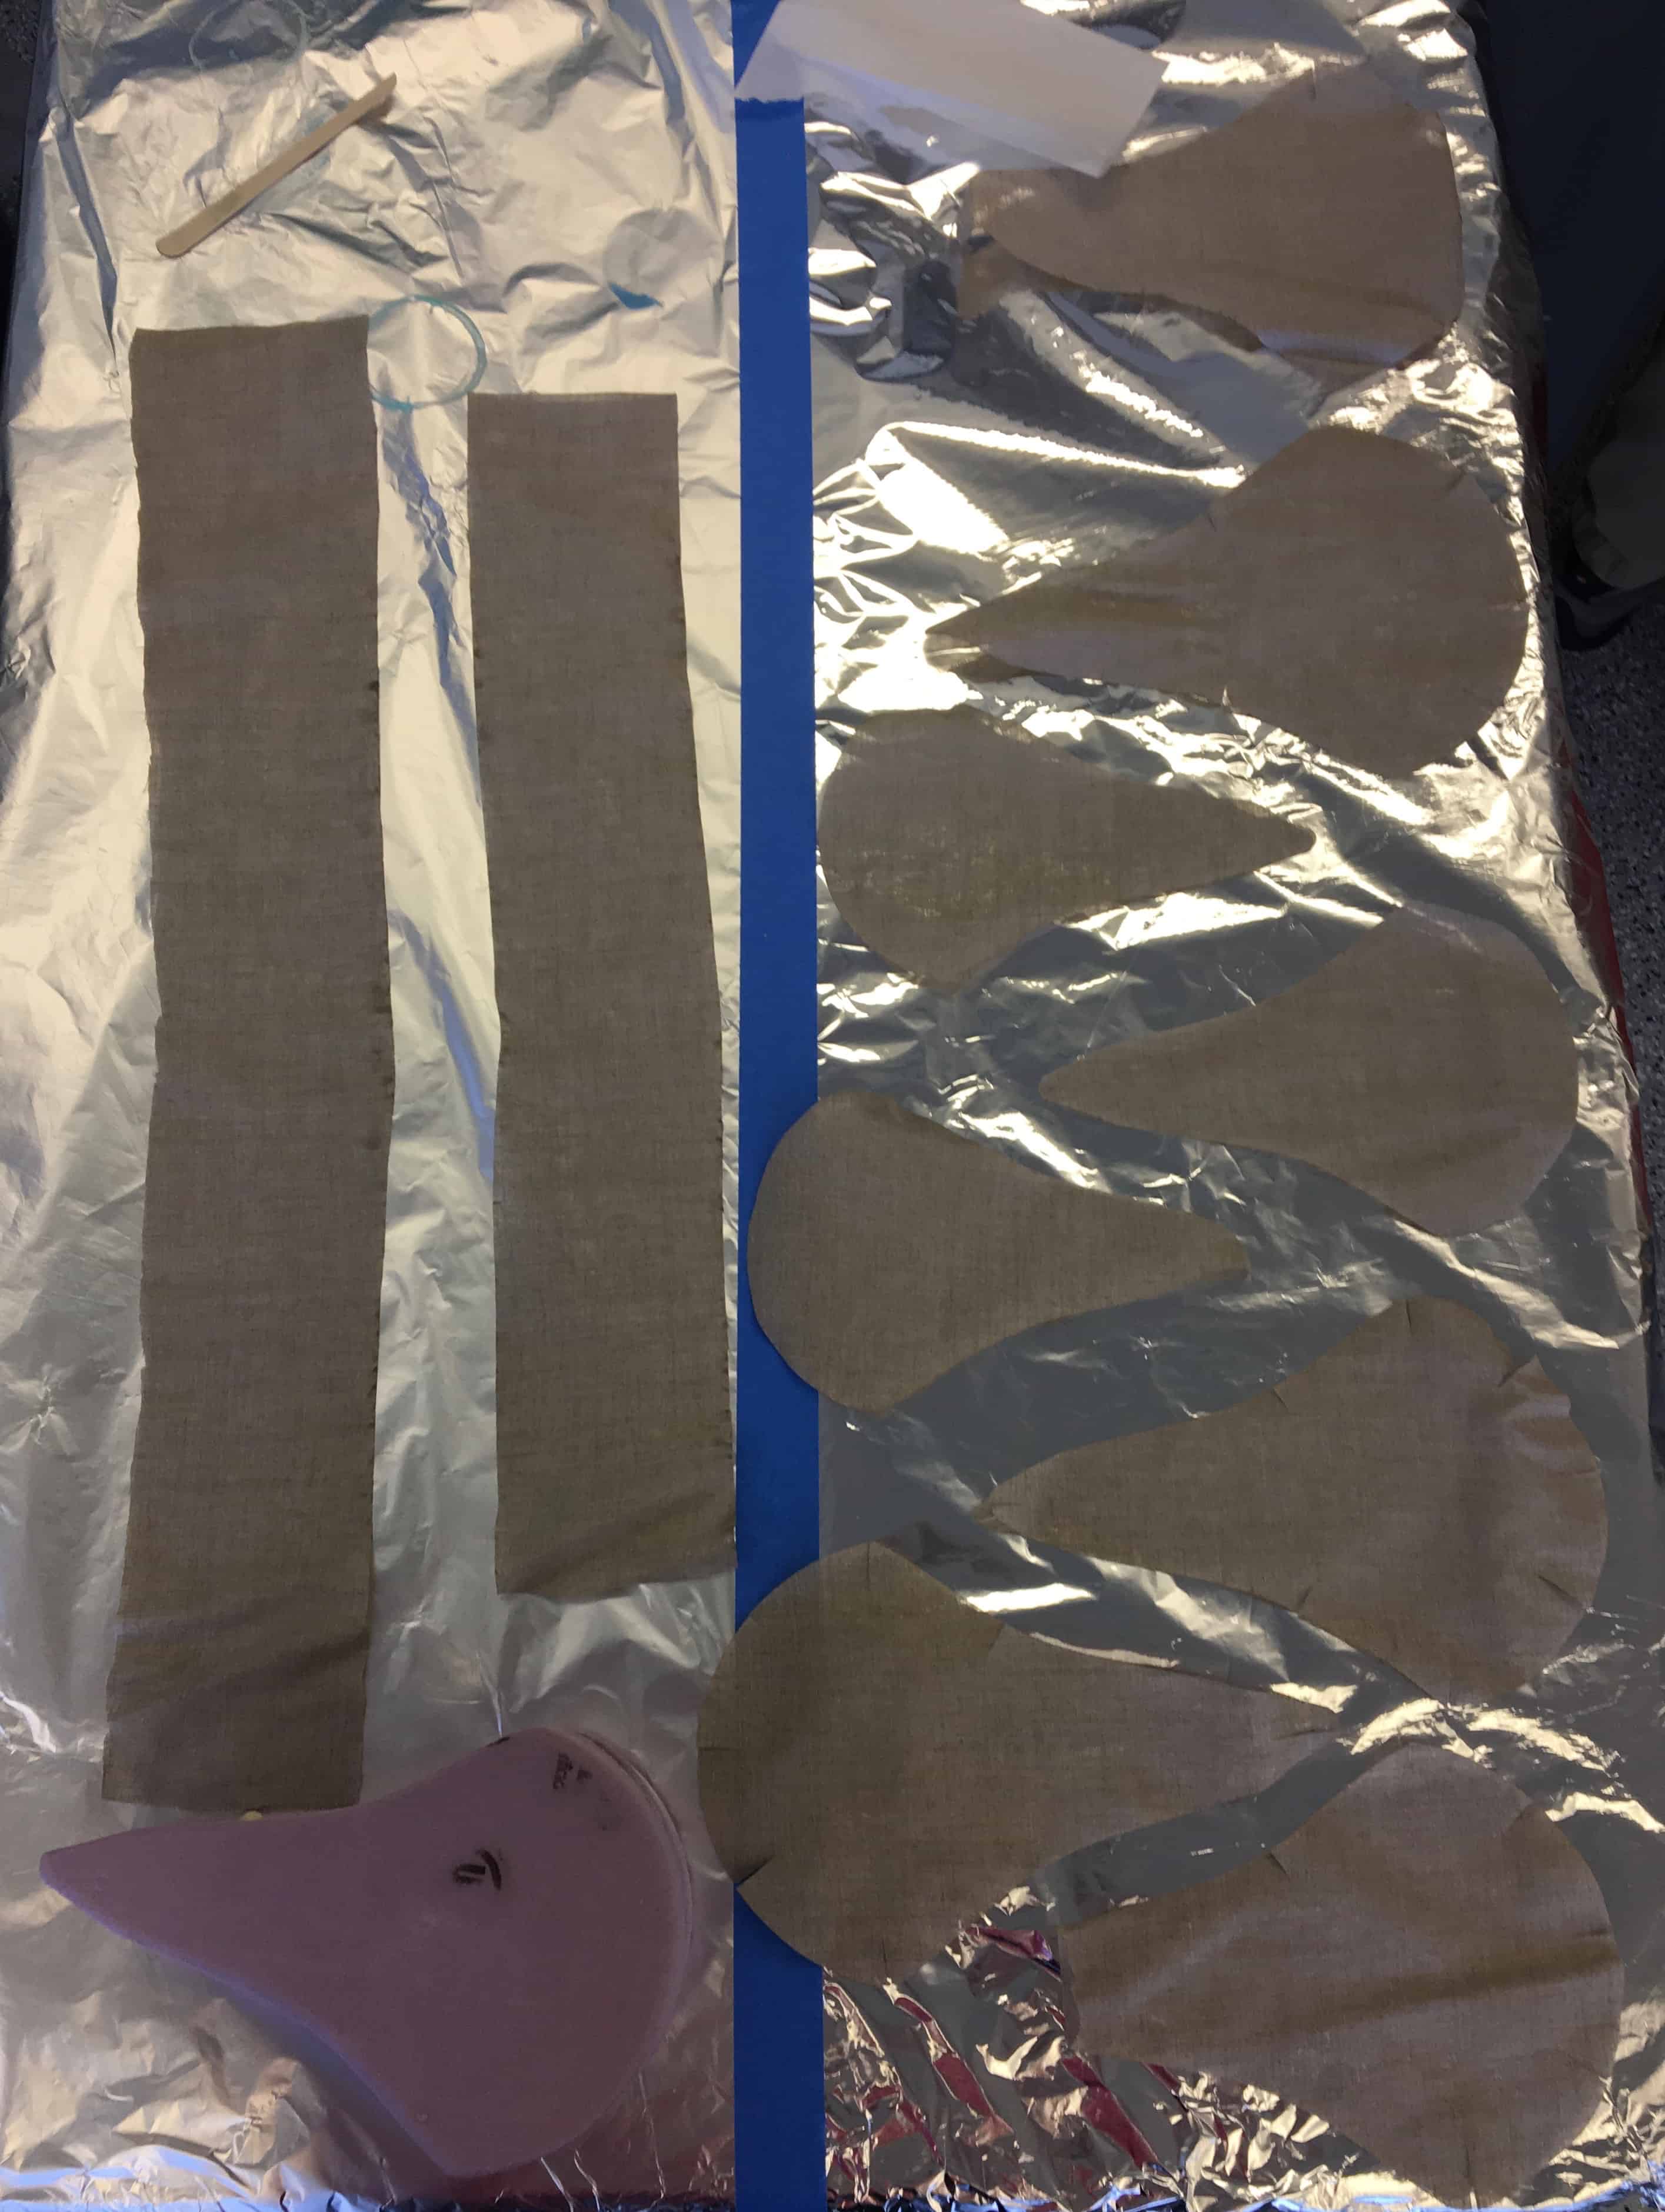
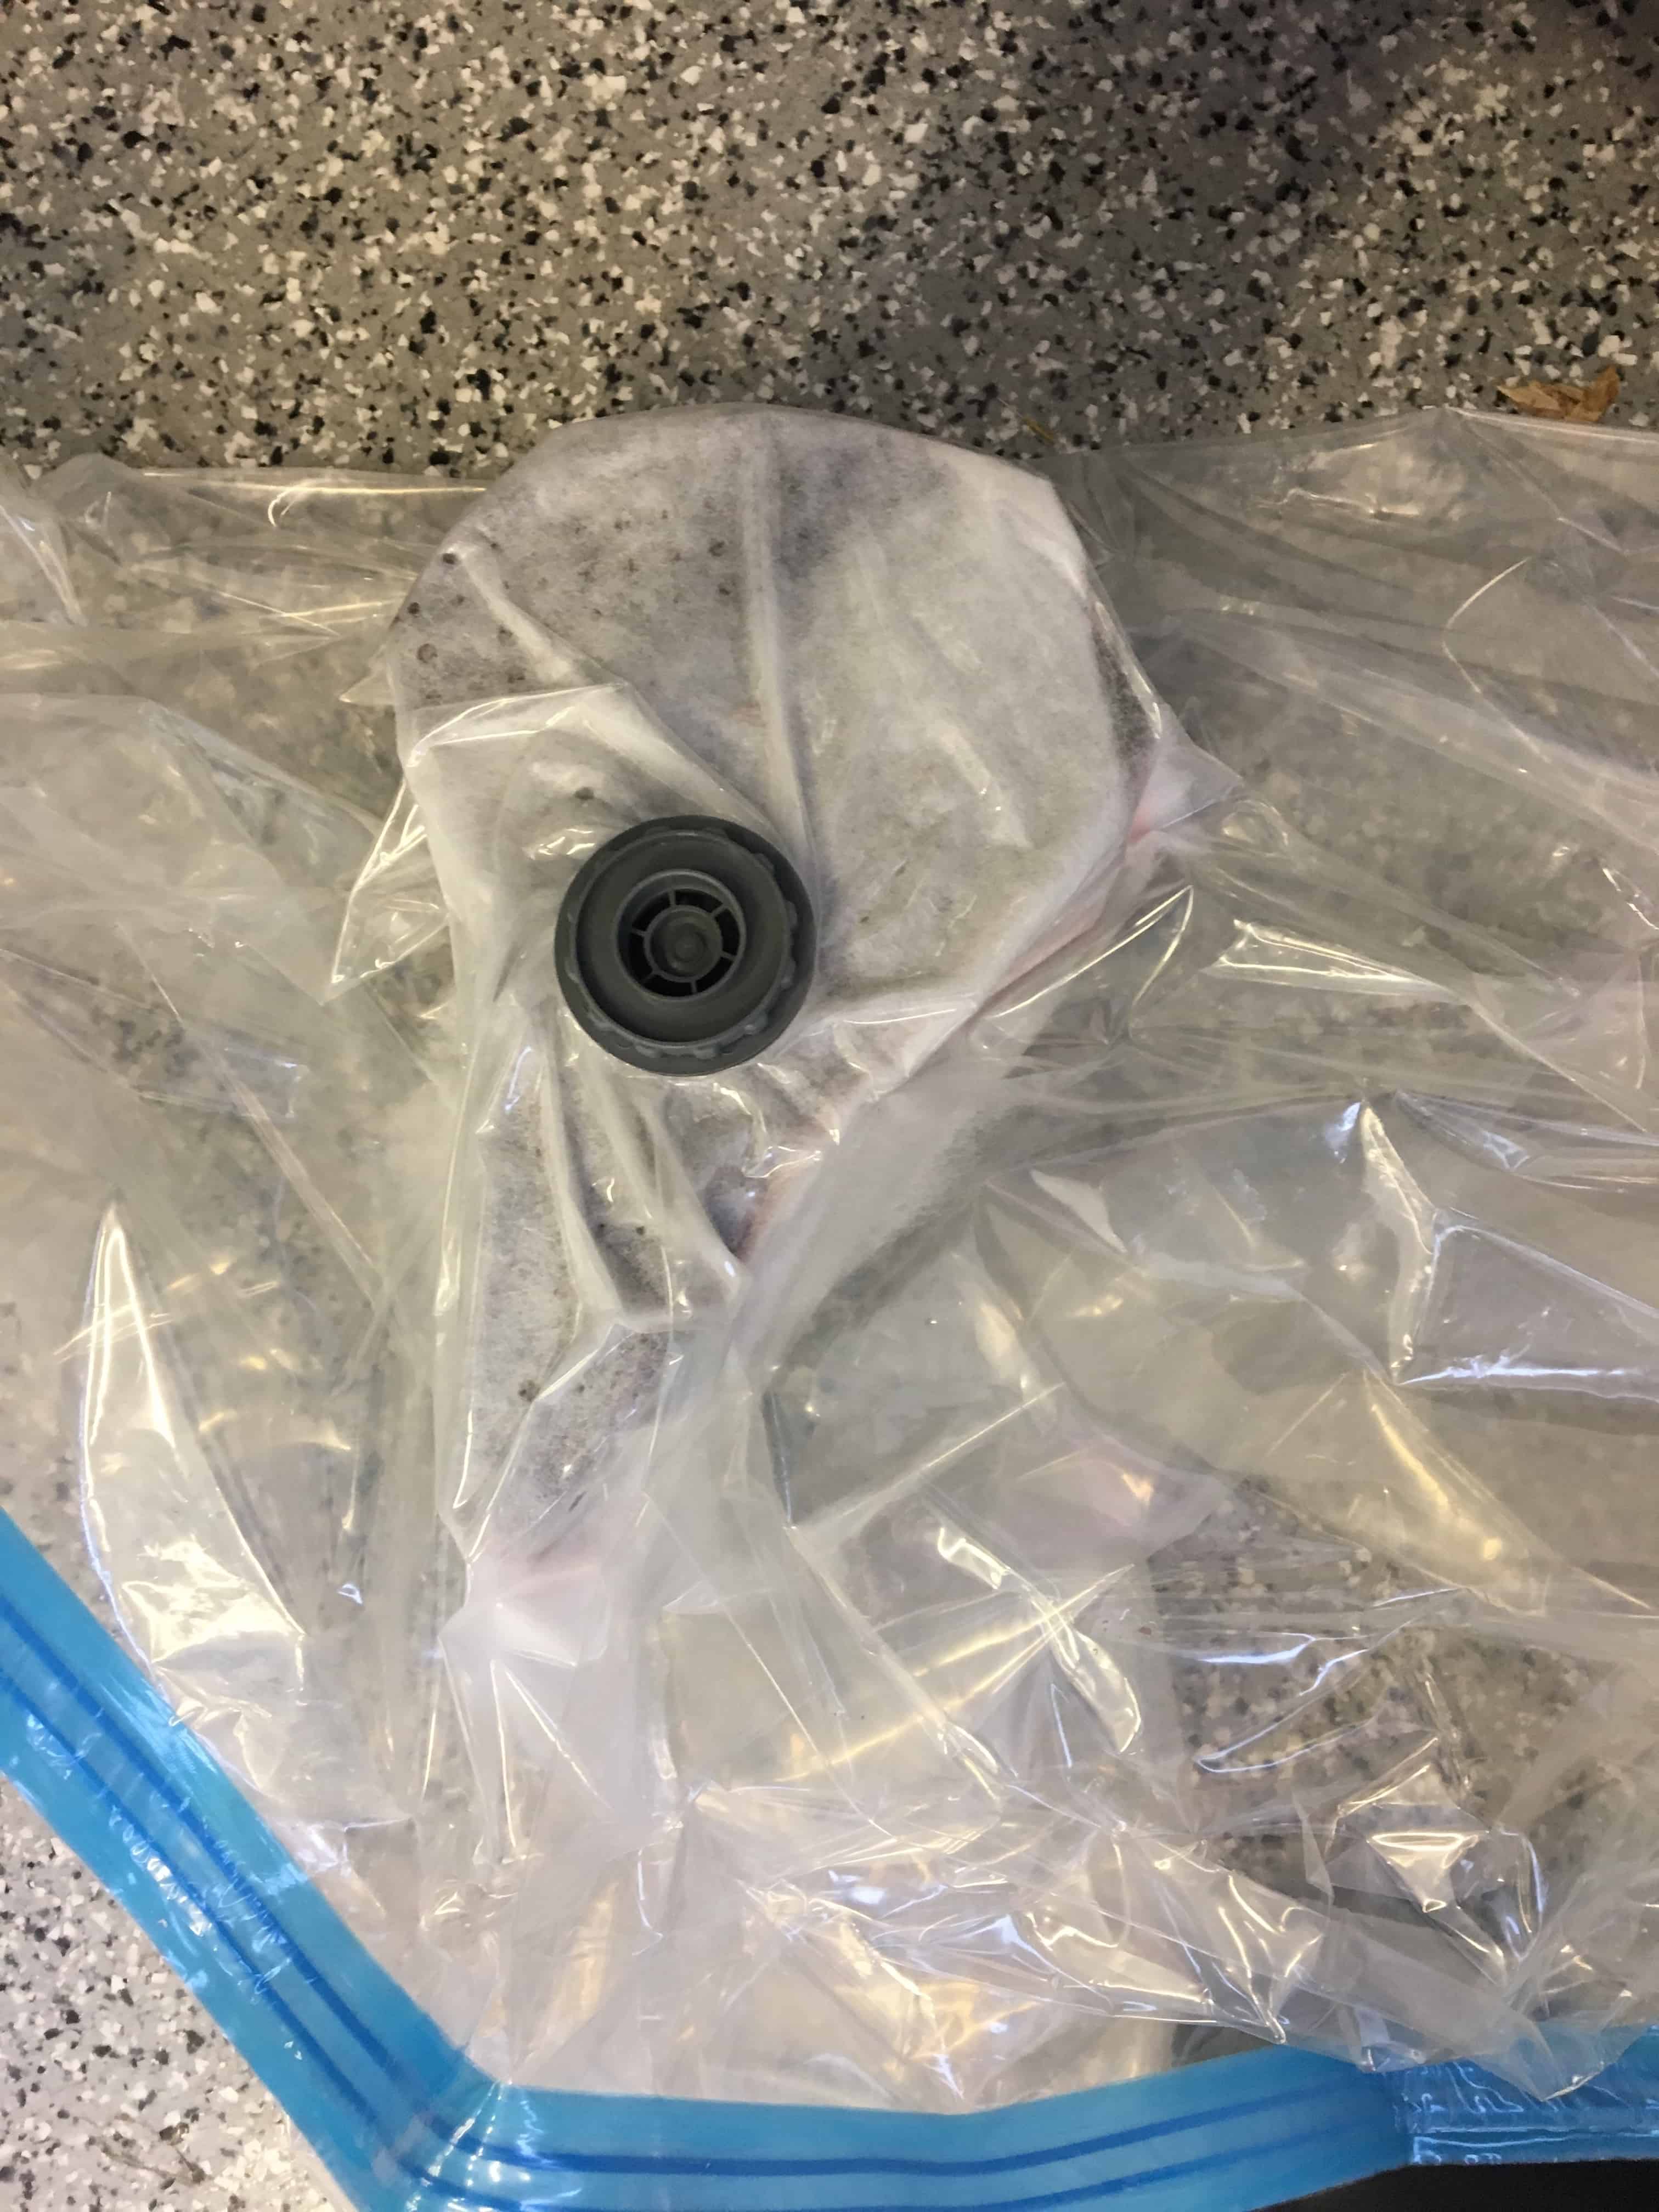
Once I cut the parts, Dave helped me with the actual composit making. I gathered all the materials, the vacuum, and vacuum bag open and ready. Dave and I both mixed half the resin so that it wouldn't over heat the cup (110g of the Epoxy with the corresponding amount of hardener worked fine). Putting on the fabric in a neat way took patience. I had made different sizes of the seat. In hindsight, I really wish I had made them even larger since it was hard for the strips to hold them down. I feel like this was the one point in the design process that I slipped on and it could reduce the quality of the seat by a lot which is sad considering how much work I put into it. It's a good reminder that every step of the process counts.
*To do this I copy pasted the shape outline of the seat into Rhino and then fiddled with things until it was extruded. Rhino has different extrude functionality and doesn't extrude to solid, so I had to create another surface, offset it and place it on top.
The vacuum bag I was using also tended to inflate a little. As Neil said in class, they have a life time. I periodically checked it and re-vacuumed it.