software I attempted not to break: fusion 360, shark software
hardware I attempted not to break: uprint se (3d printer), shark mill, casting materials
----this is halloween----
Natalie and I did the wax milling training together, and we decided that it would be cute to make a pokemon family (I know, I know, I'll stop doing pokemon soon but it lent itself to this week really well). Because the Roland wasn't working when we had the training, I wanted to choose a model that was pretty simple so I could use the shark cnc mill, which is basically 2.5D because it cannot move while milling in the z direction, so there will be small ridges. I ended up settling on milling a ditto because a) it's a simple blob shape, which I thought would turn out well on the shark mill, and b) because it looks kind of like a ghost, so it's appropriate for halloween weekend.Because we weren't sure if the Roland would work, Natalie and I also decided to 3D print our designs, so that we could try submerging the 3D print in the oomoo and then molding it from there. We thought it would be cool to compare the end results from the actual 3d print, the parts casted from the milled mold, and the parts made from the 3d print casted mold.
----milling----
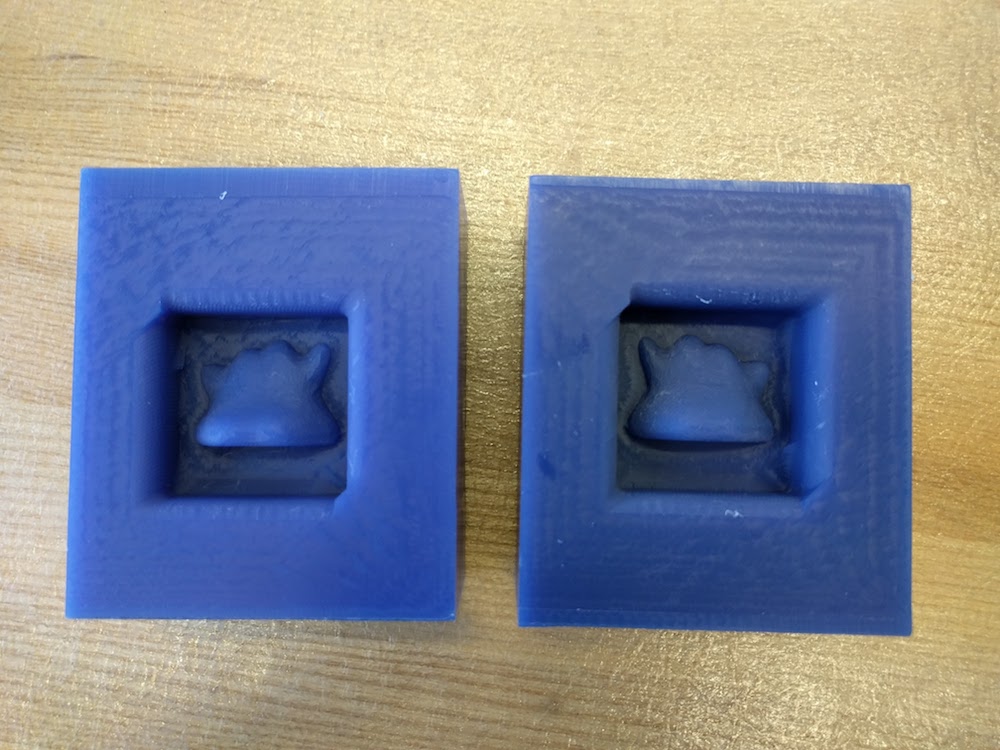
I created the file for milling in Fusion. I made the mesh for the ditto, and then I split the part into two halves, each exactly 3x3x.75in, with the mesh oriented so that the halves would come together to create an opening in the center of the two pieces once they were put together. I also kept a copy of the whole mesh, which came in handy later when I wanted to 3d print it.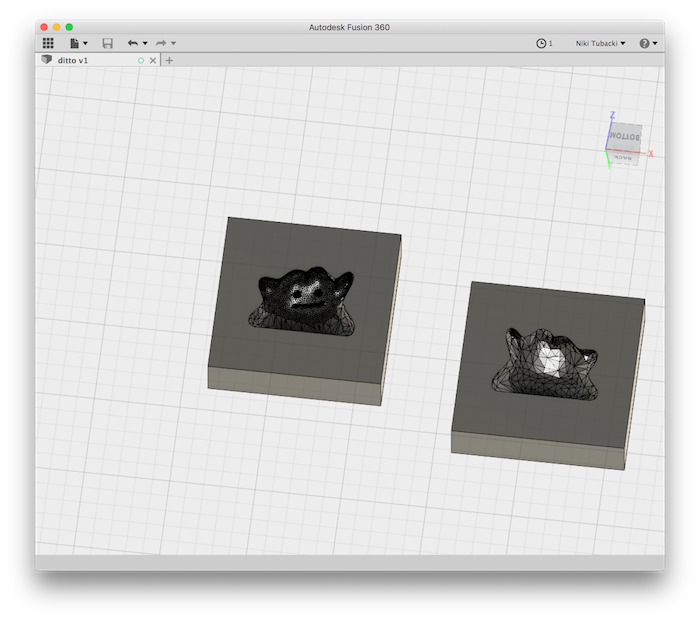
First, Natalie and I tried to figure out how to use the Roland based on the video from the class page and using Natalie's design, but we couldn't get it to work. It basically just ended up being stuck on processing forever without actually showing any progress. After a while, we got our 3D printed parts started so that we could use those to cast the molds the next day. Natalie decided to wait to try to get the Roland to work, and I decided just to stick with my original plan and use the shark cnc mill. I plugged my design into the path tracing software and went through the steps to set up the material around the design and find the rough and smooth paths. I decided that since my design was pretty small (for the sake of time since the shark mill takes a while), I would take a normal 3x3.5x1.5 piece of wax and cut it in half so that my two halves fit perfectly. I set up the software to do this and the paths traced well and everything seemed like it would work. But after setting up the actual wax piece and starting to mill it, the piece actually came up off of the table during milling and started spinning around the bit. I stopped the machine, took the wax off, and cleaned everything out. There wasn't a mark on the wood the wax was taped onto, so I'm pretty sure the tape just came up and the piece started just flying around the bit. I'm not positive why this happened - it's possible that it's because the piece was too small and light so that the force of the bit overcame the tape, or that I didn't stick it down well enough (it was hard for me to reach in to stick it down between being short and having braces, so honestly, this was probably the problem).
I tried fixing this by using a normal sized piece of wax instead of cutting one in half. I also asked Dave to help me make sure the wax was stuck down, which I think went a little better than my attempt went. Then I tried again, and this time, the machining went fine. In total, for both halves, the mill took about two hours to complete. My design was pretty small and easy, so I'm surprised it took that long. I think it would have taken a ridiculous amount of time to do a mold that required most of the wax to be removed, so I'm glad I chose to do a smaller design.
----oomoo----
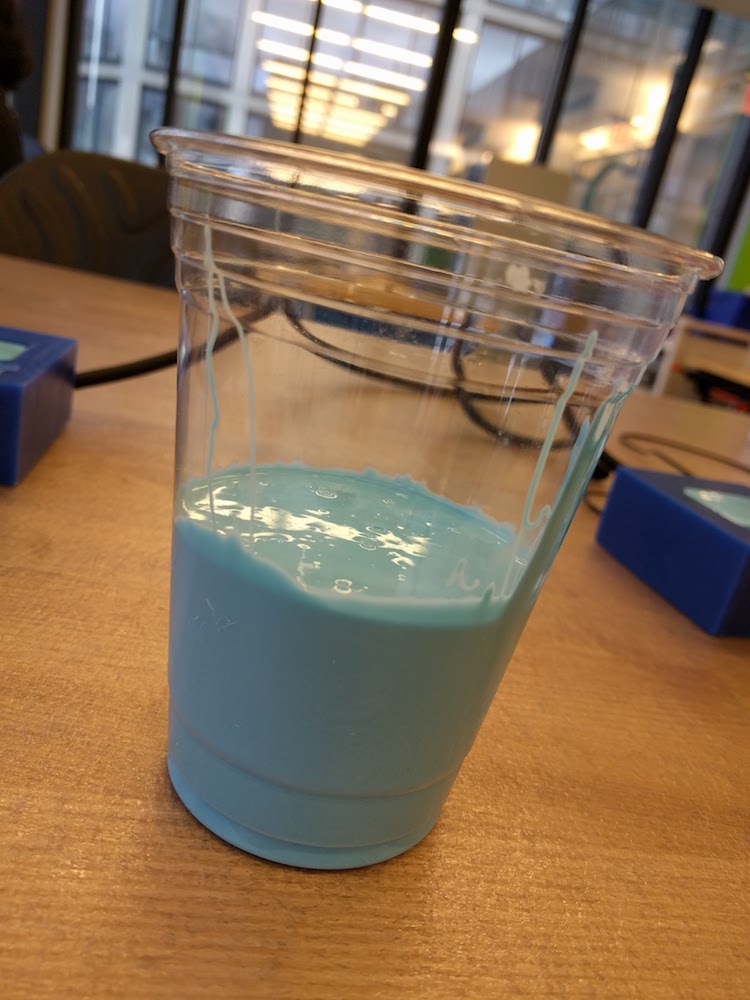
After creating the mold came the oomoo. This part was surprisingly easy.tip for the future: oomoo is like cake batter. Air bubbles? Not if you drop the mold from a few inches above the table a few times. It makes a lot of fun noise to annoy everyone else in lab too.
I first filled the normal wax molds, which went super well and was uneventful. Then, I took my 3D printed ditto and tried to make a mold from it. I mixed a lot of oomoo, then poured a bit into the bottom of a larger solo cup. Then I placed my 3D printed piece into the cup on top of the oomoo that was at the bottom, and then tried adding more oomoo. Funny story - turns out the 3D printed piece actually kind of floats in the oomoo. I was really afraid it was going to sink down to the bottom, but I actually ended up having a harder time making sure the top was covered. I used a lot of oomoo for this because I wanted to make sure that there was a thick enough border all the way around the piece. I also was afraid to tap or drop the cup because I didn't want the piece to settle to the bottom, so I kind of just jiggled it a little and hoped that I poured it slowly enough to get rid of the bubbles. I let both of the molds set overnight to dry.
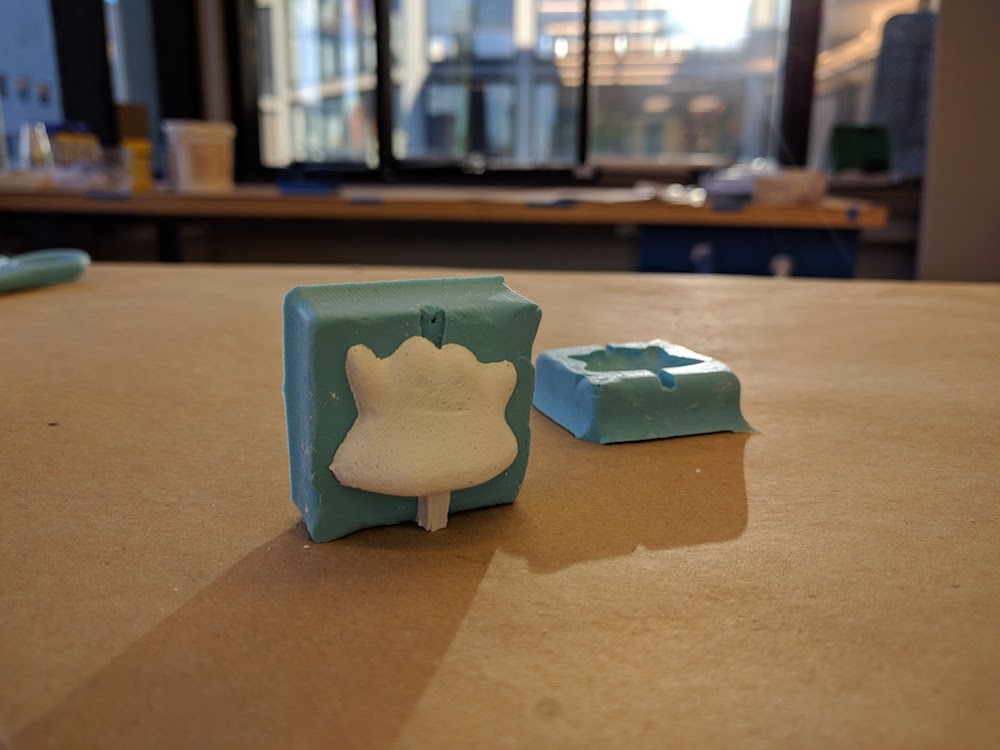
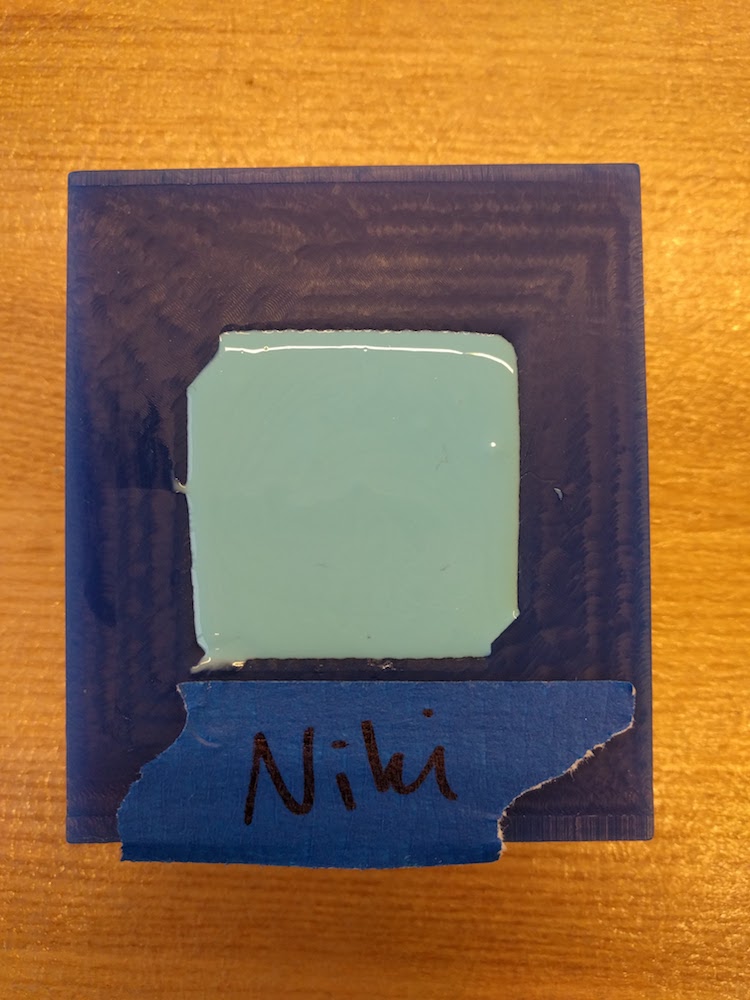
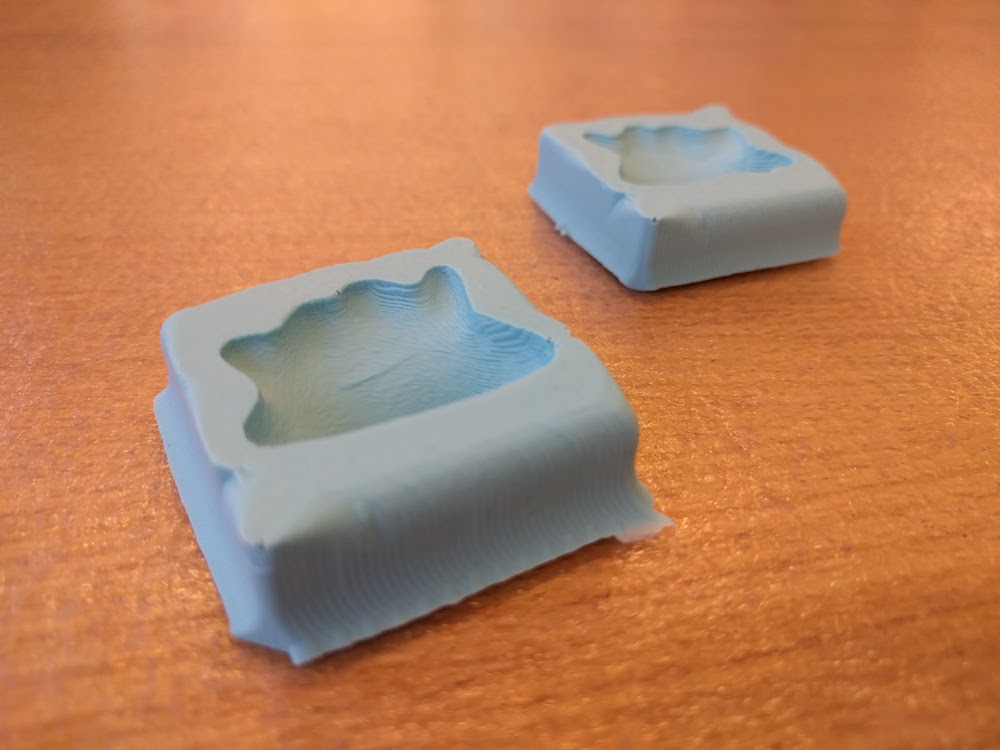
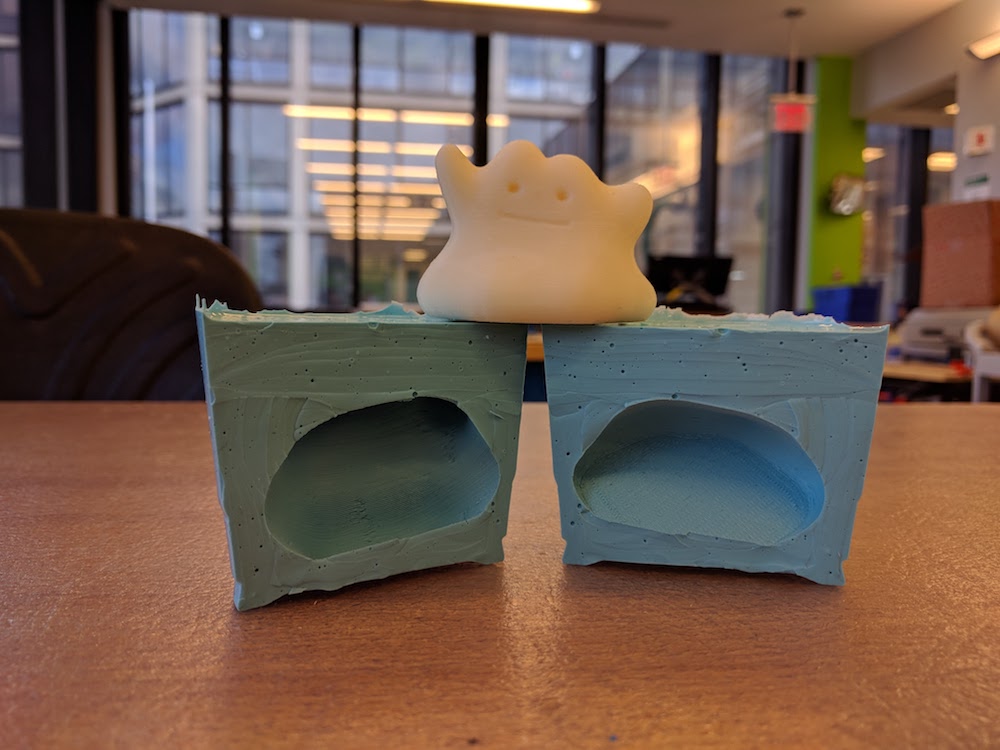
The next morning, I came in to check out my molds. They worked! And very well, surprisingly. There are very few air bubbles in either of them, which honestly is a miracle, especially with the cup that was hard to work with. The smaller molds came out of the wax mold really easily using the spatula. The cup required a little more effort. I got the mold to come out of the cup by just cutting the cup with an xacto knife, but then had to figure out how to cut the mold itself apart so I could pour the final material in. I wish I had marked the cup somehow with what orientation I had put the 3D printed piece in - I didn't know how the mold inside was oriented, so I tried to feel around the edges to feel the harder-to-squeeze side that I thought would be the wide part of the mold. I ended up kind of just winging it, and managed to cut nearly through the middle of the mold. The ditto inside had actually shifted a bit so it was a little more sideways than straight up and down, so the mold isn't exactly even, but it still worked out. I cut out some holes in both molds to pour the drystone in and have air come out of using an xacto knife. At the end of all this I had two full ditto molds, ready for casting!
----casting----
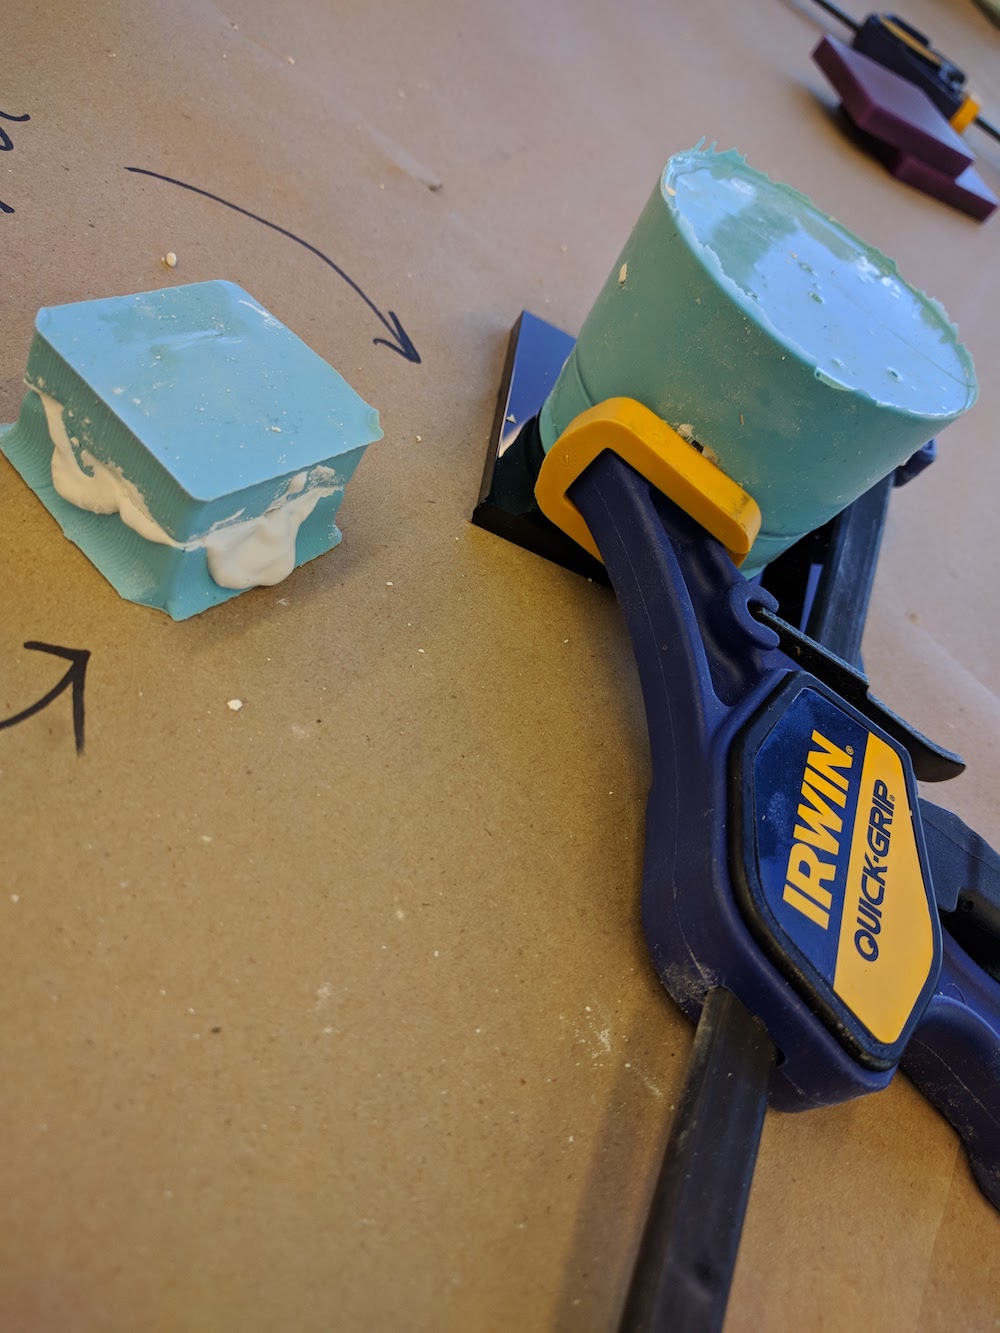
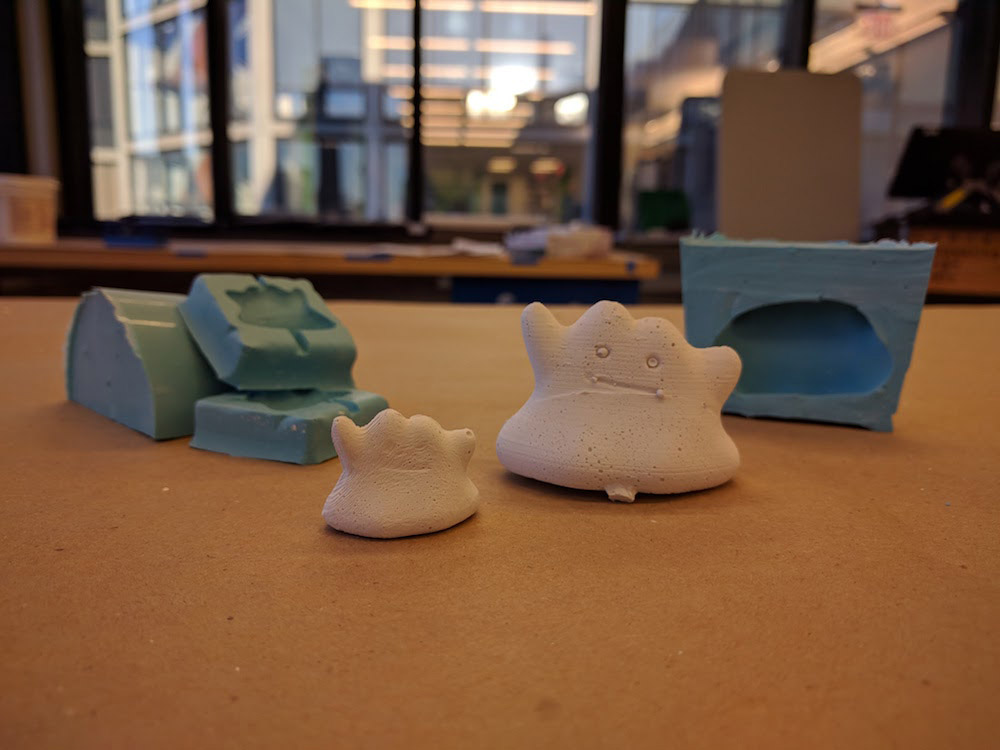
If oomoo was surprisingly easy, casting was surprisingly hard. Natalie and I worked on casting our pieces together. We were the first in our lab to do it, so we set up the work table and tried to figure out how to make our molds not fall apart and spill all the drystone everywhere. The container of the drystone said it should sit in the mold for half an hour, so we figured that holding the molds together by hand for a few minutes for the drystone to sort of set up and then clamping them together was an acceptable course of action. According to the container, the mix was about 100 parts drystone to 13 parts water, which, after mixing, seemed very thick. There was no way it was going to pour into the holes that Natalie and I had cut into our models, so we ended up just spooning the drystone into our models with the tongue depressor. This was slightly terrifying for my larger cup mold, which required me very quickly mashing the two halves together without spilling all of the material out. Natalie and I both essentially ended up just squeezing our molds together and praying that it worked, then leaving them to sit and harden for half an hour. We let them completely sit for an hour just to be safe (and because we were afraid of checking and seeing our half empty molds that turned out terribly). But our final parts actually turned out really well! Mine have a few small air bubbles in them, but nothing too significant. The two halves also weren't super well-aligned in either of my molds, but they were pretty close. I used an xacto knife to clean up the edges and sanded the parts down a bit. It turns out that both processes led to pretty equivalent looking parts. The 3D printed mold's part had a much more noticeable face than the other one, which makes sense, since it is a) bigger than the other mold and b) the 3d printer was able to make a much more accurate face than the 1/8in bit of the mill. But they both are very noticeably dittos and are pretty clean.