Milling the Programmer
I decided to follow the Brian, attiny45 instructions after Dixon recommended it.
Milling the programmer was a surprisingly simple task, especially since Dixon was there helping me. After a healthy dose of double stick tape, I placed the unmilled board in the bottom left corner of the sacrificial layer. I zeroed the 1/64 bit in the middle of the board before setting the origin to the bottom left corner of the board. Using the preset values in mods, I cut the 1/64 traces of the board. Afterwards, I changed to the 1/32 bit and again zeroed the bit in the middle of the board. After writing down the previous values, I set the origin to the same numbers. I cut out the 1/32 interior, vaccumed the dust and pulled off a milled programmer.
Sautering
Sautering the board was also very straight forward, but took a lot of time. I used an index card with double stick tape to get all my pieces. Luckily, I read the instructions before starting to realize that some pieces, like the attiny45 and led lights had orientations. I tried to use a microscope, but didn't like it so just did without it. I had a hard time positioning elements onto the board. But Dixon showed me how you can use a dab of sauter on one side to place the elements on the board. While it worked, it took a while to get use to. After several pieces later, I finished sautering the board with some pretty ugly dabs of sauter.
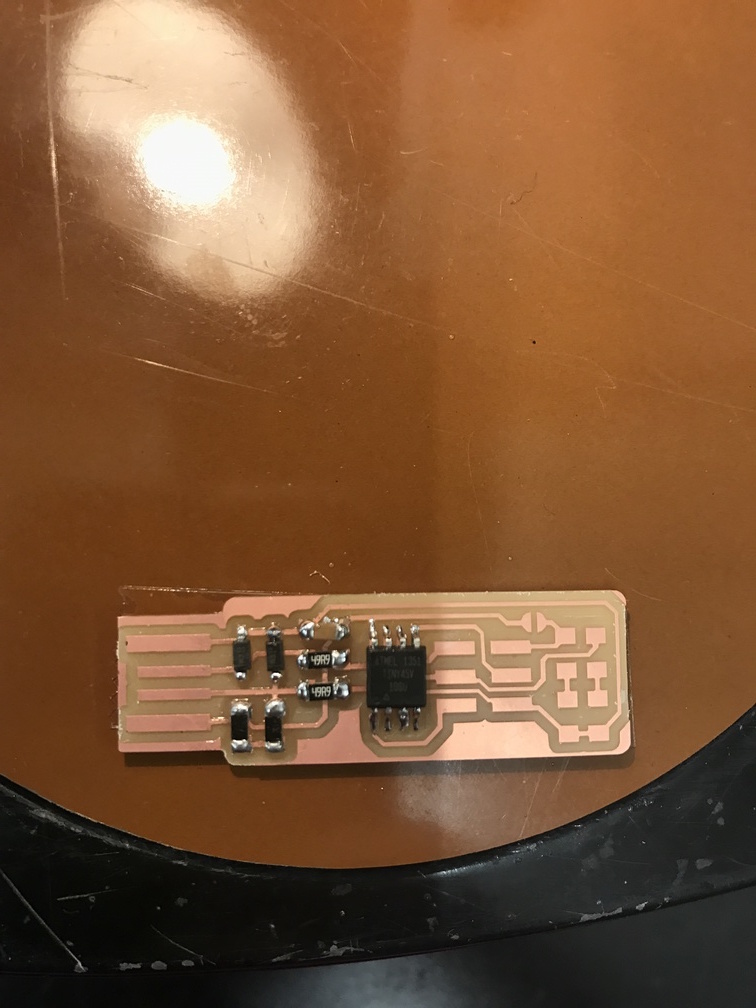
Programming
After finishing sautering I immediently moved to programming the board. I had trouble placing the programmer into the USB slot. After adding more sauter to the prongs and tape on the back of the board to make it fatter, it worked decently well. After plugging it in, I successfully pinged the board using avrdude, meaning most of my sautering was correct. The only thing I messed up was the orientation of one of the led lights, which I had to resauter. After that I plugged the programmer back in and programmed it using make and following the websites and Dixon's instructions without too much difficulties.