Inspiration
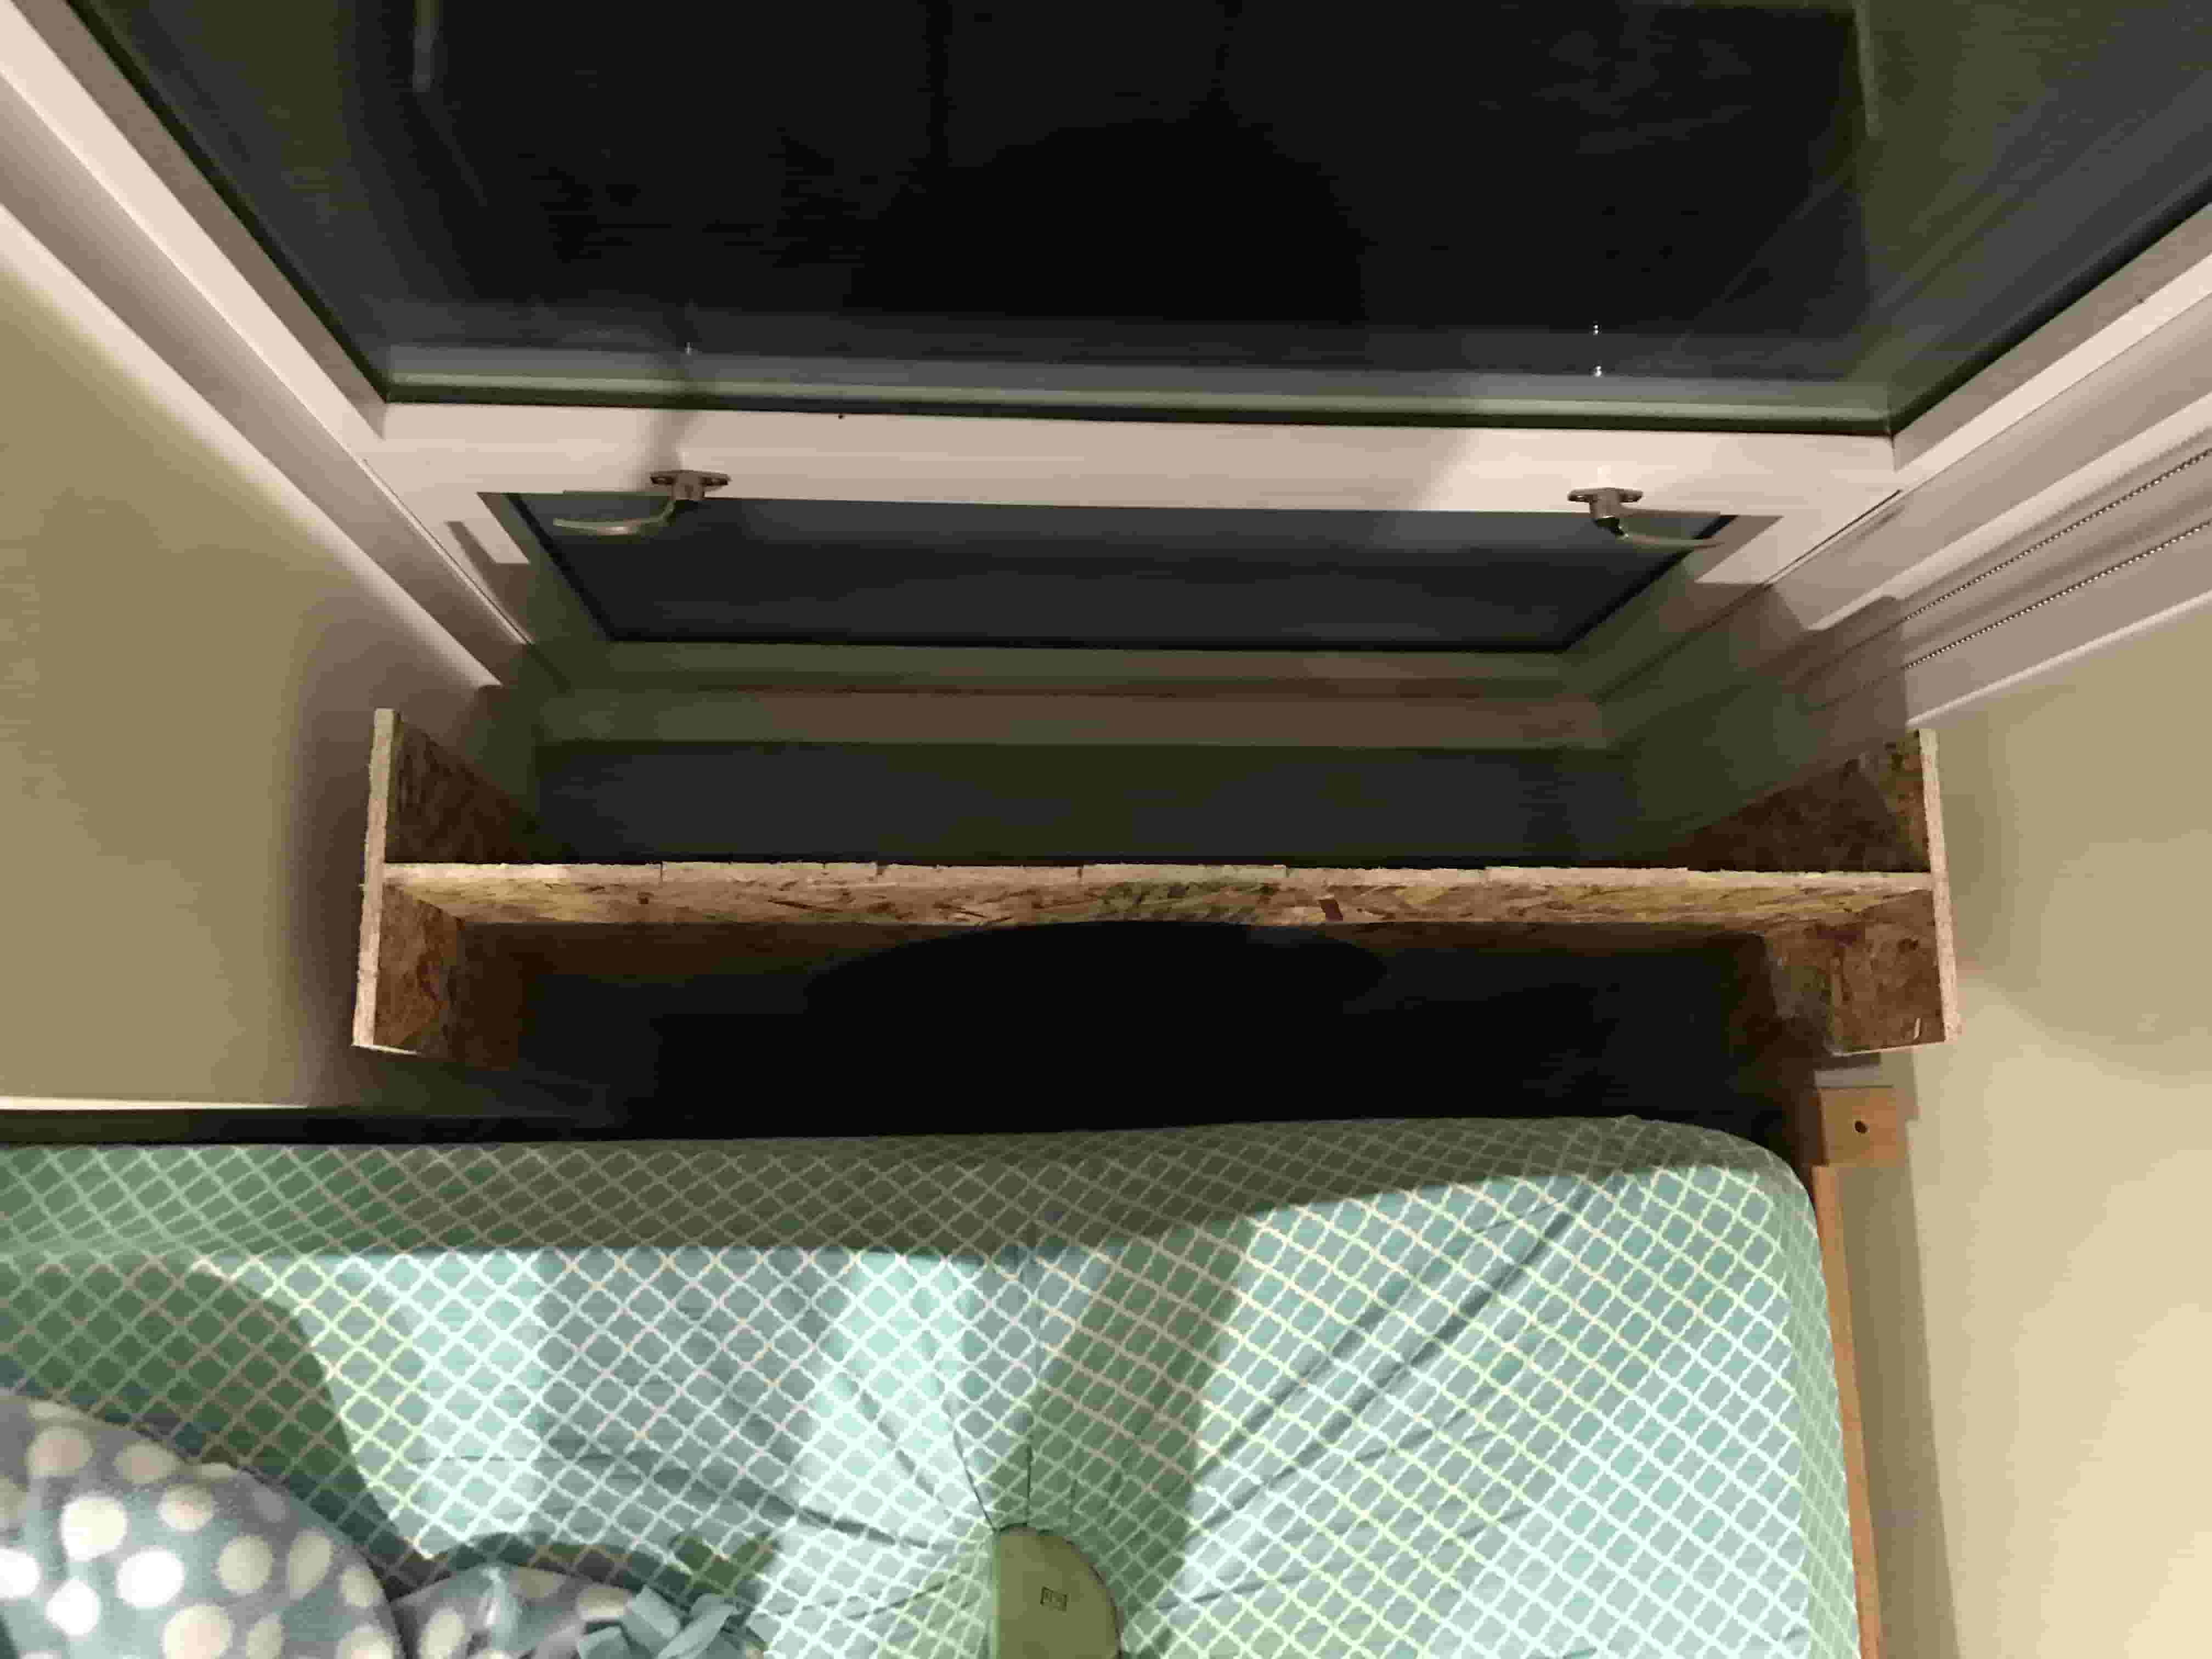
This week I wanted to make a bench for my window. My bed is right up against my window, but there is a large gap between my bed and the actual window. I would like a bench to put drinks, my laptop, etc. The difficulty of the window opening is the uneven bottom. There is a ledge that extends halfway through the middle, making measuring key to ensure the whole structure balances
Testing
To build my bench I decided to use star mortise and tenon joints. I made several test pieces to ensure that the joint works and to decided the specs of the joint.
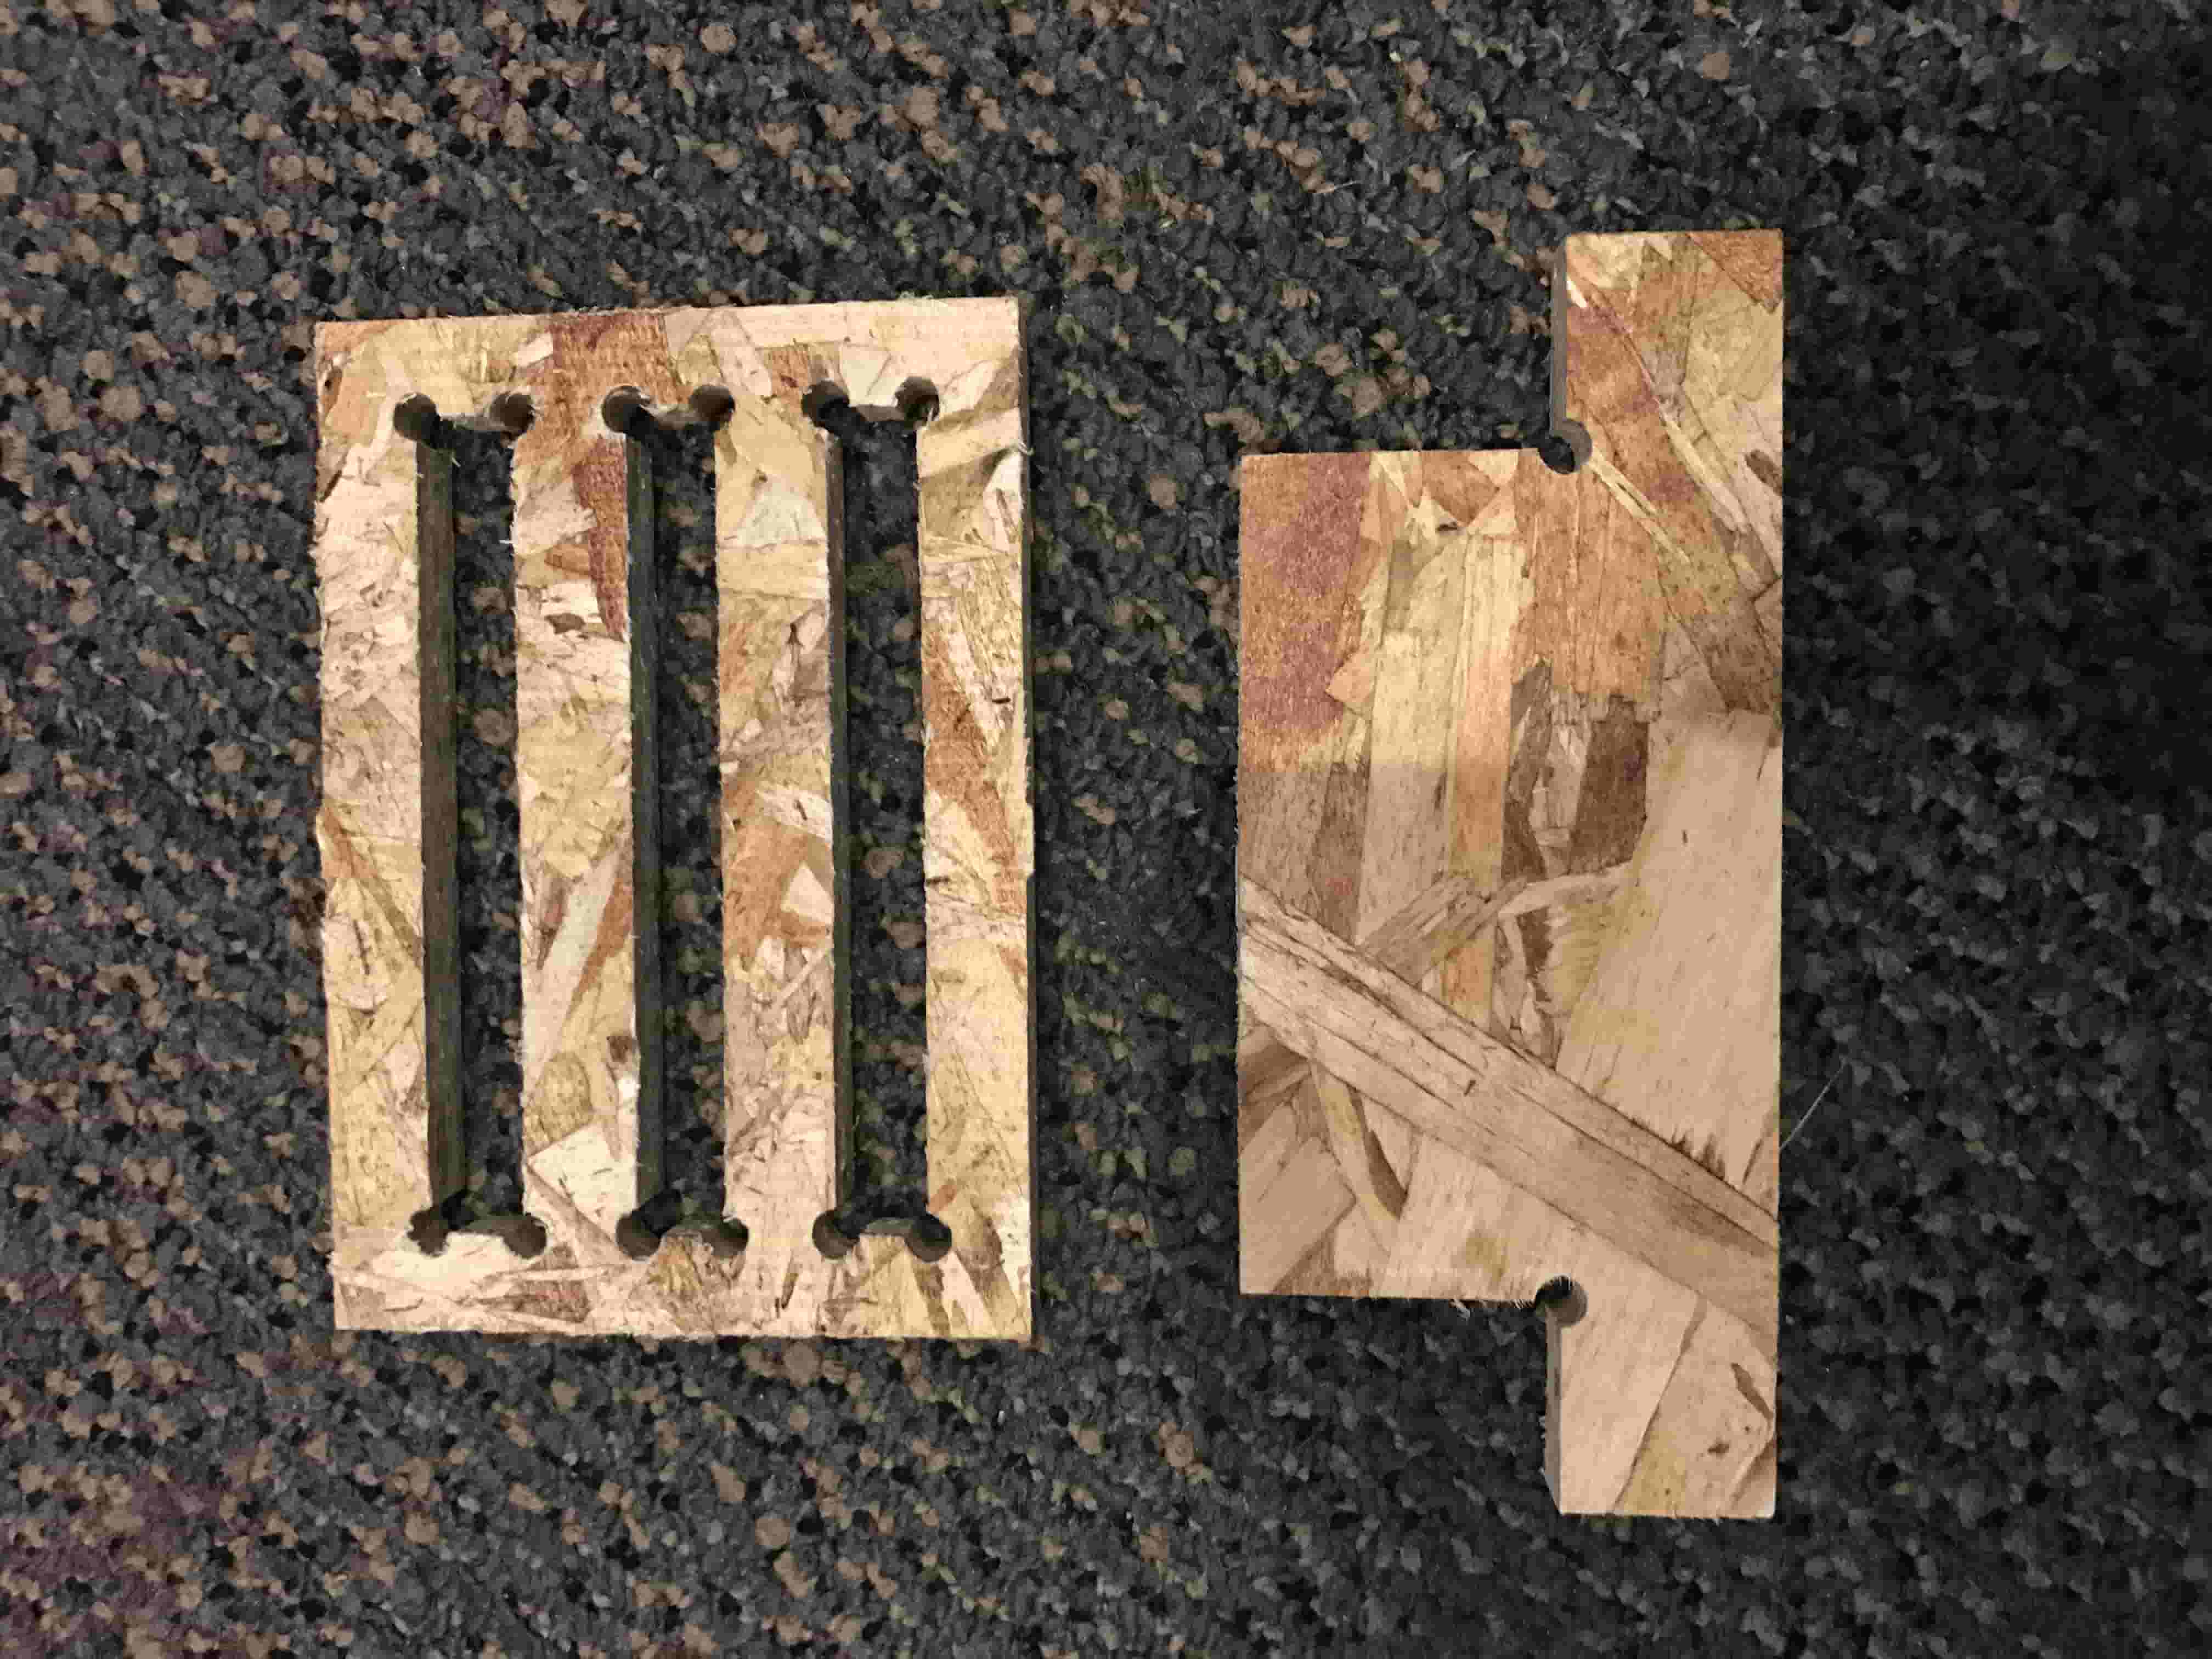
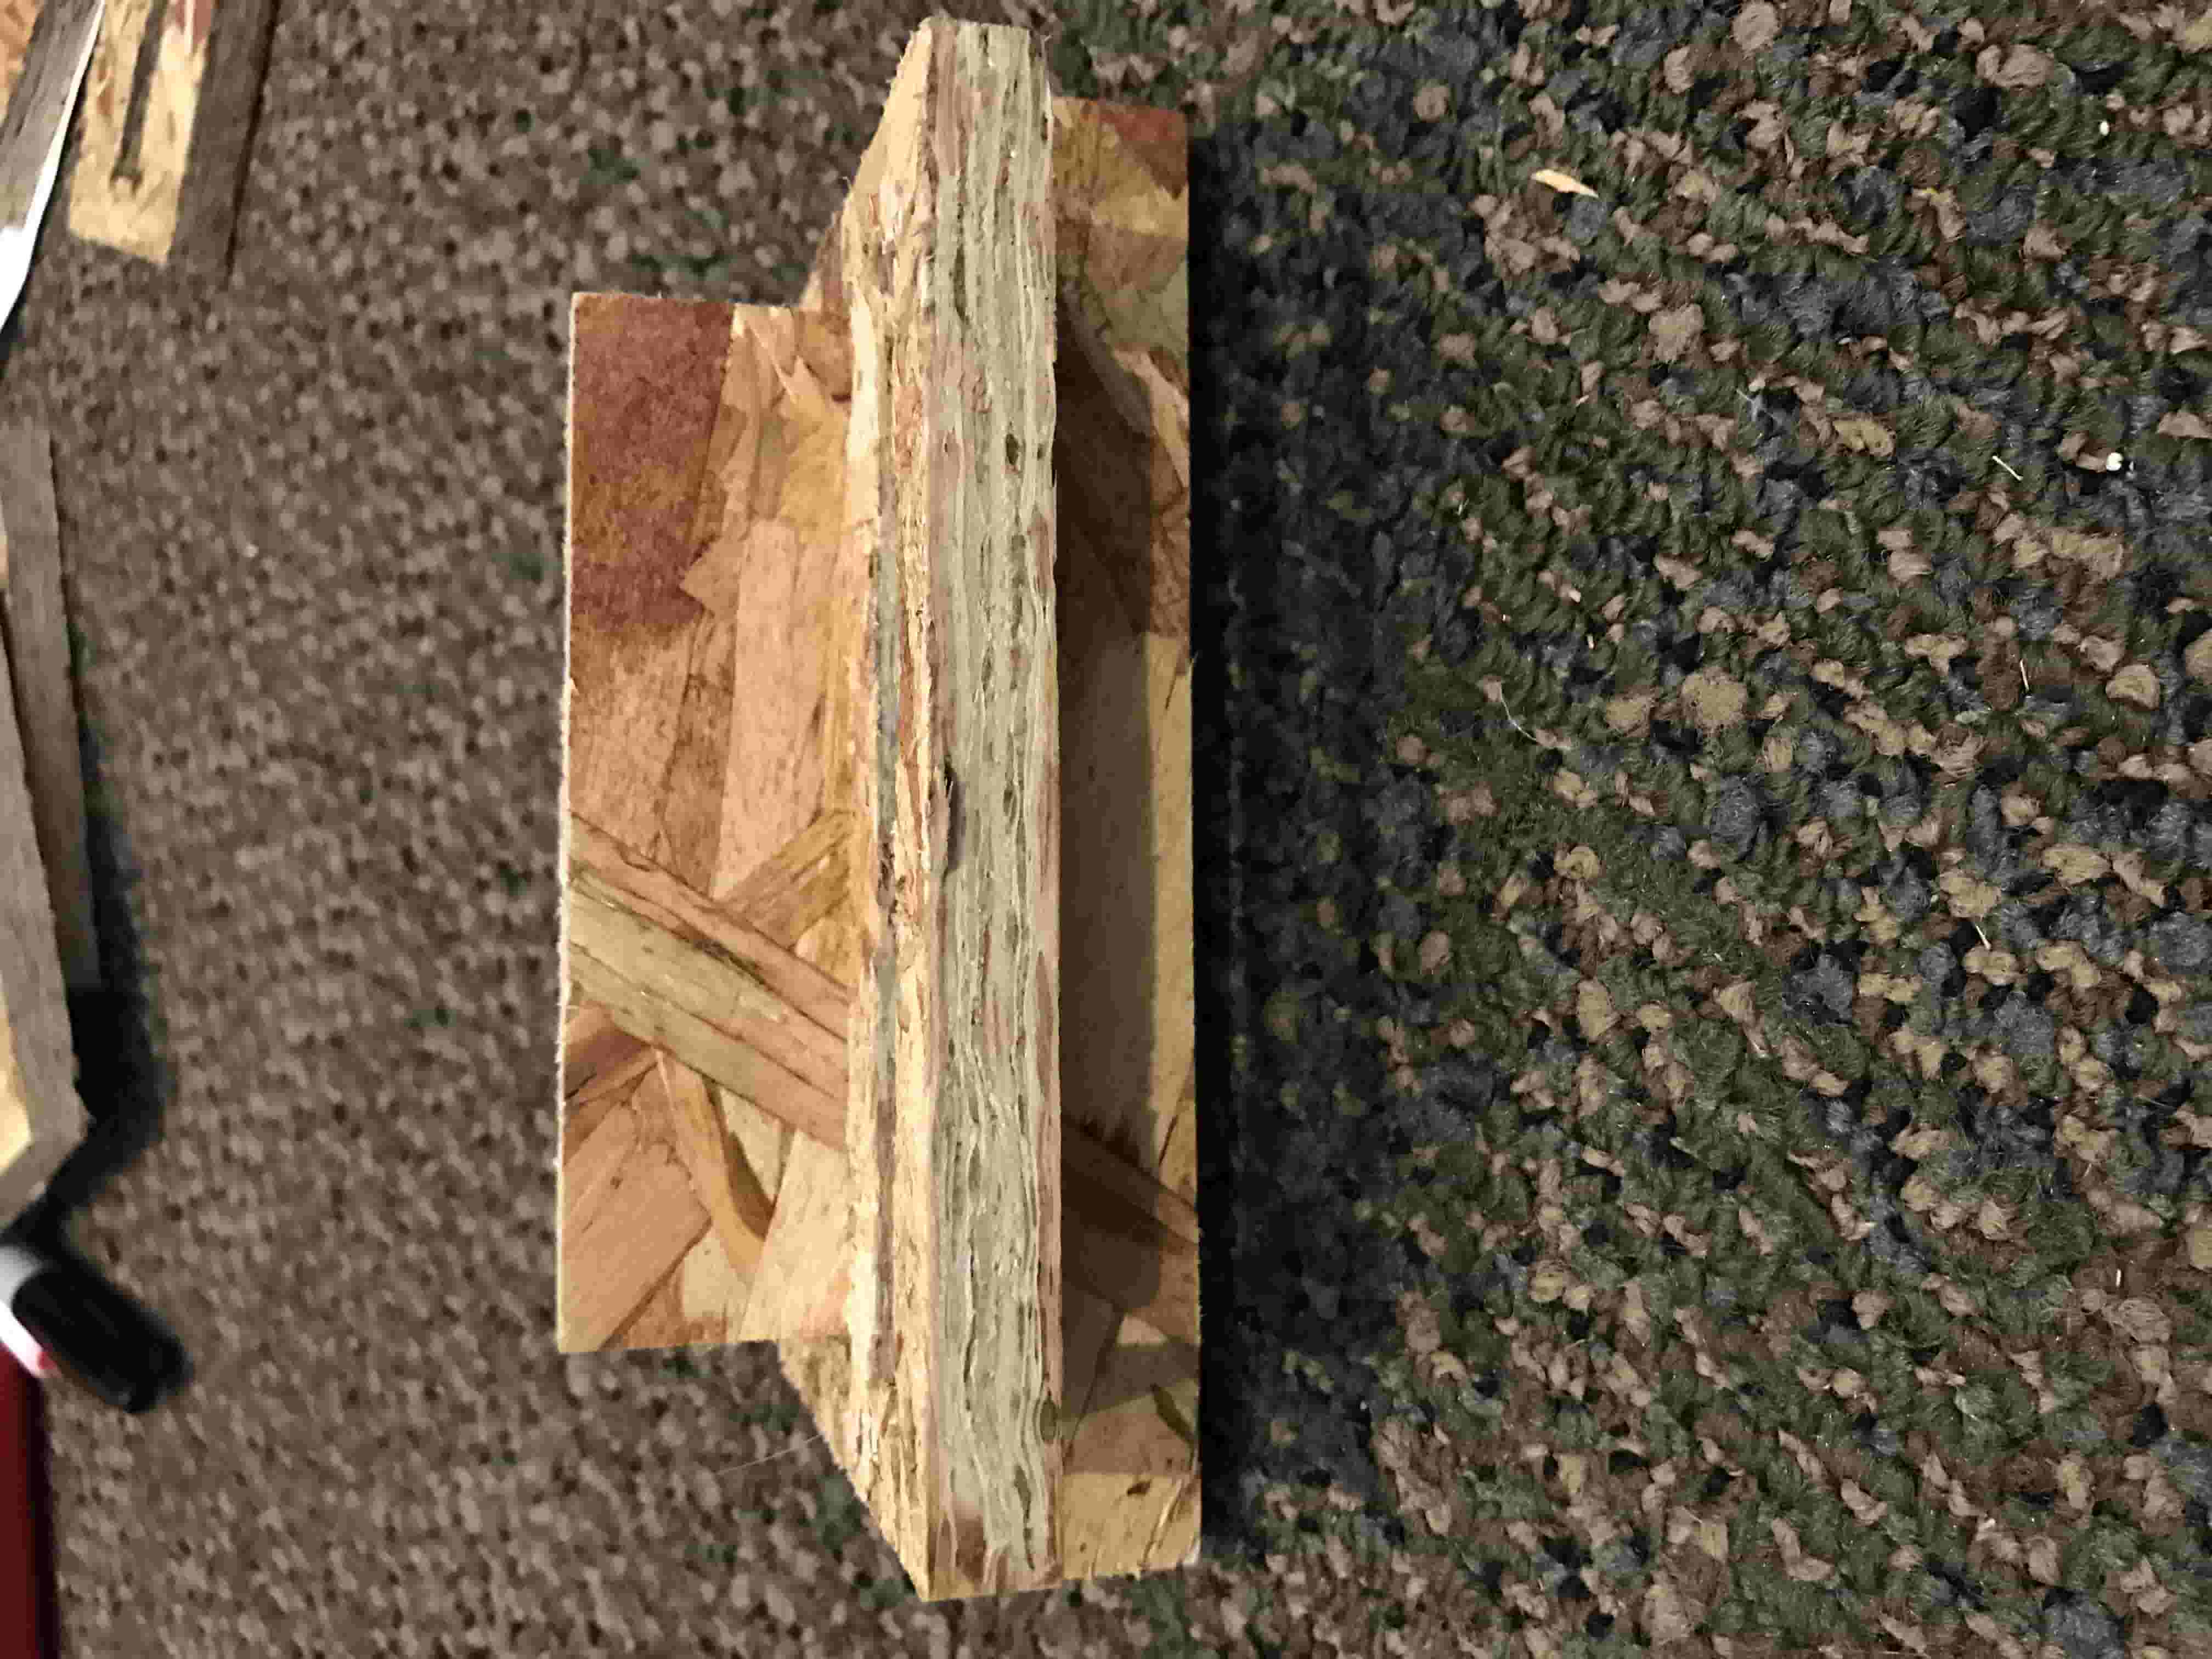
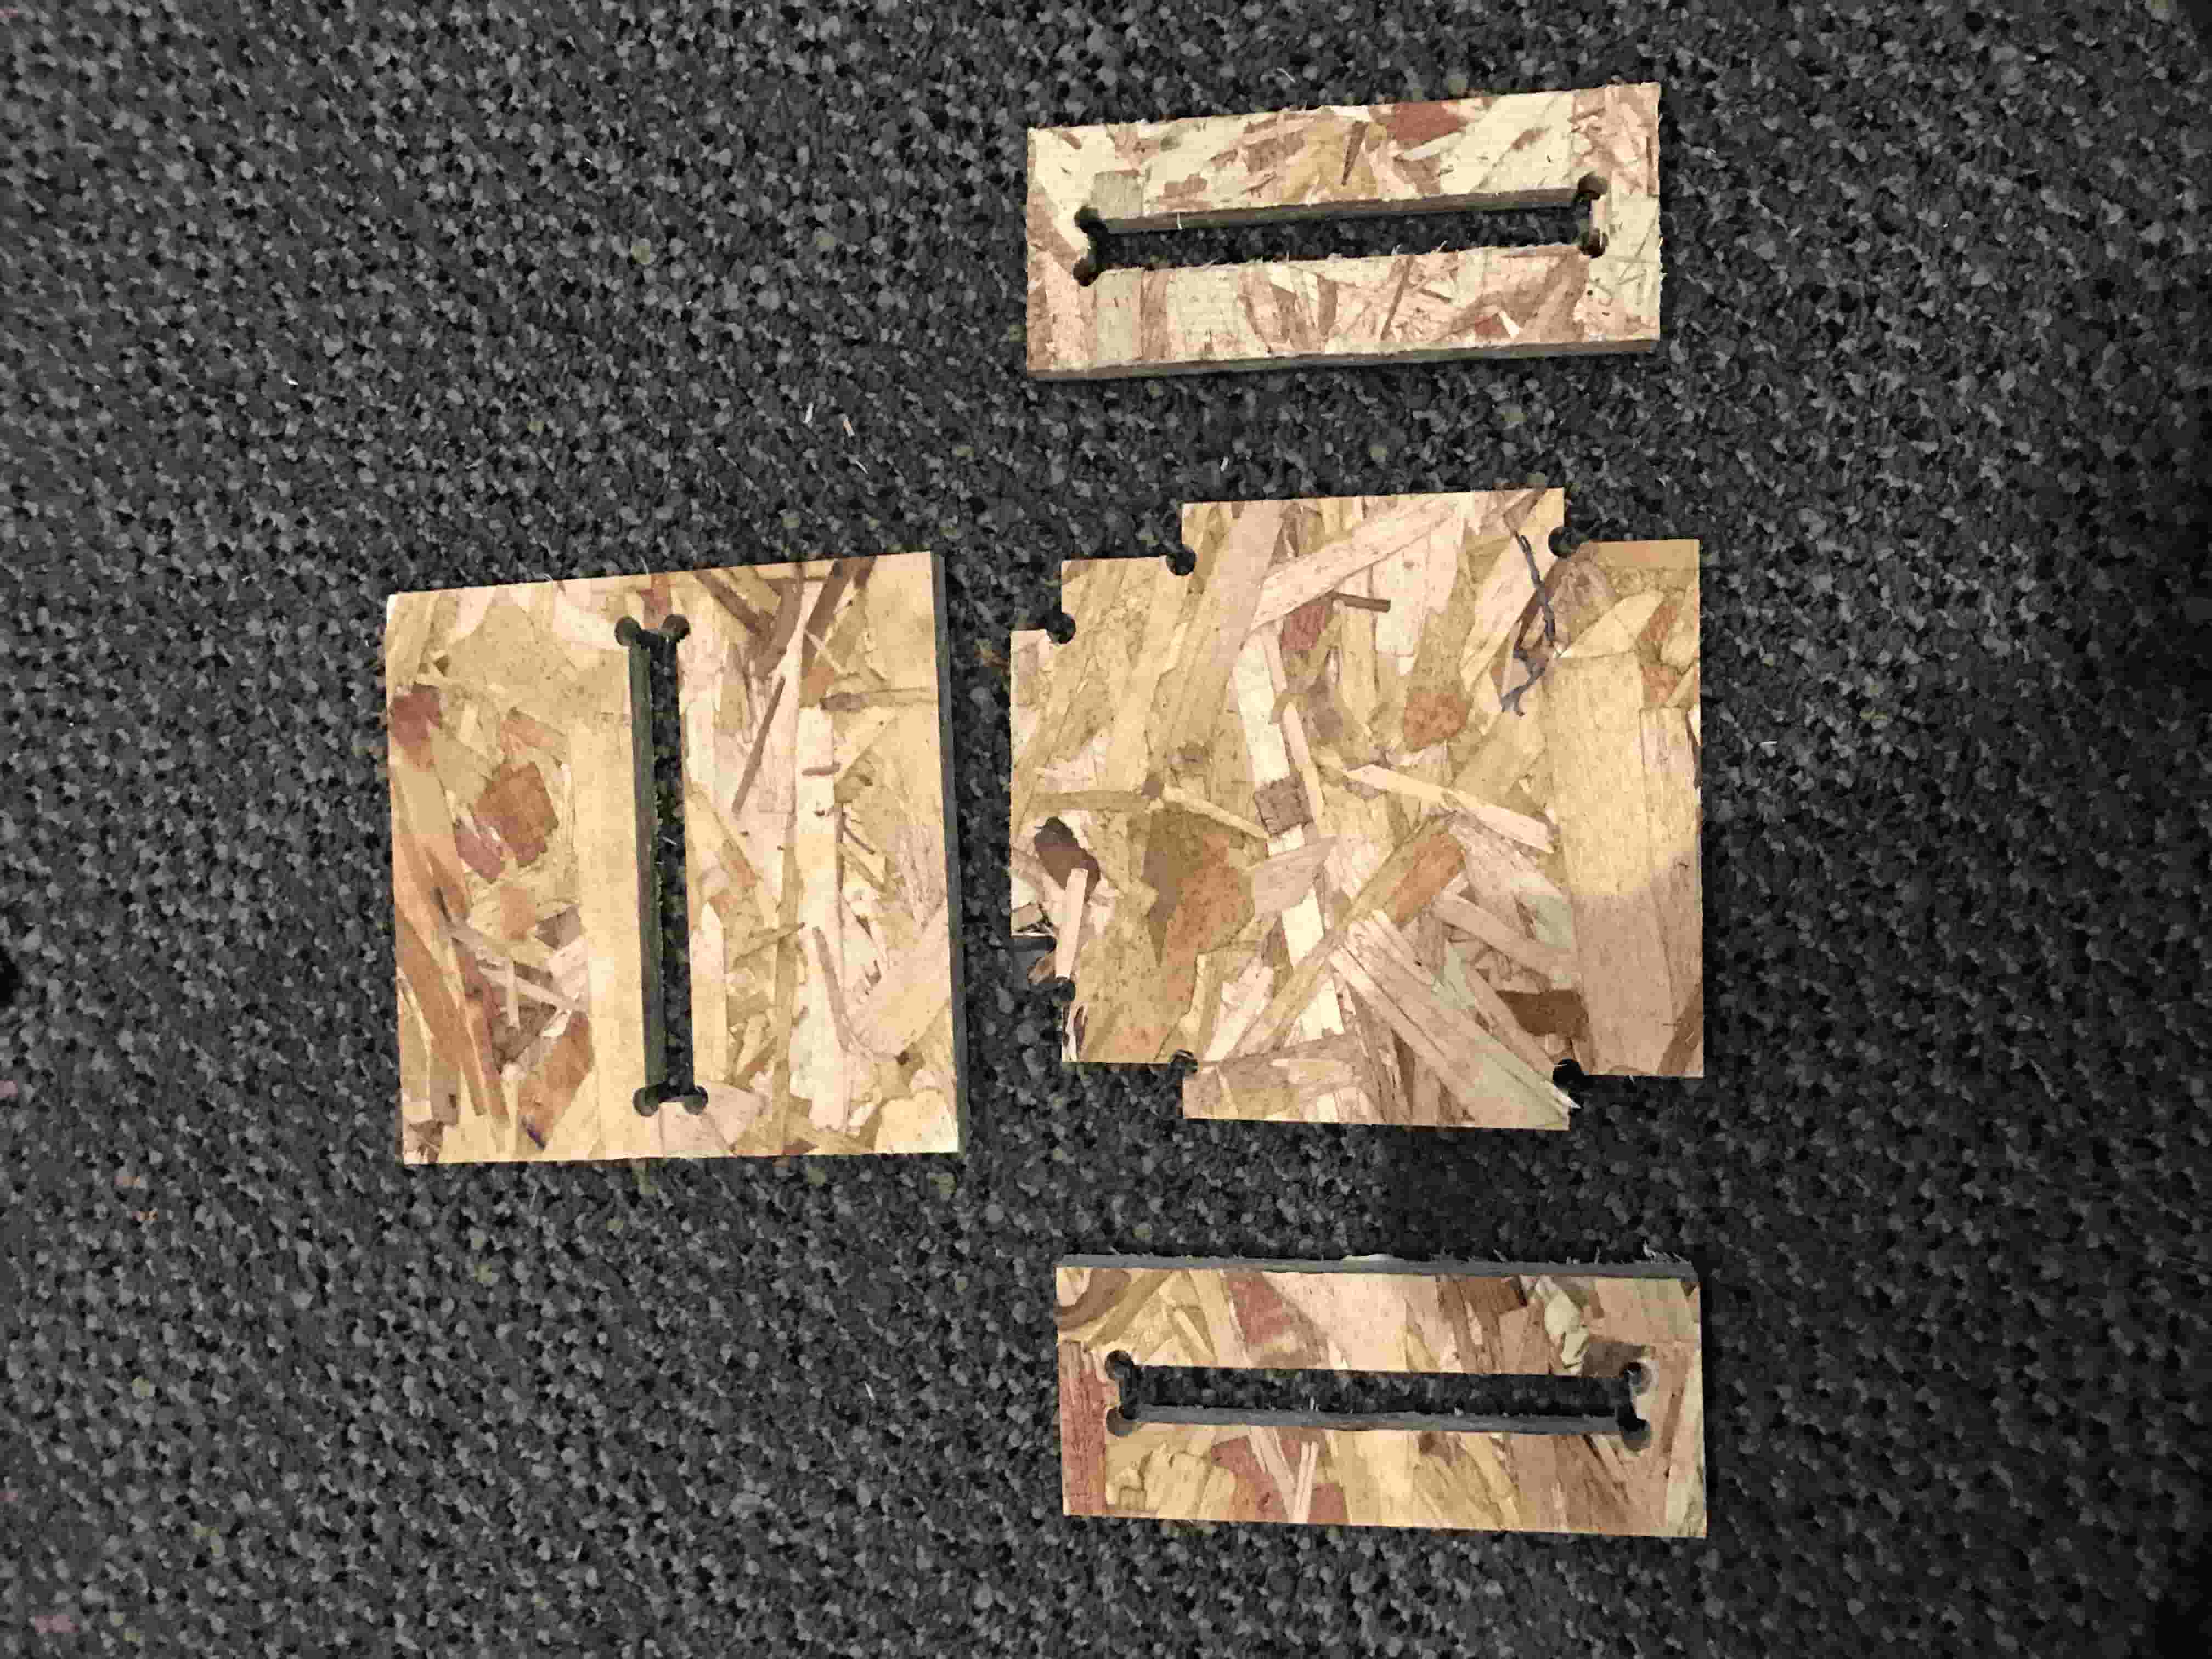
The first test I cut was several sizes of star mortise at .43, .45 and .49 inches. Because the test was small, I made the design straight onto V carve software. With a corresponding tenon piece cut out, I found that each OSB board was different, leading me to set aside two OSB boards that fit well with the .43 test slot.
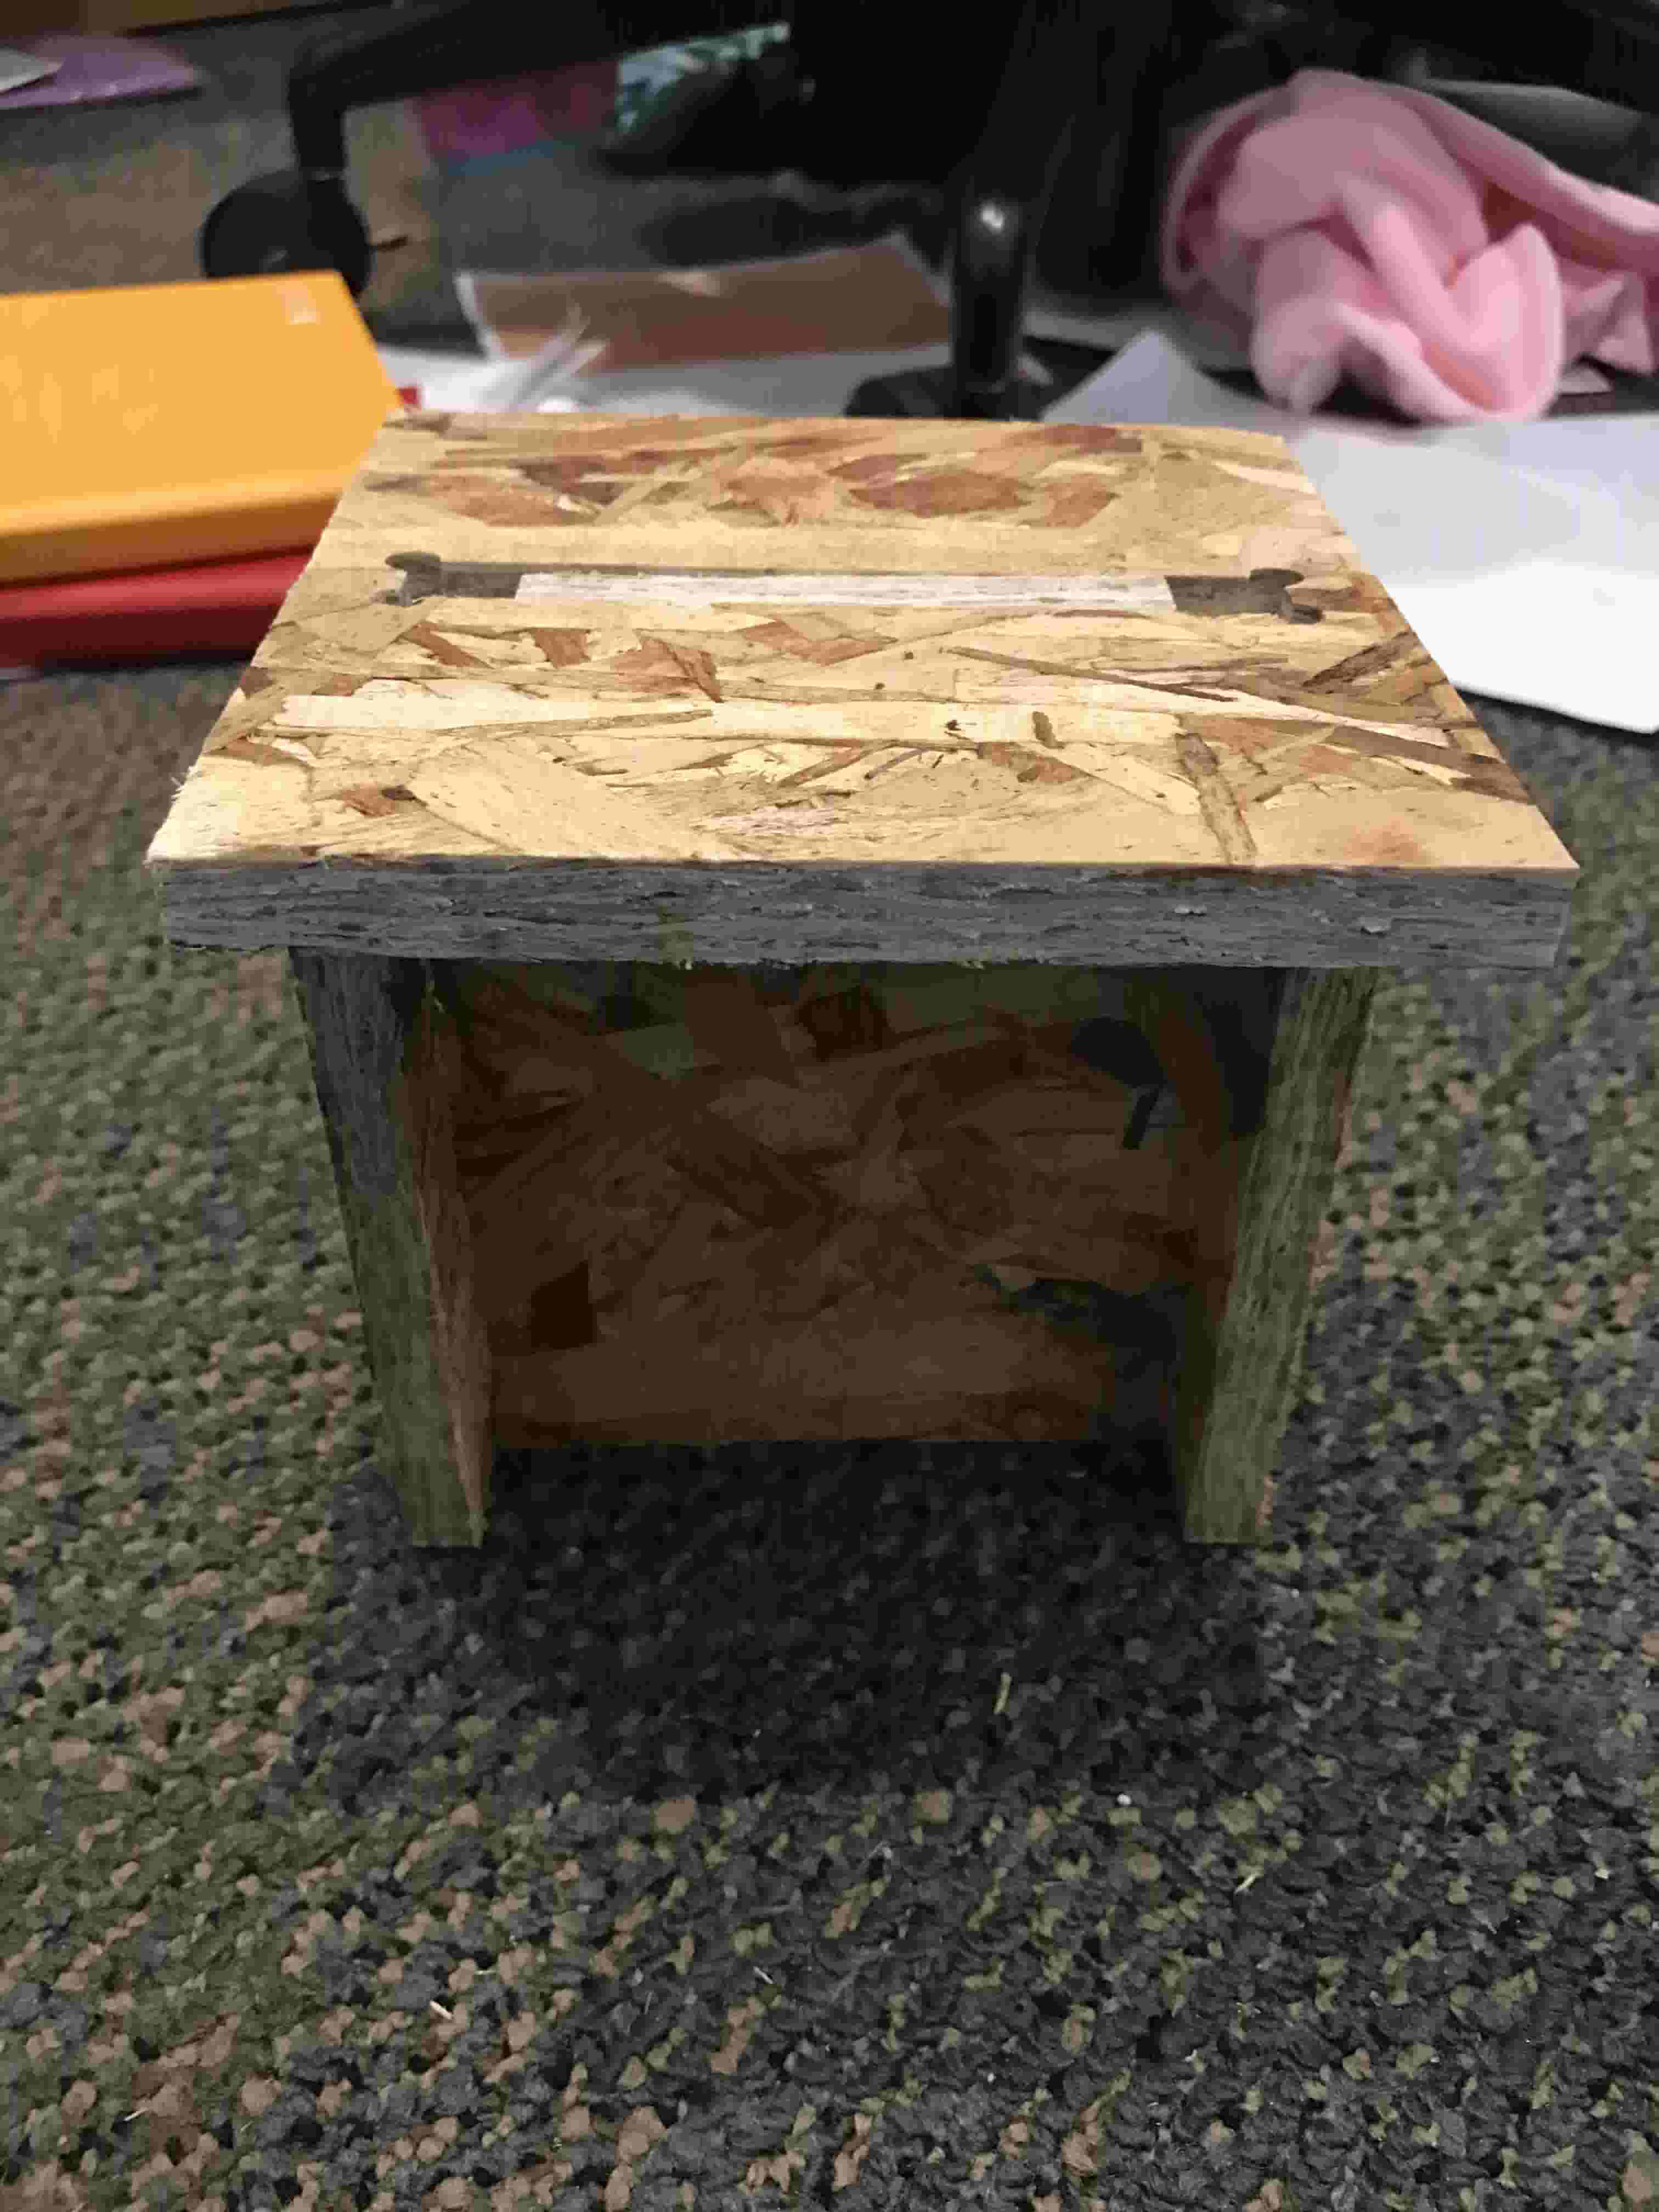
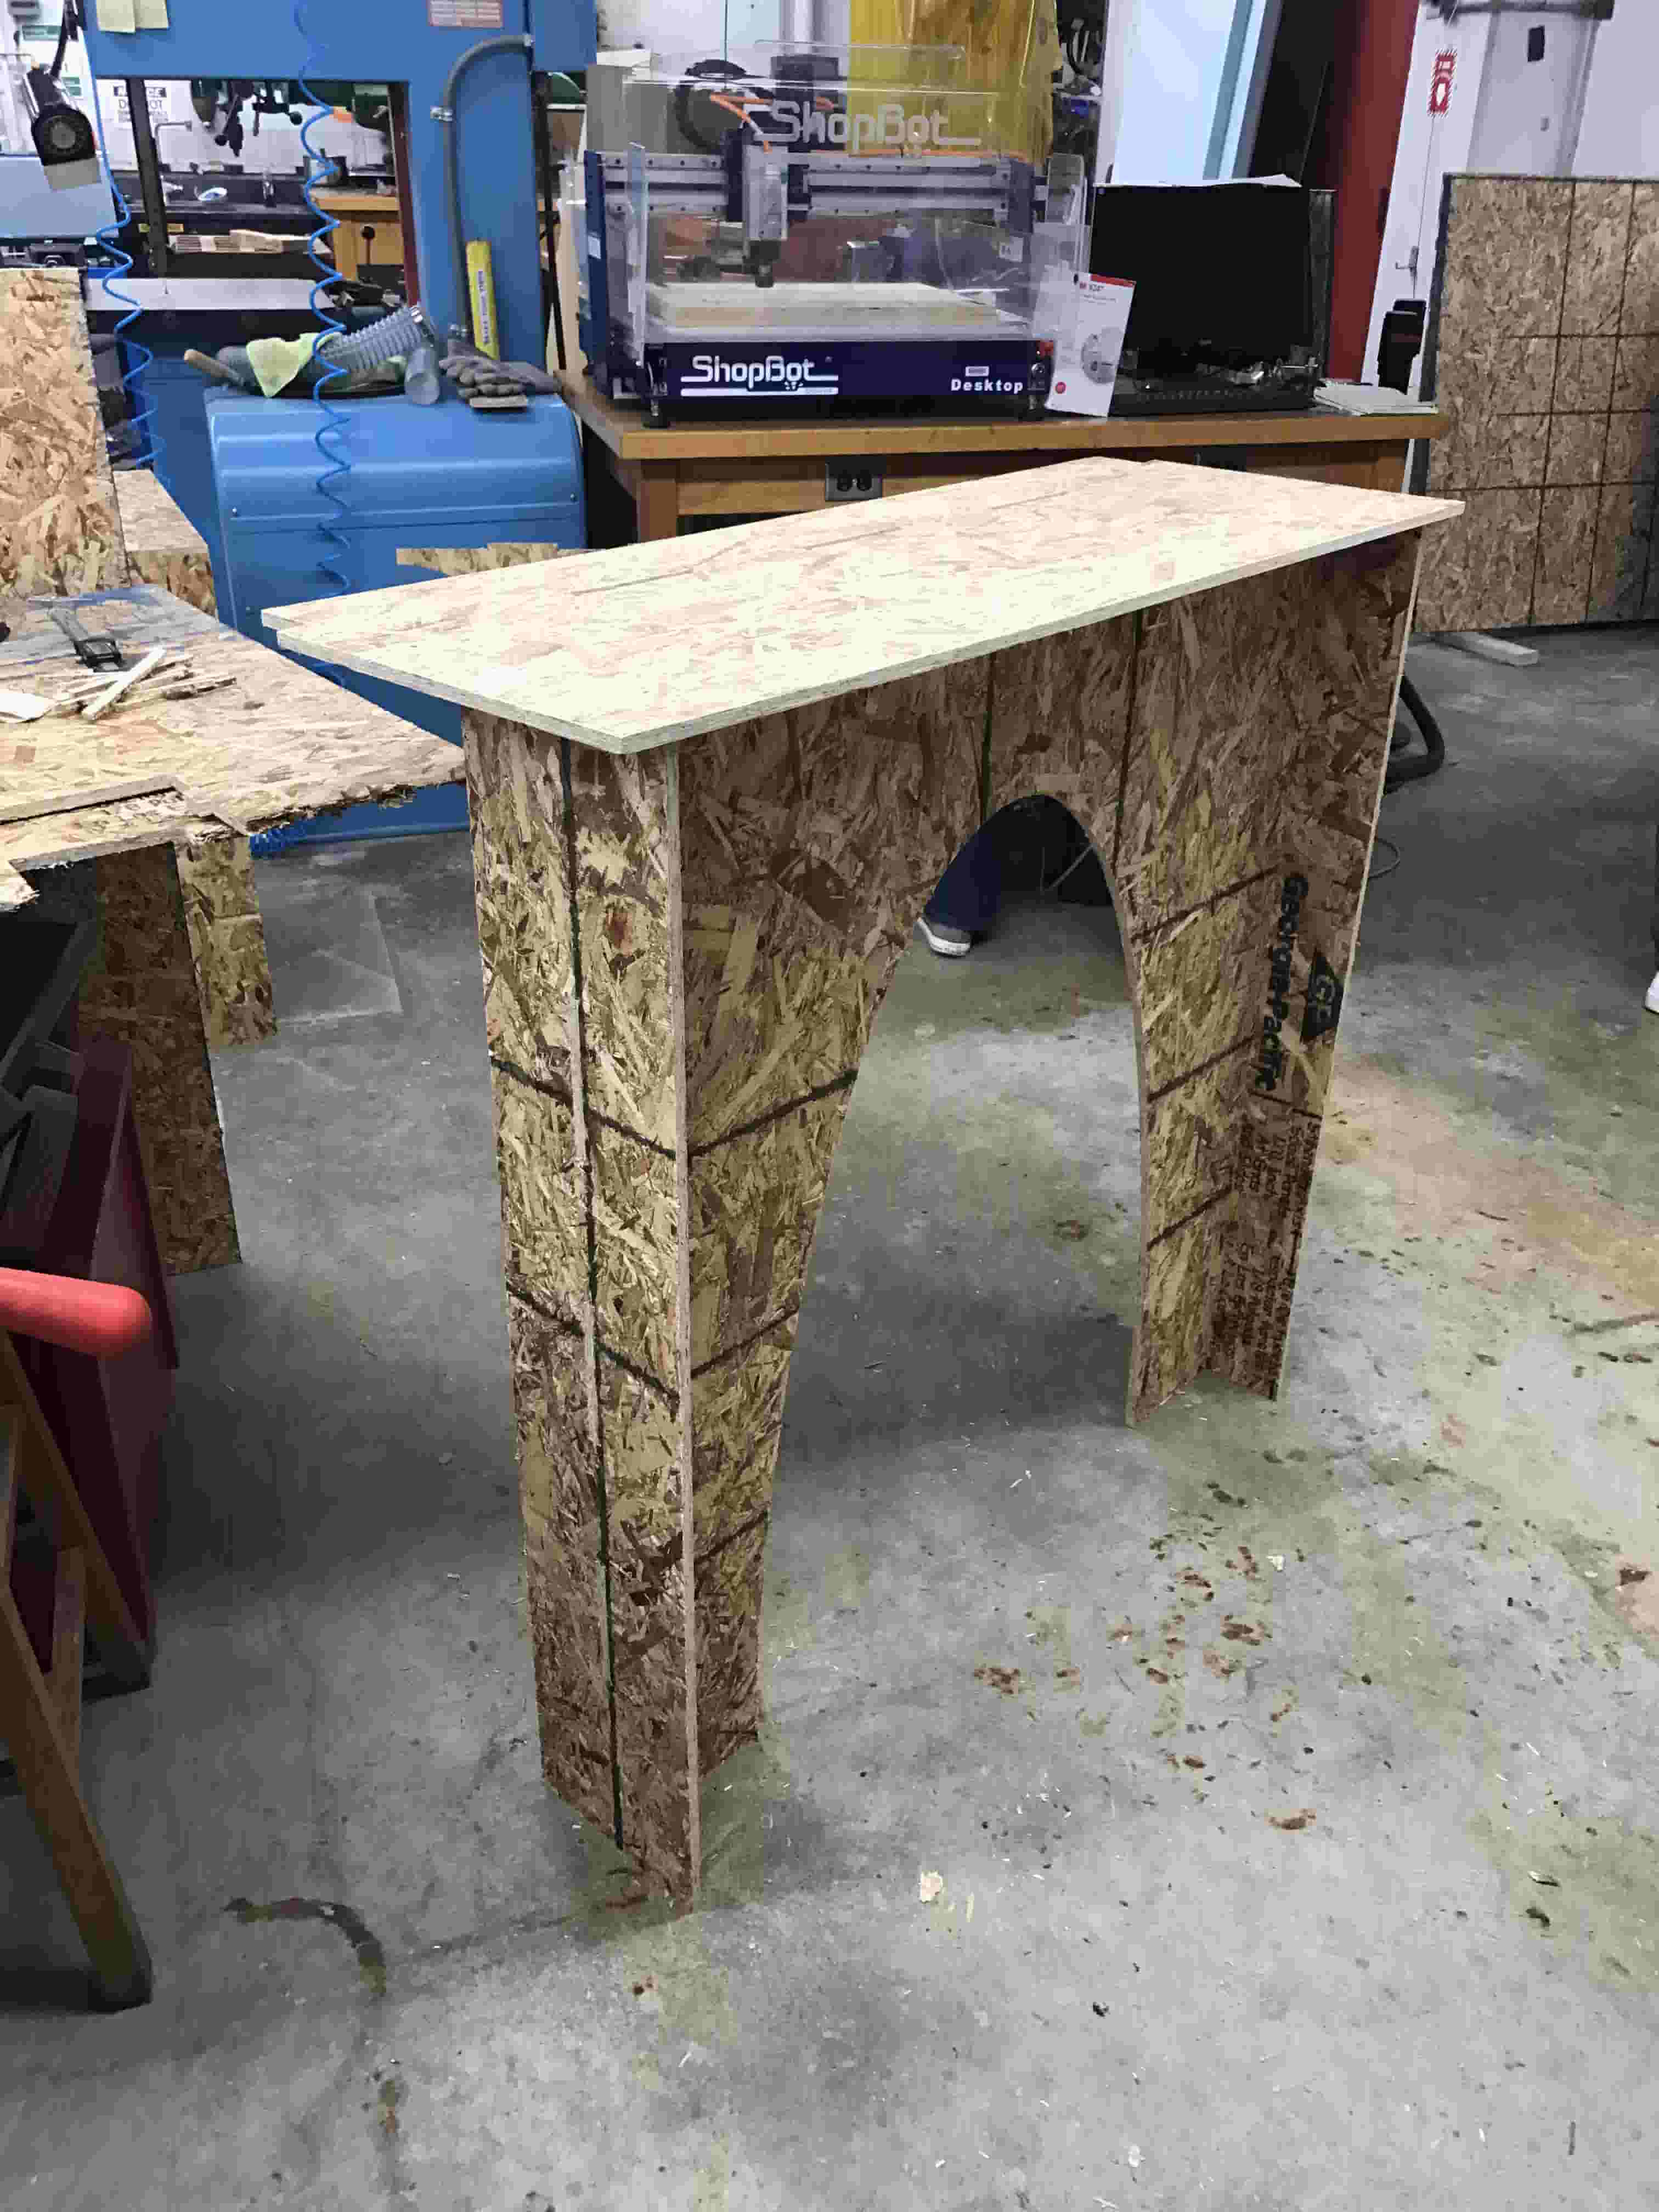
The second thing I wanted to test was structural support. I decided to support my bench using "H" shaped legs. I cut pieces for a small version of my "H" shaped leg support and a top. The mini bench was a success! While slightly wobbly because the star mortise was too long (oops), I was still able to stand on the mini bench showing its structural integrity.
Cutting the Bench
After initially measuring the window hole space in centimeters, I went back and measured it in inches to work better with the V-carve software. Since I initially made the test on the V-carve software and liked it, I decided to model the entire bench straight on V-carve. After mocking the design and calculating the size on paper (double checking of course), I made the design on V-carve.
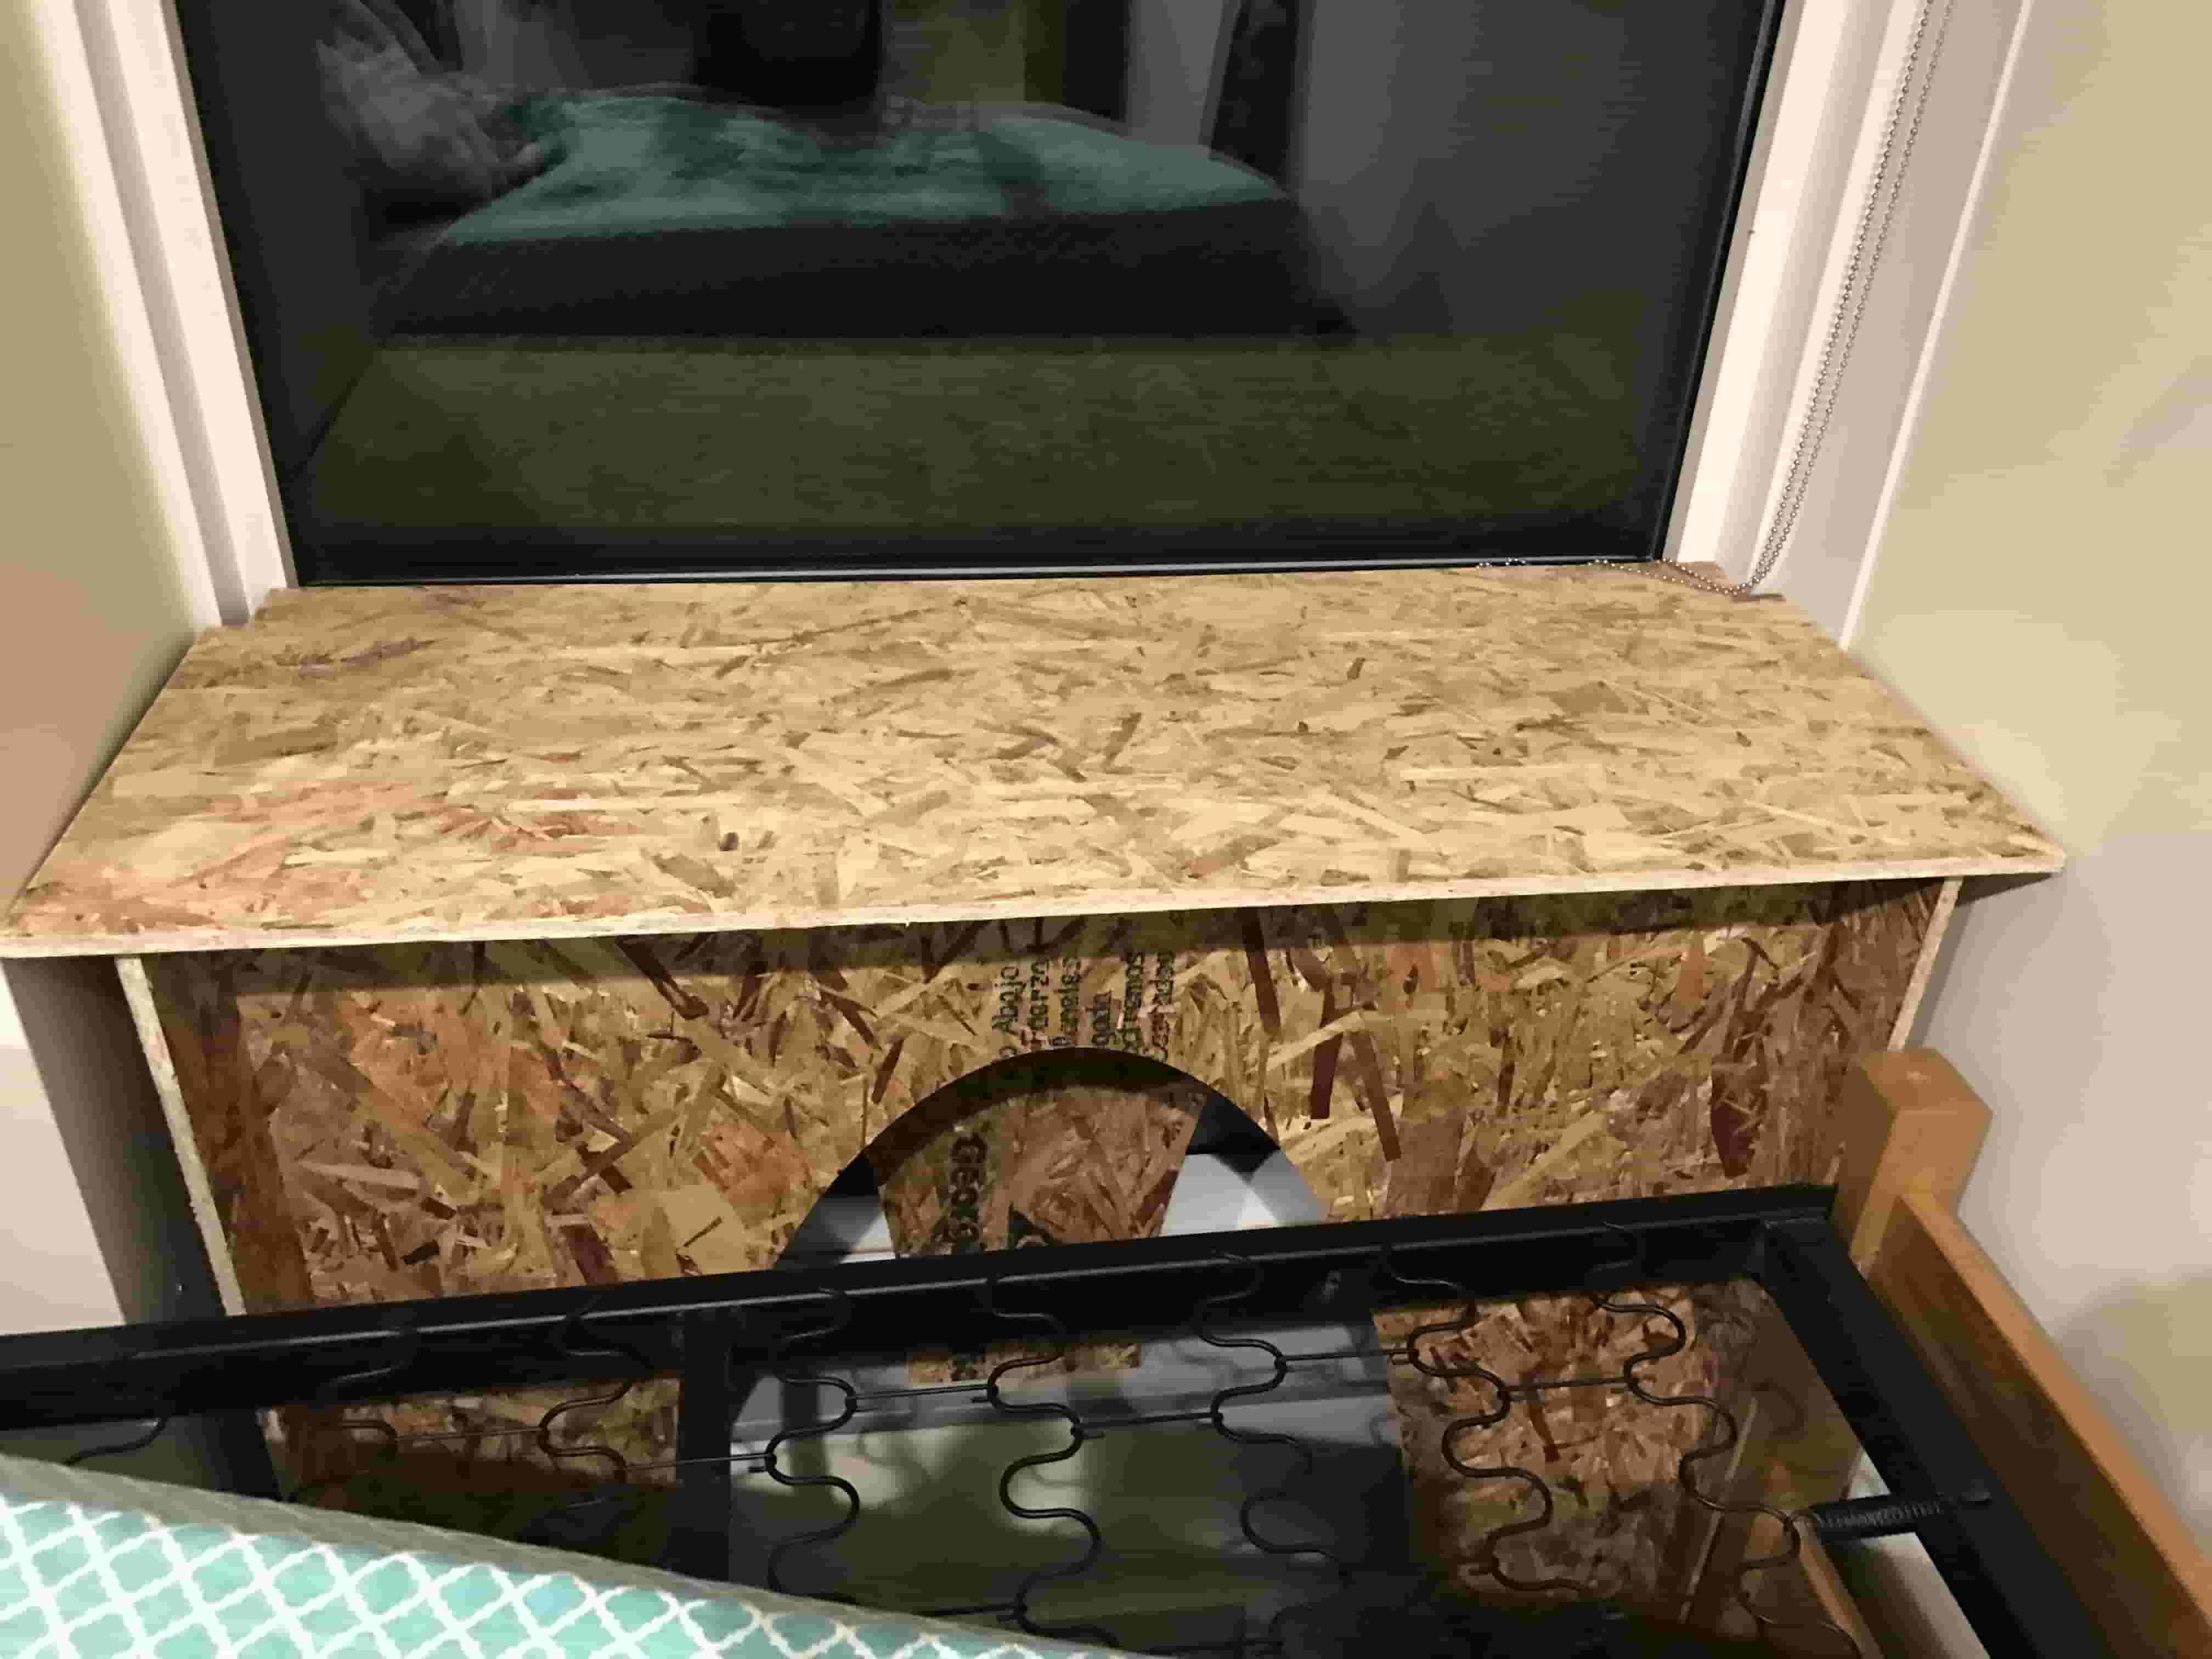
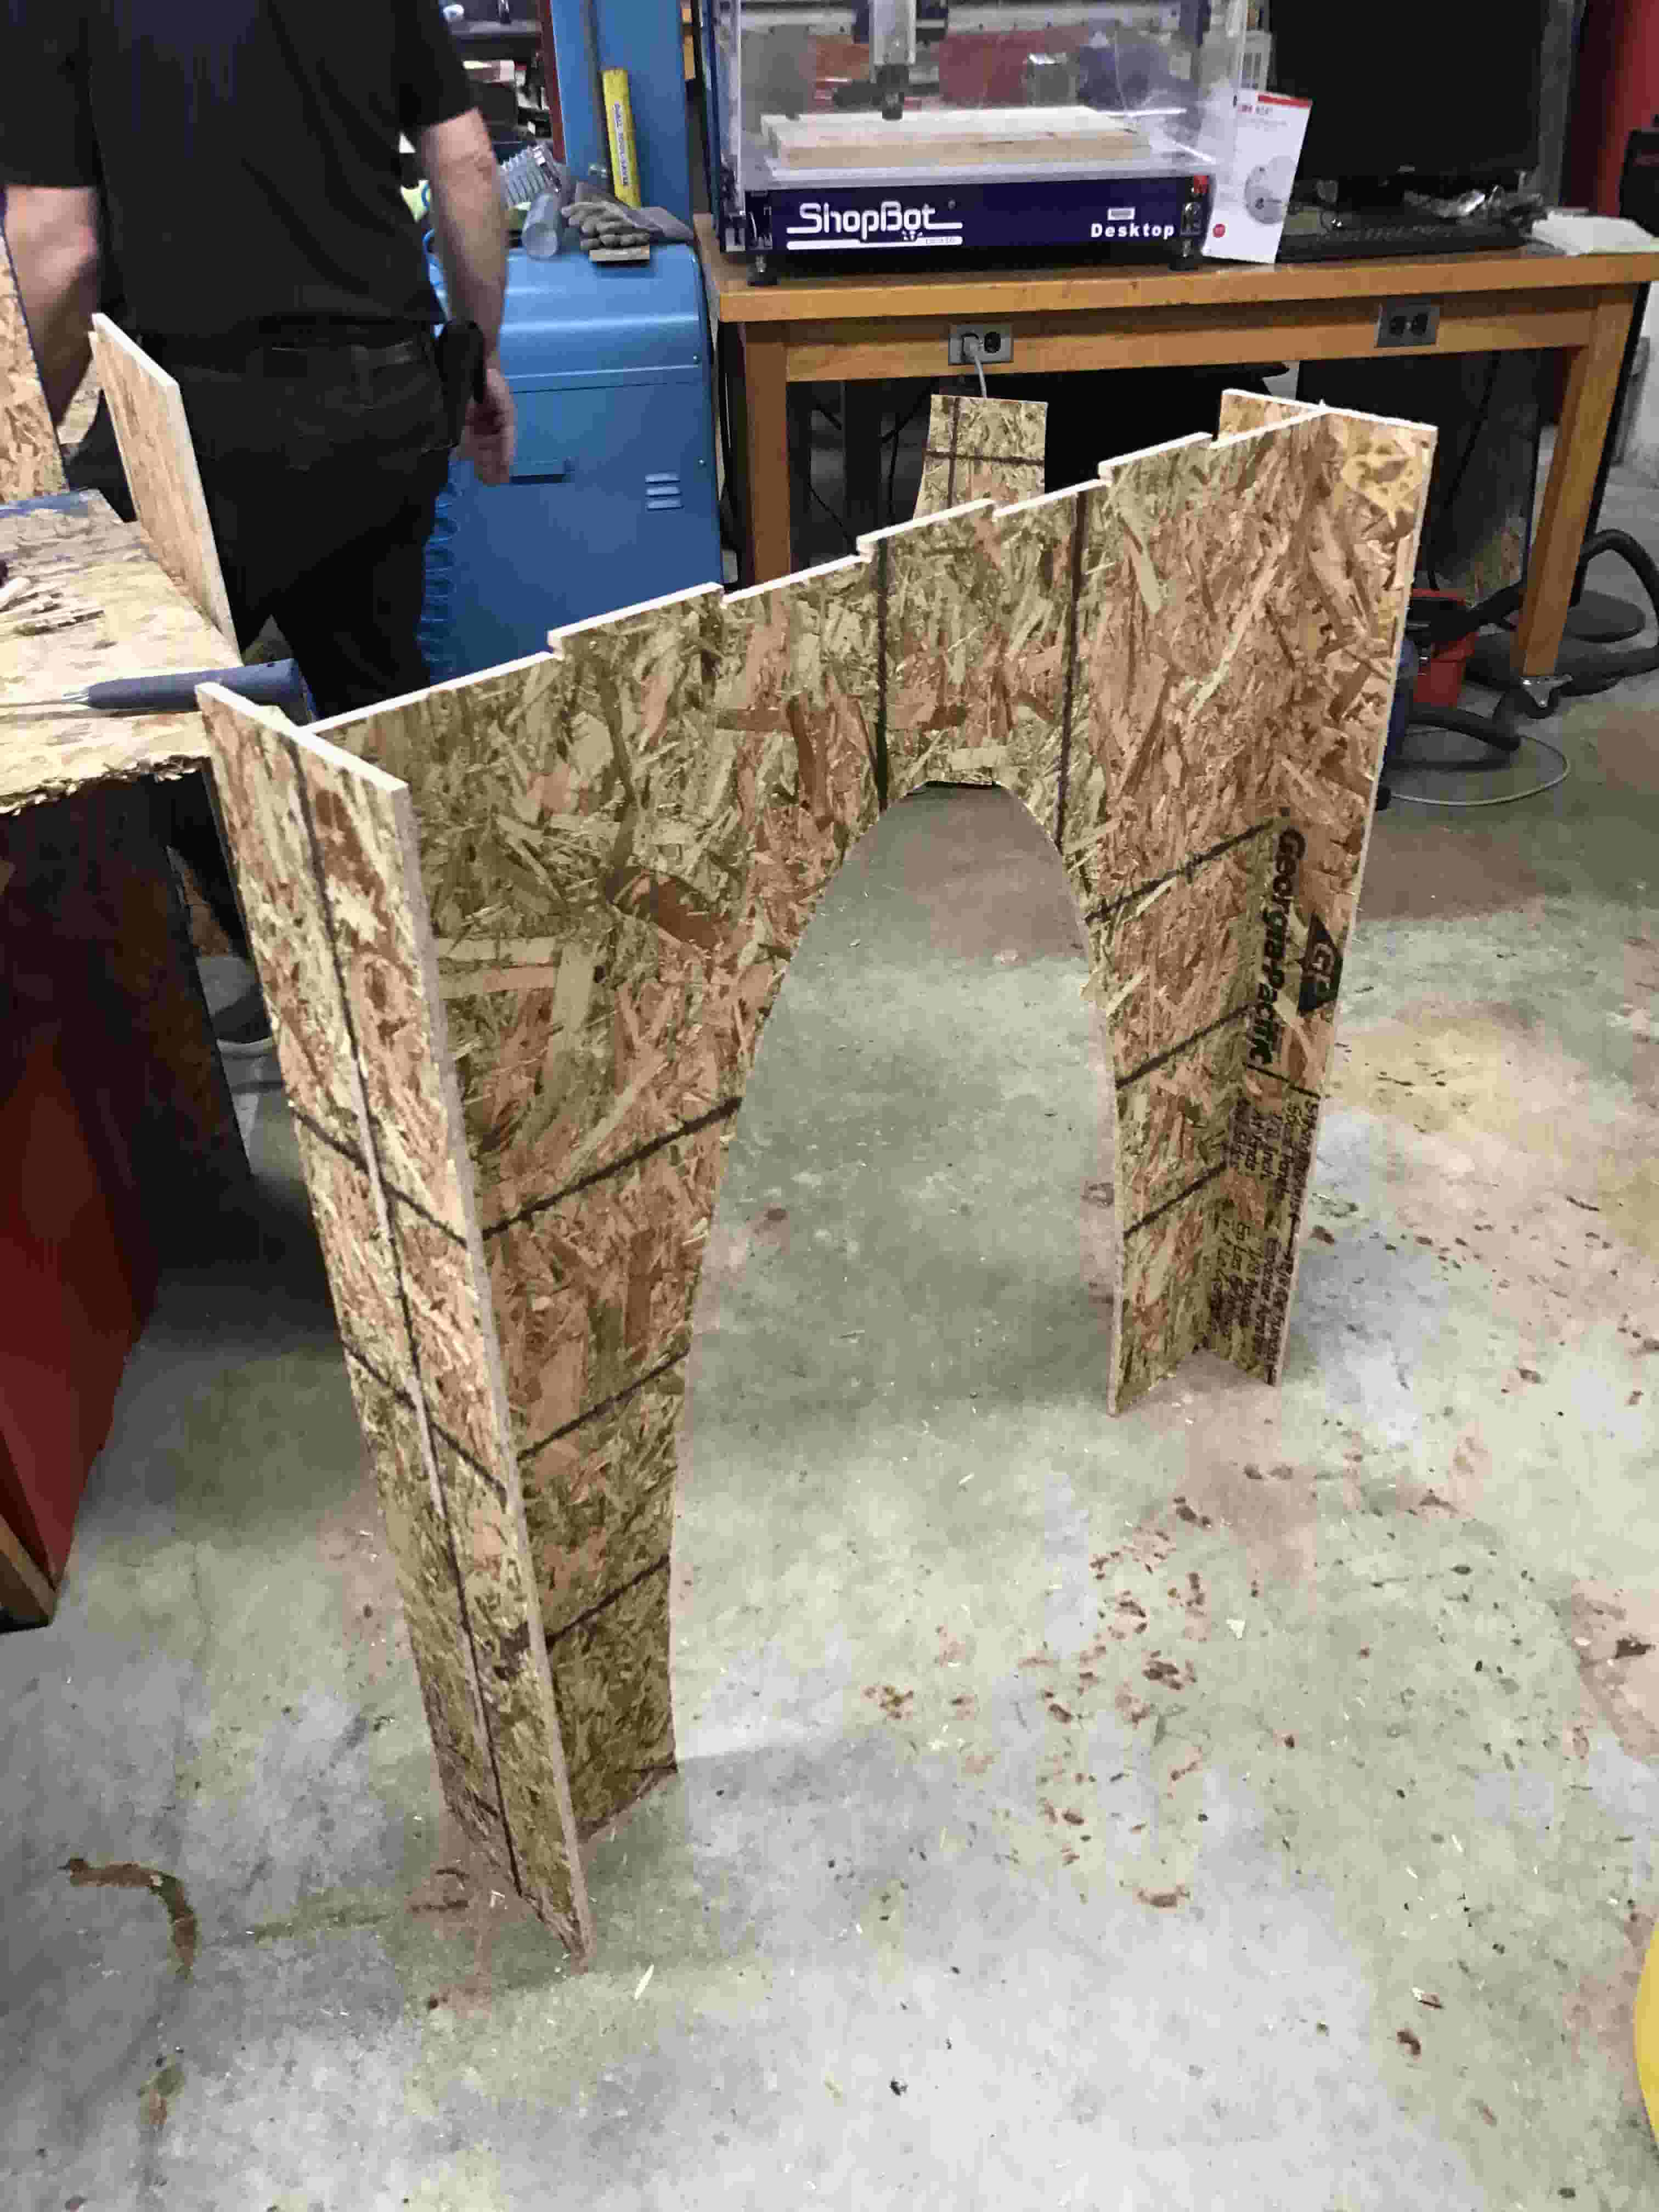
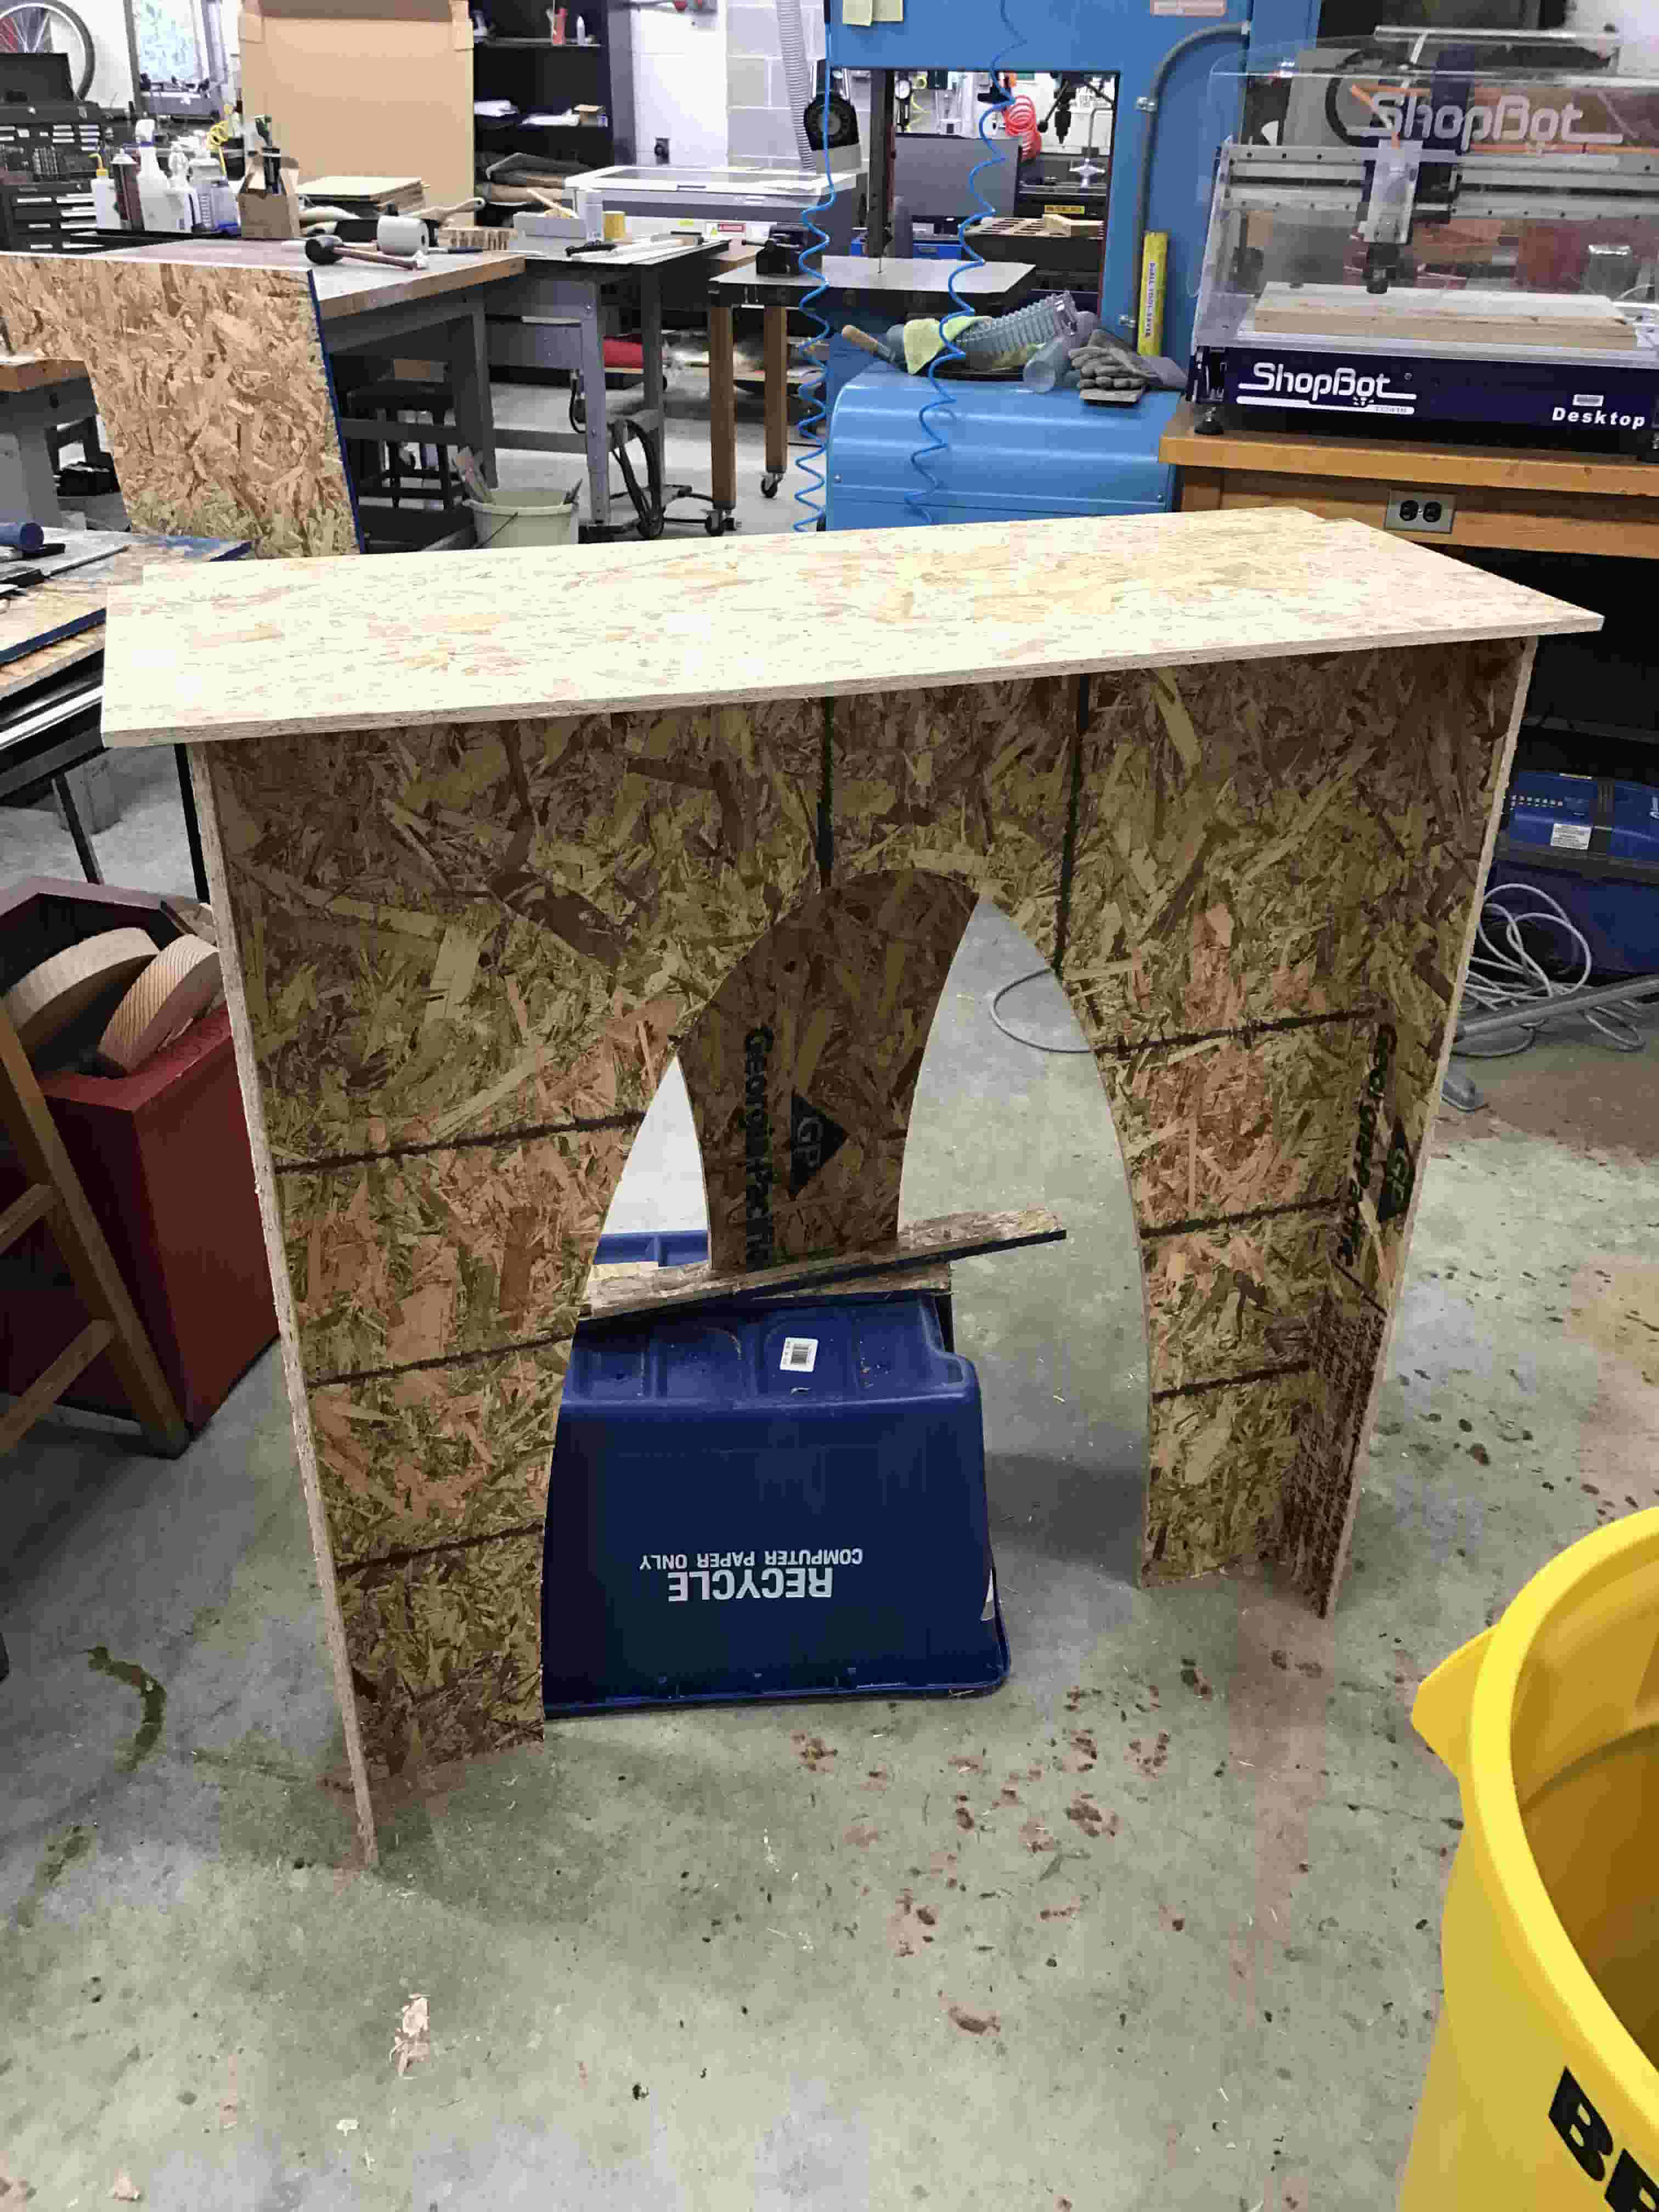
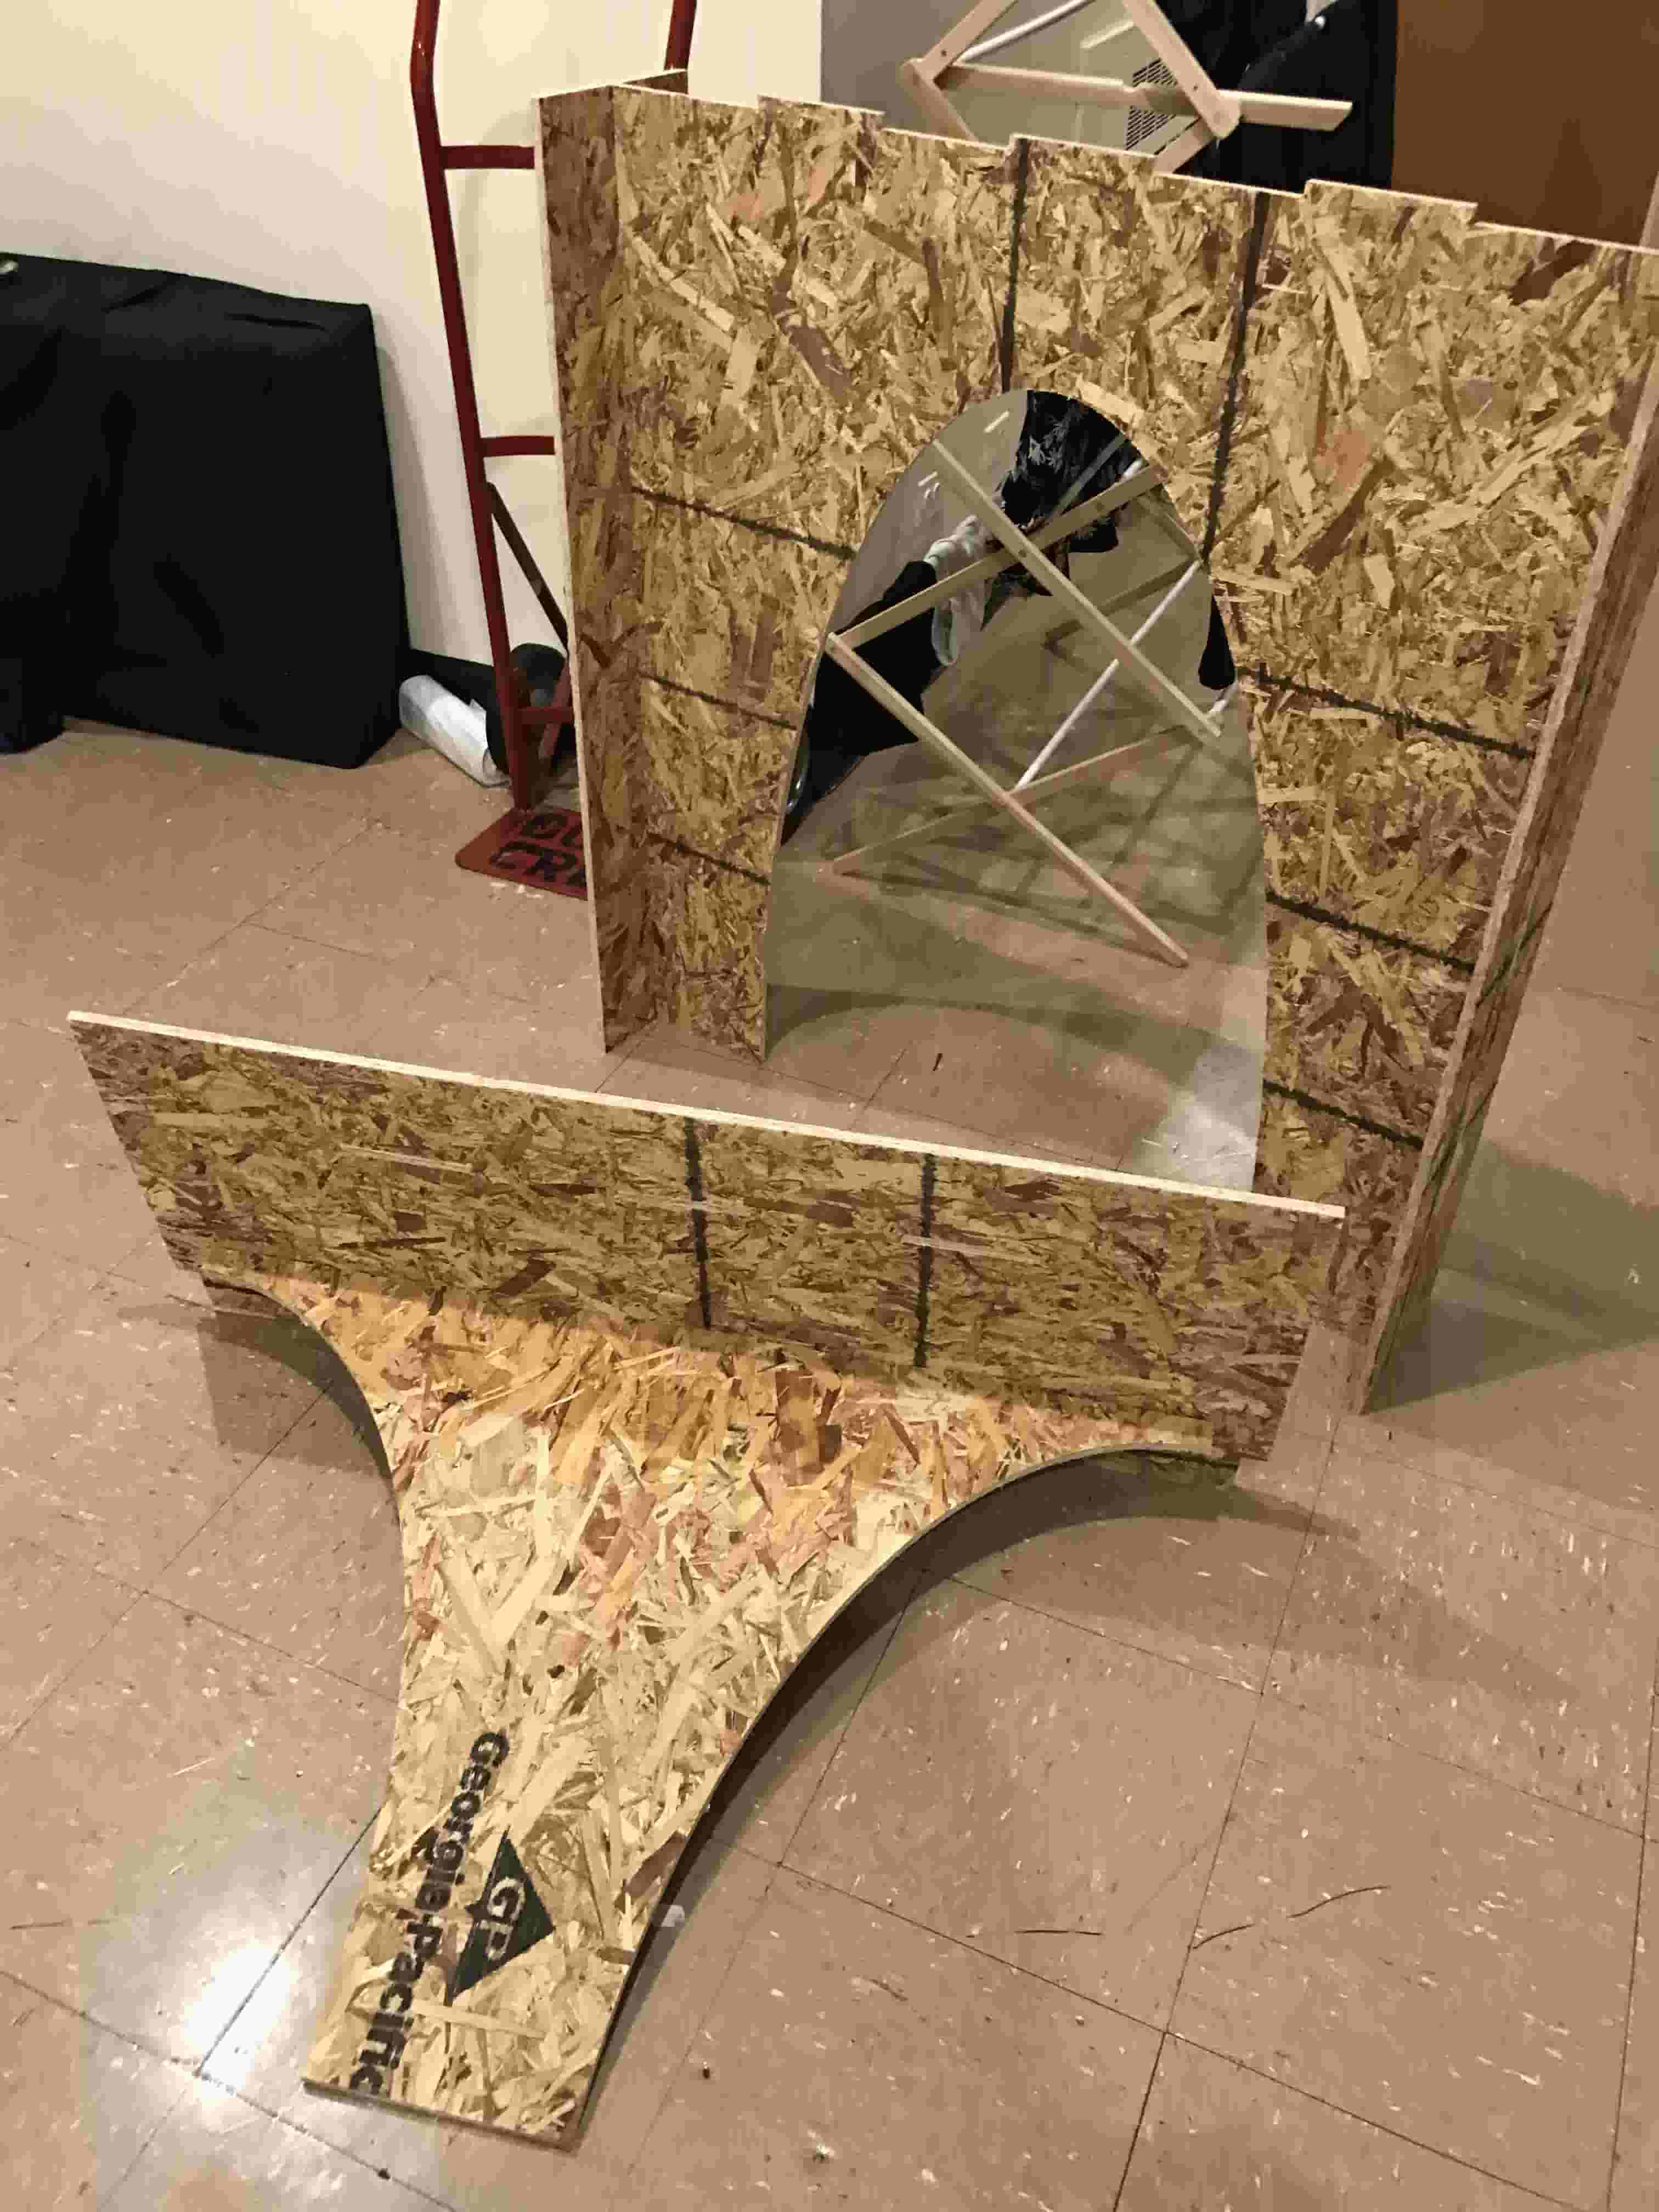
The design I decided on was using the "H" leg structure I tested earlier as the main base for the part of the bench that had only floor underneath it. I added a structural support for the part of the bench that was over the ledge. One of the difficulties was fitting all the pieces into two 4ft by 4ft OSB boards. This lead me to making arches on the middle "H" support and ledge support, so they could interlock within a single OSB board.
After cutting out the boards I sanded the boards accordingly. Since the mortise and tenon joints were exact fits, I sanded down the edges of the tenon so they were smooth and could fit easily. Additionally I sanded down the top of the bench for a smooth finish
Assembly
I started assembly in the fab lab. I started by assembling the "H" support legs. With help from Daniel holding the middle "H" support in place, I used a mallet to hammer the middle "H" support to one side. Then I flipped the structure around and hammered the other "H" side.
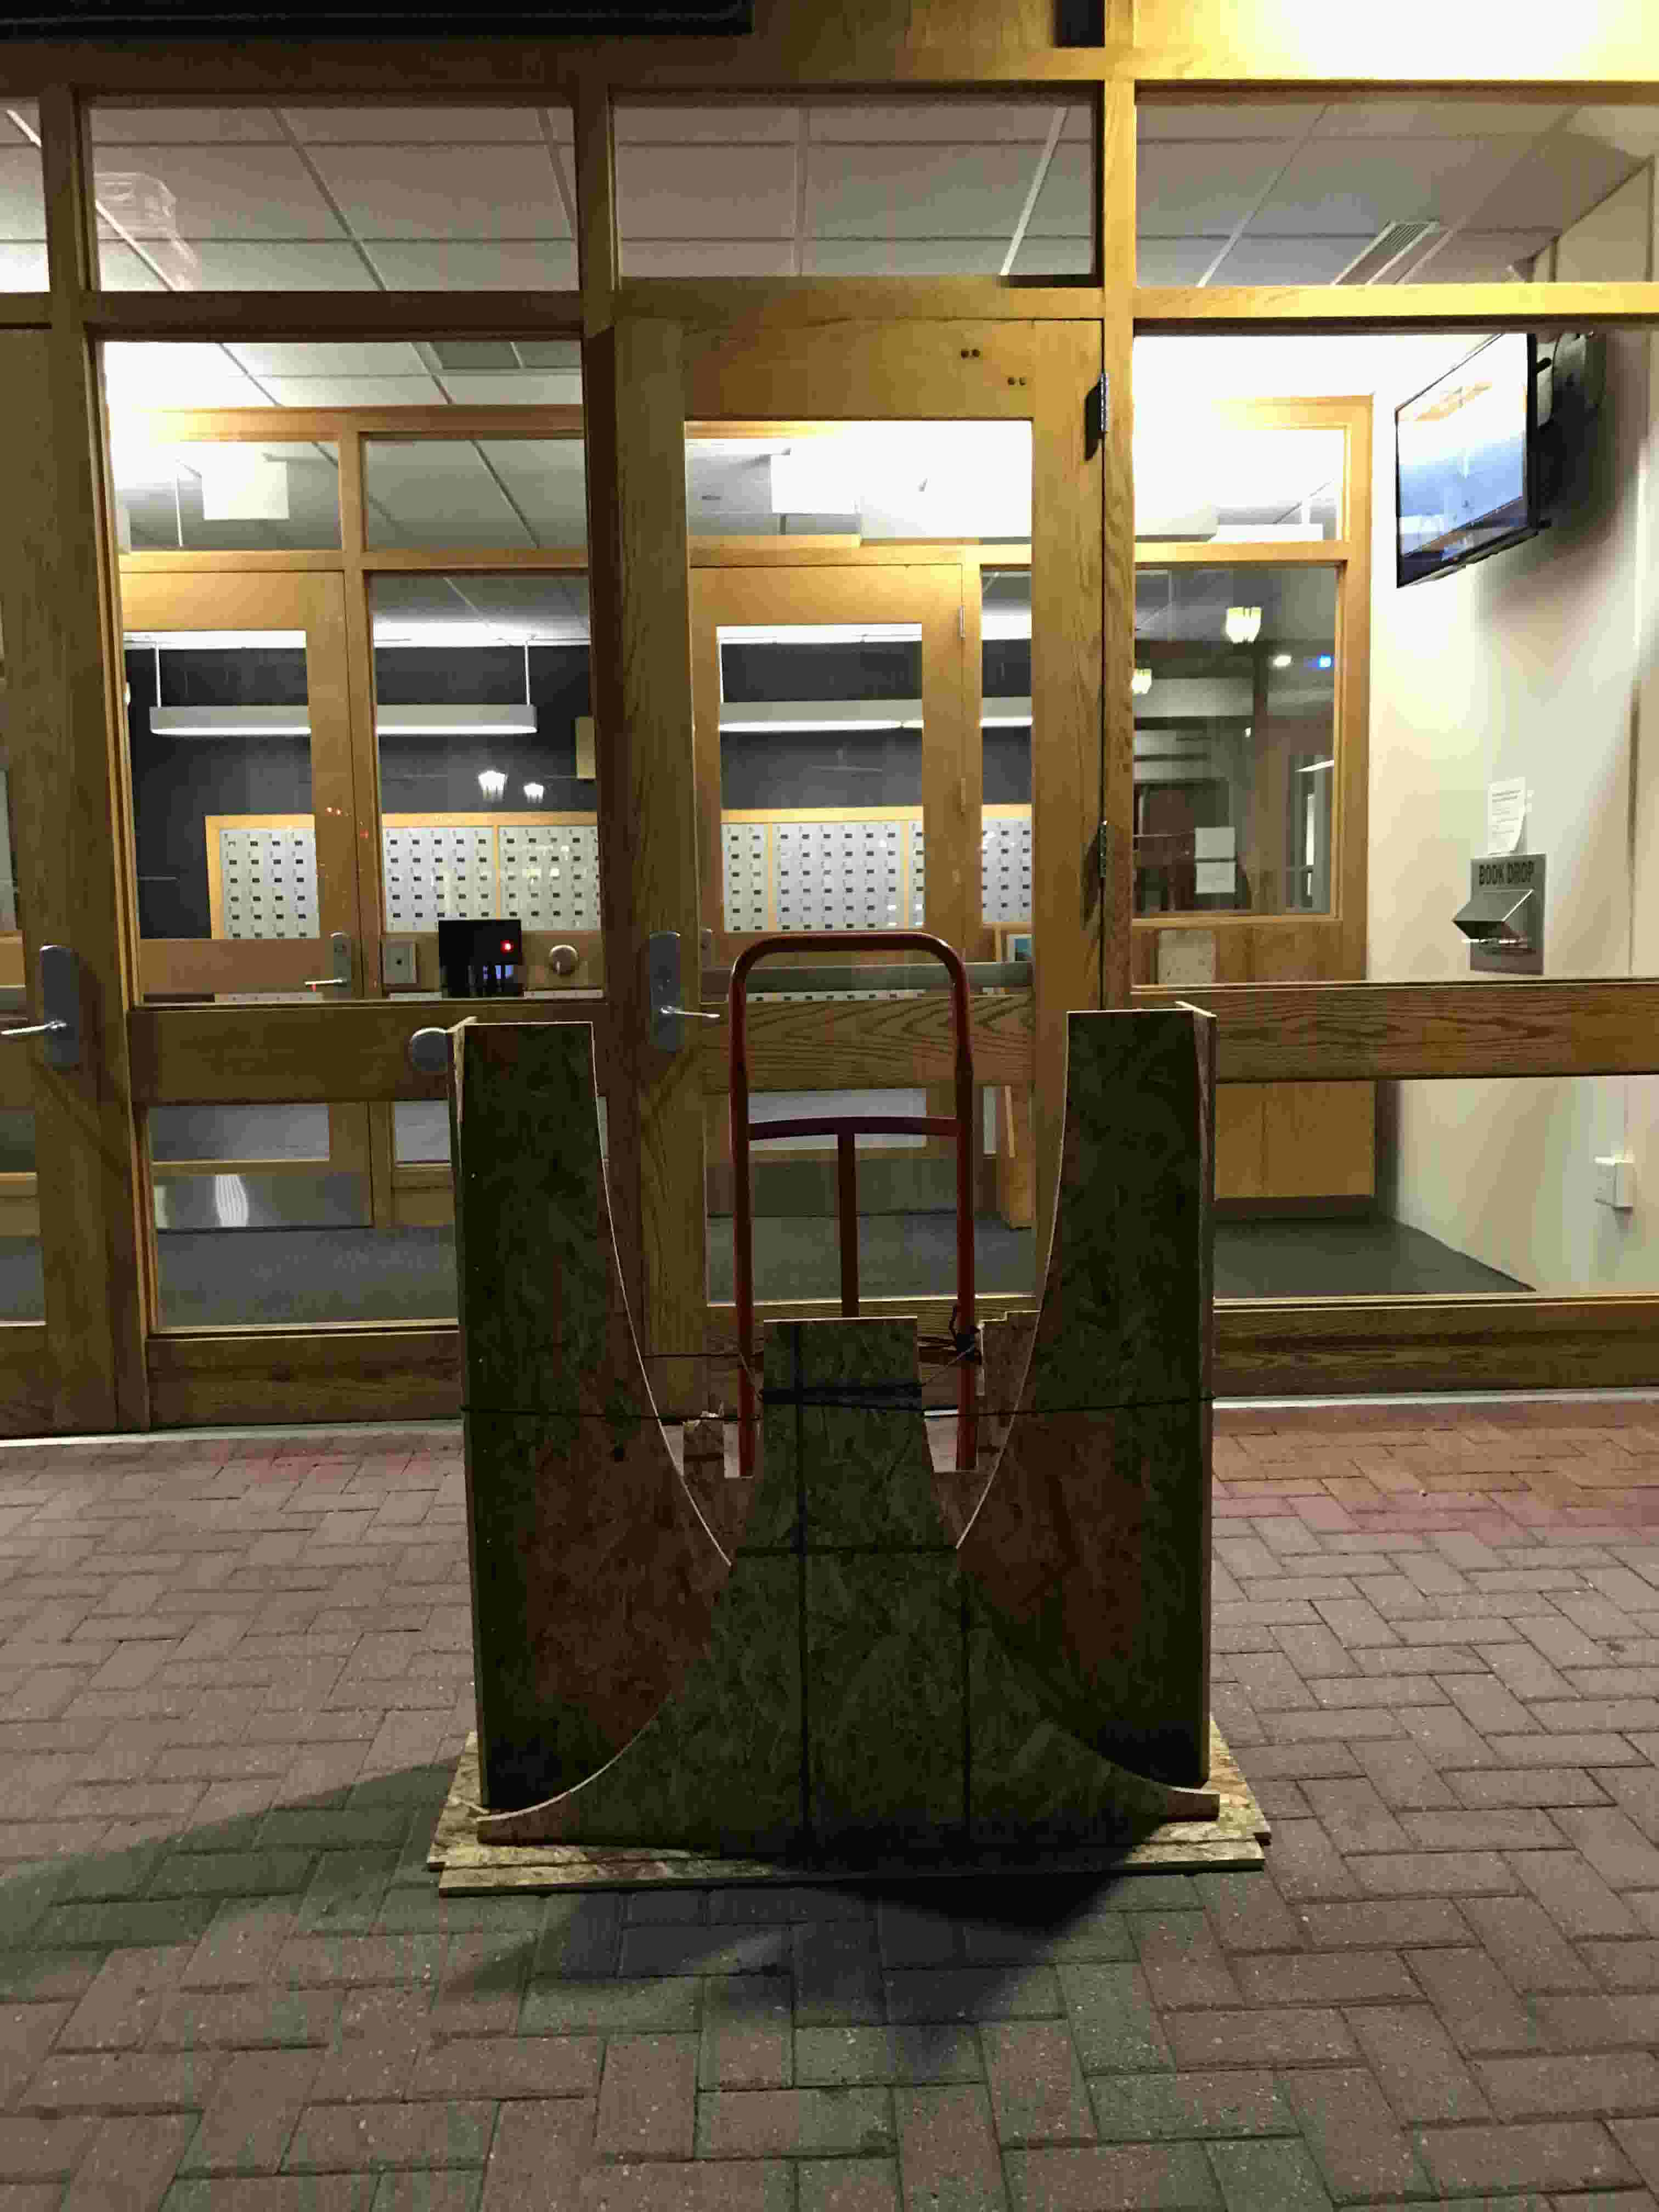
Next I added the mallated the top of the bench, again with help from Daniel. Because I did not have the ledge in the fab lab, I made a make shift ledge with a recycling bin and scrap pieces of OSB. Balancing the ledge support on this fake ledge, I malleted in the ledge support piece.
The hardest part of assembly was getting the bench back to my dorm room. After a quick brainstorming session, I decided to use a dolly. The greatest difficult of the dolly was the uneven roads of Cambridge, but also the width of the bench. The wide width means the bench dolly could only fit through one door of the Science Center and unfortunately could not fit through the door of my dorm. While making a friend help me carry the bench from the dorm door to my room, the bench fell into two pieces: the "H" support and the top combined to the ledge support.
This made it easier to actually assemble the bench in my room. Since my bed is on bed risers I decided not to more it, despite it being in front of the window hole. Thus I carried the "H" support straight over my bed and dropped it into the hole. Then I carried the top connected to the ledge support and dropped it ontop of the "H" support. I moved the "H" support to fit the top and hammered the top pieces together. The result was a wonderful bench that currently holds all my mugs!