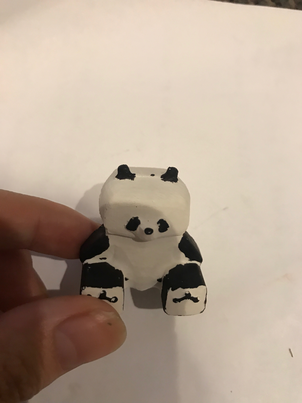
Wax Cutting
For this week, I decided to mold and cast the panda I created in week 1. I created an exact model of the panda chacter without considering this part of the project. The problem was there was some of the parts was not Shopbot cutable. For example the panda had smaller legs and bigger feet for the fat panda effect. But because there was no way to cut this, it ended up that the entire leg was the bigger size of the feet. Additionally there was no "middle" of the panda. I decided to cut the panda in "half" along the ears, so at least the ears would match up on both sides. Unfortunately this caused the arms and legs to be fatter on one side that the other.
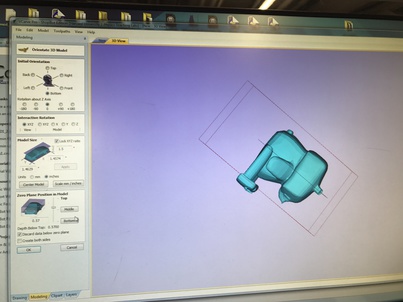
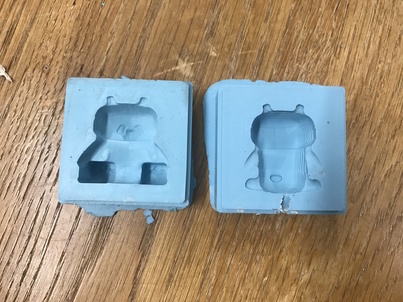
I made the mold in two halfs. I sized the STL panda object in VCarve based on the Z axis, the length from the feet to the back. I had three cut paths, a rough cut, a detailed cut and another detail cut 90 degrees to the first detailed cut to provide a smoother edge.
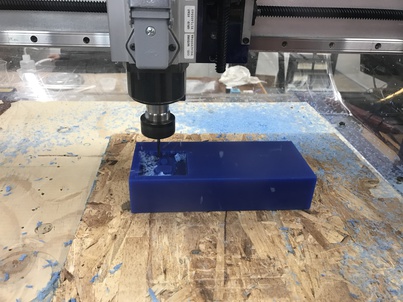

The wax cut really well! Except I broke a bit by accidentally going too deep on the Z-axis :'(

Oovoo Mold
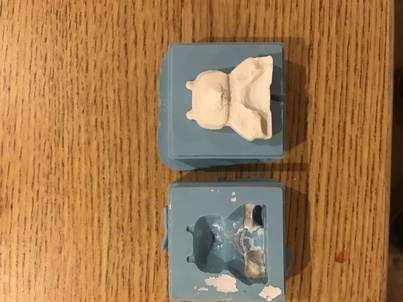
I created a negative mold using oovoo. I used a piece of clay I created a spout to pour the casting in later. I mixed Part A and Part B and set it into the wax cut out. I banged the mold against the table to get al the bubbles out.
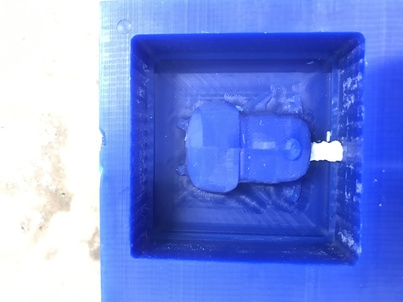
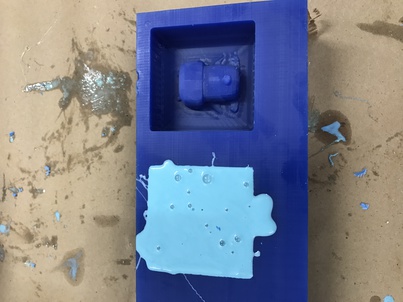
I waited two hours and unfortuantely the mold was still not set. Because I was impatient and had a meeting to run to in an hour and a half, I decided to speed up the process by putting the mold in the toaster oven. While the oven was cooling down, I put the wax with the oovoo in the oven after checking with a spare piece of wax that the wax would not melt. After 15 minutes, the oovoo was cured enough to remove. I removed the oovoo and placed only the oovoo in the oven at 300 degrees. After another 5 minutes the oovoo was completely cured!
Hydrostone Casting
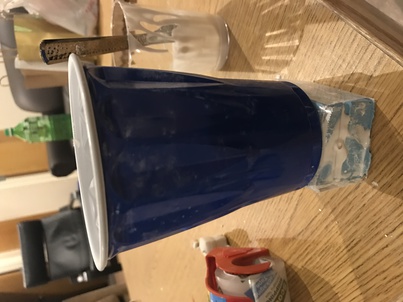
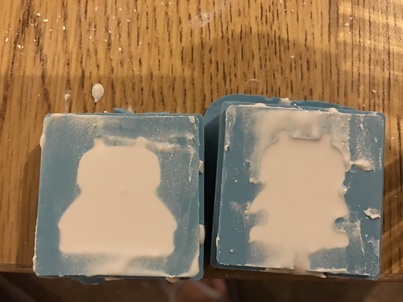
I never created extra holes to connect the two halves together, so I was forced to connect the two sides based on matching up the sides of the mold. Because the spout hole was too small, and because I was worried about getting all the small cracks of the panda, I filled both sides of the mold first and then quickly placed them together and matched them up. I used tape to hold the mold together. I noticed that there was a space between the two molds so I used a weight to keep the two sections together.
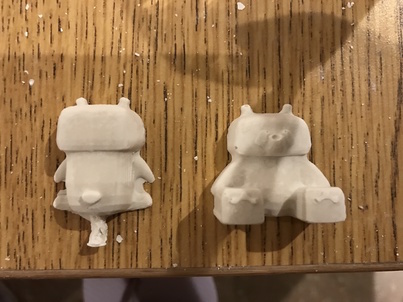
The first cast I made was set with the back of the panda facing down, causing the legs of the panda not be completely filled and breaking in the cast.
The second cast I made, I tried to counteract the lack of legs and set the mold with the front of the panda facing down. I put a lot of effort into completely filling the mold by using the spout hole and tapping the airholes out and filling the spout over and over again. Yet still the panda did not fill up completely, this time it had no butt.
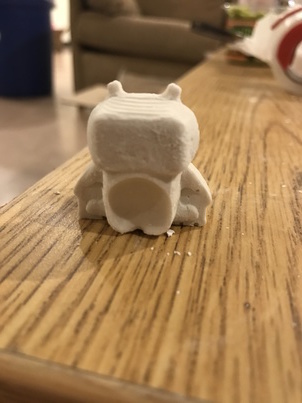
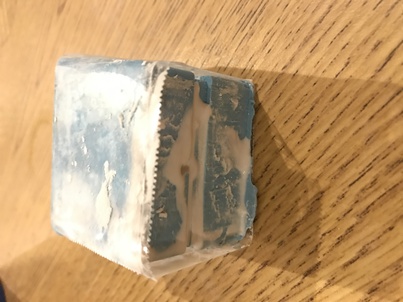
The third cast I made, I set both sides individually. Then I glued the two together. While not as seemless compared to the two molds together, seperating the casting ensured I got all parts of the panda and allowed me to perfectly align the two halfs and glue them together.
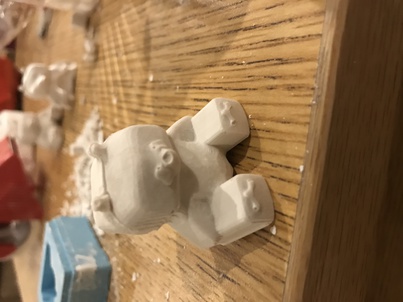
A couple of days later I tried cast the panda again. This time I made a thicker hydrostone mixture. I waited a couple of minutes with hydrostone in each half before putting the two together. While there were still air bubbles within the cast, I was happy that all the features were visable. I used a black sharpie to color in the approriate parts to have a completed panda.