Bijective Composition
I can barely breathe, with my math final bleeding over into my composites.
The goal this week was to design a 3D mold and to form a composite using epoxy resin and fabric. I wanted to make a hook material wasn't flat. Since Neil mentioned that the strength of a flat piece comes from the thickness of the piece, I wanted to see what would happen if the part was very concave. This was fairly straight-forward, so I designed the hook-part in Onshape and subtracted it from a regular piece to get what I hoped would be the mold. My design yields a one part mold. Since it was somewhat difficult to mill, I had wanted to 3D print it.
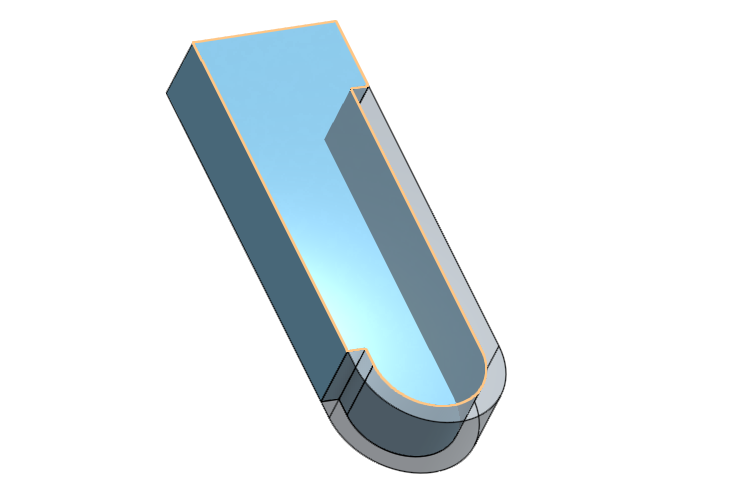
Here is the .stl file for my design.
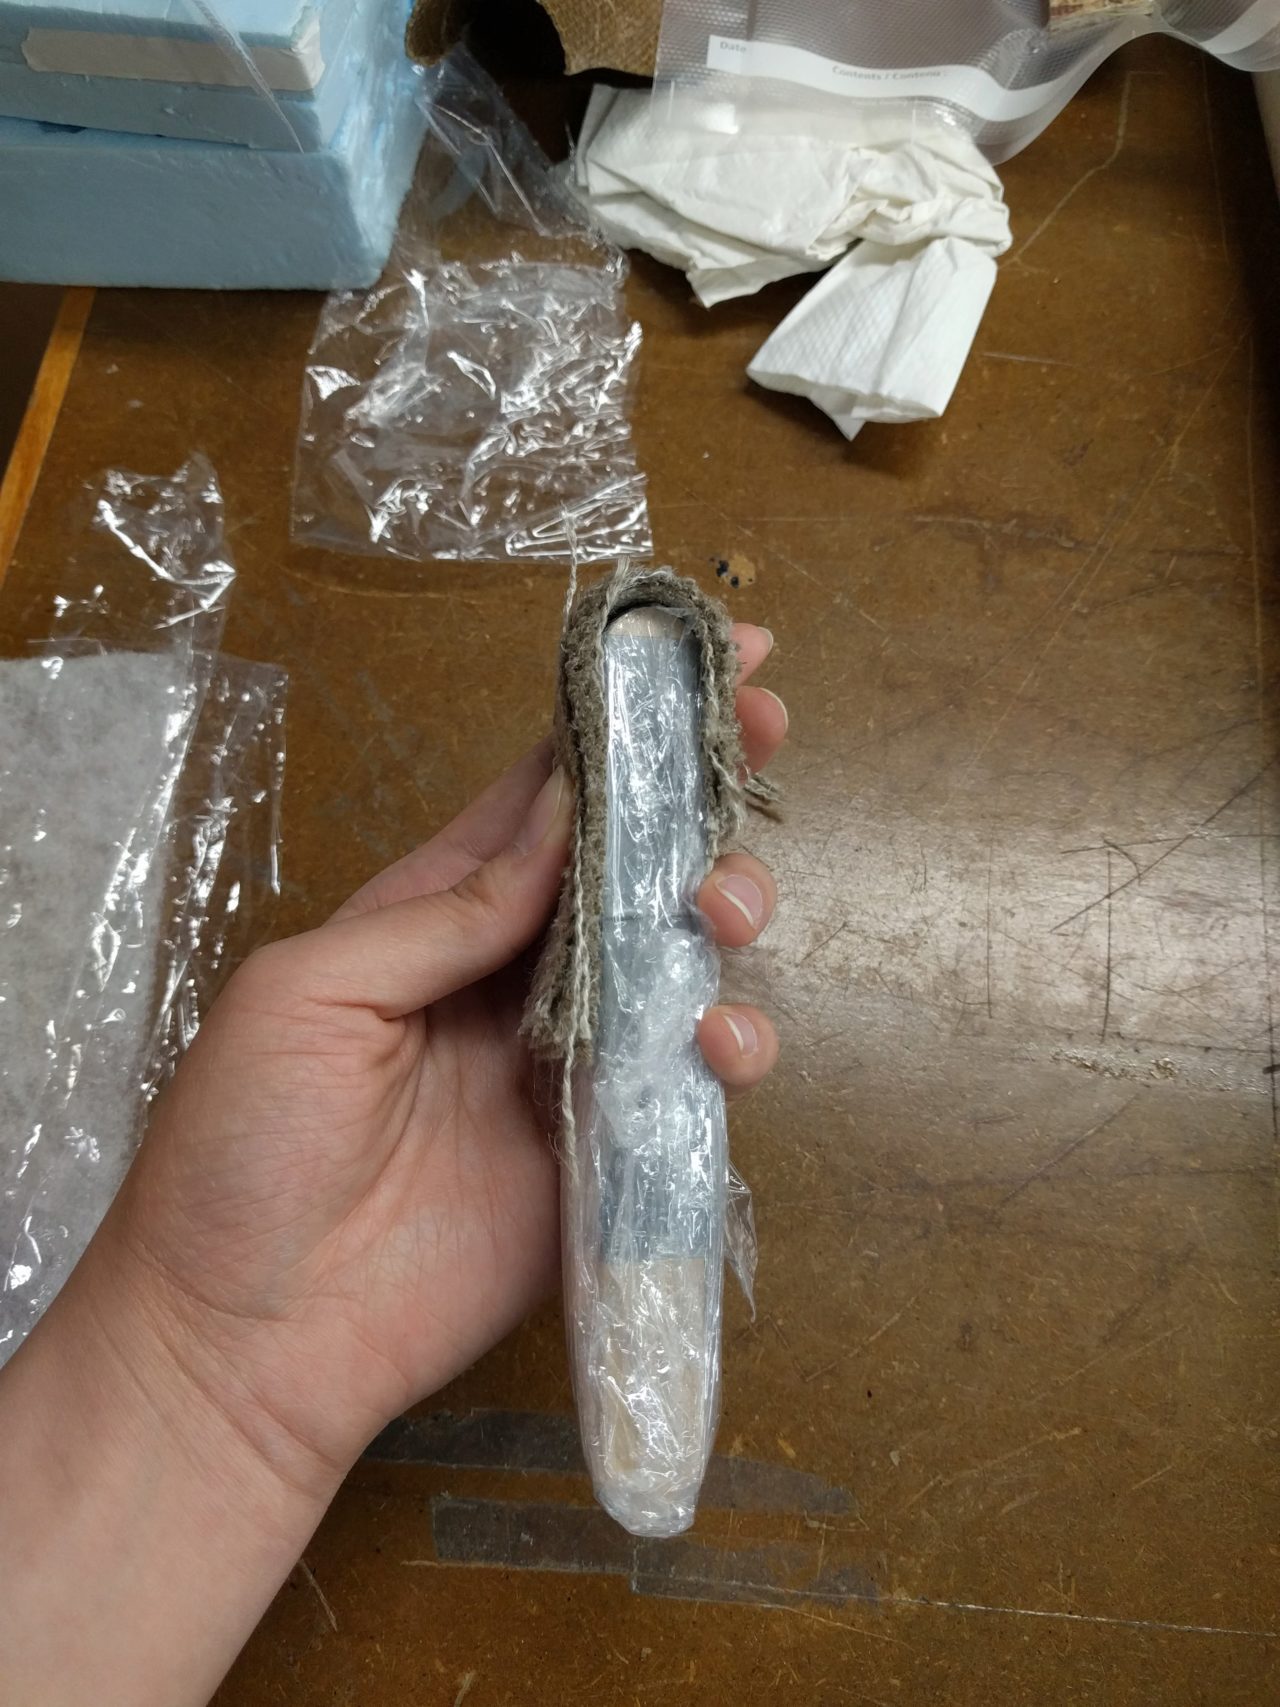
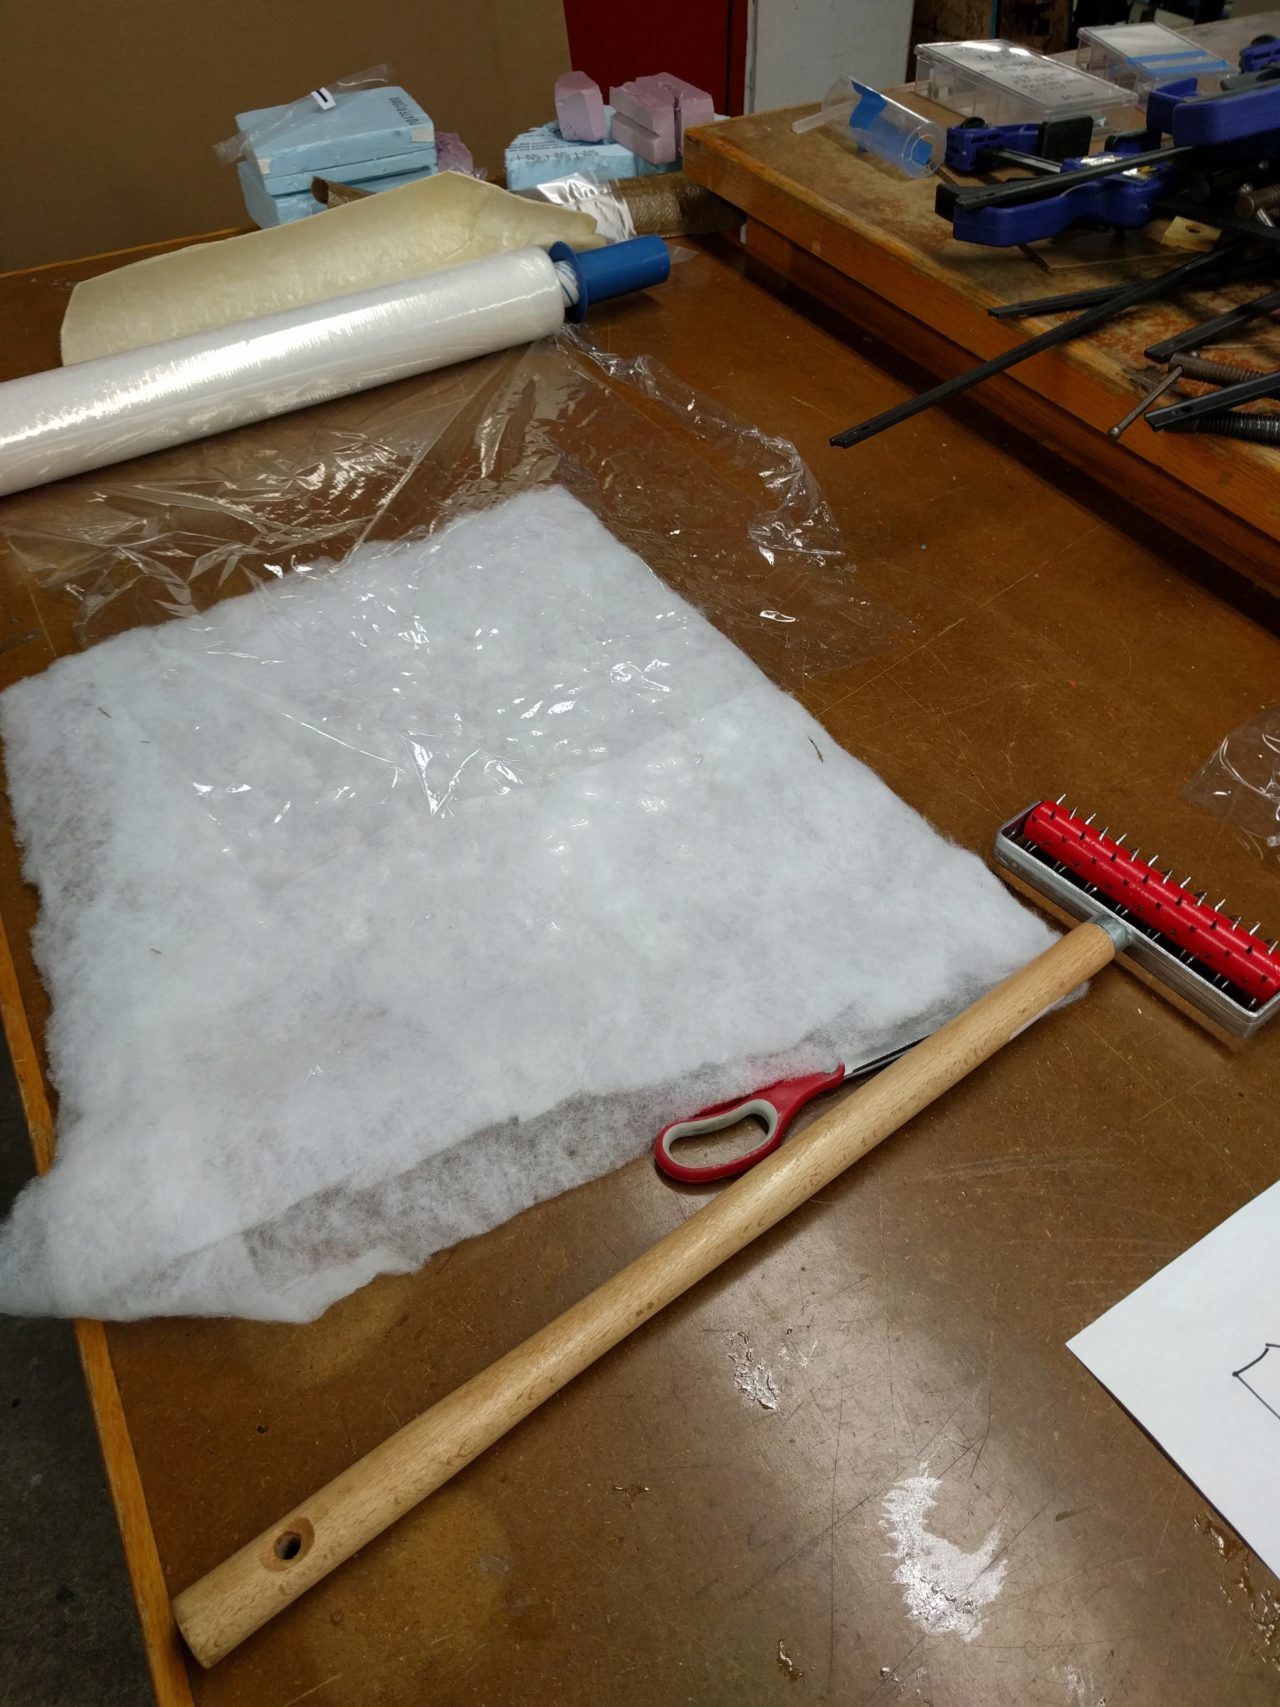
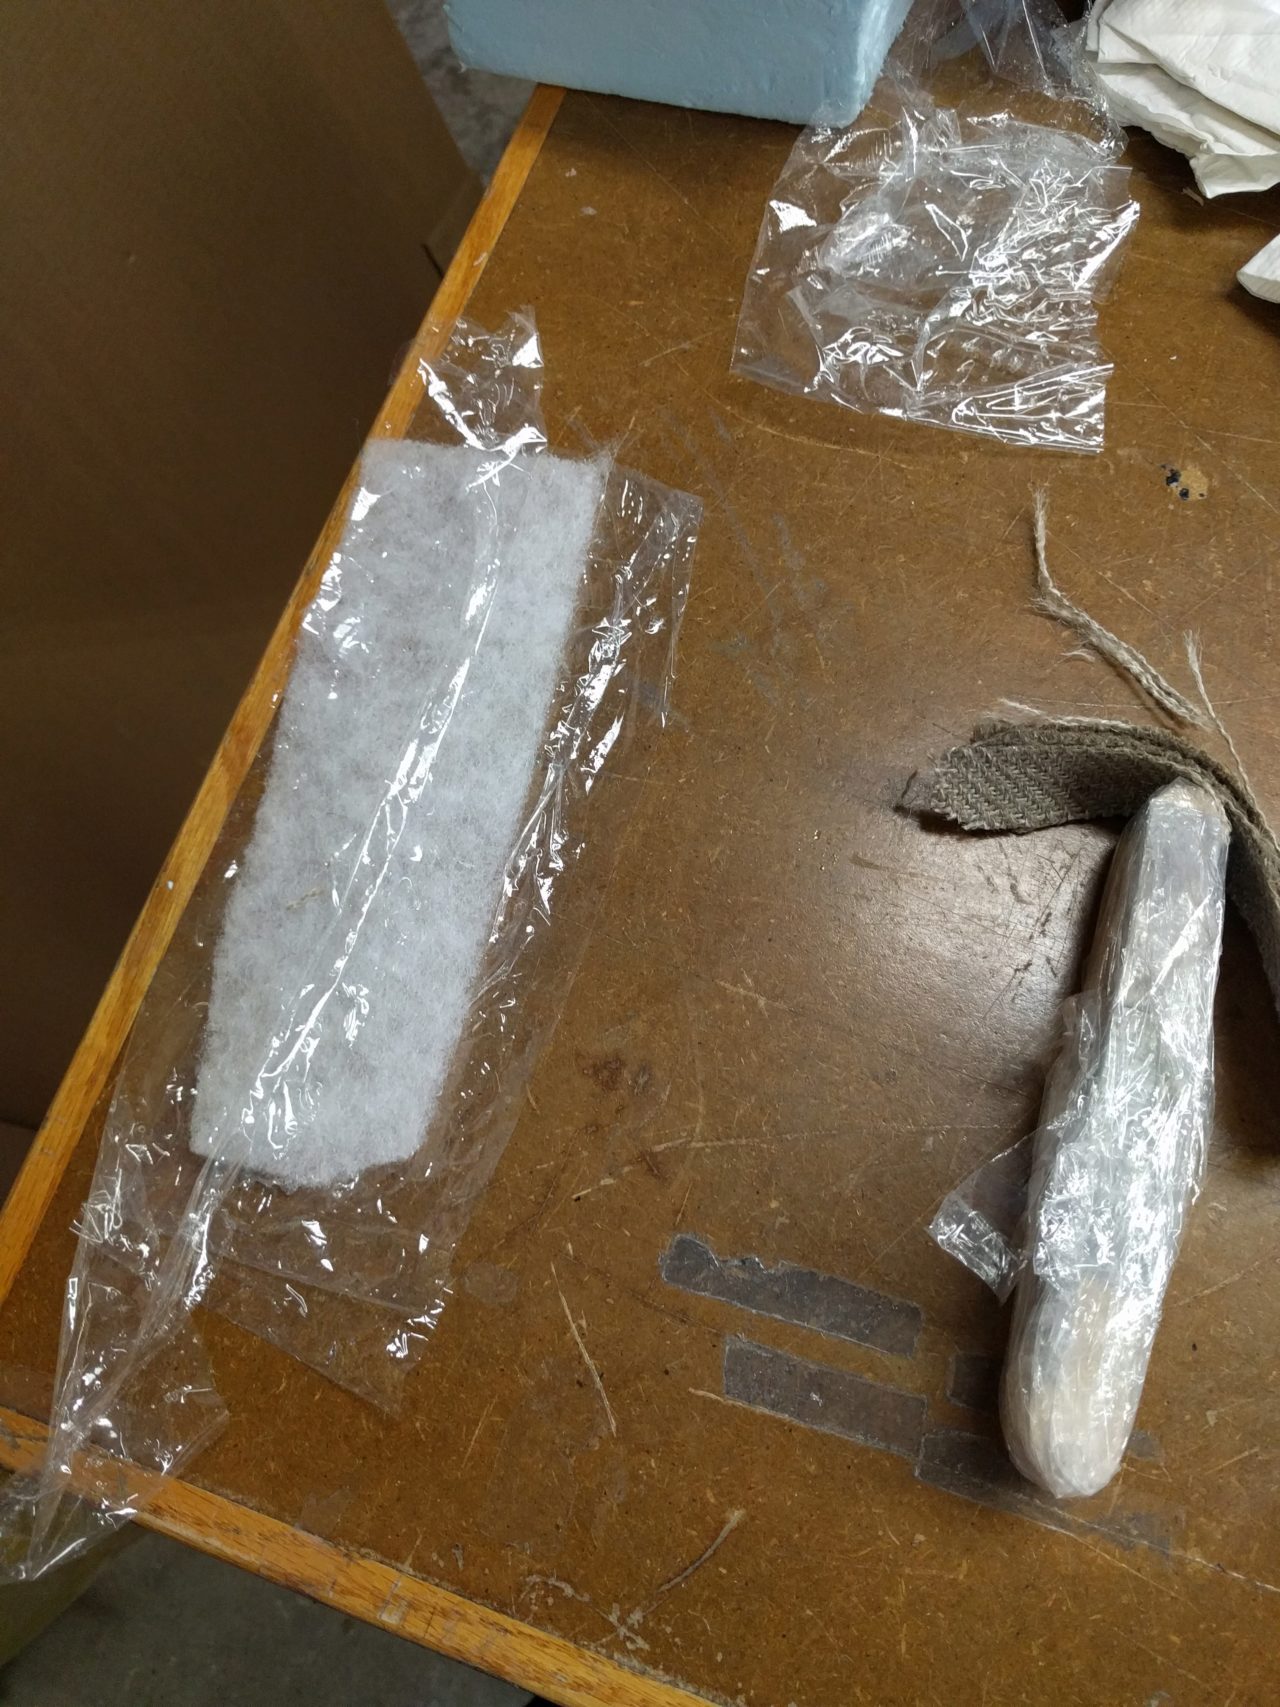
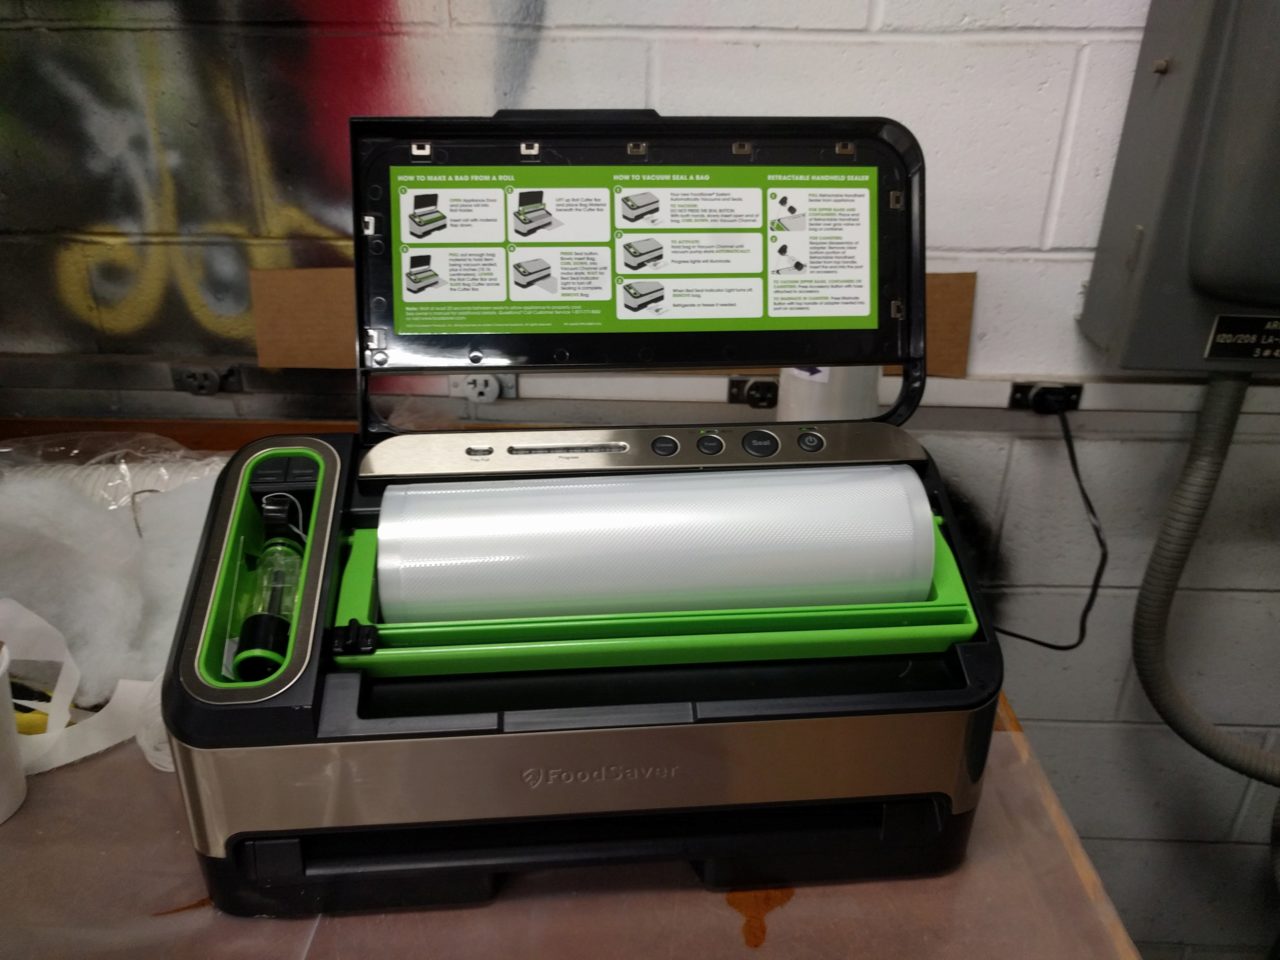
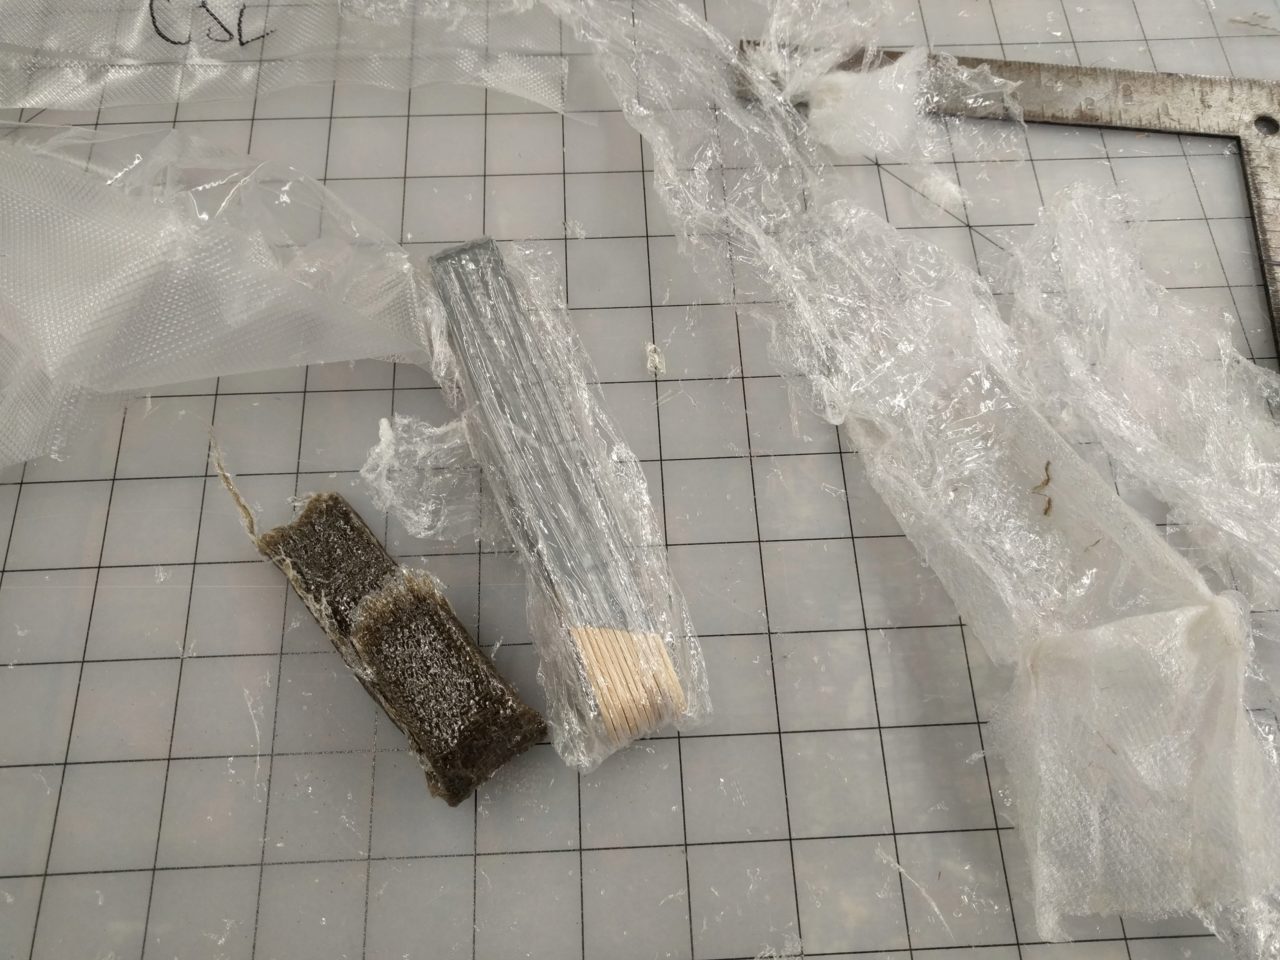
However, since there were a couple of large jobs running with special filament and one of our 3D printers had broken, I decided to improvise. I found a couple of the tongue depressors that we had been using to mix the epoxy and taped them together to form a similarly shaped piece. I wrapped this in multiple layers of plastic wrap to form the release. I then cut the necessary strips of fabric, plastic wrap, quilt batting and bleeder sheet. I did a completely dry lay-up just to double check the sizes of everything. Using what we had learned during Rob's training session where we made a couple of coupons, I decided to use the vacuum bag with the food sealer bag. My part was pretty small, so I figured that this would much cleaner.
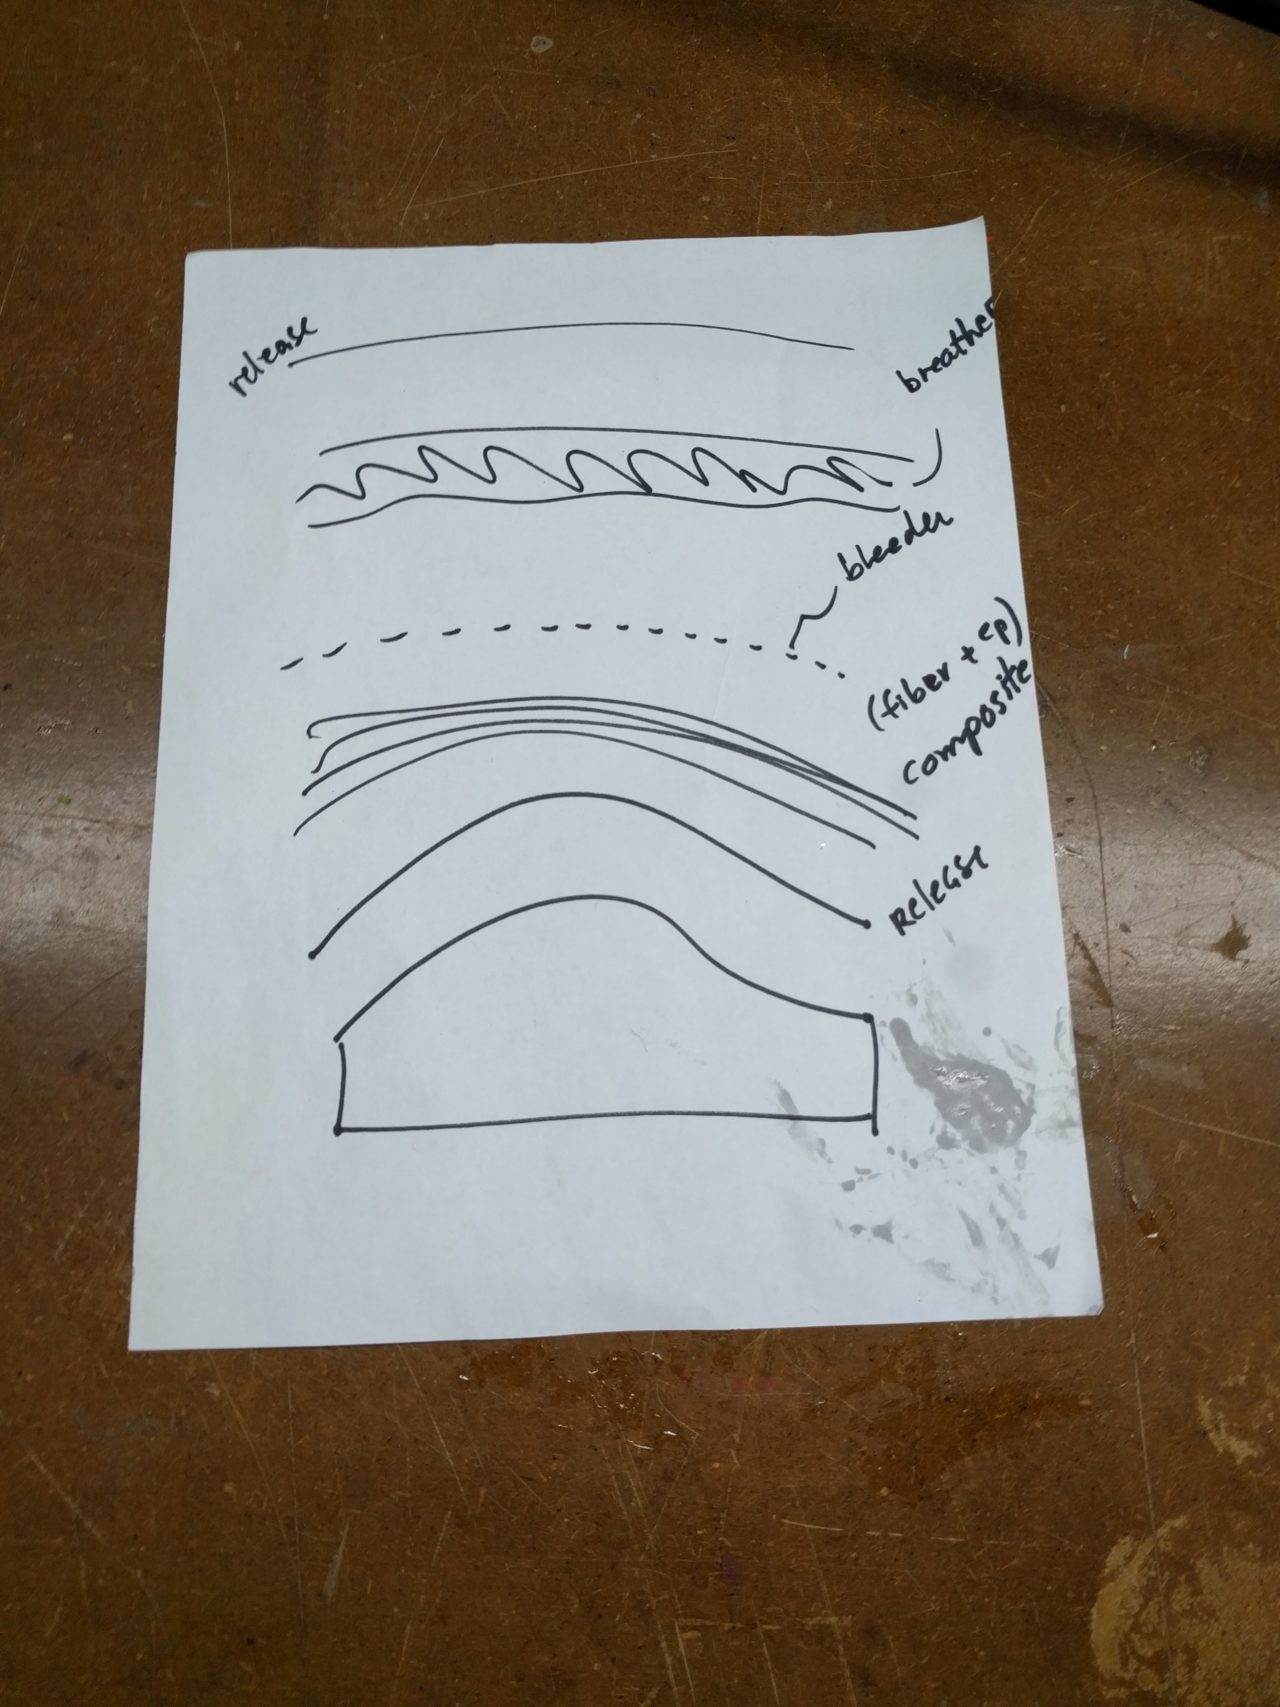
I mixed up a 2:1 mixture of part A: part B of the One Entropy epoxy resin. I didn't measure very carefully, but did my best to get the correct ratio. I poured the epoxy onto each layer and then squeegeed the excess off. I did notice a mild sweet scent, but it wasn't too bad as we were under the fume hood. I layered my 4 layers of the flax-linen material and pressed them together and wrapped it around my mold. I added the bleeder and the breather on top of this, as well as another couple of layers of plastic wrap before putting vacuum sealing it.
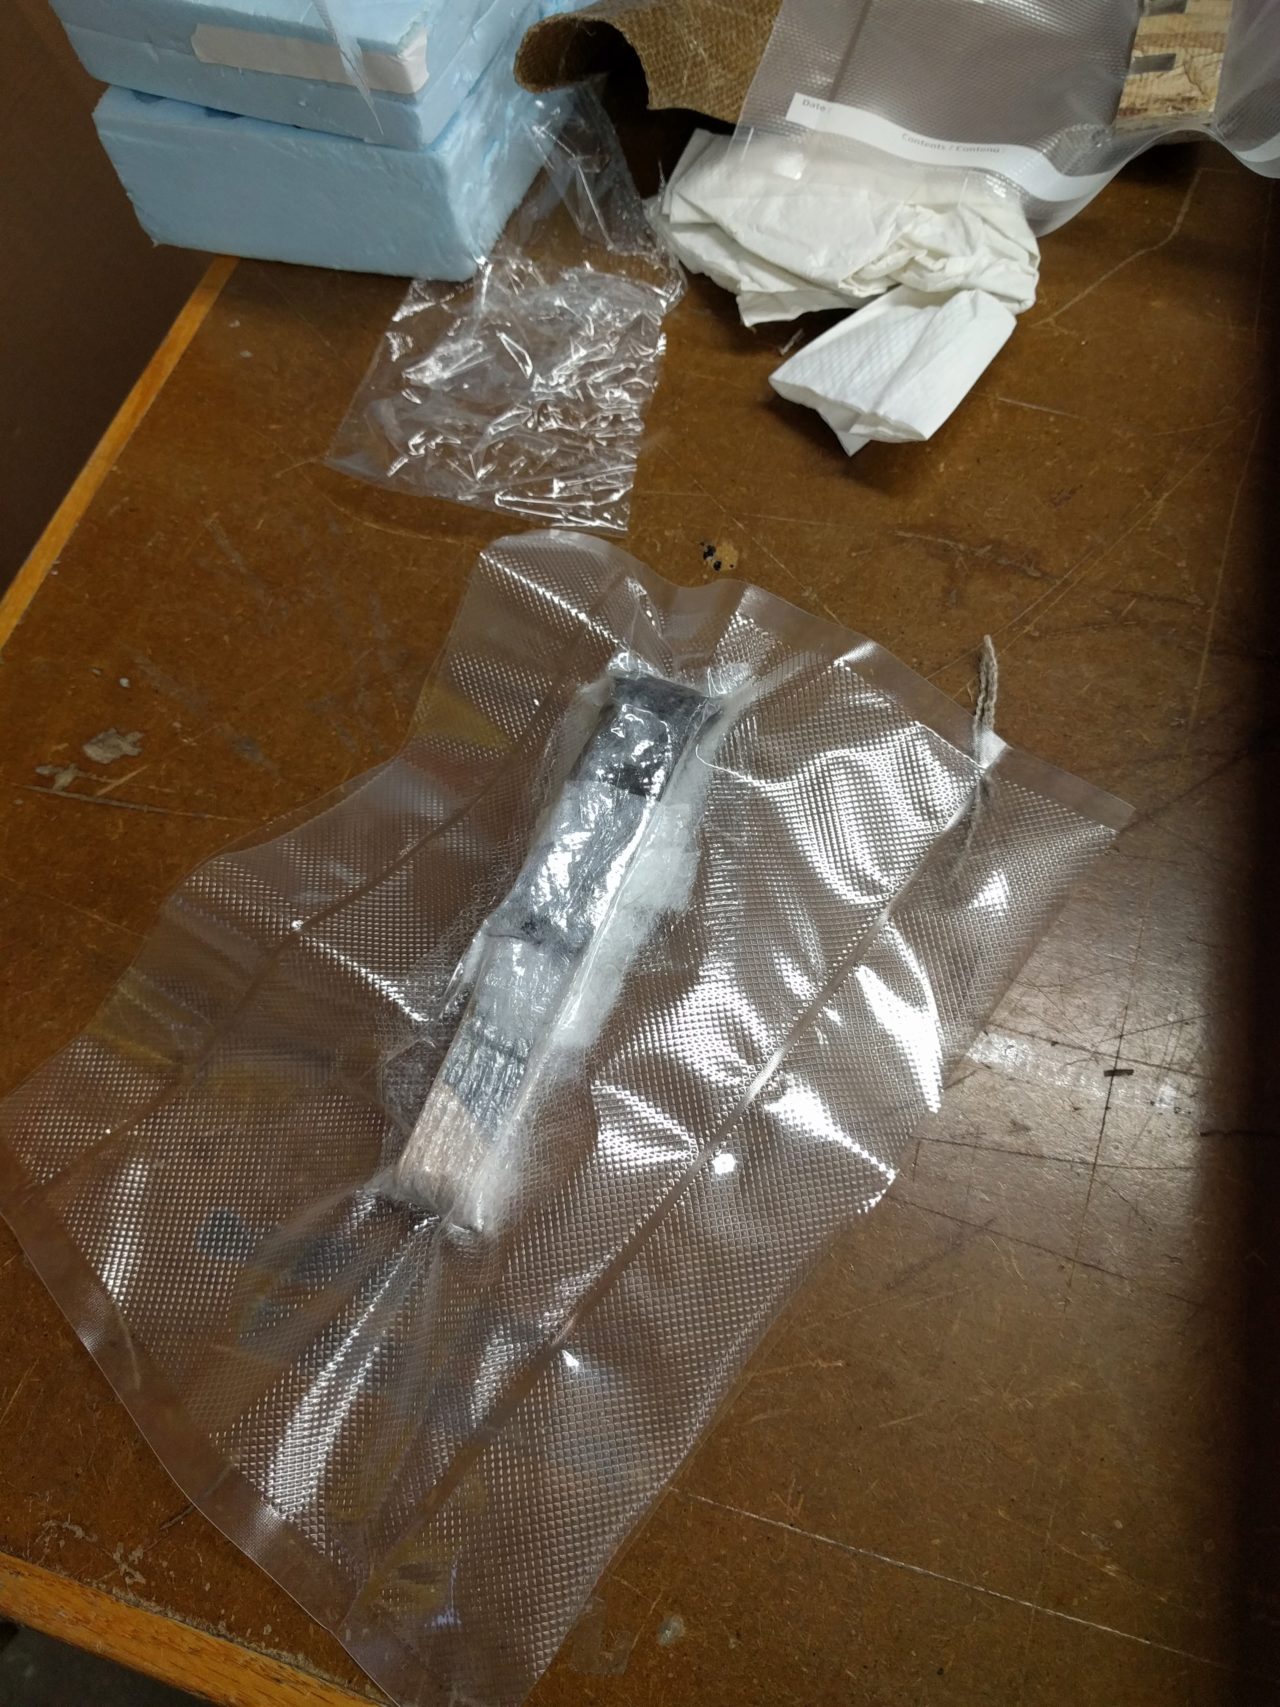
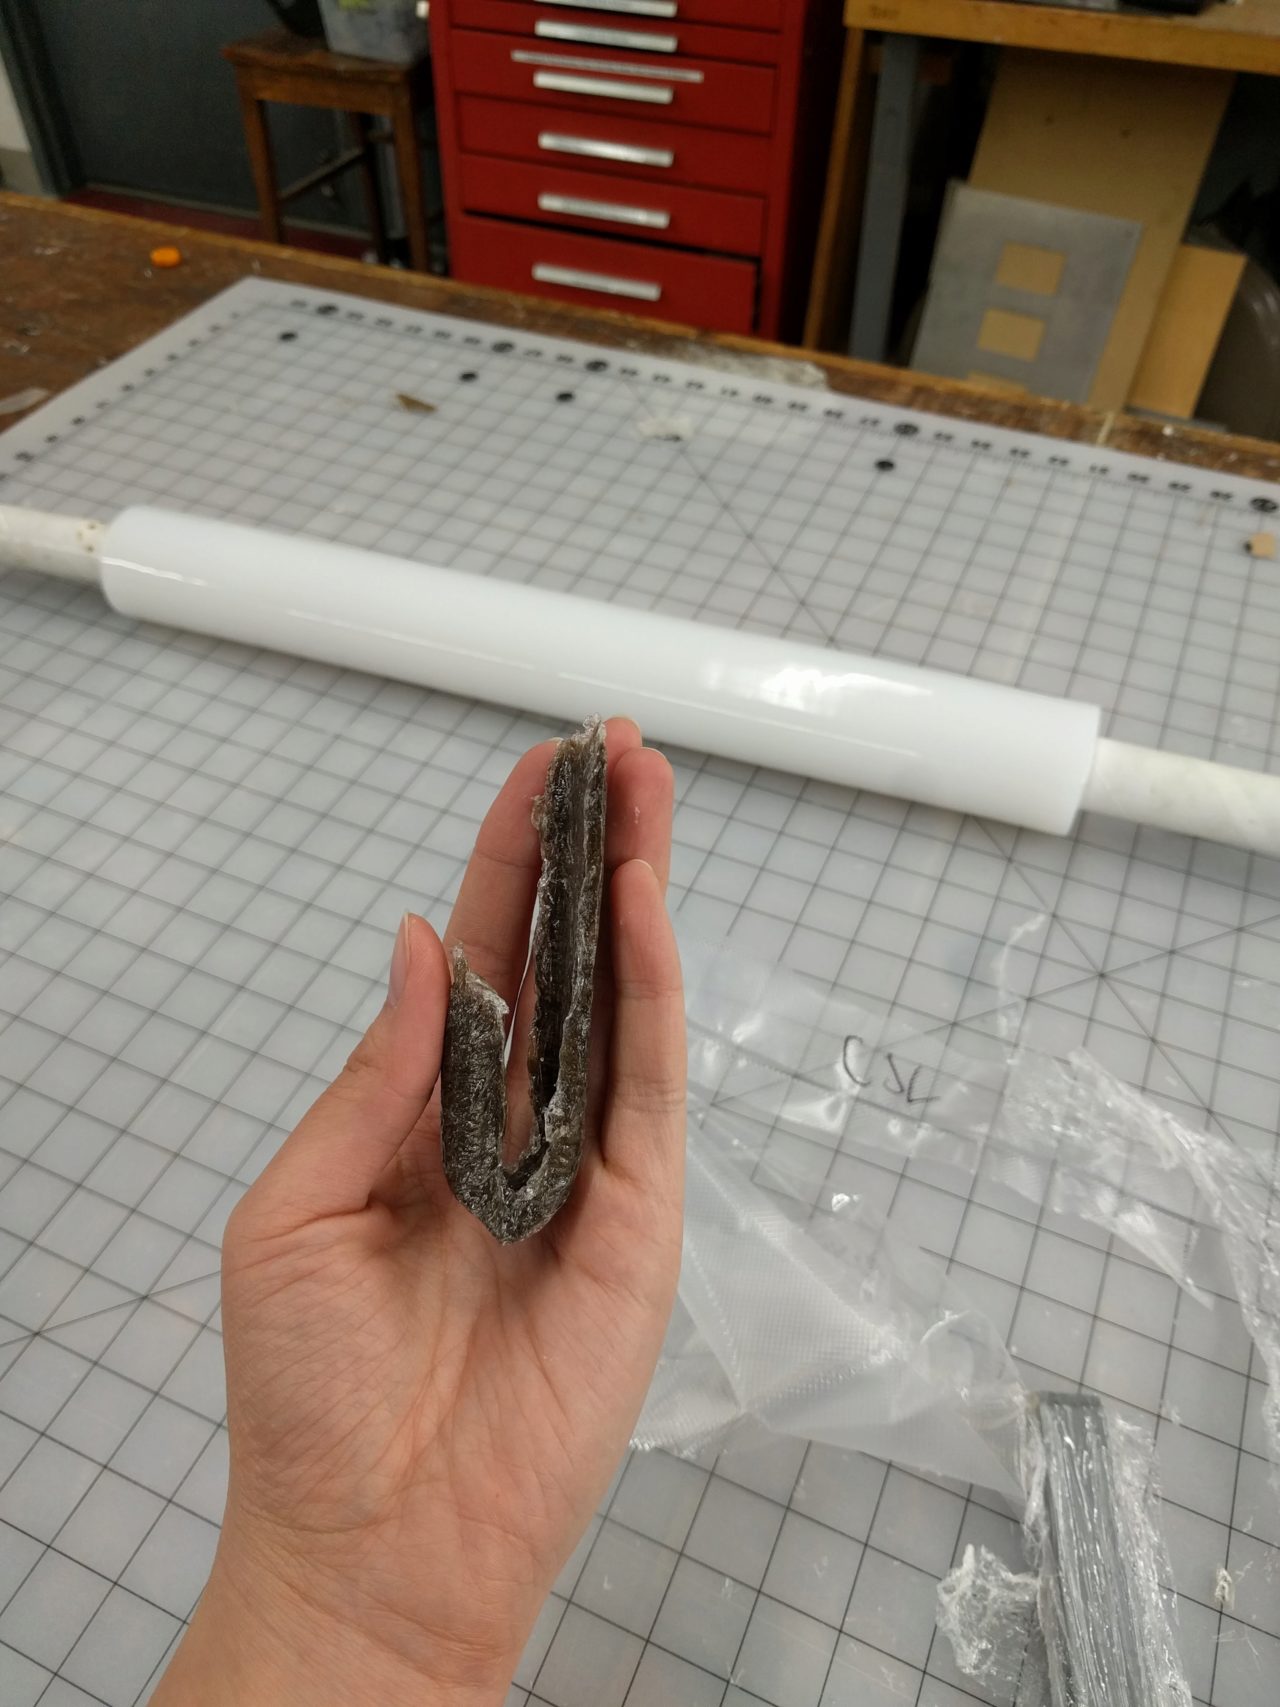
Immediately after I bagged the part, I realized that I had probably used too much resin. The resin bled very quickly through the bleeder sheet and saturated the quilting batting immediately. But the vacuum did hold the shape of the part very nicely, so I decided to let it cure anyway.
I left out the residual epoxy in the cup so that I could judge when it was set up enough to unmold. I waited until the epoxy in the cup was very soild before I went to unmold the hook part. However, I think it might still have been too soon. I had let it cure for about the recommended time of 7hrs, but when I unmolded it, it was still fairly malleable. I took this opportunity to snip off some excess epoxy resin. The manufacturer of the epoxy actually recommends that we let it cure for a full 7 days, so I will update on the strength after that amound of time. In the meantime, I think it will work as a hook for heavy jackets and such, but probably not much heavier. For the future, I will be sure to design a mold with larger surface area and to use less resin when laying up. All in all, it makes a sturdy, functional hook.
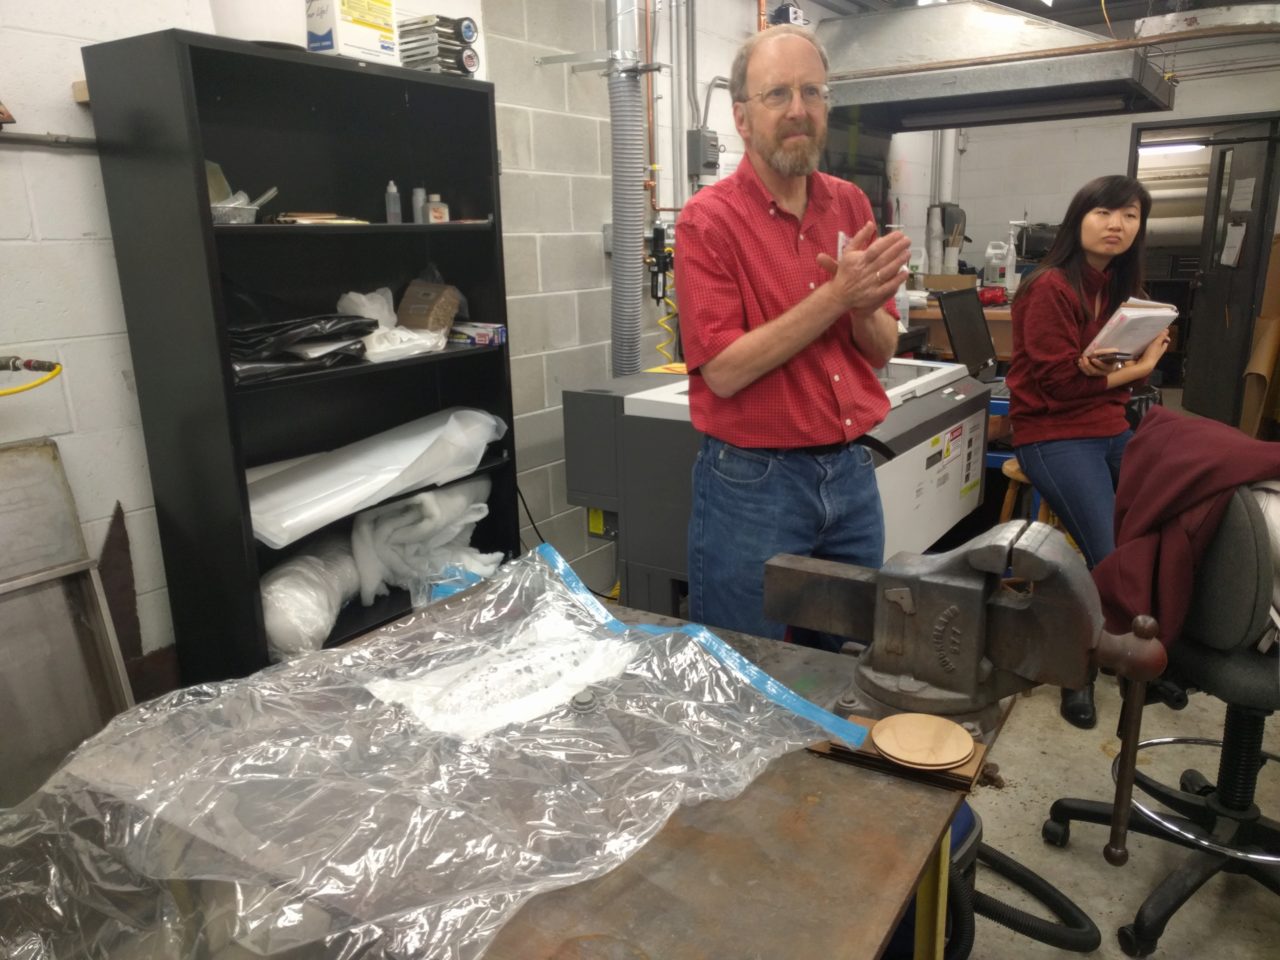
Special thanks to Rob and Daniel for their help this week!