Out of the Dark
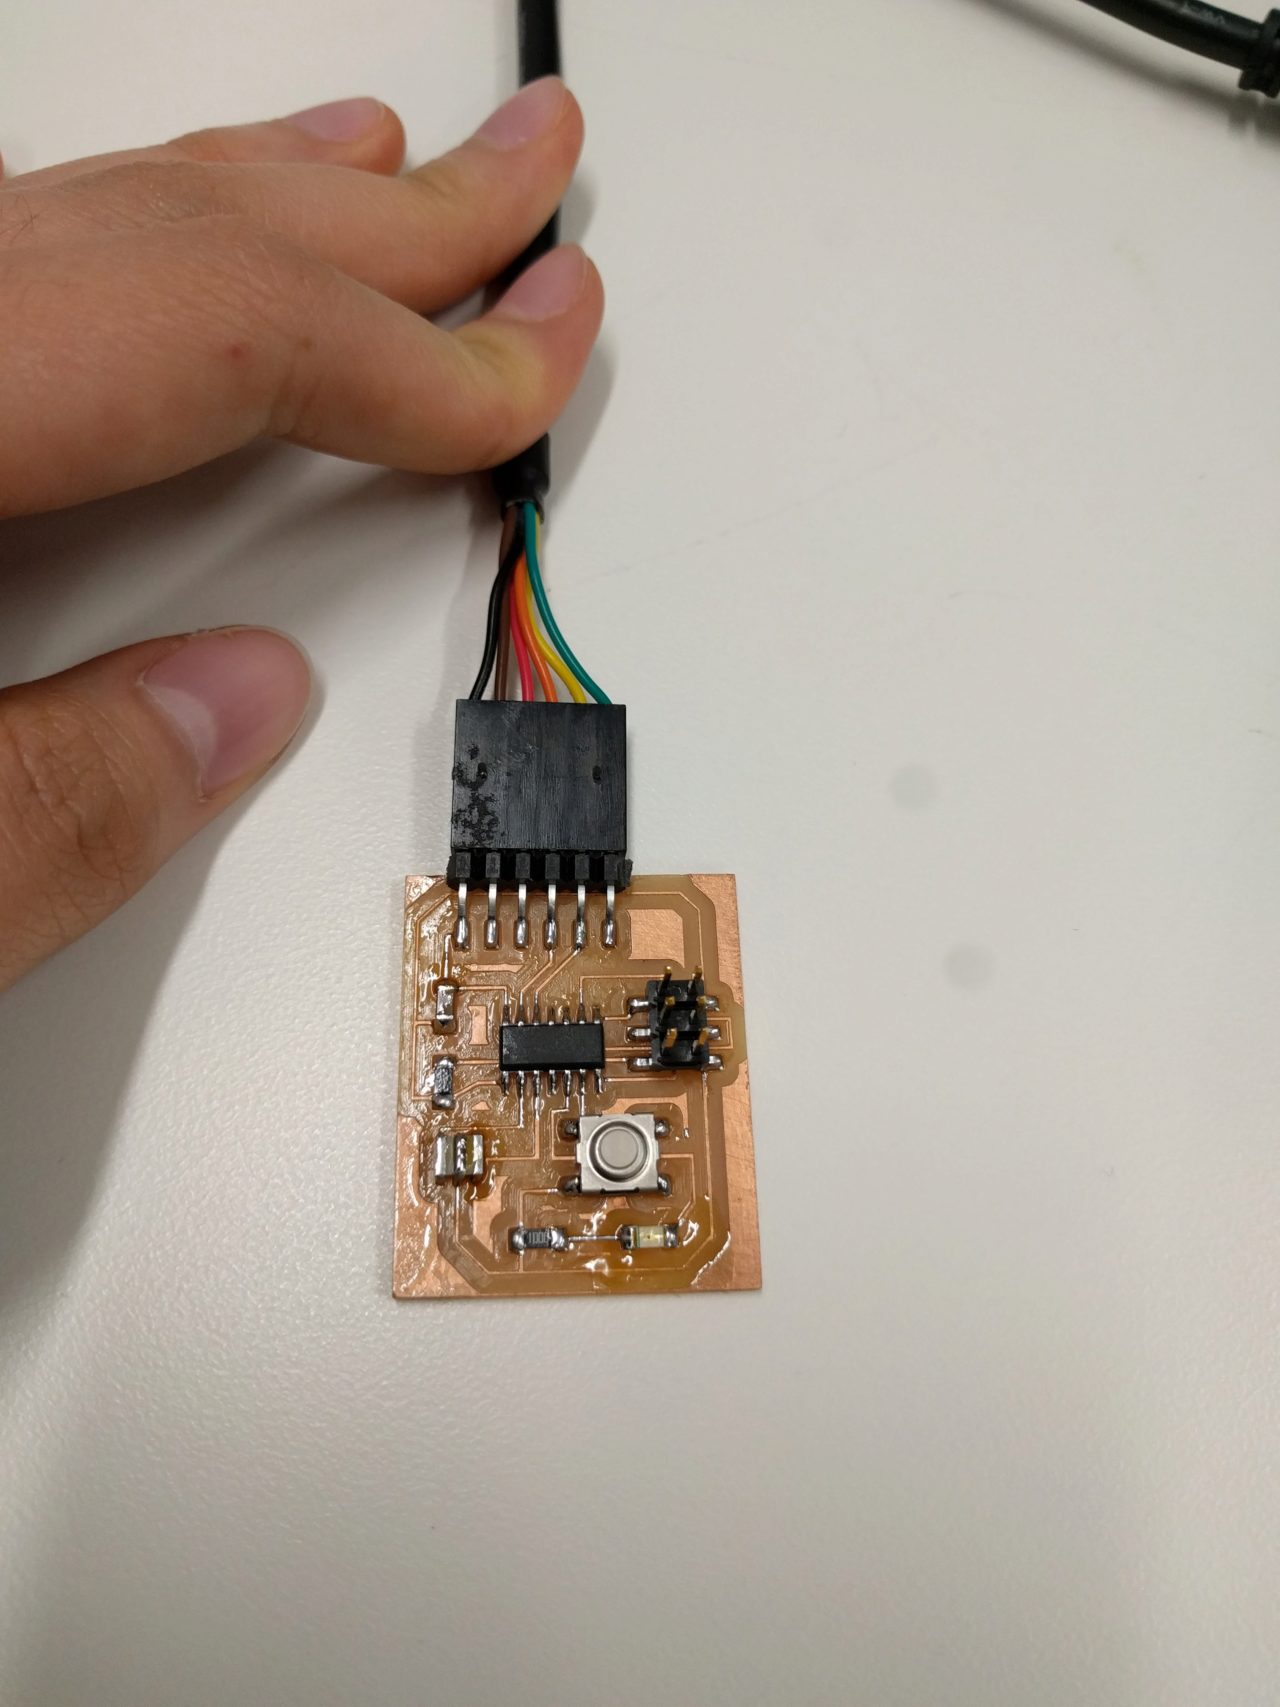
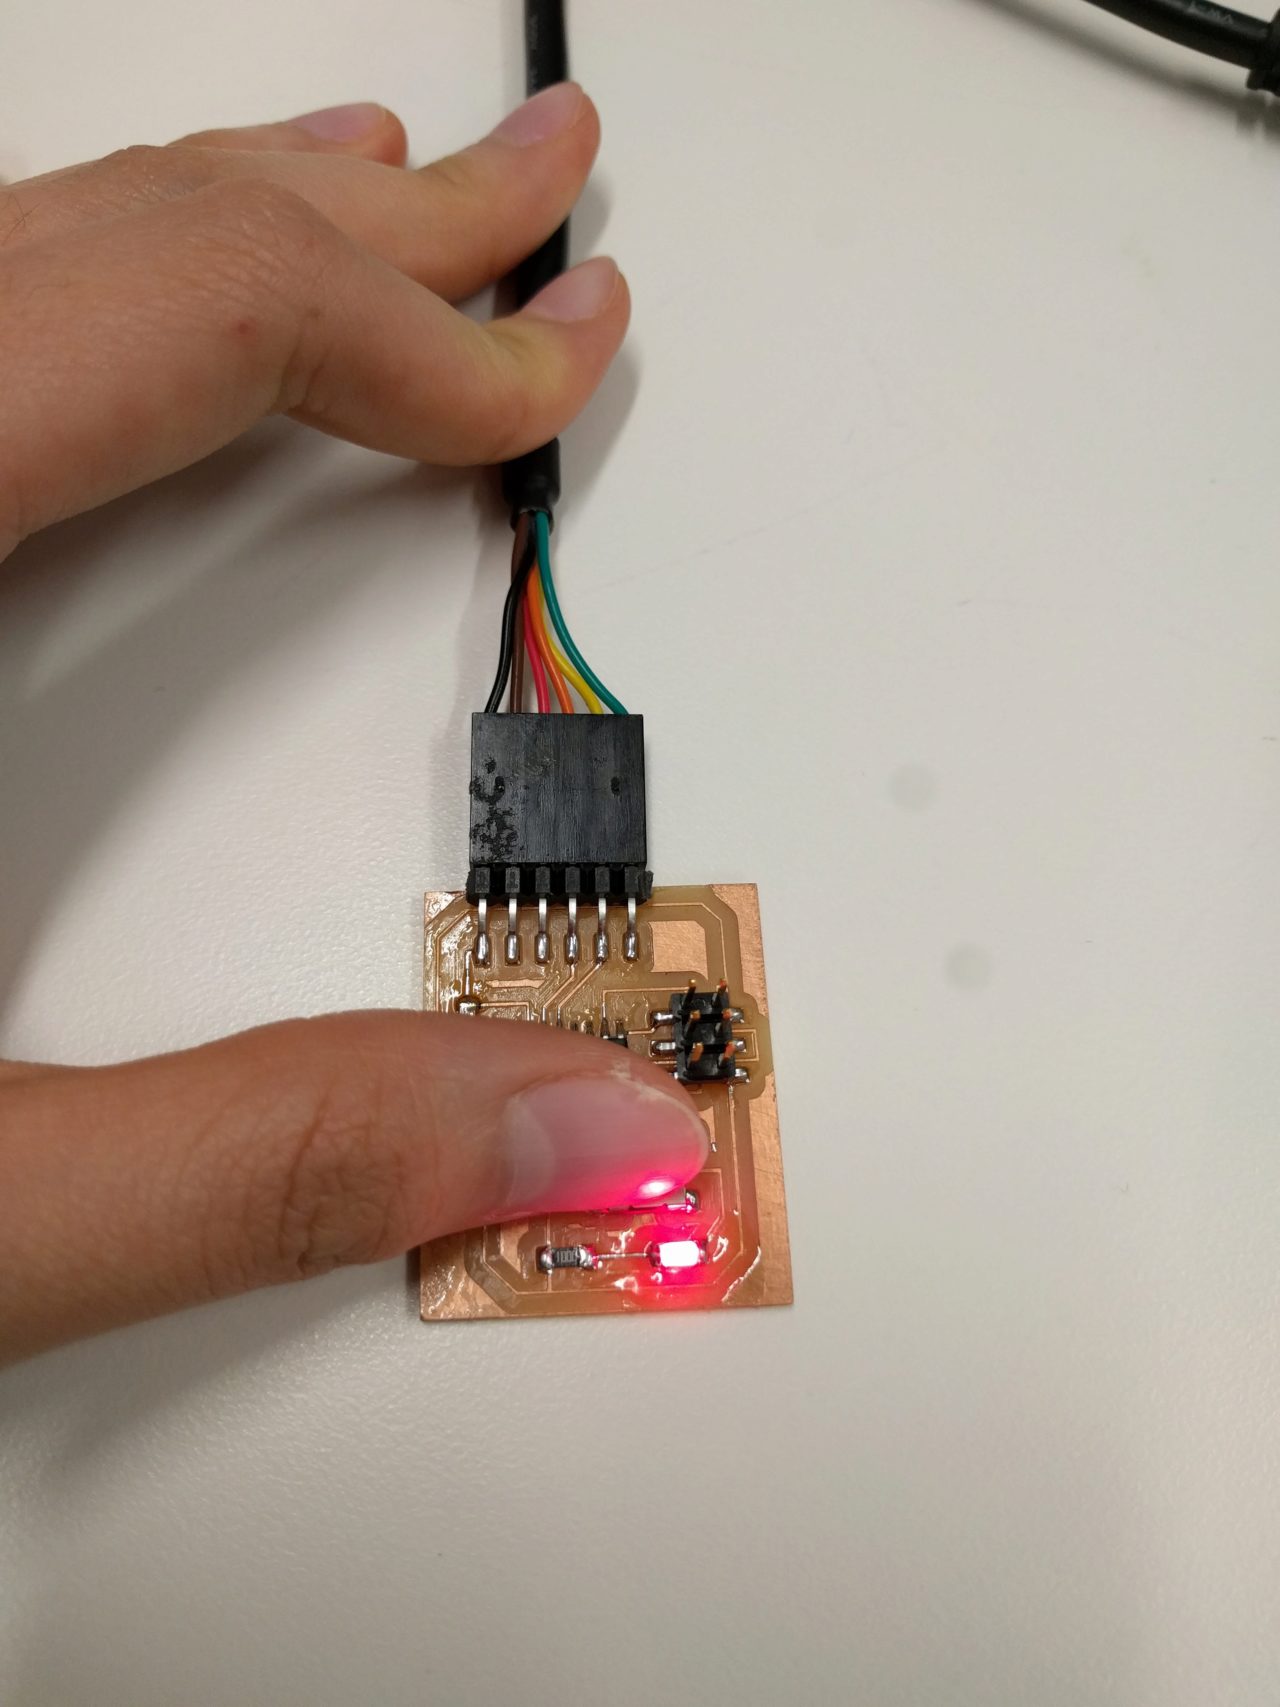
It may not be much, and it may turn off as soon as you remove your finger from the button, it at least turns on when I want it to.

Although I had done some basic coding in C, and knew the big ideas behind the code such as loops, I had never done any embedded programming. I was really excited to be able to do something that was tactile and interactive. Since I was so new to the process, I decided to start with small goals but to understand what I was doing. I simply wanted my LED to turn on when the button is pressed, and to turn back off once it is not pushed. My main goal was actually to understand what Neil's example code was doing and to modify it to suit my needs.
I went to Brian's practical introduction to embedded programming presentation on Wednesday afternoon, and it was really helpful in showing me what parts of the code did what things. Some important notes from that presentation were:
#include <header>to include libraries of functions that people have already made#defineare called macros and are really useful when replacing clunky titles with readable ones- Create all functions that you will need before your main function.
- Although infinite loops are generally bad, they are necessary for most functions
- C code (.c or .h) gets compiled into BYTE code (.o) which gets compiled to HEX code (.hex). HEX code is what the microprocessor actually runs.
- There are 14 pins on a ATtiny 44. 7 of those pins are in PORTA and the other 7 are in PORTB.
- Refer to the data sheet to see which components are compatible with which pins.
- After designing a board, schematic plus data sheet are really important for making sure you refer to the right pins and ports in the program.
- You set a pin to high (1) or low (0).
- Binary logic is used to set the pins and read the pins. You can use the result either 1 or 0 to do things.
- You need to specify if a pin is an input pin or an output pin before using it.
- Switches need resistors to function! Utilize the pull-up resistor.
- And much more, but these were the most important points that I remembered.
Admittedly, even after Brian's super helpful presentation, I was still pretty intimidated by Neil's code and got confused by the different versions. Thankfully, Lily and Julia were able to help me. Lily directed me to the correct files to look at and went through the process in more detail about how to program the board. Julia was able to help explain a simpler version of the code that Rob posted in the programming tutorial. After I understood overall what each line was doing, it was fairly straight forward to find the correct pins that I needed to set as my input and output and modify the code for my needs.
Here is my .c file that I modified from the tutorial.
Here is the make file from the tutorial, unaltered since I didn't change the title of the program.

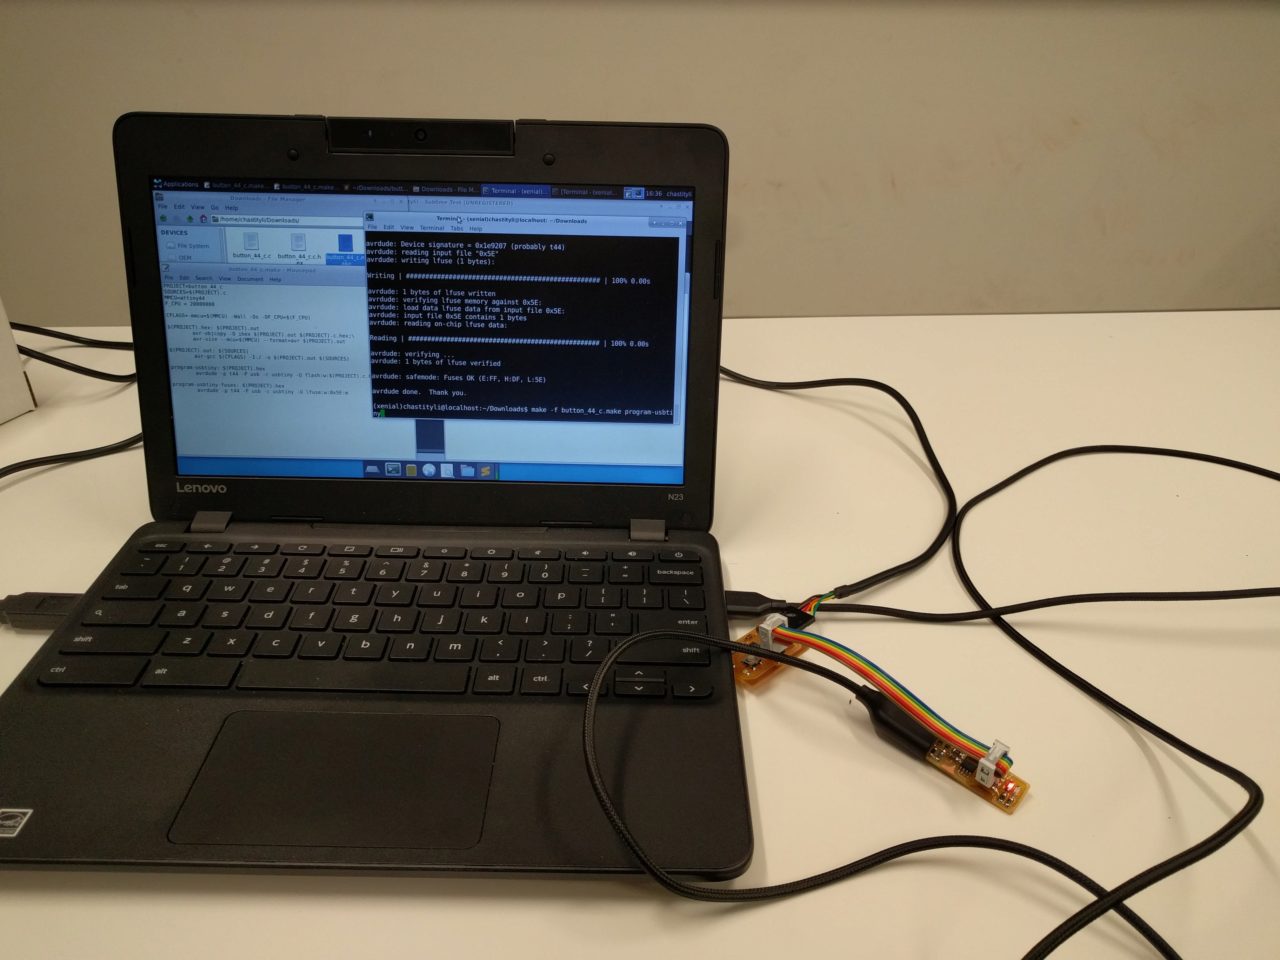
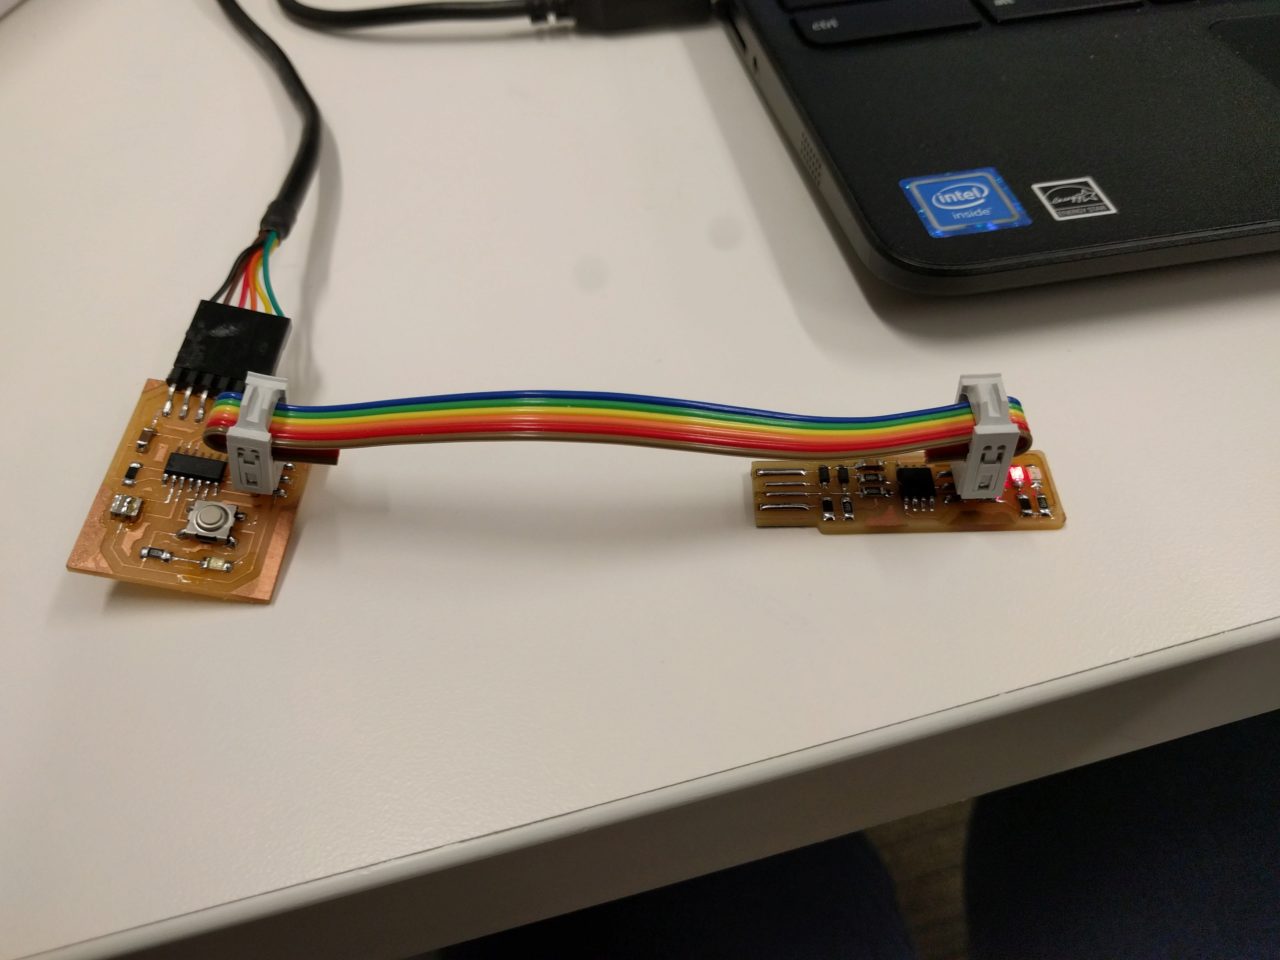
Next came the part of programming the board. I decided to use the fab ISP that we'd made a few weeks ago. Although I had programmed it to be a programmer and had reset it, I had never actually programmed anything with it (previously I had used the lab's ISP). I decided to try doing this on Linux (even though I am very new to it), since my Chromebook runs Linux via Crouton. I plugged everything in and immediately ran into problems. First, I realized I had forgotten to install the packages that would allow me to compile and load programs. After spending some time on the embedded programming week's page, I eventually found the links to the packages I needed and downloaded them, fairly easily. I was able to successfully compile my program using the makefile and the command make -f button_44_c.make, which was fairly simple. Unfortunately, when it came time to pass the code into my board, I was unable to do so. Brian was able to help me and quickly noticed that my ISP header was on backwards. I hadn't noticed this because the LED was on, but it was dimly lit. I had run into the parasitic power draining phenomenon that Neil mentioned. Next, I realized that I wasn't passing the correct make command. It should have been make -f button_44_c.make program-usbtiny -make fuses, but I had forgotten to add "program" and "make fuses".
After fixing those issues, it finally worked! When I pushed the button, the LED turned on, and when I release the button, the LED turns off.


Although I didn't quite get to it this week, Brian also suggested that I take a look at the PWM section on motors in the datasheet as it's likely that I will have to use multiple motors running at different speeds for my final project. Also, I would like to try maybe having one button press turn the LED on and keep it on even after you release, but then turn off the LED if you press it again. Julia and Brian mentioned the difficulty of having this with a push-down button as pushing down the button will often have imperfect contacts at the beginning and end which can make it difficult to read a state change in the button presses. A switch would be a mechanincal solution and a time delay after intial press to wait for it to stabilize before reading the pin would be a software solution. In any case, I'm excited to try to program my boards to do more complicated things!
Special thanks to Brian, Julia, and Lily for their help and insight!