three Dimensional printing and scanning
this Week, we printed some objects and scanned some objects. it Is hard to imagine a more direct digital to physical or physical to digital translation than with these operations. the First thing i wanted to test was a custon wrapping end bit.

i Began modeling in onShape, thinking it would be simple to modify in the future. this Turned out not to be necessary because i changed my final project idea after this test.
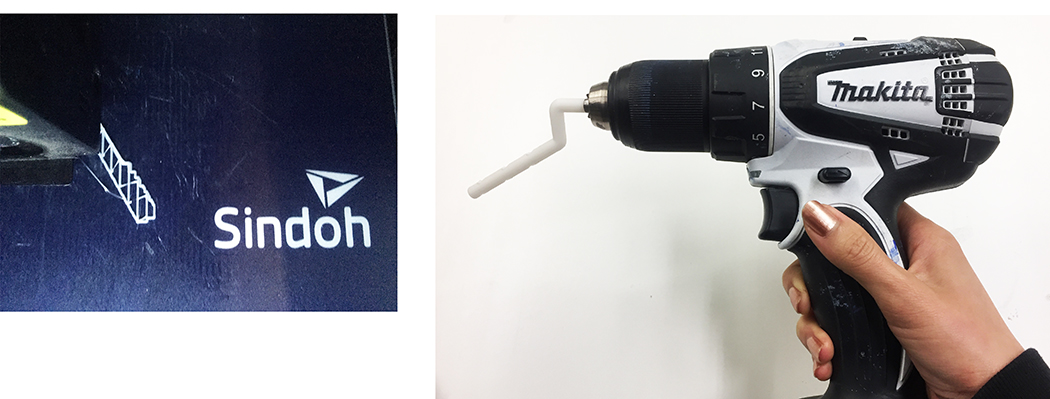
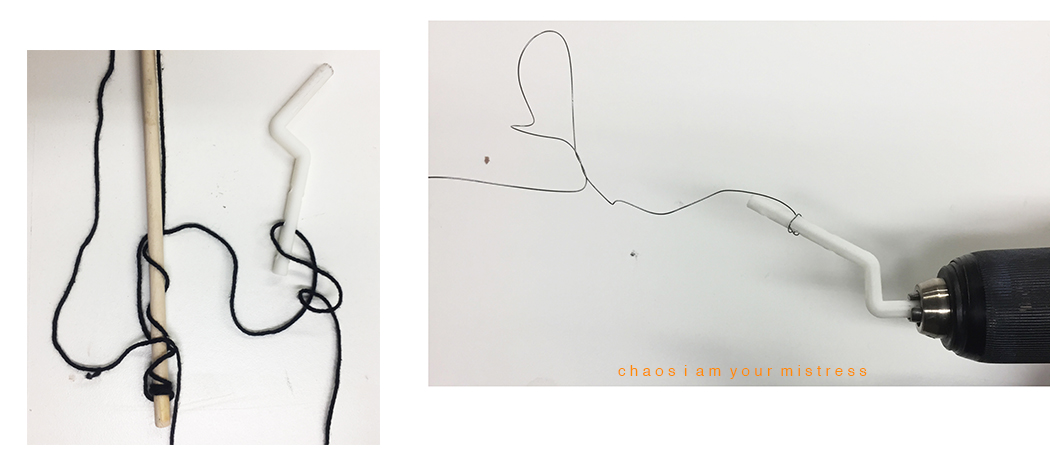
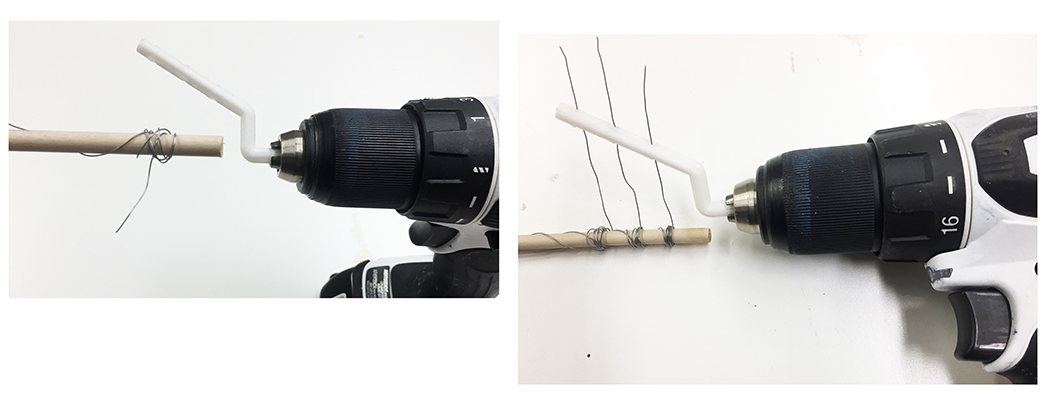
although I eventually got it to work as i had hoped, i realized there were too many variables to reliably and simply control if this was adapted into a robotic manipulator end effector.
not related to my final project but out of curiosity, i borrowed time on a friend's 'form 2' to print a larger board that have a mountainous topography. i would like to make this into an electronics board with the vynl cutter in the input or output device week.
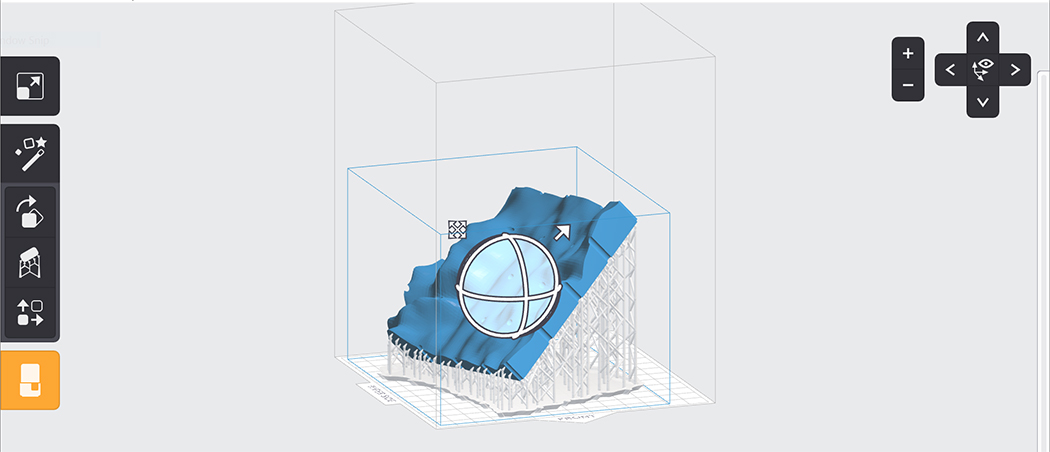
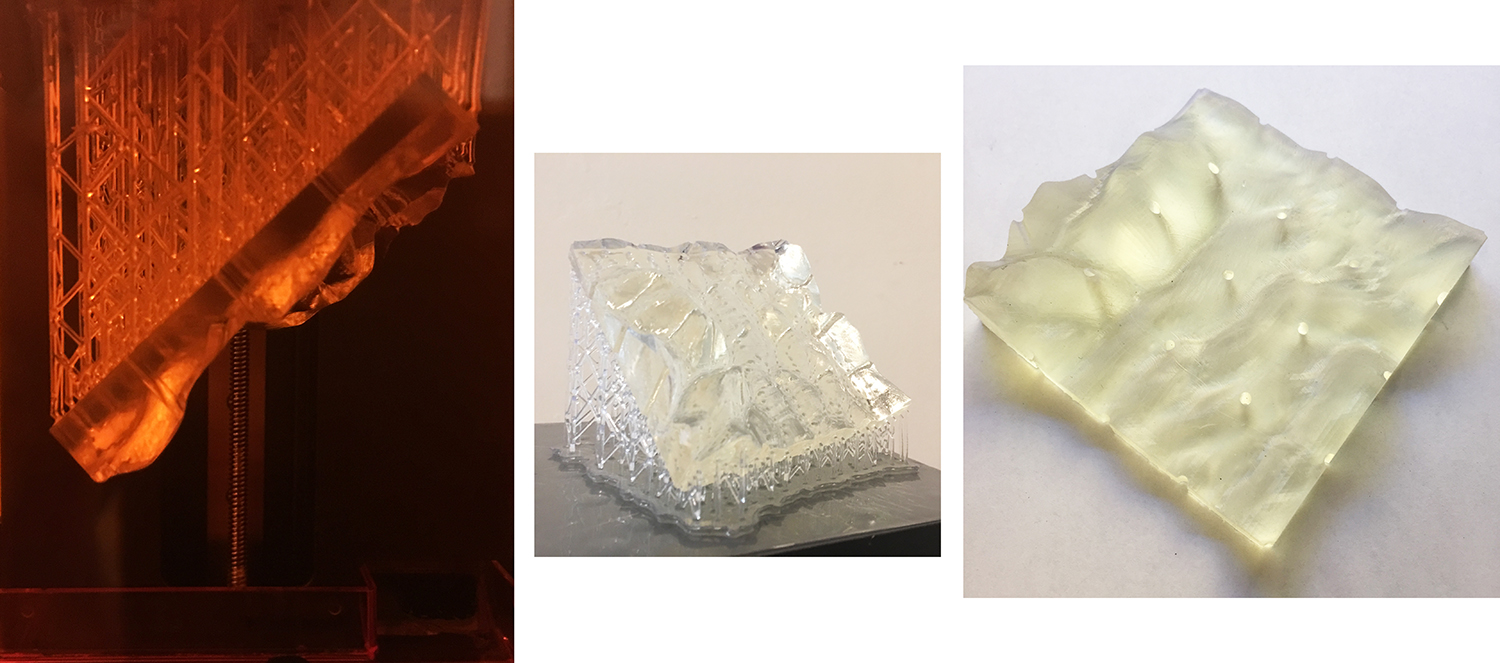
where the Sindoh workflow felt predictable and straight forward, the Form workflow felt un-intuitive and alien. the Automatic settings (which we were recommended to use by James Weaver) tilted a simple model 45 degrees, thew a network of supports under it, and printed it upside down. it Looked as alien as it felt. it Also has a more extensive post processing and curing procedure, involving alcohol paths and light curing.
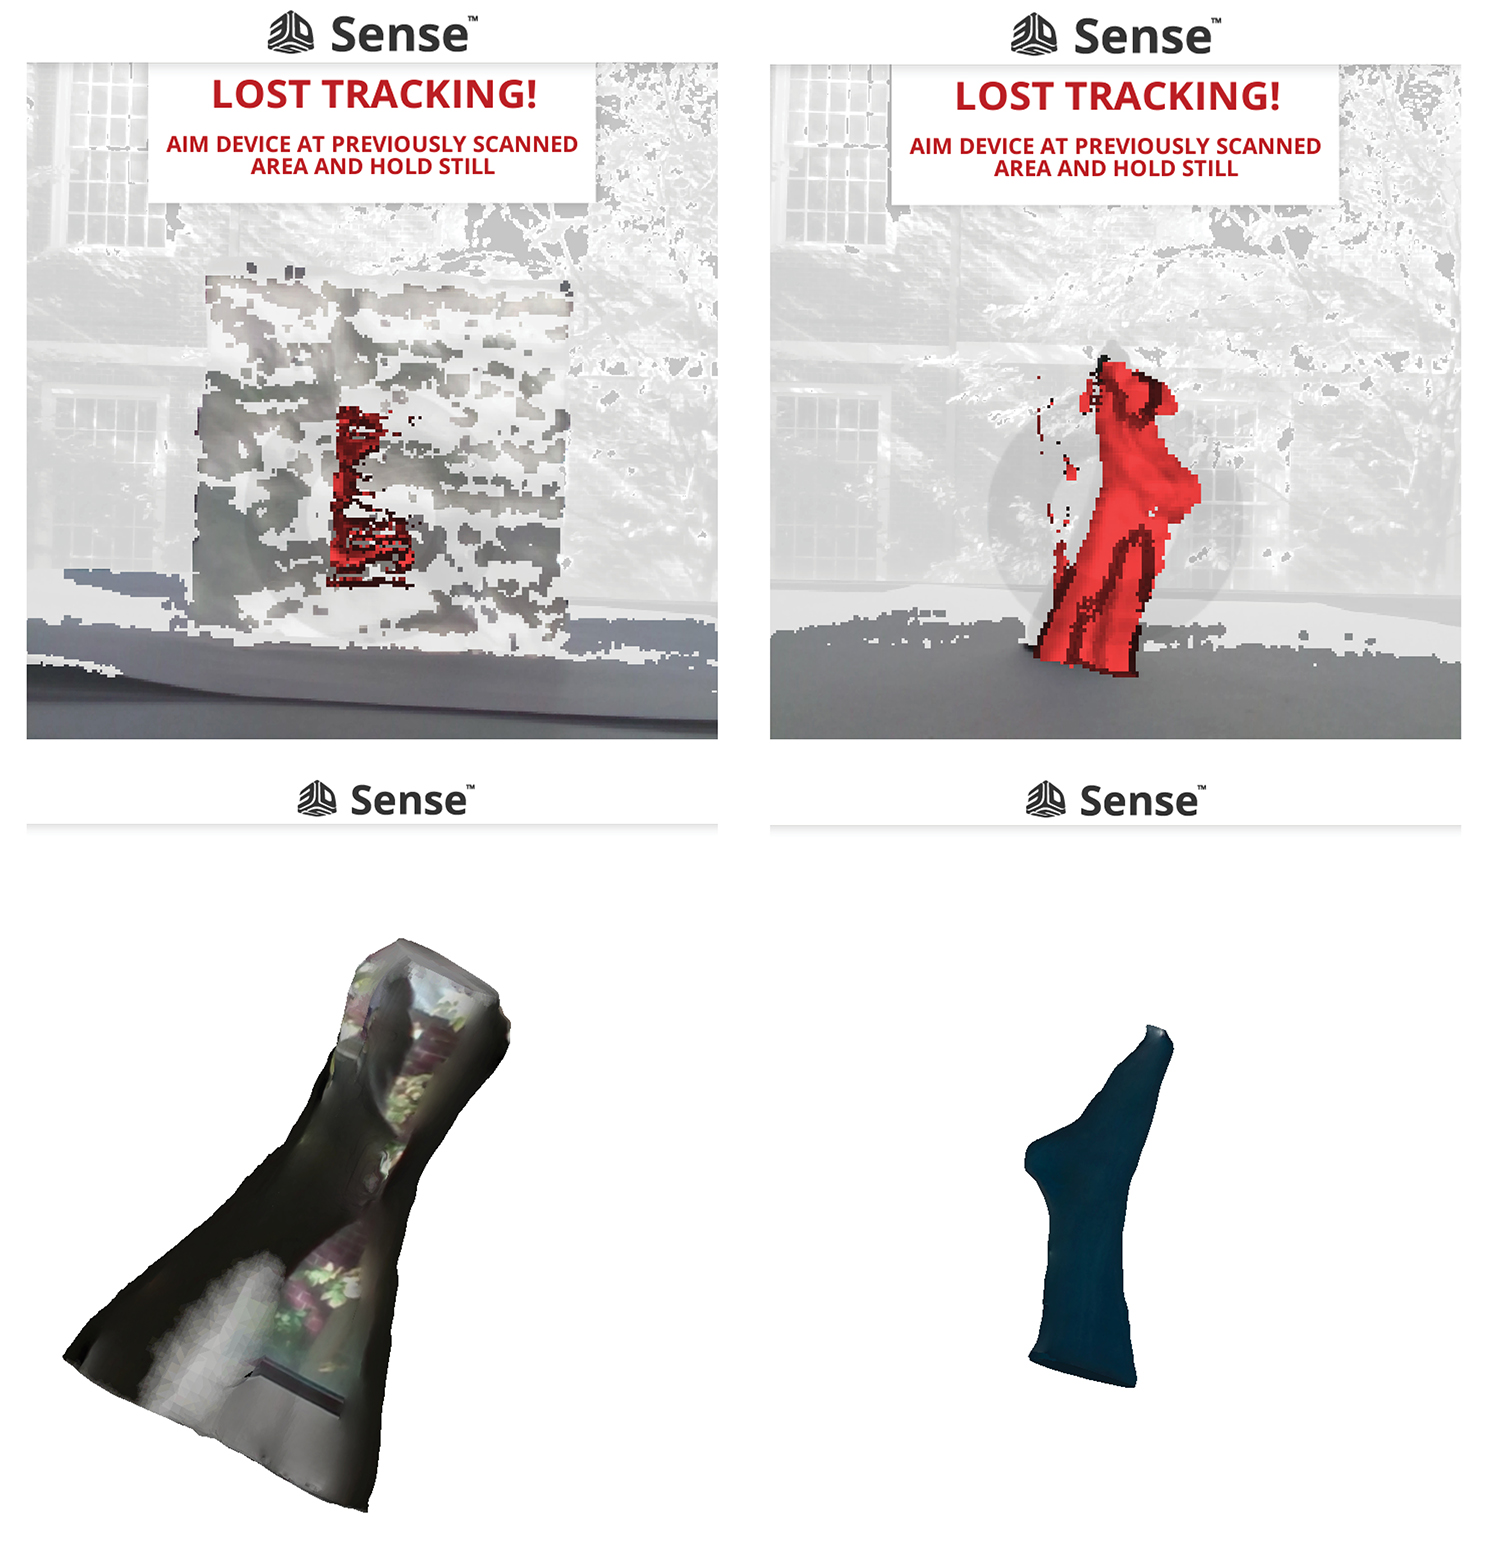
what If for some reason, we wanted to get these models back into the computer? in Additiona to the clear Form print, i picked some feet from the test-print/miss-print pile to 3d scan. i Wondered how these would translate back into digital space.
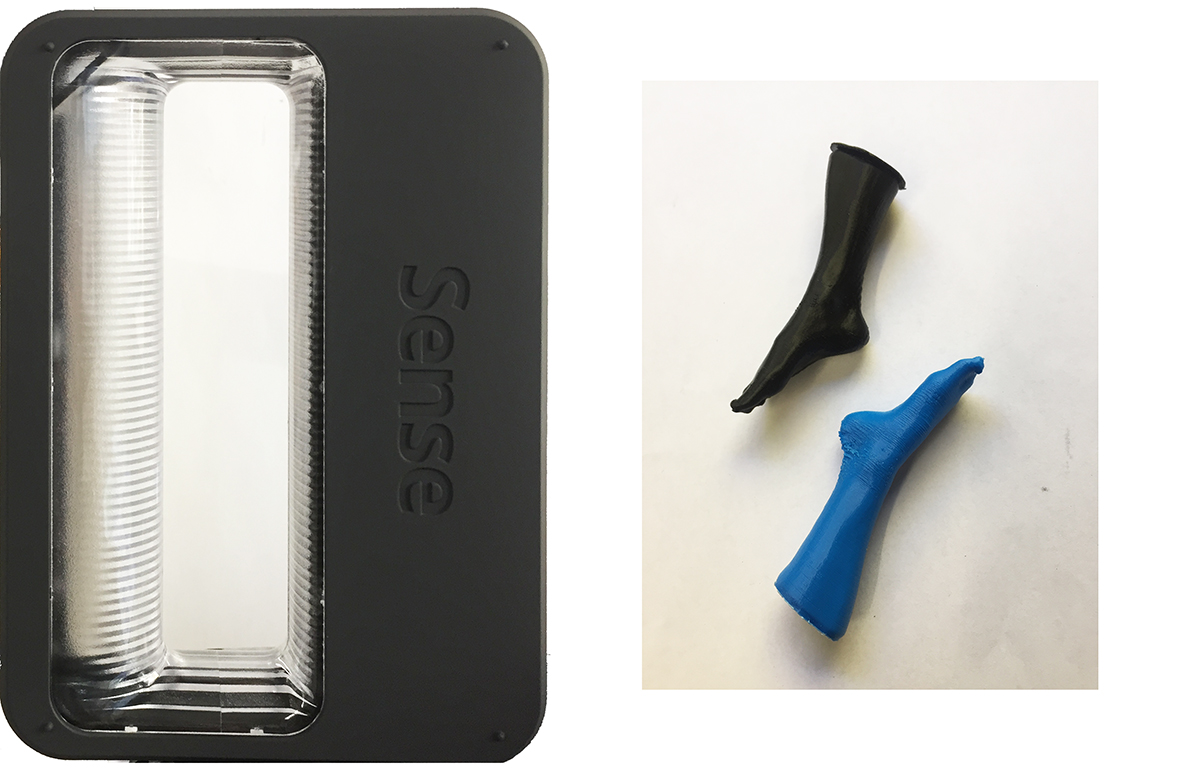
the Answer...is not well. clearly, The non-clear prints worked much better, and some what resembled the original models. out Of the Form print and the two Sindoh prints, the blue scanned the best, pictured bottom right.
