Week 2: Computer-Controlled Cutting
In week 1, we saw a slew of software tools to do 2d and 3d design. In week 2, we saw our first few techniques on how to implement those designs. Our task was to try out two types of cutters, one for vinyl or vinyl-like materials that might be cut or scored with a knife and the other a laser (CO2 laser) cutter for things like acrylic or board.
Vinyl cutting
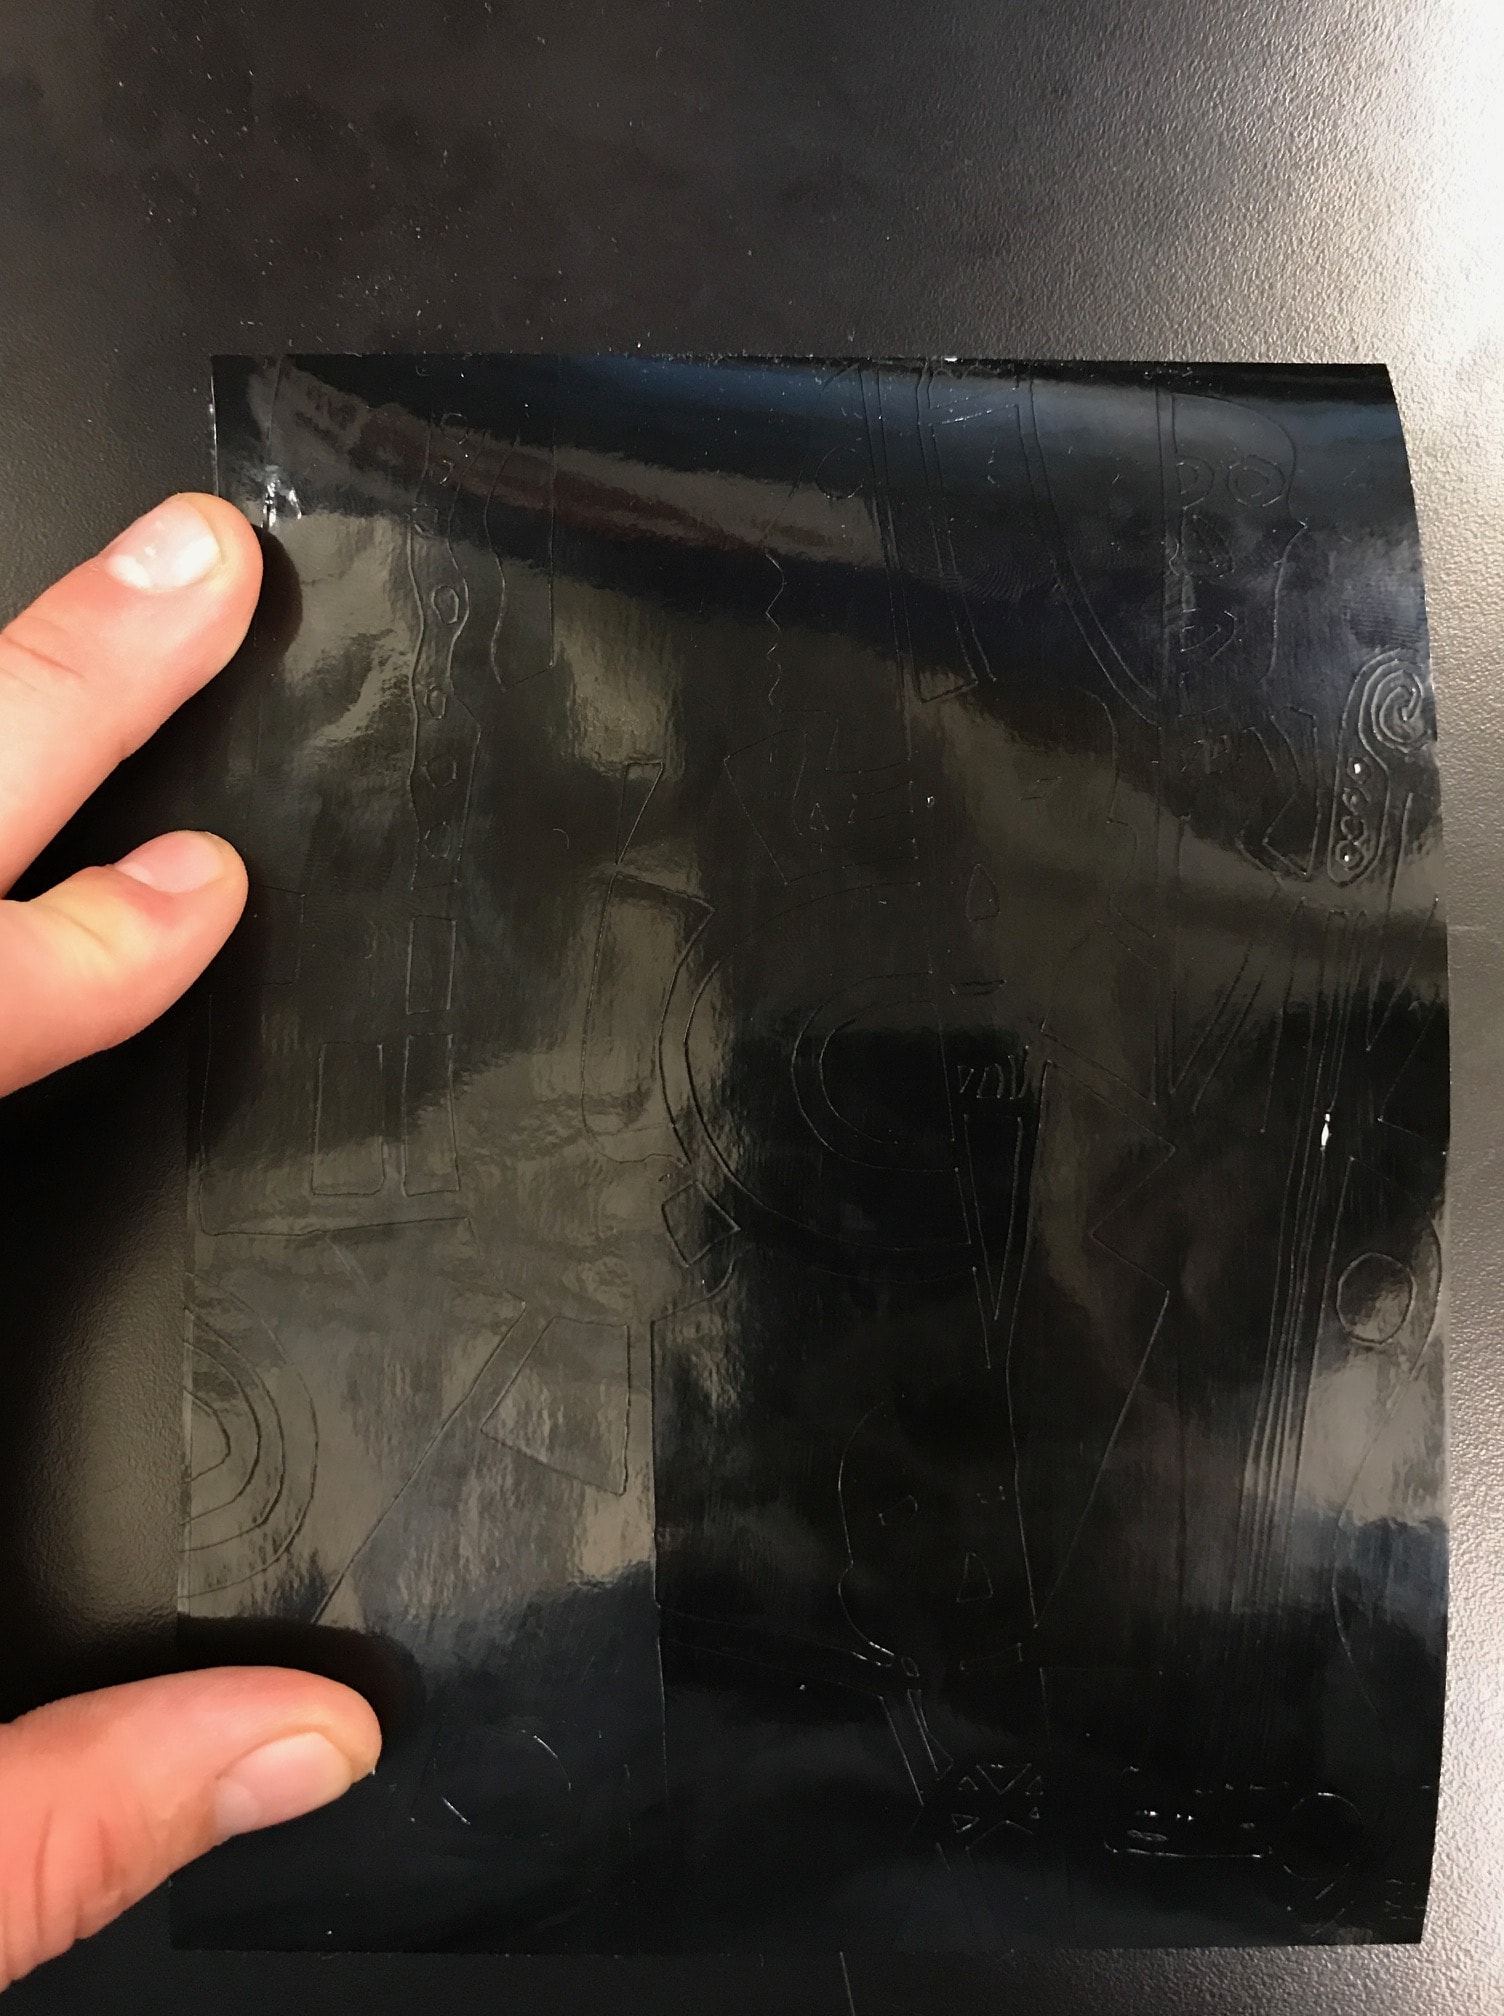
On the vinyl cutter - typically used for DIY things like signs and stickers but also flex (flexible) circuits constructed with copper - we were tasked with cutting anything at all. The workflow for this was surprisingly simple. It turns out that the raster or vector image to be cut can be printed like any other file format with special driver (printer driver) software (see). At any rate, seeing some of the cuts in the shop reminded me of a readily-rasterified print done by French Cubist painter Fernand Leger, Jazz. The result of the cut, pre-weeding and post-weeding are done below. As a technical comment, I found a small, sharp x-acto knife to be super useful when weeding (removing what I didn’t want). I also transferred the vinyl shapes onto another vinyl surface.

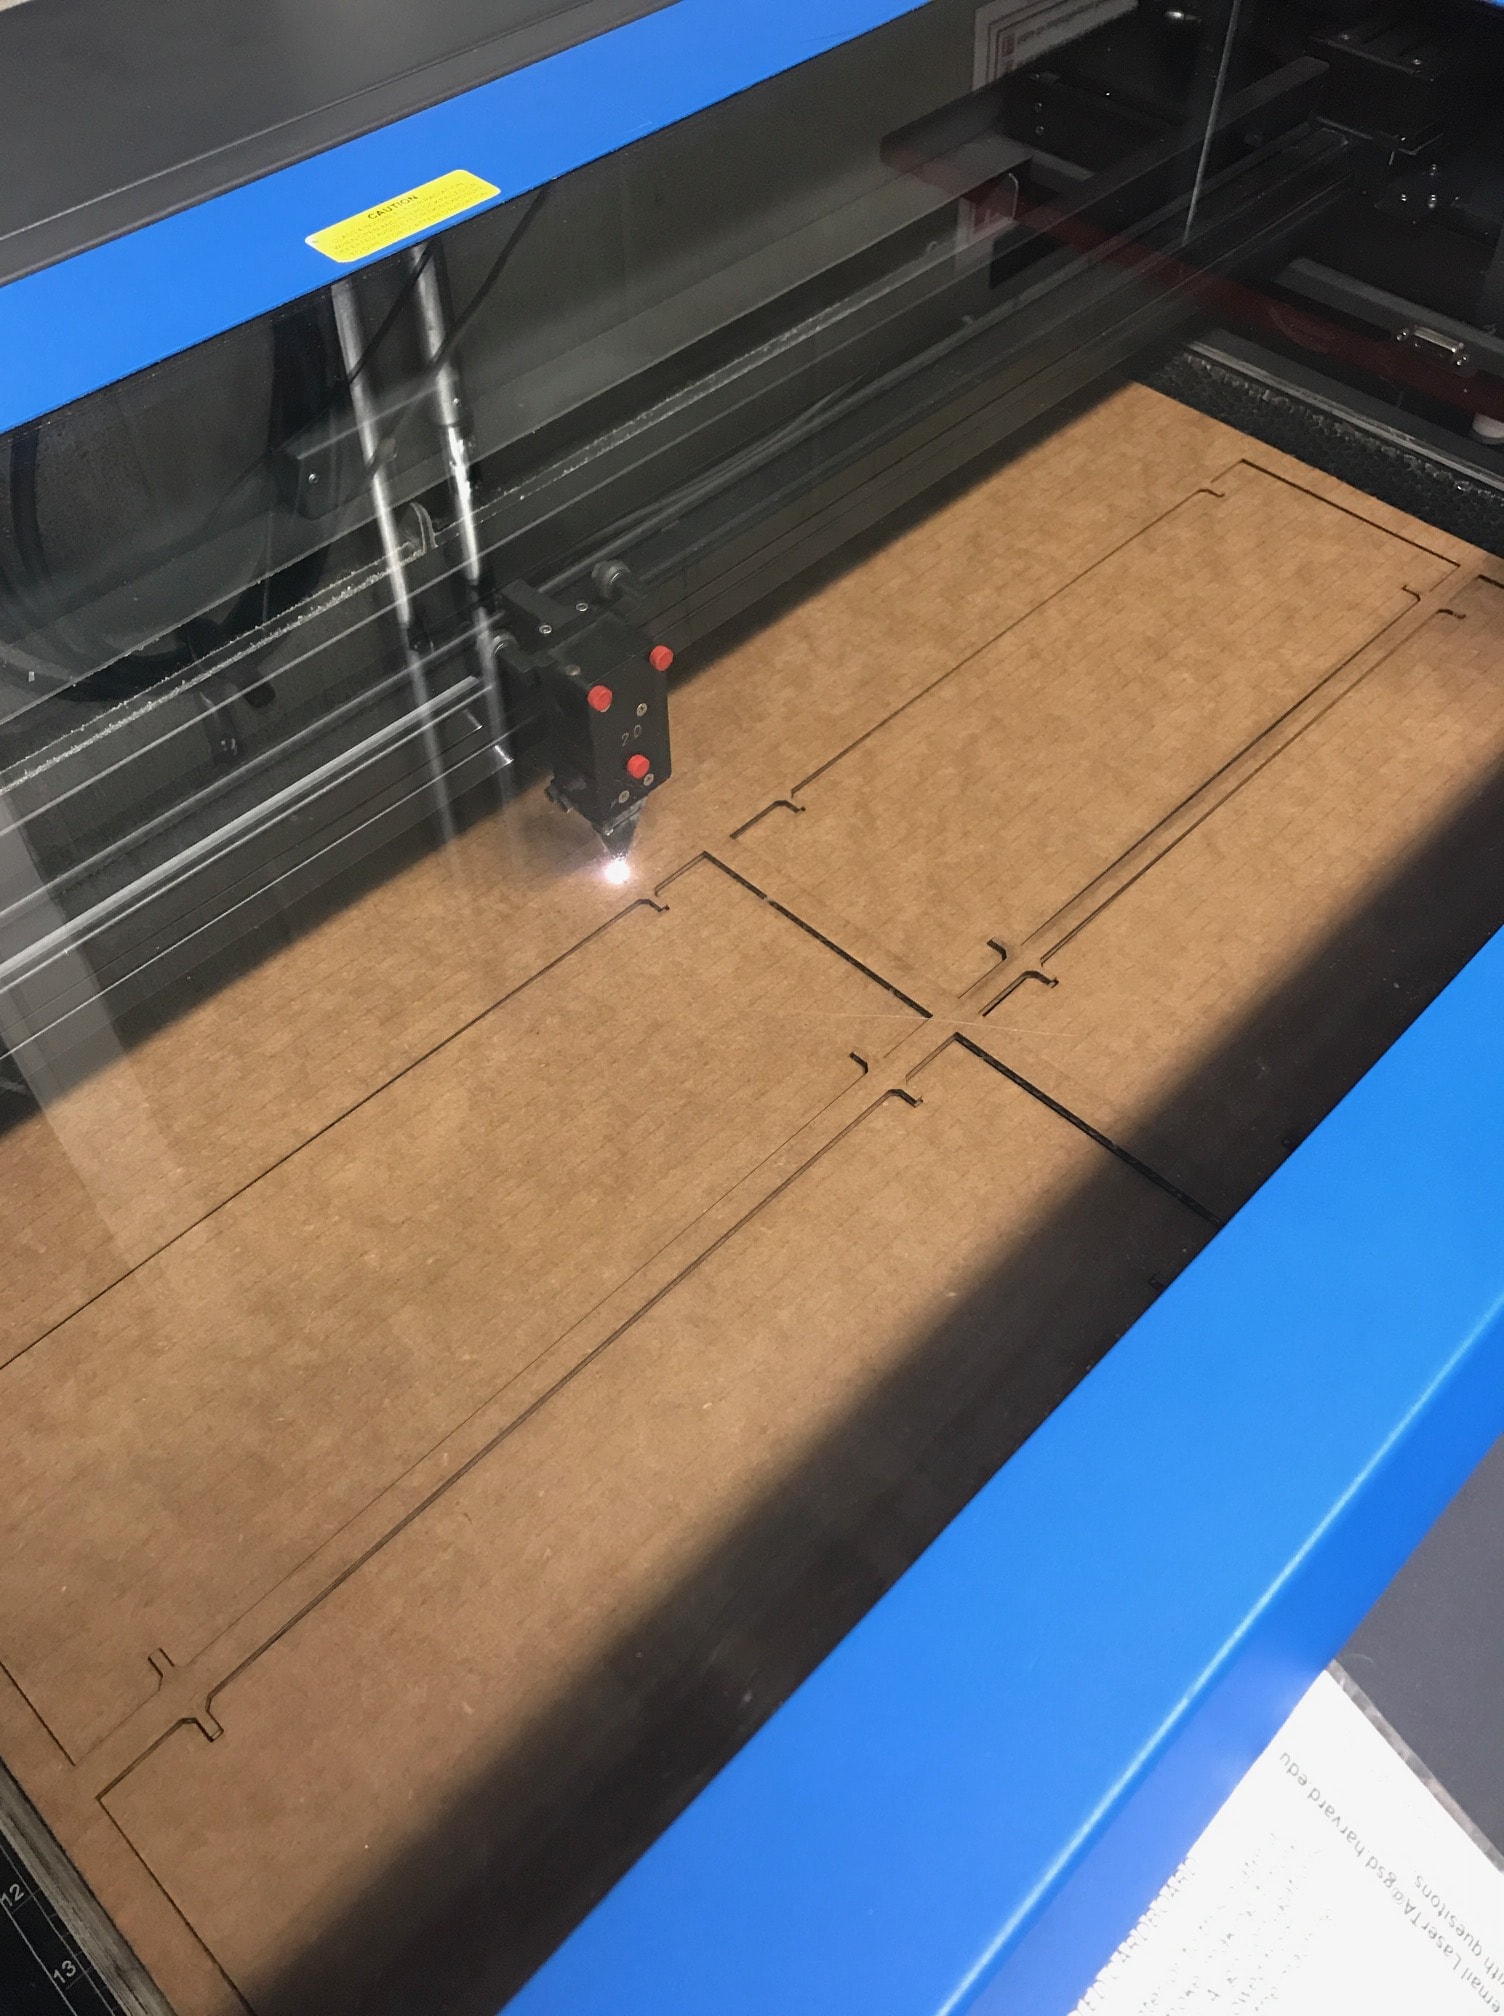
Laser cutting
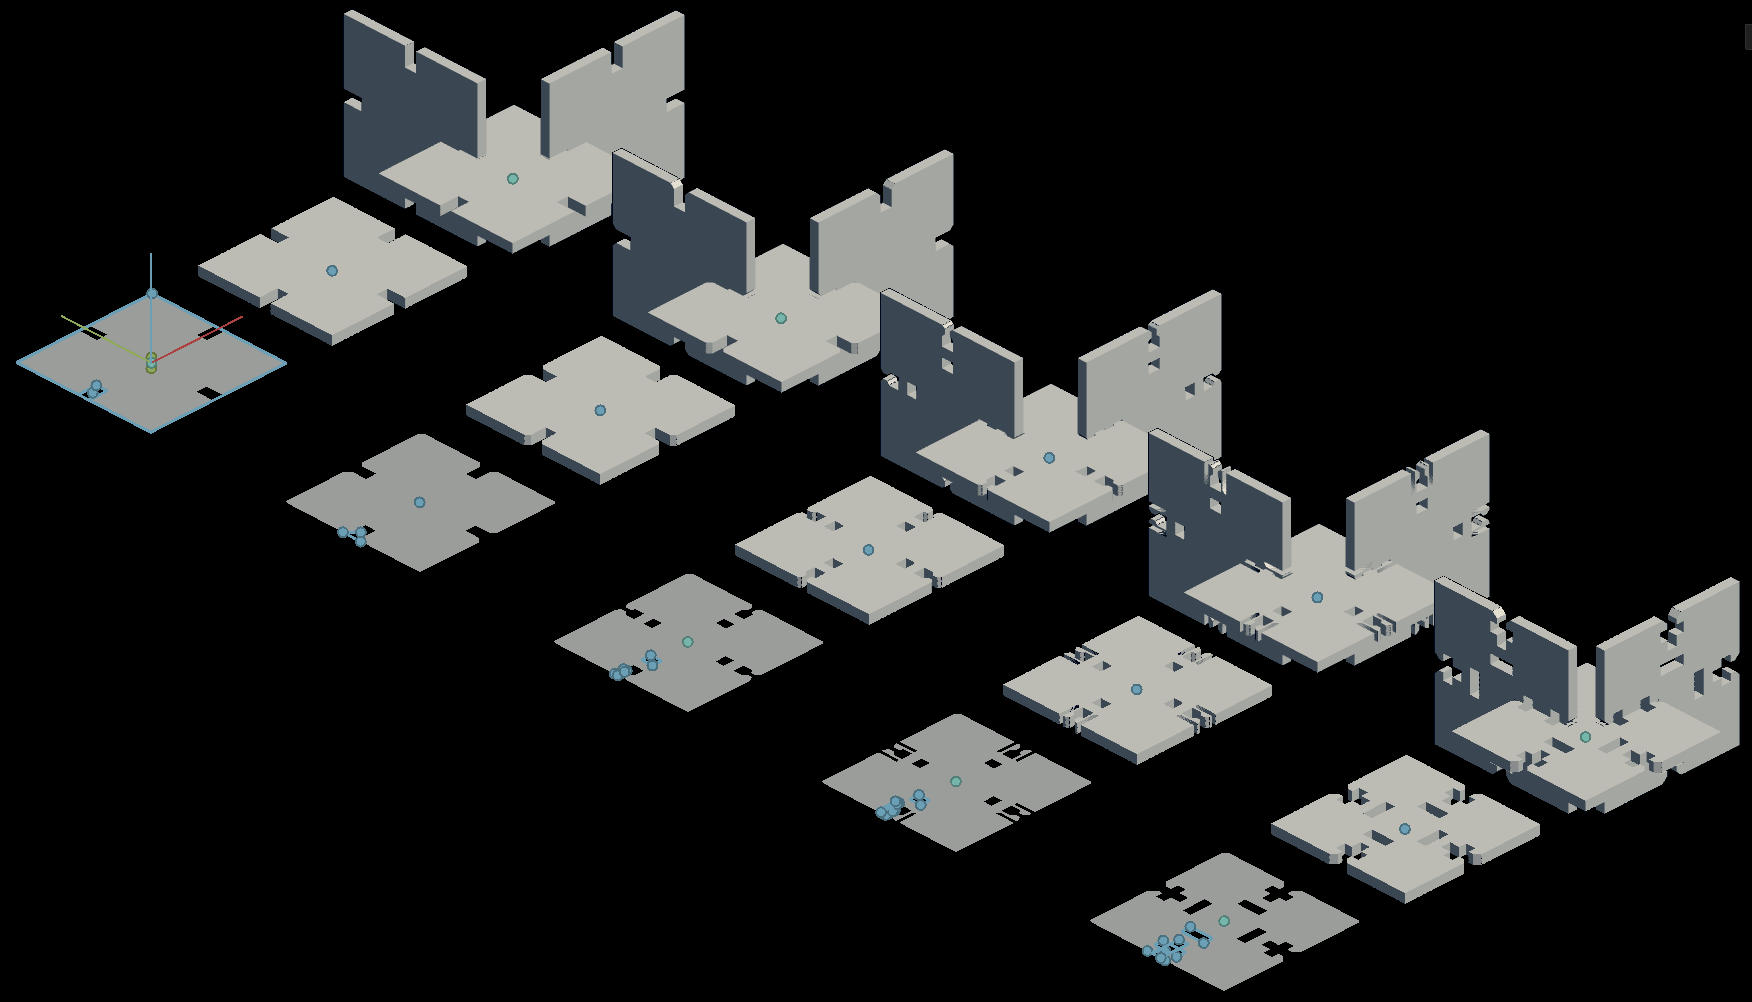
We worked on the cutters in the fab lab at Gund Hall of the Graduate School of Design. Our task was to cut from cardboard a “press-fit” kit, a set of components that could be assembled not with fasterners but with joints cut into the cardboard.
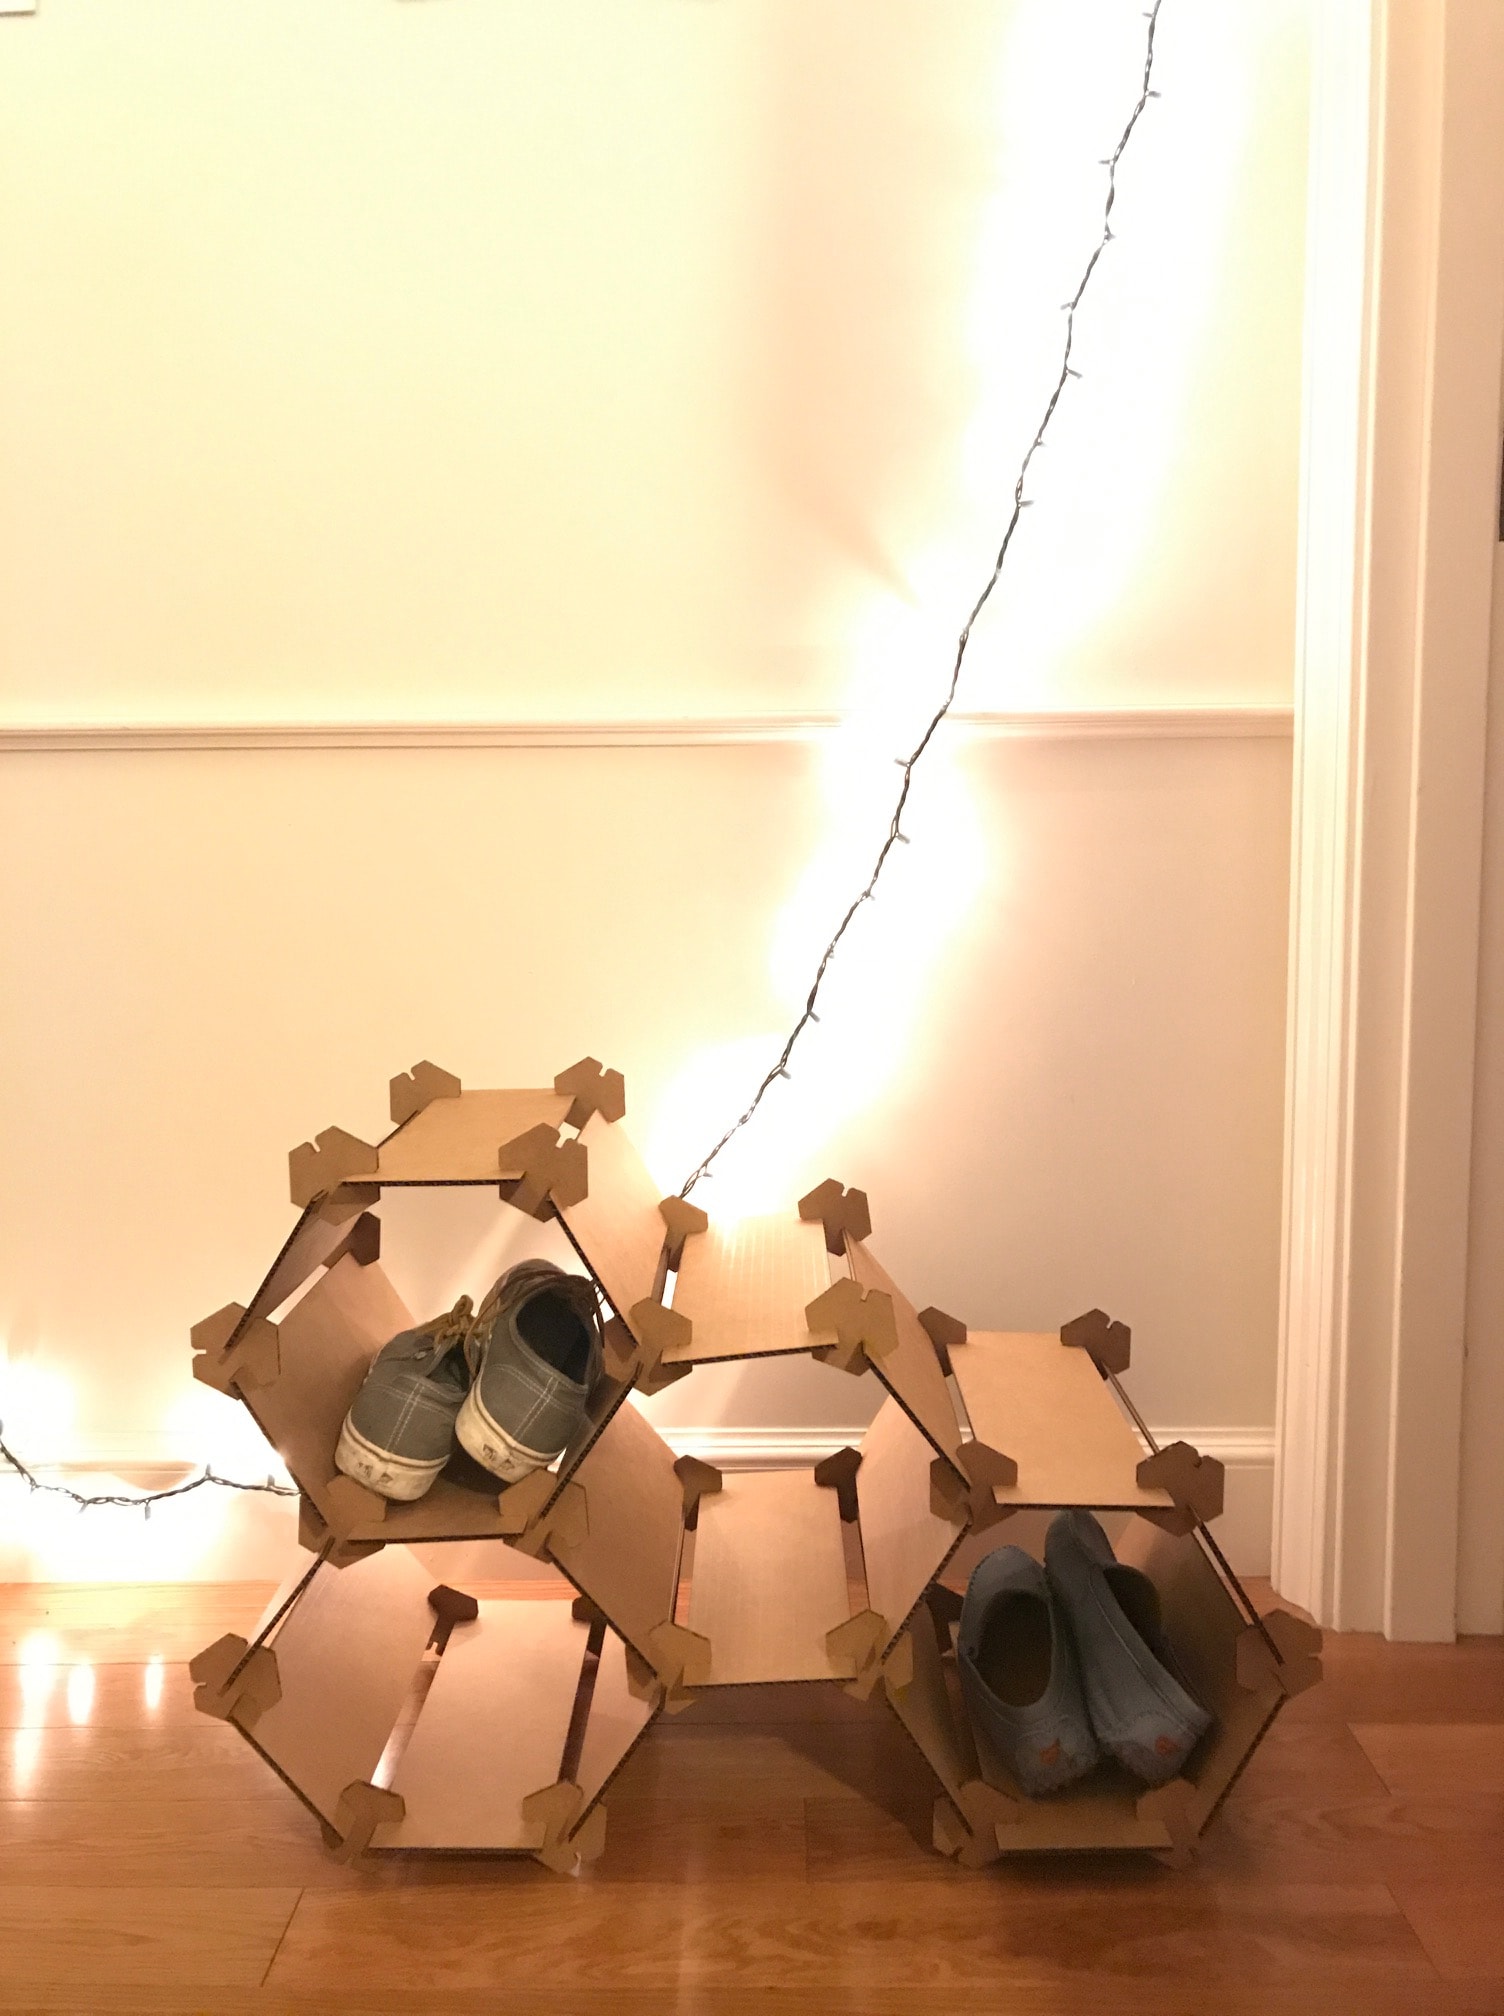
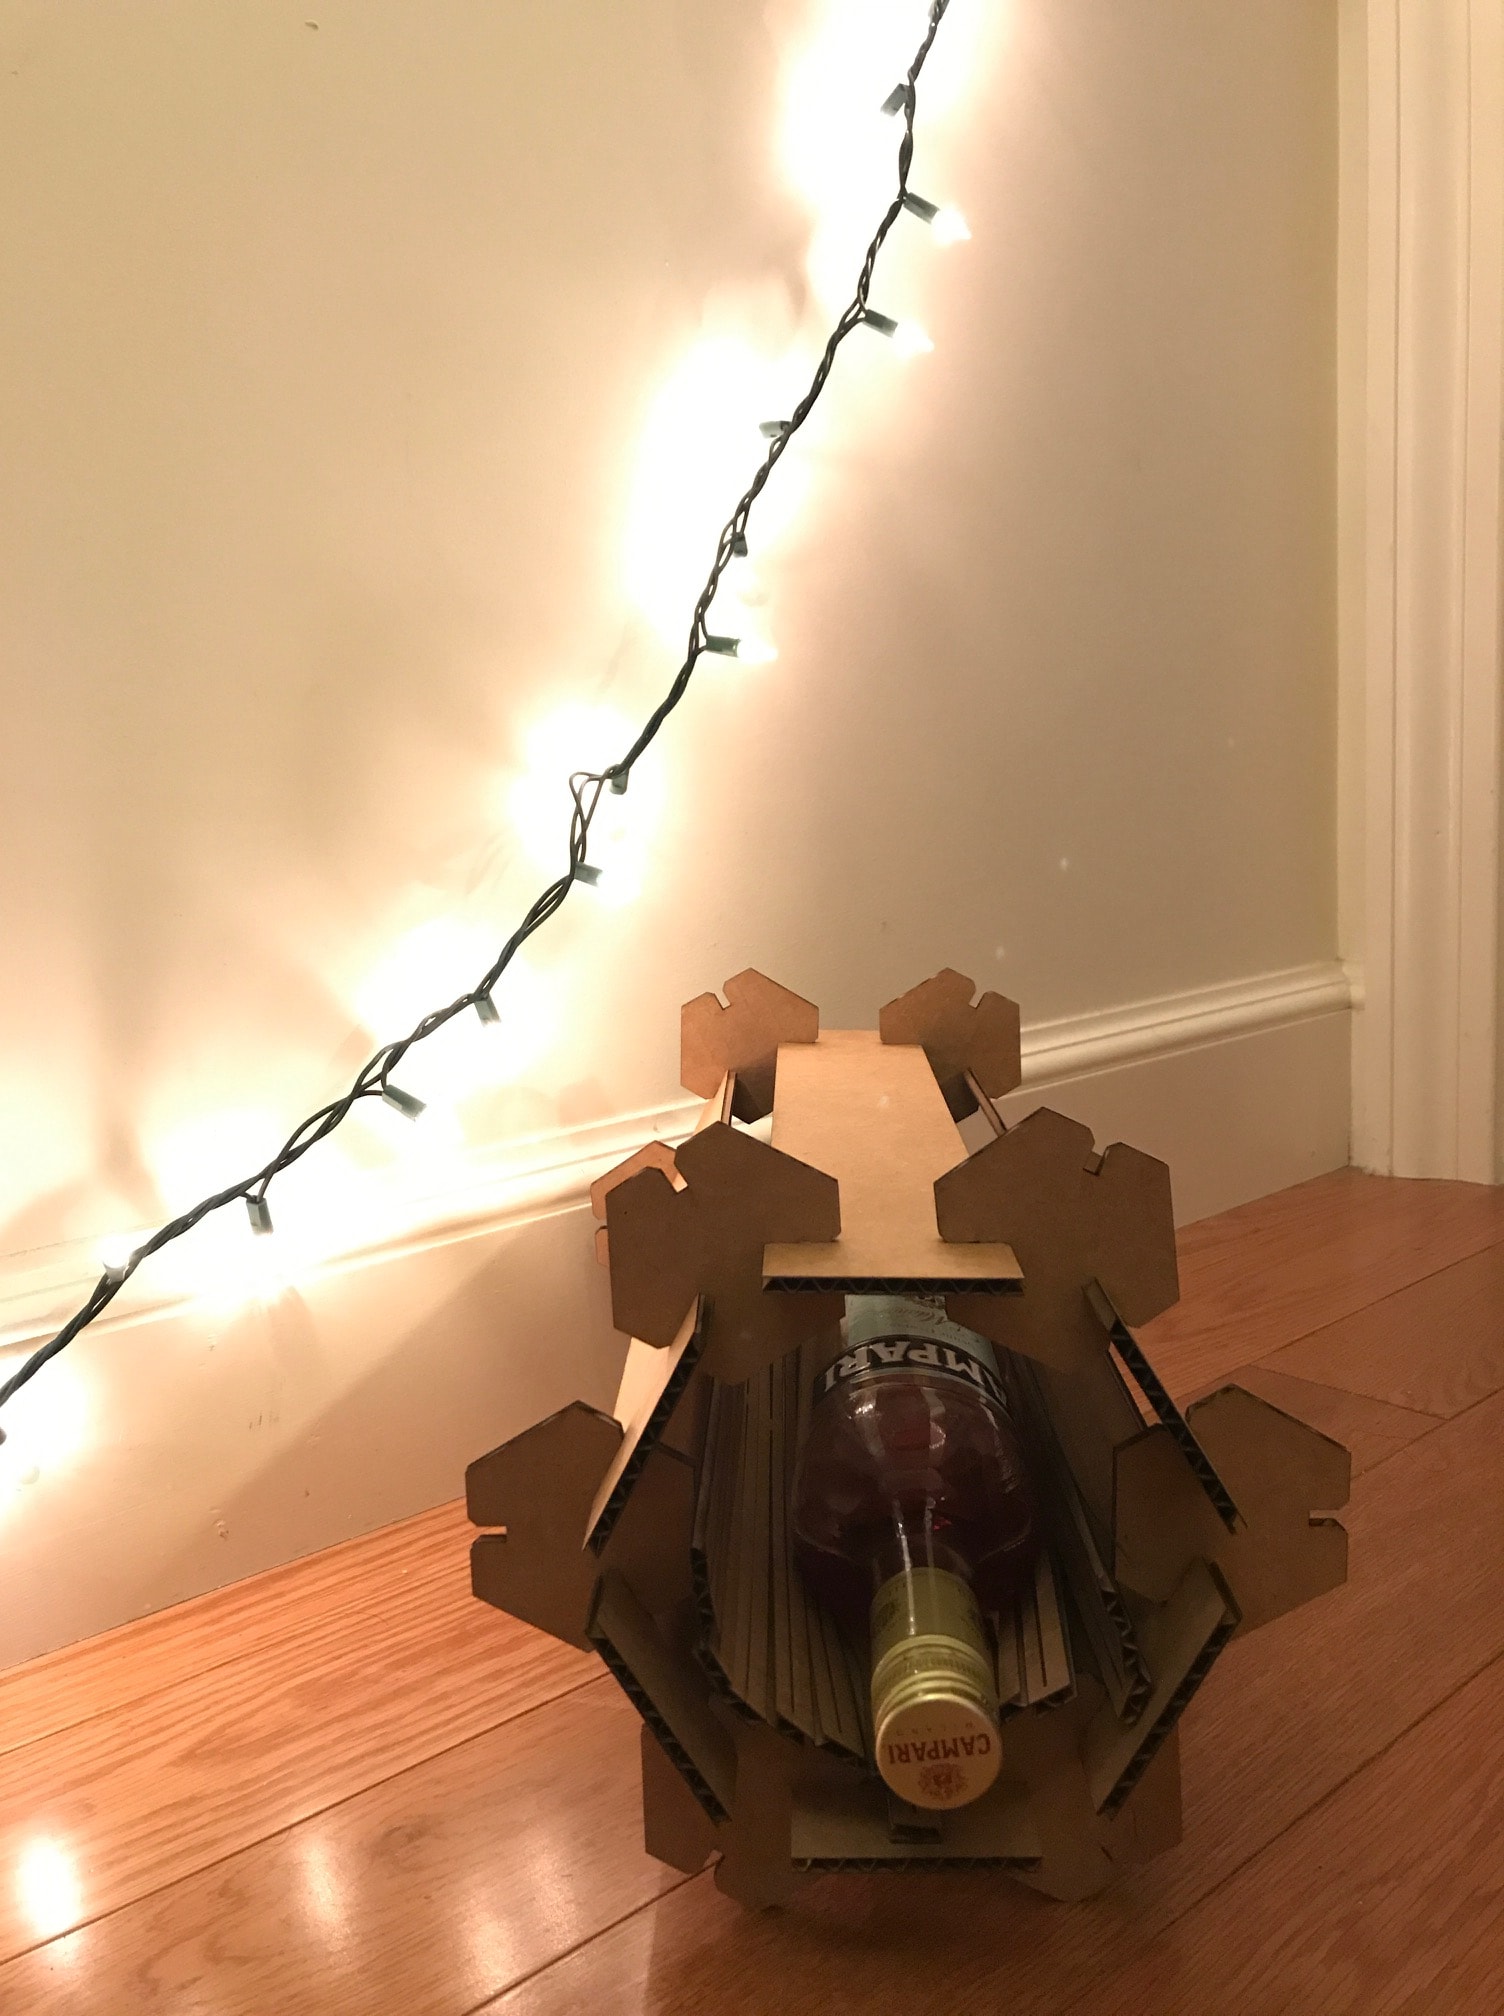
When I searched for initial ideas, I found a ton of awesome designs crafted out of cardboard. I was initally interested in furniture (or prototyped furniture…) that could be made from a small set of modular components. Since this was one of the first times I was working for awhile in a CAD tool, I went with a slightly simpler design than some of the ones I had sketched.
TBU