Week 6: Shopbot-Style CNC
This week was build something big week. We scaled up from the Roland with a 6” by 8” bed to a ShopBot with a 4’ by 4’ bed and were tasked with building whatever we wanted.
While I’ve spent time in a woodshop before, two things were firsts for me. One was our stock, OSB or oriented strand board (the hot dog of woods, as Neil fondly refers to the funky stock or ODS / odious as Dan from the Harvard shop quipped). The other was the digital-driven workflow. This week again I did all design in Autodesk’s Fusion 360. I am still ramping up on 3D design and 3D design software, and so this week I faced a few challenges I hadn’t seen before.
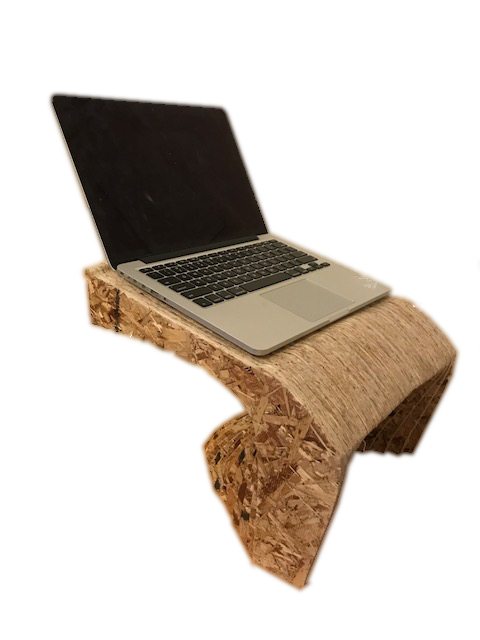
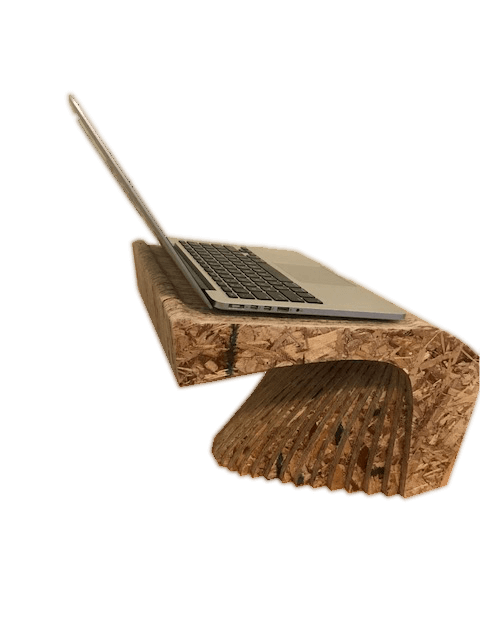
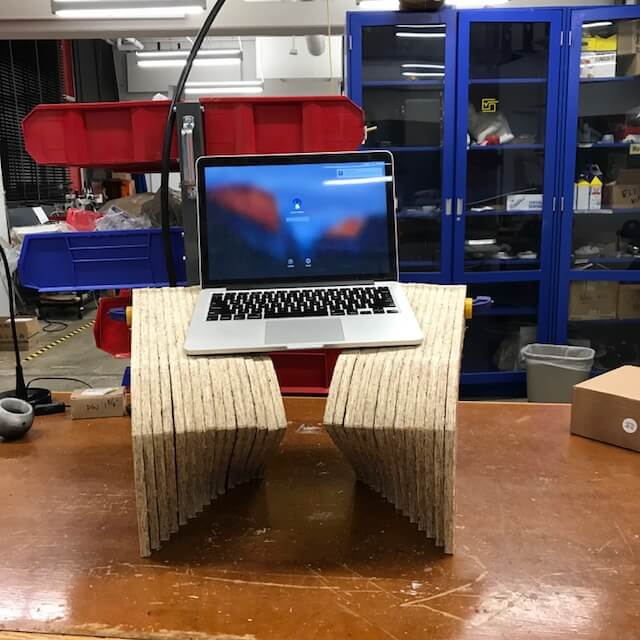
I had two interests I took as inspiration for CNC-driven woodworking. The 1st was parametric furniture, which allows objects to take on organic, sliced shapes. The 2nd was press-fit furniture, which allows construction without fasteners or adhesives or anything of the sort. Ultimately, I designed a desktop stand for my mac that would transform a desk into a standing desk (I ran carefully controlled studies among the roommates to select an appropriate height.)
Here’s how this turned out, with the challenges I faced discussed briefly in the caption!
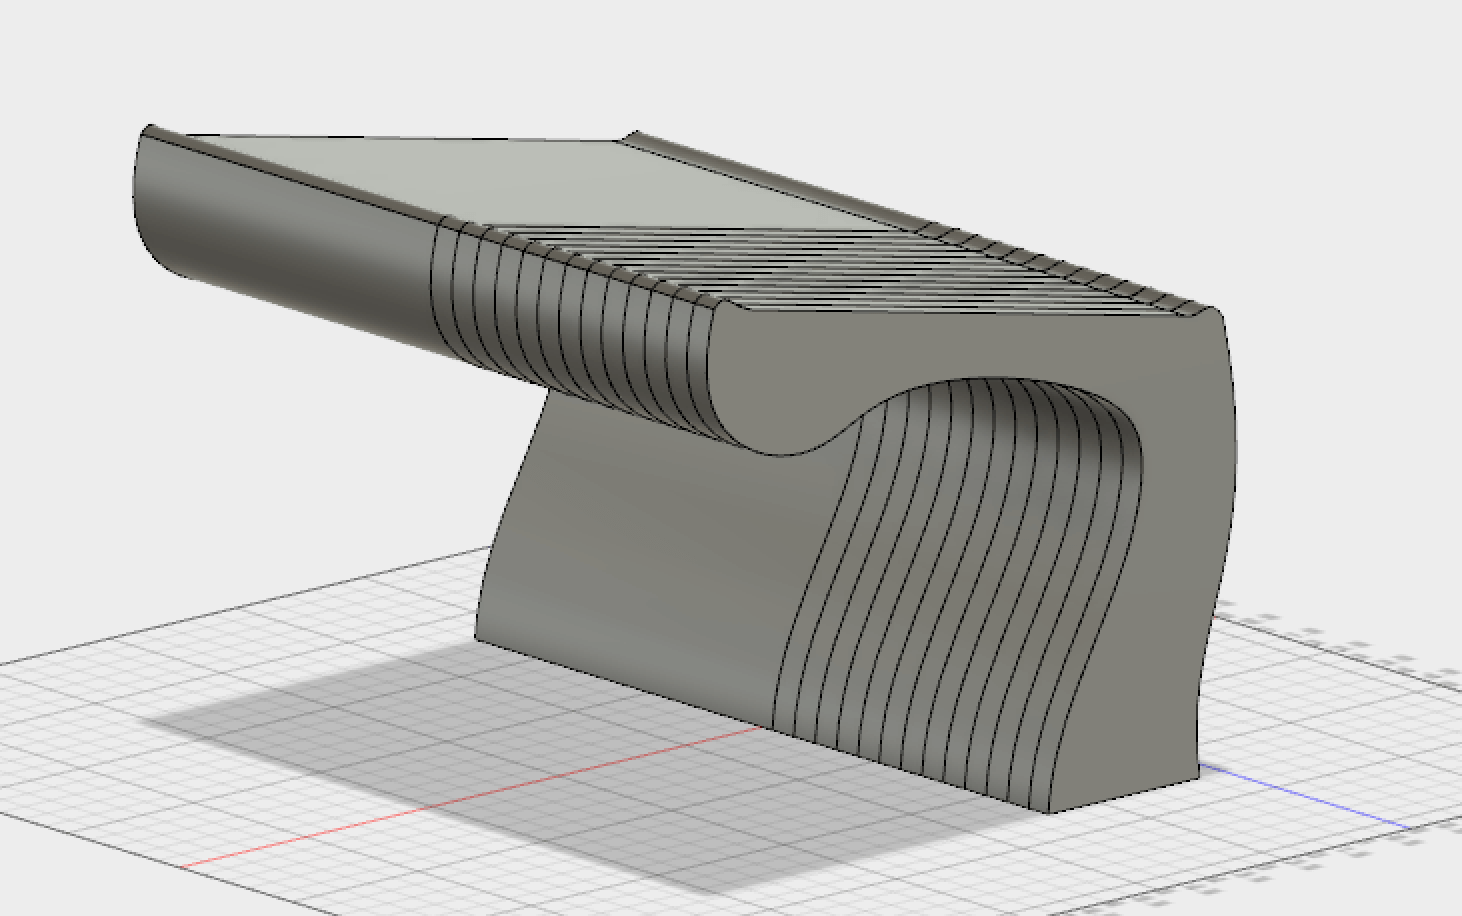
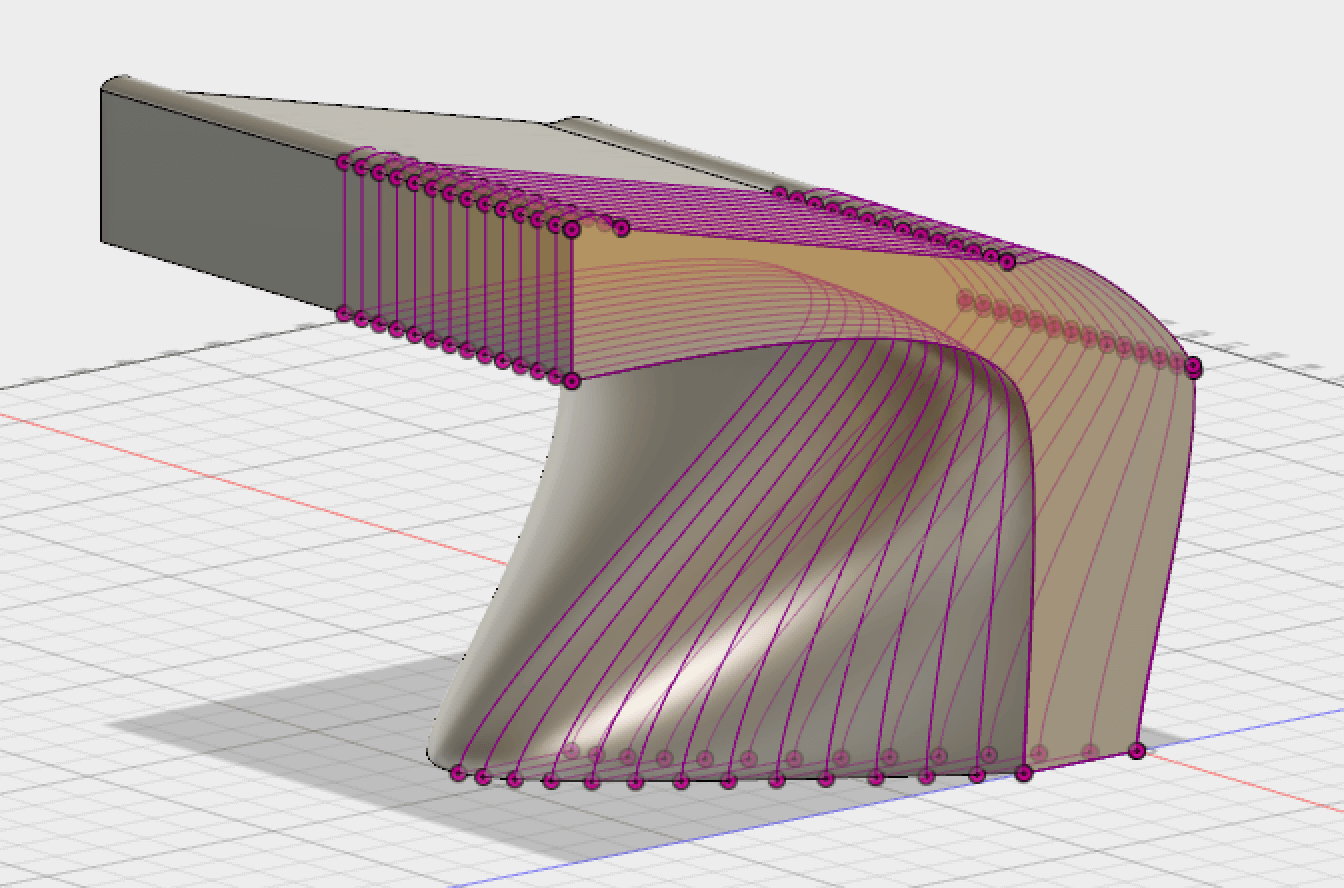
Above (right): 2nd approach, 2D sketch the base (the parabolic base) and a few other reference rectangles to "loft" a 3D solid through them, then slice into 2D sketches using planes (construction planes) and rely on the tool's geometry engine to build out a beautiful surface.
Two things I did not do… (but still can since I ran out of time for assembly ahead of class). The 1st is that the stand is solid. I had hoped to separate the slices to have the same feel as some of the furniture I hyperlinked above. The 2nd is that as of right now, I’ll have to woodglue to the slices together. It is simple to create a small, stock-thickness shim to sit between boards and stitch them together with shallow mortise and tenon joints. But that would’ve been simpler to do on the shopbot…
At any rate, after completing (semi-completing to the specs I’d wanted) the design, ShopBotting was simple. Of course, the ShopBot ships with its own software (one to create the toolpath, one to control the tool with the toolpath) so there was the simple step of transferring sketches from Fusion over to ShopBot’s VCarvePro (as .dxfs for anyone interested!) and setting toolpaths from there.
After throwing a 4 by 4 sheet on the shopbot bed, here’s what I finished with:
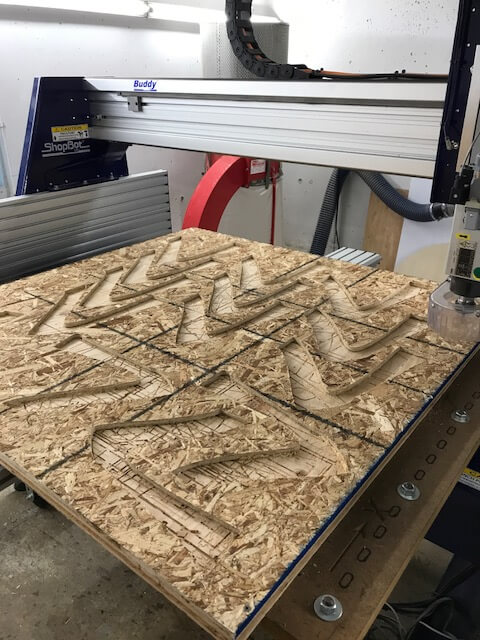
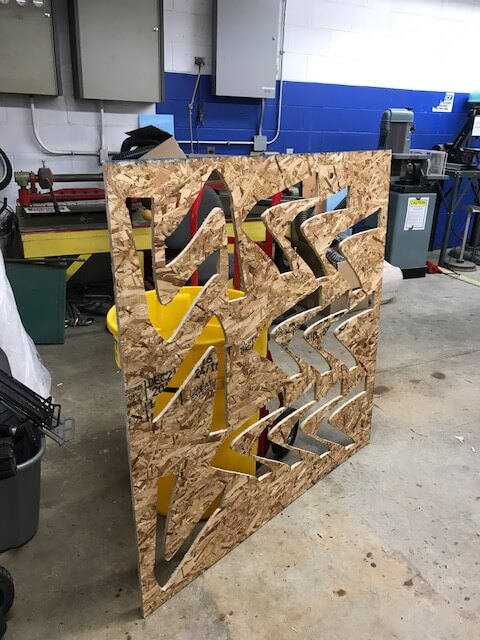
Looks like an badly drawn Escher tessalation I’d say…
Here was a hiccup I (Dan) had to deal with. When resuming the tool after a short stop, we forgot to fire up the spindle containing the tool collet and the bit broke right in two…

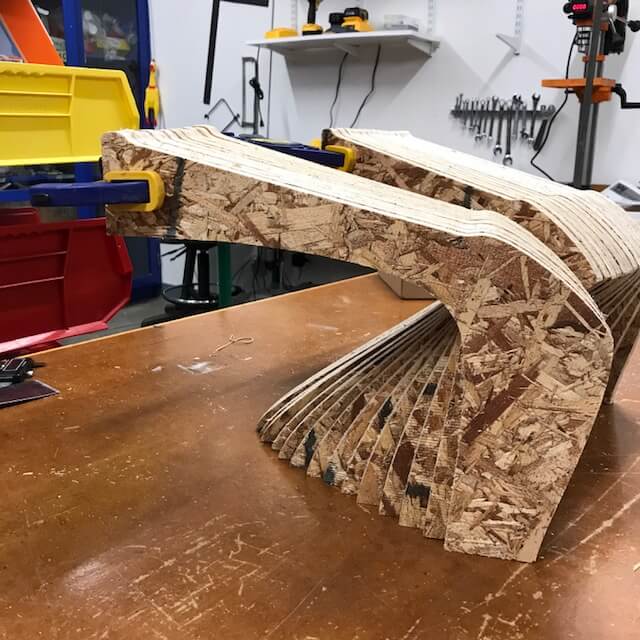
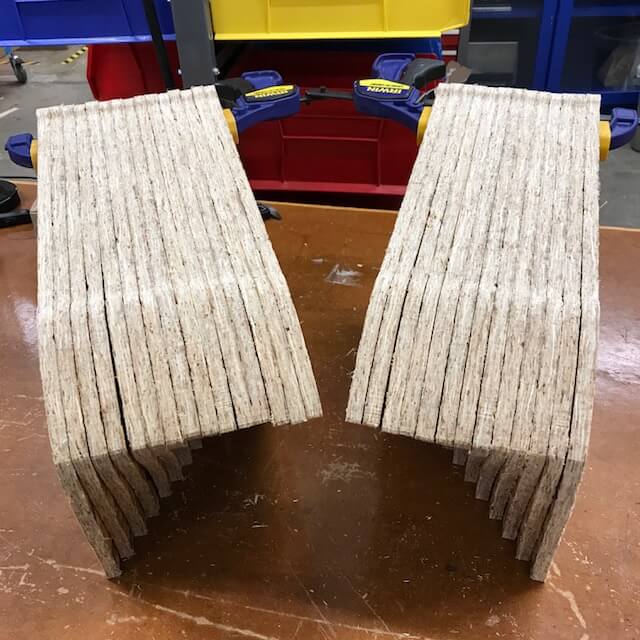
As I said above, I’ll be returning to the shop shortly to assemble the stand, but here’s what it looked like clamped up!
A quick aside. I’ve started using two of the command-line tools Neil recommended for images and videos, ImageMagick for images and FFmpeg for videos. These are readily available in Homebrew and while I haven’t dug too deep into the docs for them yet, they are really awesome. Here are some commands worth copy-pasta-ing for videos (that I used for the autoplaying video above…):
# check out `man ffmpeg`, there's interesting information on video, video transmission
# get info for file (inc. size which is helpful to have for cropping)
ffmpeg -i in.mp4
# crop to size out_w x out_h, starting in lower left specified by x x y
ffmpeg -i in.mp4 -filter:v "crop=out_w:out_h:x:y" out.mp4
# compress using codec standard h264
ffmpeg -i in.mp4 -vcodec h264 -acodec aac out.mp4
# gray scale
ffmpeg -i in.mp4 -vf hue=s=0 out.mp4
# remove audio
ffmpeg -i in.mp4 -an out.mp4
# speed up (c < 1), slow down (c > 1)
ffmpeg -i in.mp4 -vf "setpts=c*PTS" out.mp4
Update: