Week 8: Molding & Casting
Molding & casting
This week we saw an alternative to 3D printing parts - molding and casting. This is an ancient technique, and we scratched the surface as we teased out the workflow.
Professor Gershenfeld had a specific suggestion for the week: carve a positive (or male) mold (which we’d construct with something solid wax on the ShopBot), cast a negative (or female) mold from the positive mold (which we did using flexible and heat-resistant silicone (silicone rubber)), and then cast your object of choice from there.
It was not immediately intuitive why we should start with the positive (rather than start with the negative), but this became clear when considering the materials and the materials’ value adds to the workflow: wax can be readily carved by a CNC router, while silicone was great for the final casting (it is reusable, amenable to the Hydrostone / Drystone and the tin alloy we had in the shop alike, etc.). Going from positive to a negative to a positive, rather than going from a negative right to a positive allowed us to take advantage of both attributes.
This week’s work
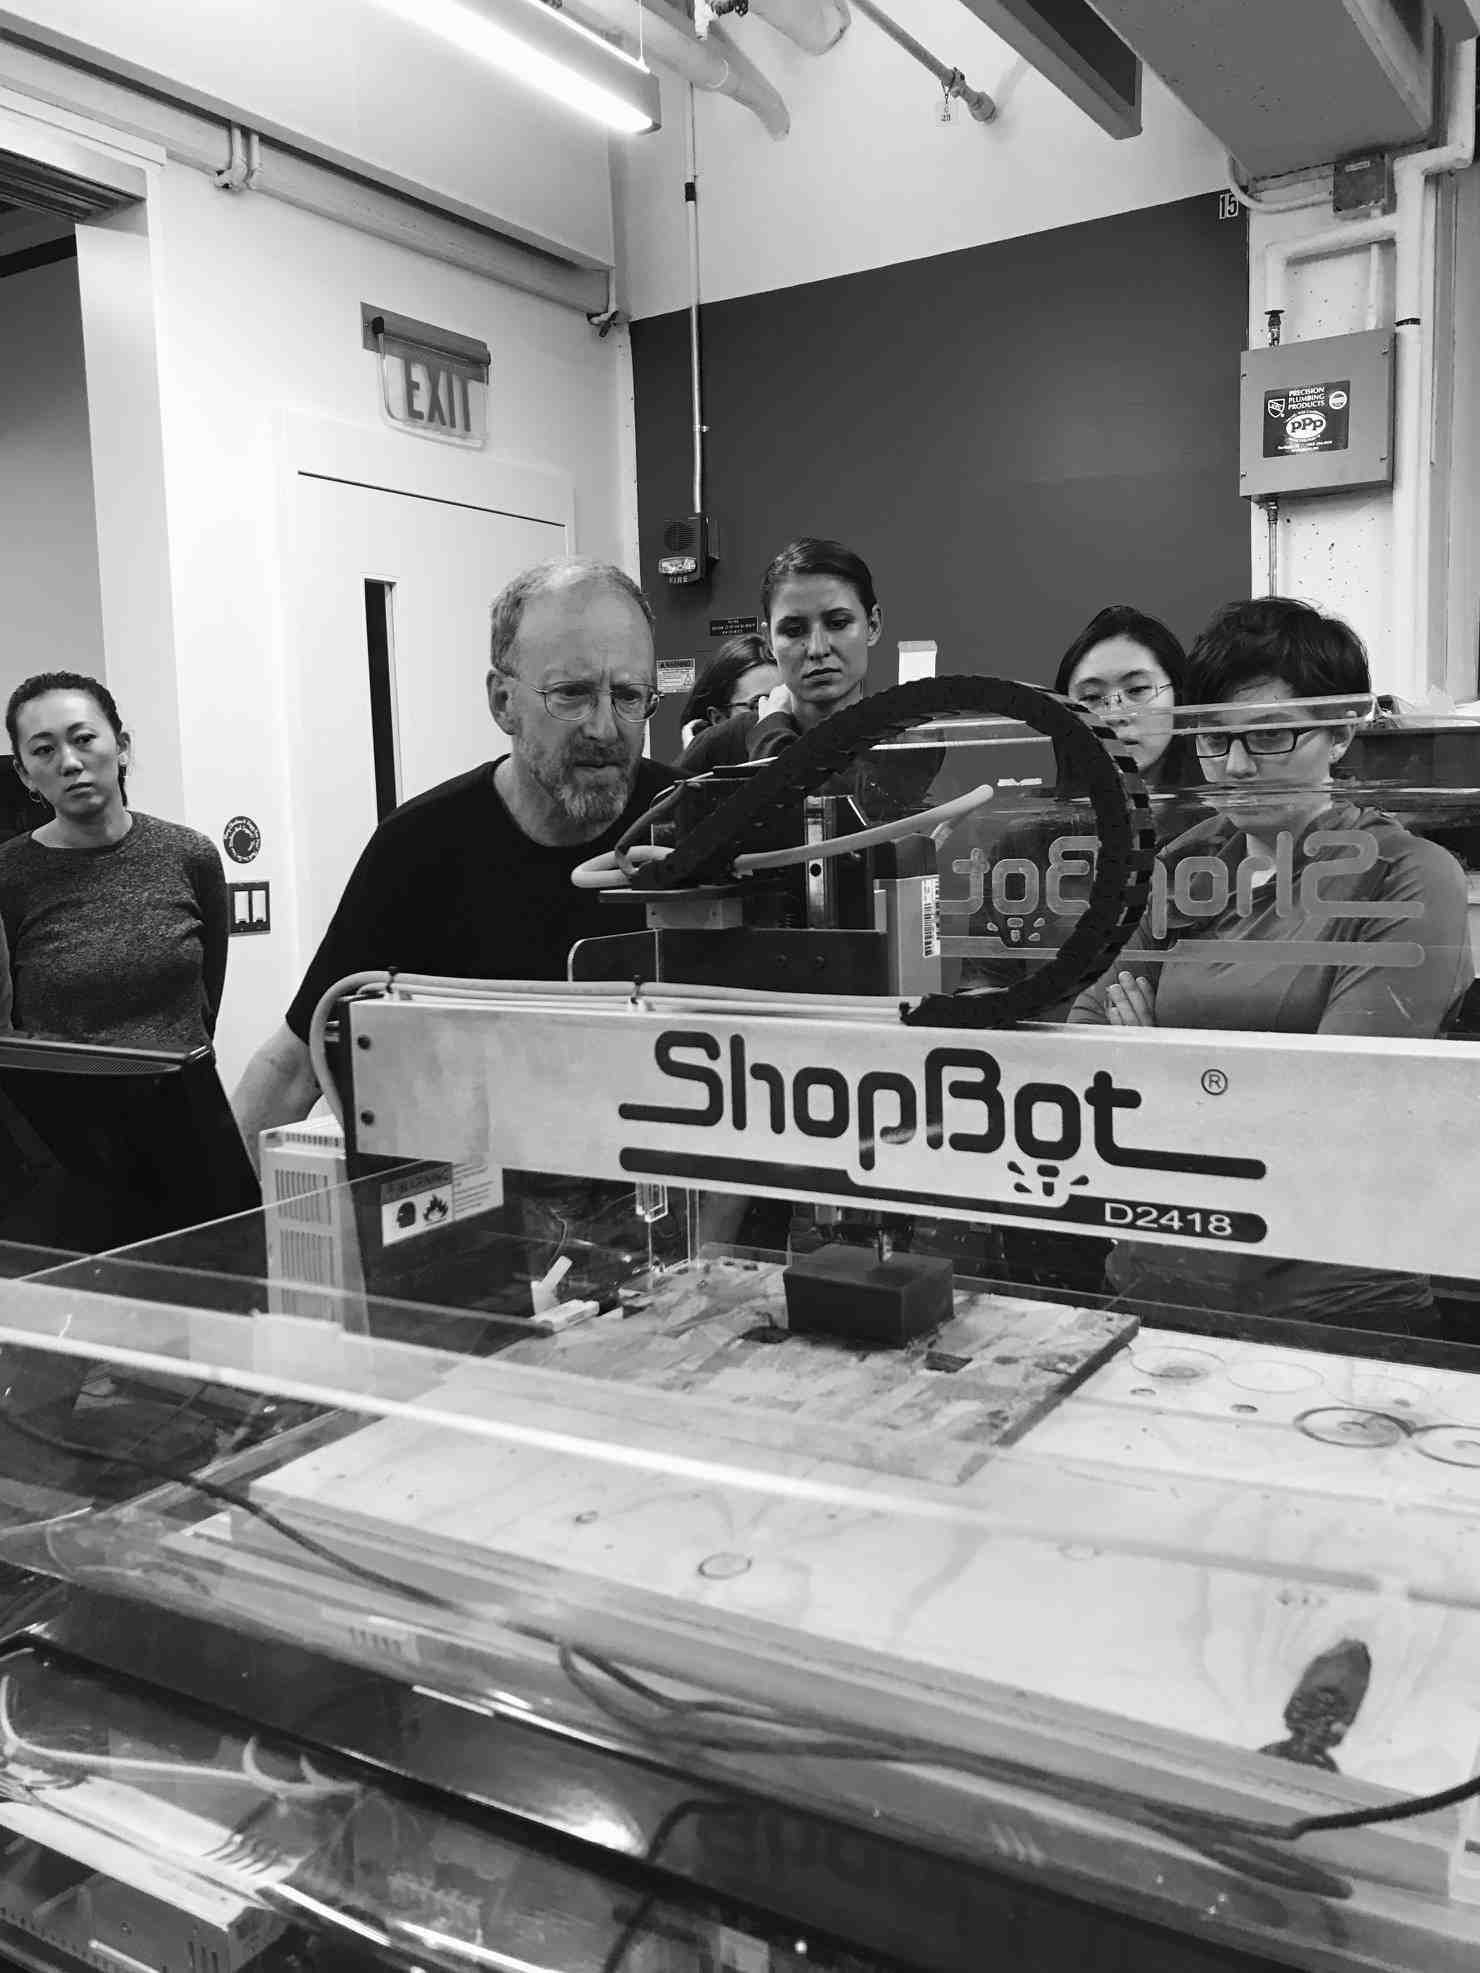
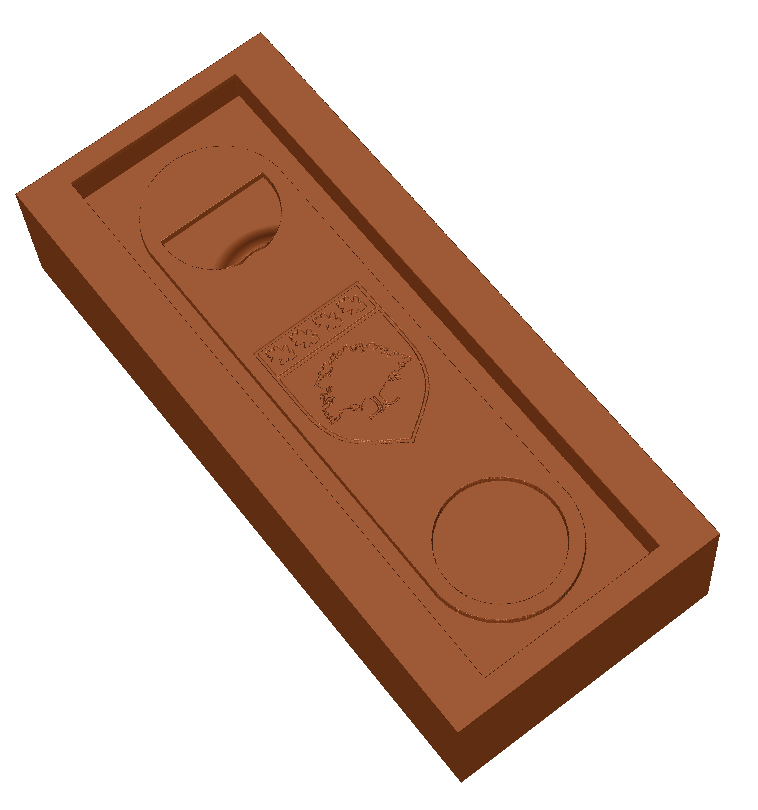
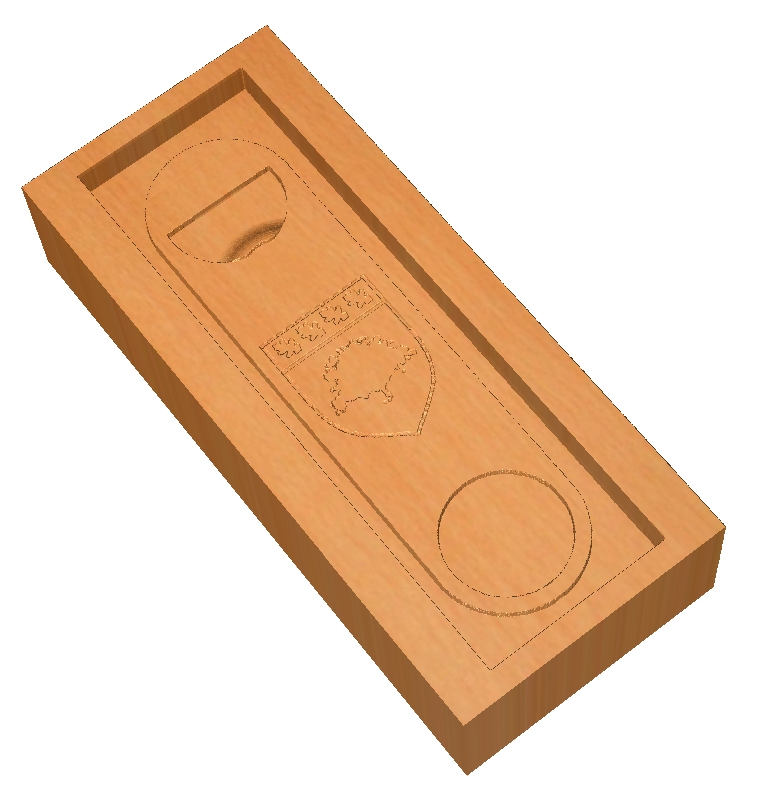
The first step in starting was to design the mold (positive mold). Since we were restricted to a small block of wax in the beginning, I made a quick model of one of those basic stock bottle openers and set a symbolic crest in it. Per usual, I did my design in Fusion 360. The CNC router we were using was a smaller-sized ShopBot, and after importing the STL into ShopBot’s toolpath software VCarve, I had the following to show for what I’d done so far…
Here’s the ShopBot in action again:
With the wax complete, casting the silicone negative (negative mold) was straightforward. We used Oomoo and this was relaxing, thoughtless work, a lot like weeding or soldering from earlier weeks.
The rest of the workflow is reflected below.
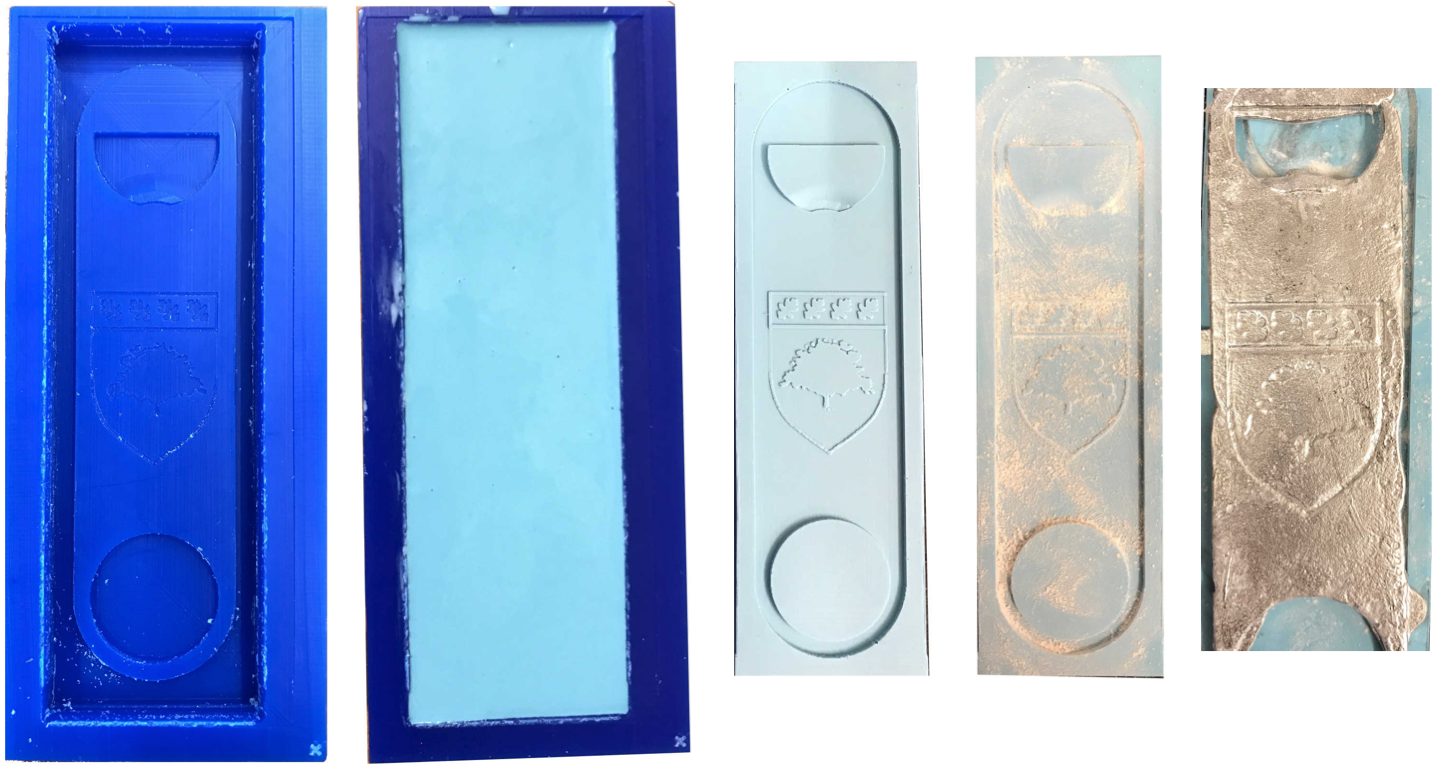
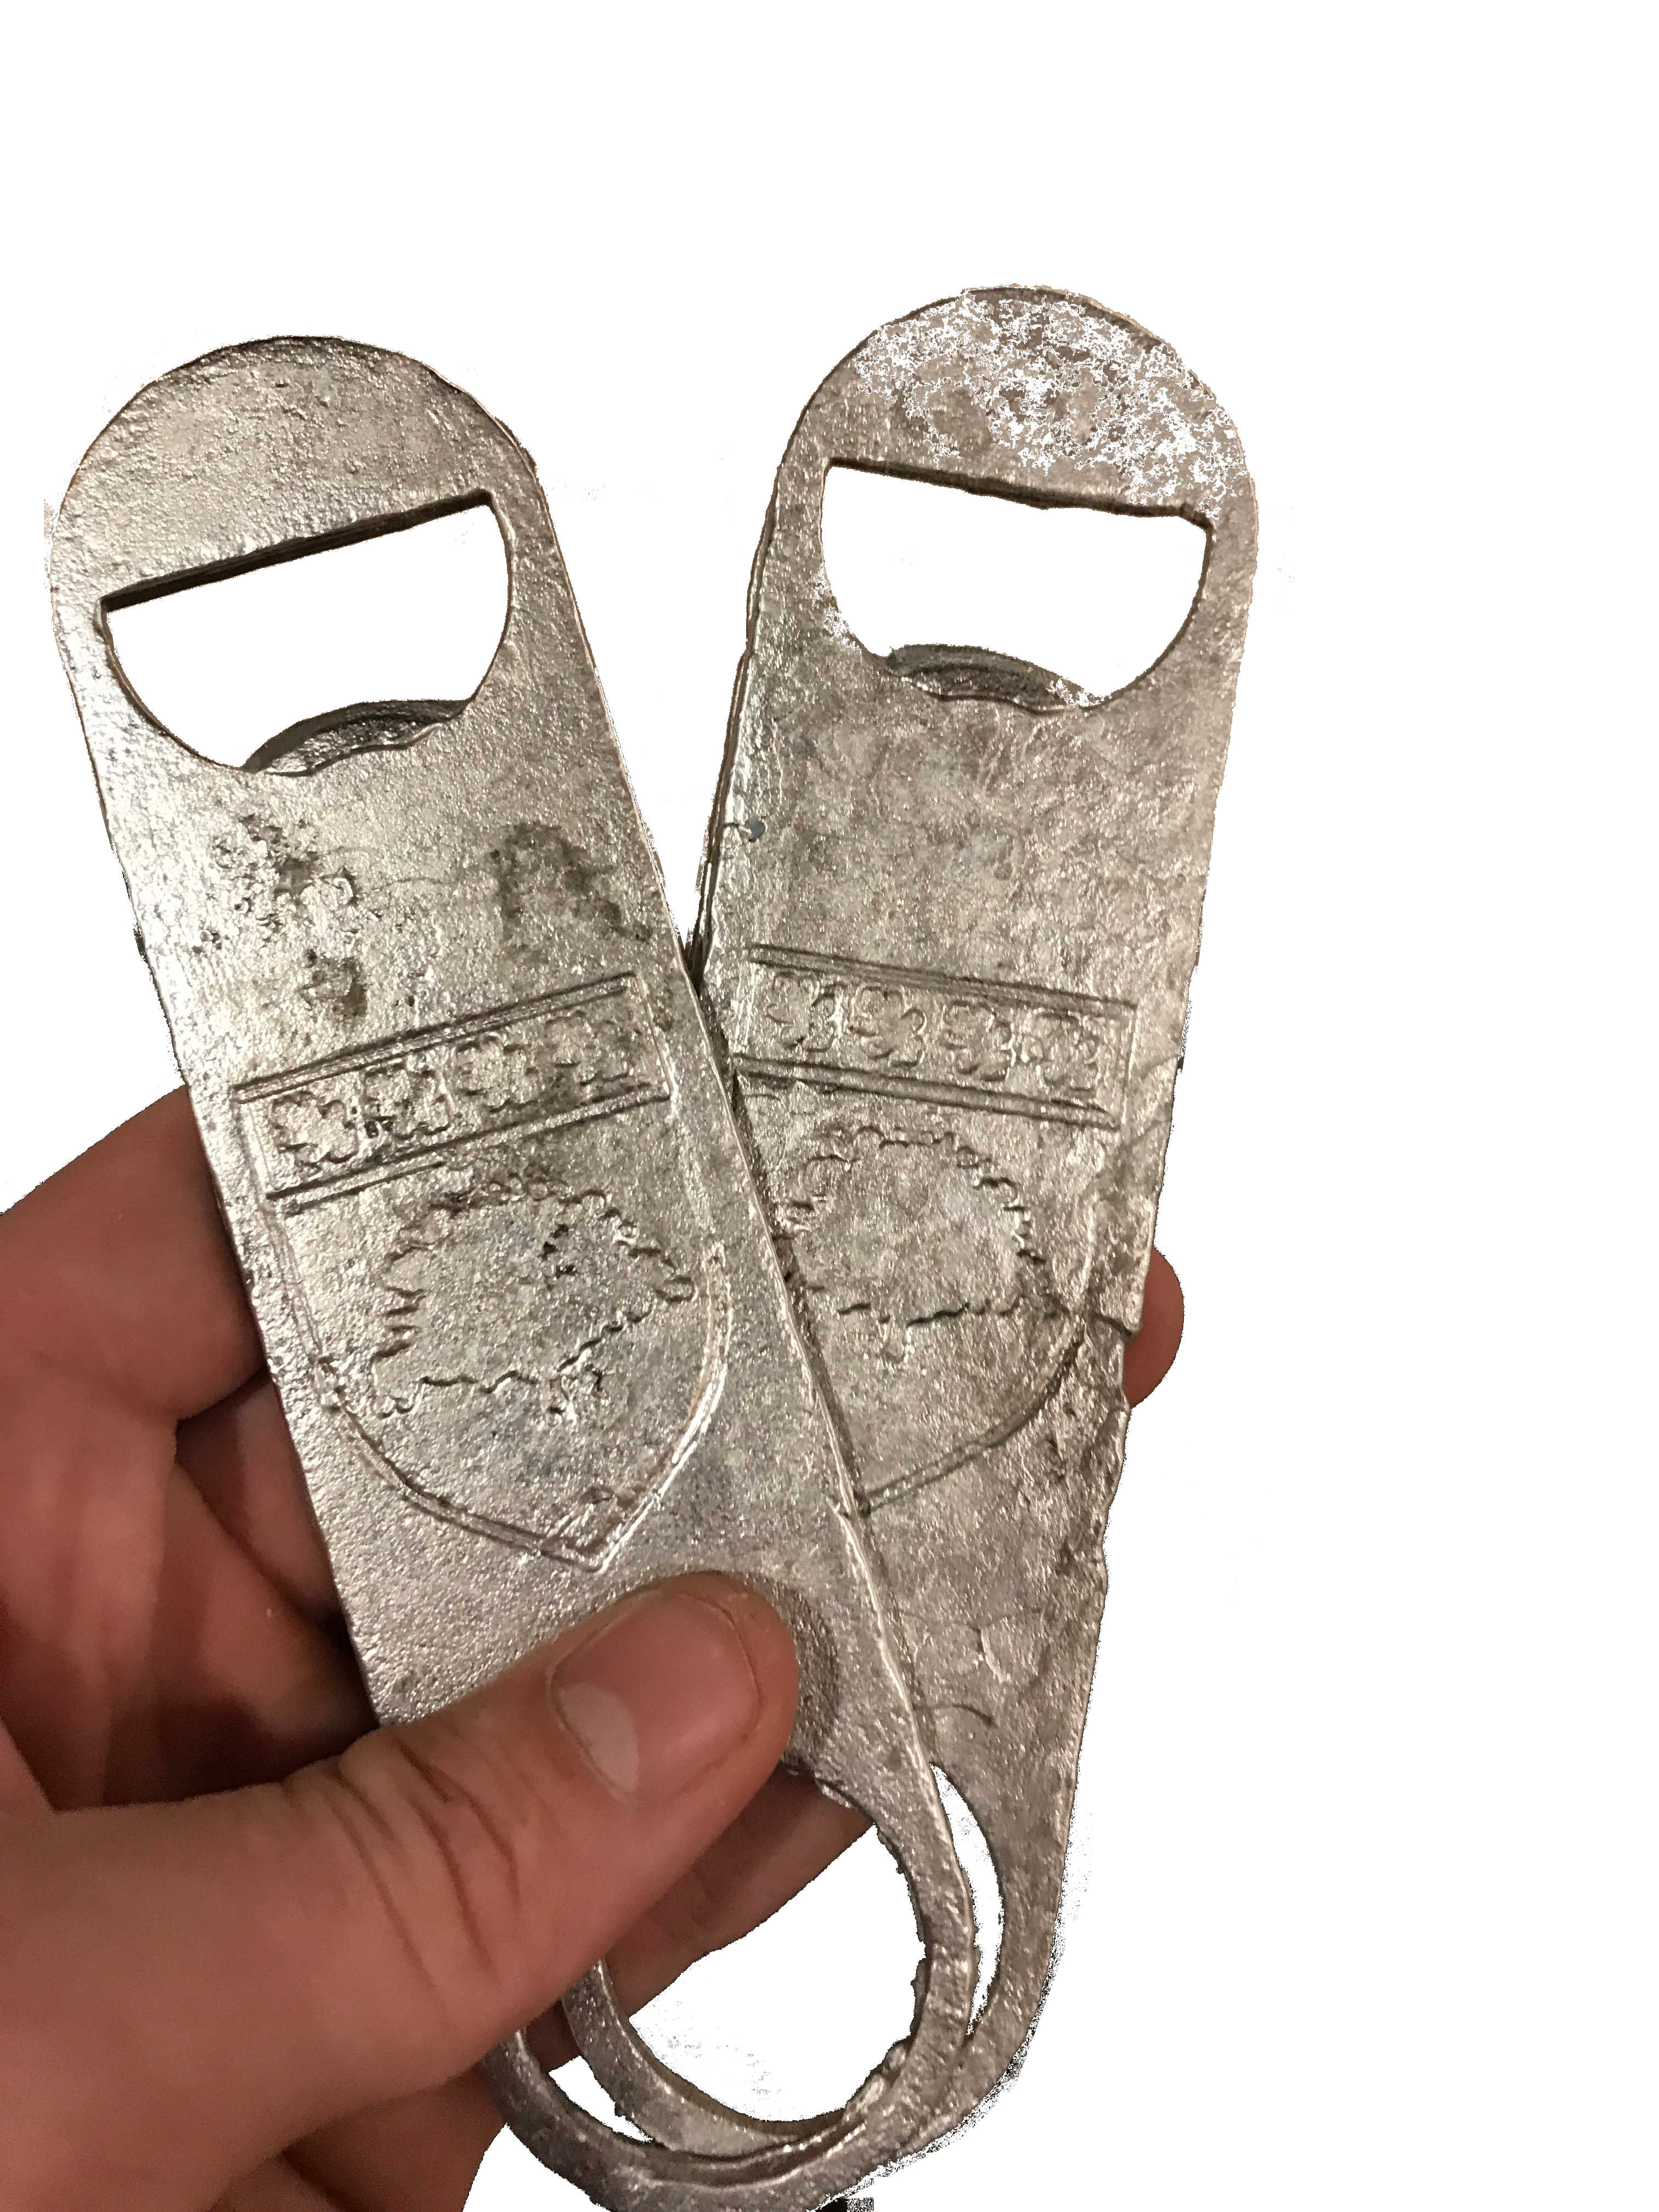
Since I was building a bottle opener (that I wanted to work), I chose to cast with the shop’s store of a tin alloy, rather than the Hydrostone or Drystone that Professor Gershenfeld suggested as a first step. This was non-trivial, as the opener was remarkably thin and soon I realized I did not design the negative to help the moldten metal spread where I wanted it to. This video shows a first, failed attempt.
A silver lining, however, was that I could continuously retry… the tin, when still warmed, could be bent and thrown back in the oven to repour. I tried a few approaches, the that ultimately worked was building up the walls around the cavity (where the tin would flow) and cutting small channels through the silicone.