
Electronics Production
PCB fabrication
This week we learned electronics and PCB fabrication, with the task of making an in-circuit programmer to program programmers. The process includes milling, soldering, and programming.
Building the FabTinyISP
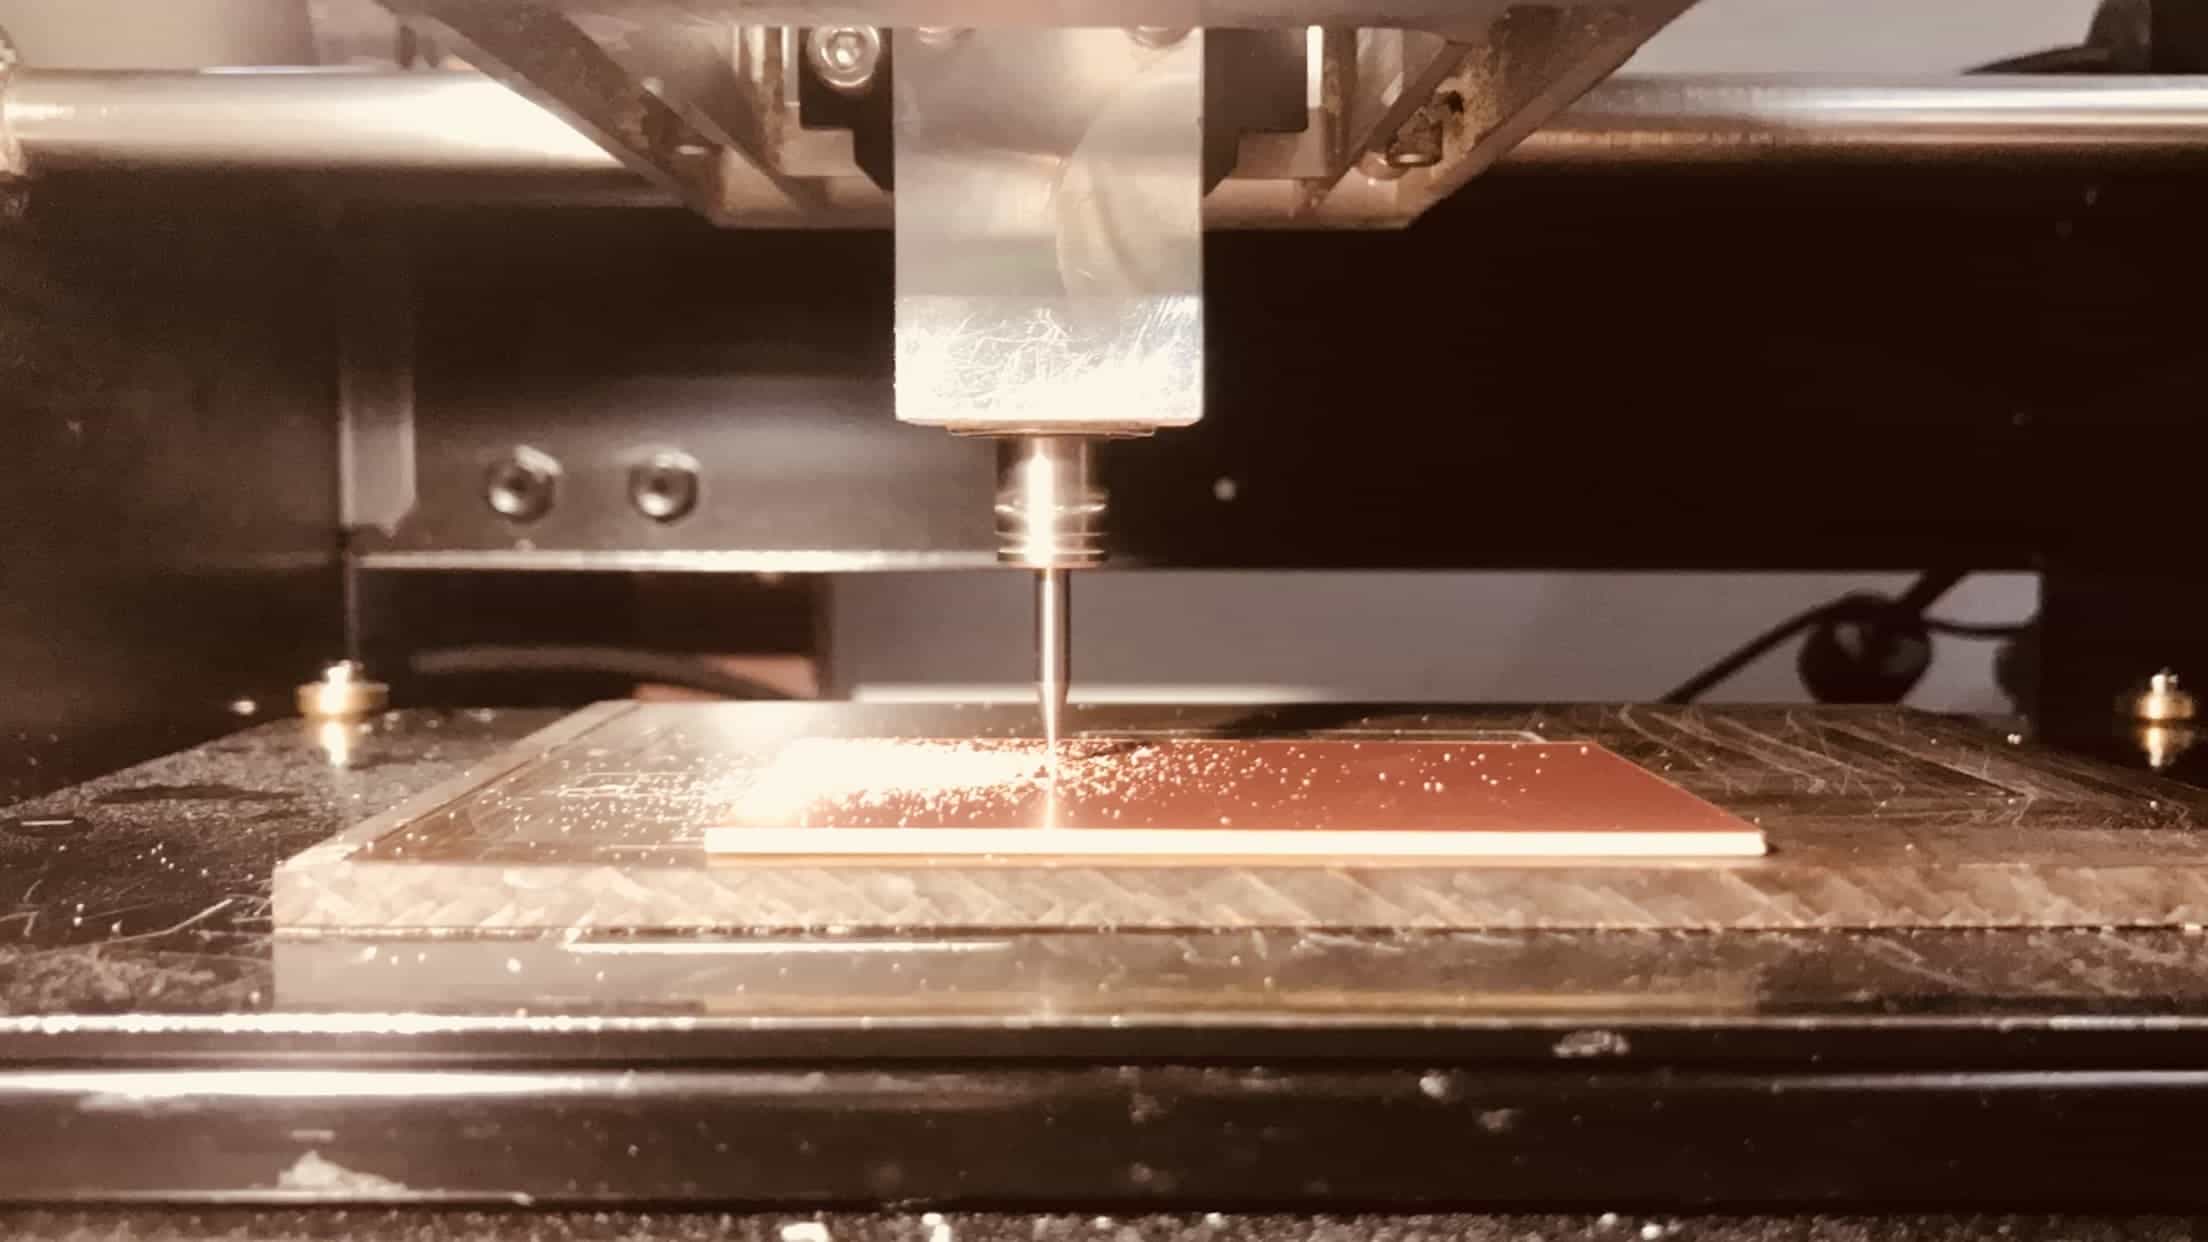
Milling
The board has to be absolutely flat, a tiny discrepancy will cause that part milled wrongly.

Test Mill
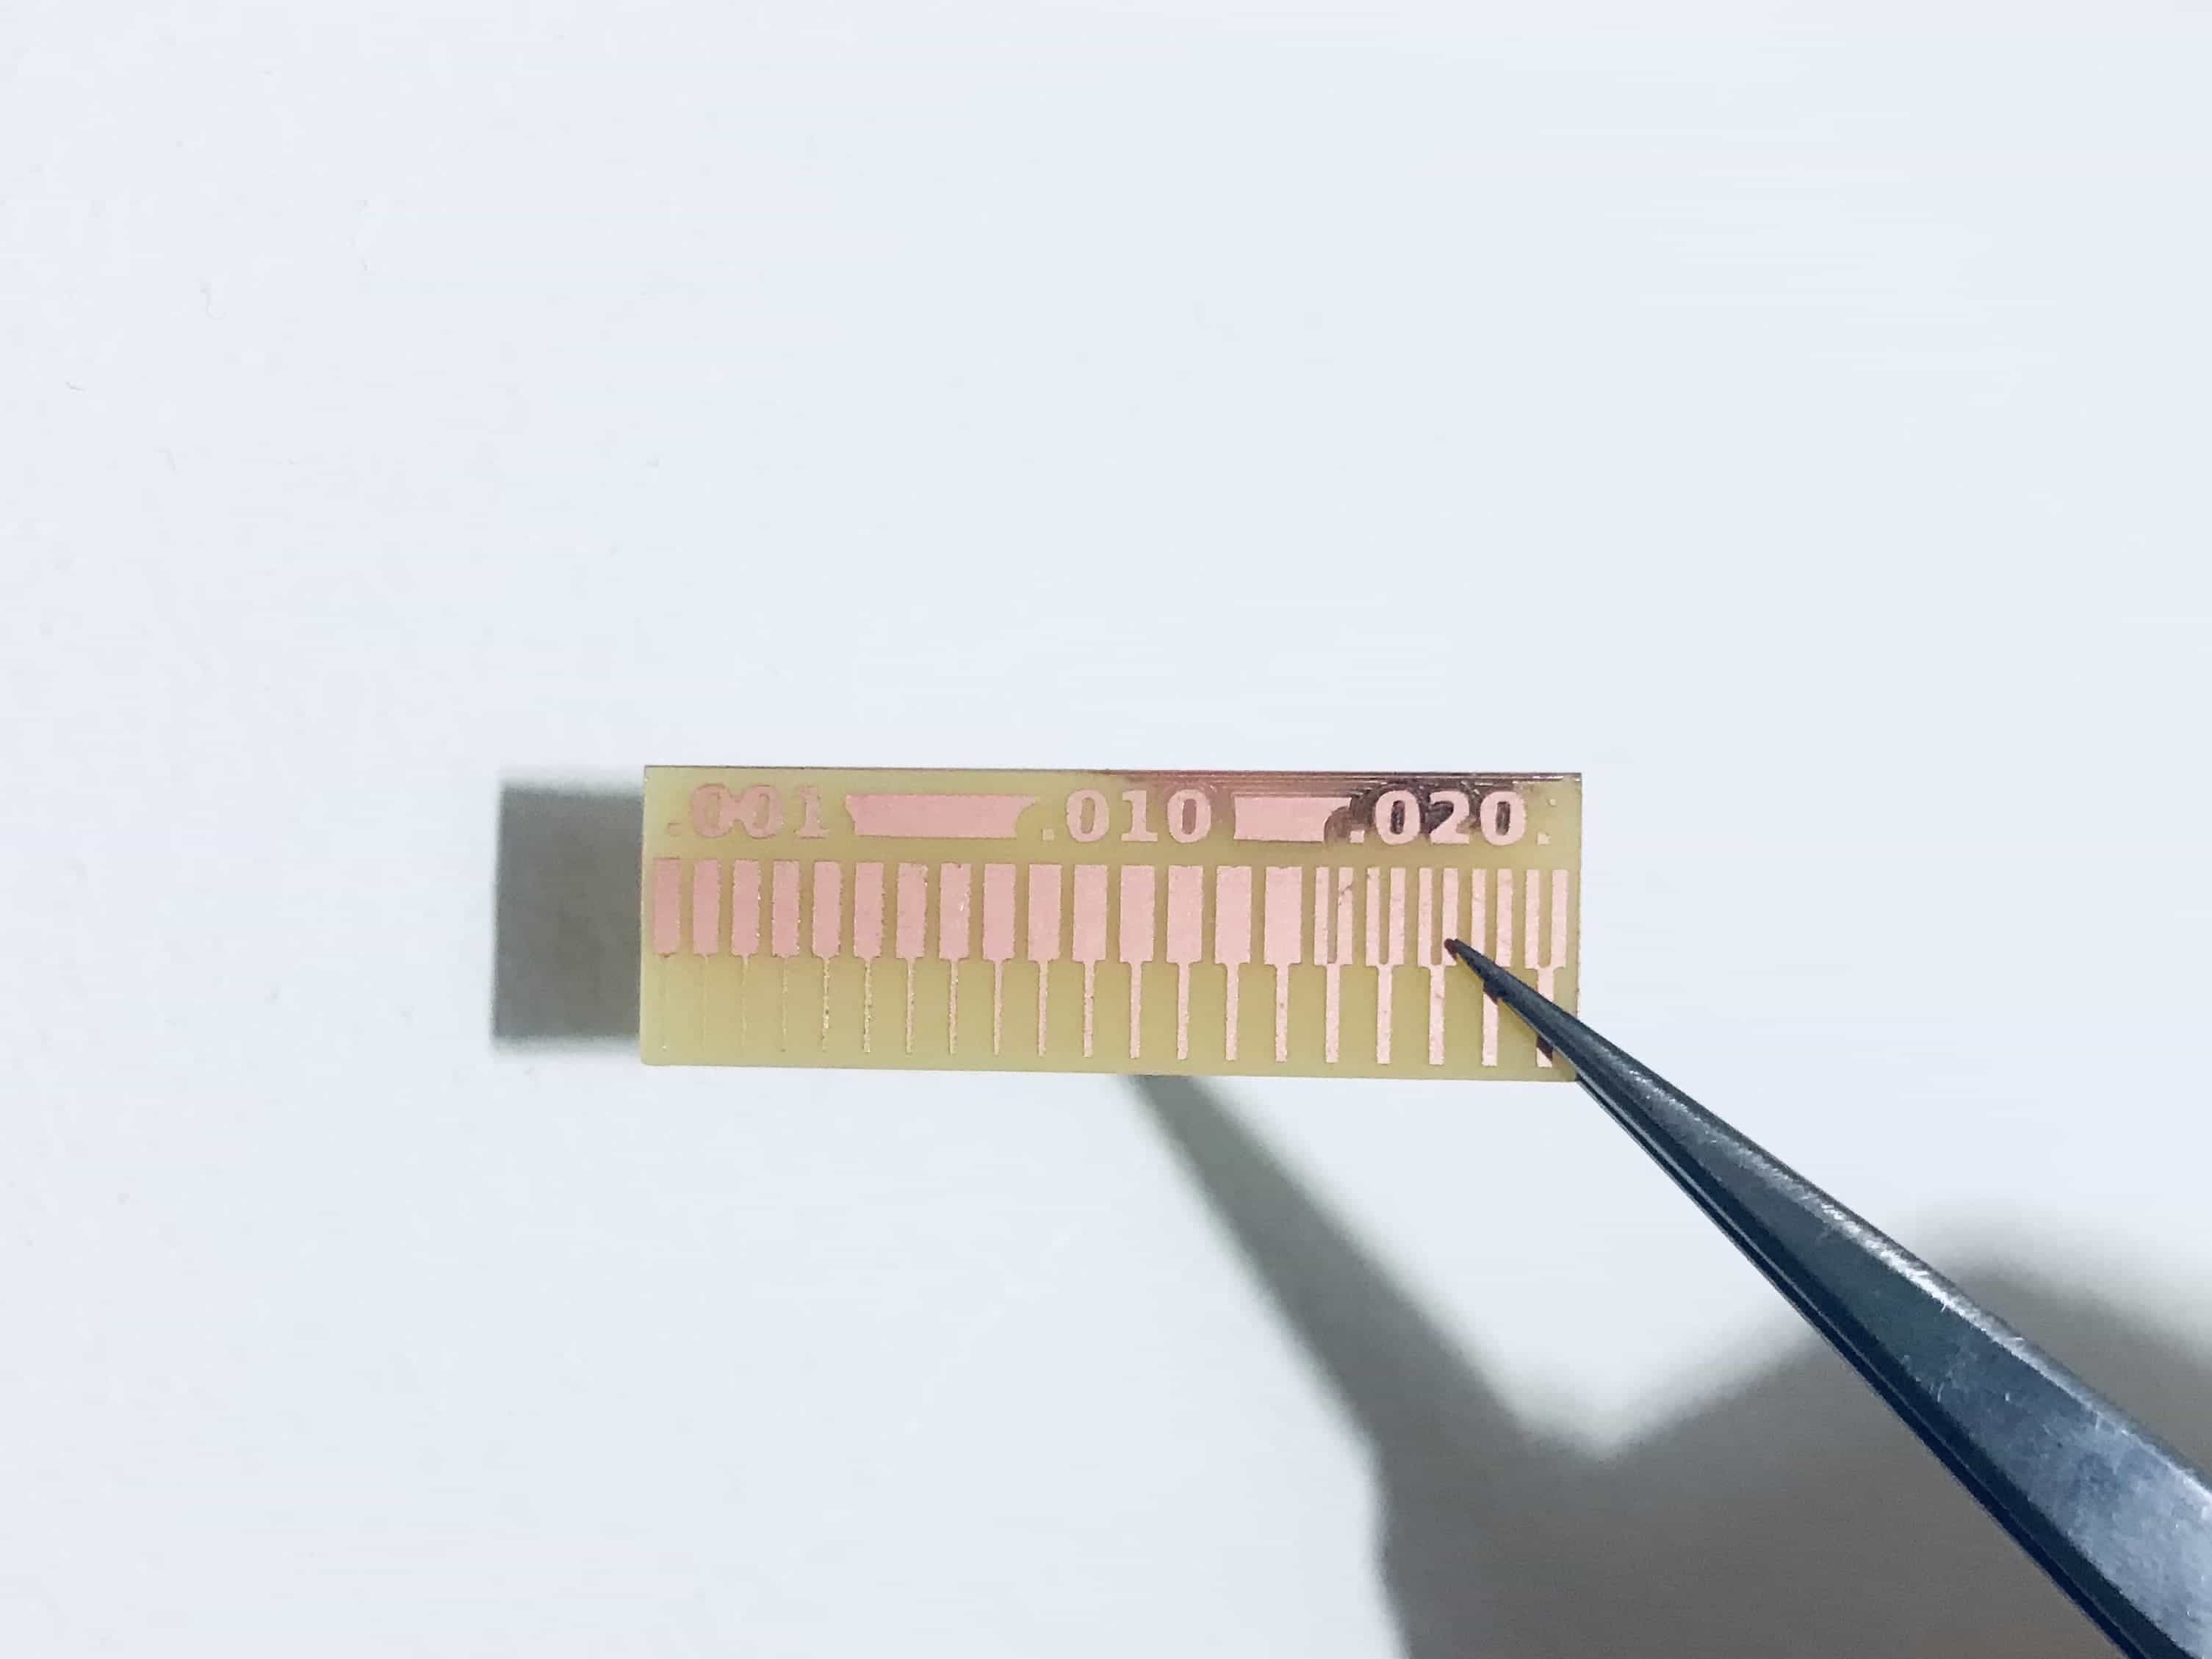
Characterization
Characterize the specifications of my PCB production process.
Soldering
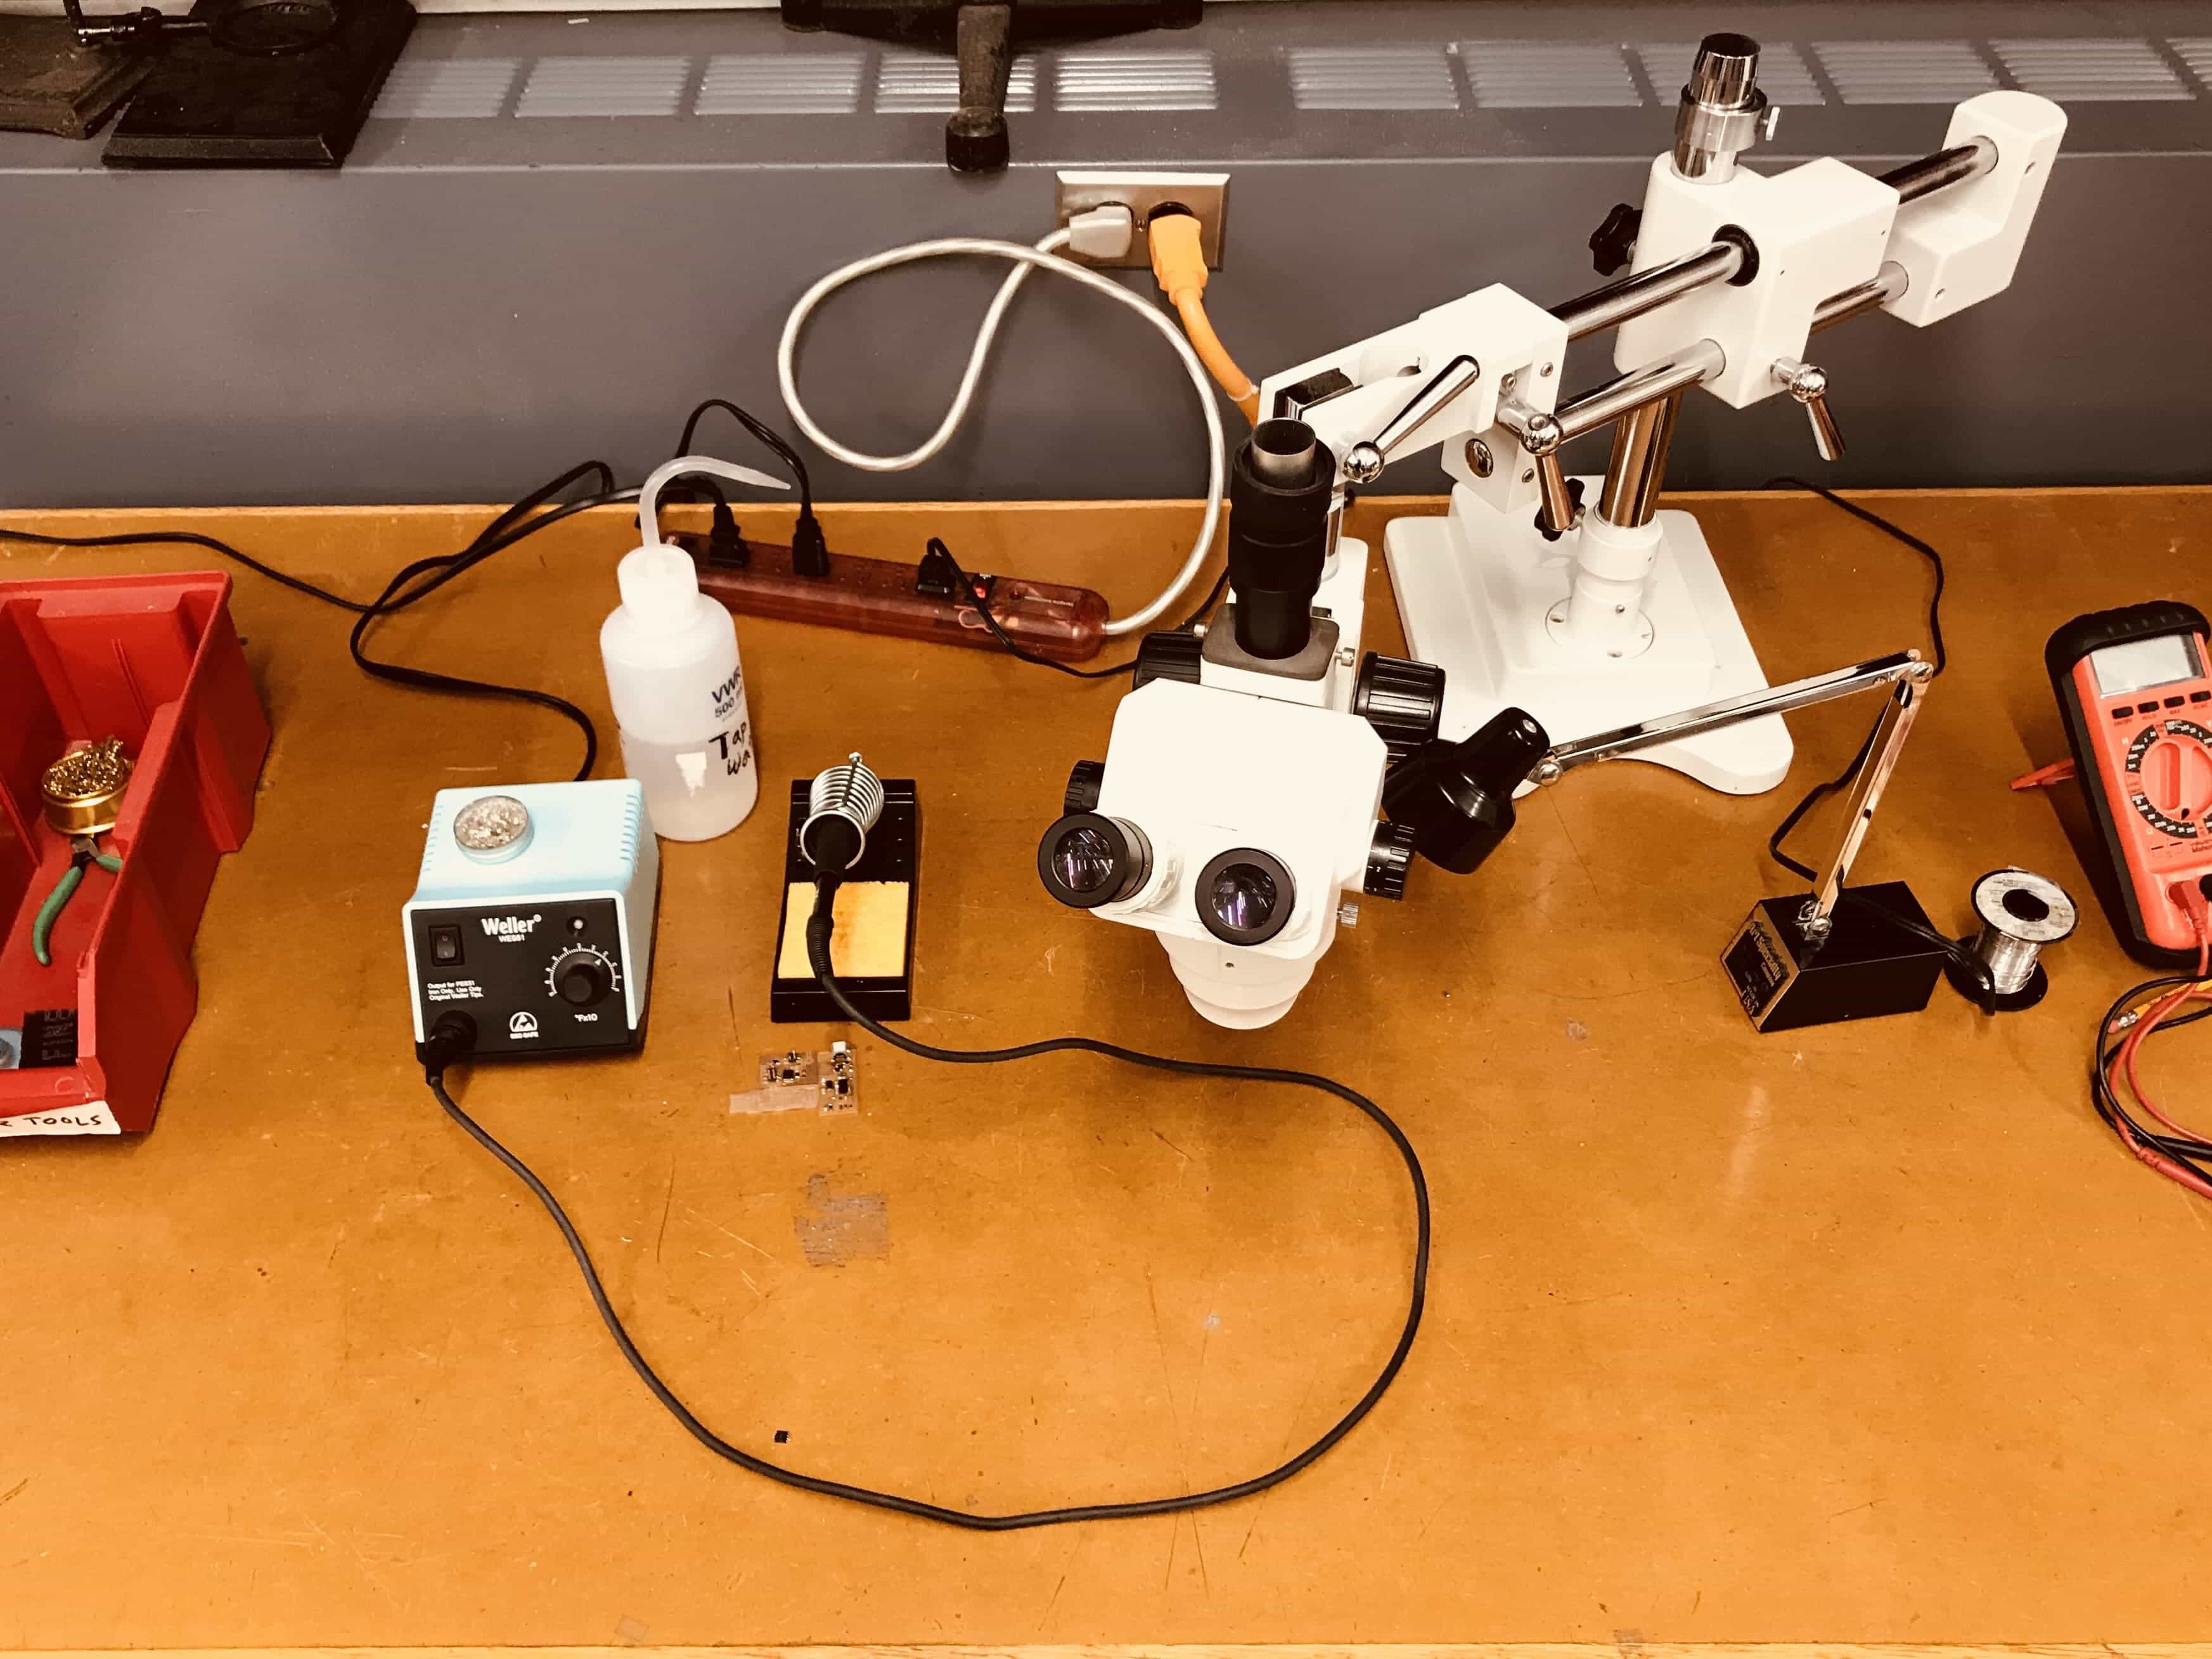
Workstation with soldering iron, solder, magnifying glass, solder wick, vice clamp and multimeter.
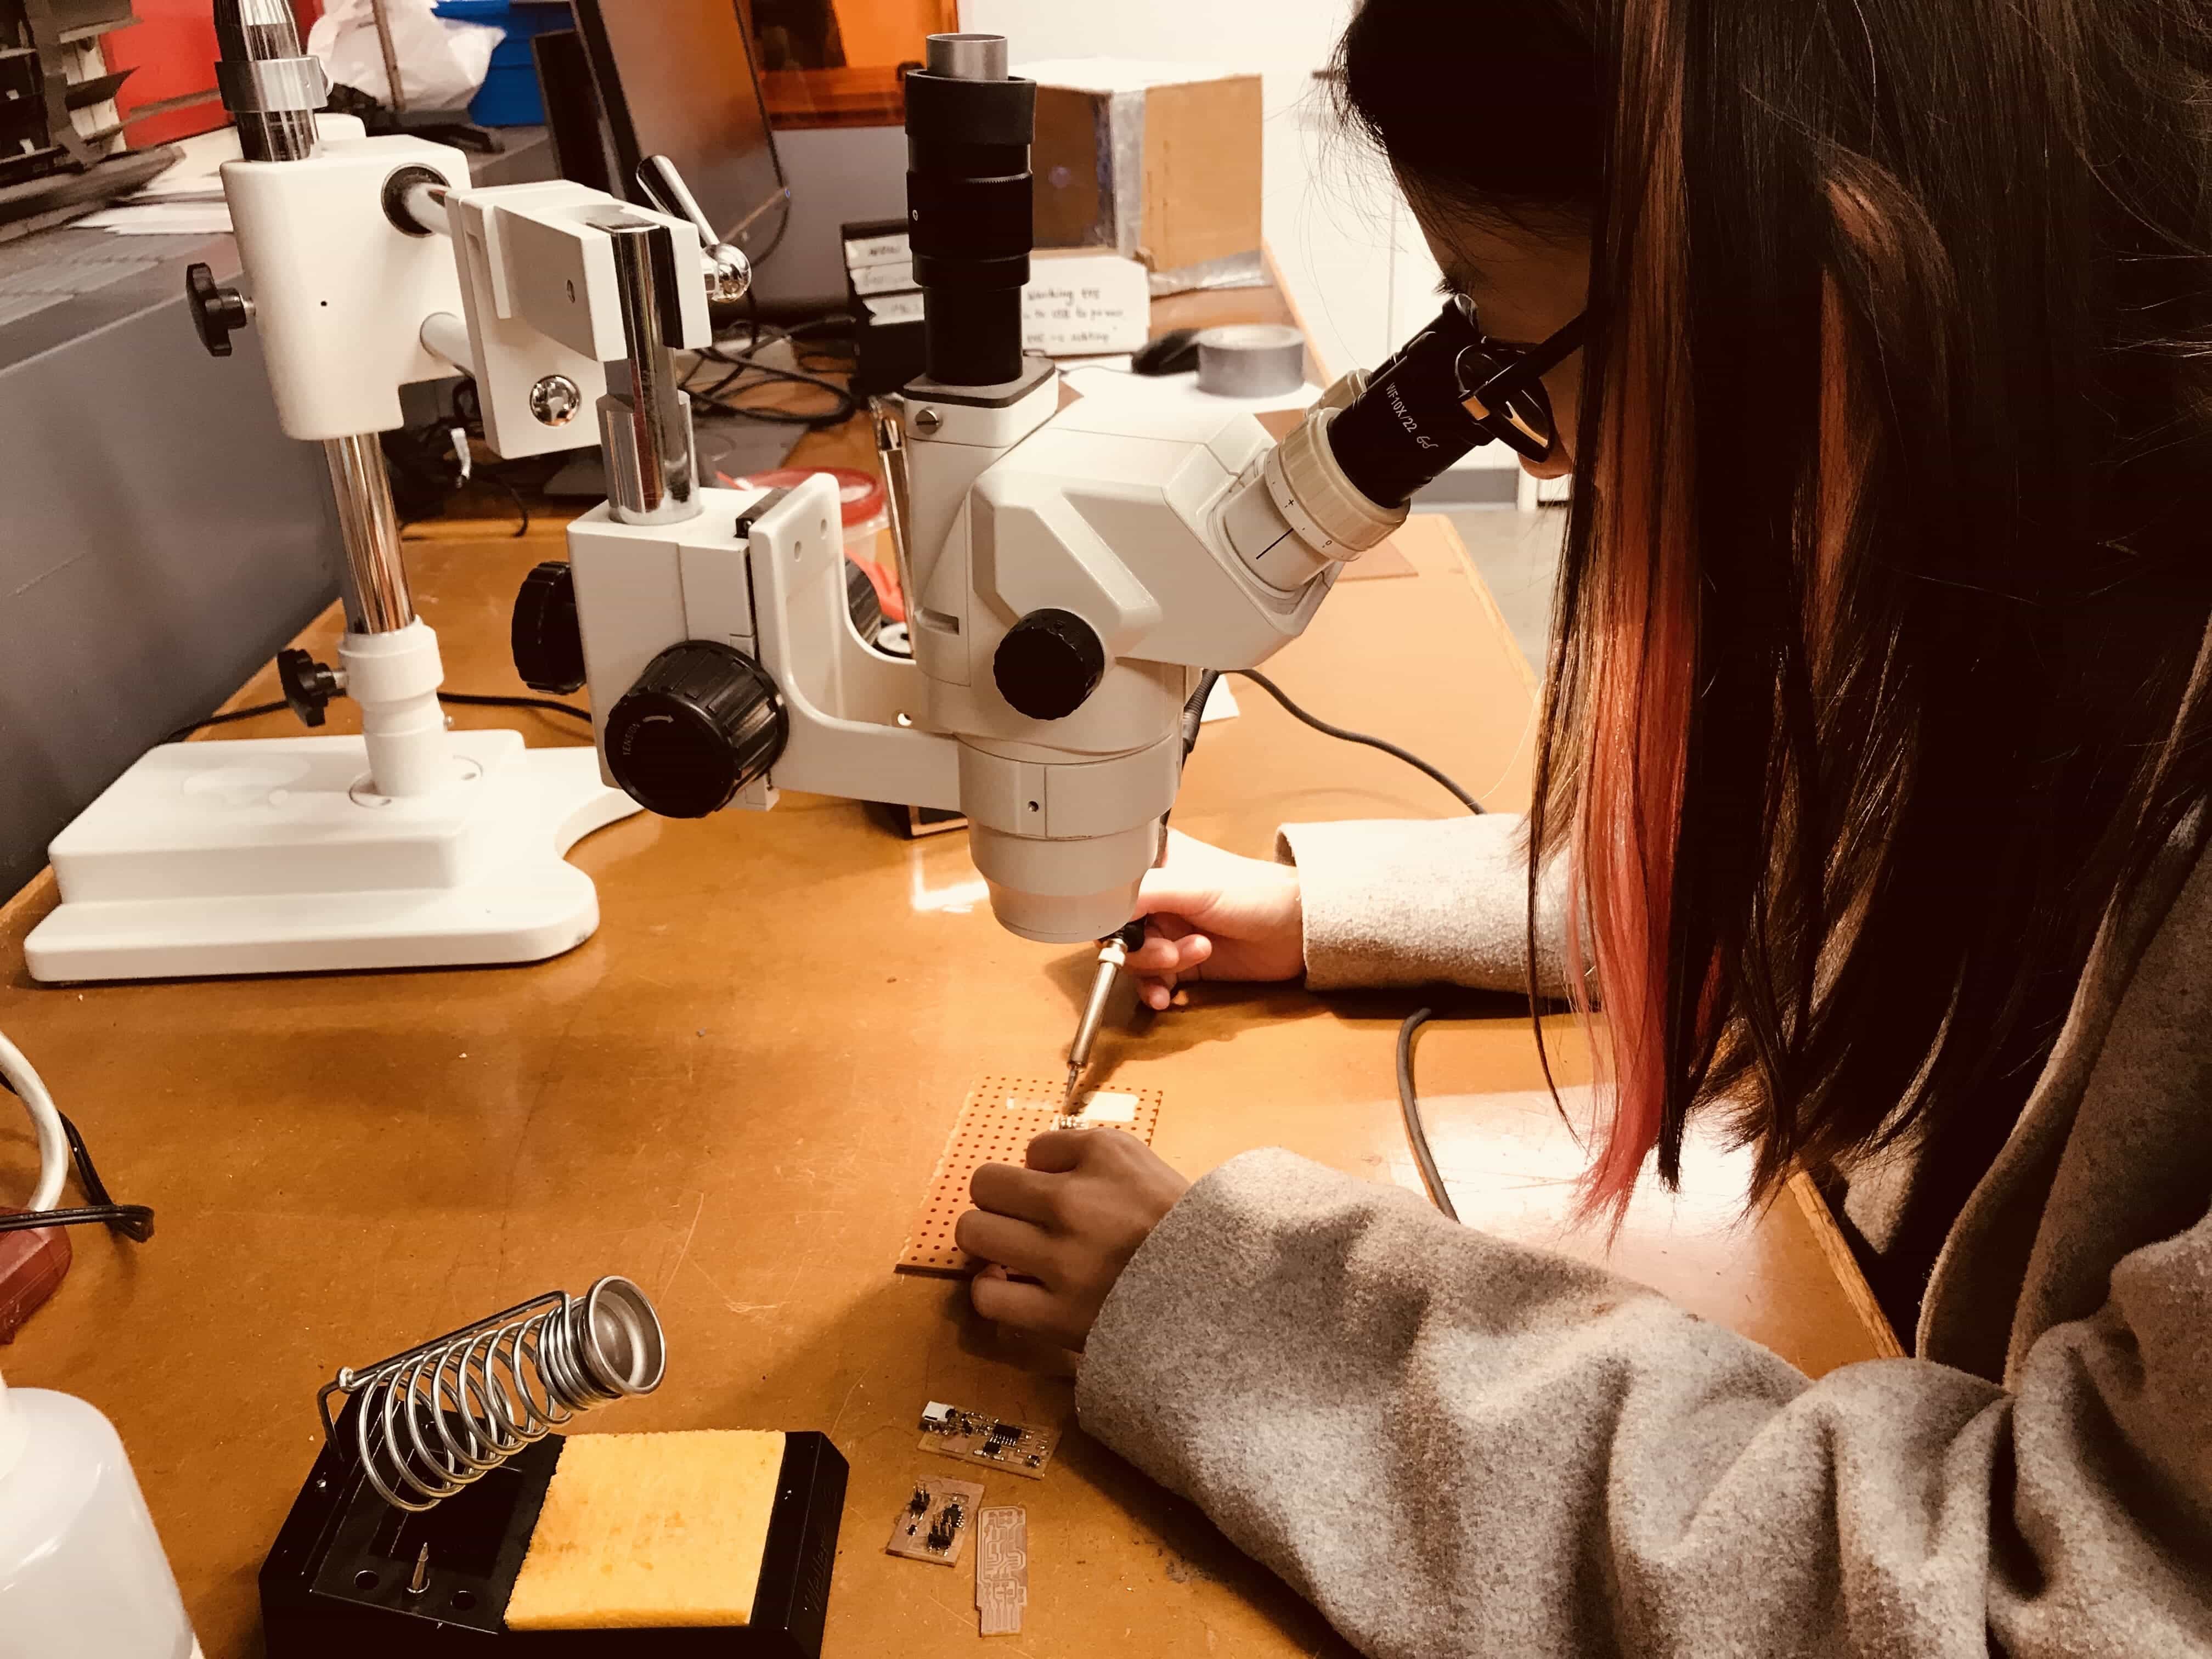
Soldering in 15 min!
( ...Hopefully )
The soldering braid is pretty handy when it comes to the tiny legs of micro-controller.
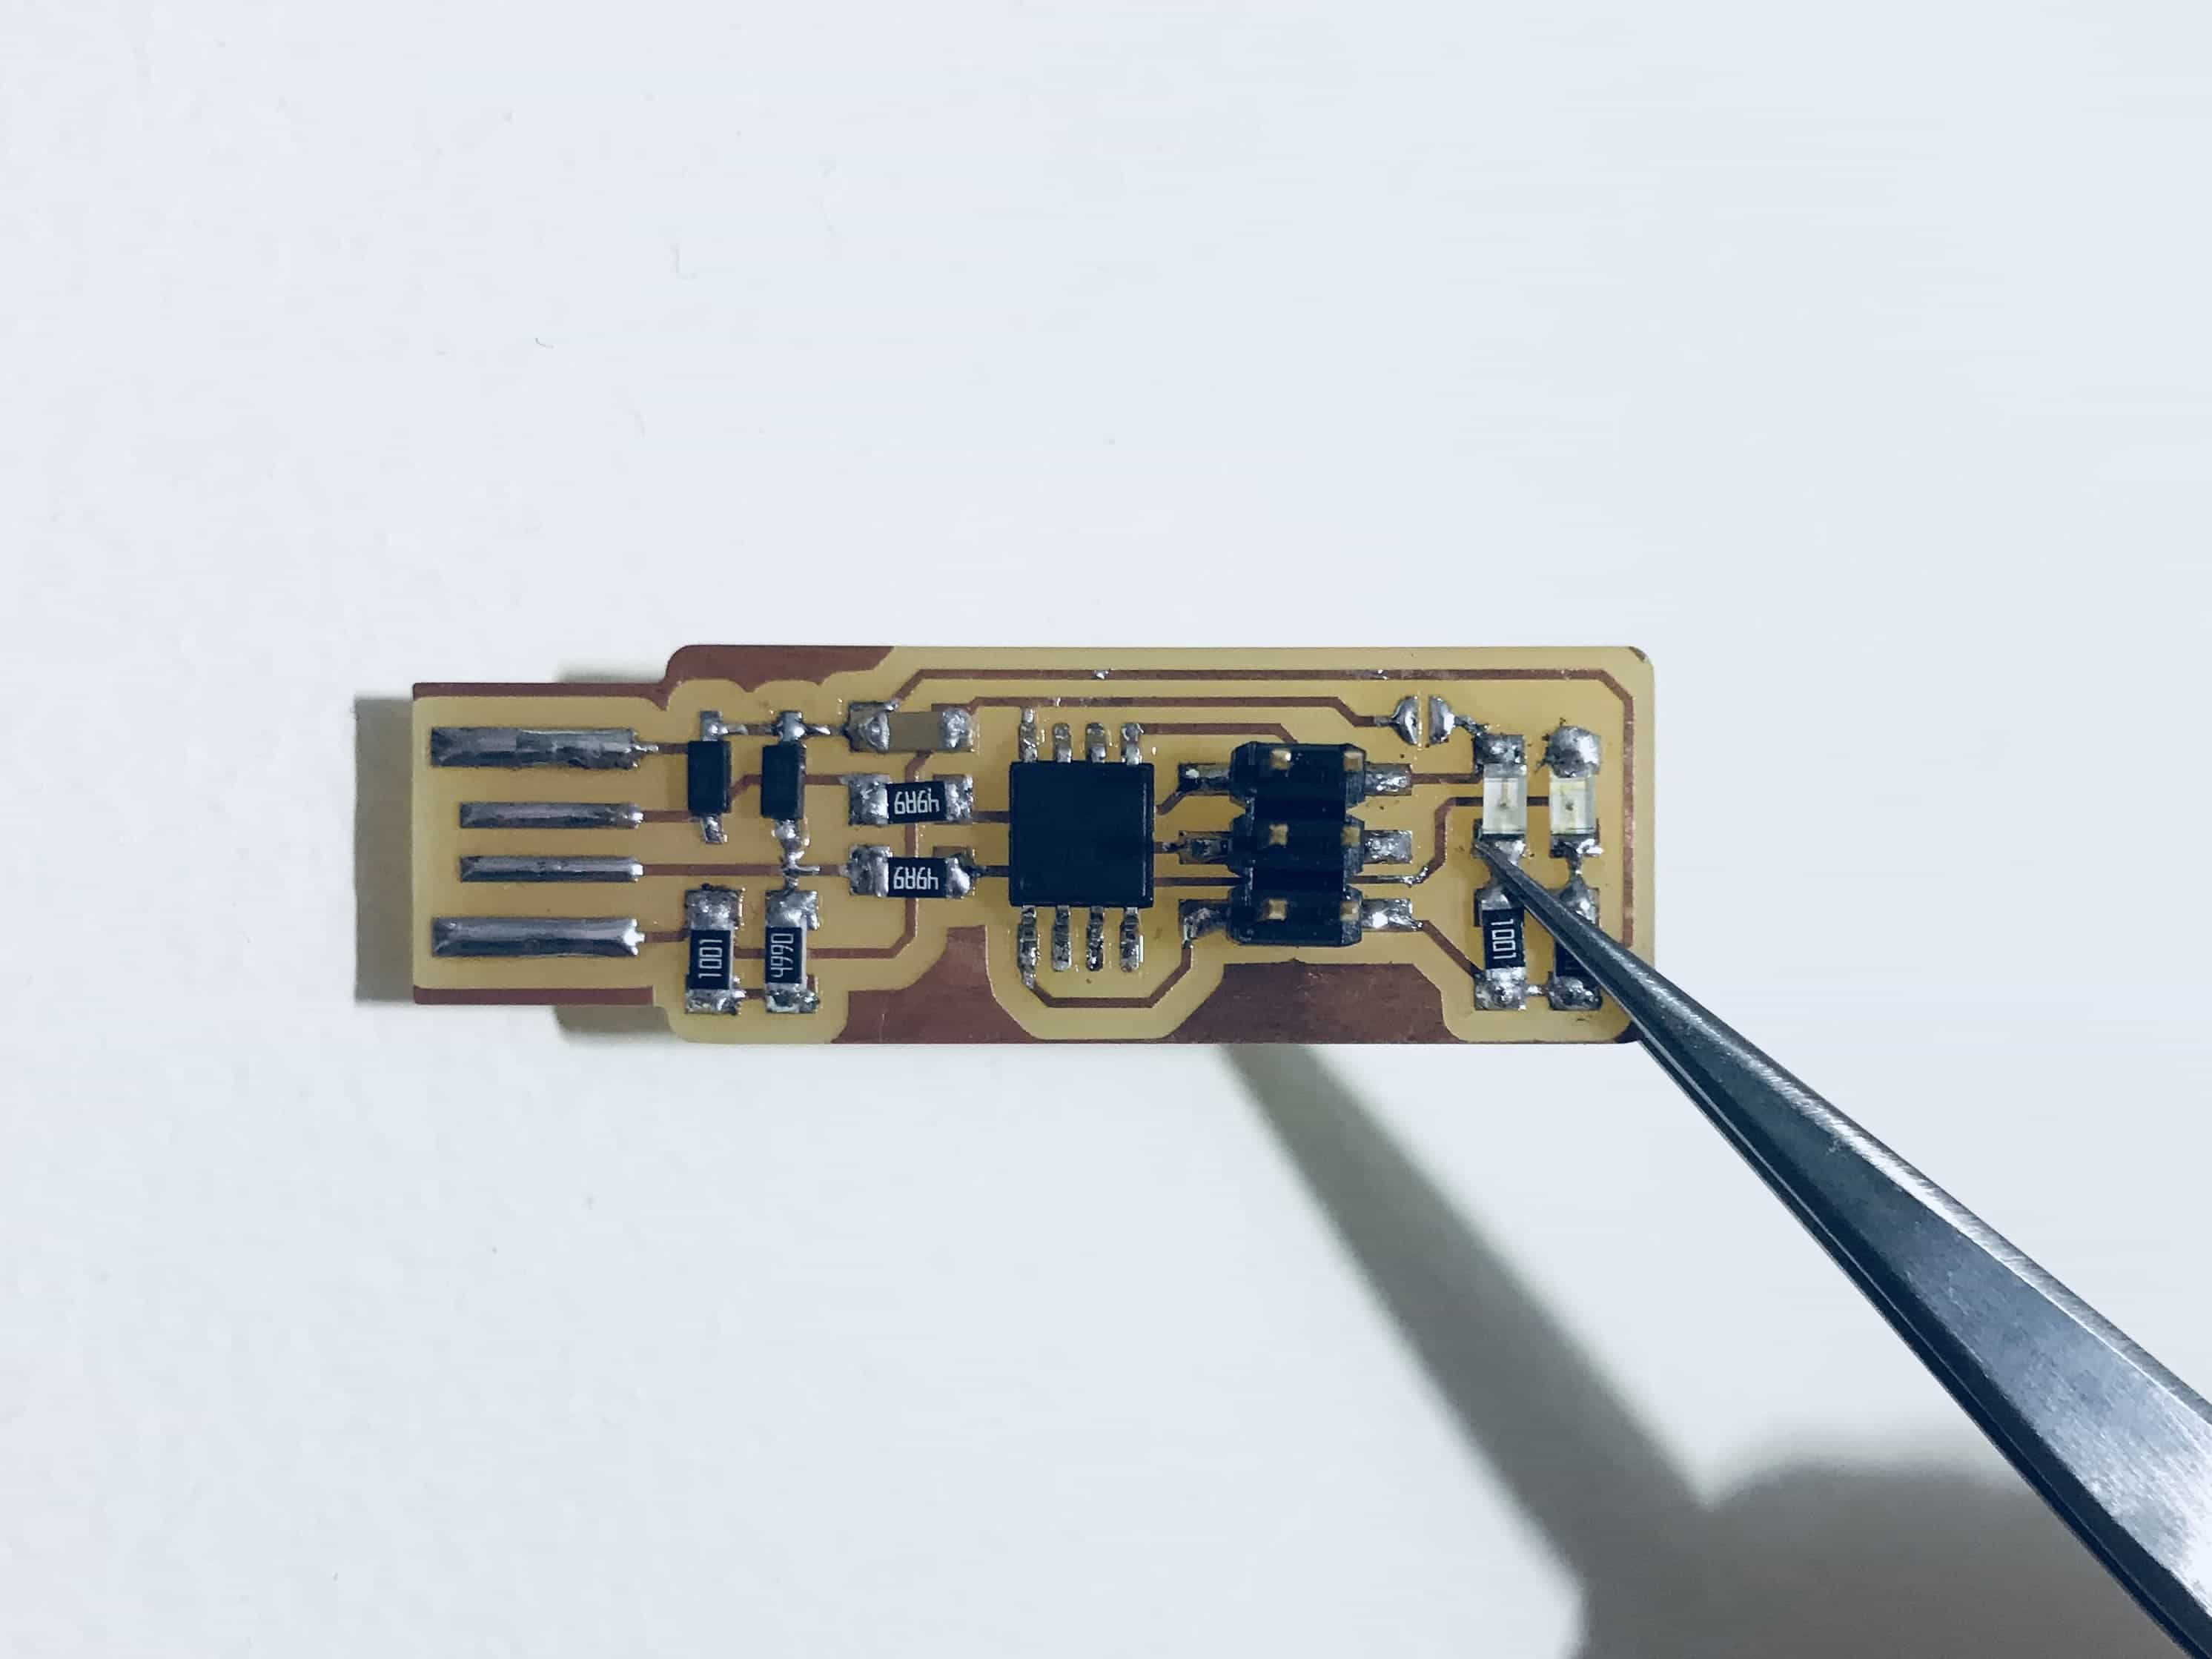
My First FabTinyISP!
Programming
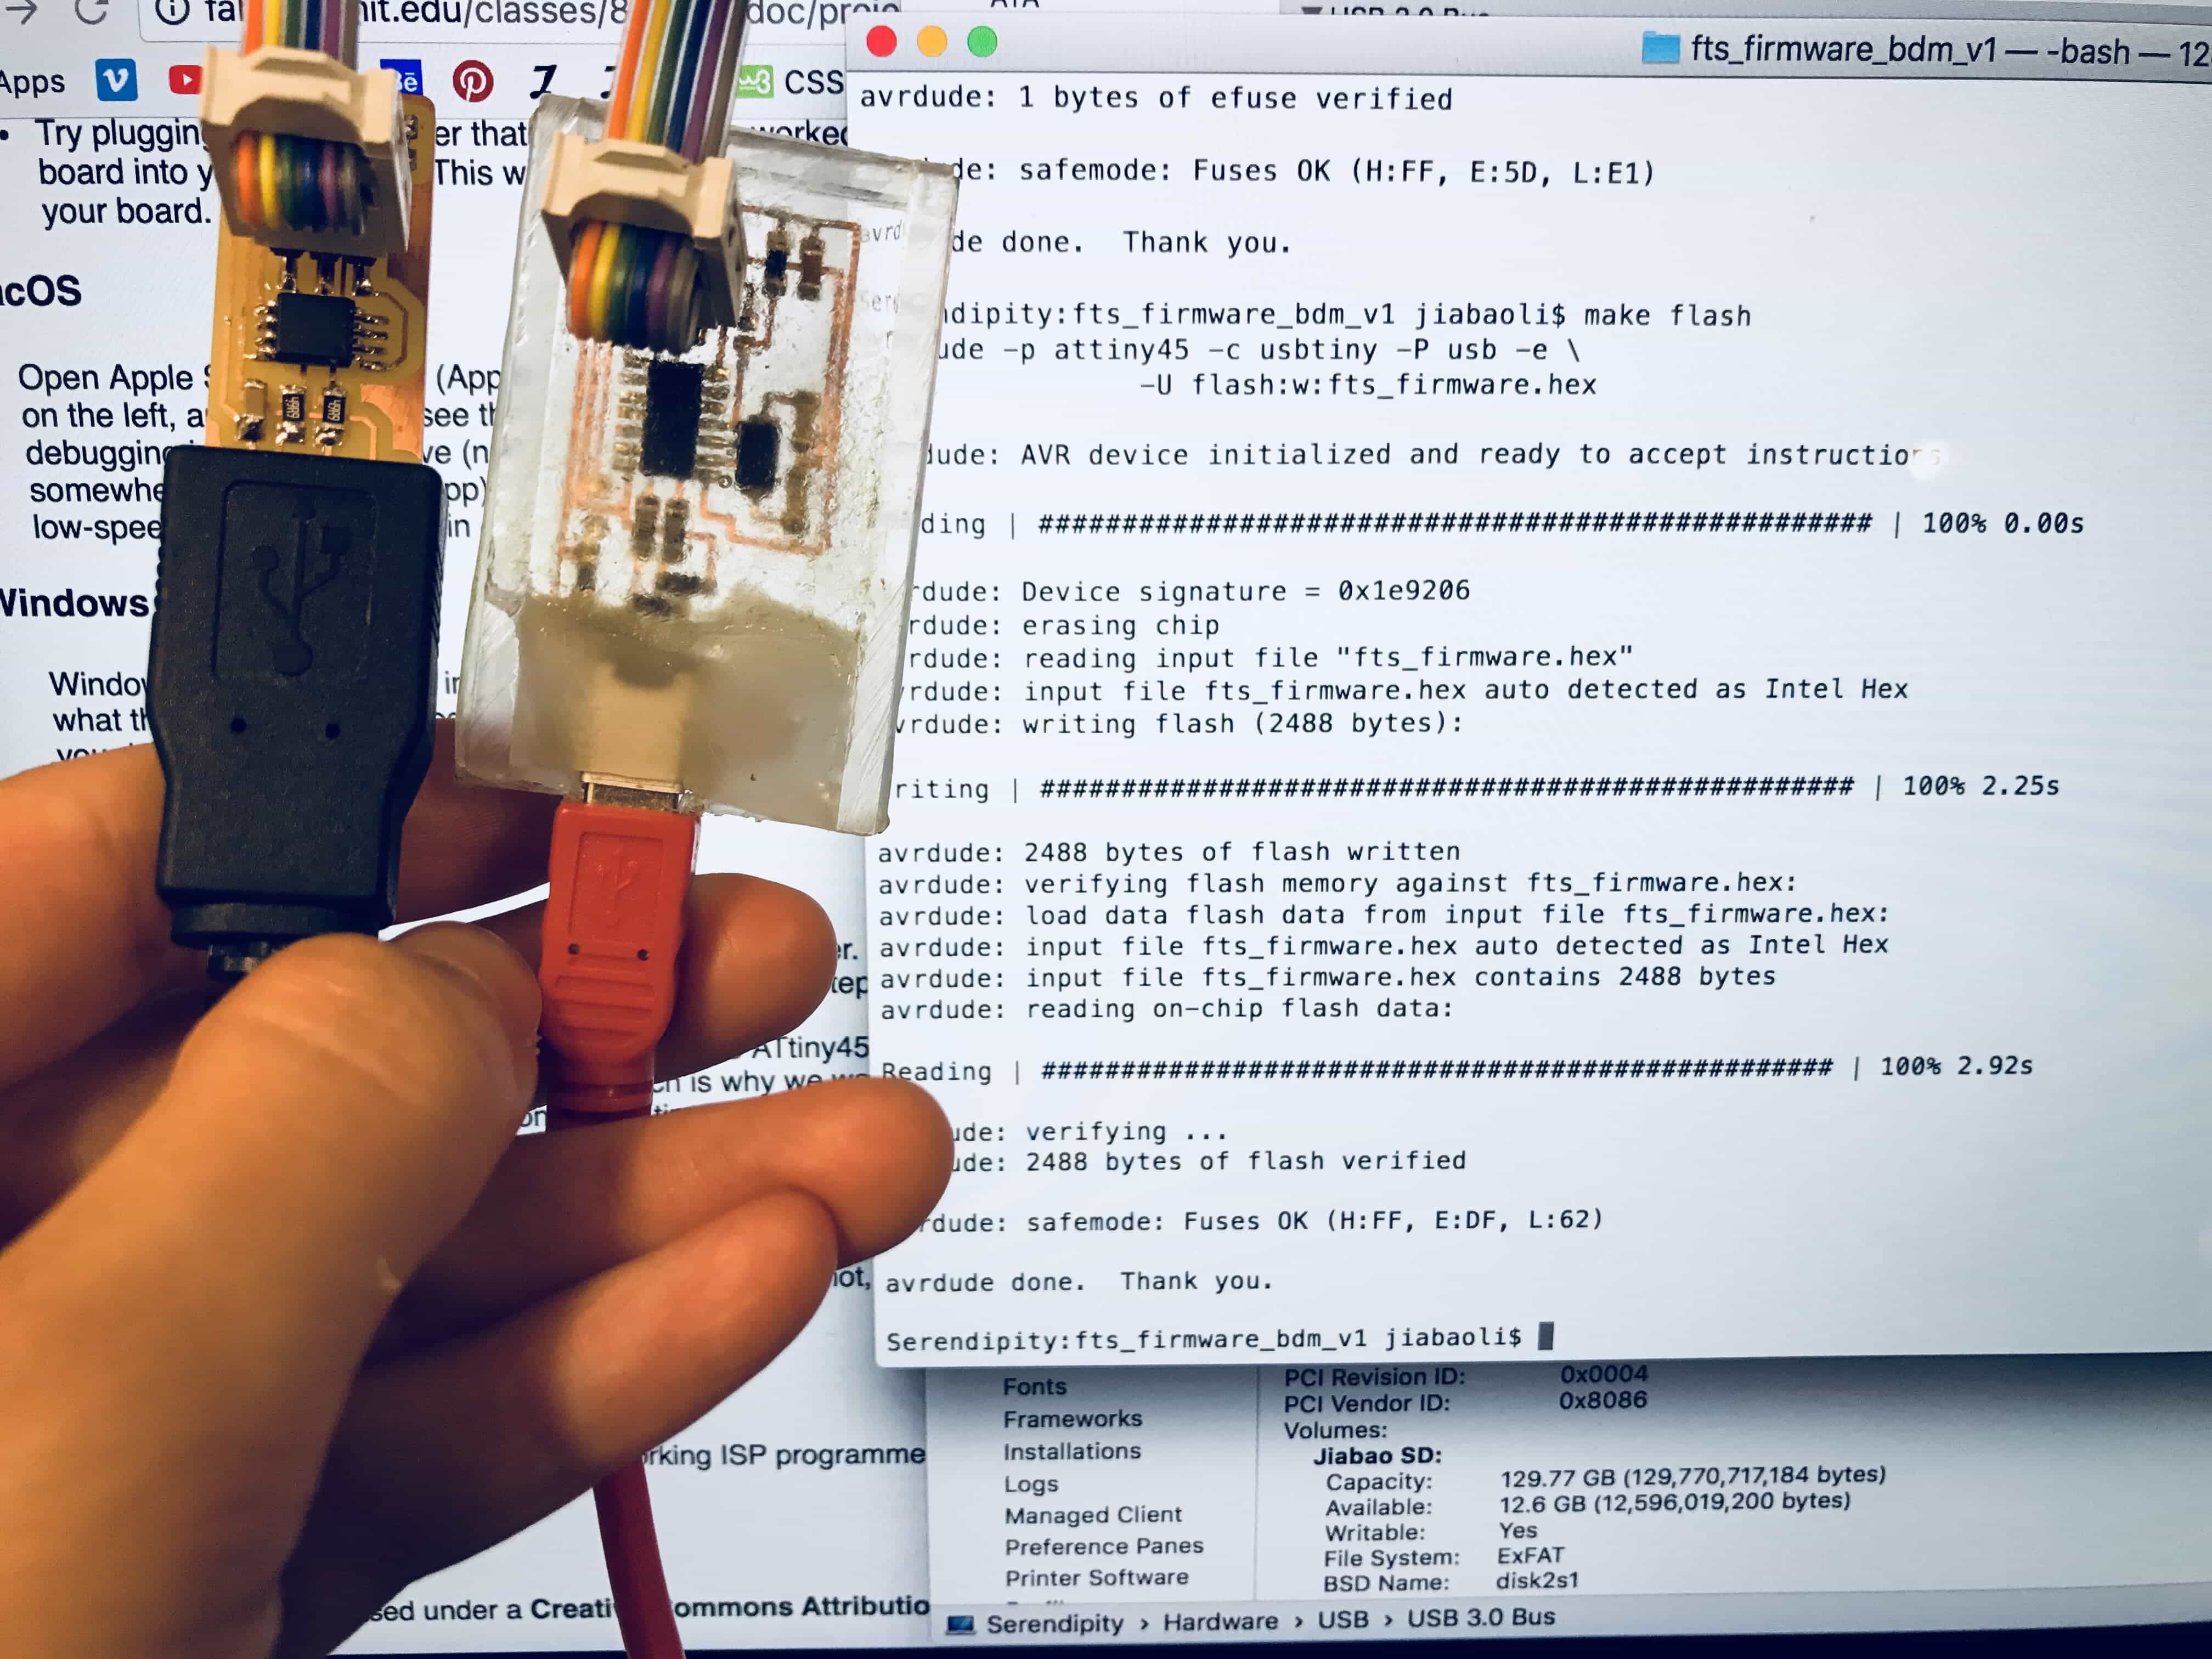
To make the programmable programmer to program programmables, we need another in-system programmer to program the ATiny45 on the FabISP board.
Ready to be a programmer
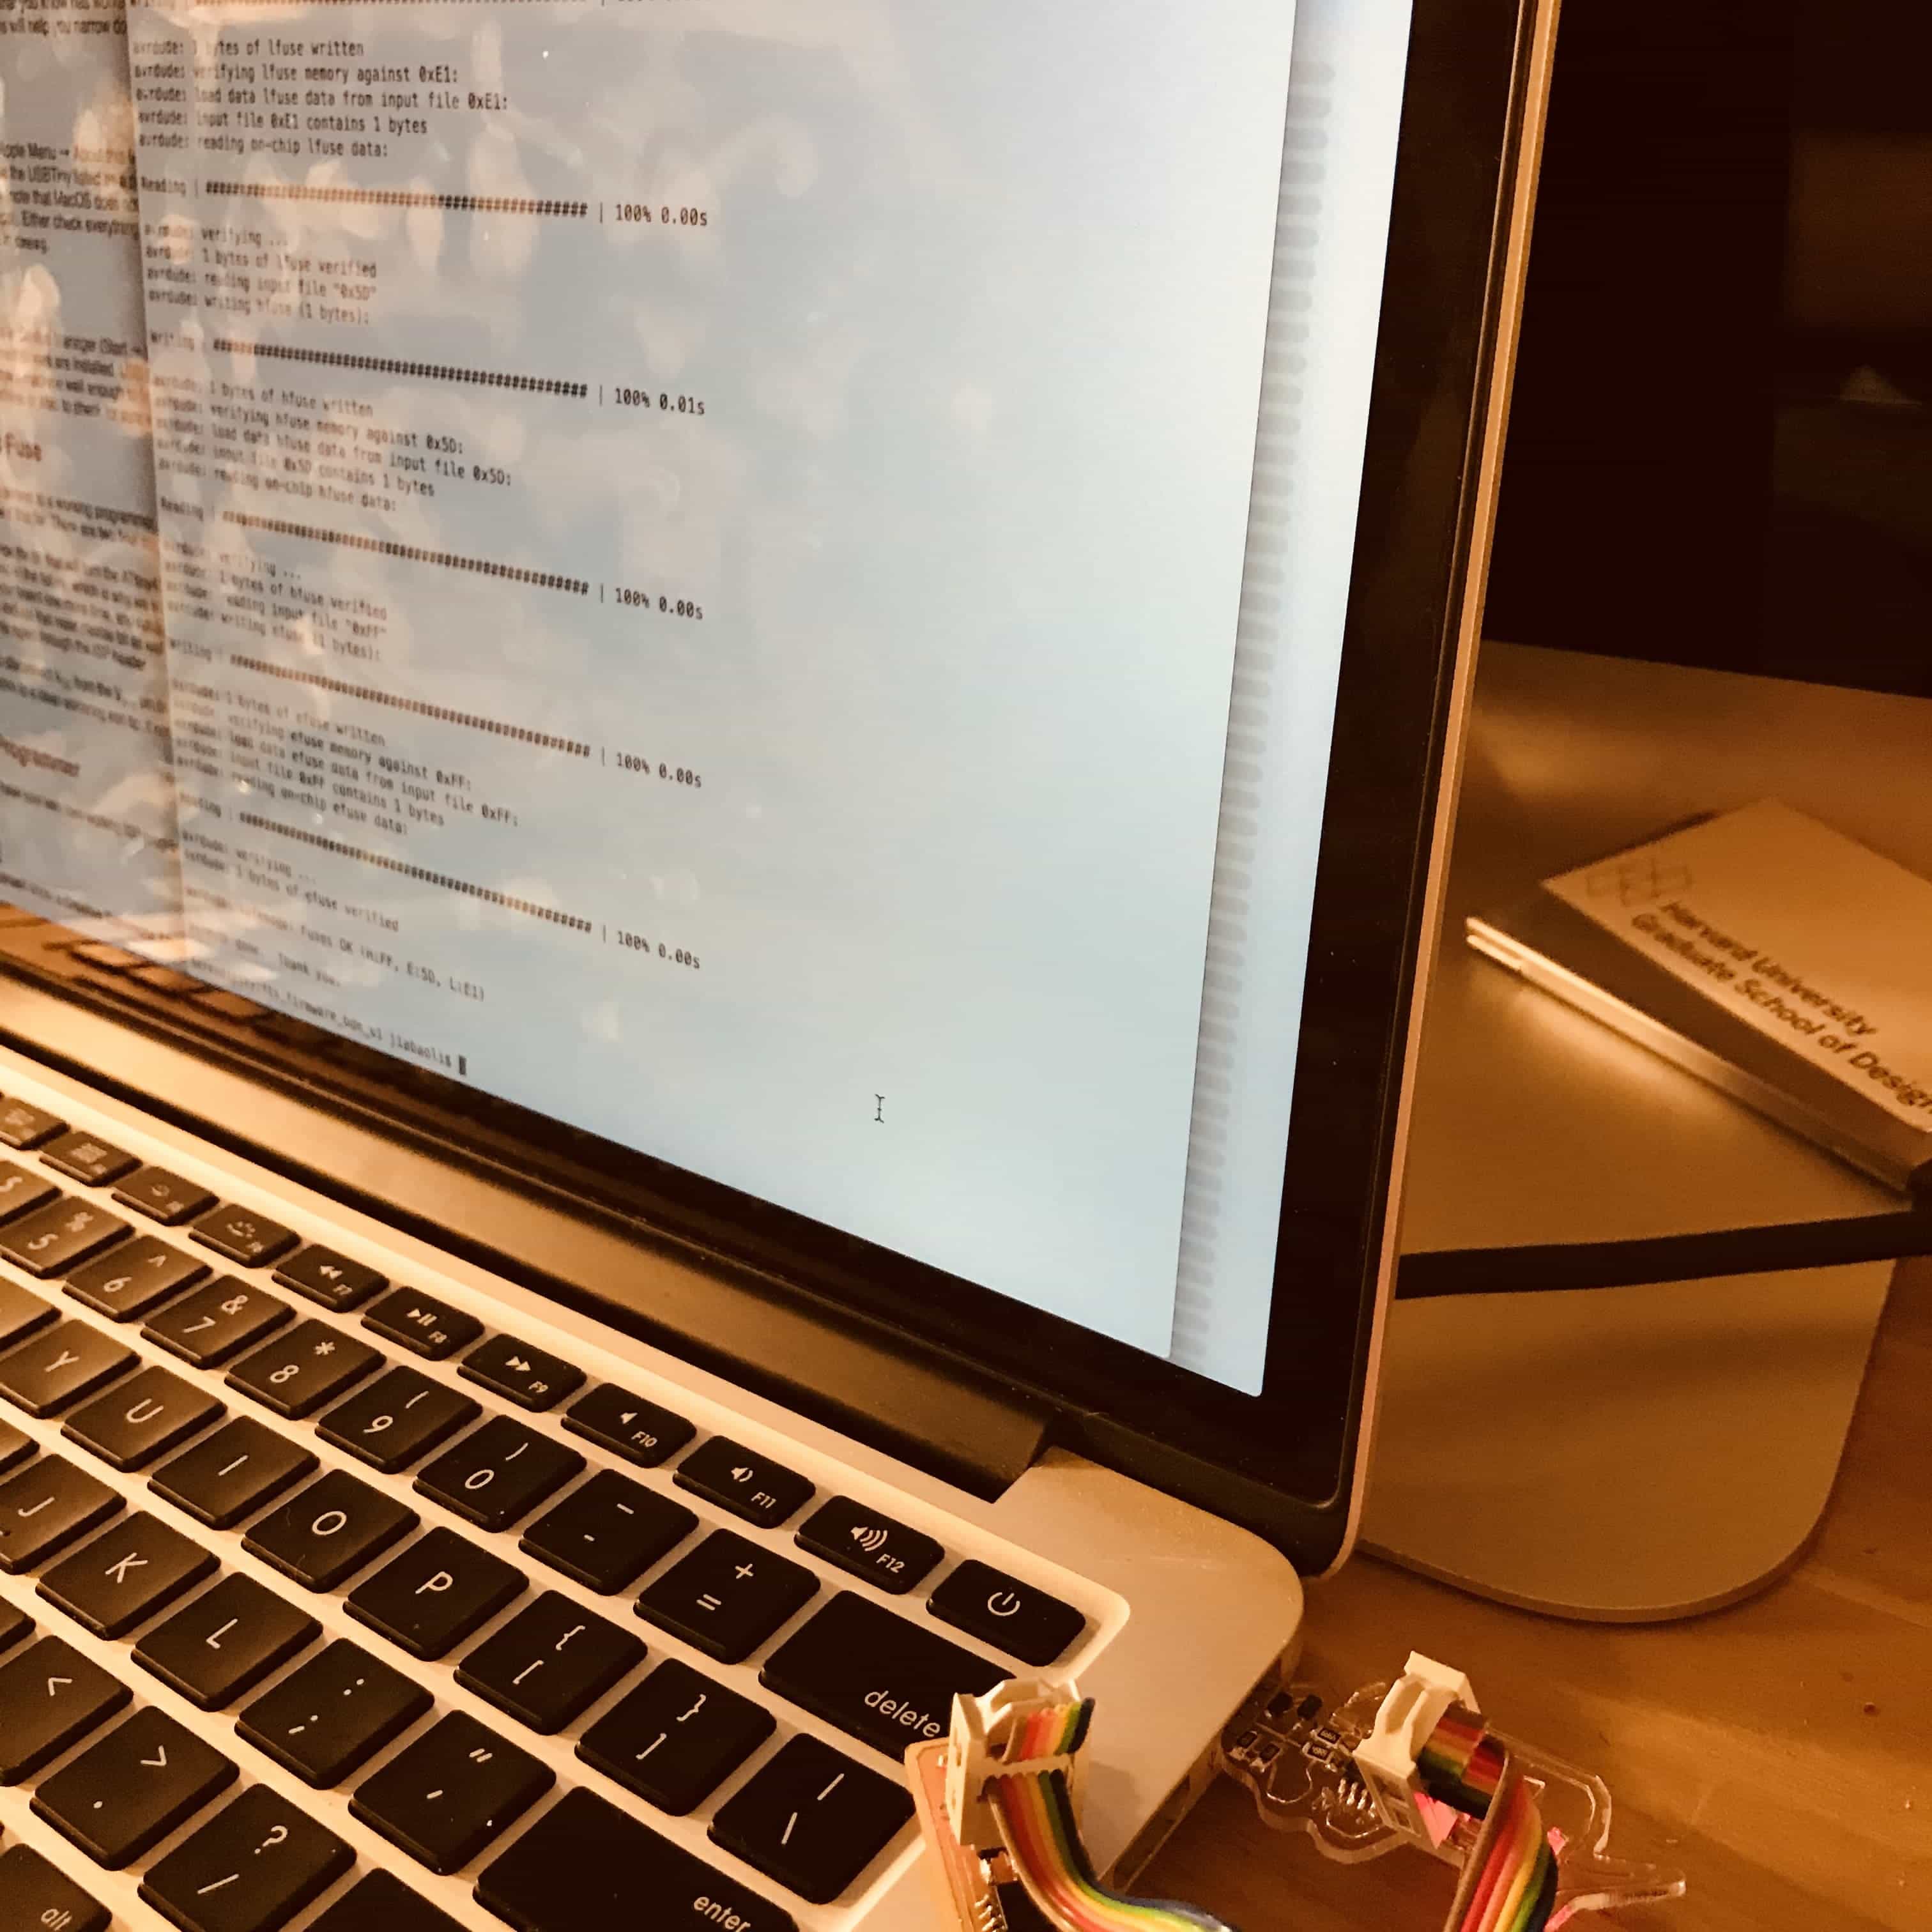
make flash
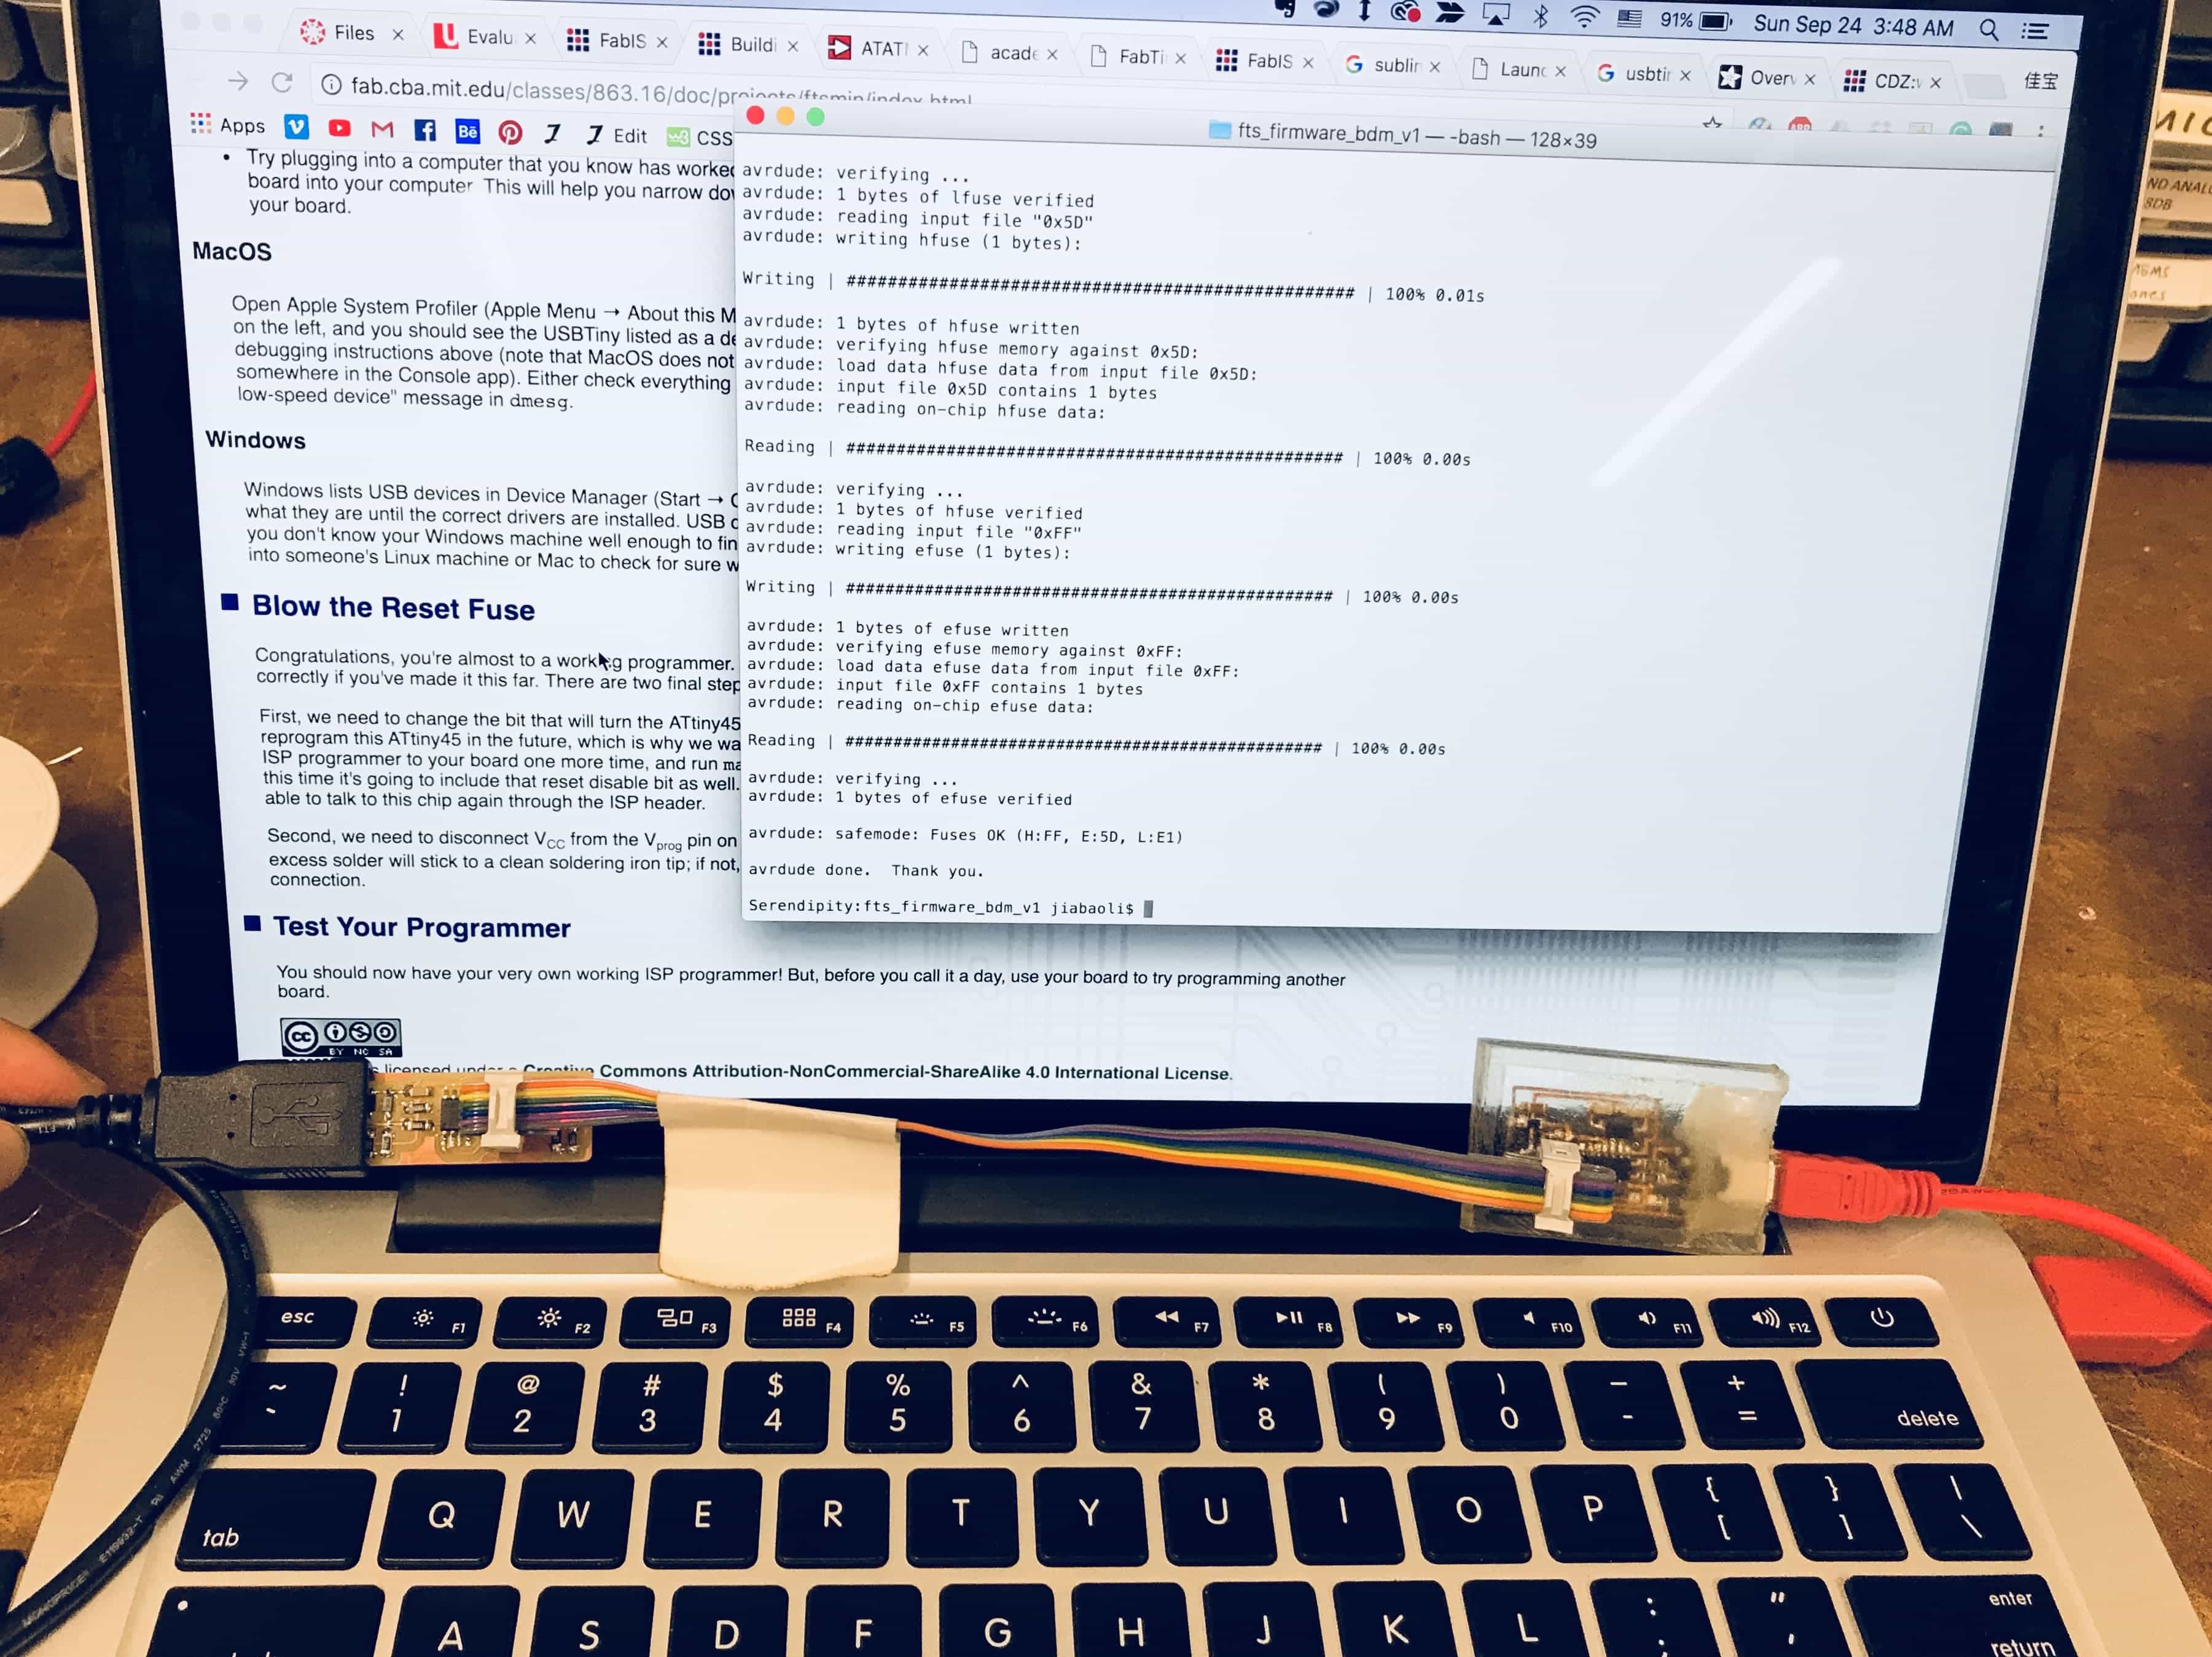
make fuses
make rstdisbl
Now I can use it to program the micro-controllers on other boards.
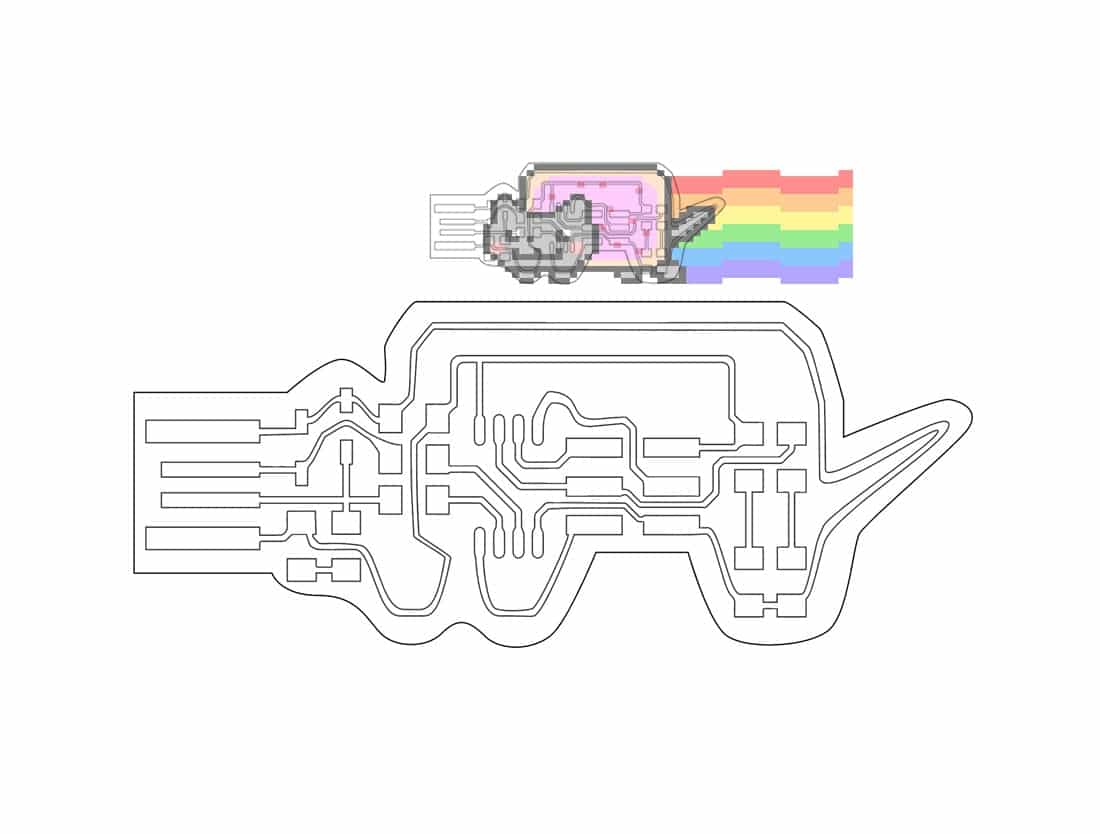
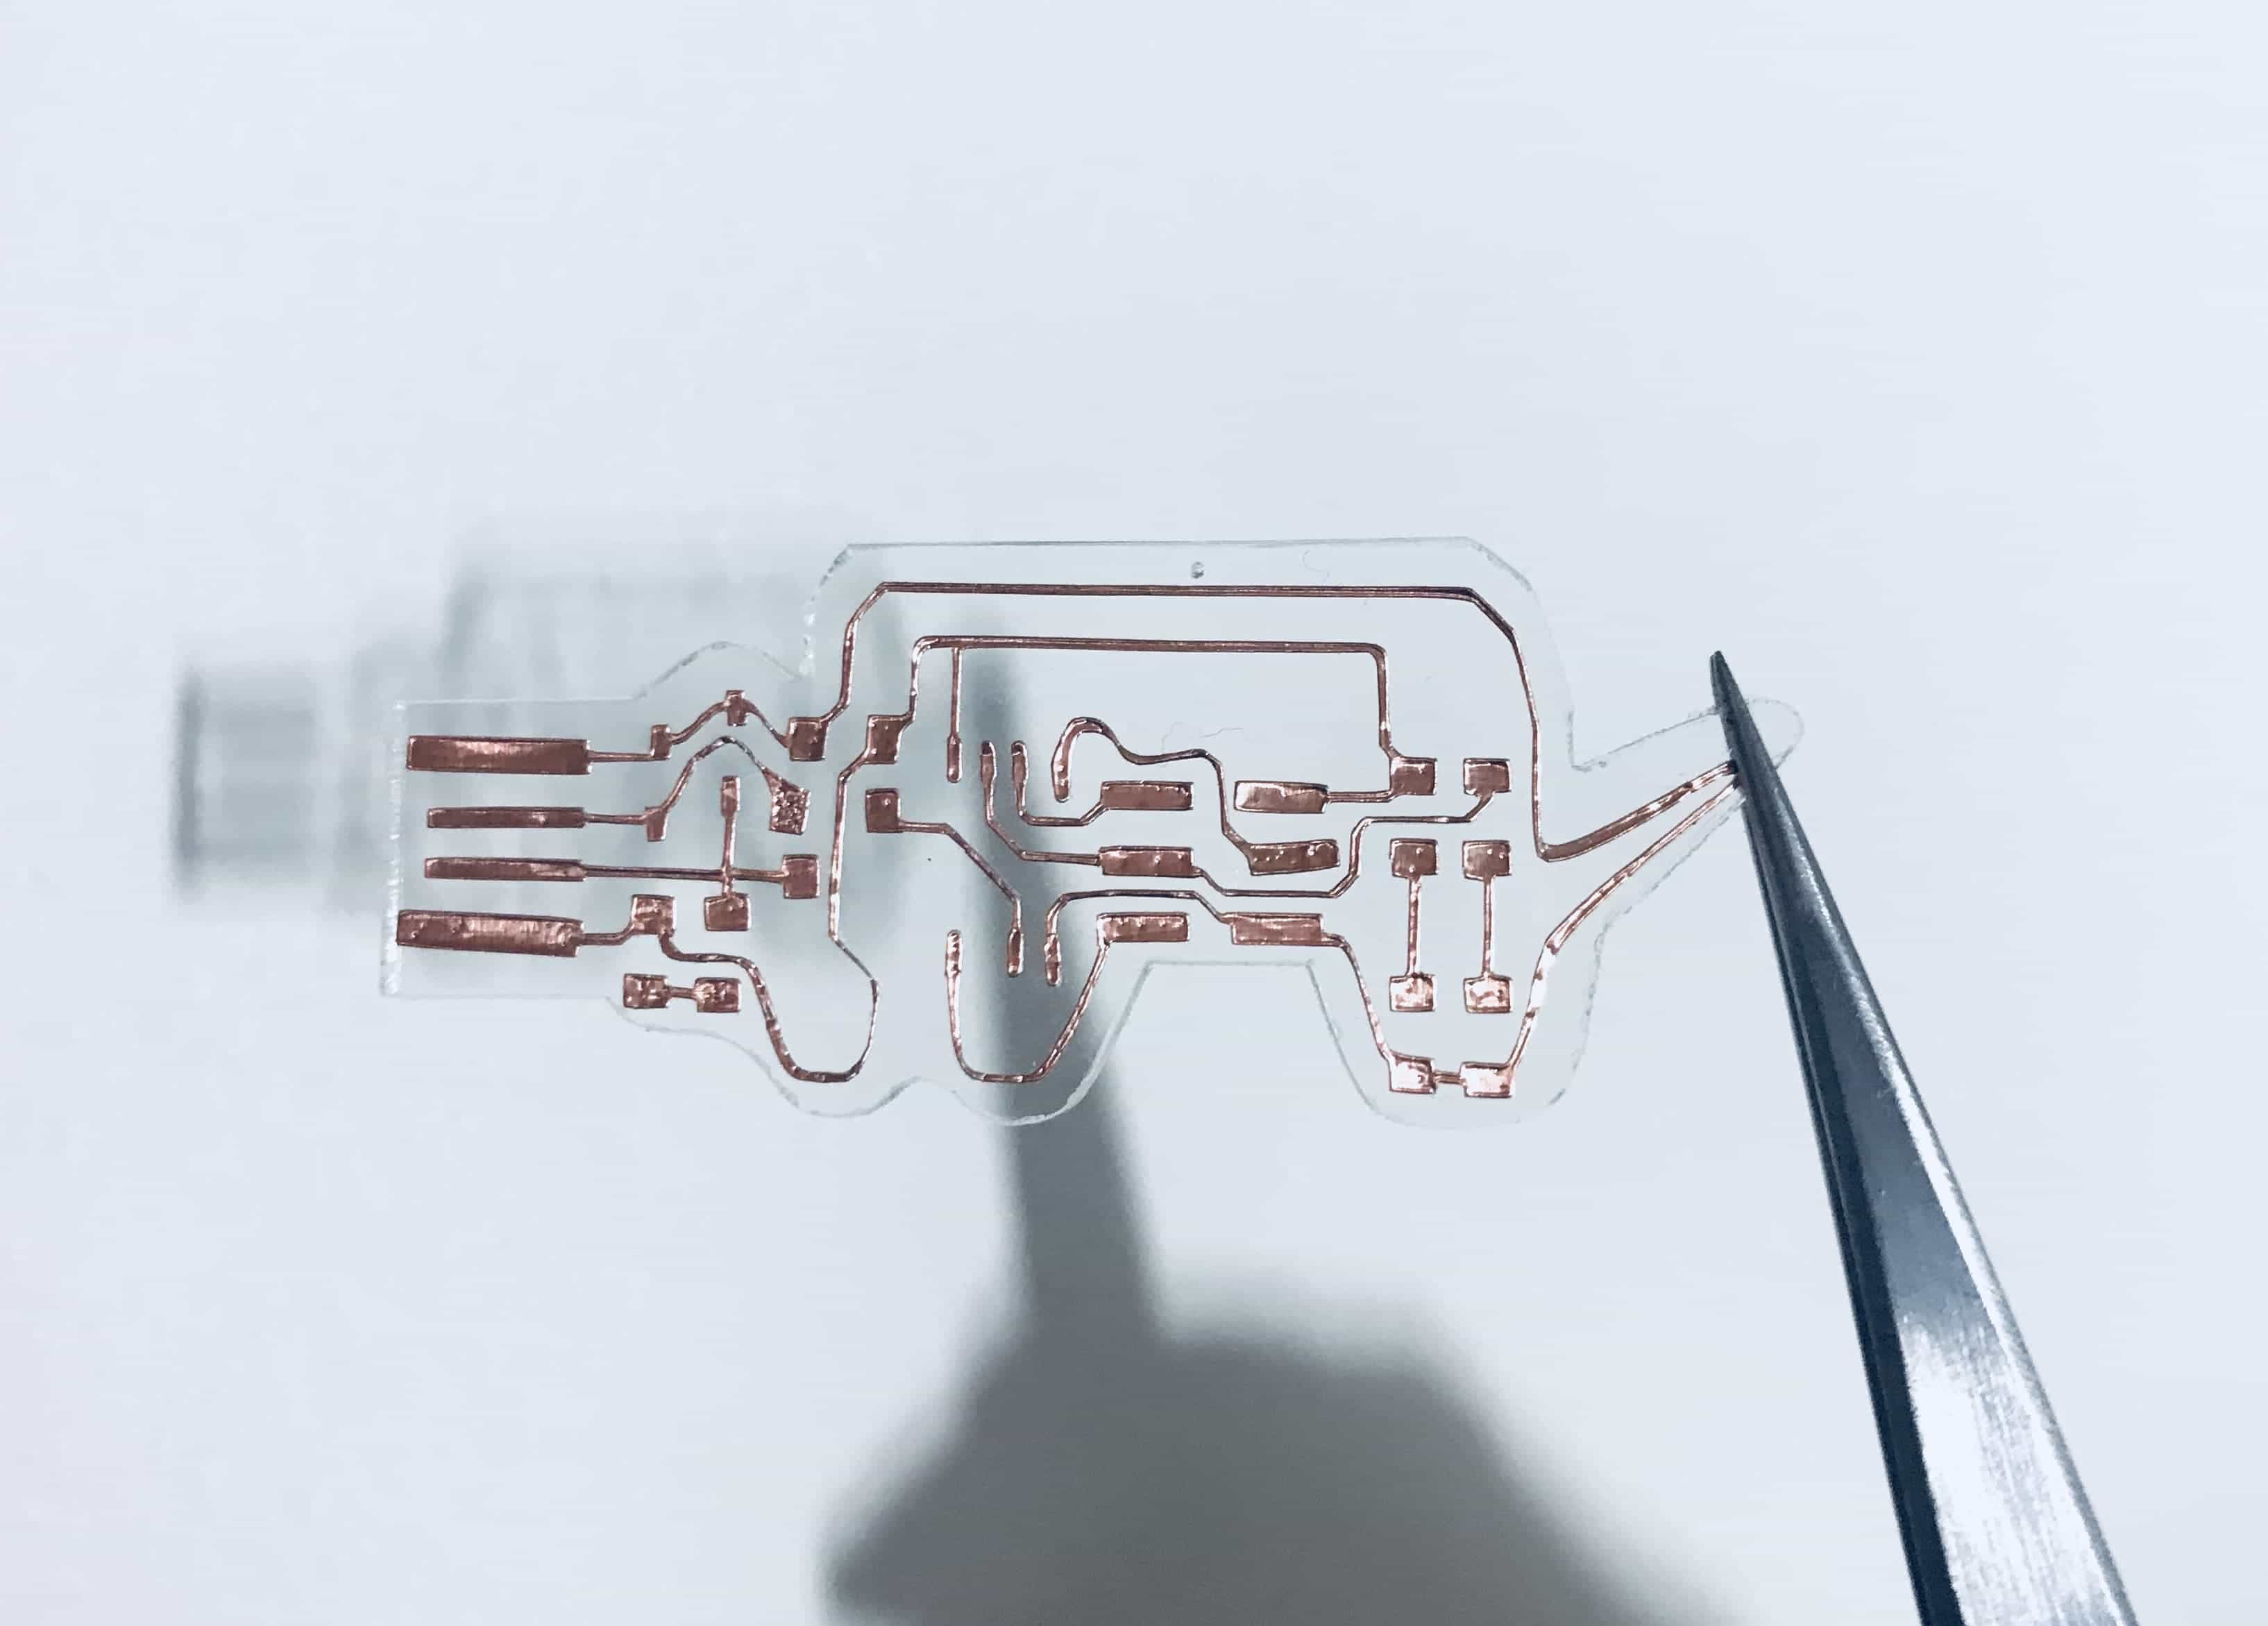
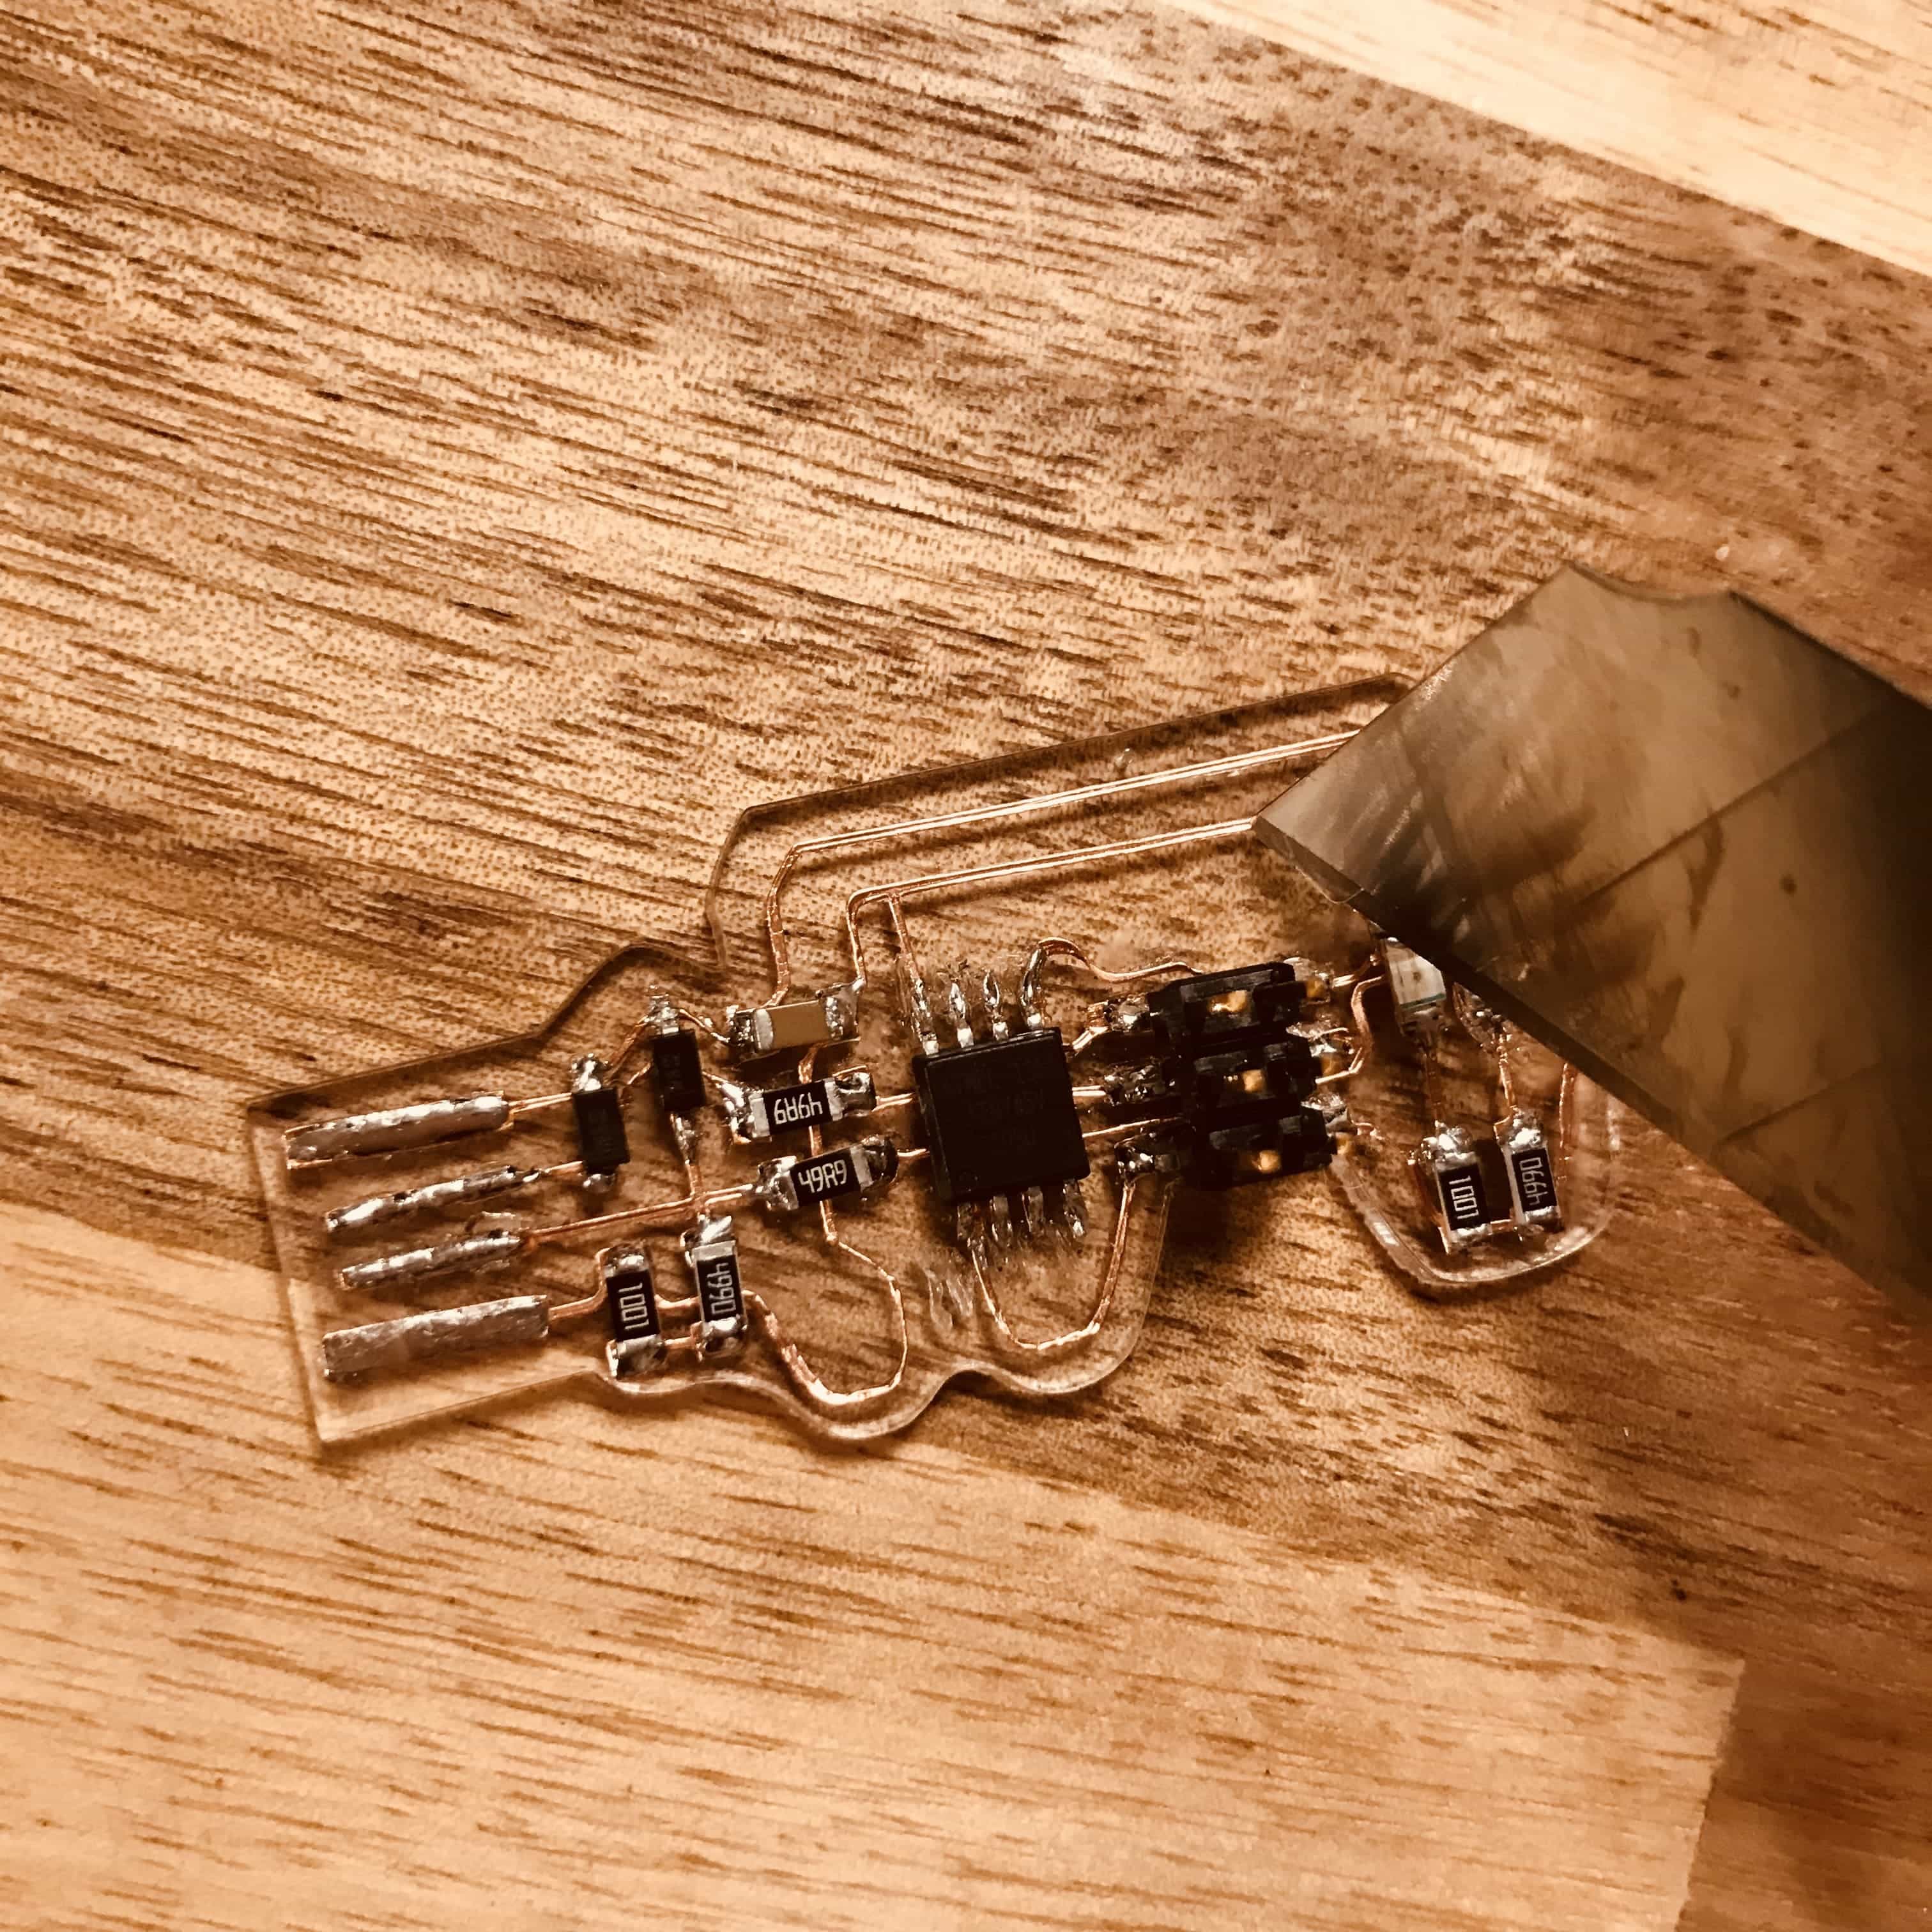
Flexible vinyl cut circuits
I tried out another method - vinyl cutting the circuit. The rainbow wire reminds me of Nyan cat. To make it fun, I change the circuit into the unforgettable cat. I traced out the cuts in Illustrator and modified the wires keeping the distance between soldering spots.
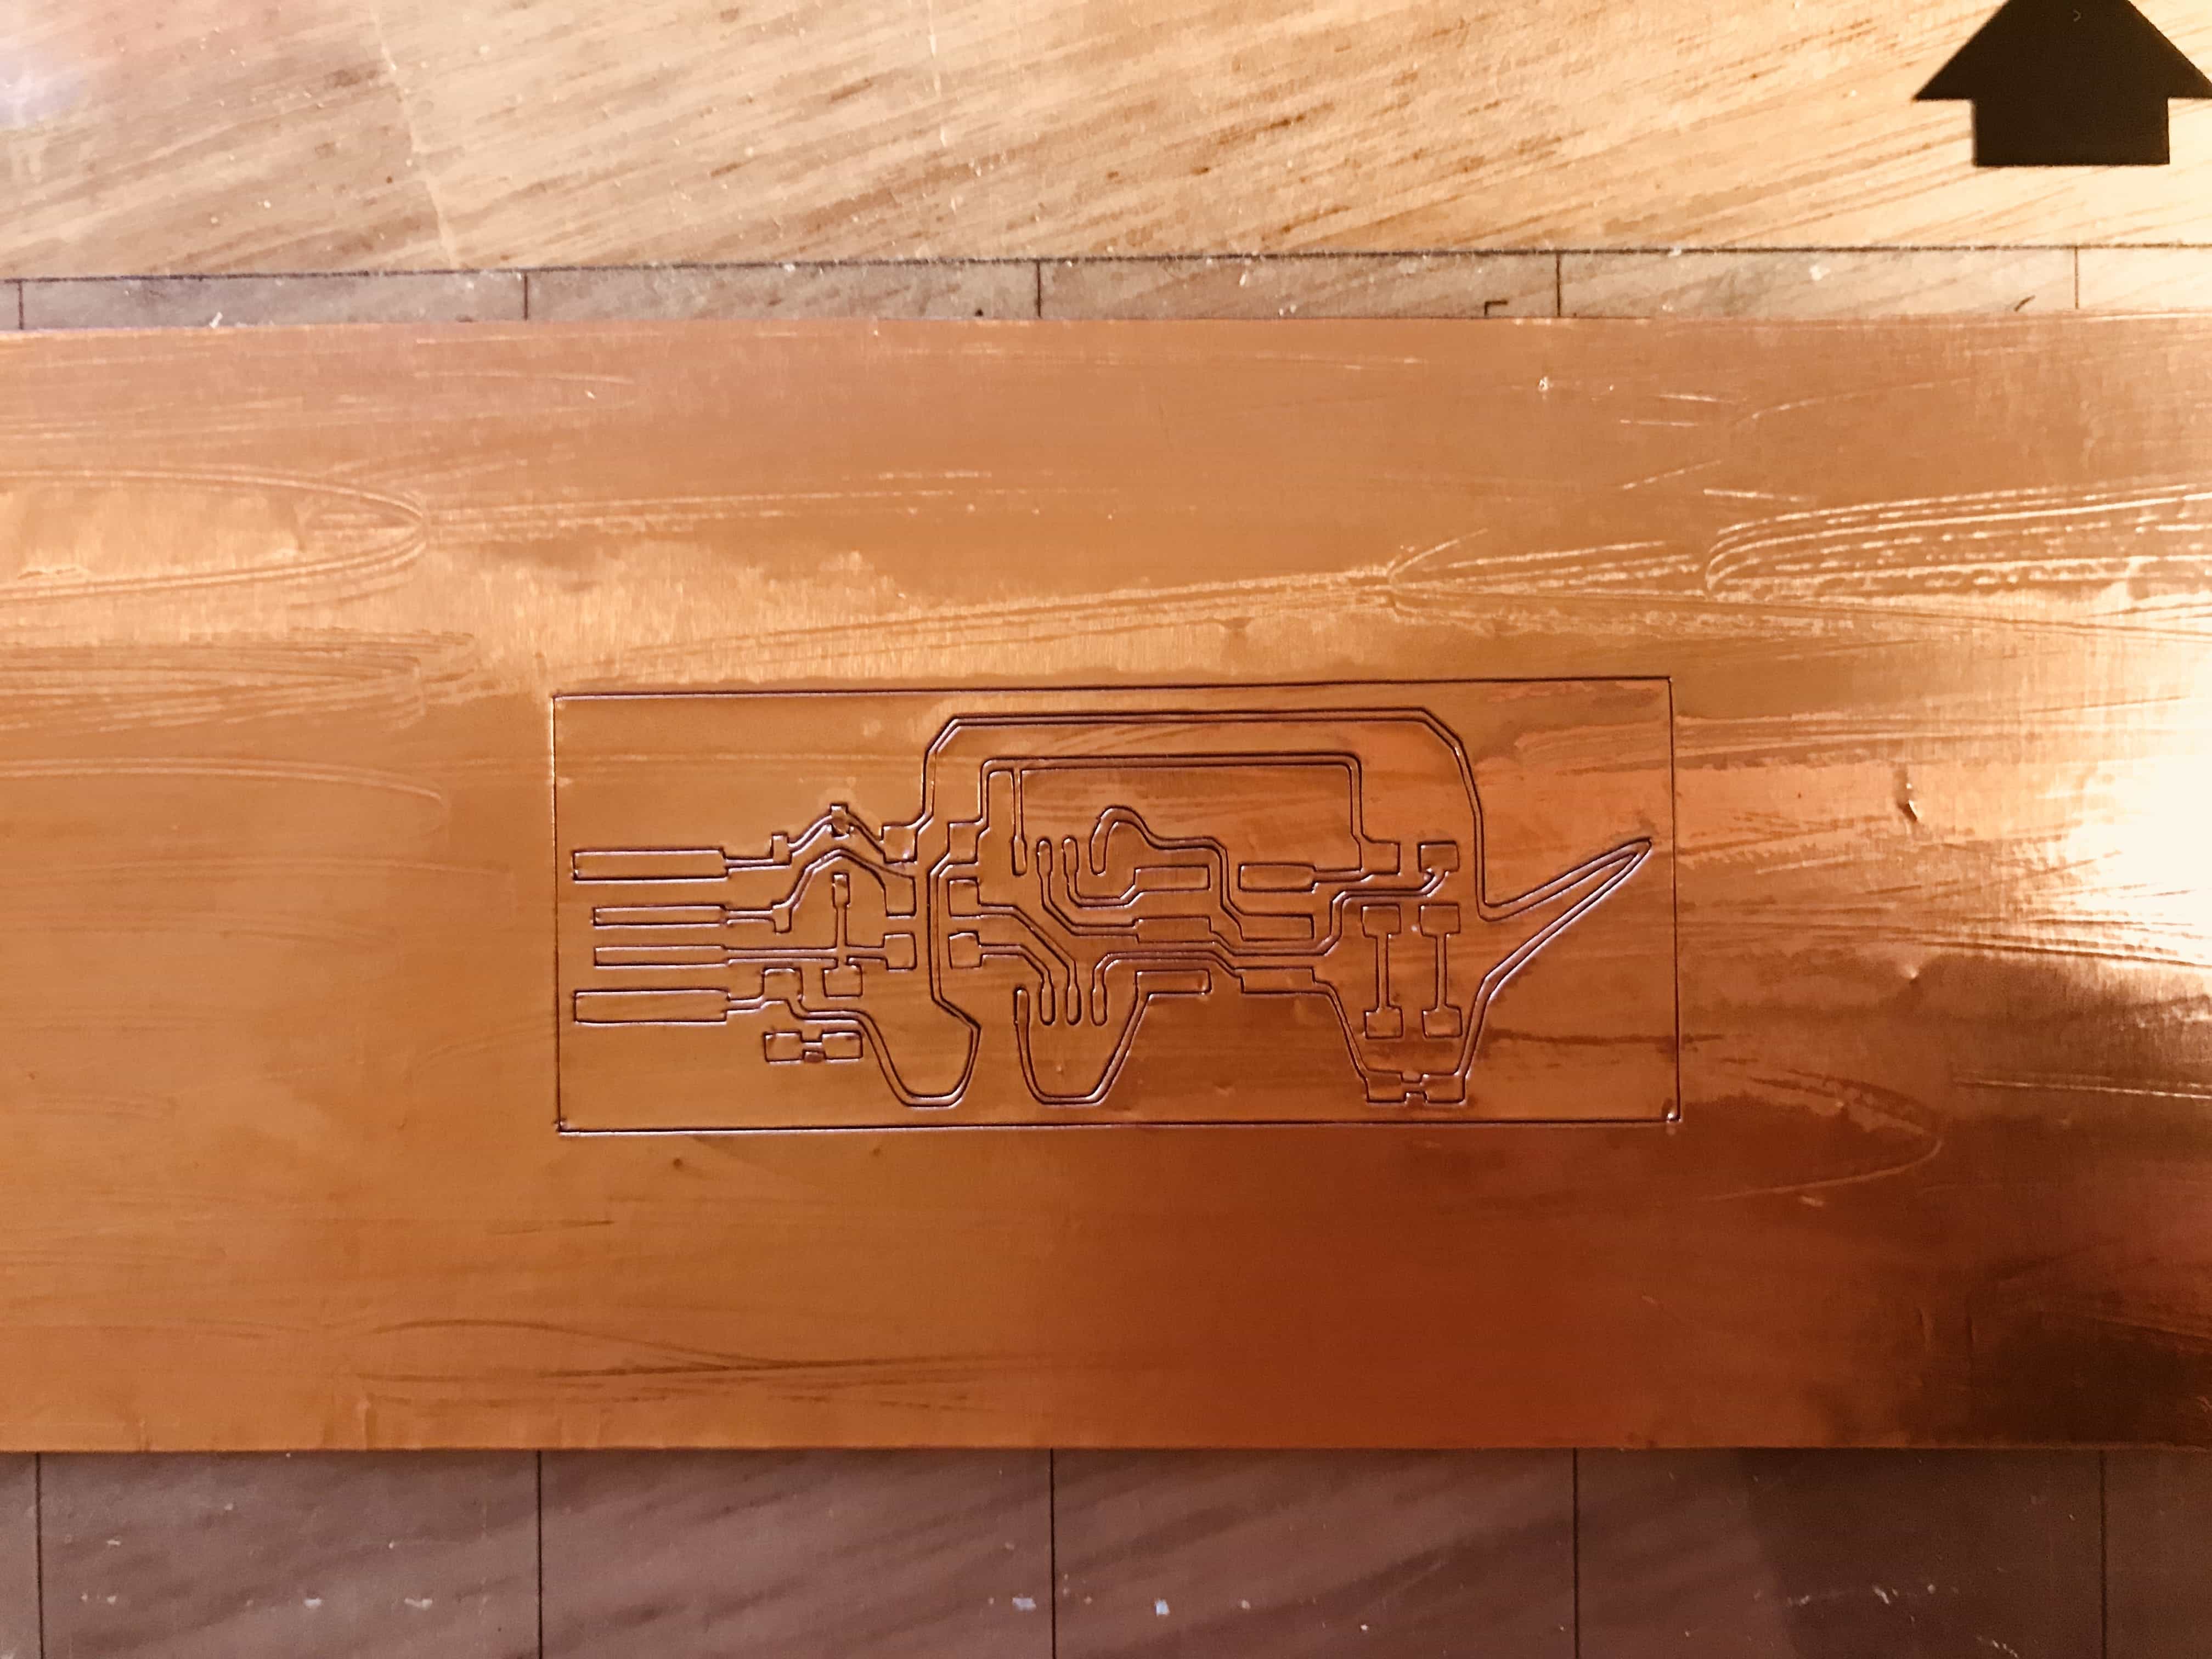
Cut the circuit
The circuits that I can cut on a vinyl cutter are limited by the width of the pen knife. For this one it's fine.
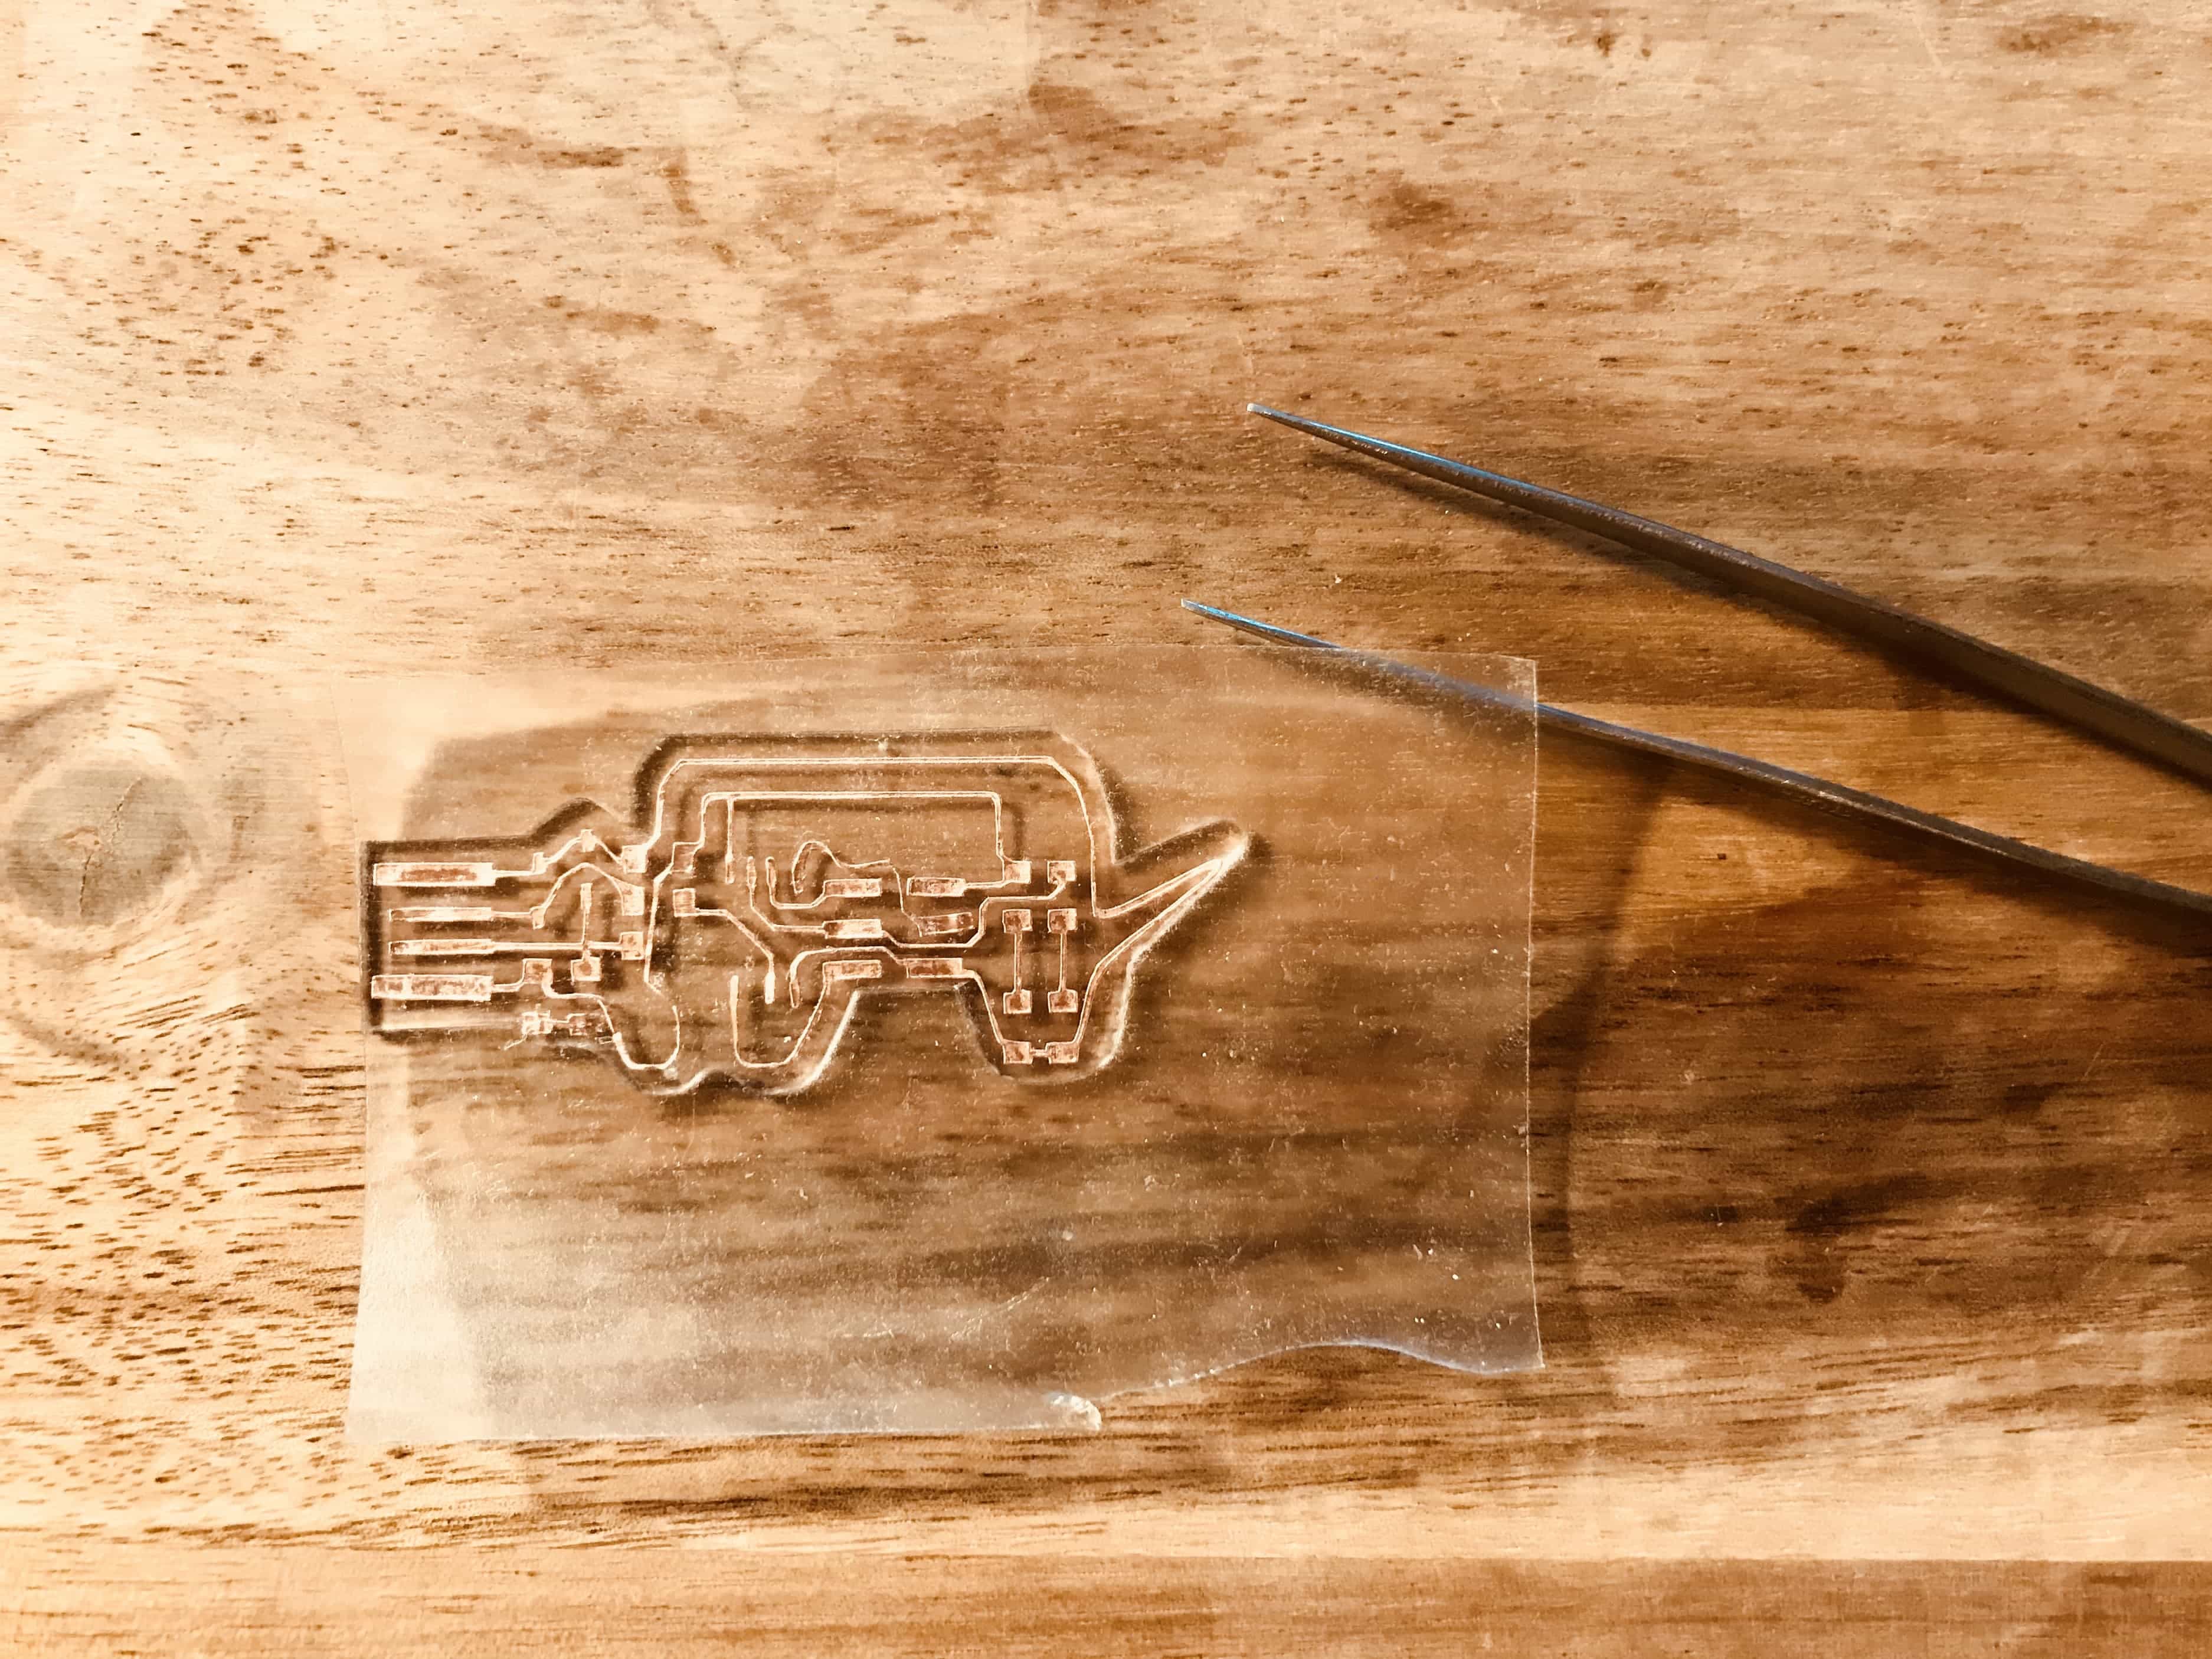
Transfer the circuit on to a base
It is very adhesive between the copper sticker and the cutting matt. The usual way of using the tracing paper does not work here. After wasted five pieces of cut, I finally found a way to transfer easily and maintain all of the relative positioning in the circuit itself. I added another layer (the back of the tracing paper) in between the copper and the matt. So the adhesiveness is just about right to lift off.
Weed the circuit
I tweezed all of the excess copper out of the circuit. In the picture here it actually lost one connection, but later I found it on the cutting matt..
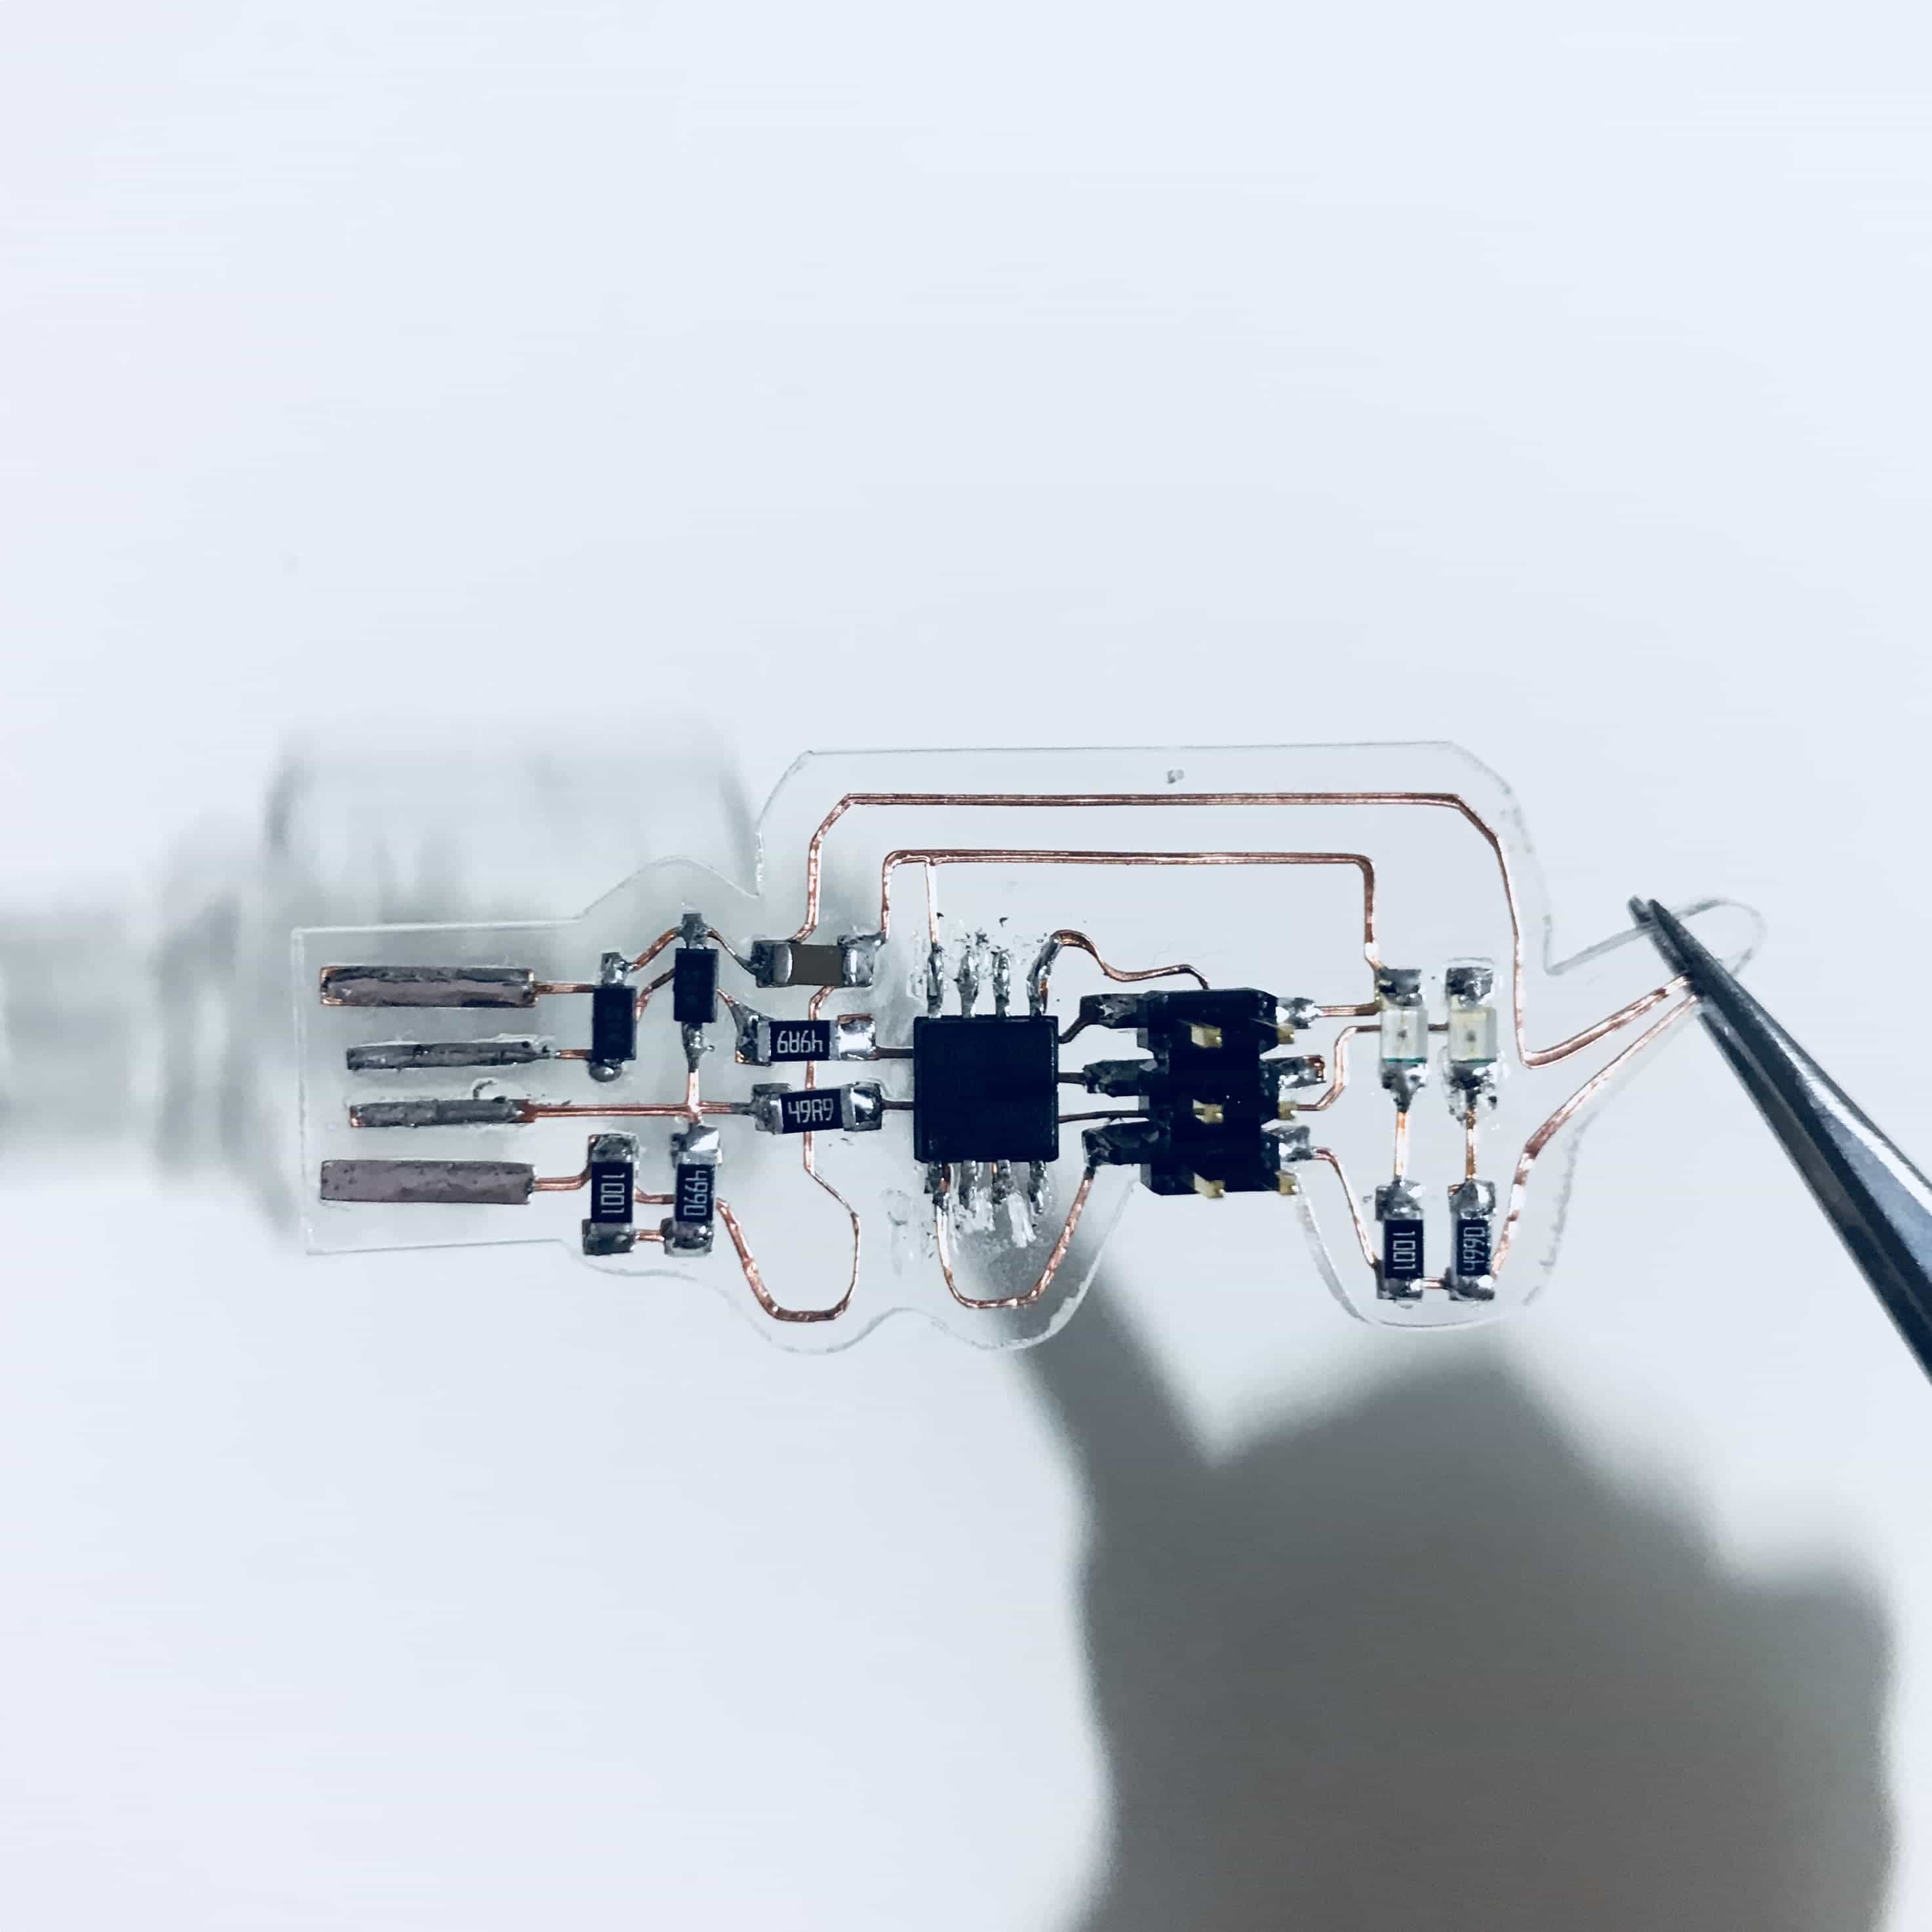
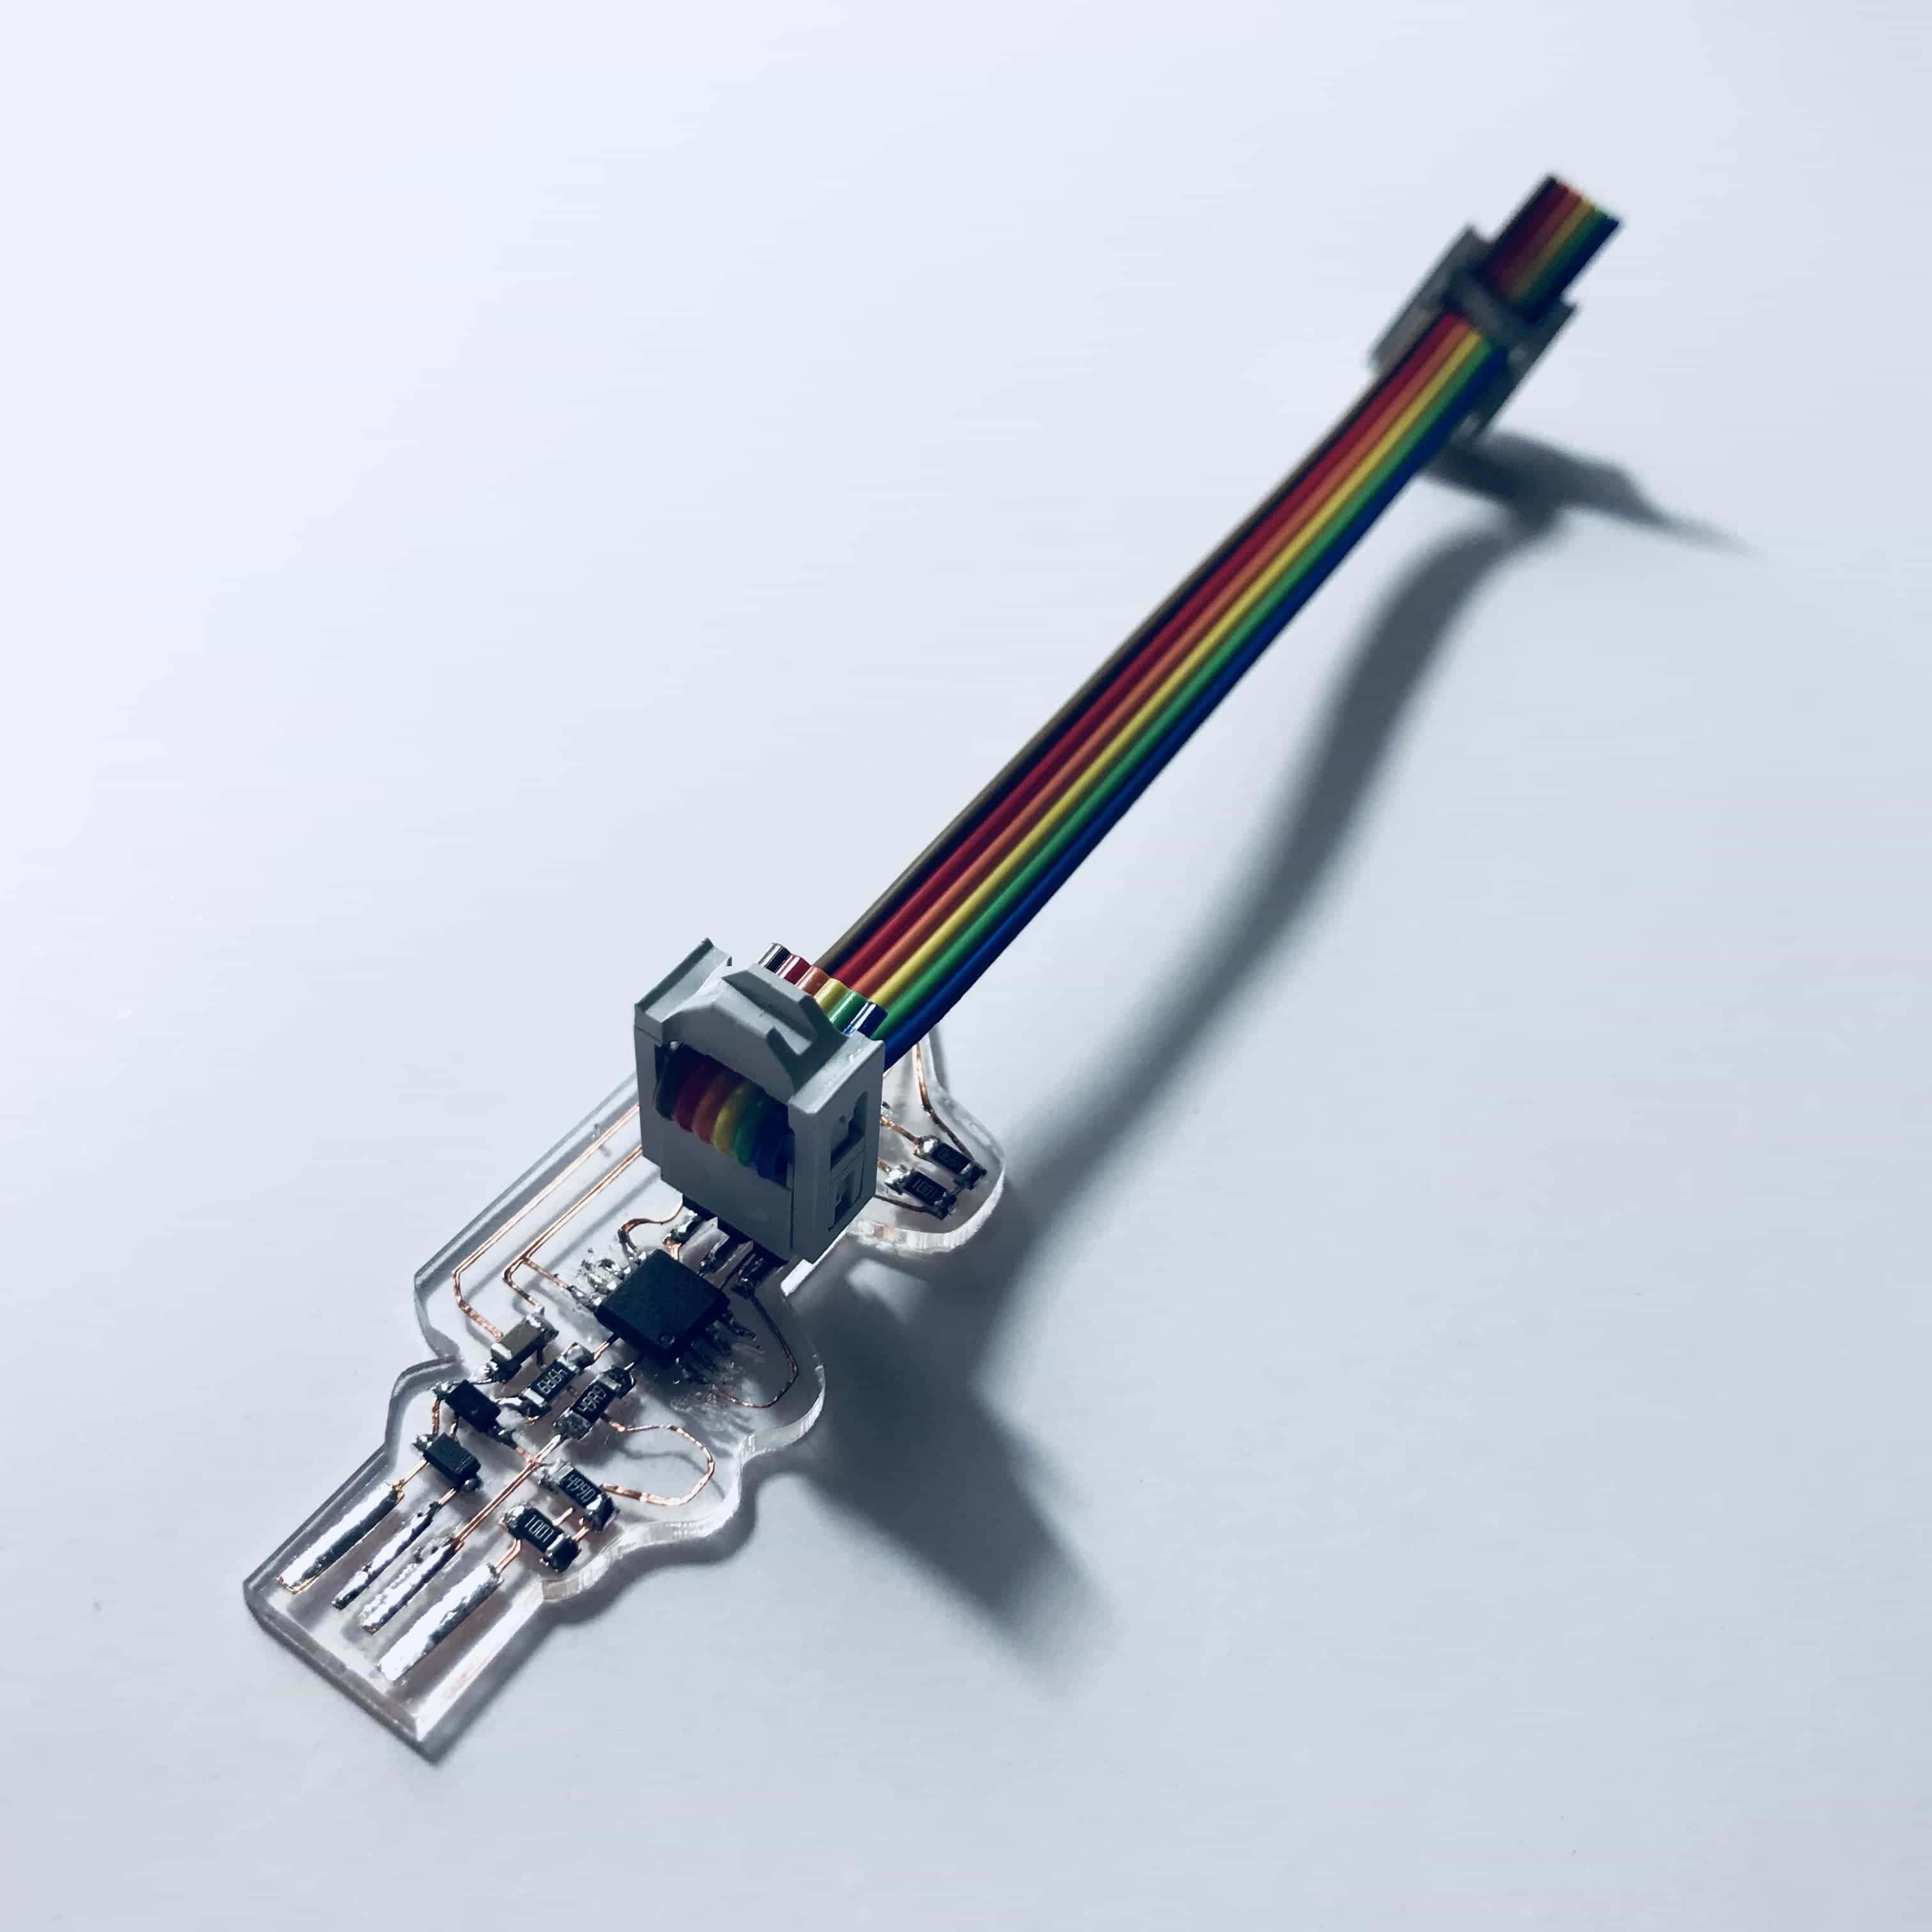
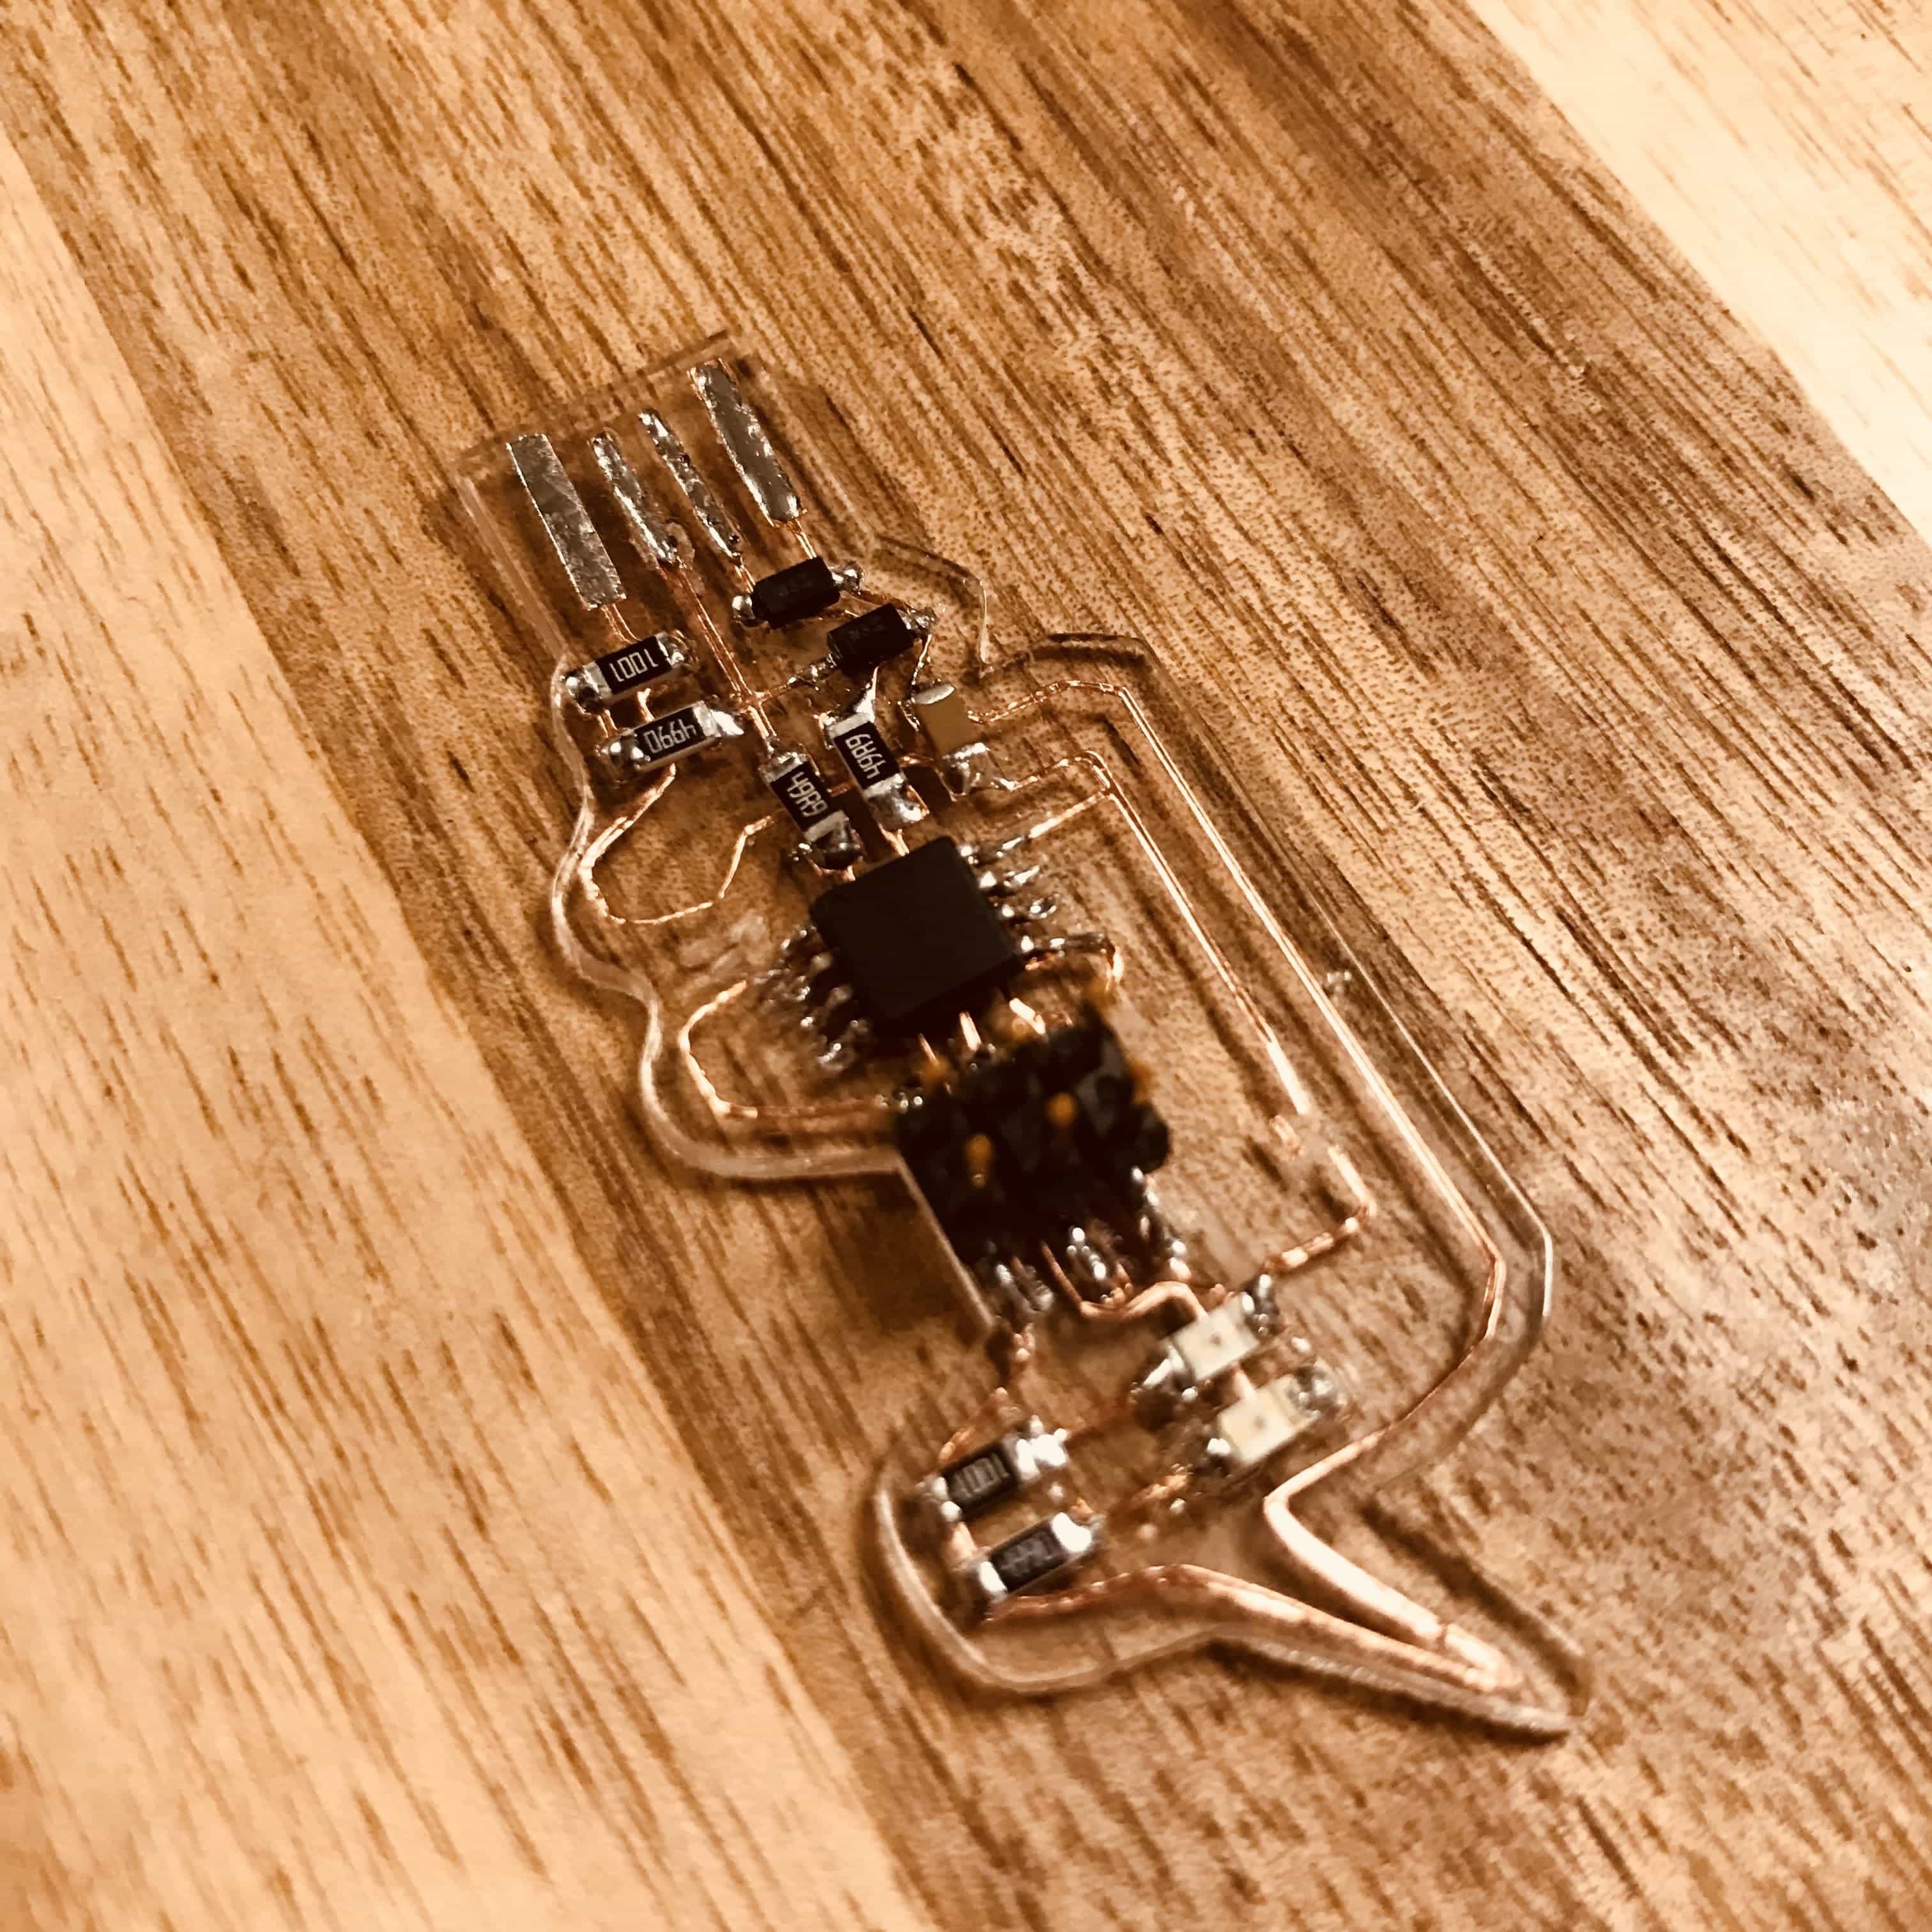
Soldering
The copper wires do not stick on to the acrylic base very well while soldering. But I've managed to keep them in place.
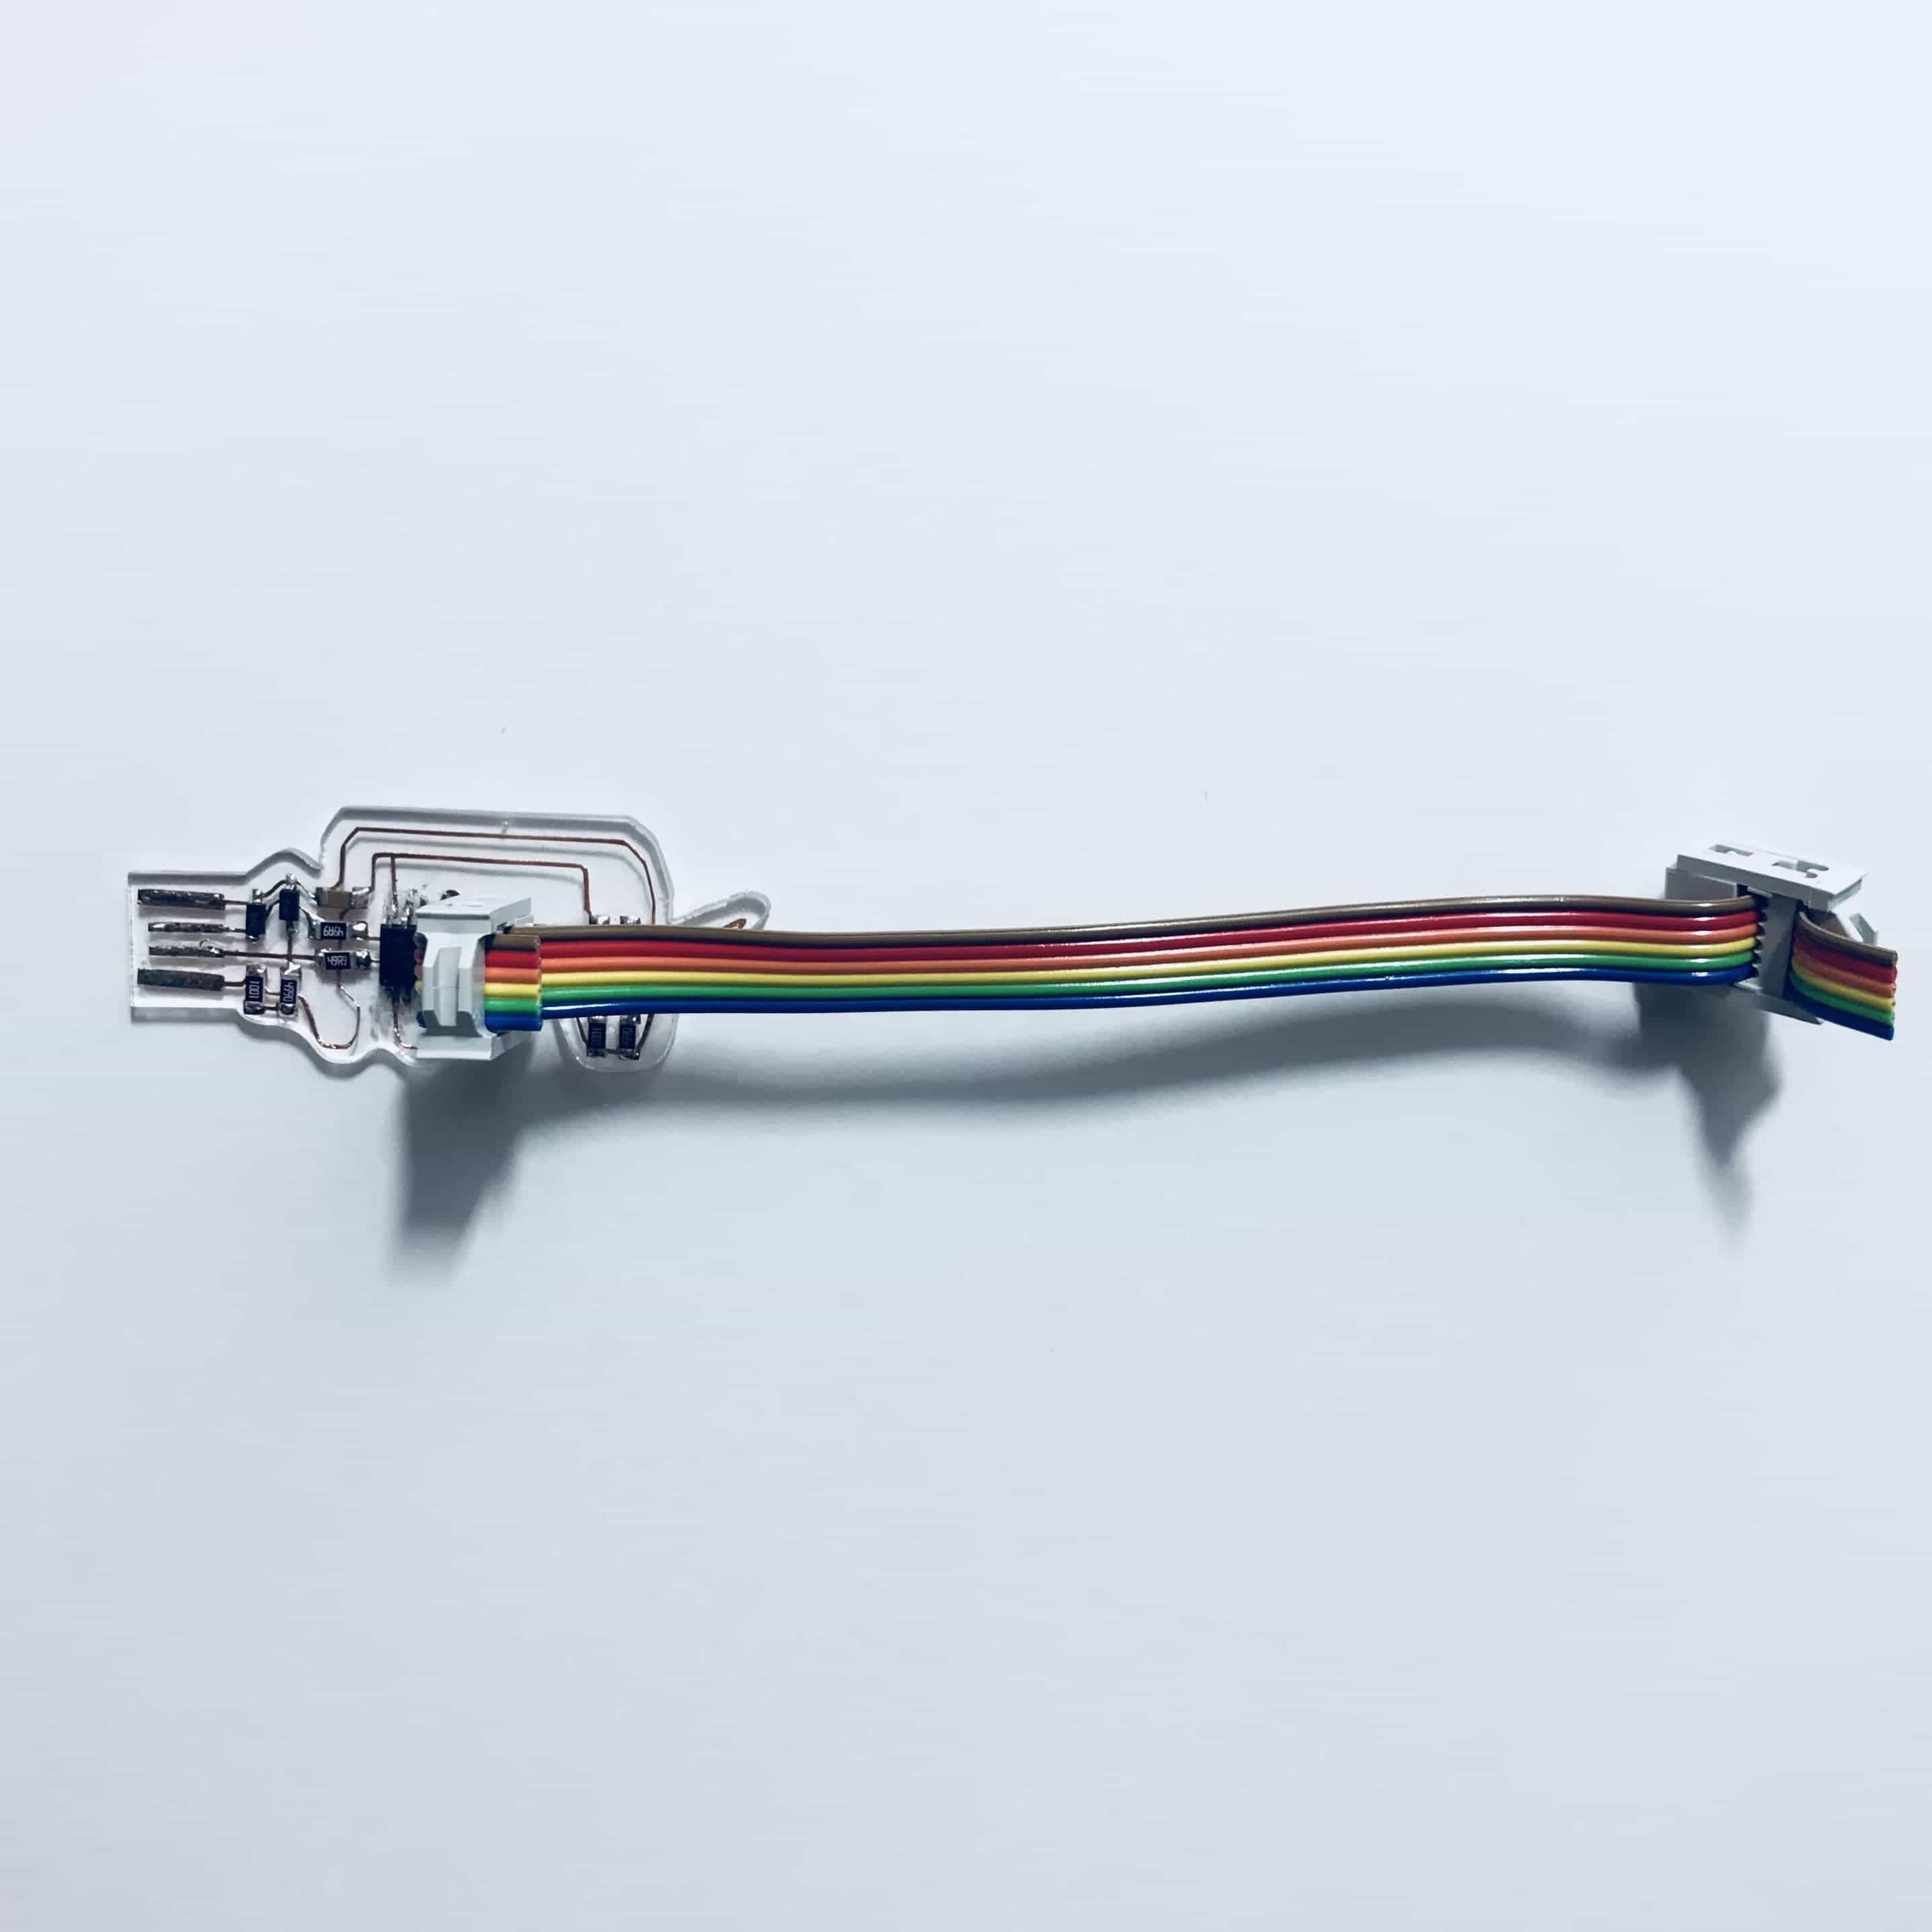
Rainbow Nyan Cat
Nyan Nyan
Programming
Now the cat is also ready to be a programmer, Nyan the rest!
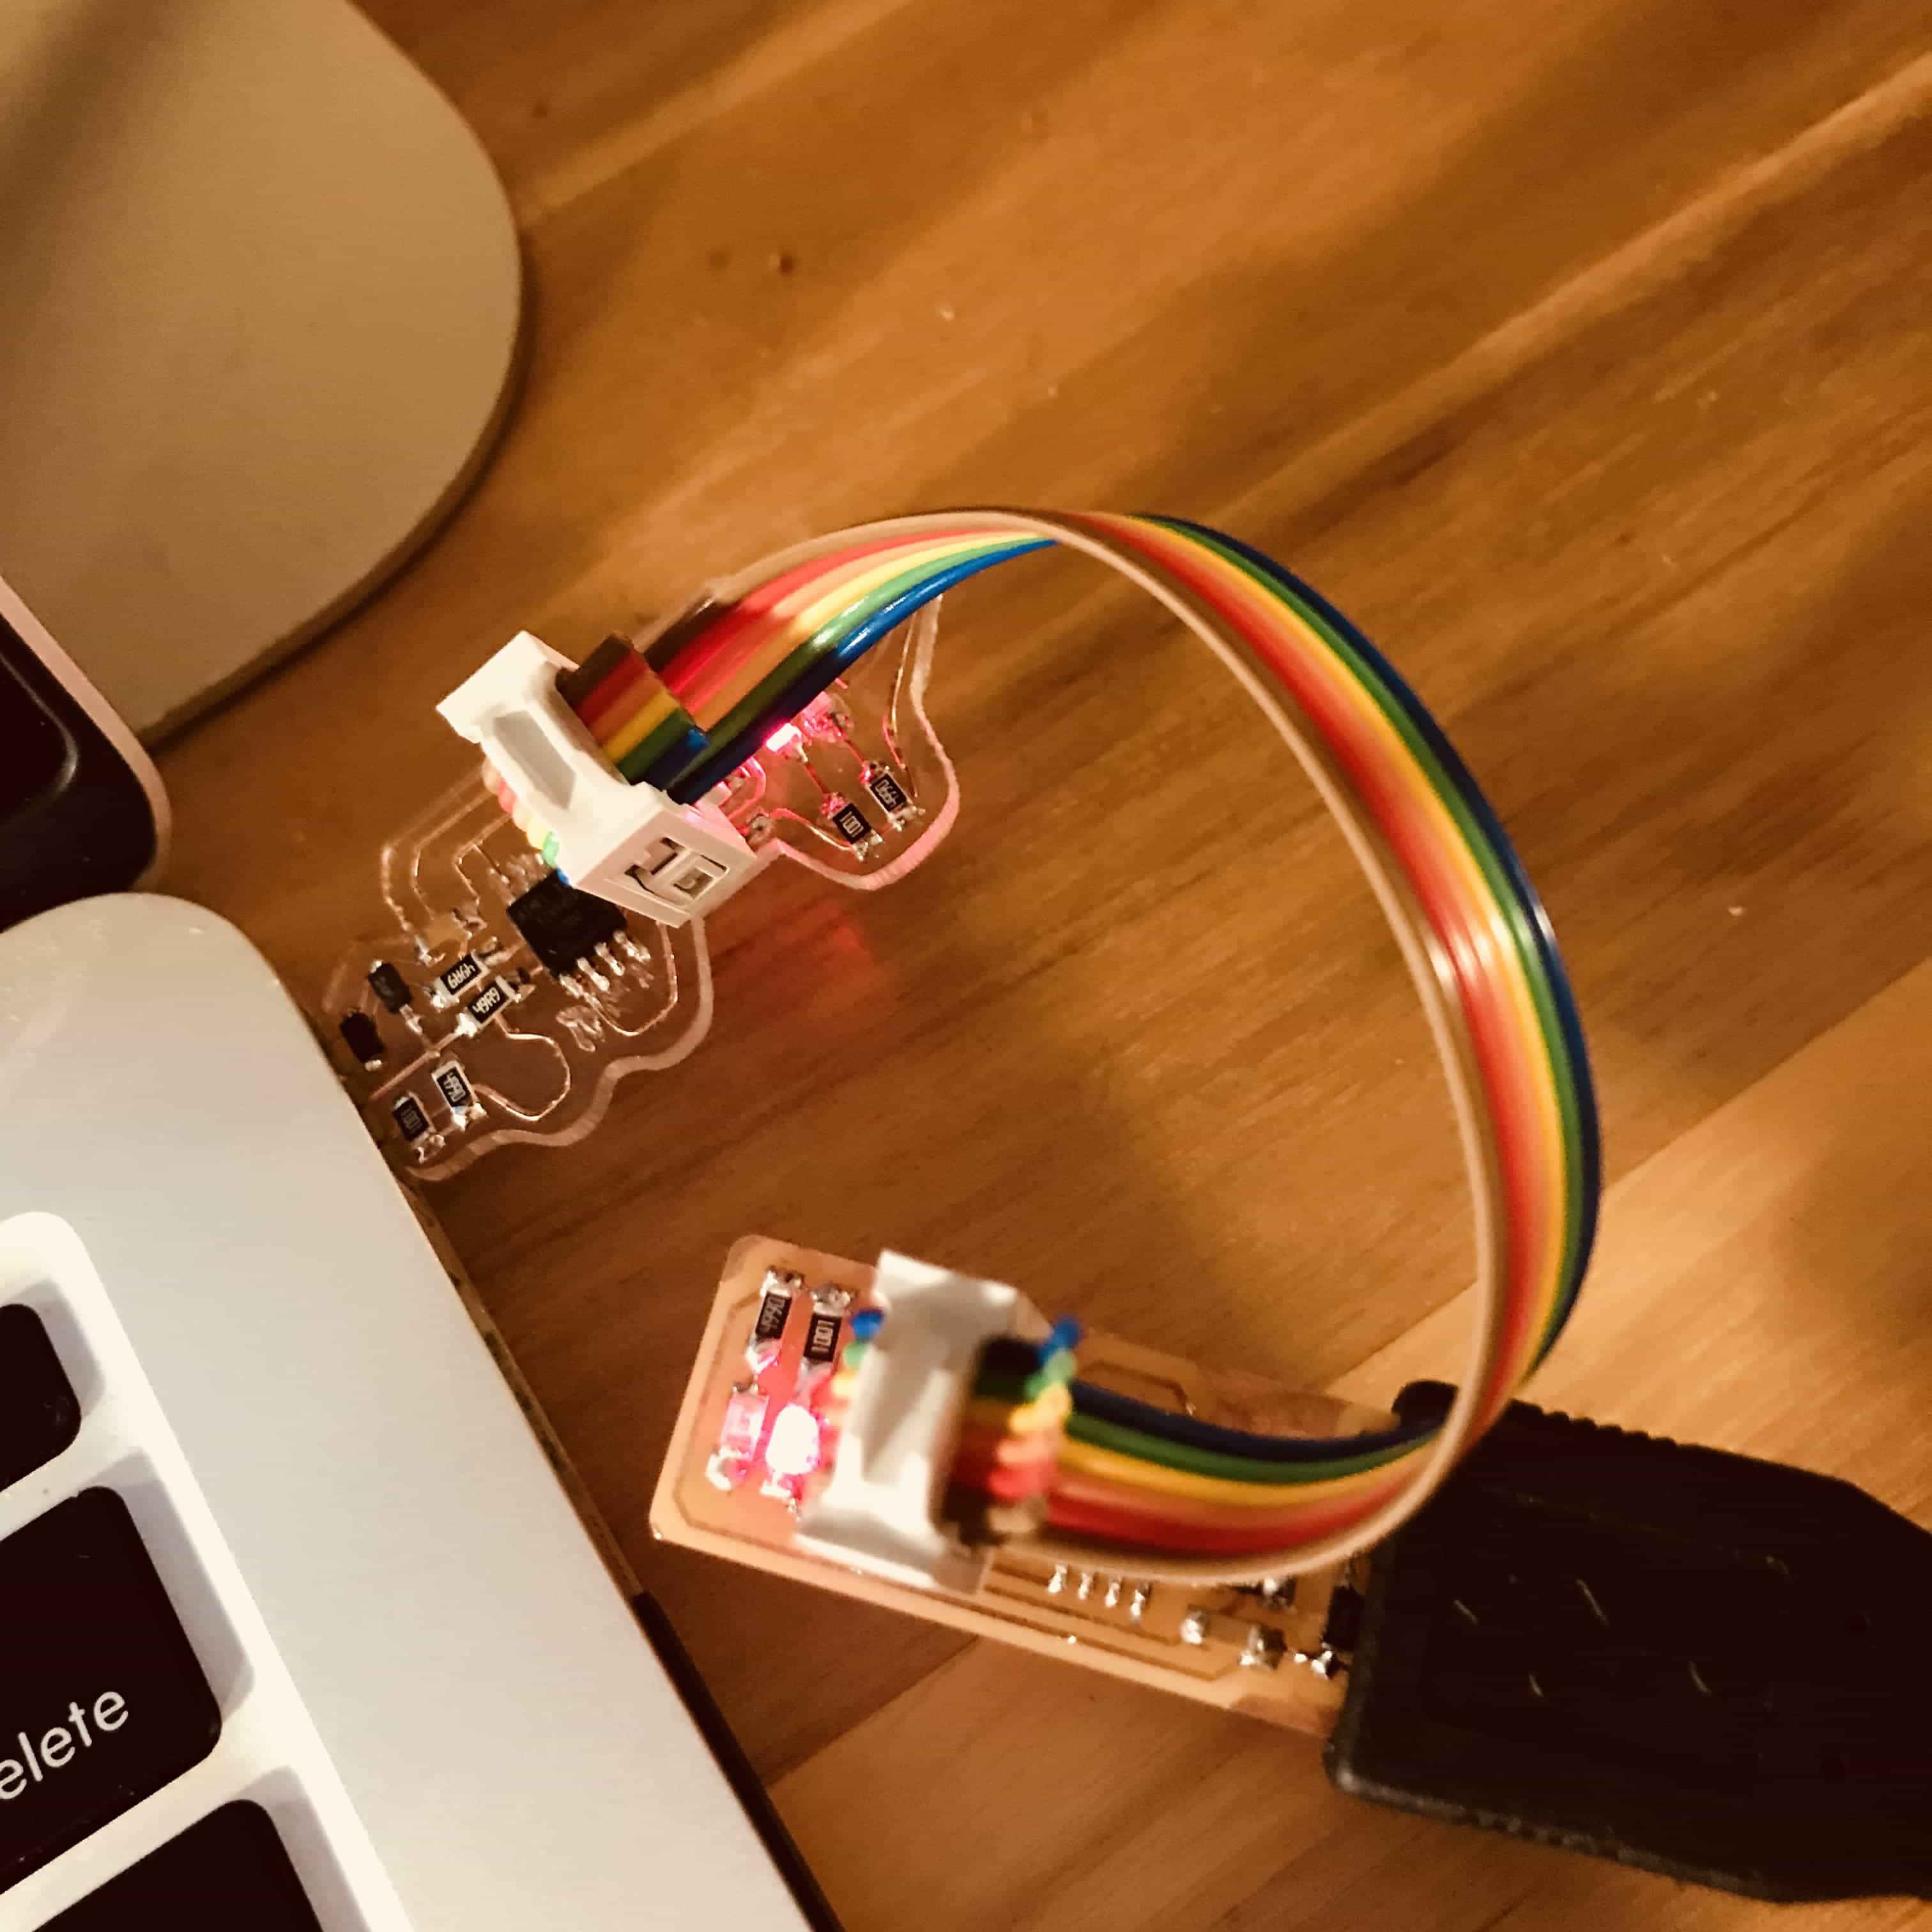
Program Nyan cat with my FabTinyISP
This just proved the FabTinyISP I made earlier works.
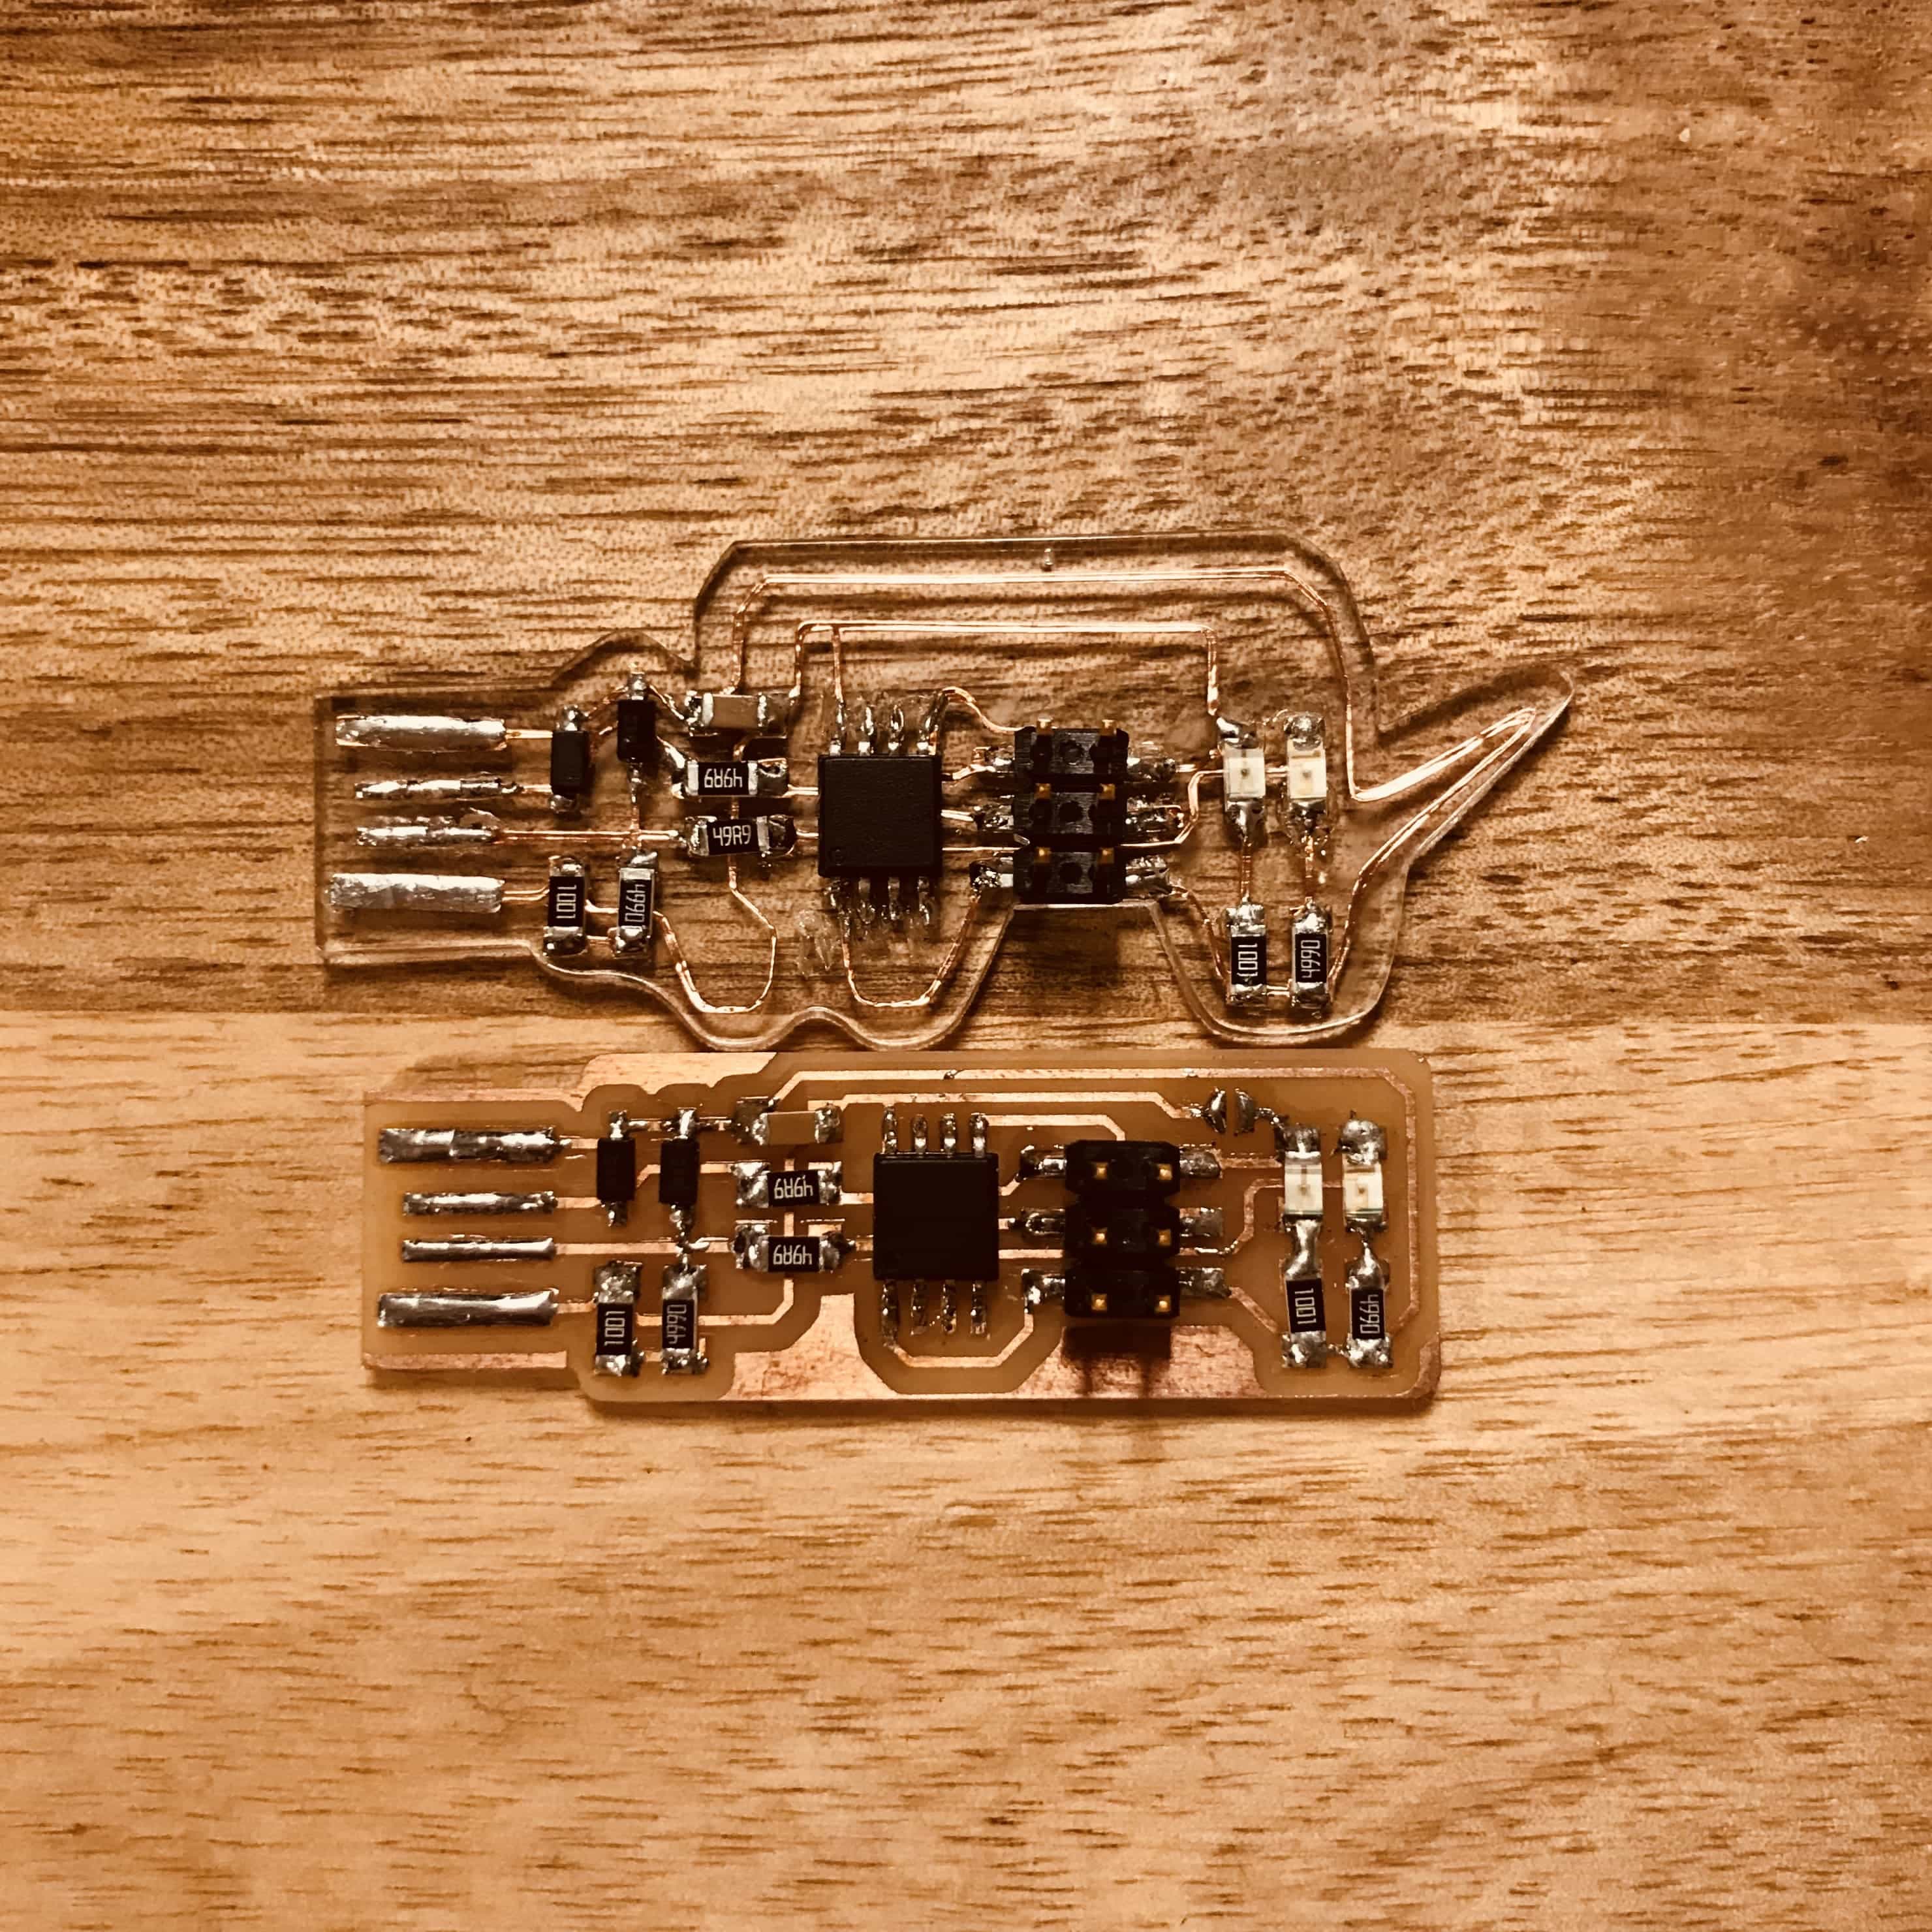
Blow the Reset fuse
To disconnect VCC from the Vprog pin on the ISP header, for the milling board, I soldered the jumper from bridged to un-bridged. For the cat, I cut the connection directly.
Vcc Disconnected
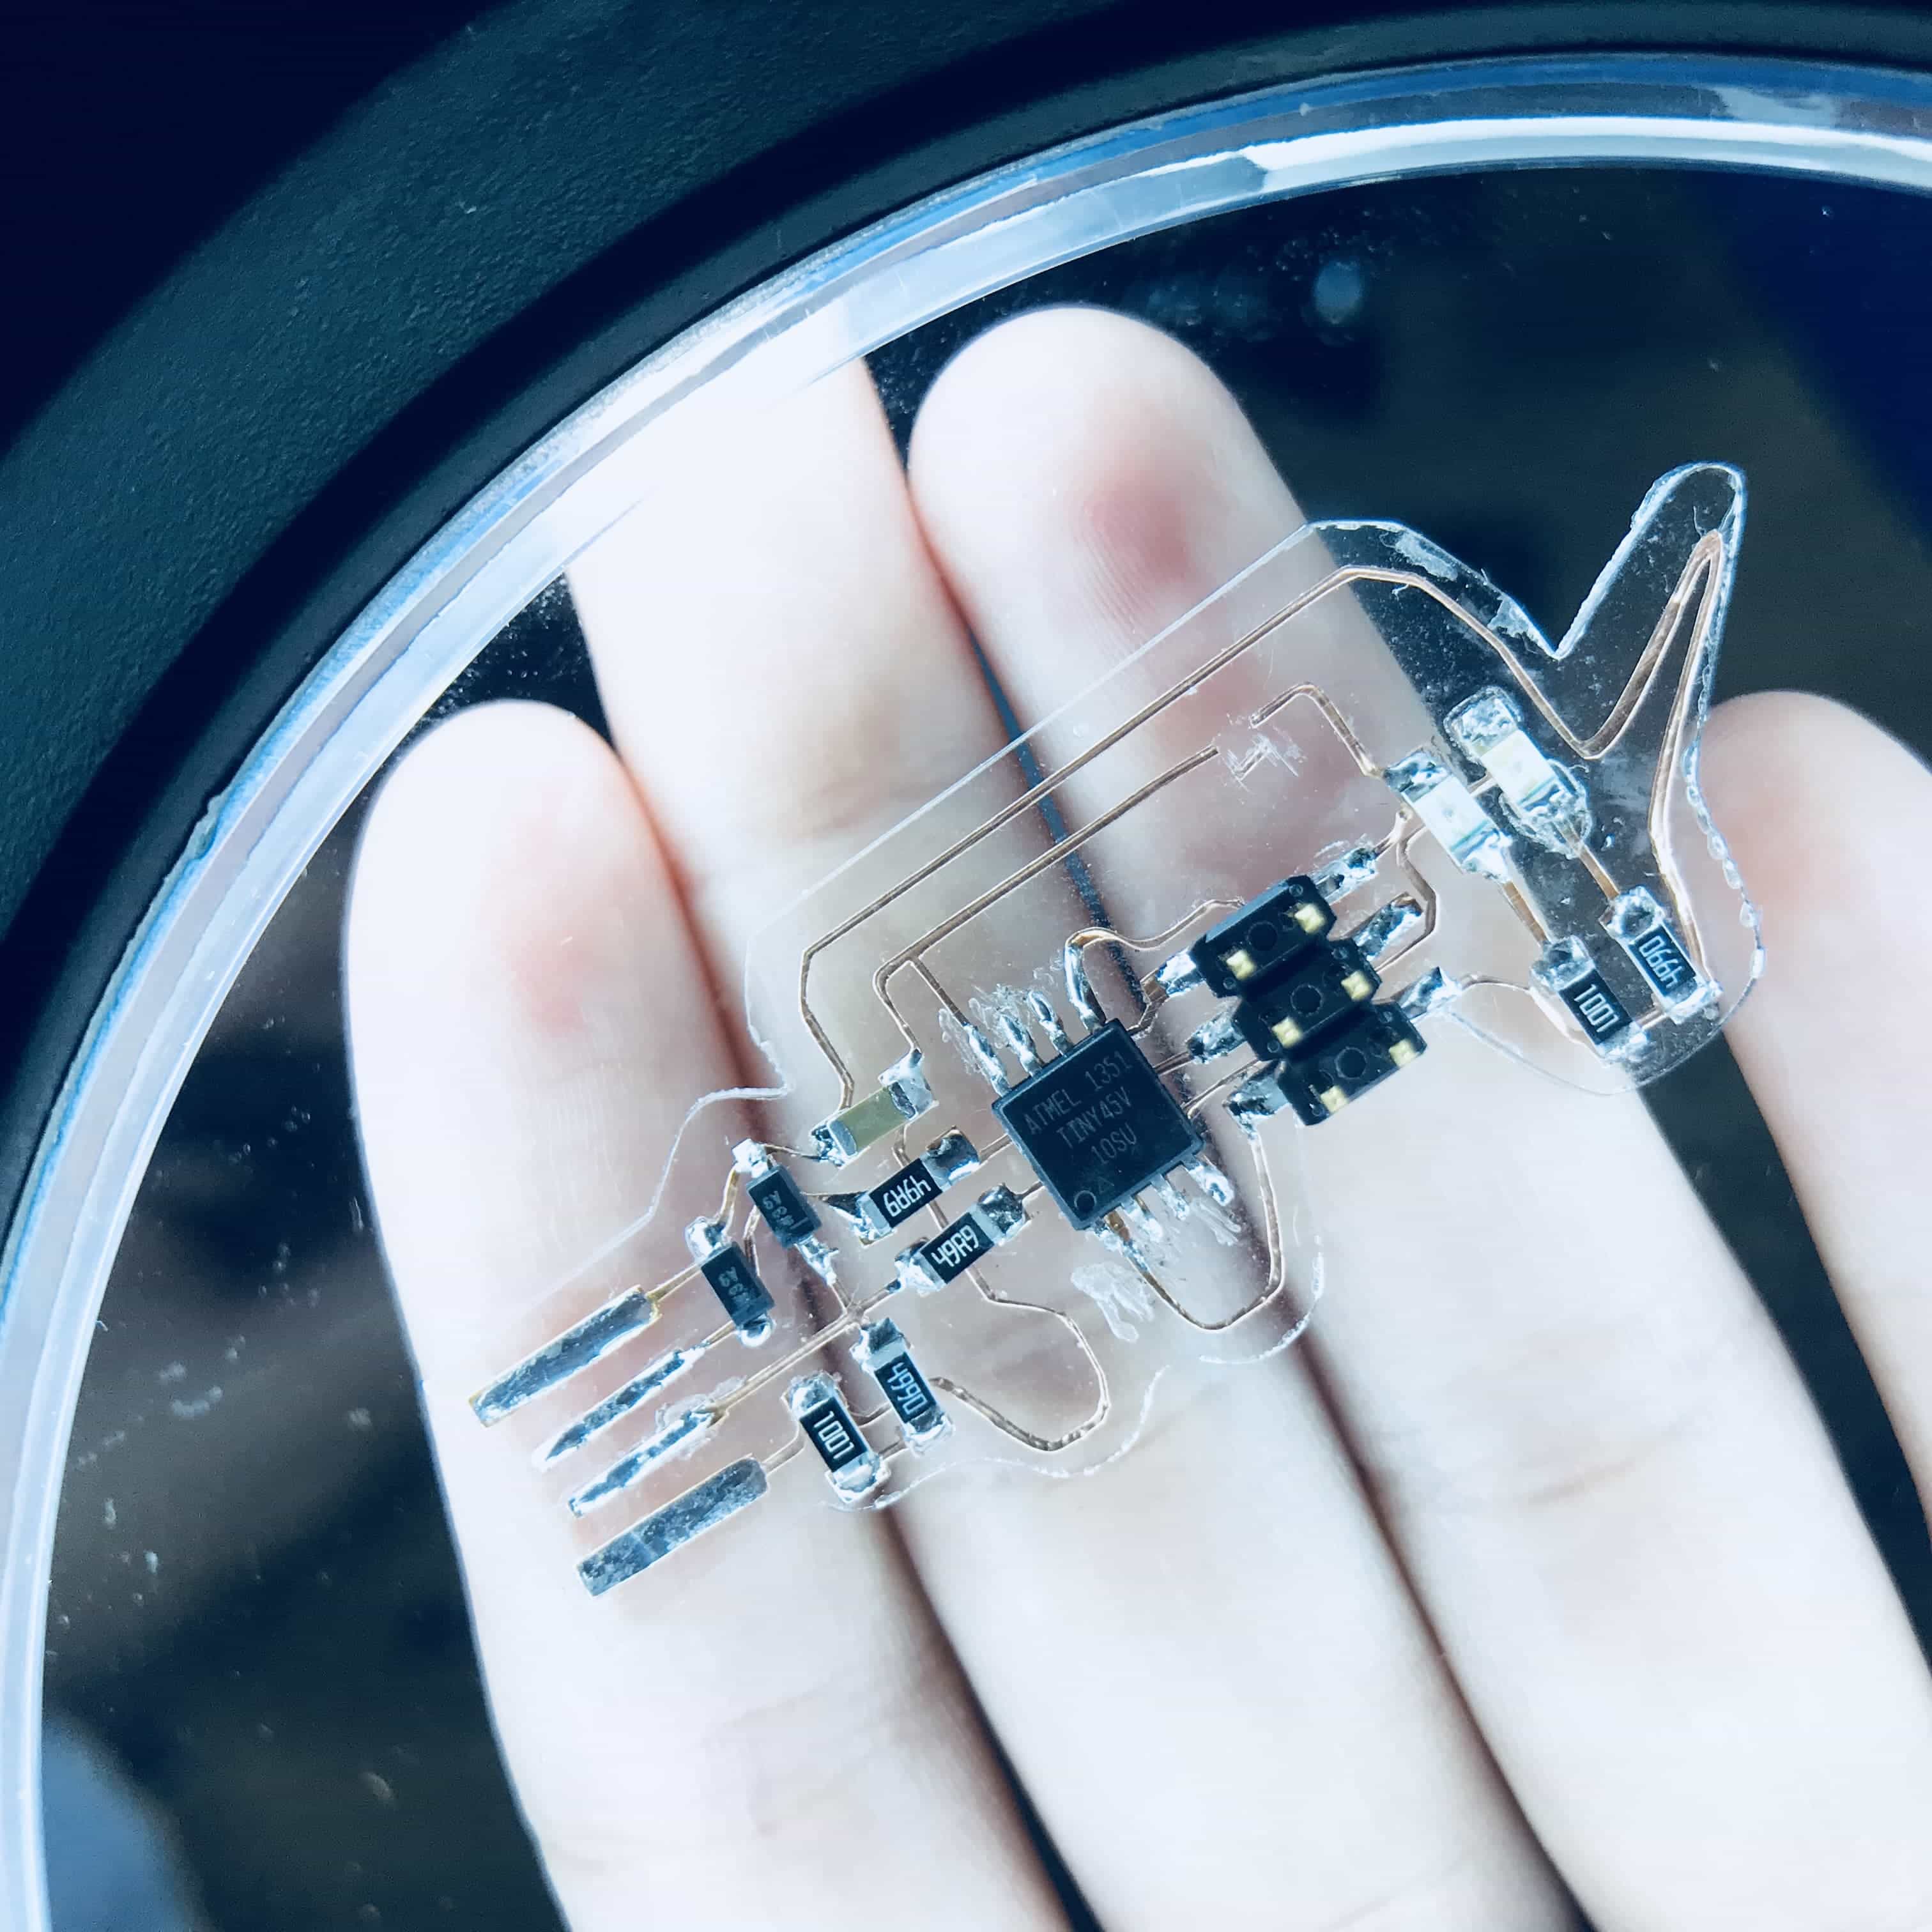
Under magnifying glass
Thanks for reading, Purr... 🐱