Molding & Casting
Positive to Negative to Positive
This week's mission is to design a 3D mold, machine it, use it to cast parts, and mold the designed object.
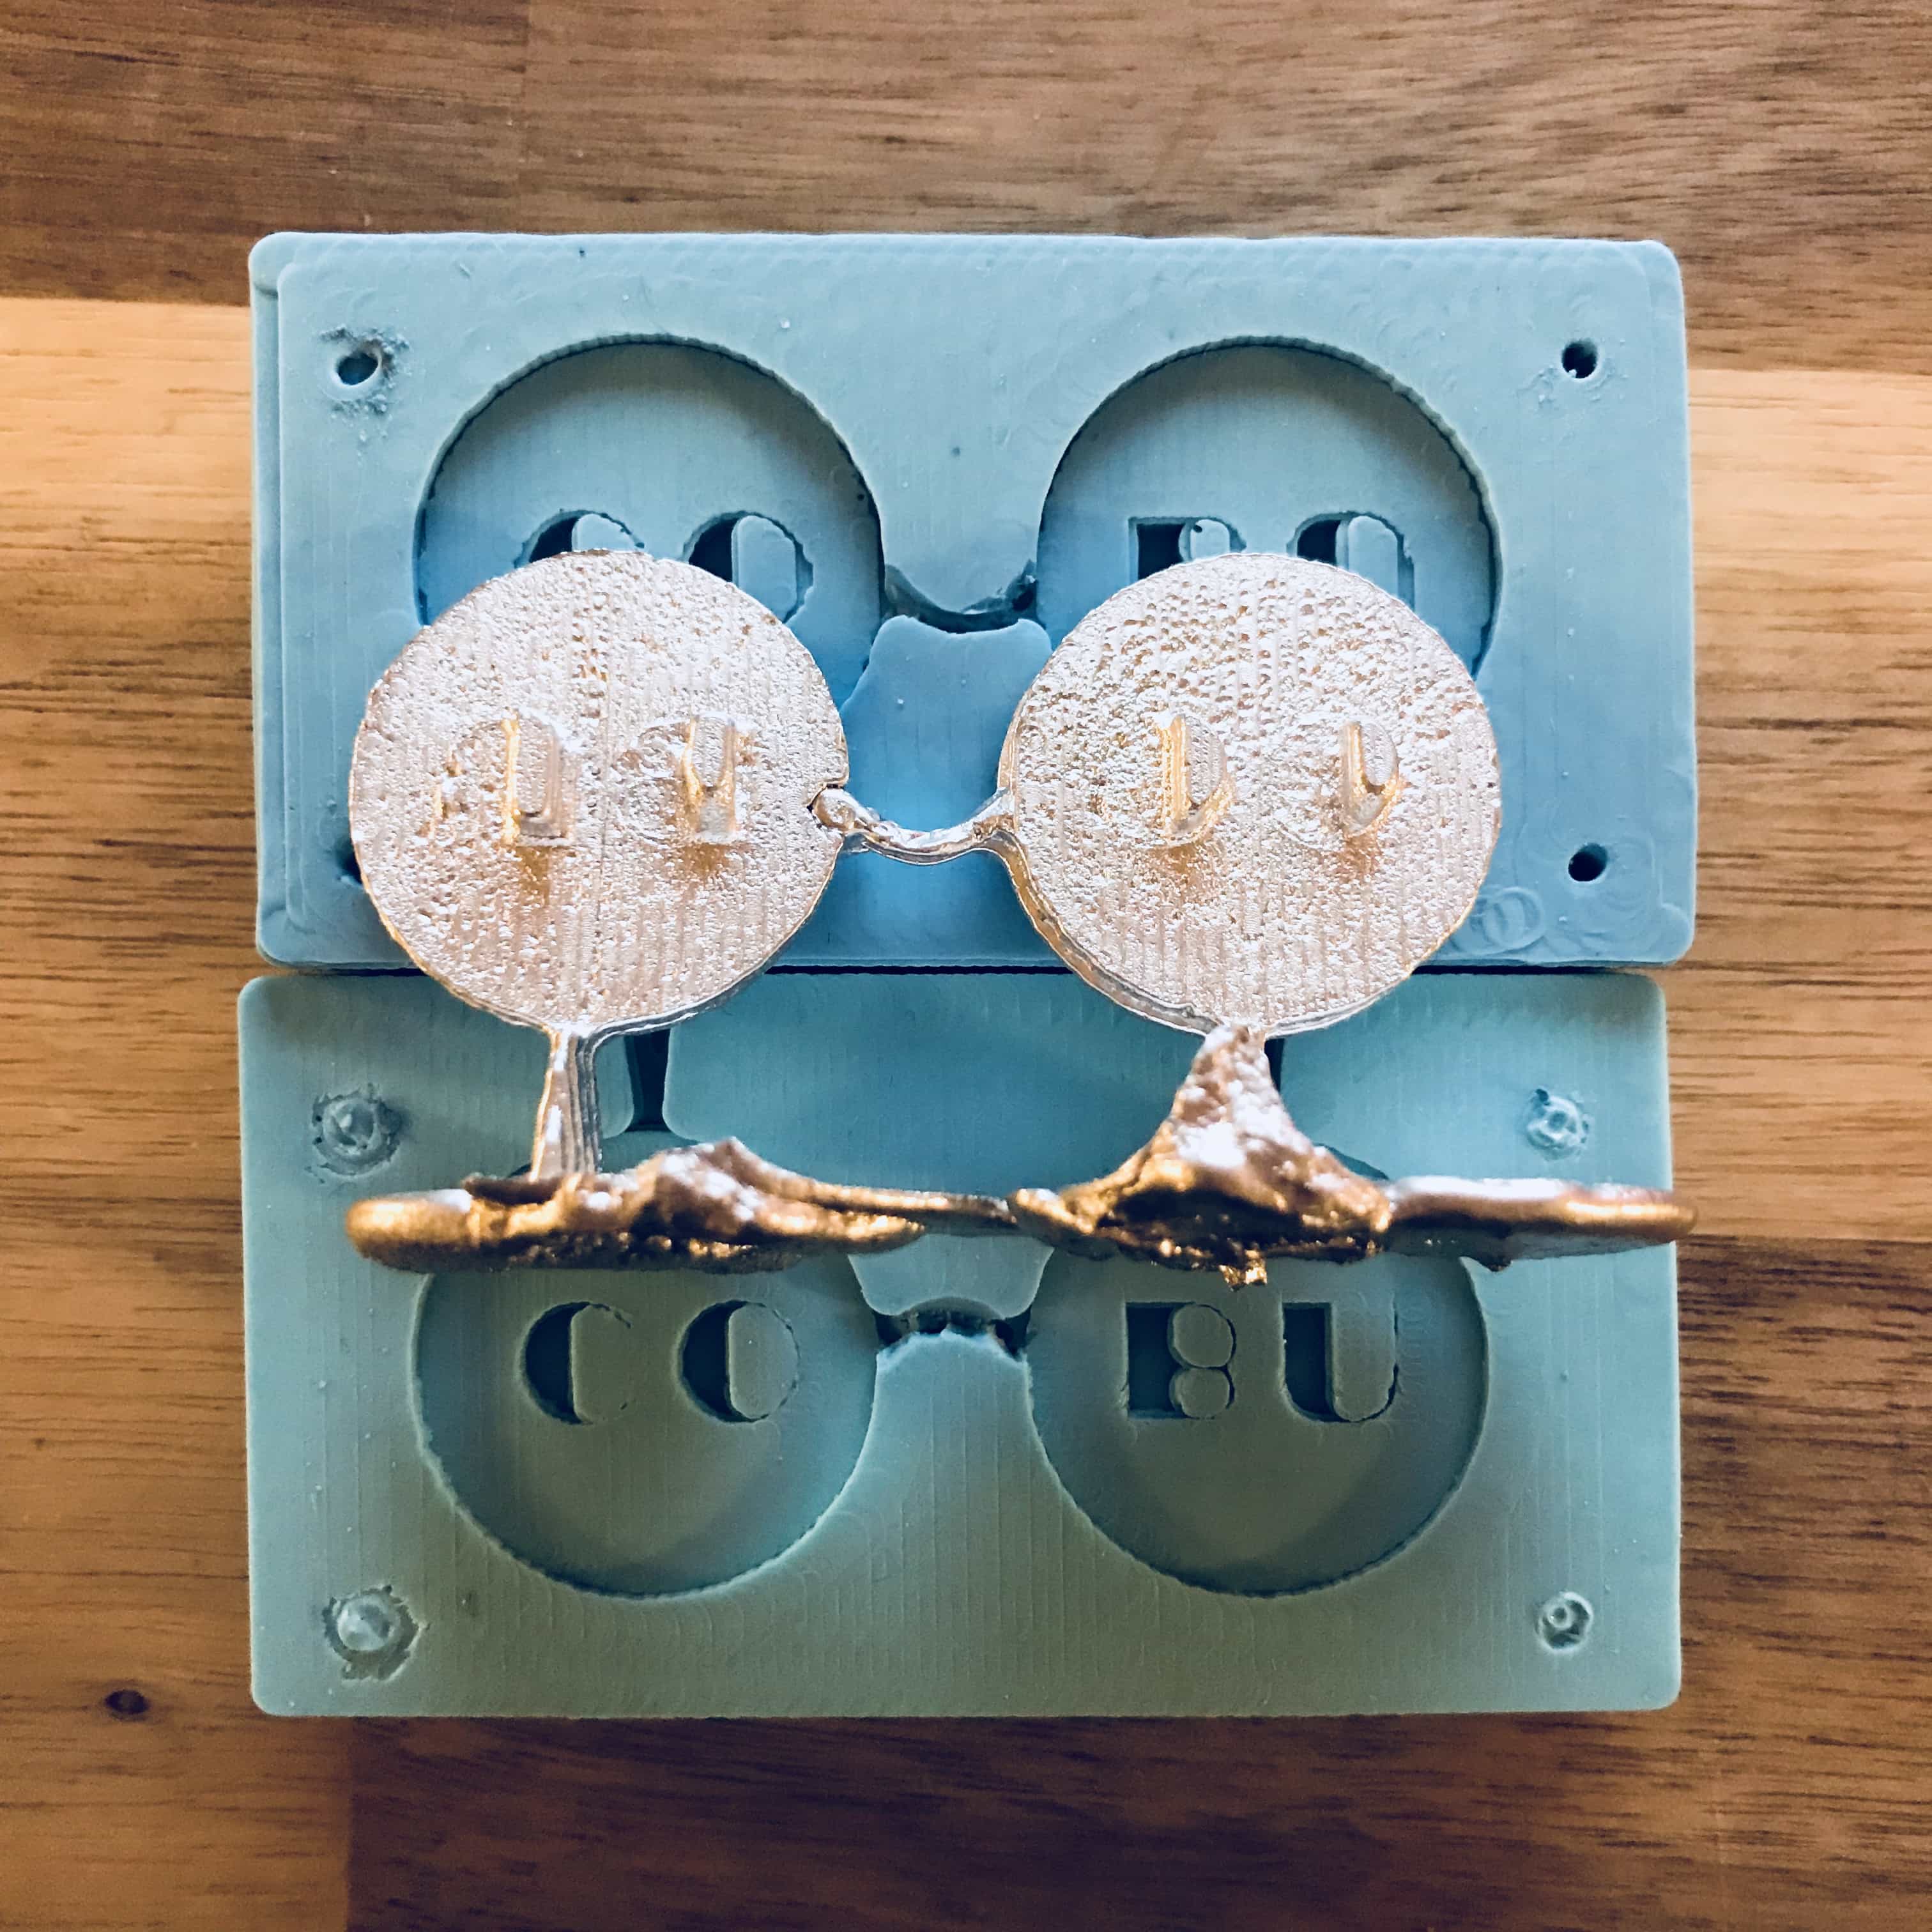
A Corgi Tag
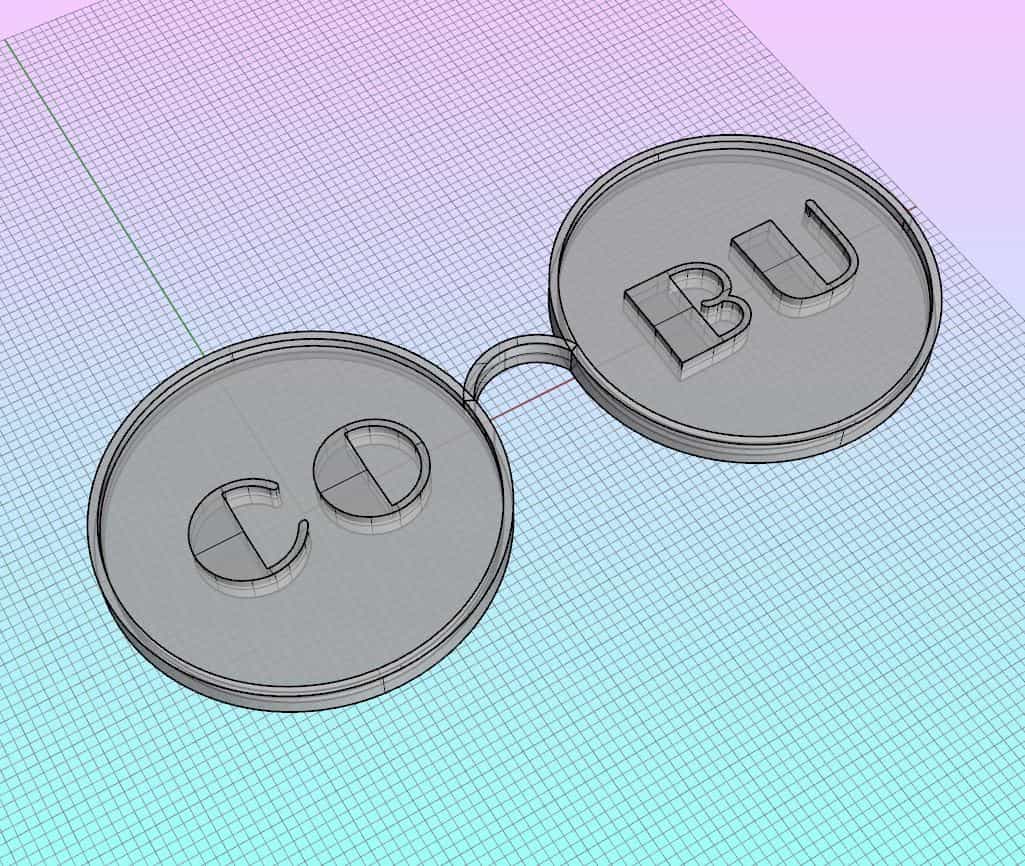
Model Design
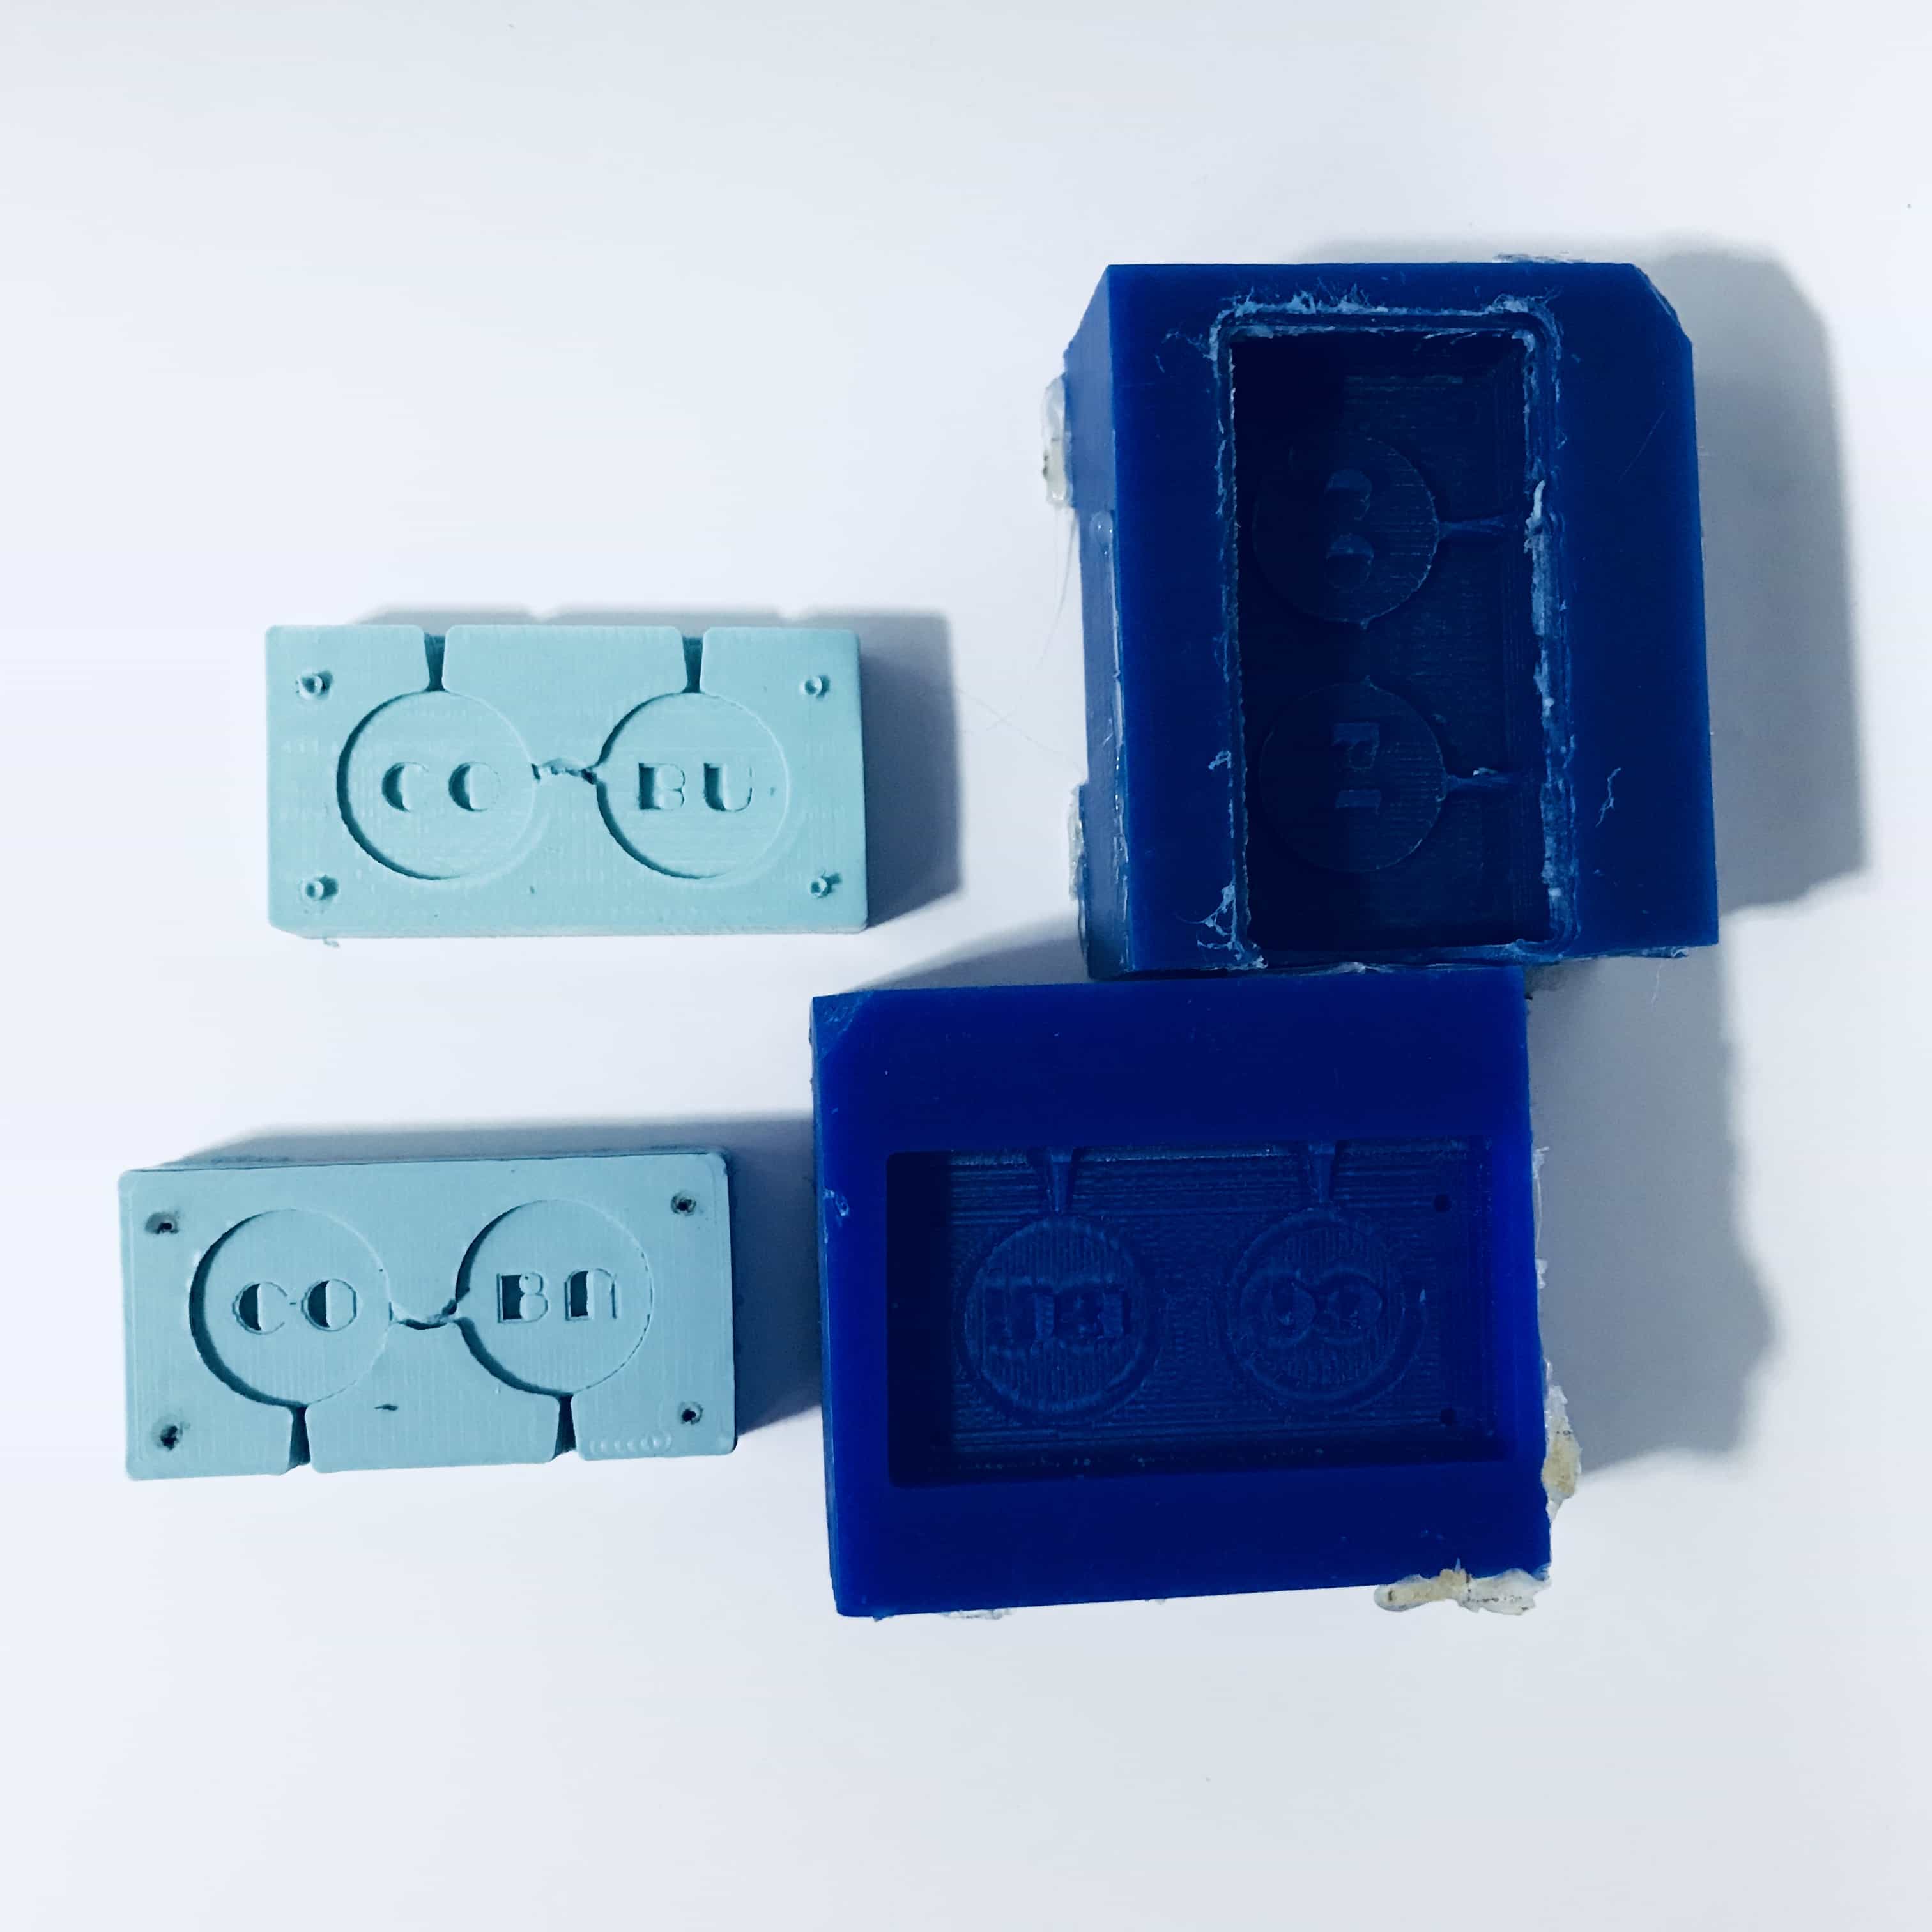
I'm going to have a Corgi puppy this Friday. His name will be COBU, short for Le Corbusier. So I designed this name tag for him in the form of the iconic circle glasses and his name on it.
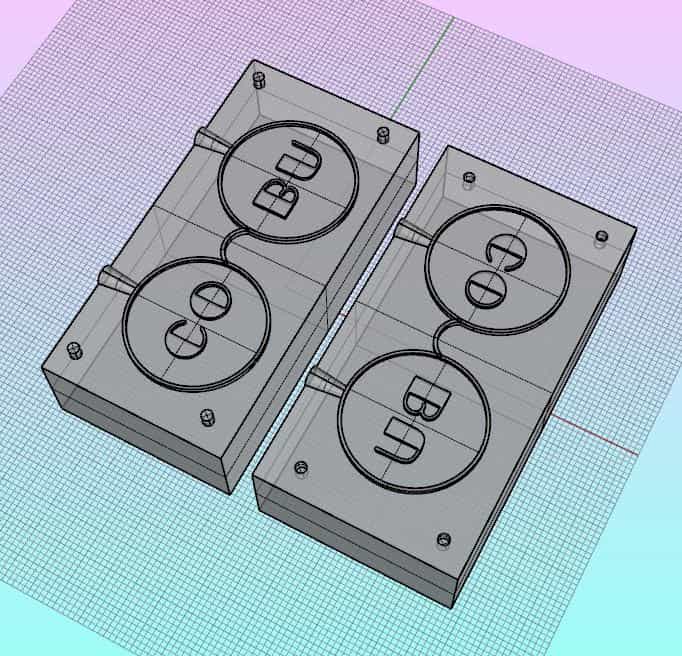
Mold Design
Keeping in mind of the opening for puring in molding material and the pillars for securing the molds, I designed these two parts for the tag.
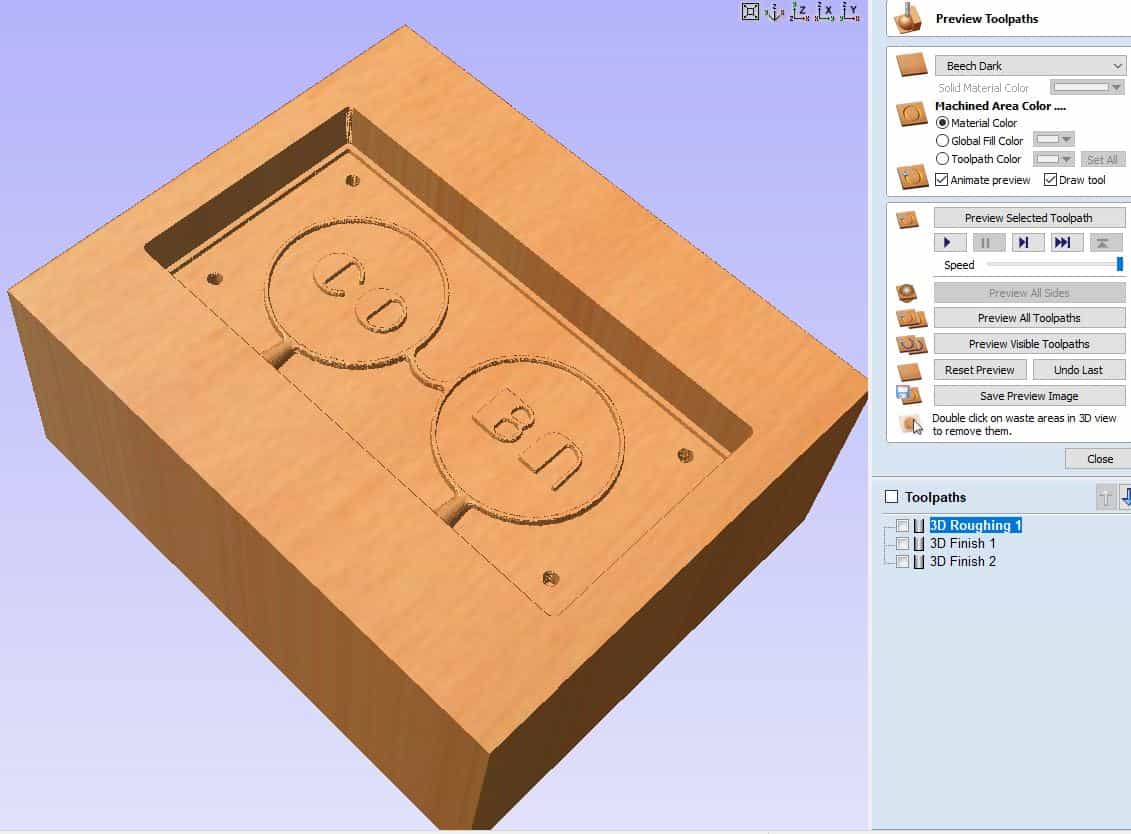
XCarve Toolpath
I used one roughing toolpath and two diagnol finishing toolpaths.
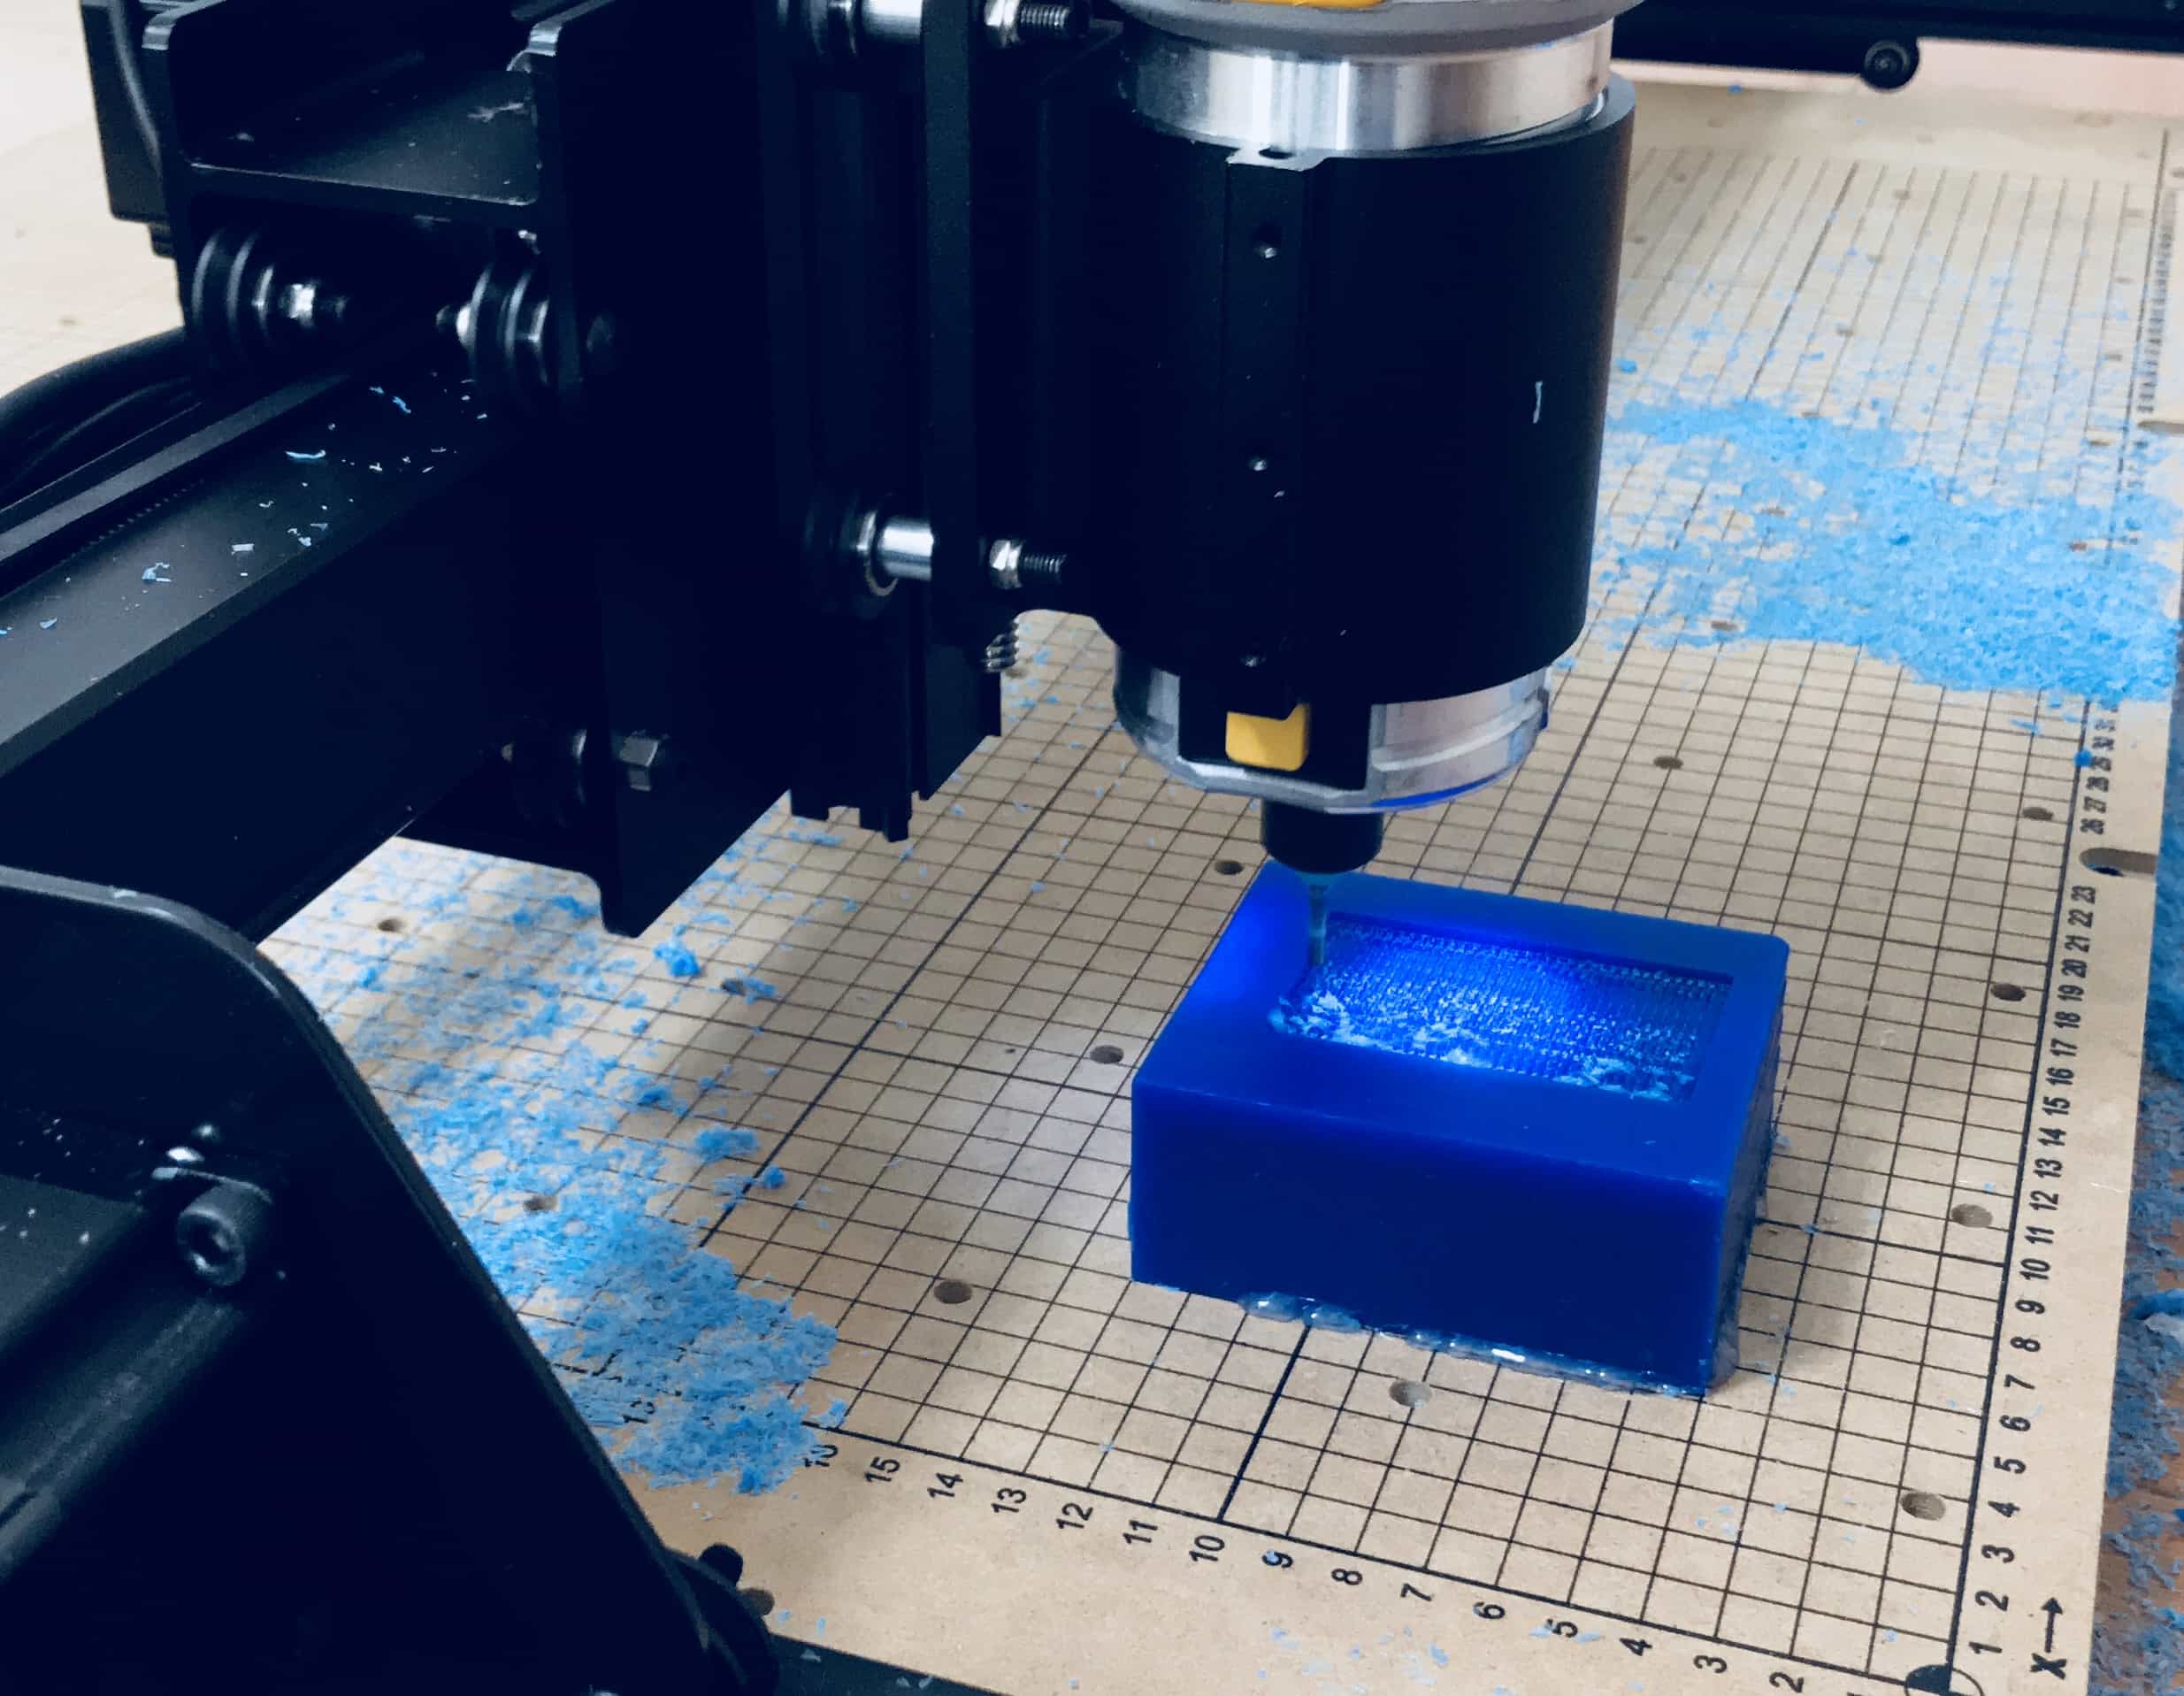
Milling
Glue the block of wax with hot glue along the edges, zero the bit to the X & Y origin of the block, zero the Z axis. Change the bit from 2.2mm to 1.29mm while going from rough cut to finishing cut.
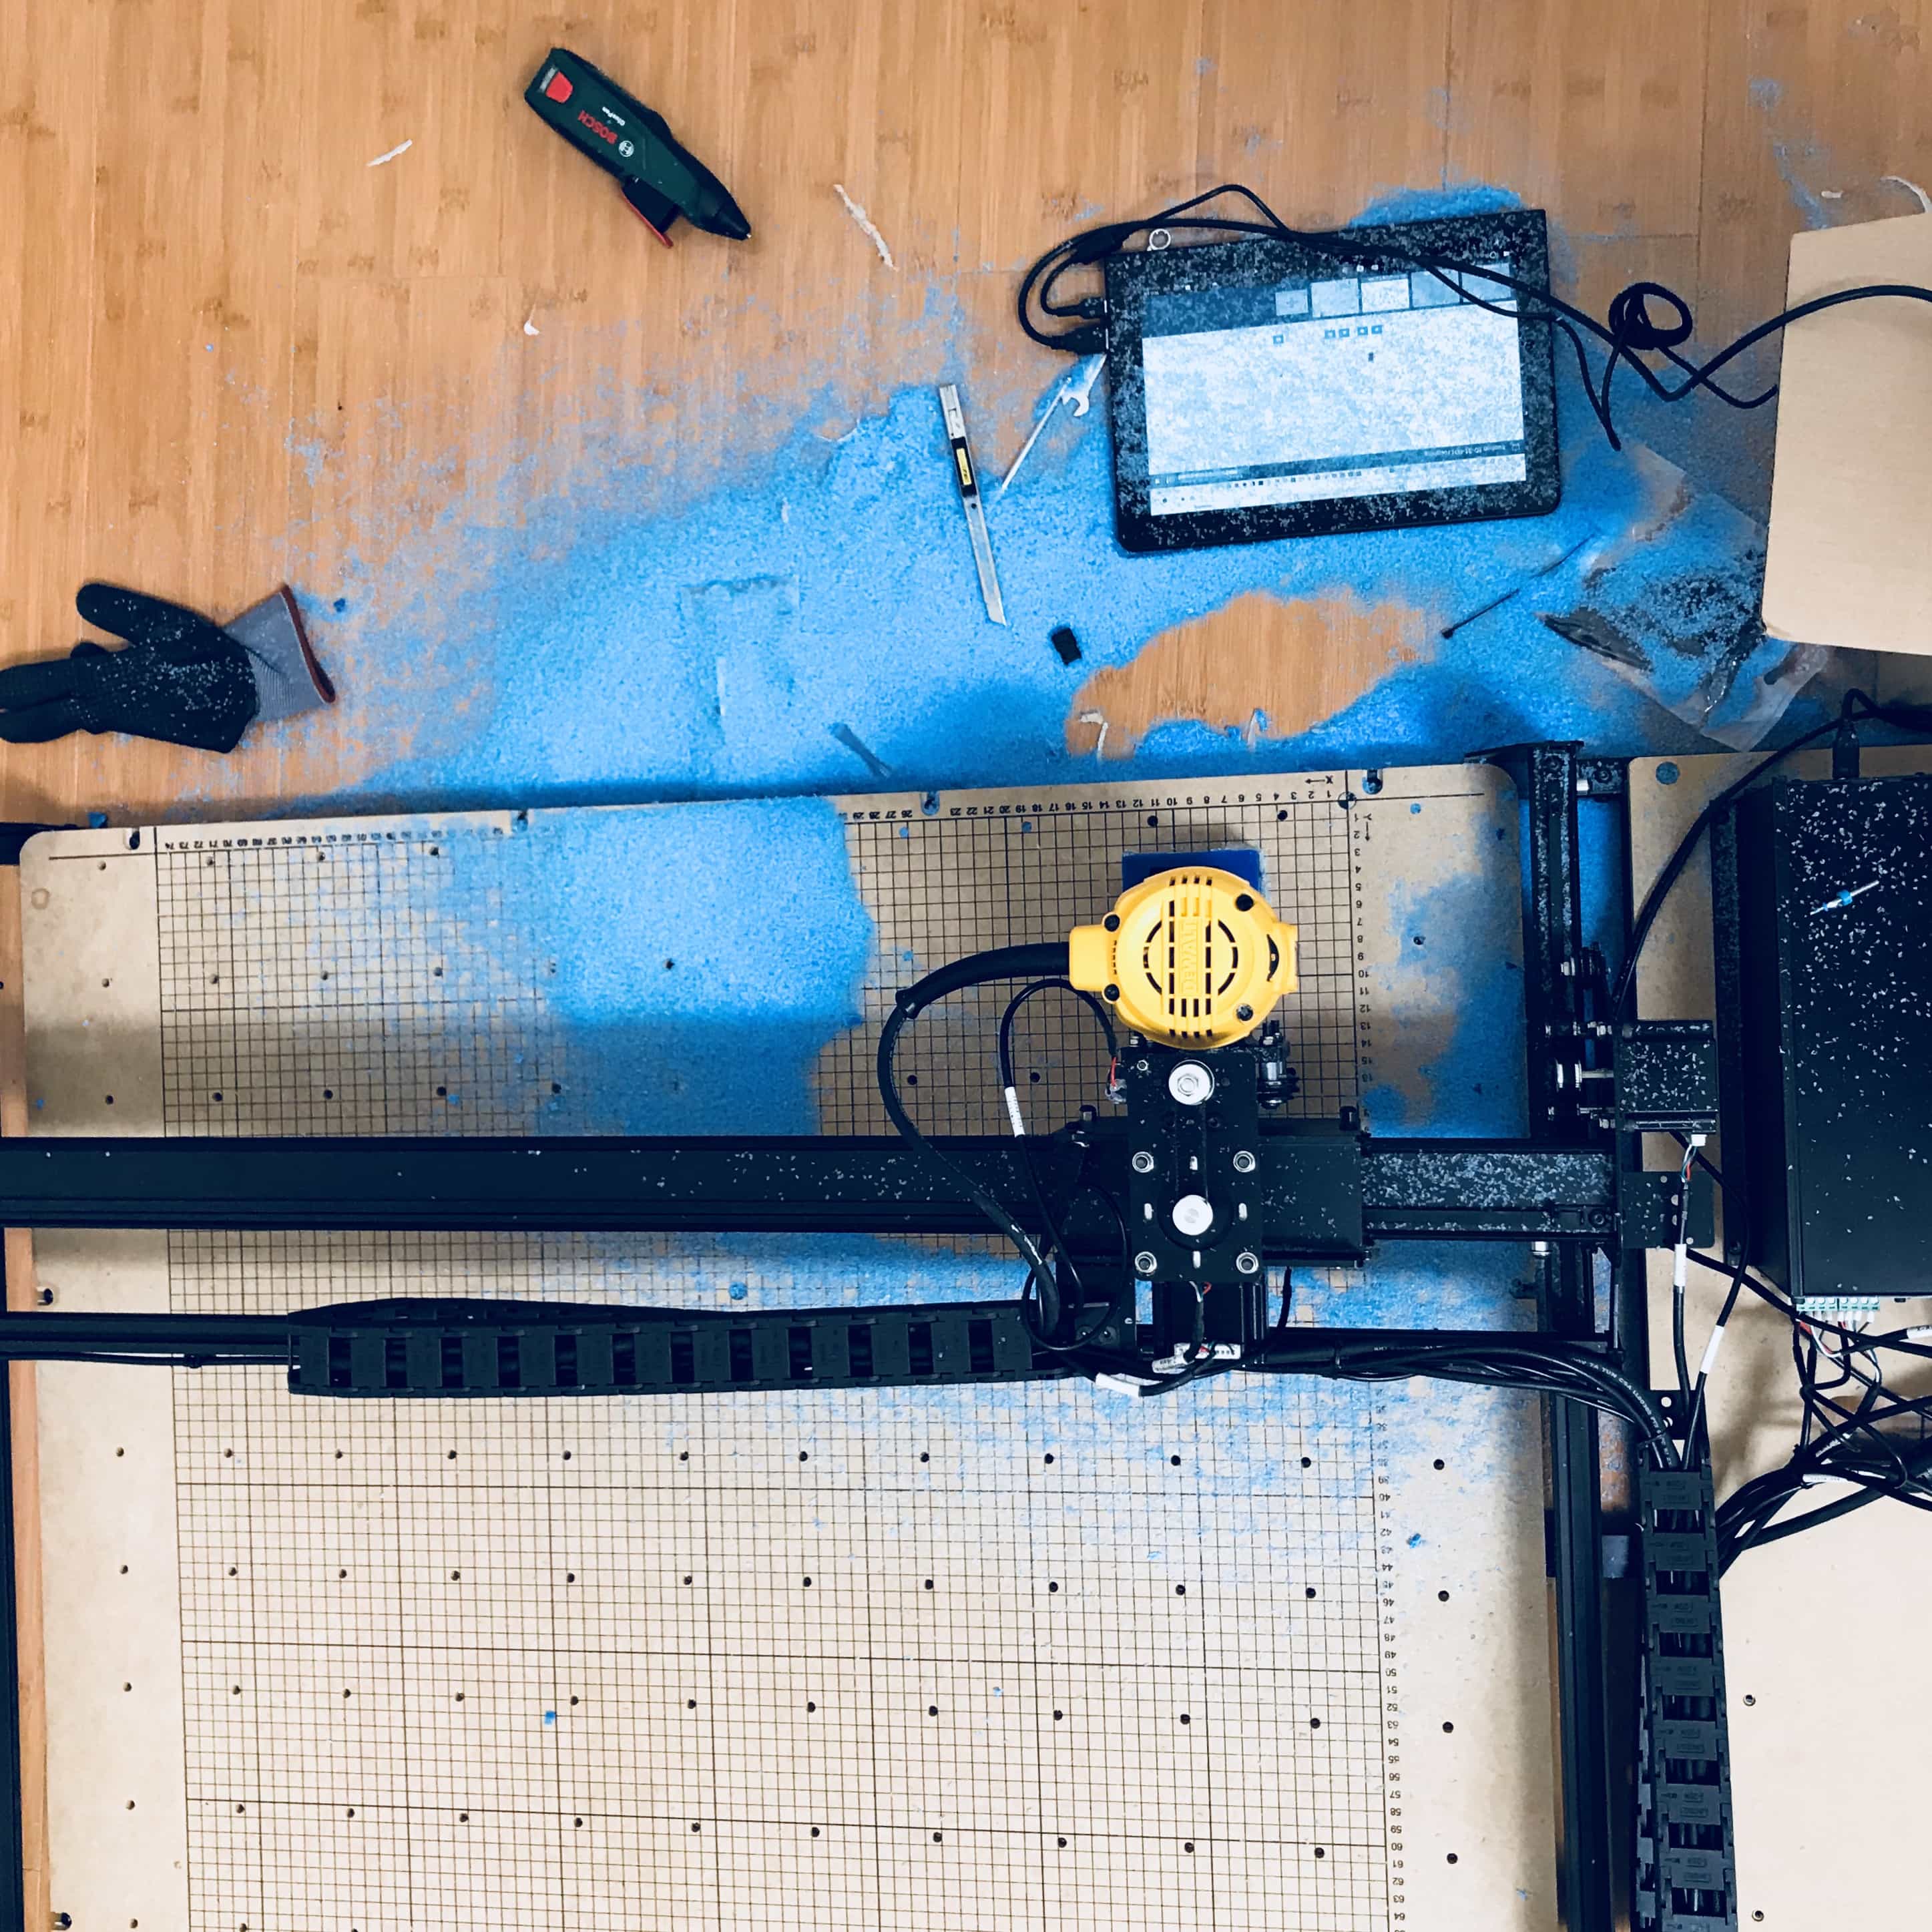
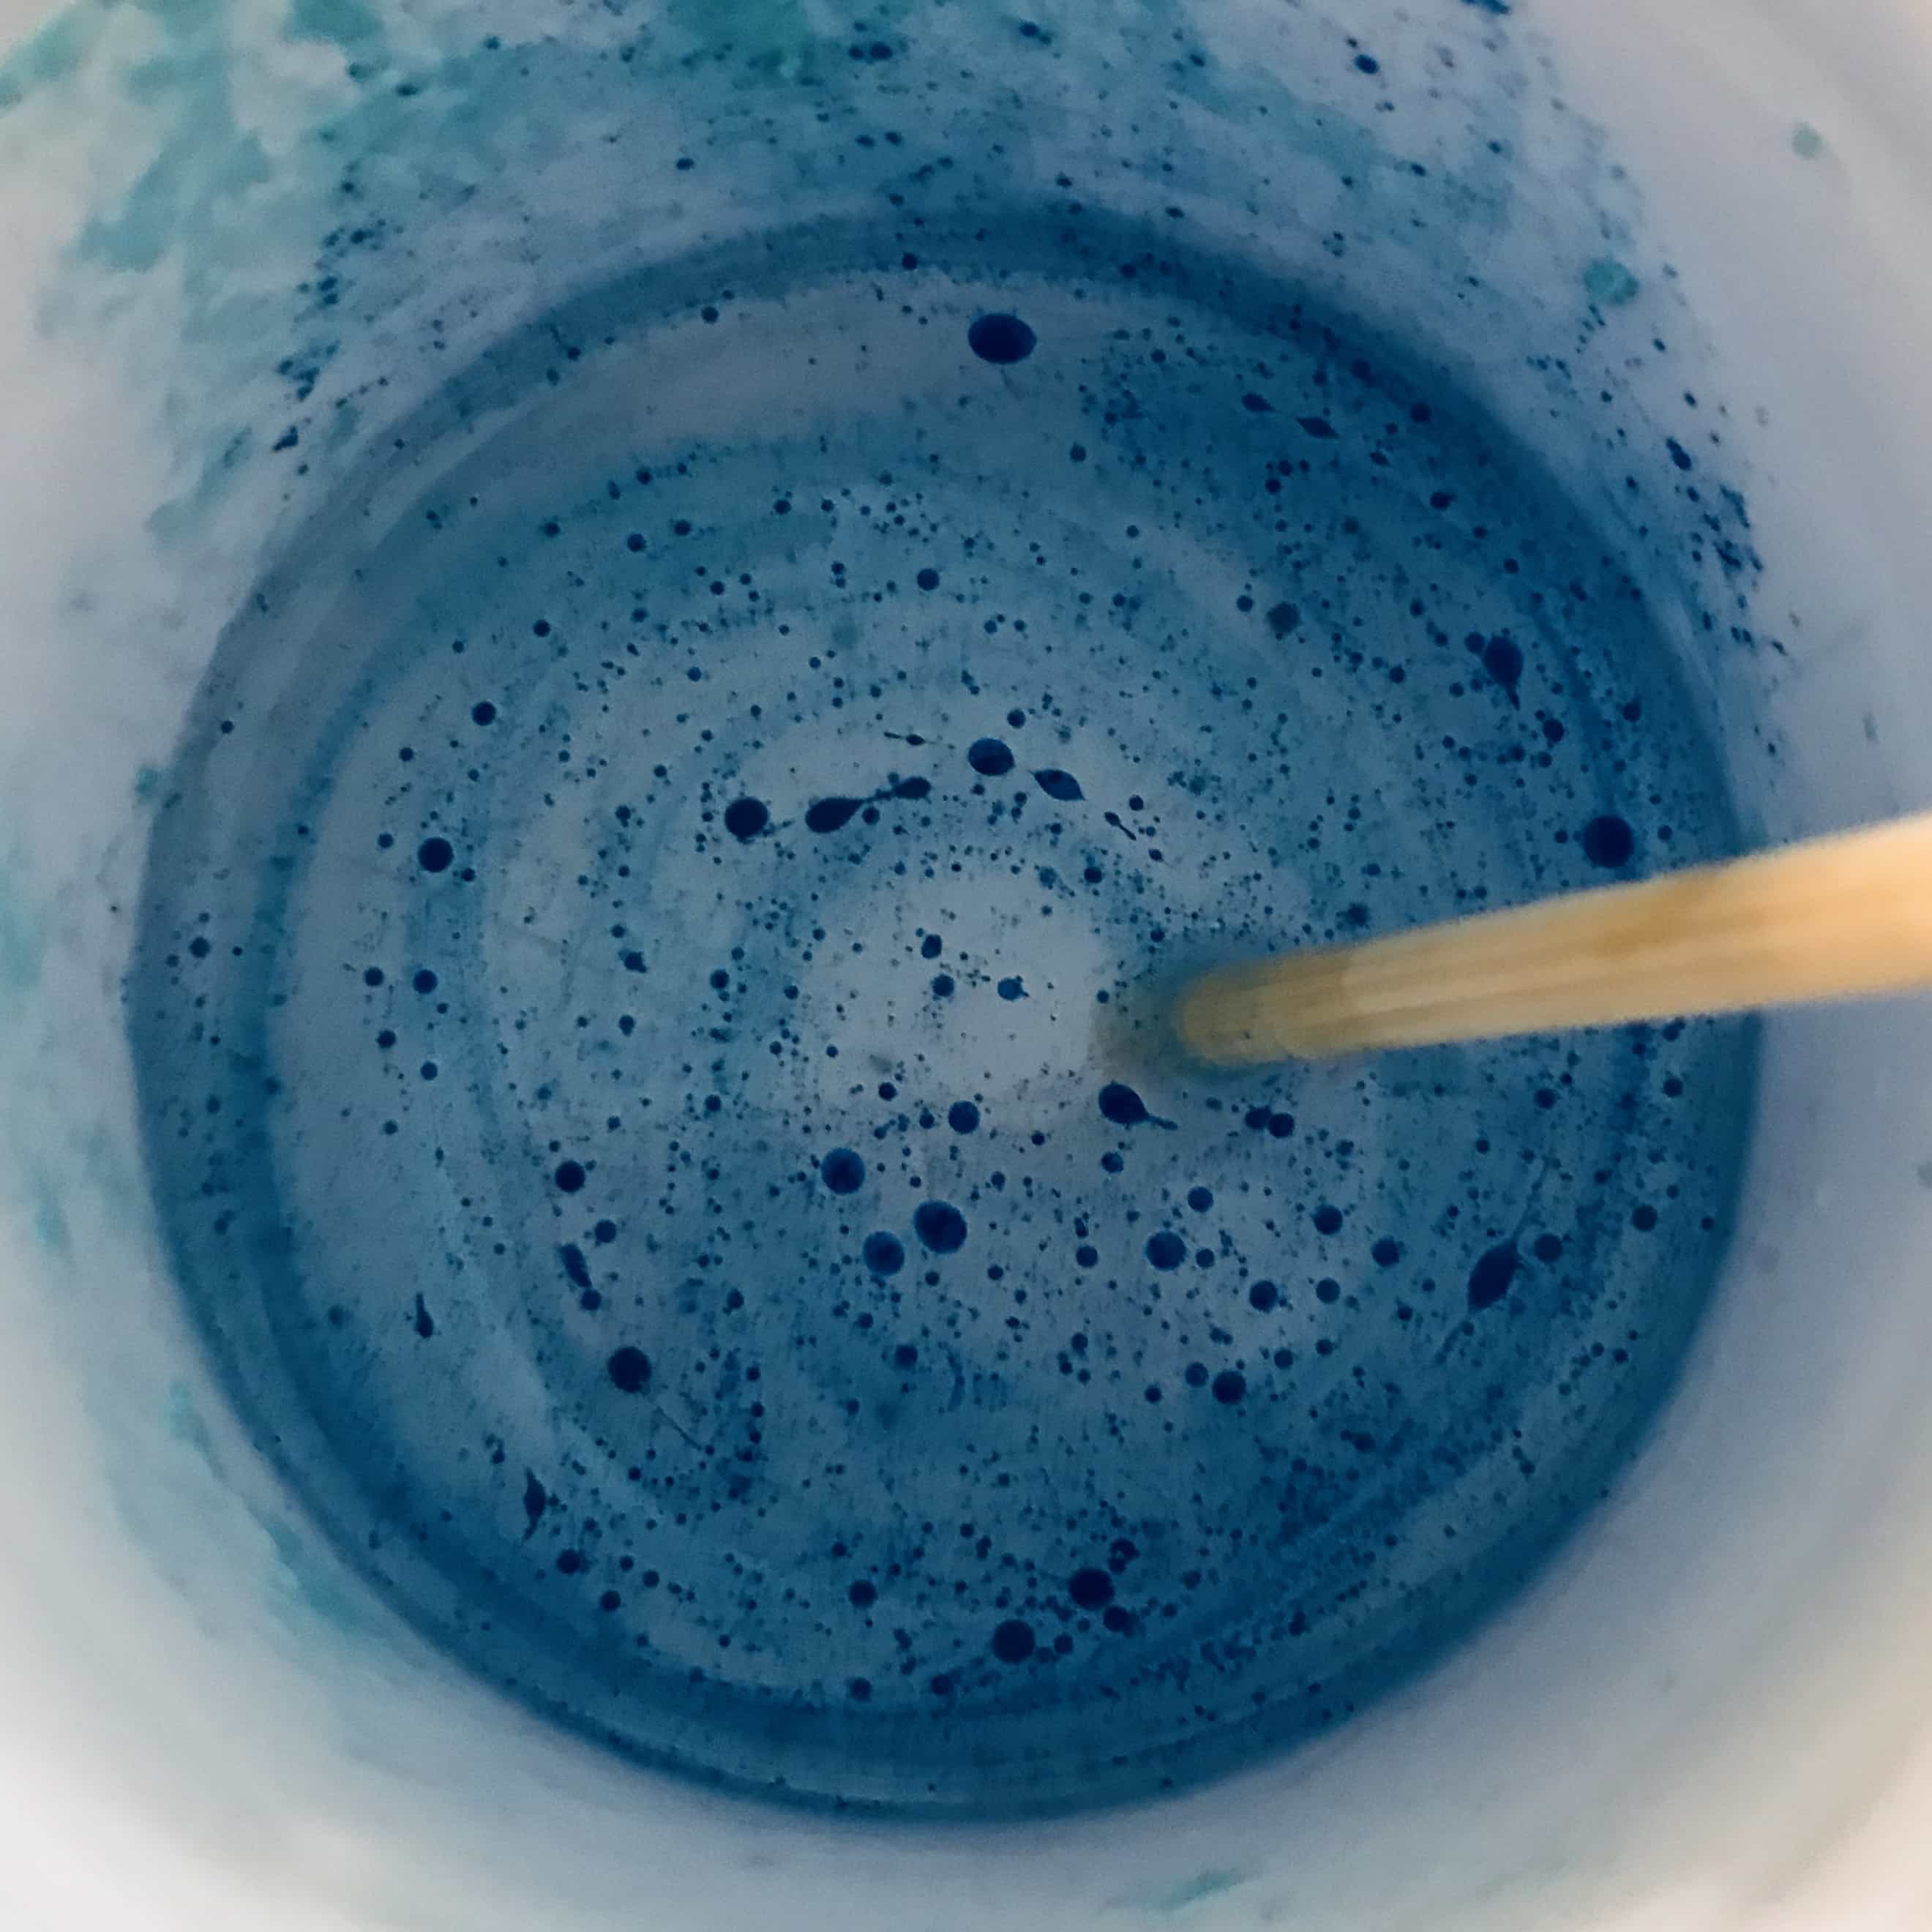
With out the vacuum in our home brewed CNC machine, we created a huge storm of blue.
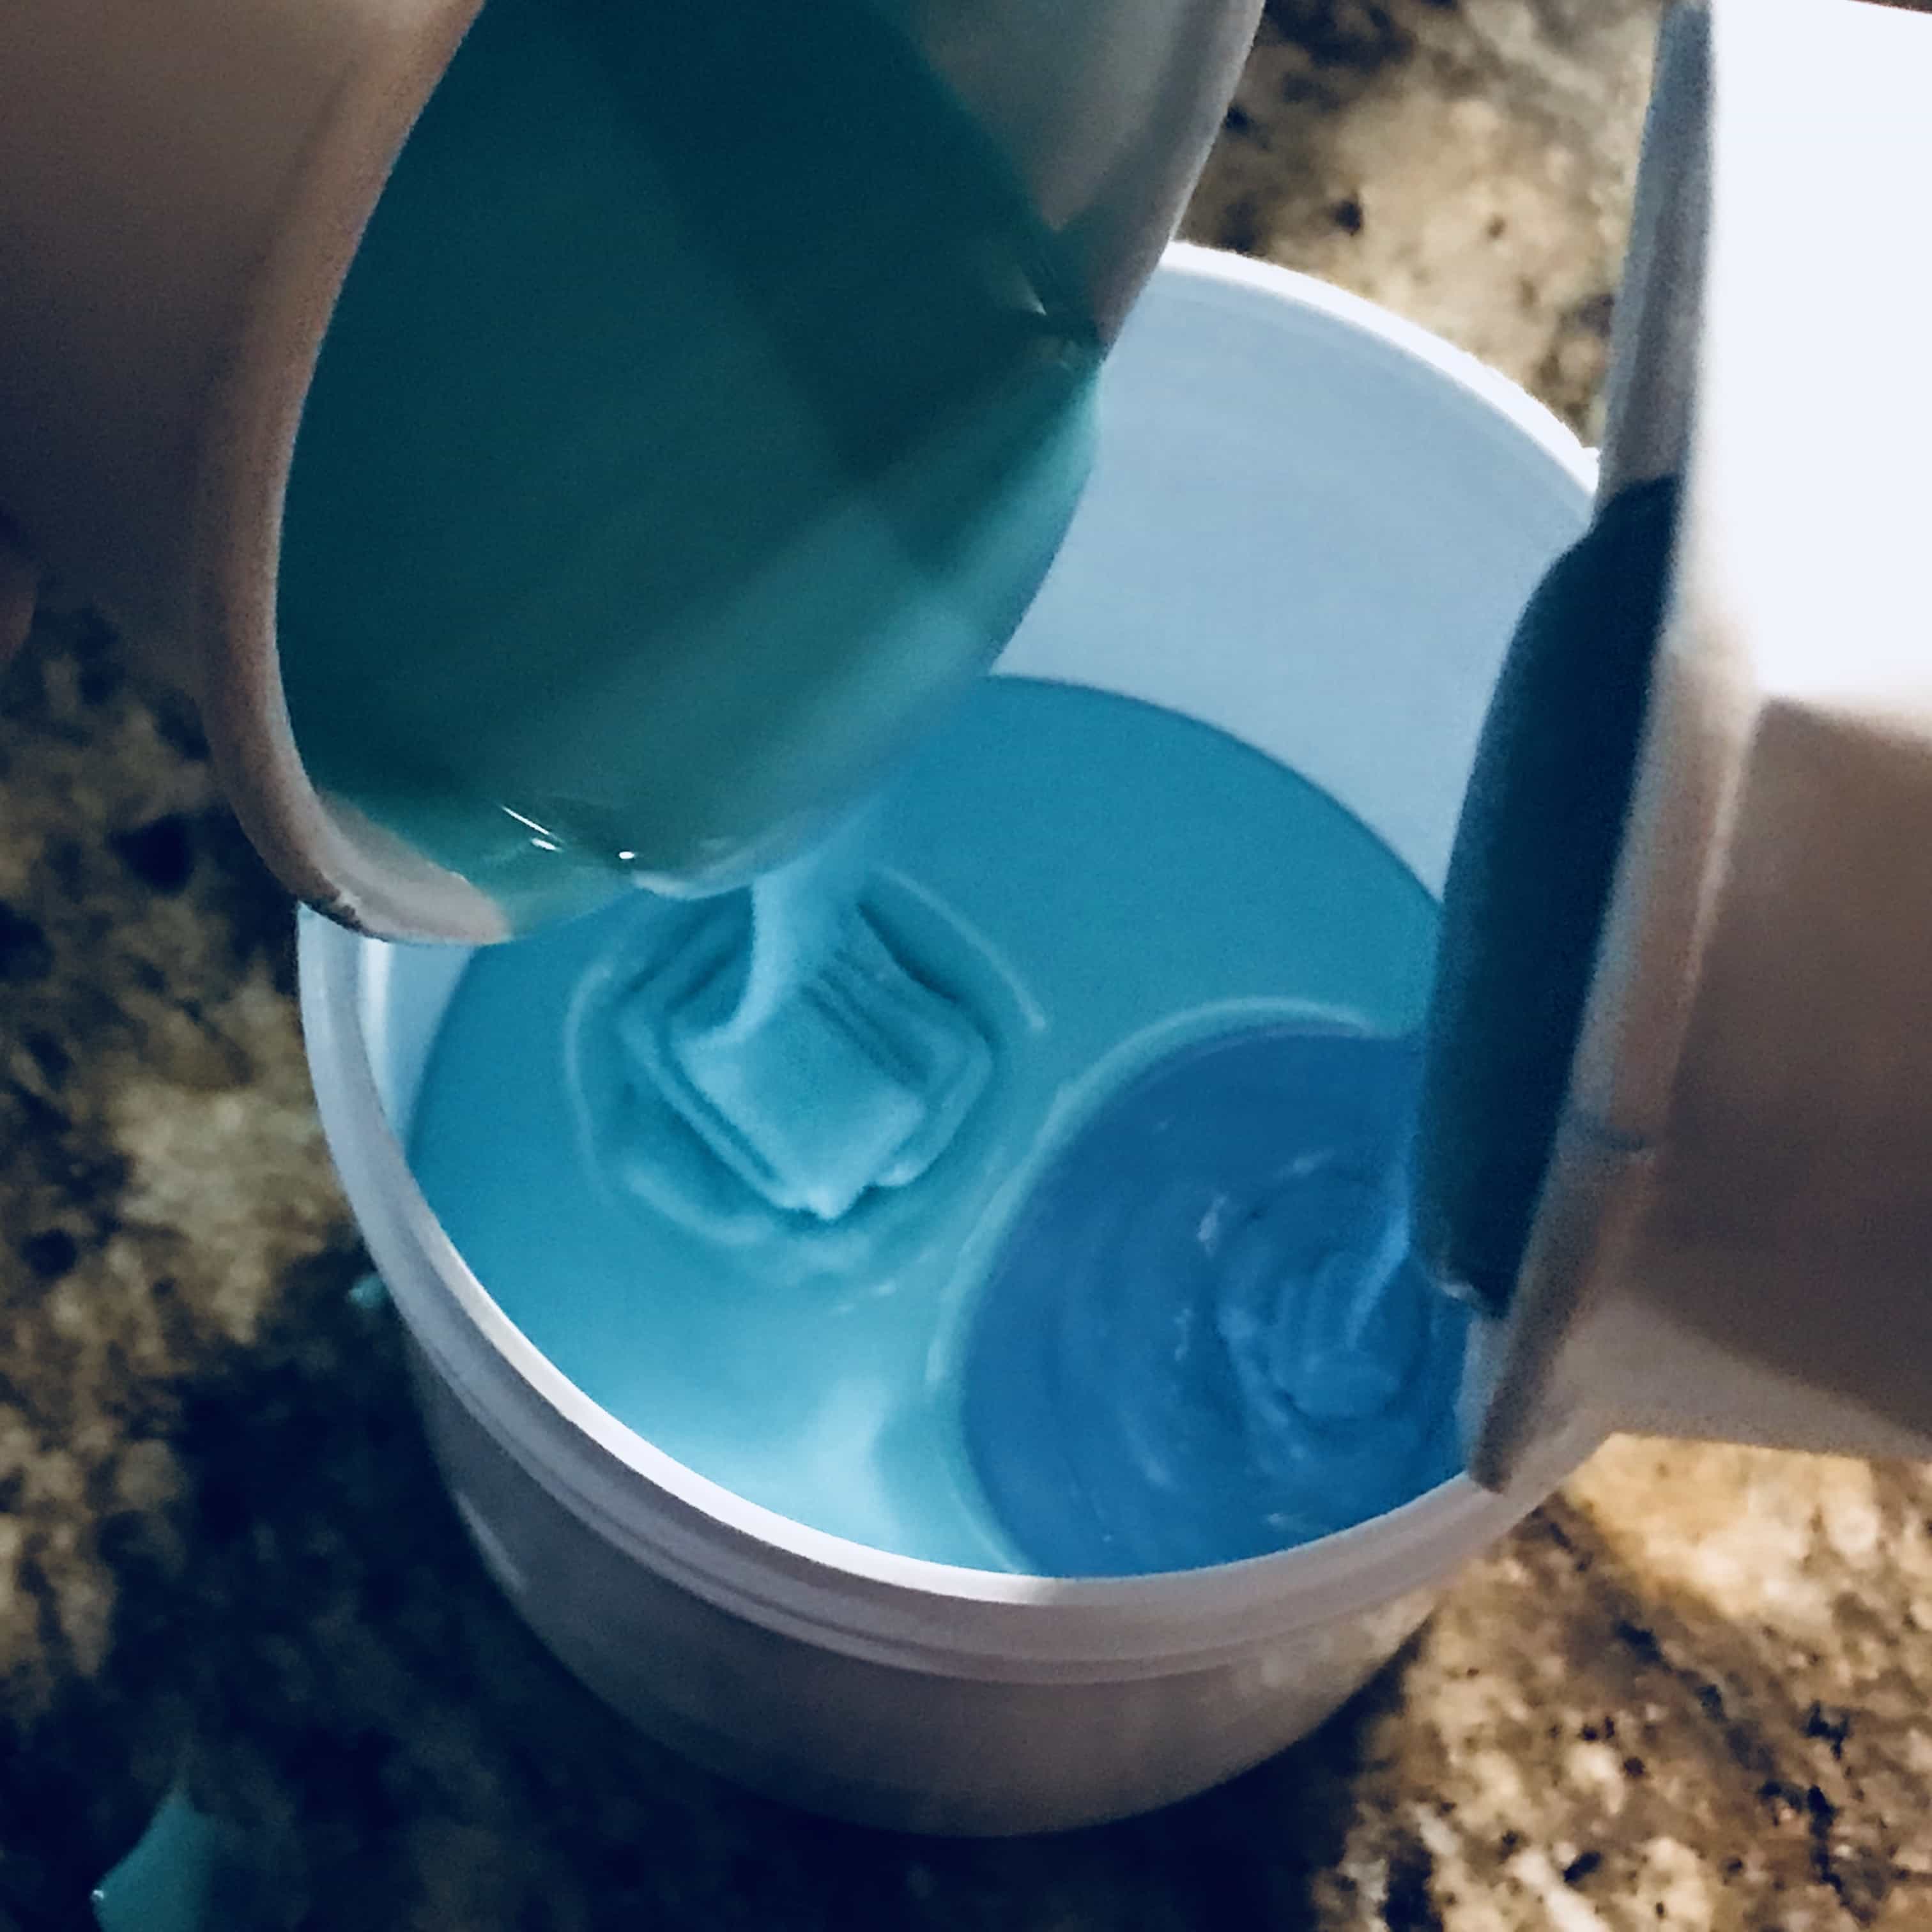
Mix OOMOO
Avoid the bubbles
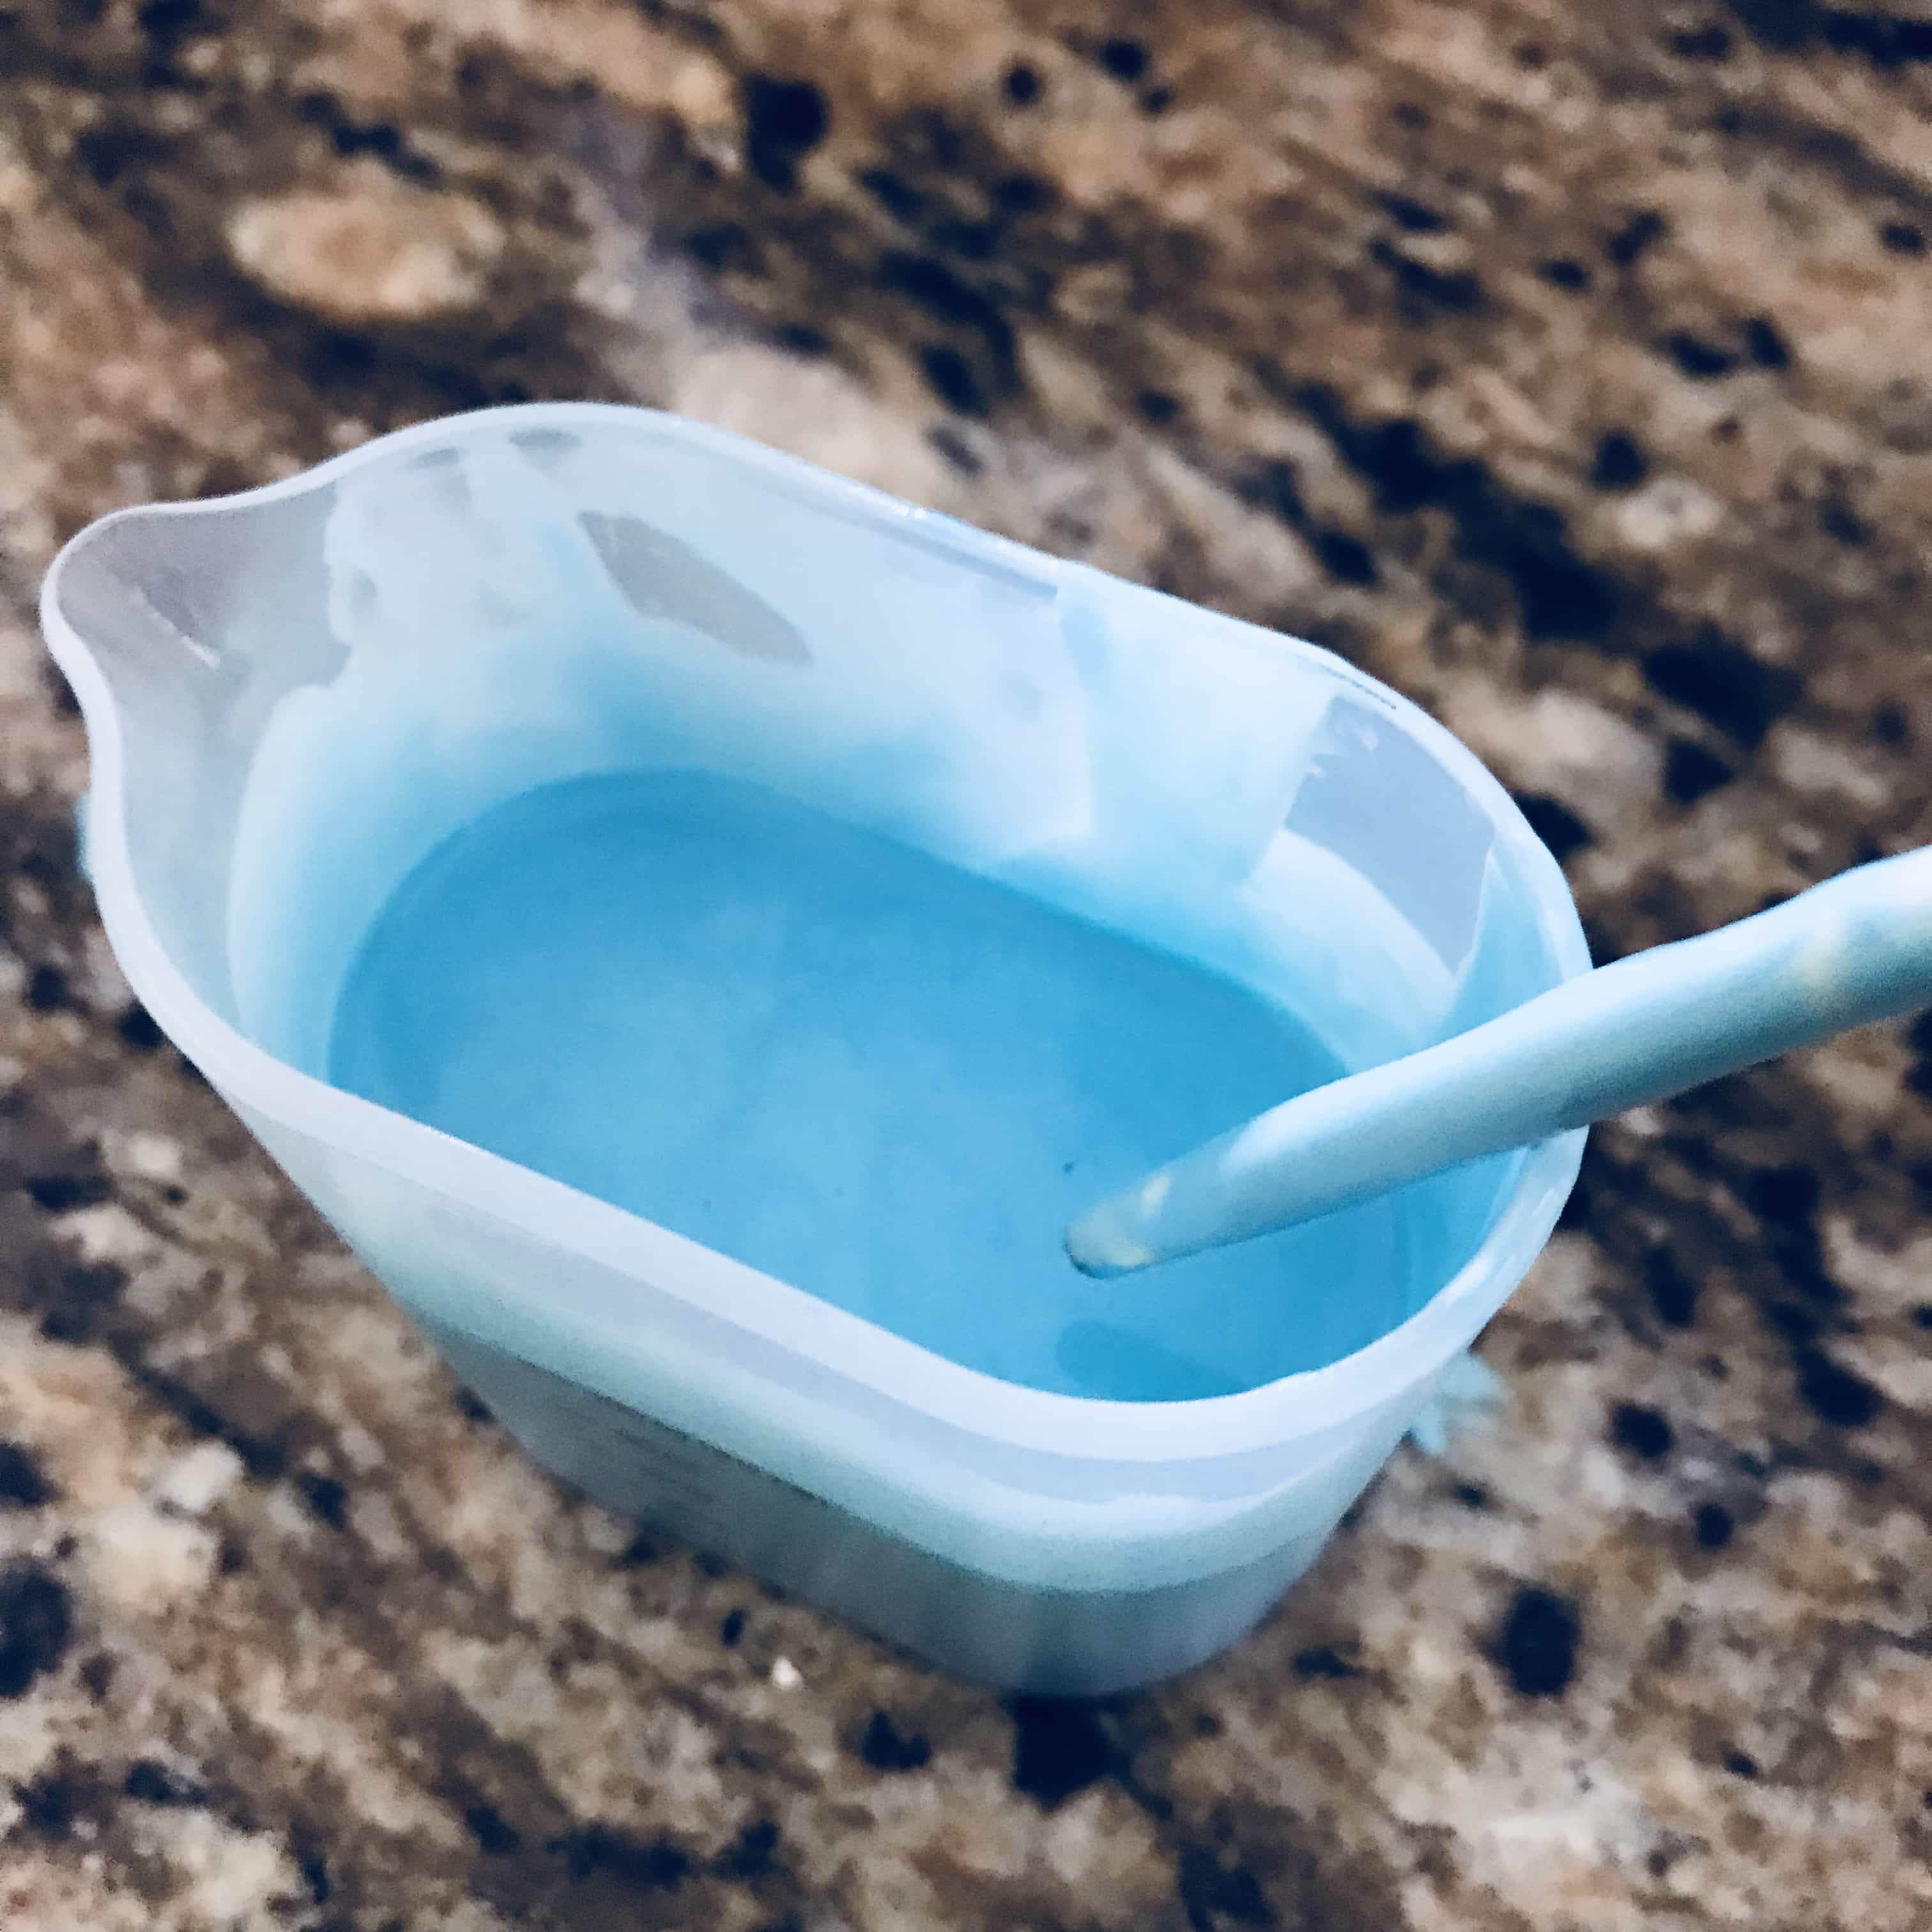
Stir
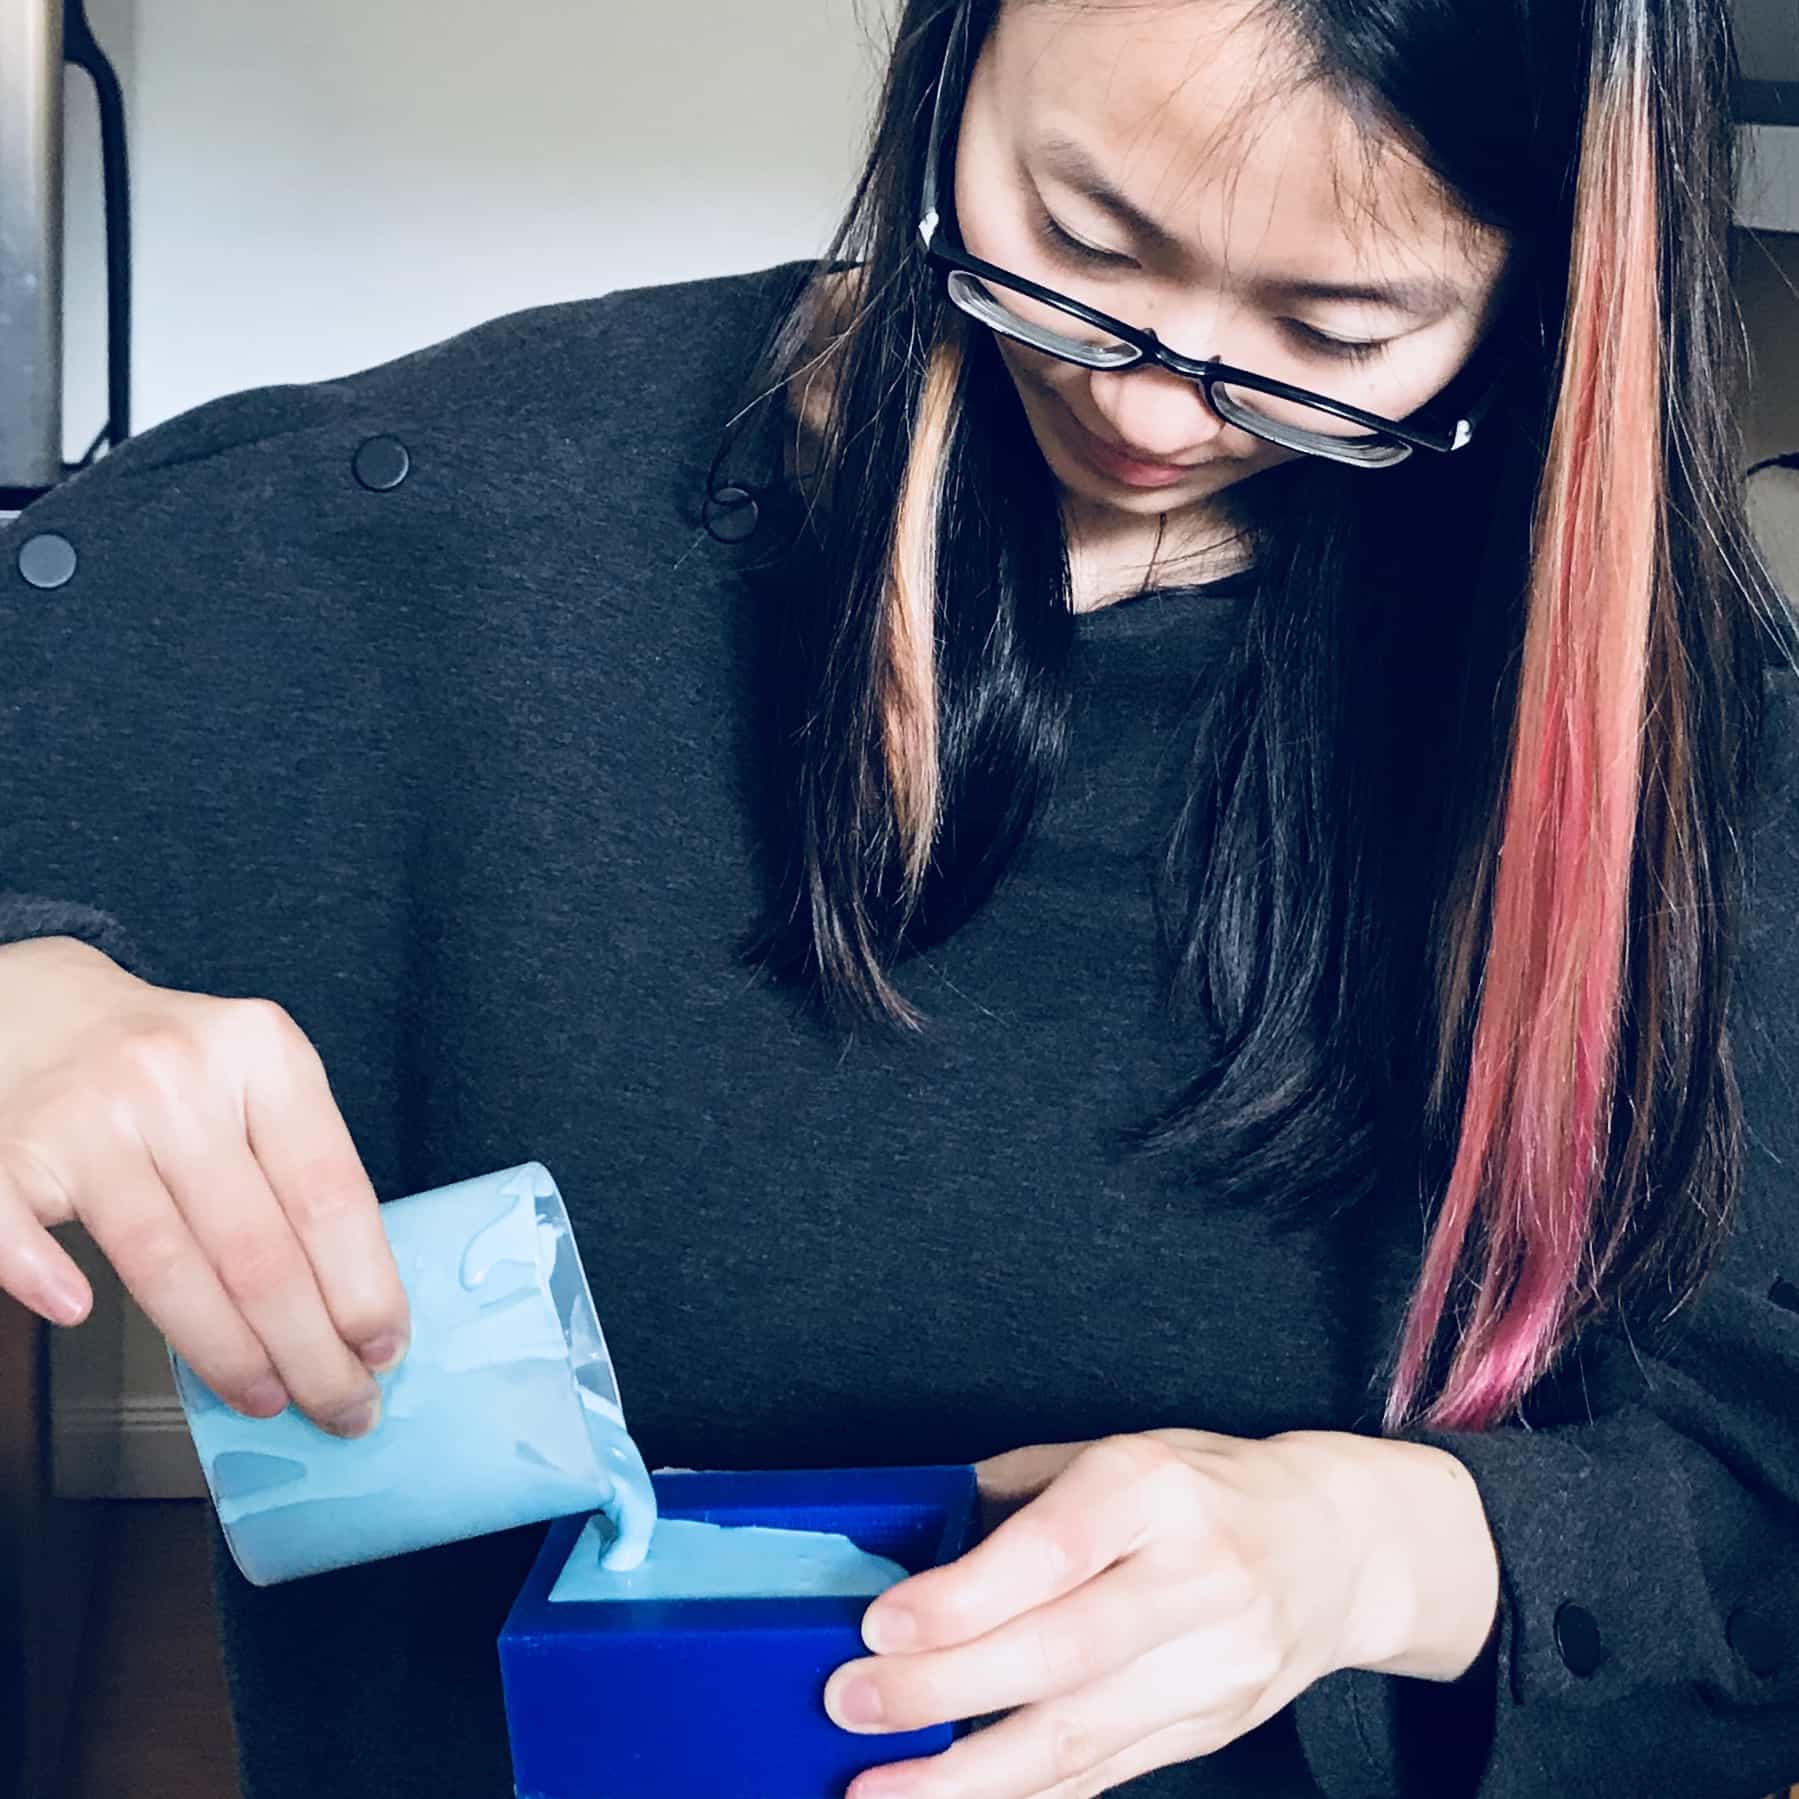
Pour into mold
With some angles to avoid bubbles
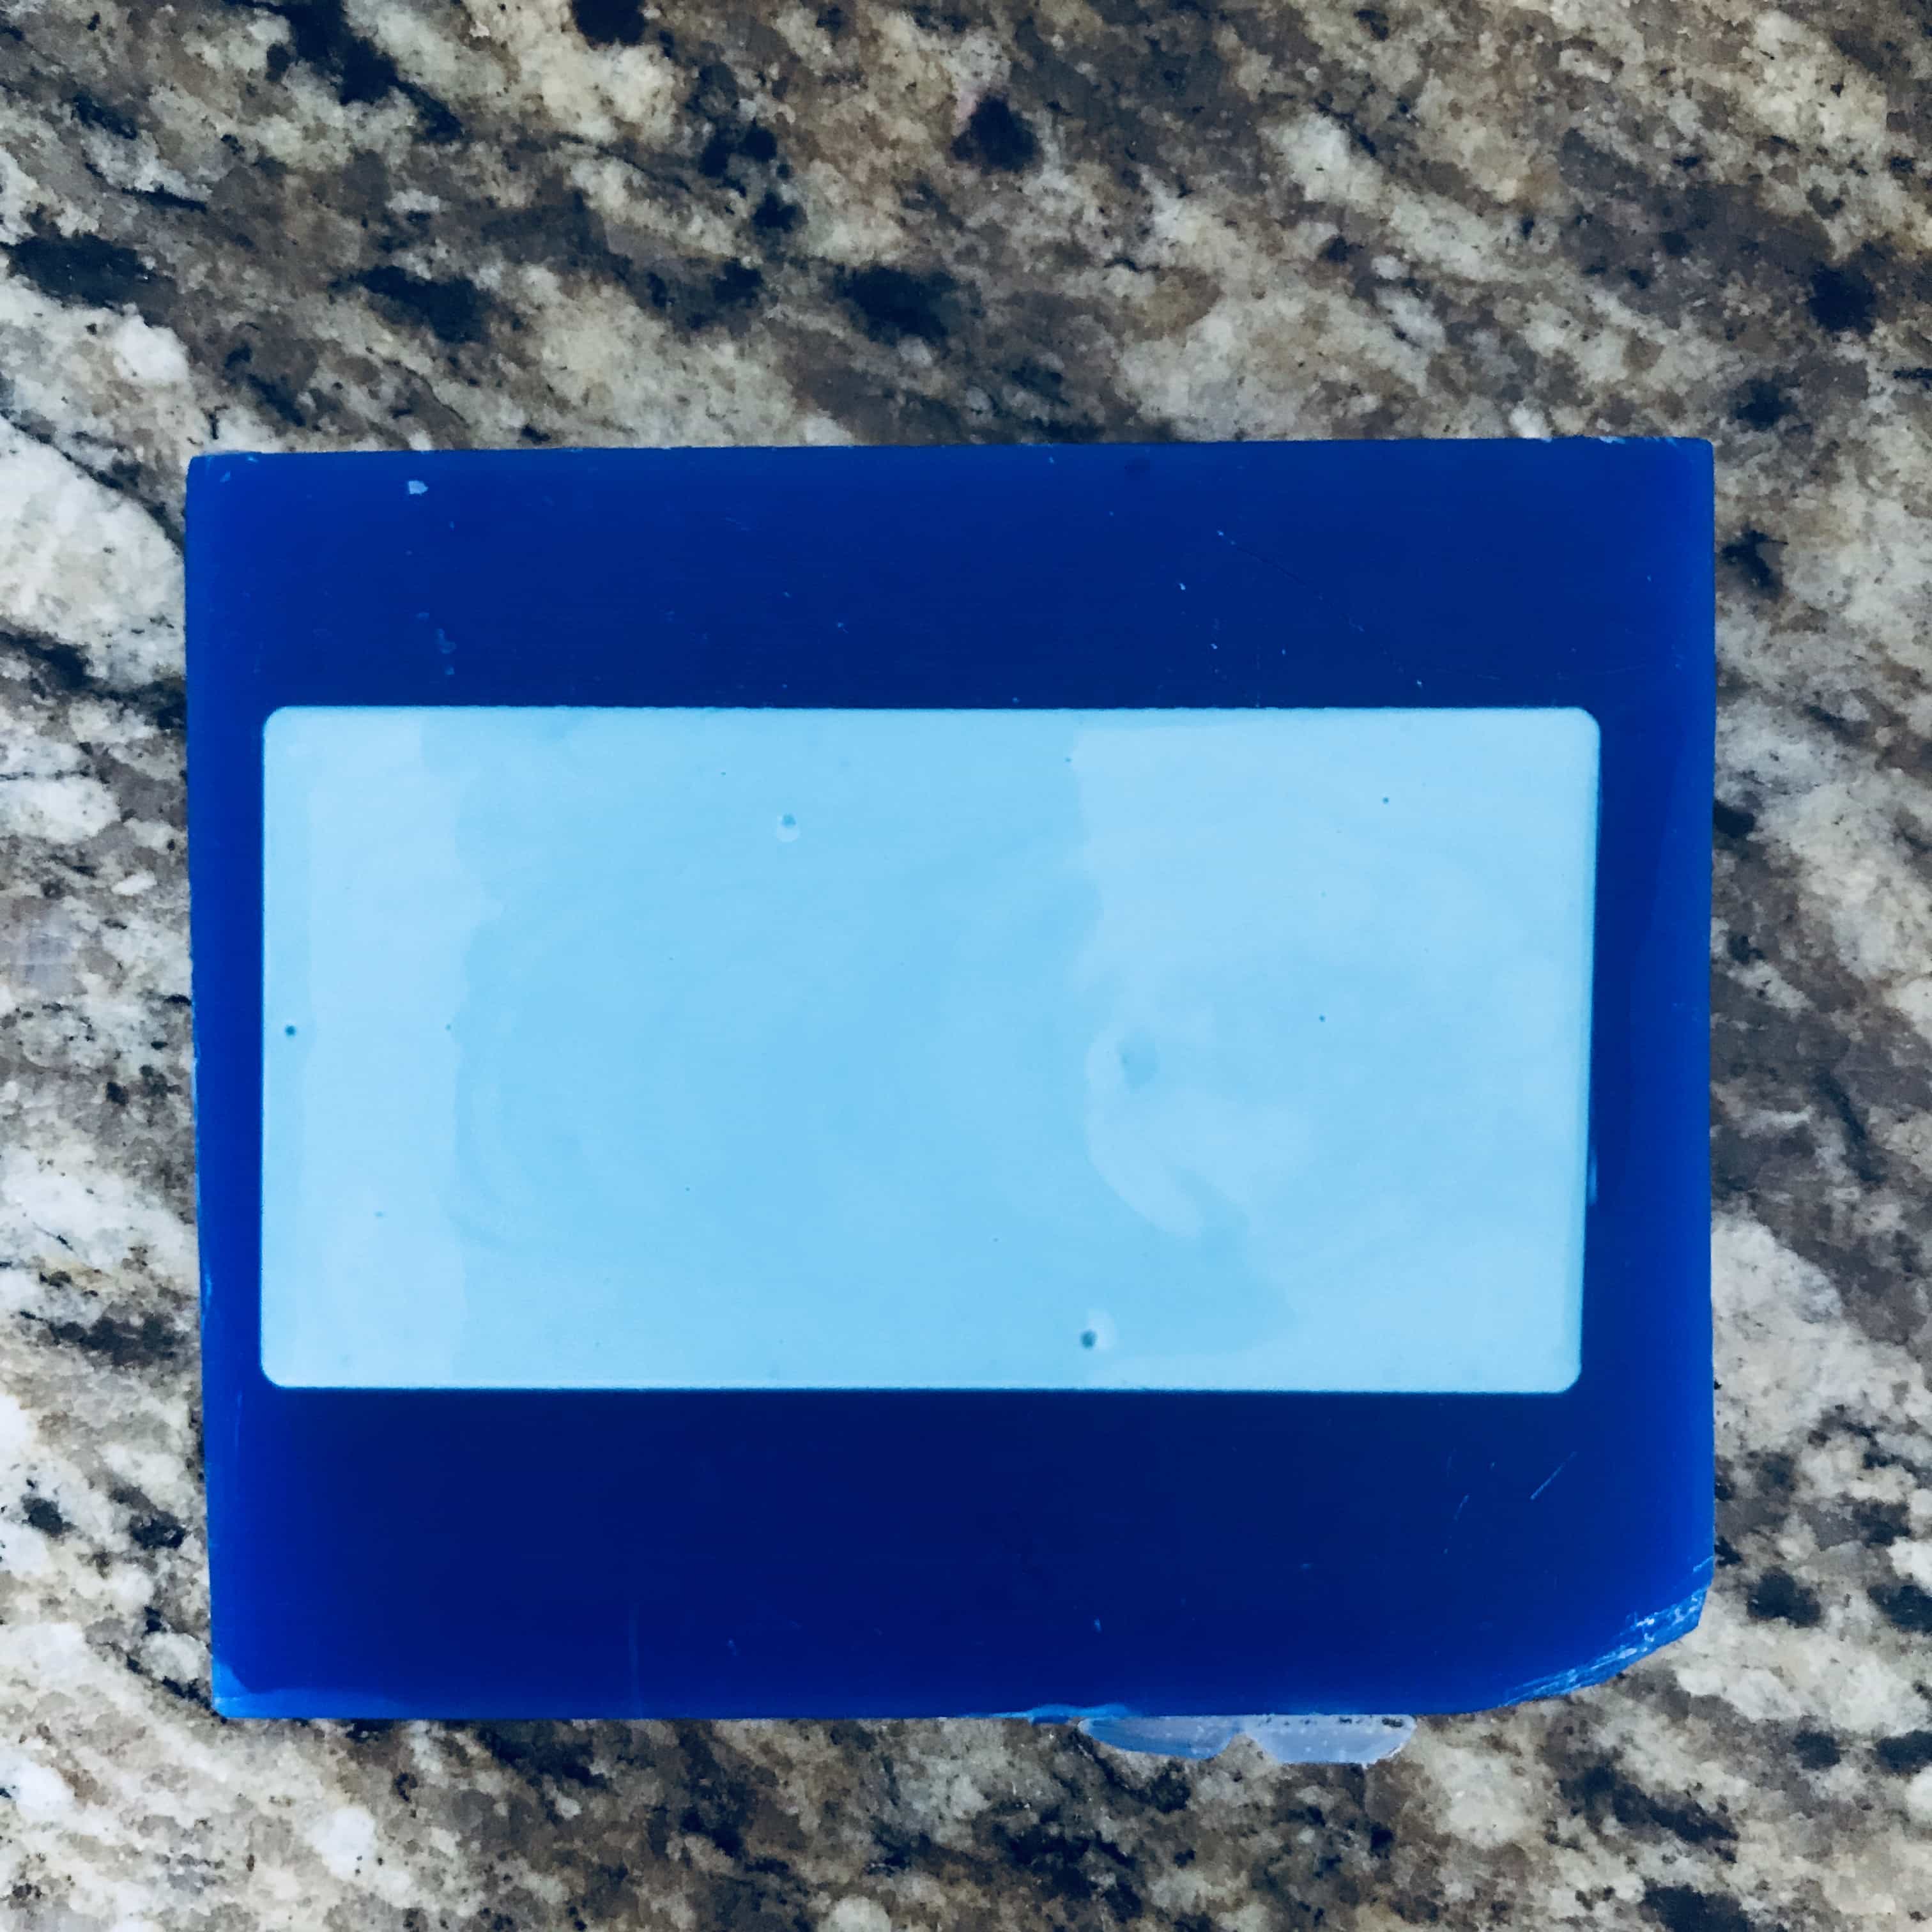
Wait for 75 min
Mold ready
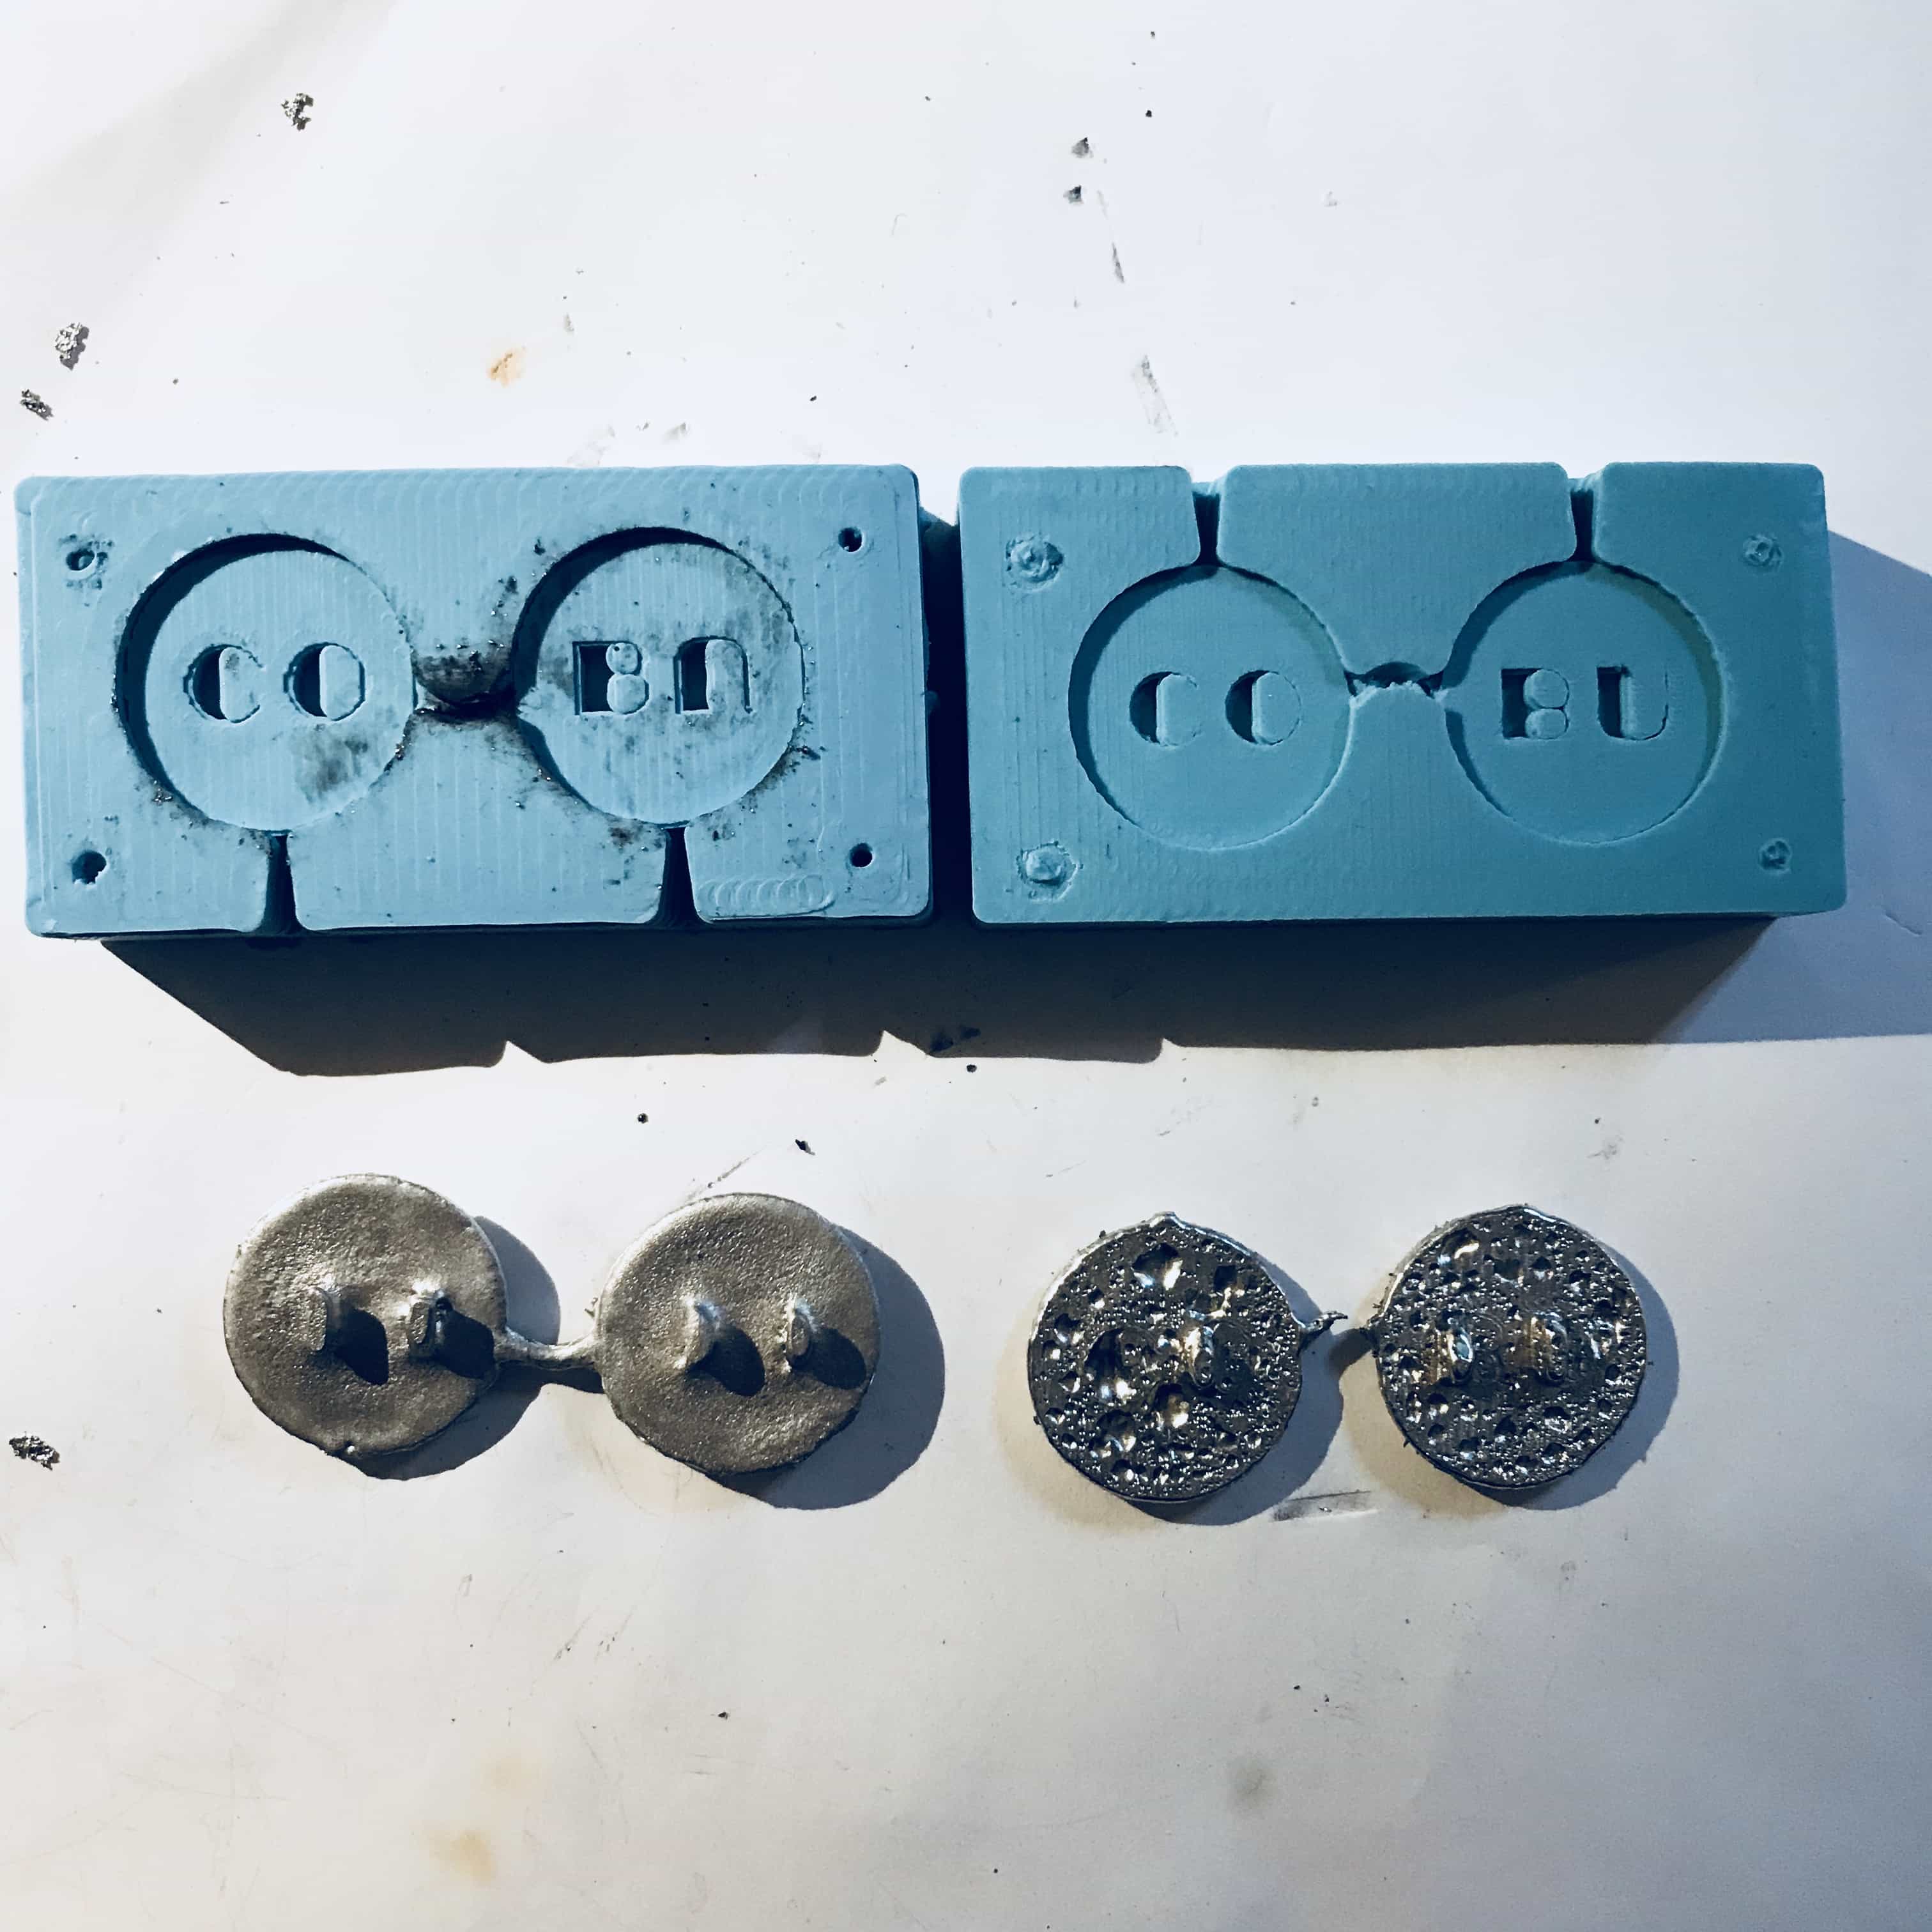
The edges of the text and the glasses are too narrow. I should have taken the resolution caused by the bits into consideration.
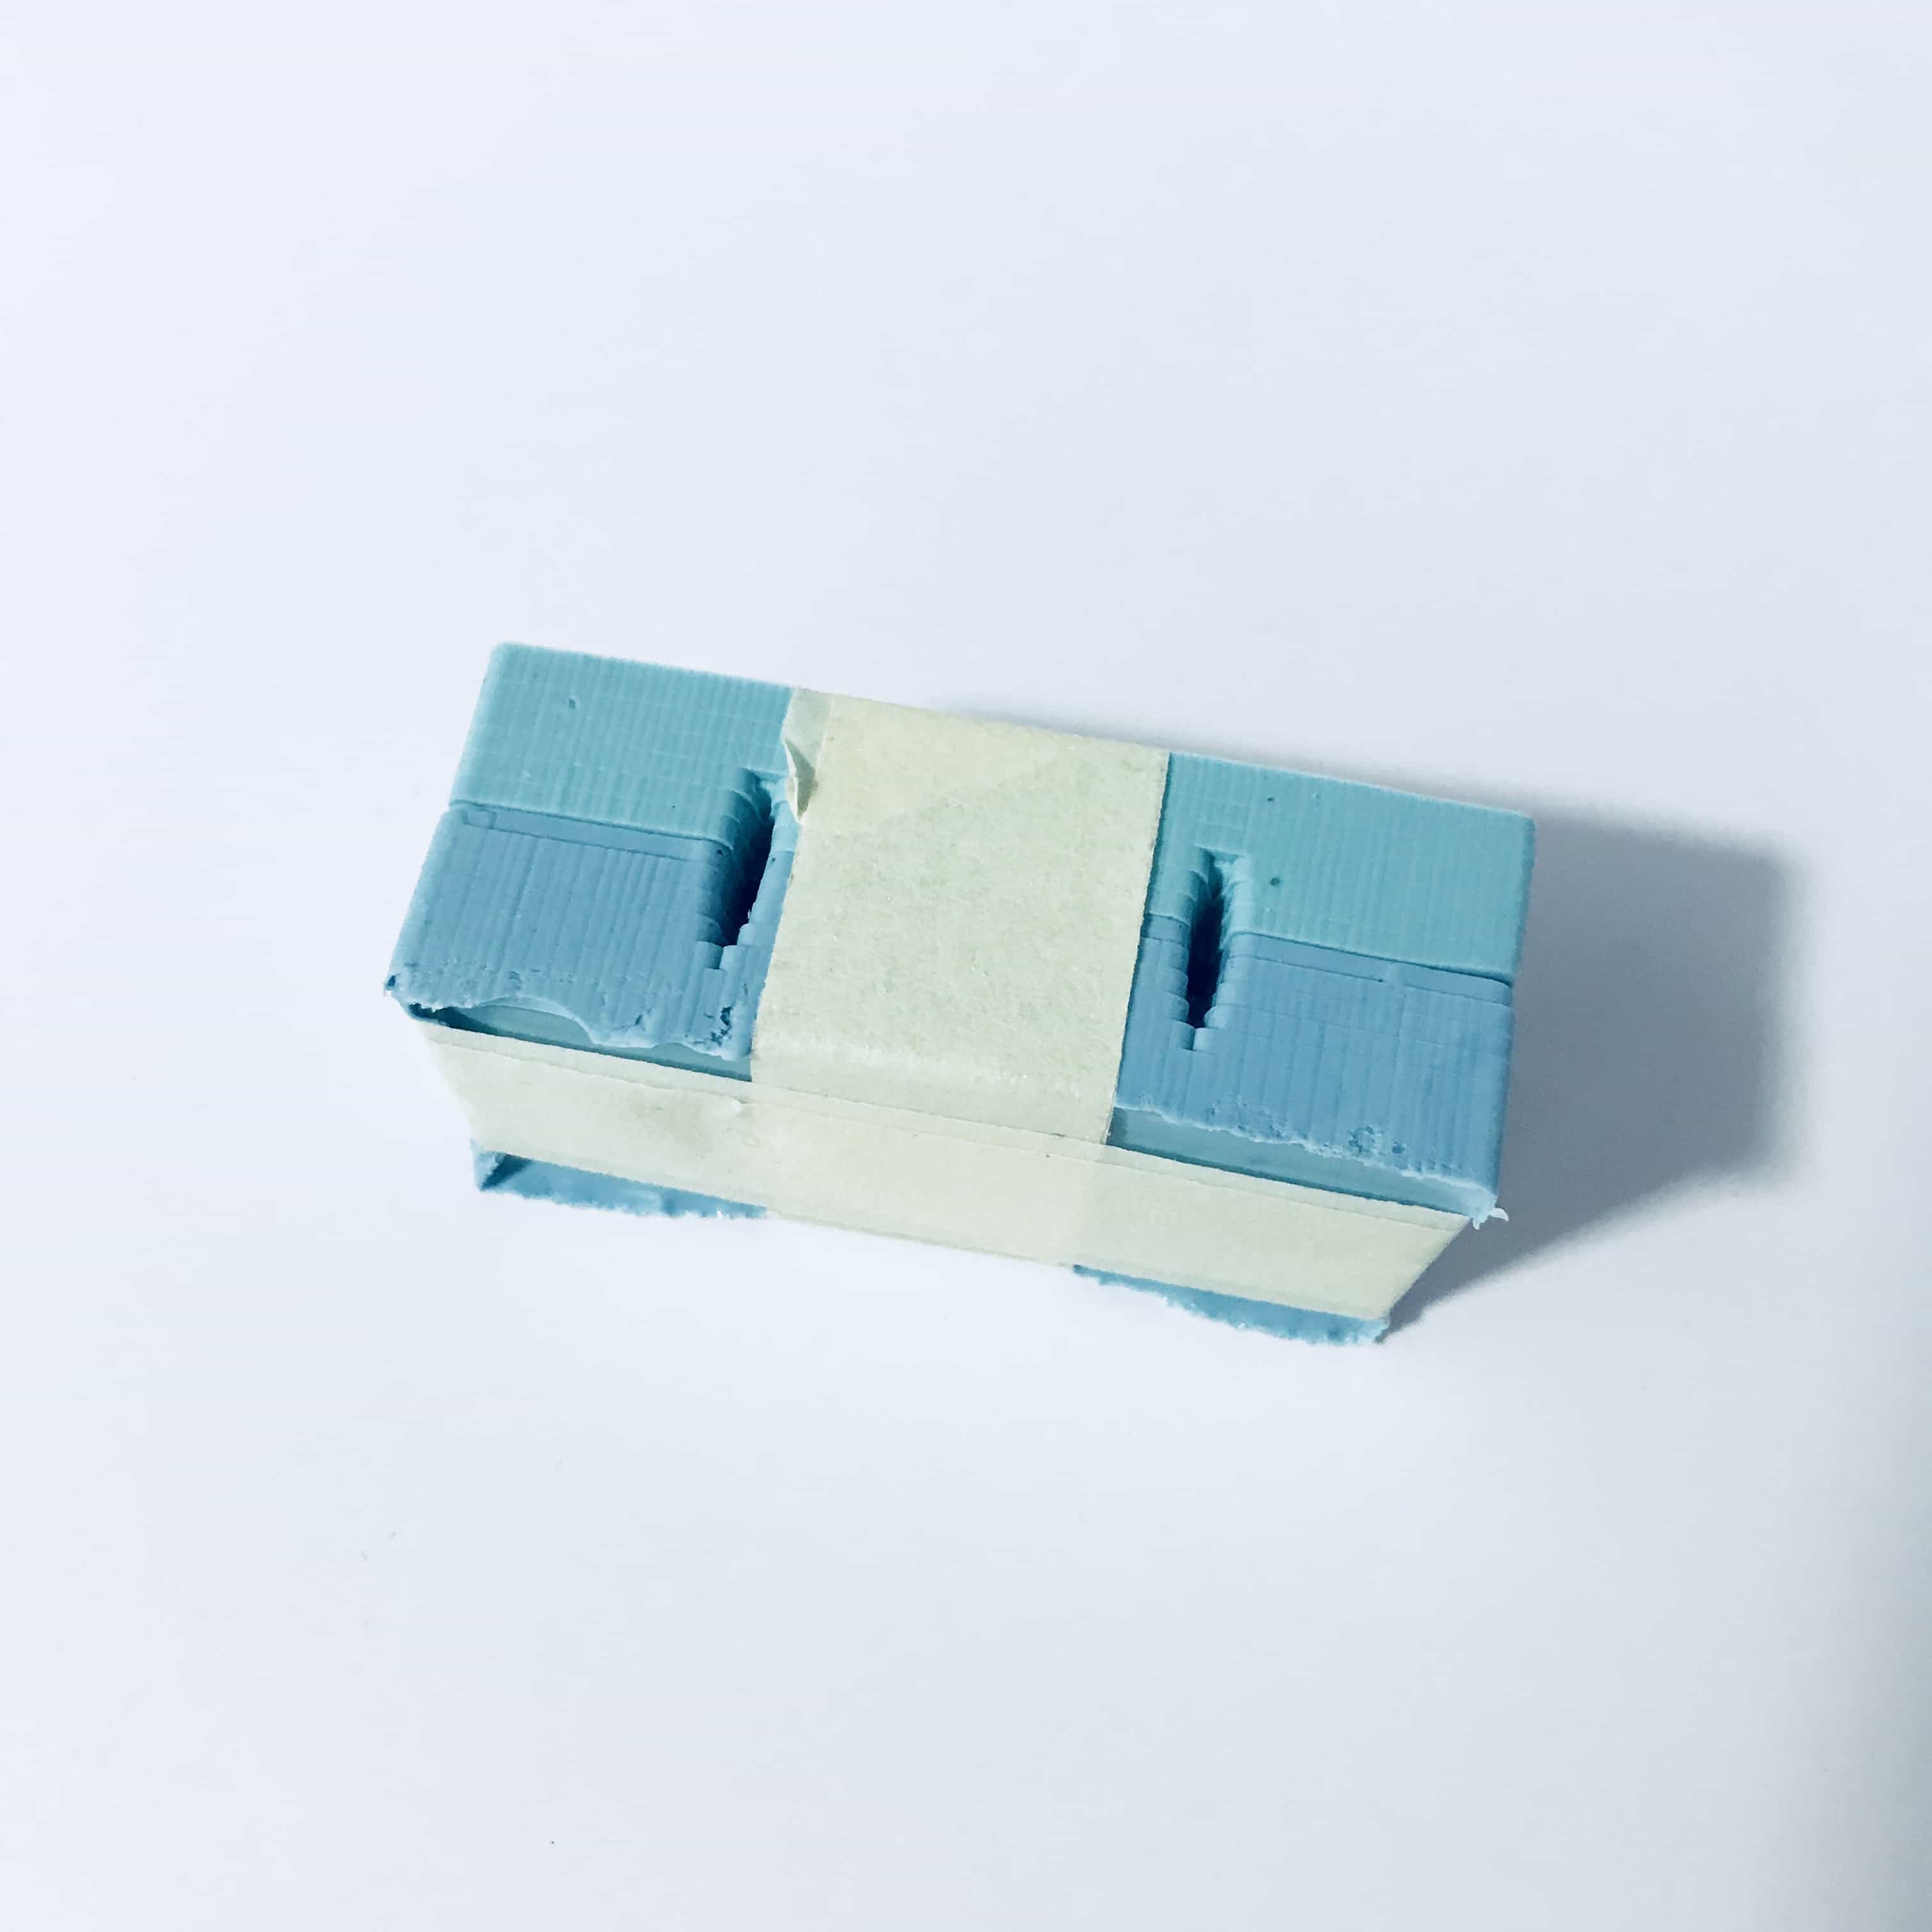
Tape it
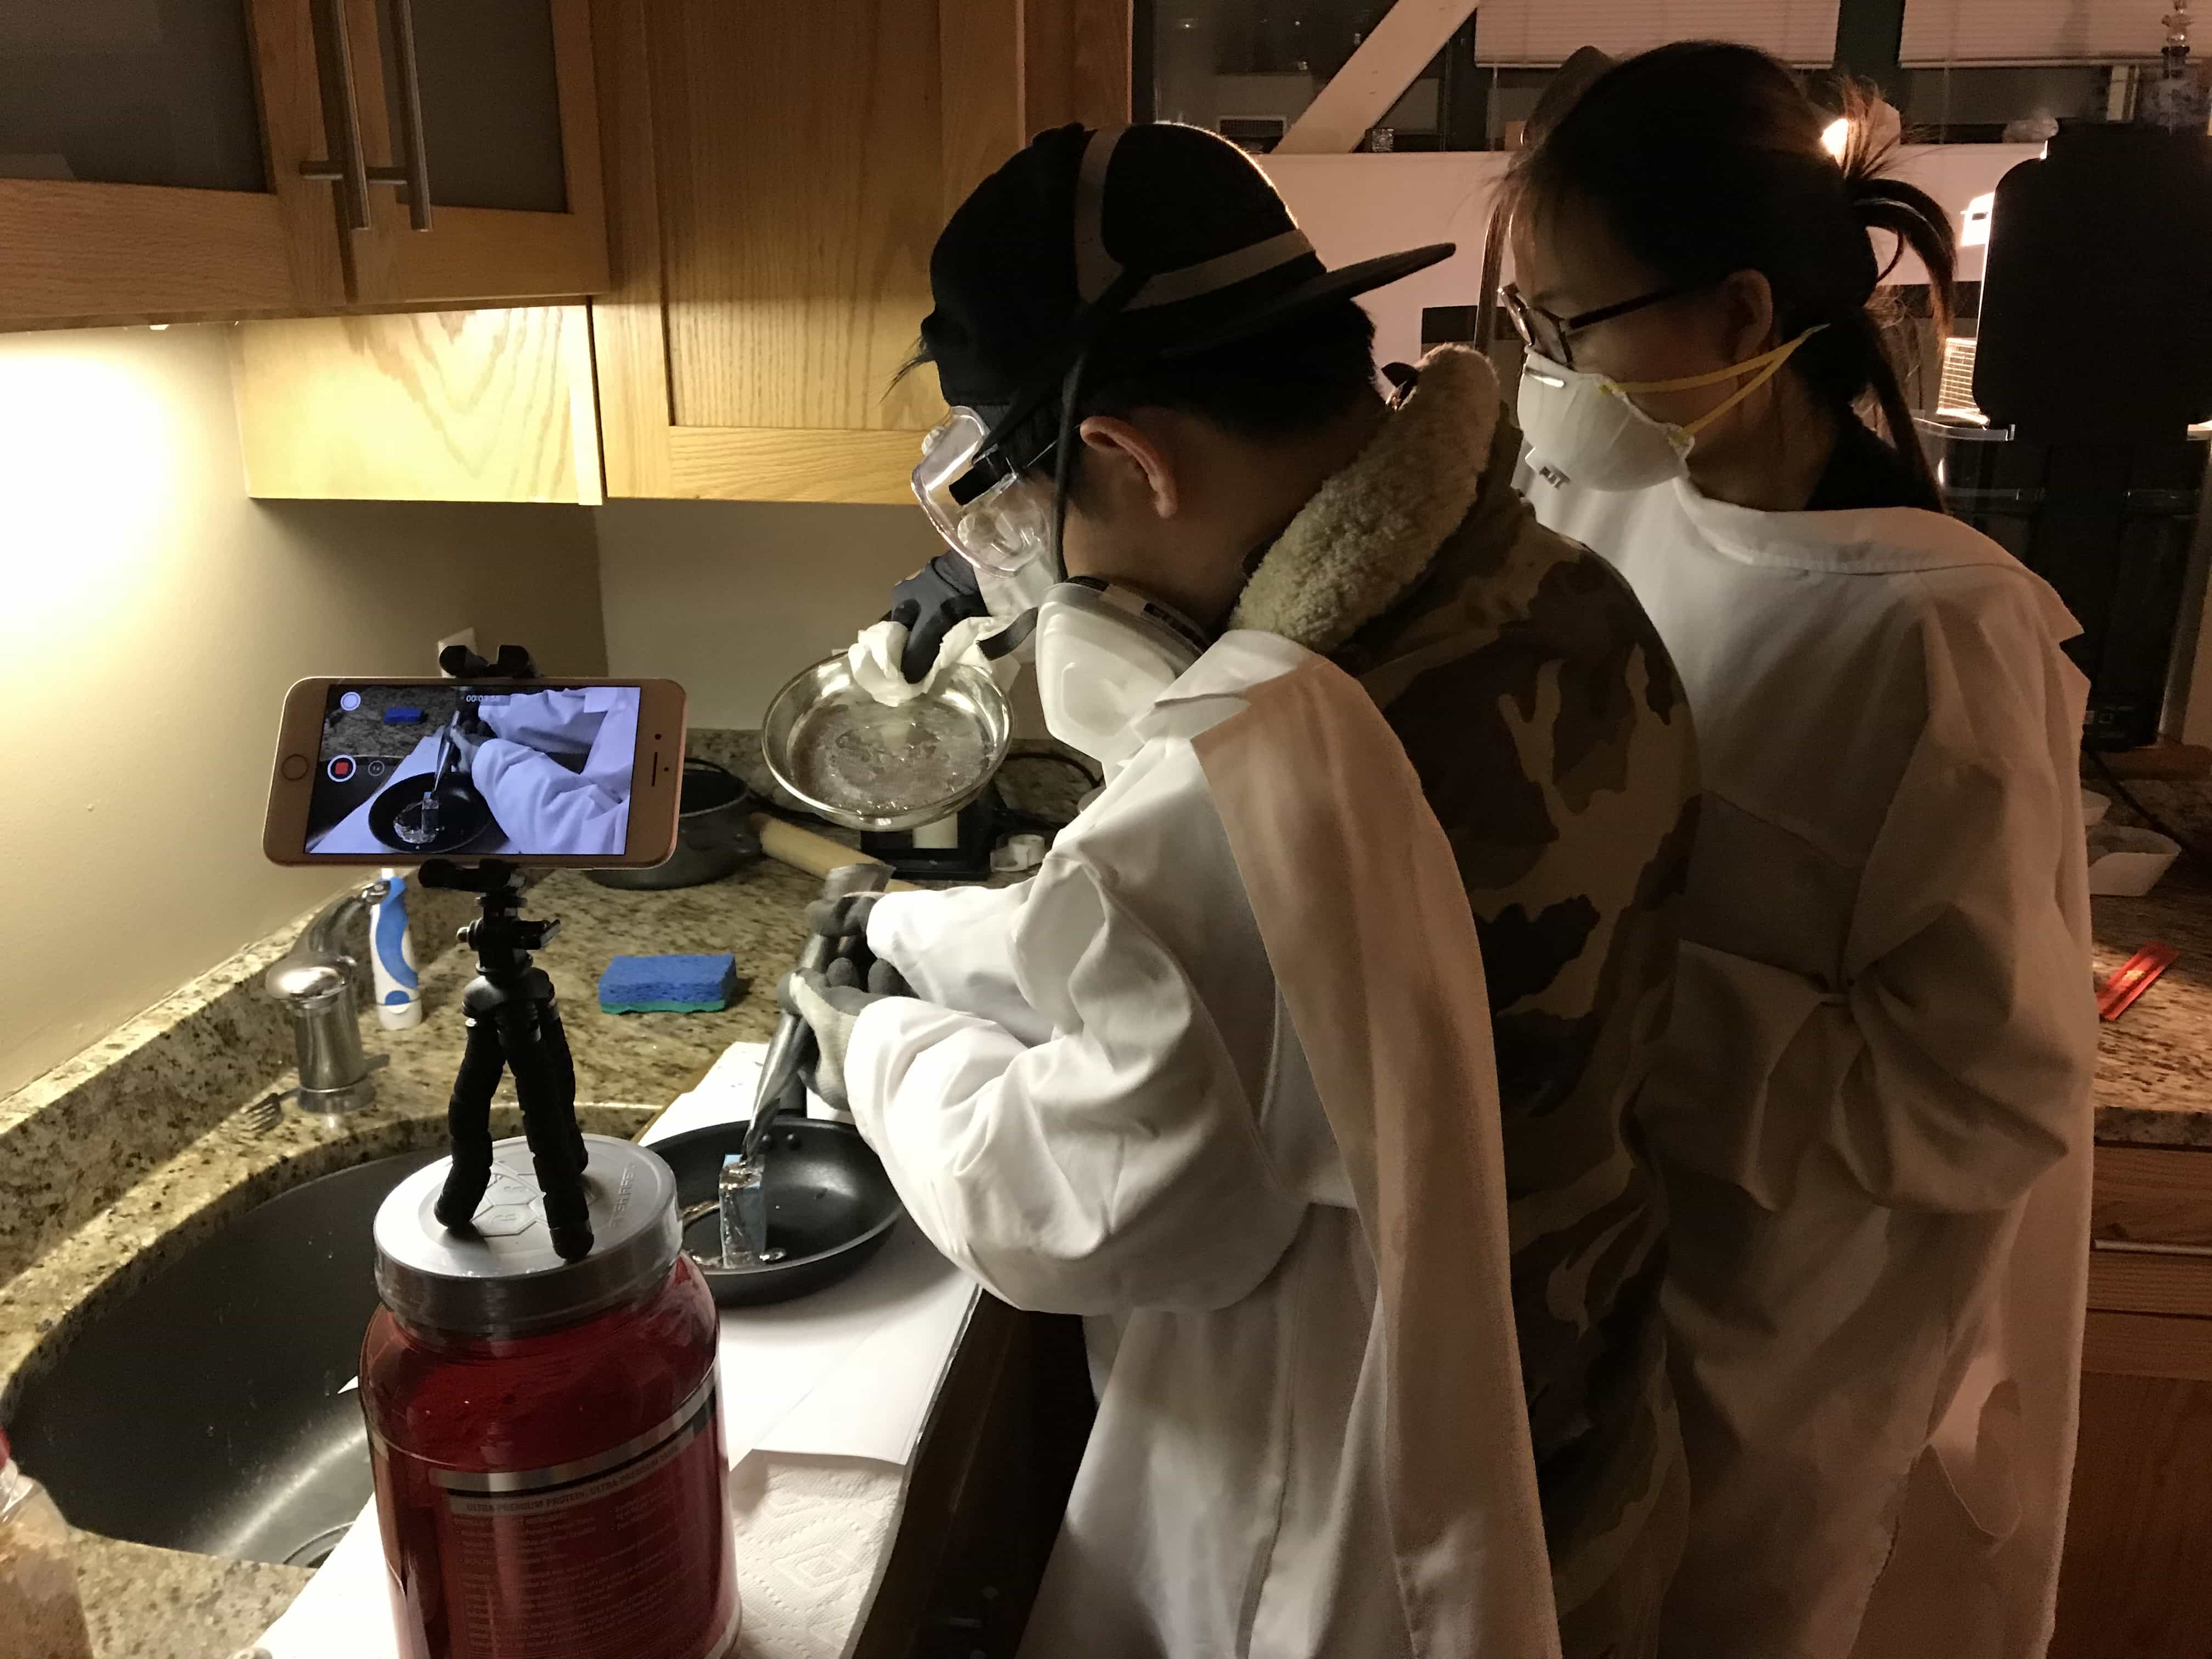
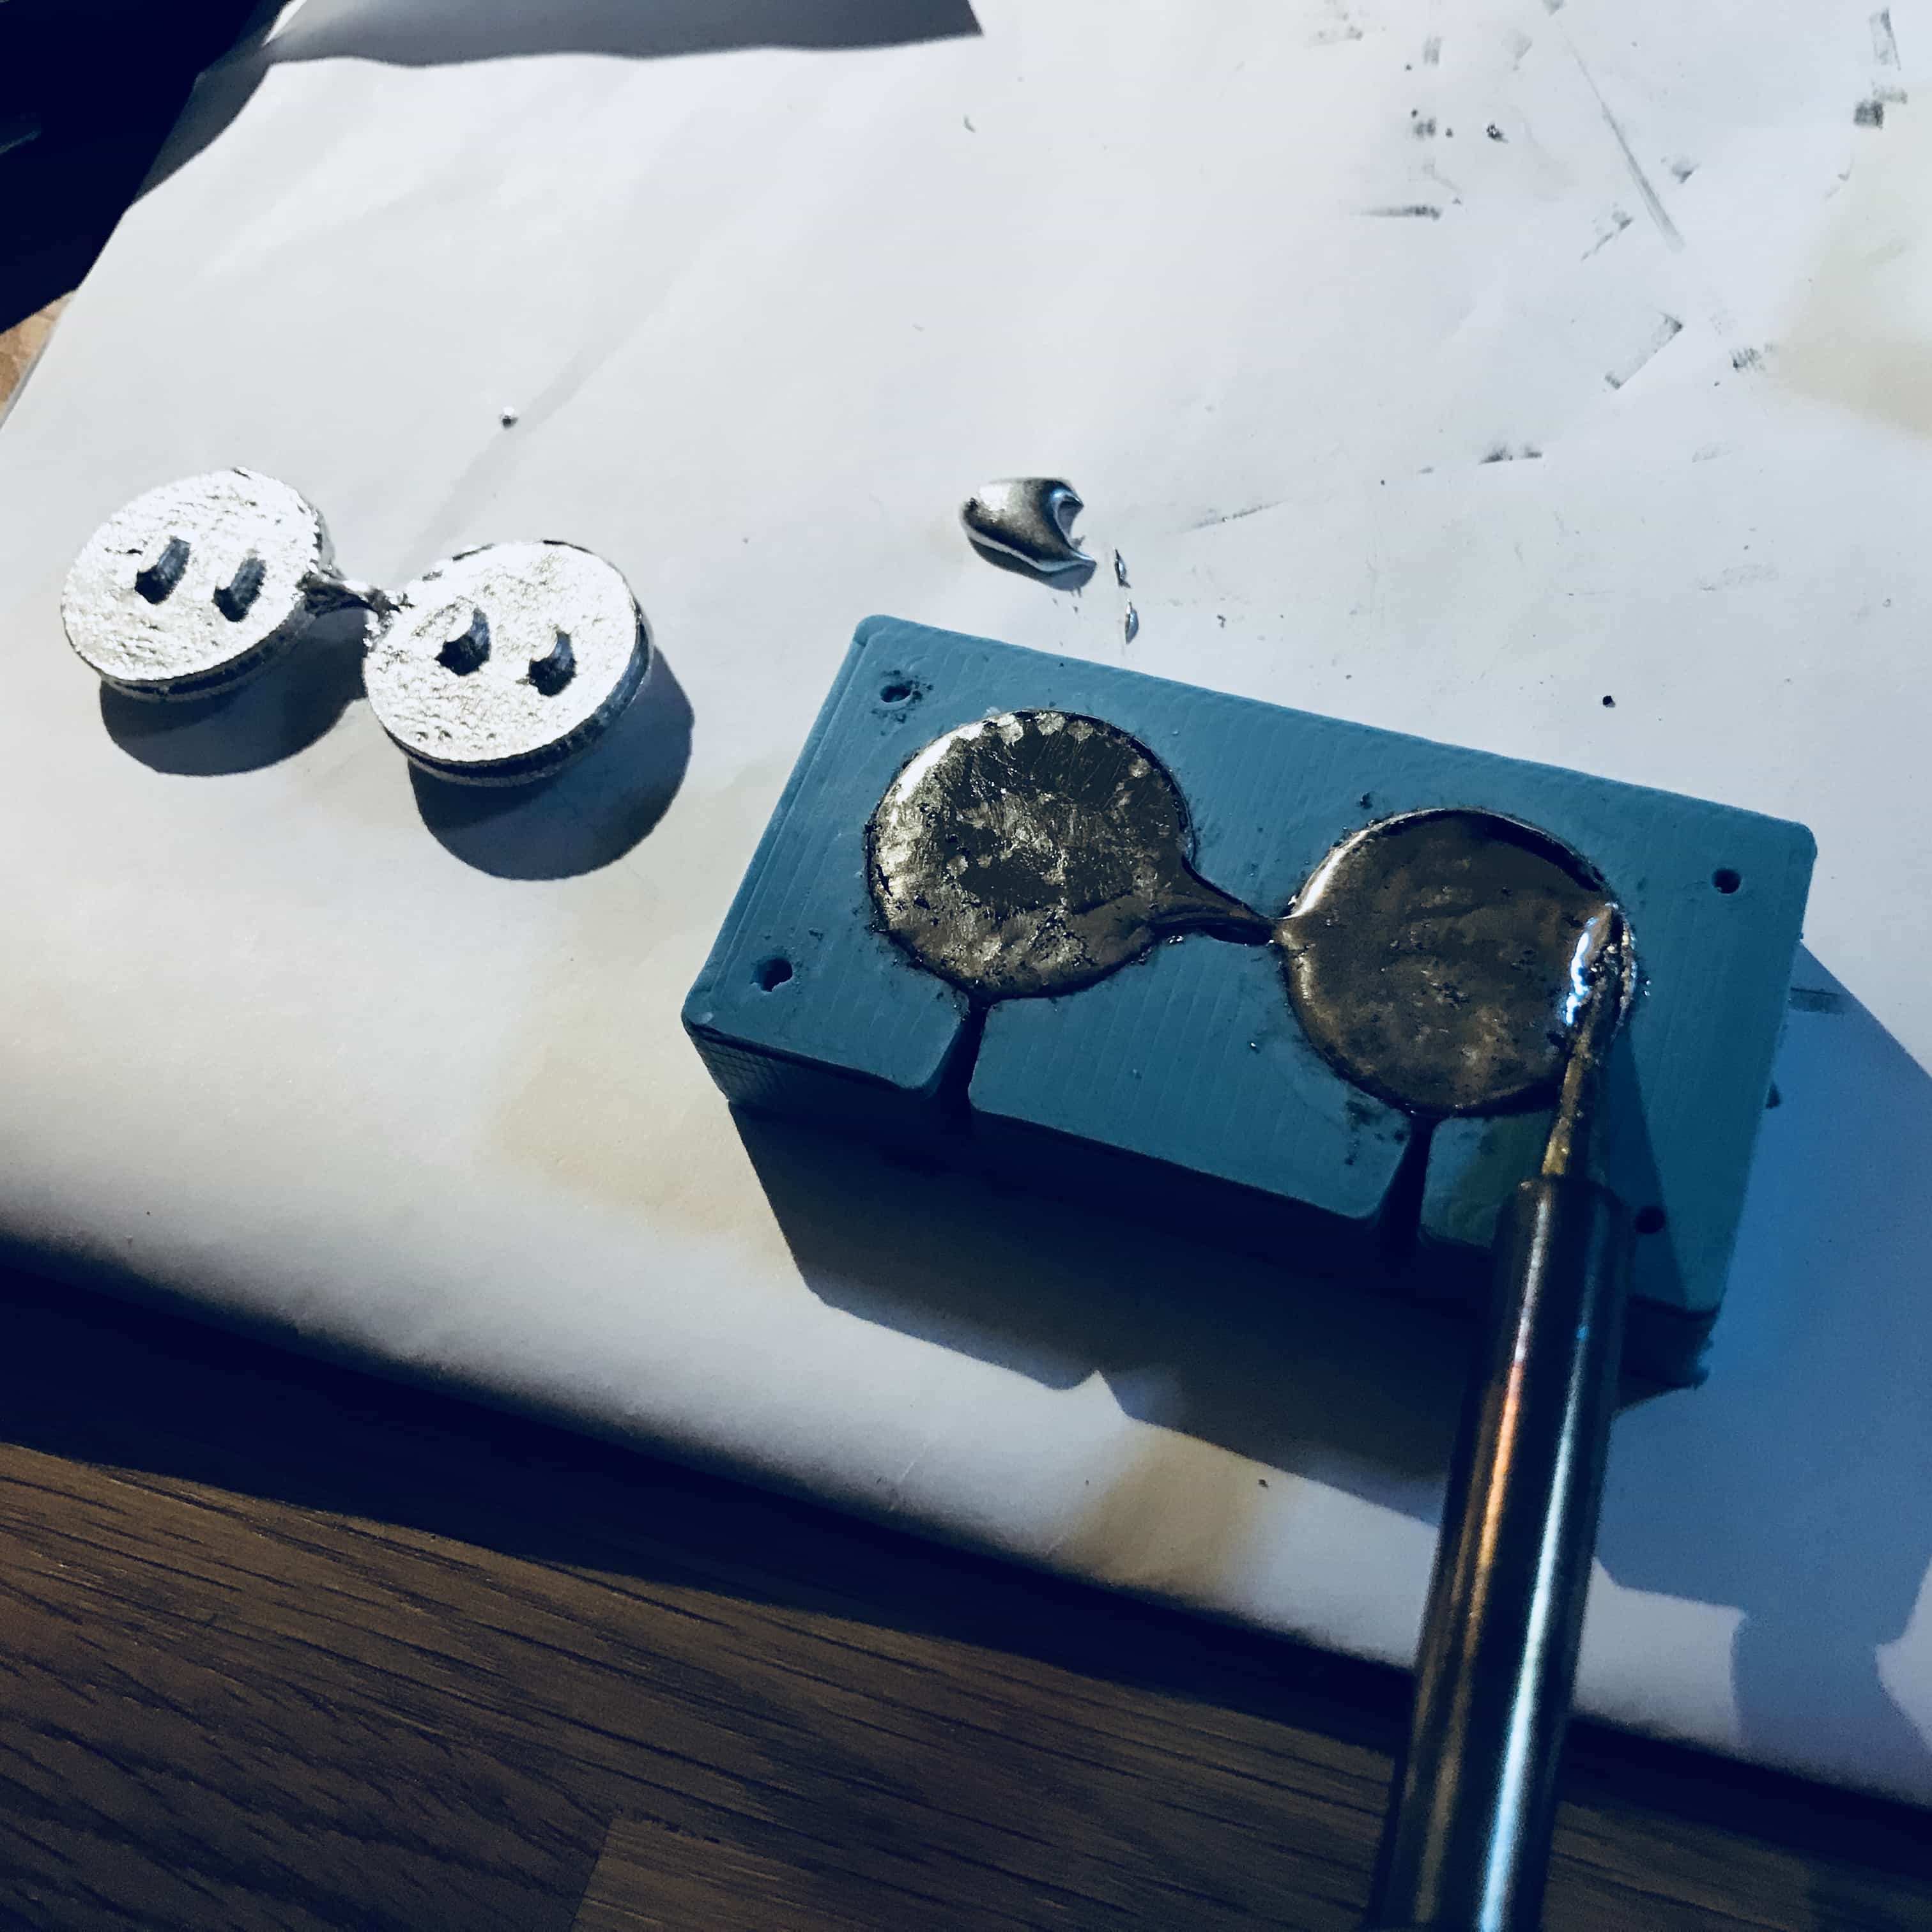
Pour the Alloy
We found some our own way of using daily kitchenwares to pour the low temperature alloy...
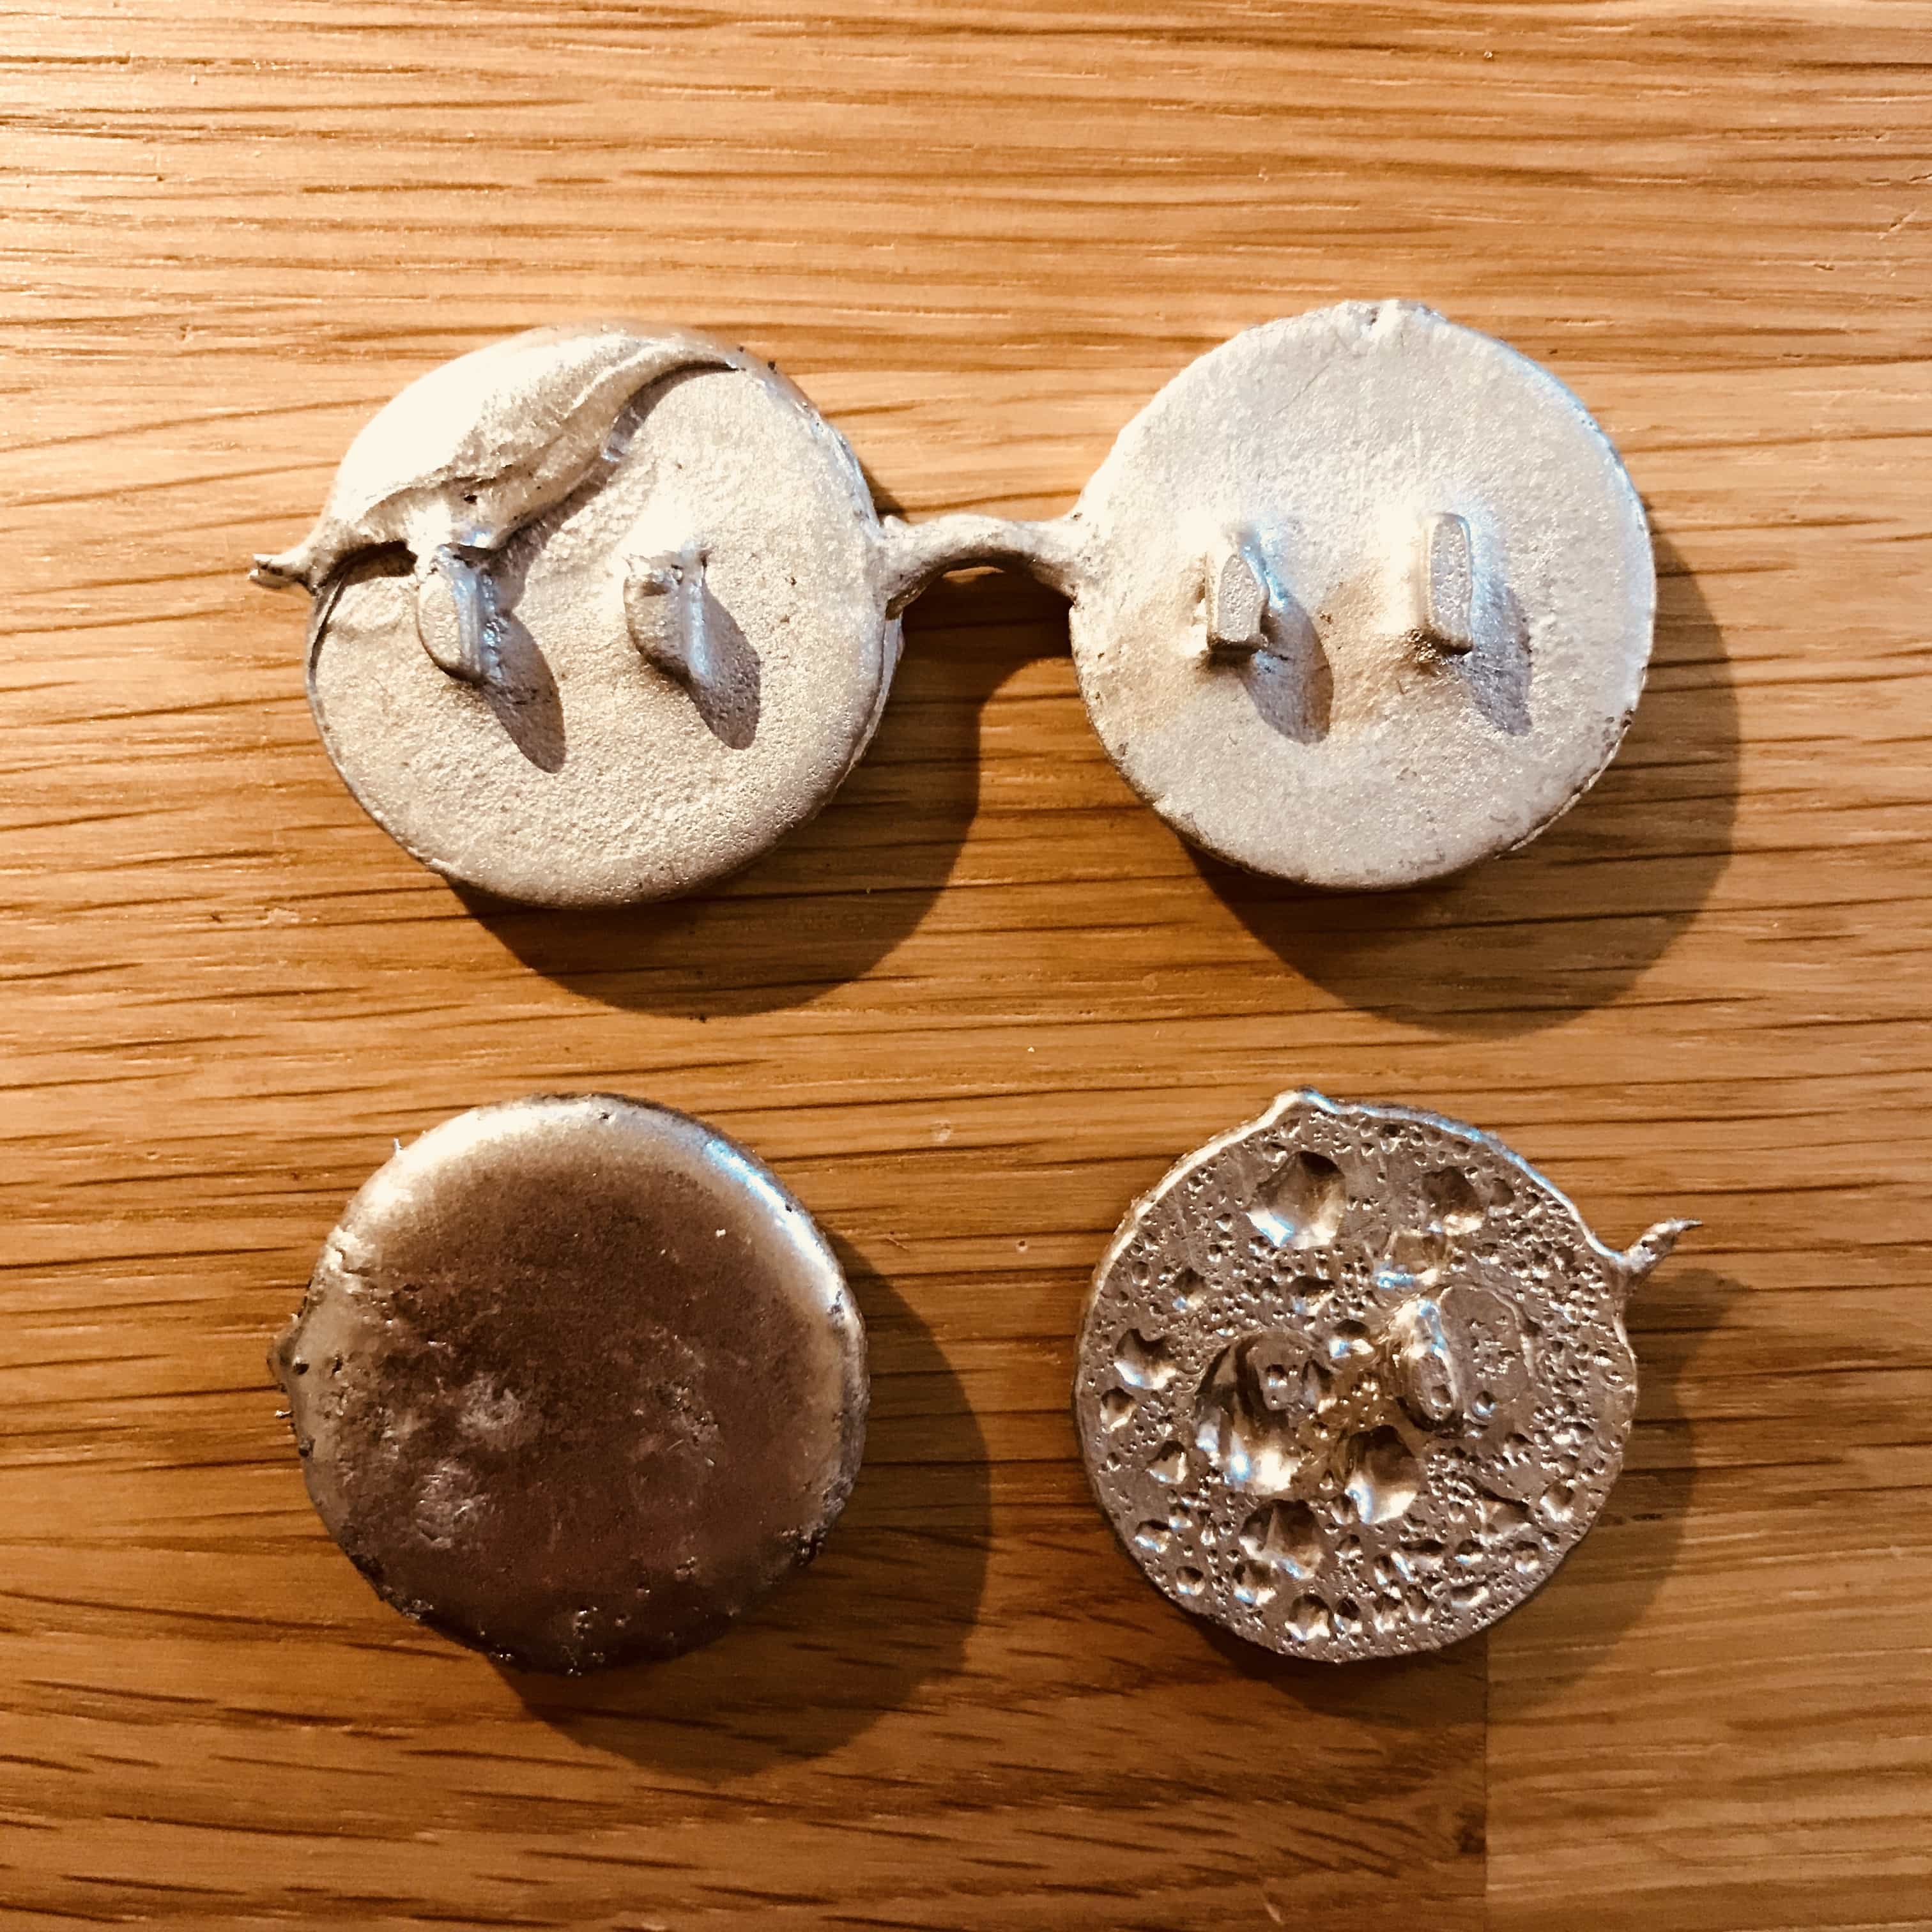
First metal casting
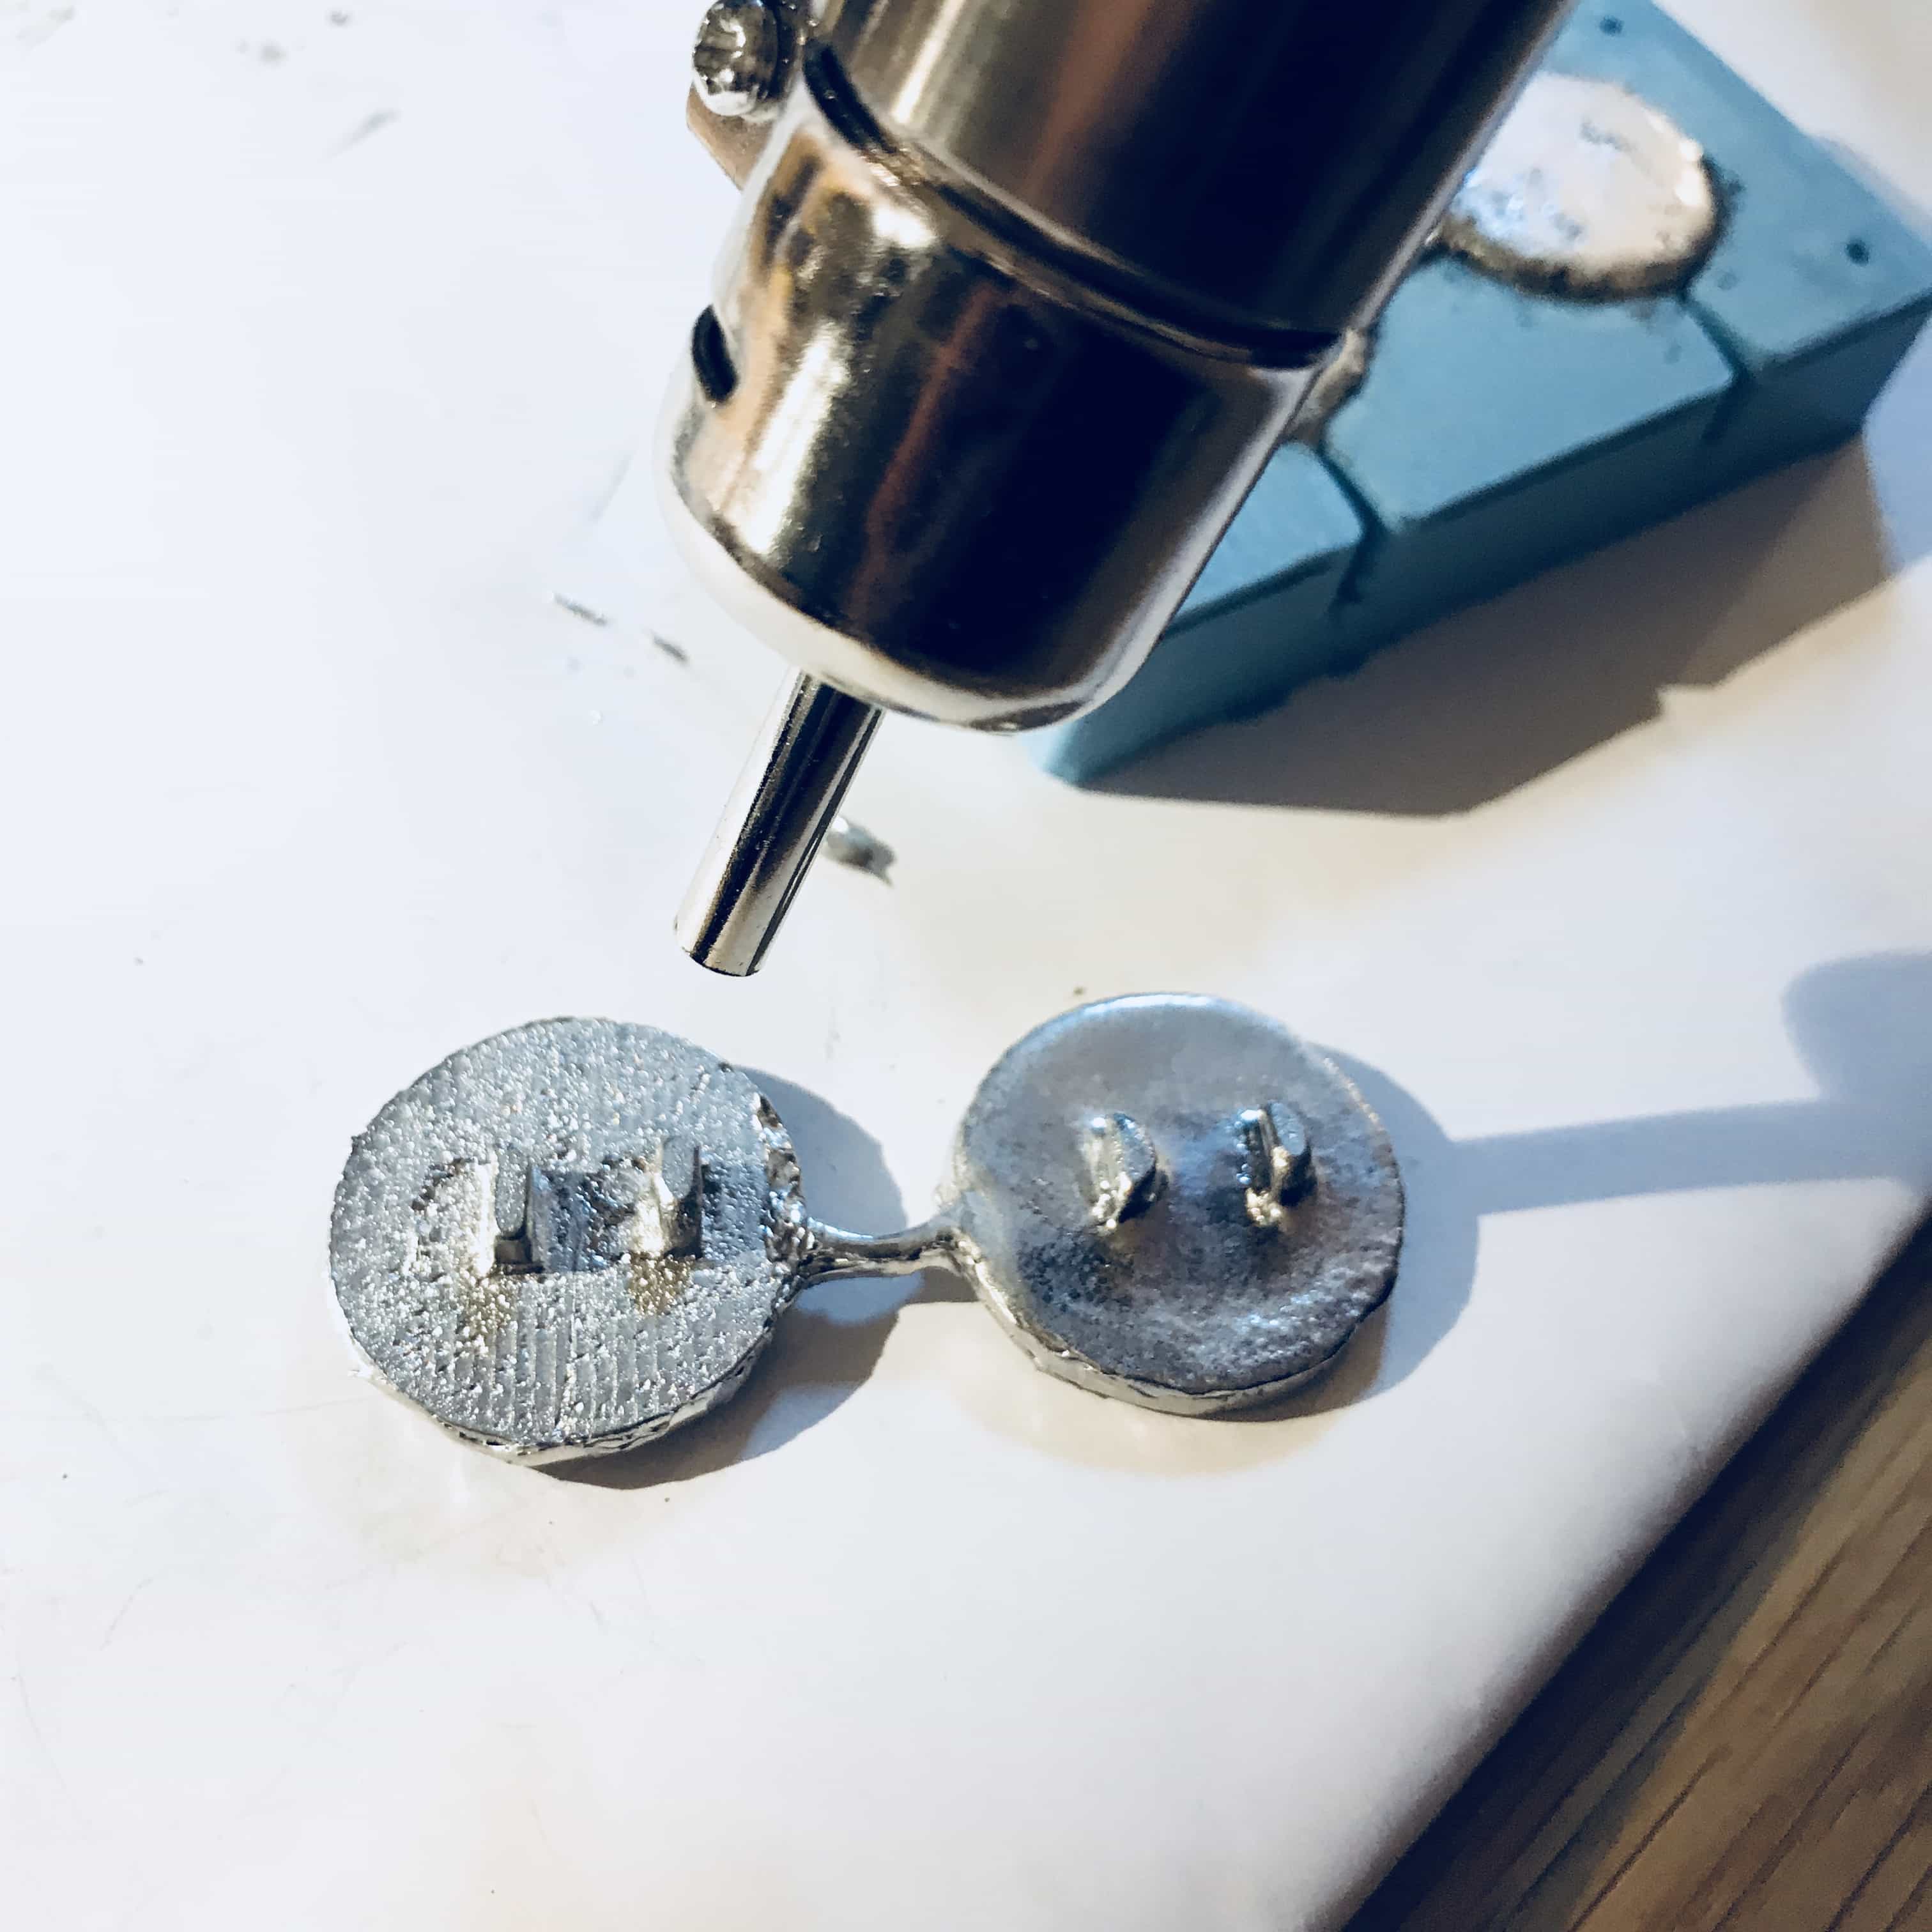
Post-processing
The surface of the alloy turned out to be very rough, so I tried to use a hot gun to blow it to shiny and smooth. I used the soldering tool to cut the extra alloy at the bottom. I found I can actually just use the soldering tool to melt the alloy and put it into the mold, but it turned out to be very bubbly.
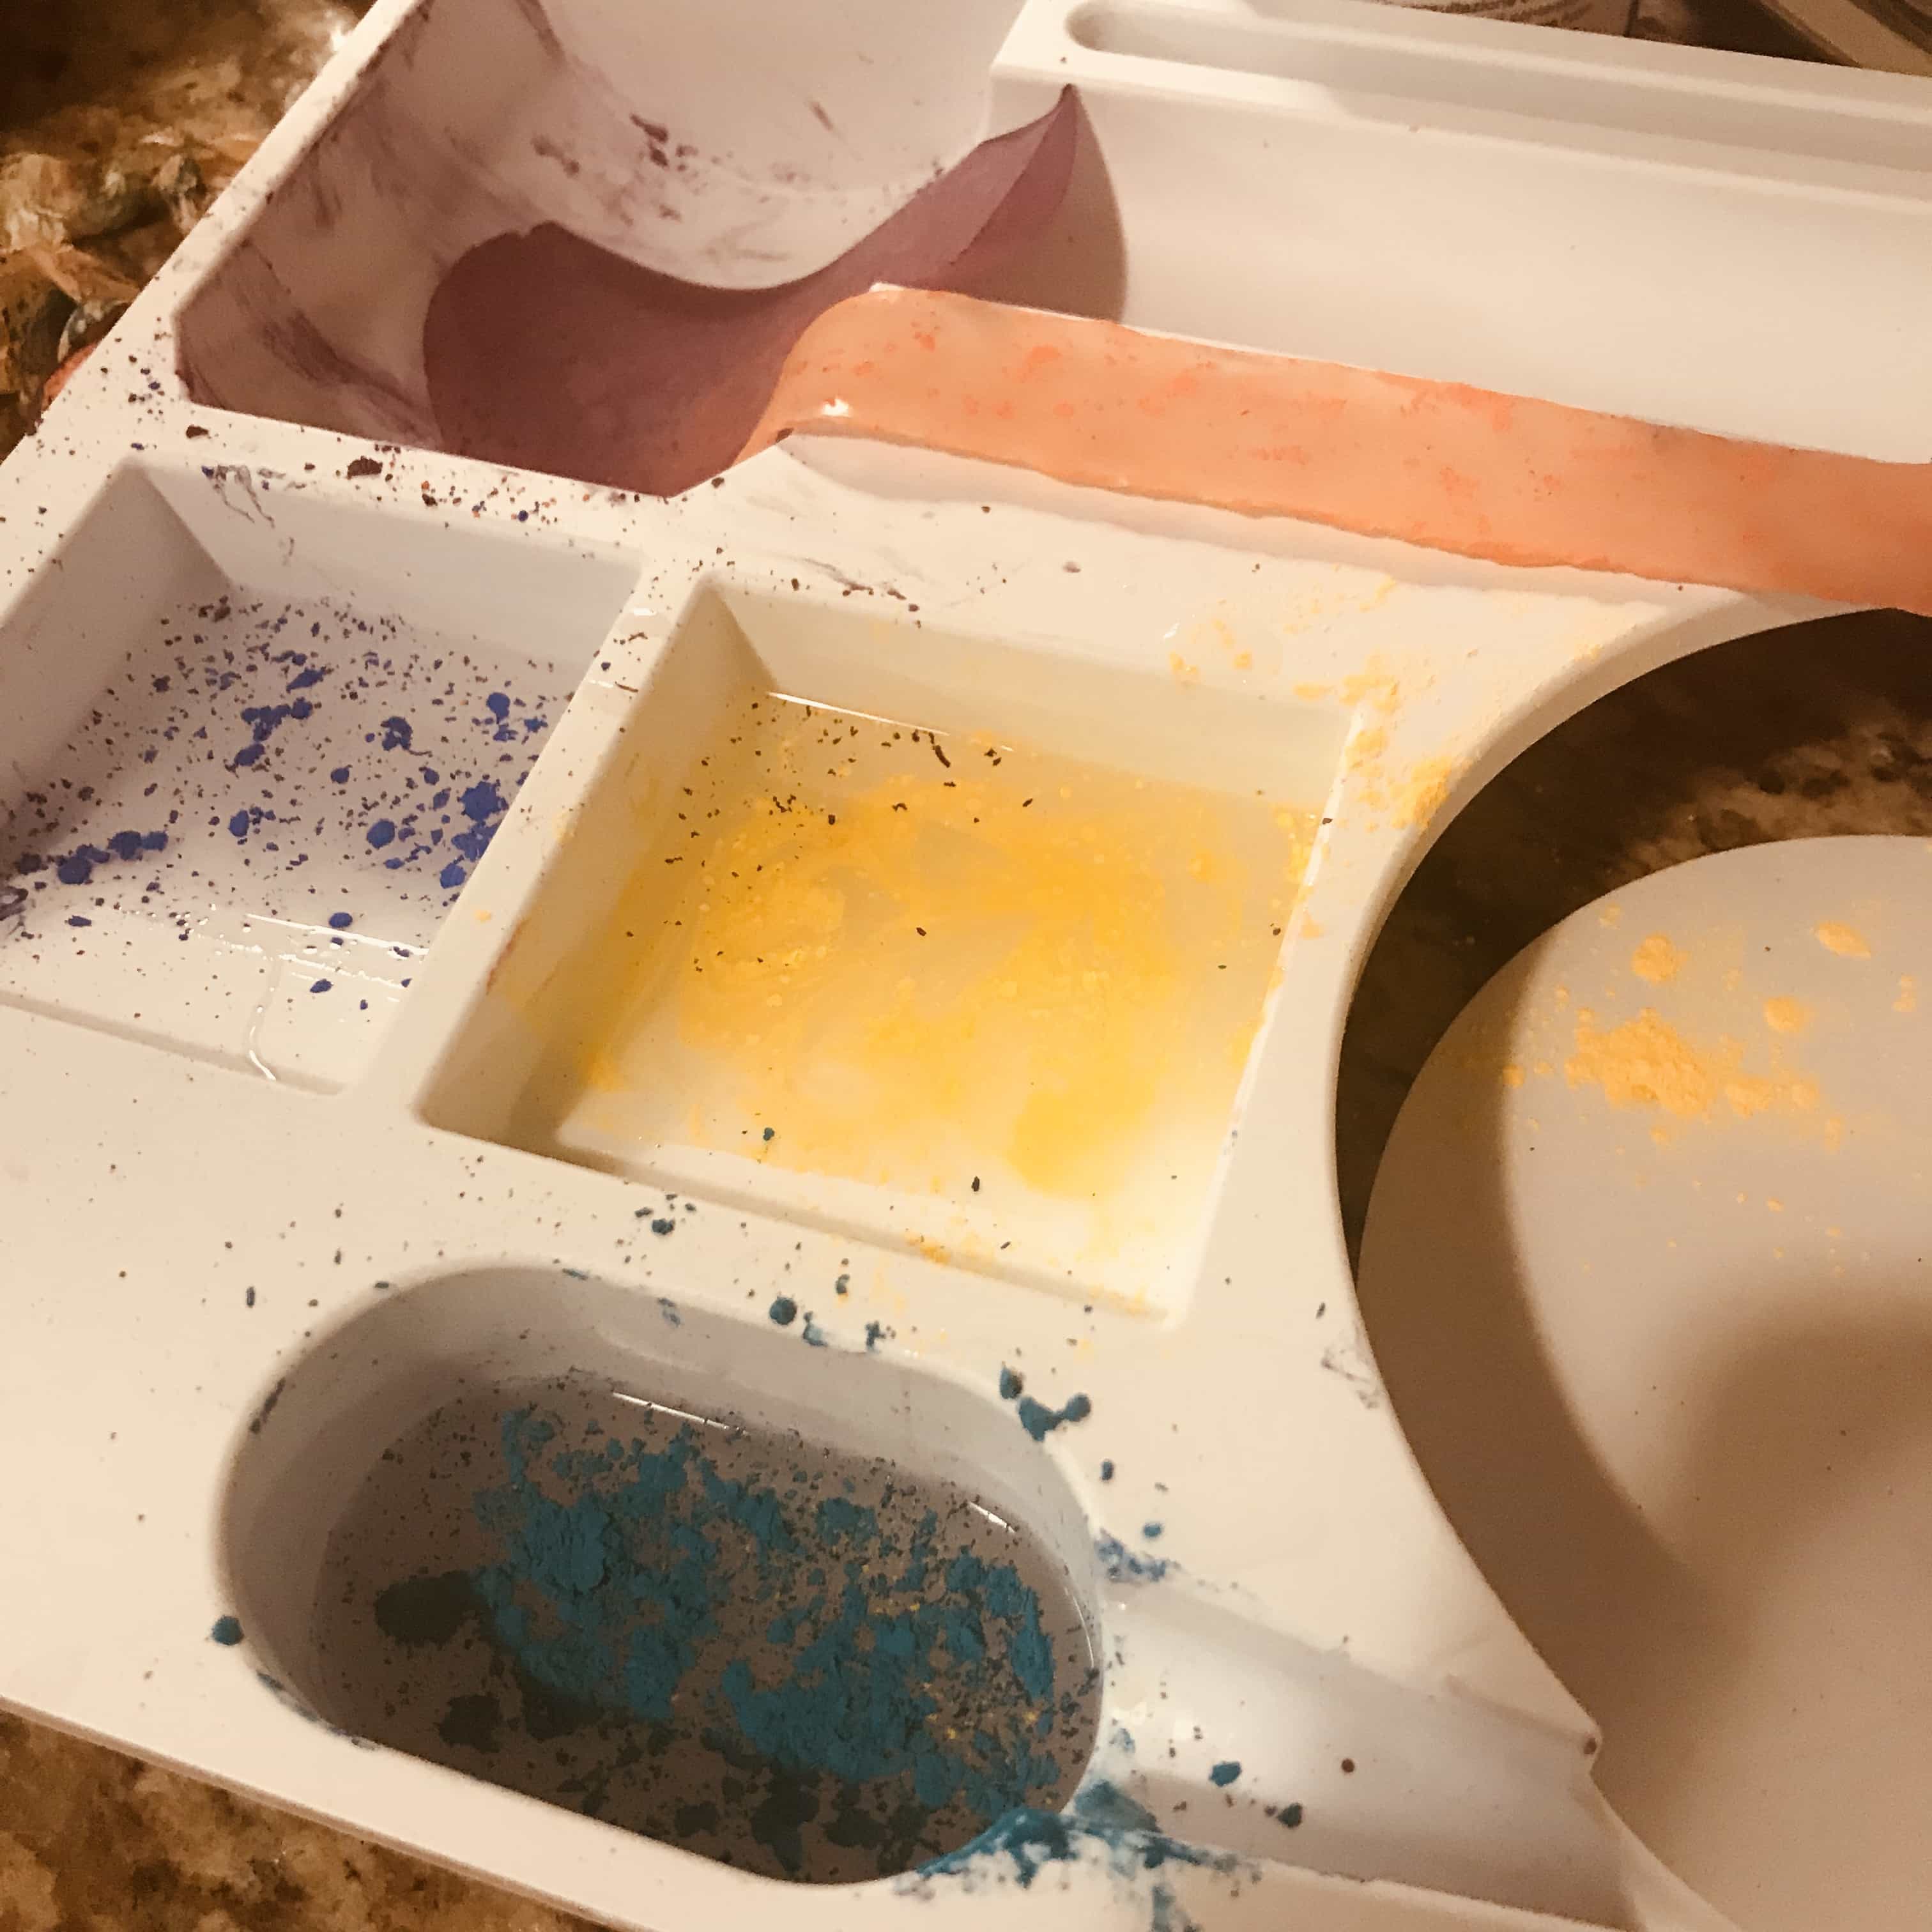
Color mold with chromatic paint
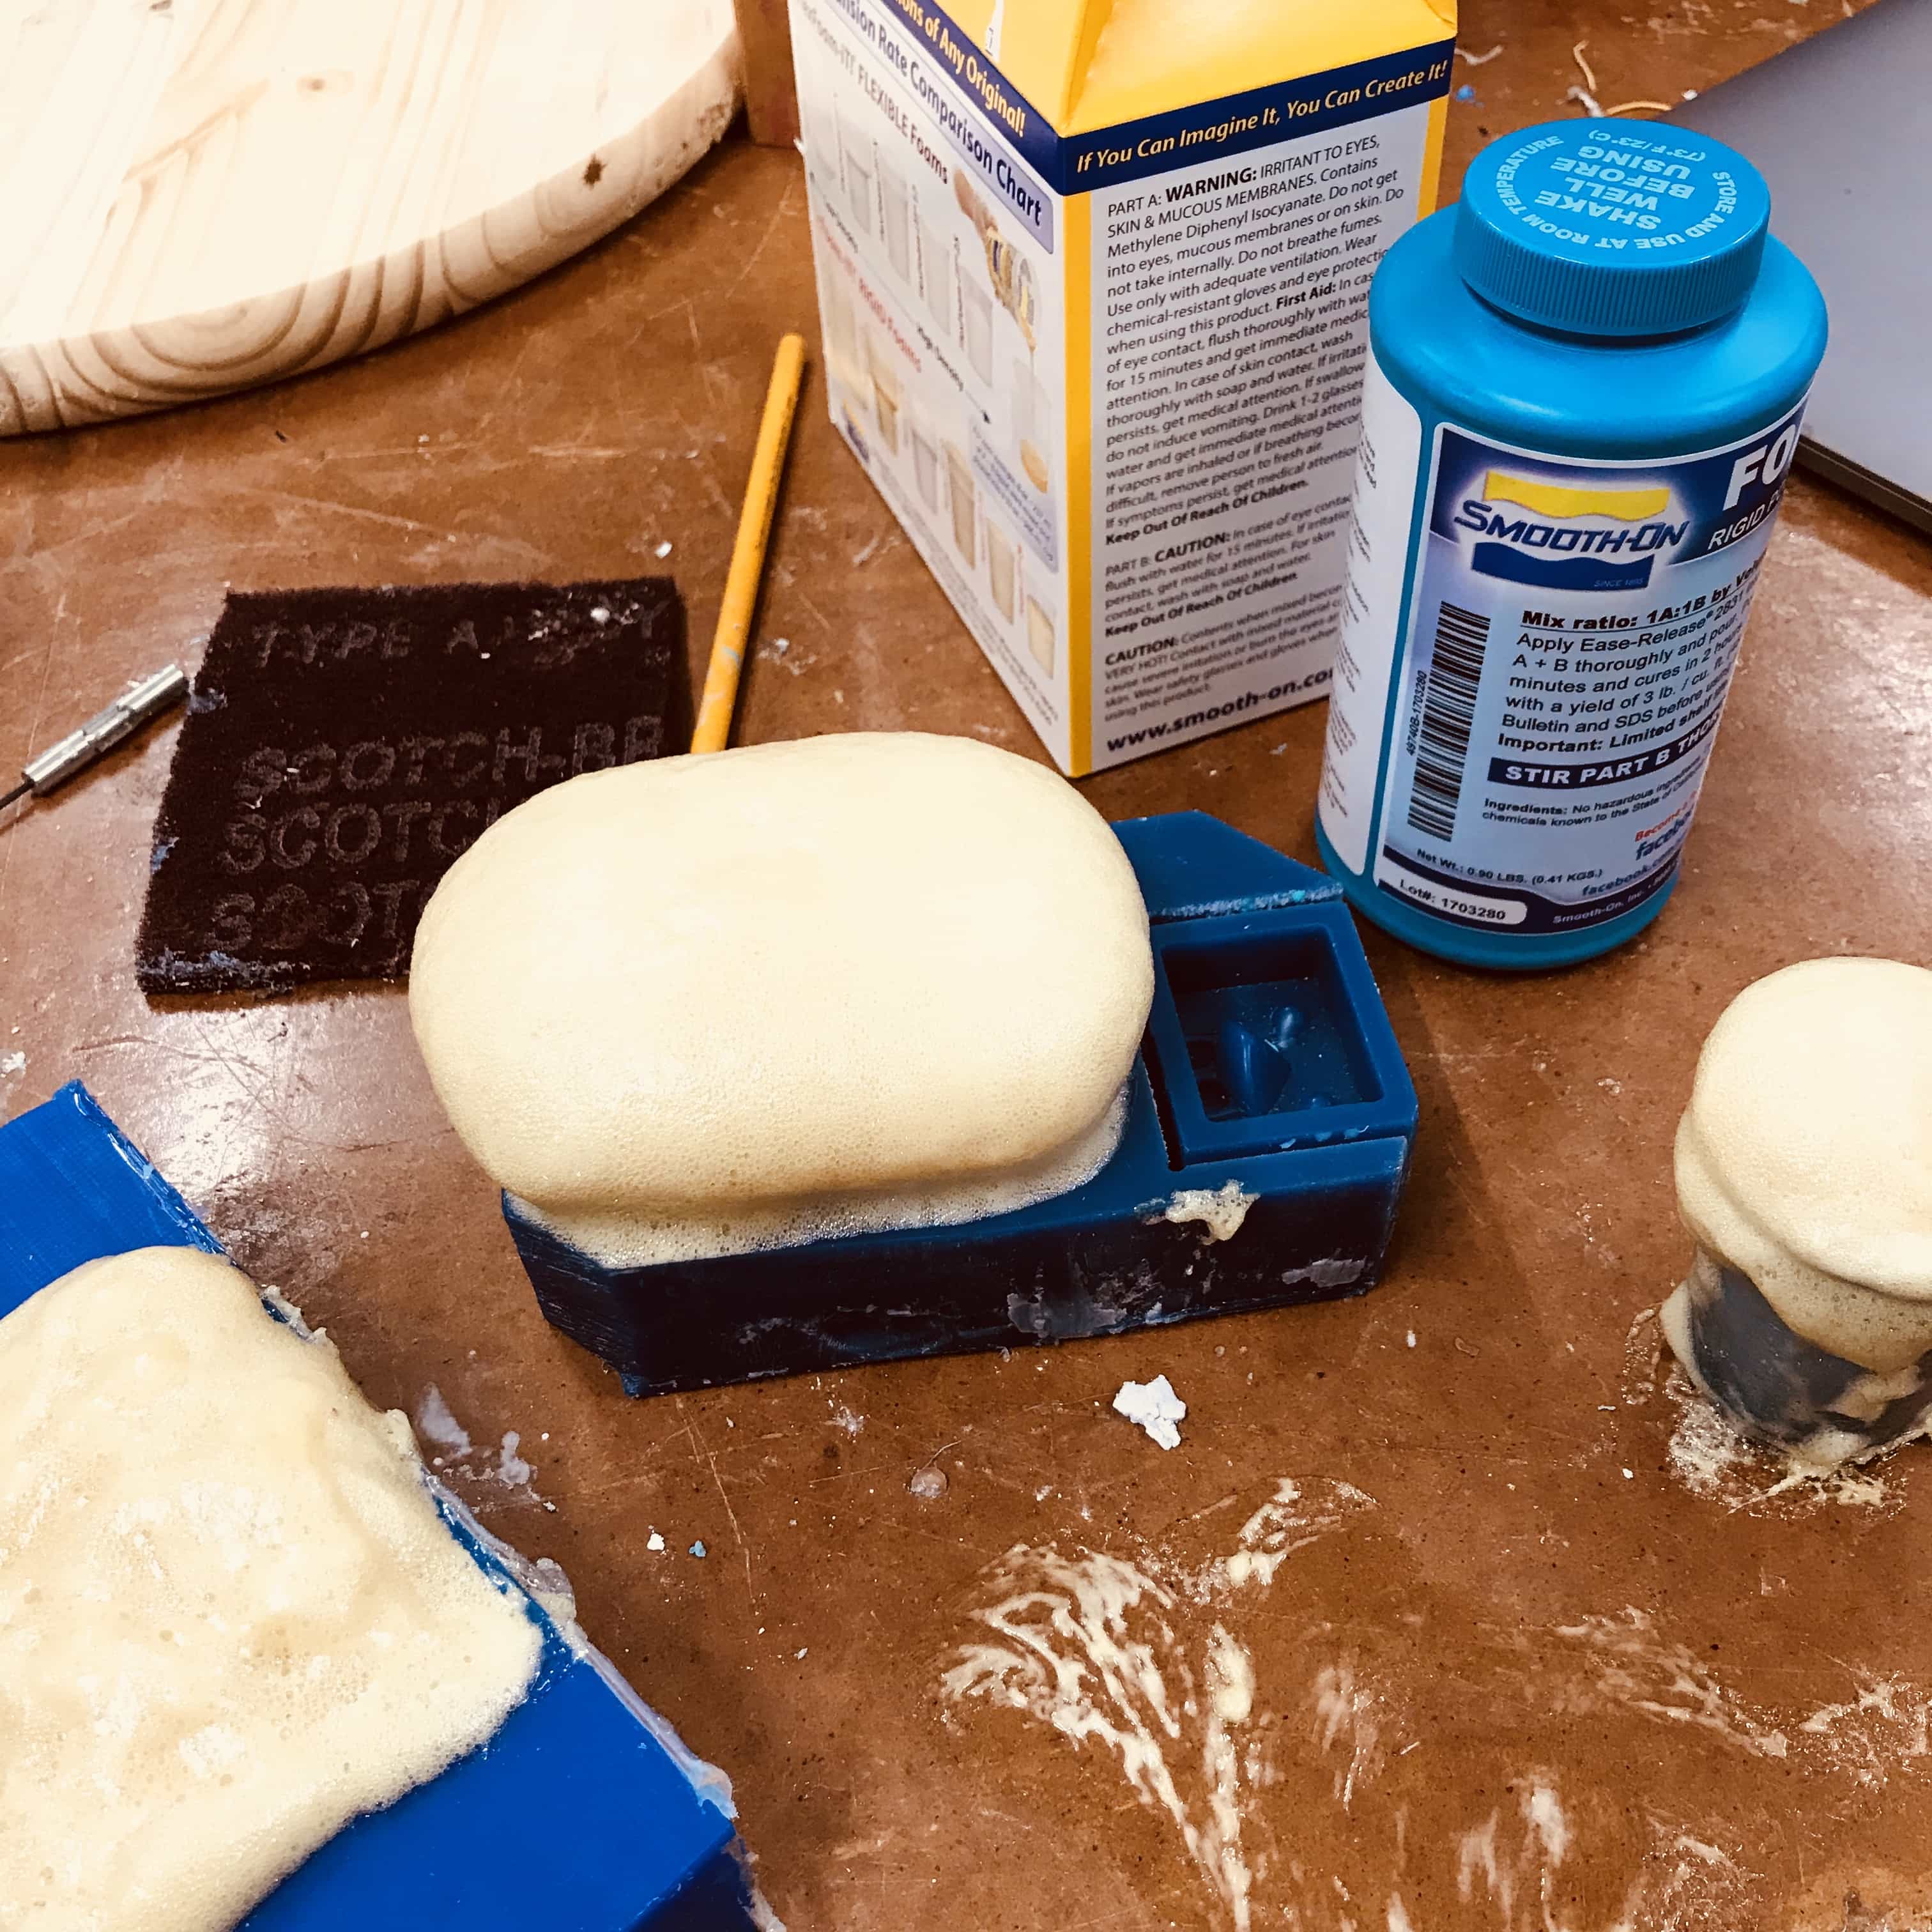
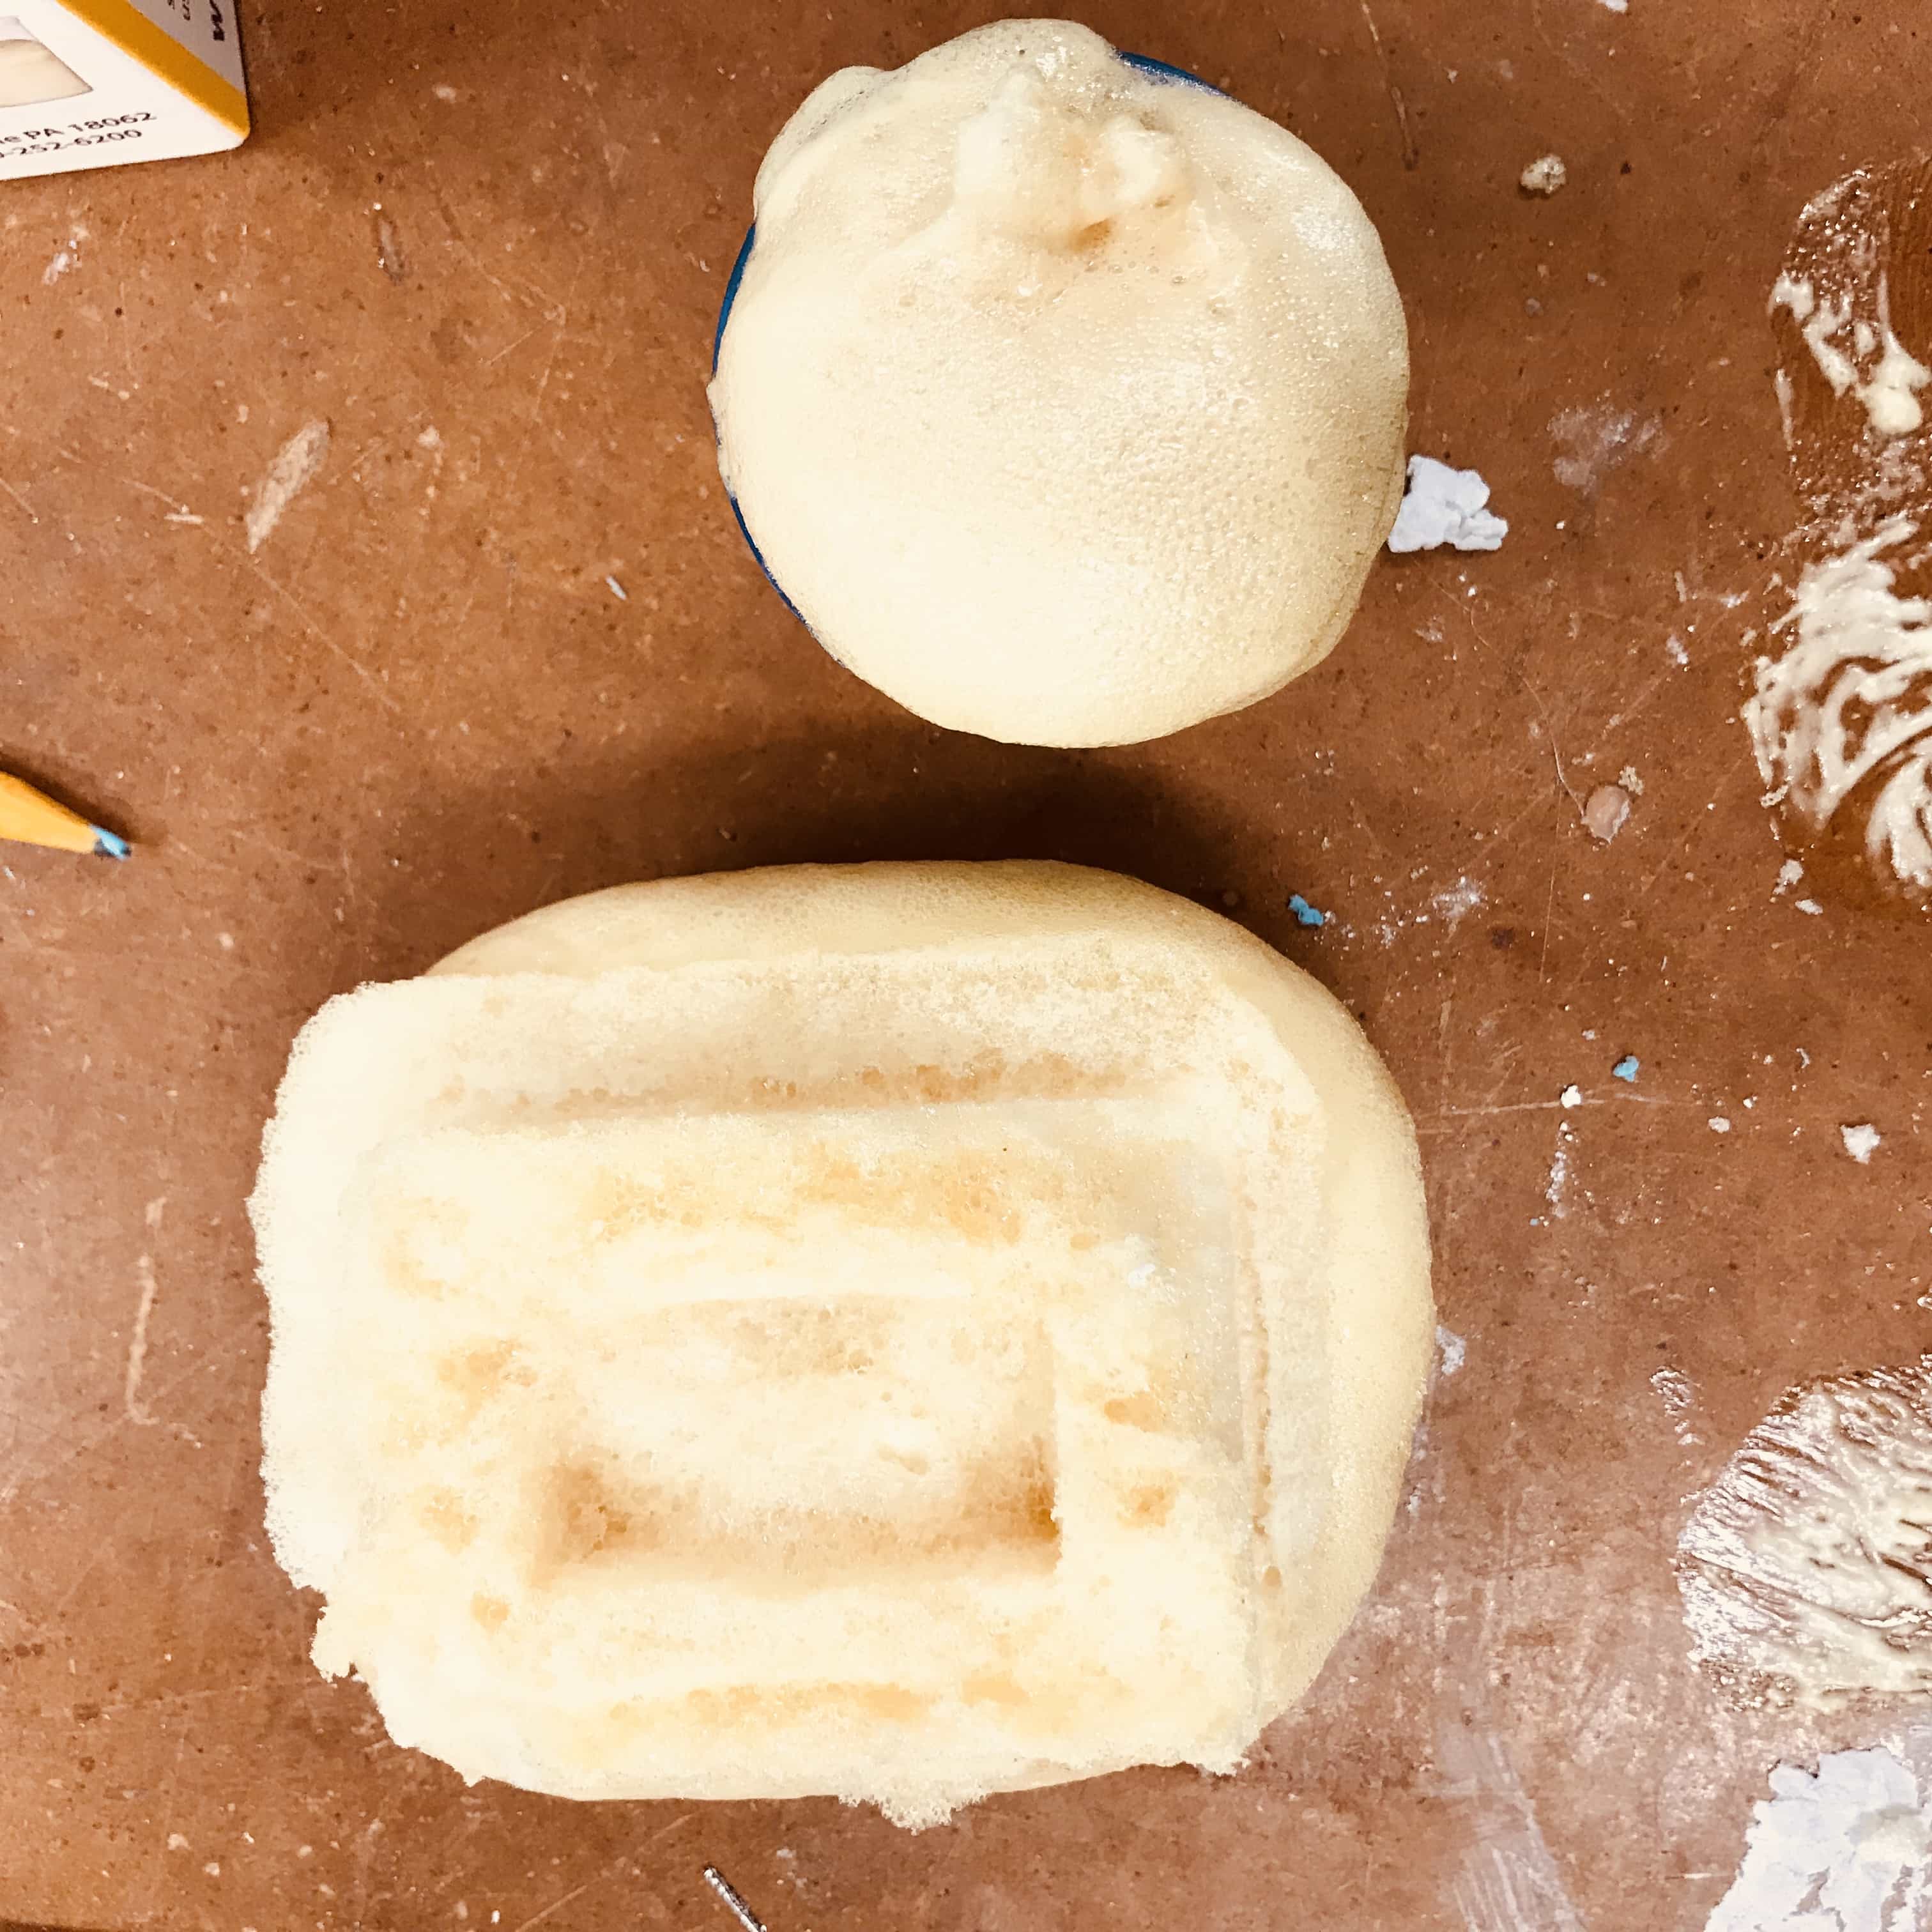
Foam Molding
It's an explosion! 18 times of the original size! The foam turned out to be as hard as alloy!
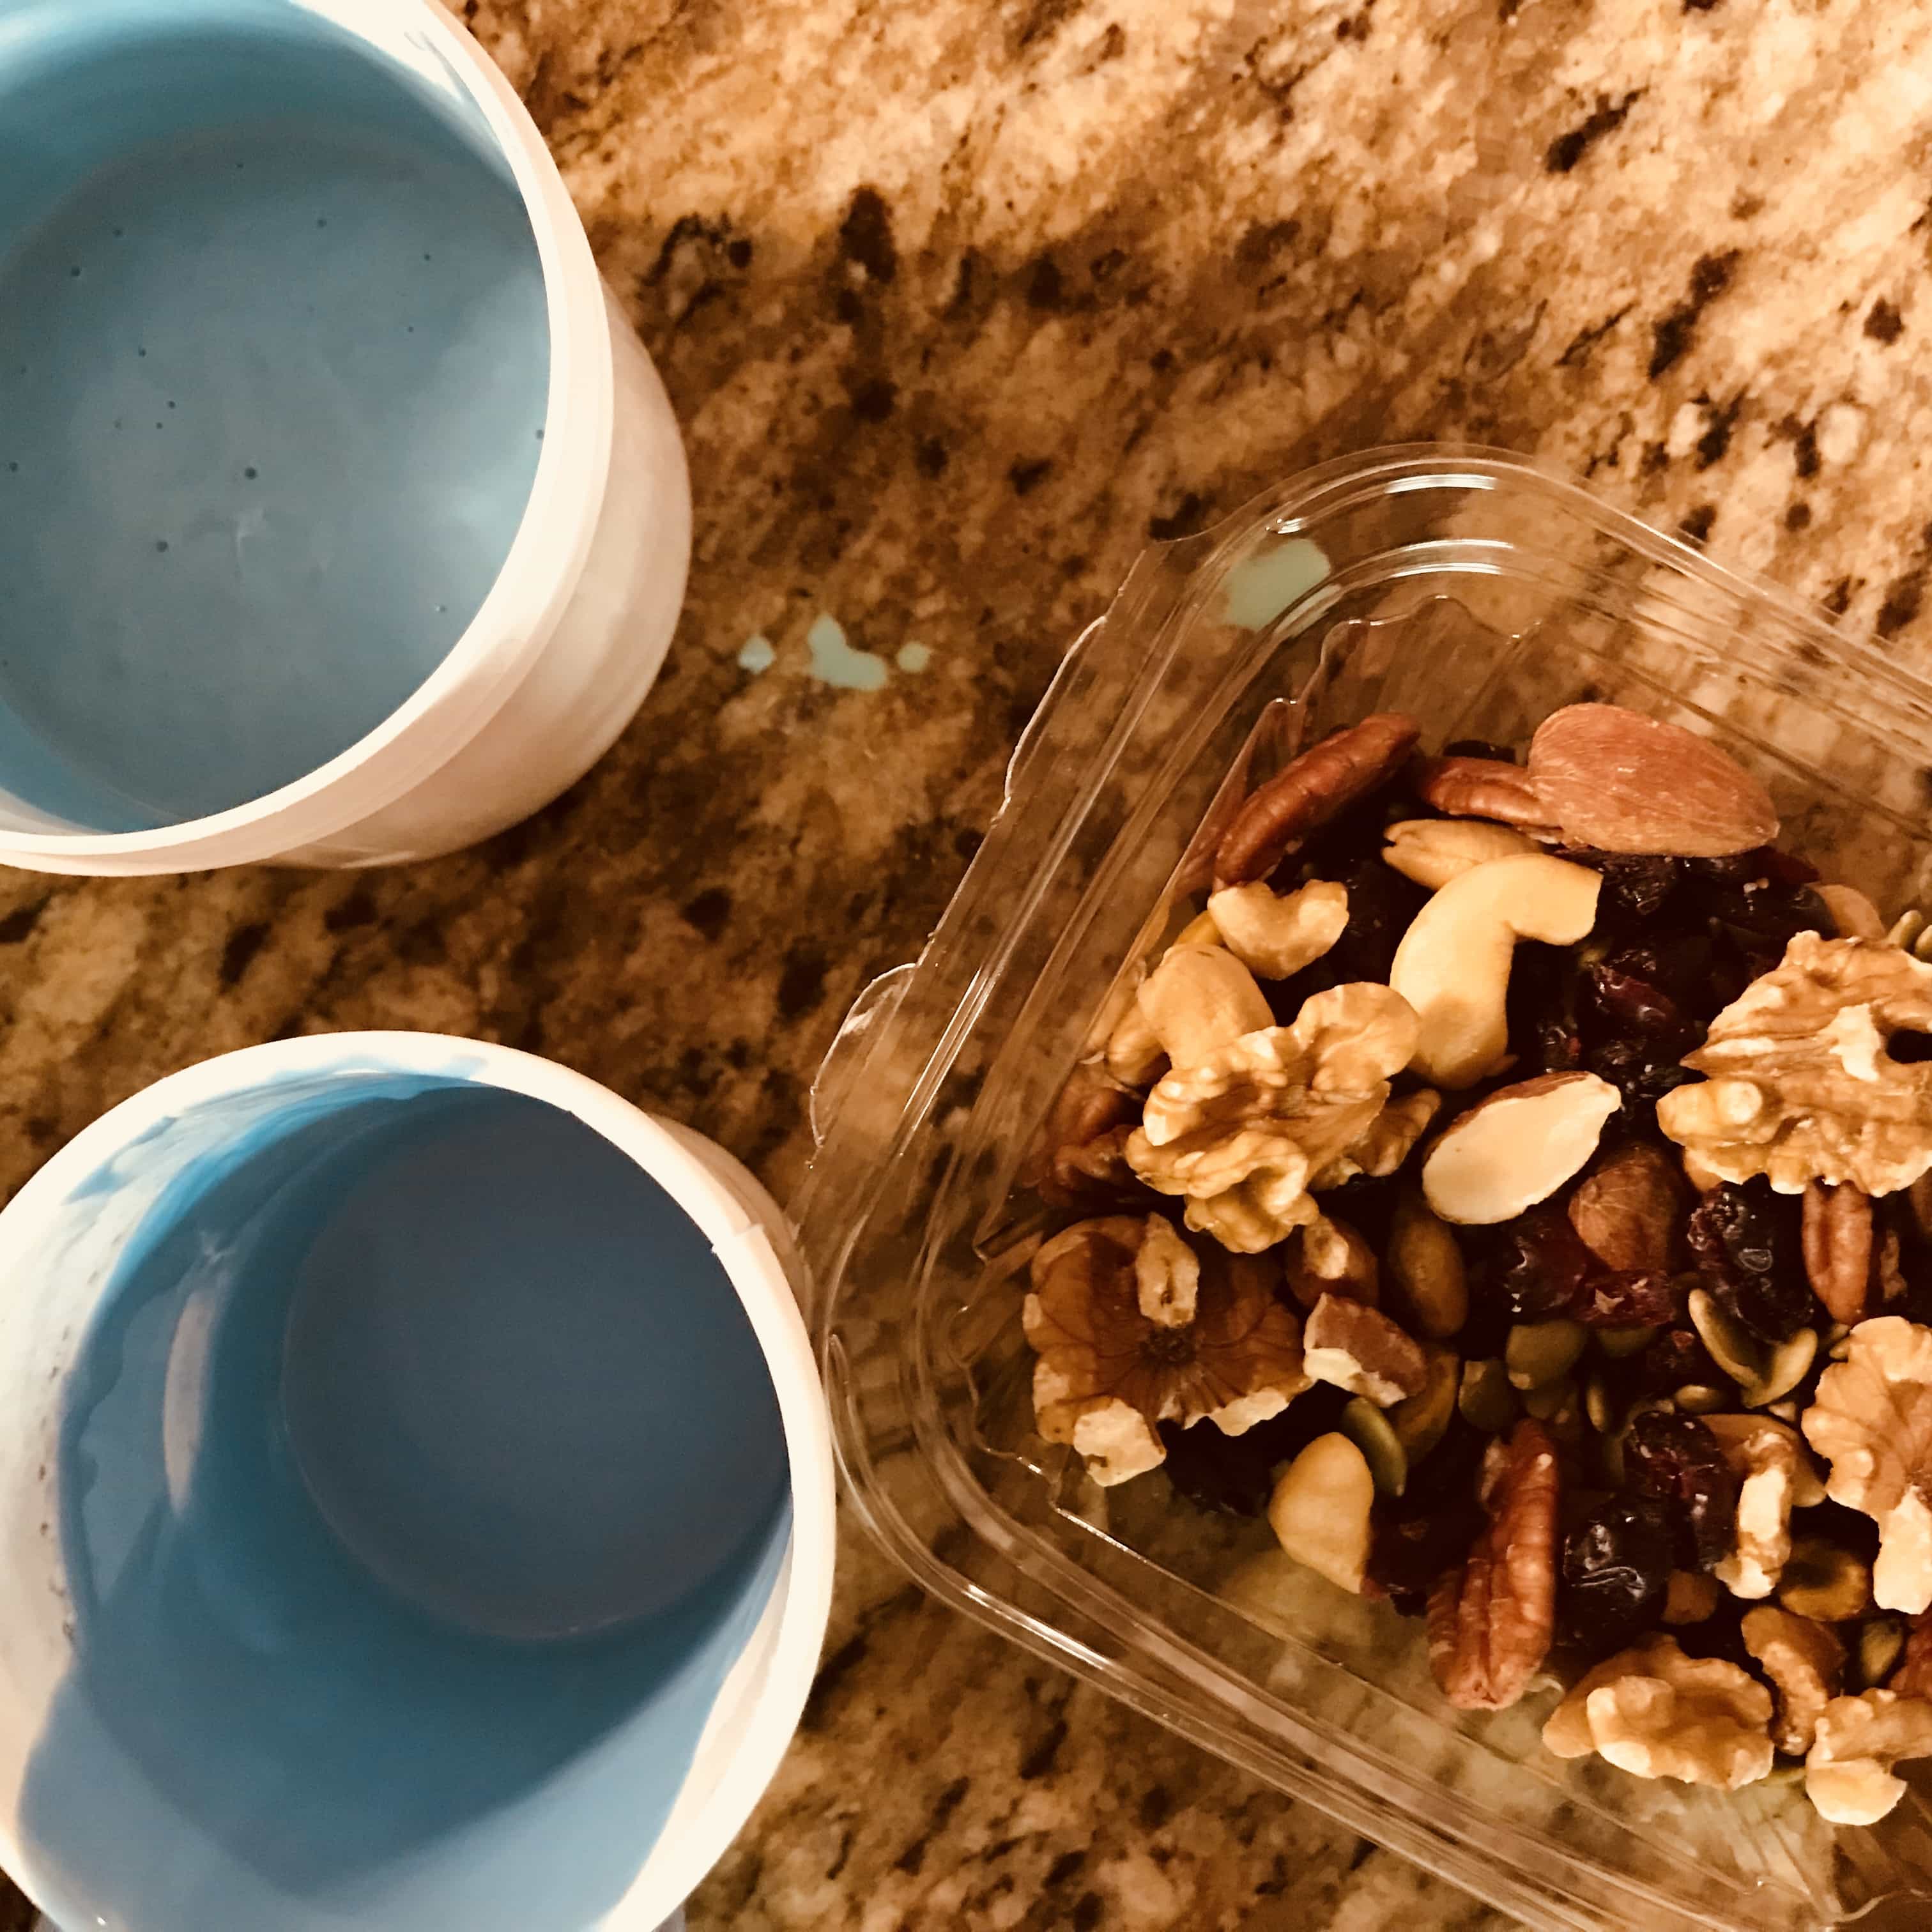
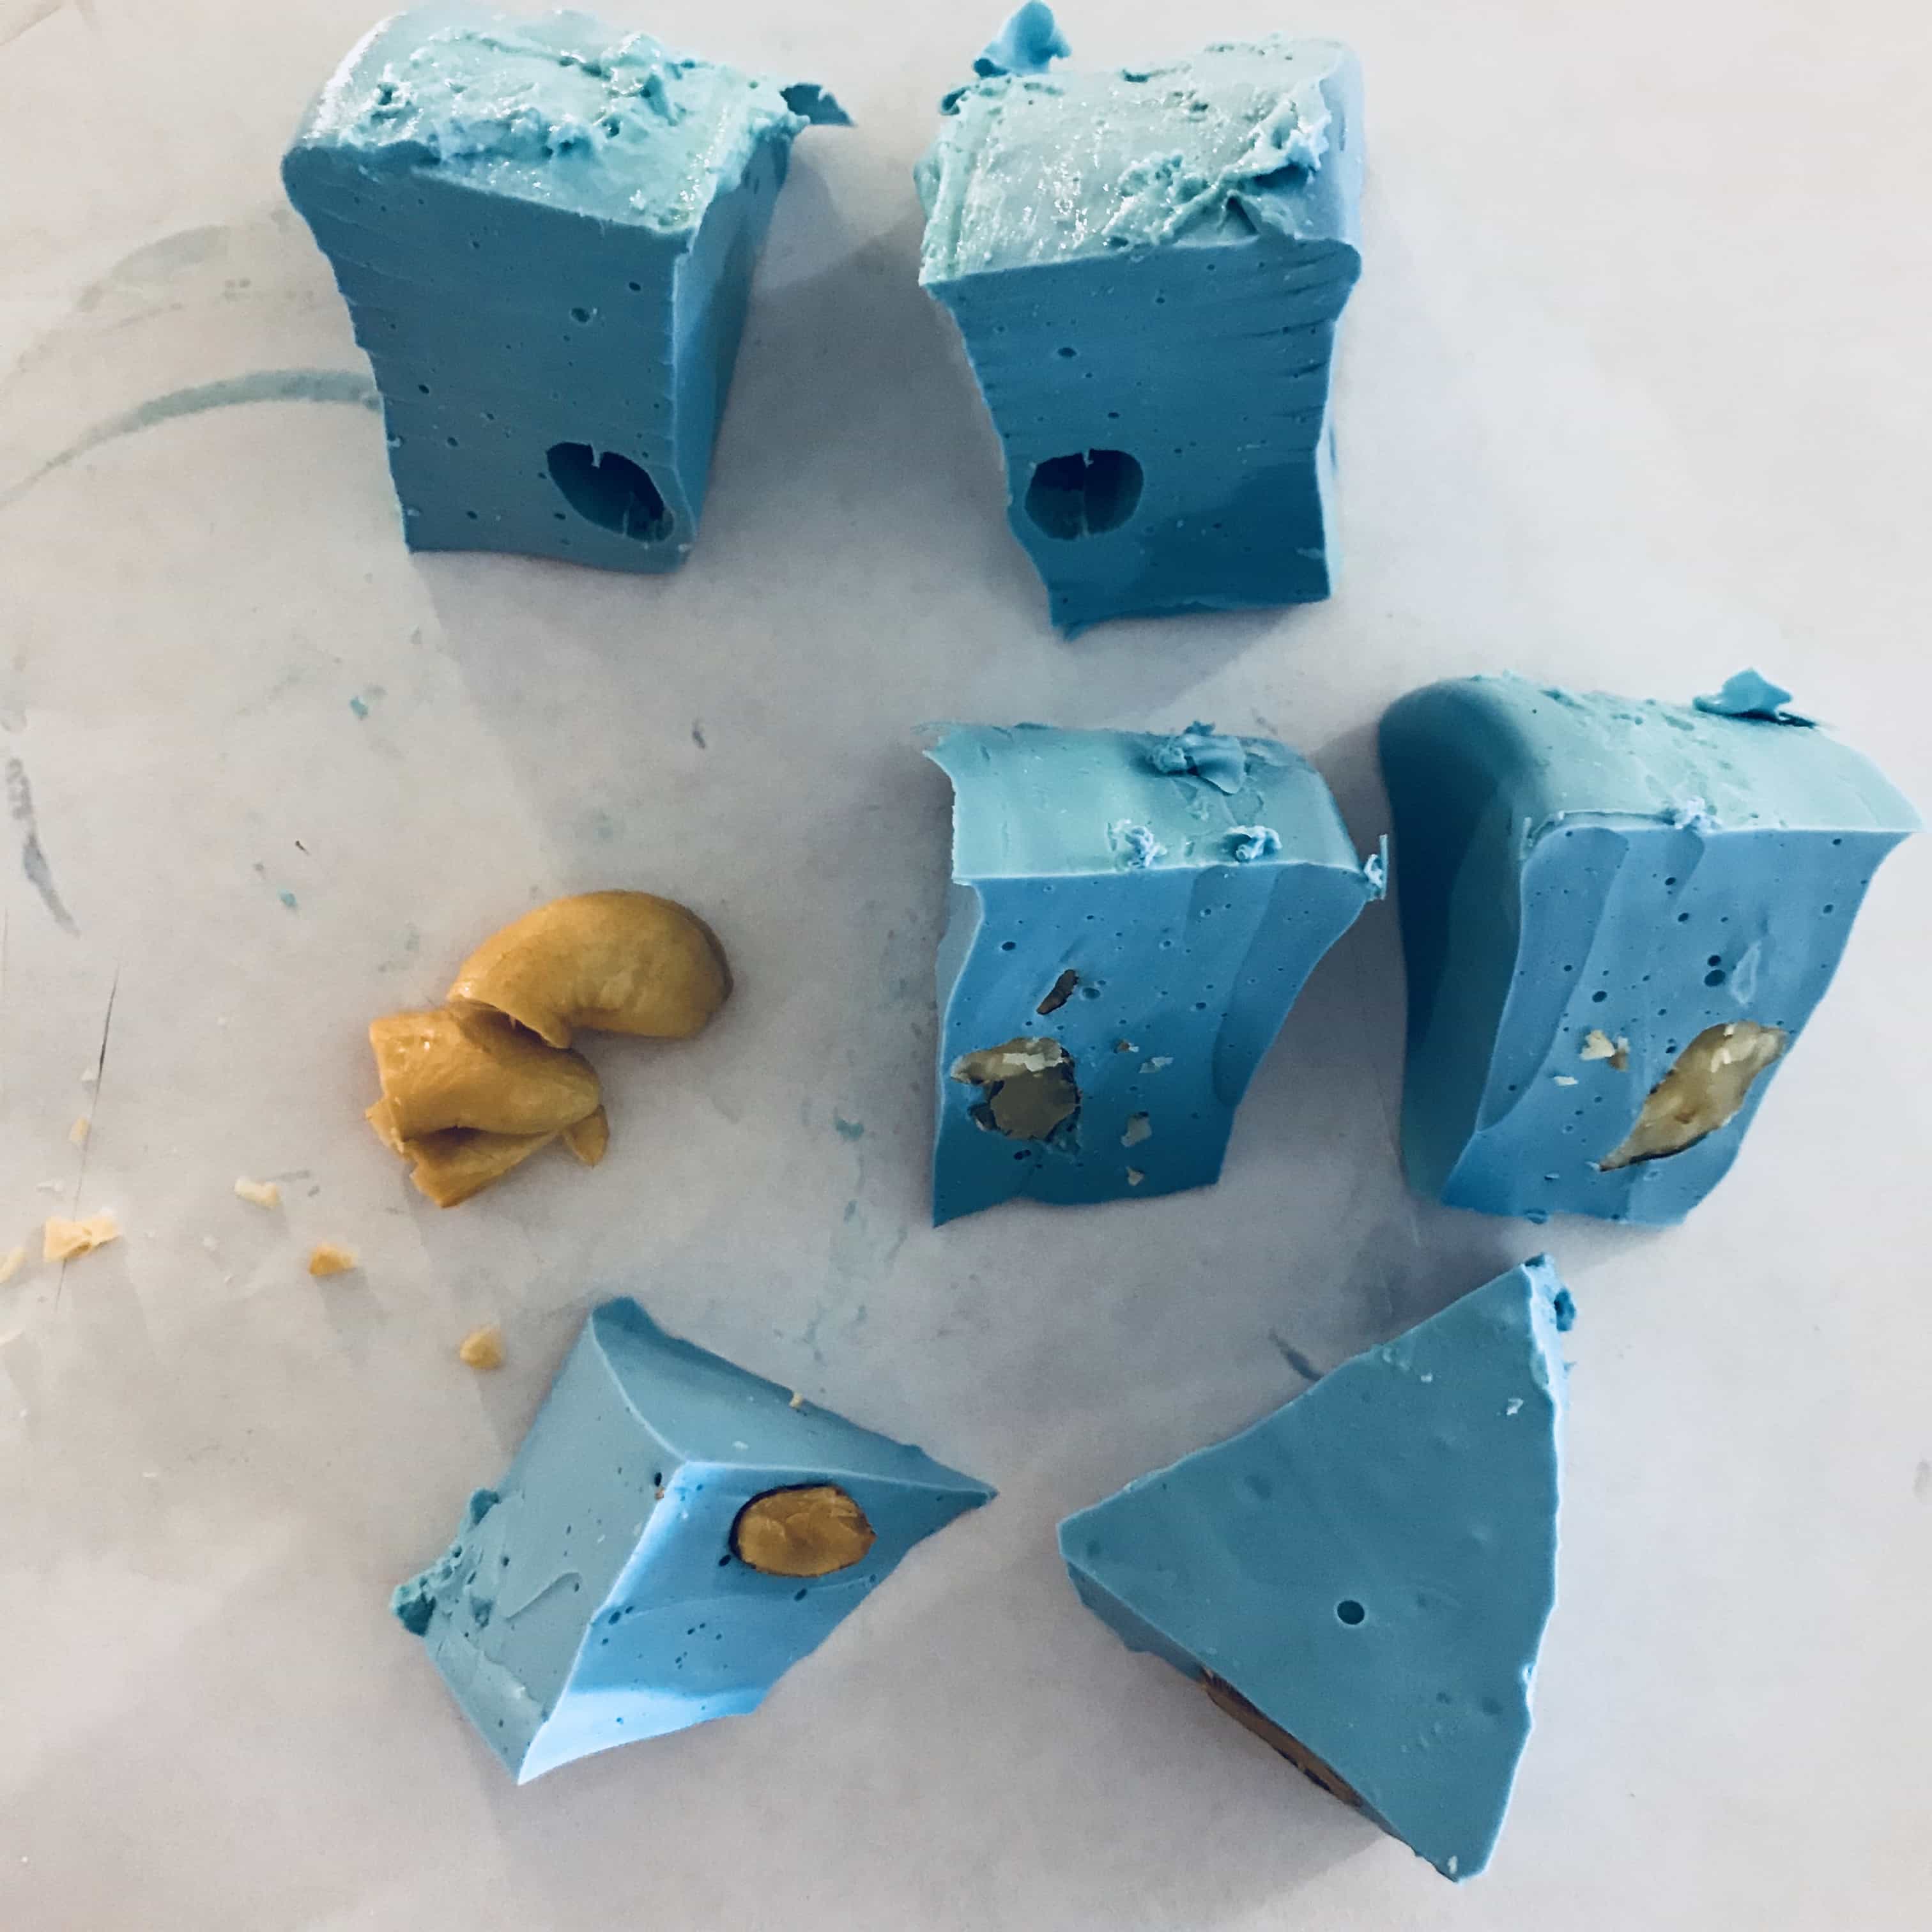
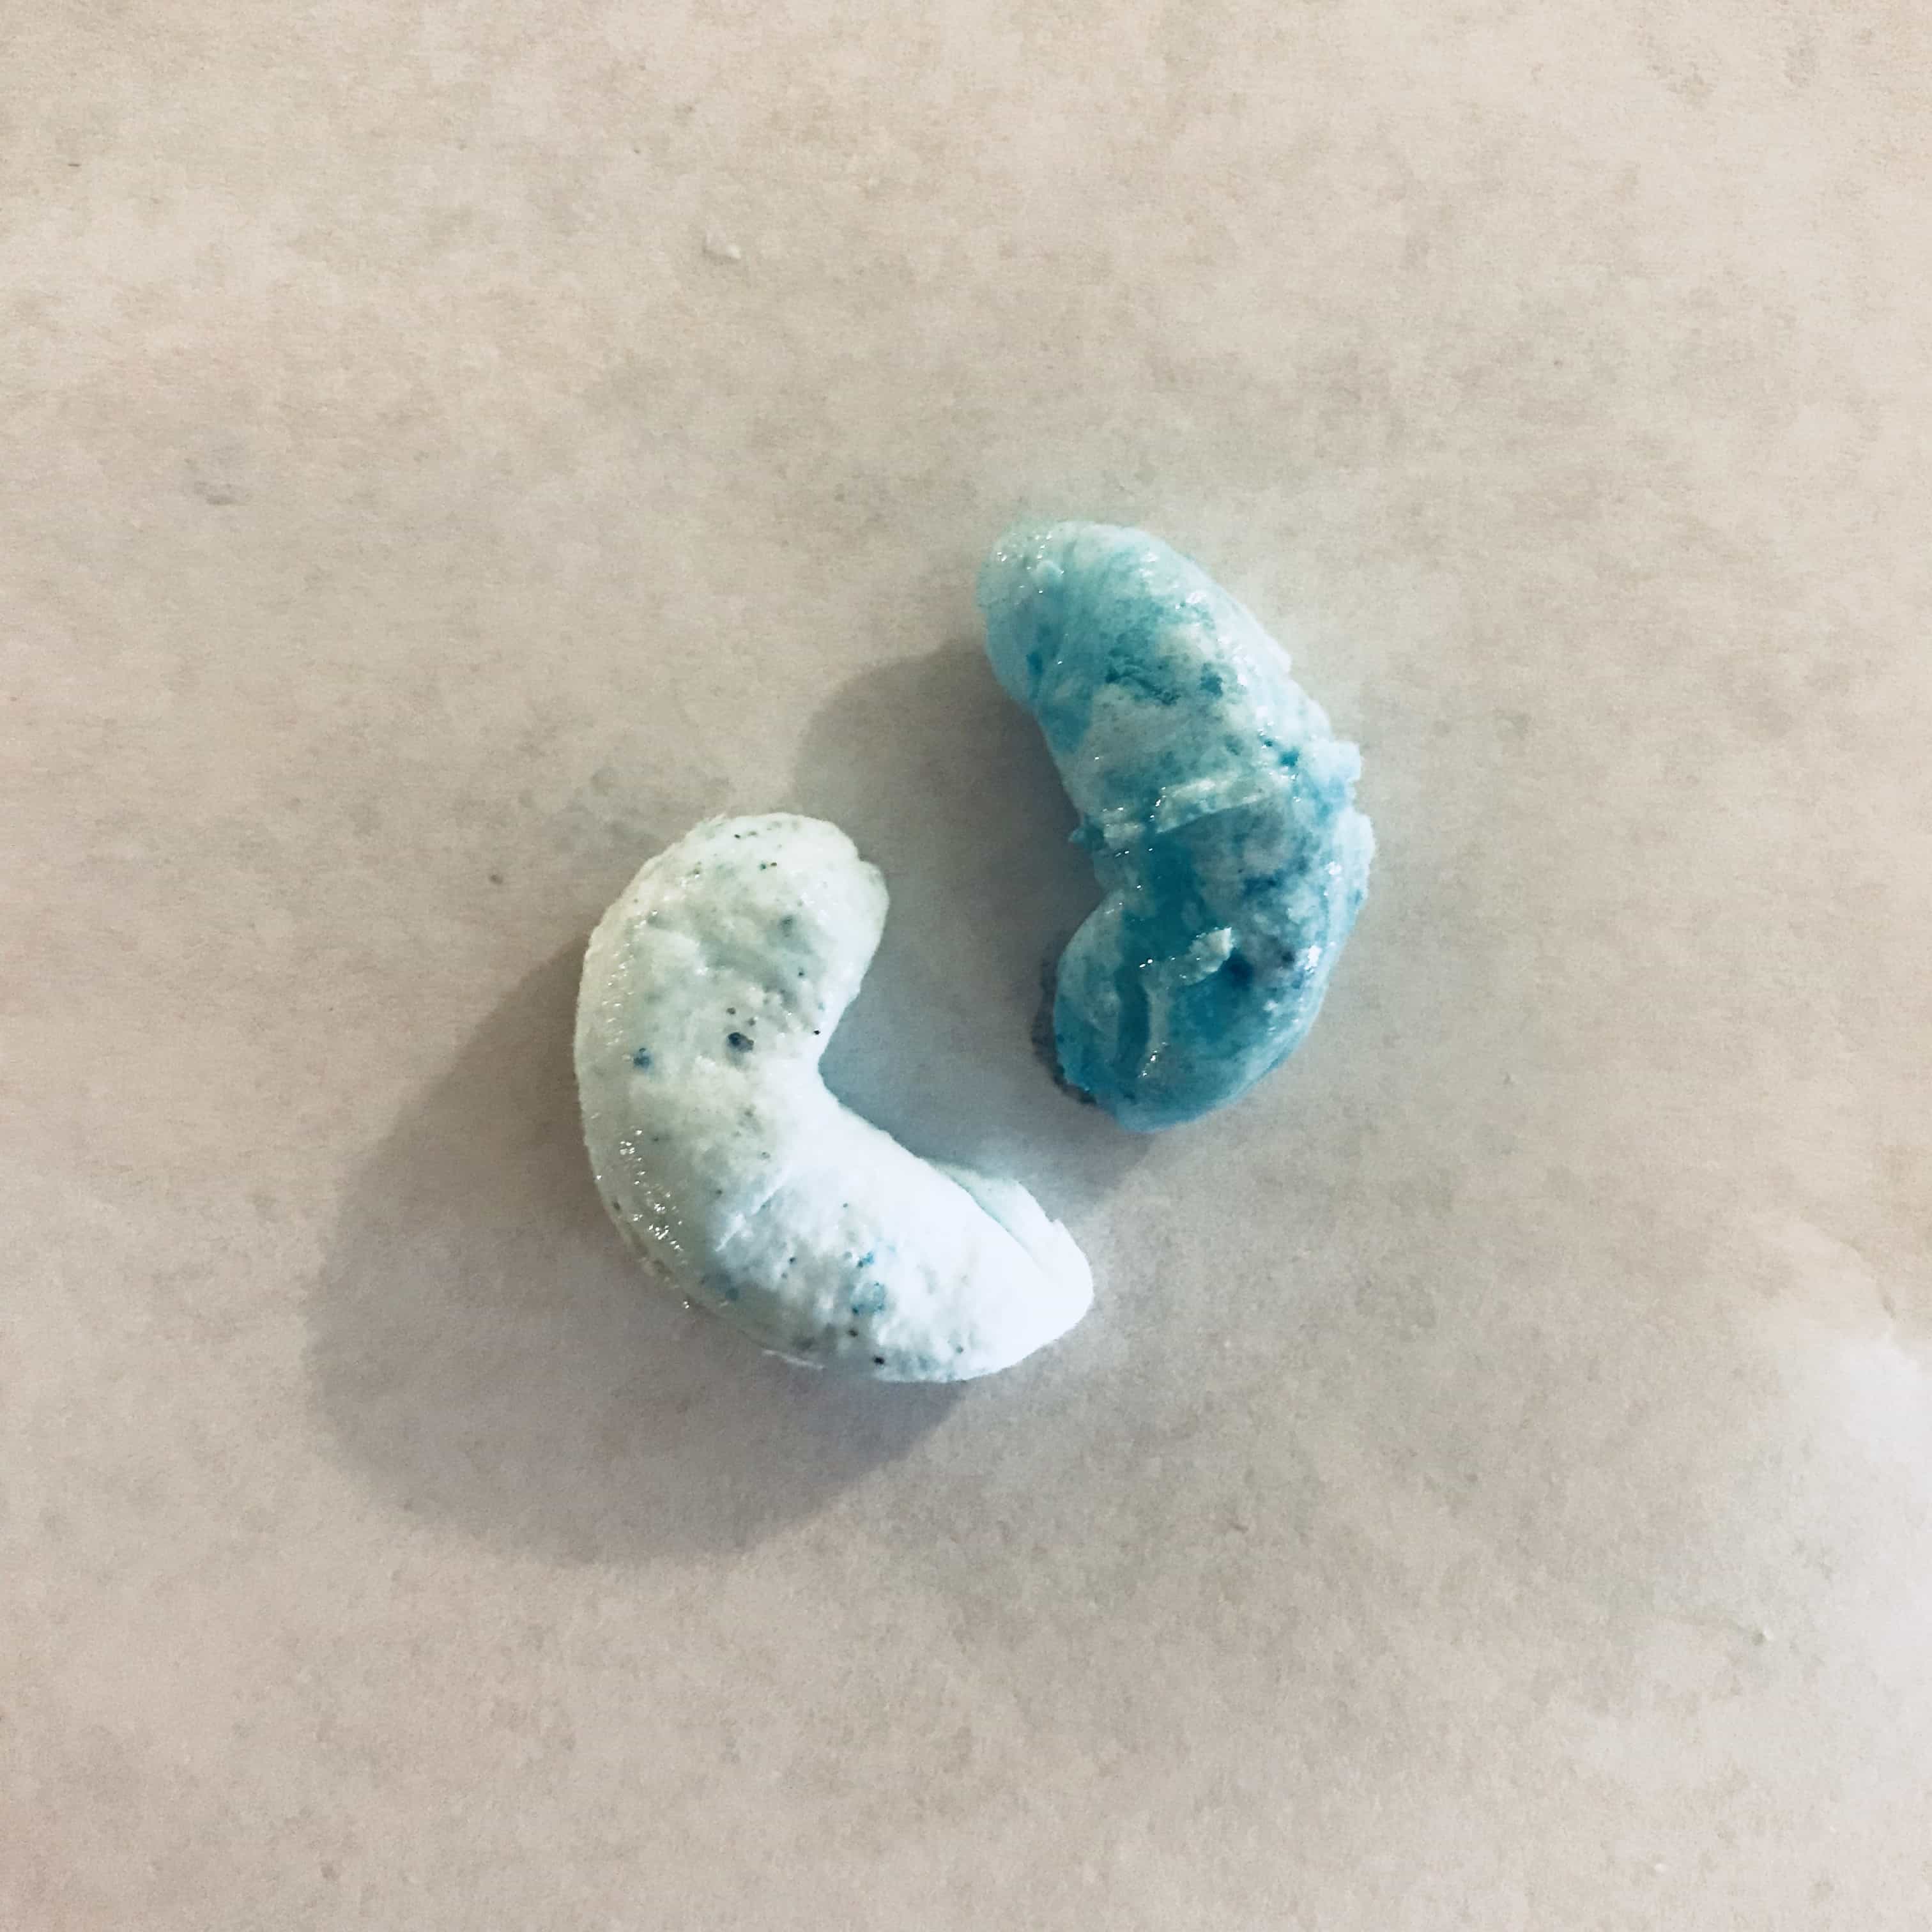
Sythetic Nuts
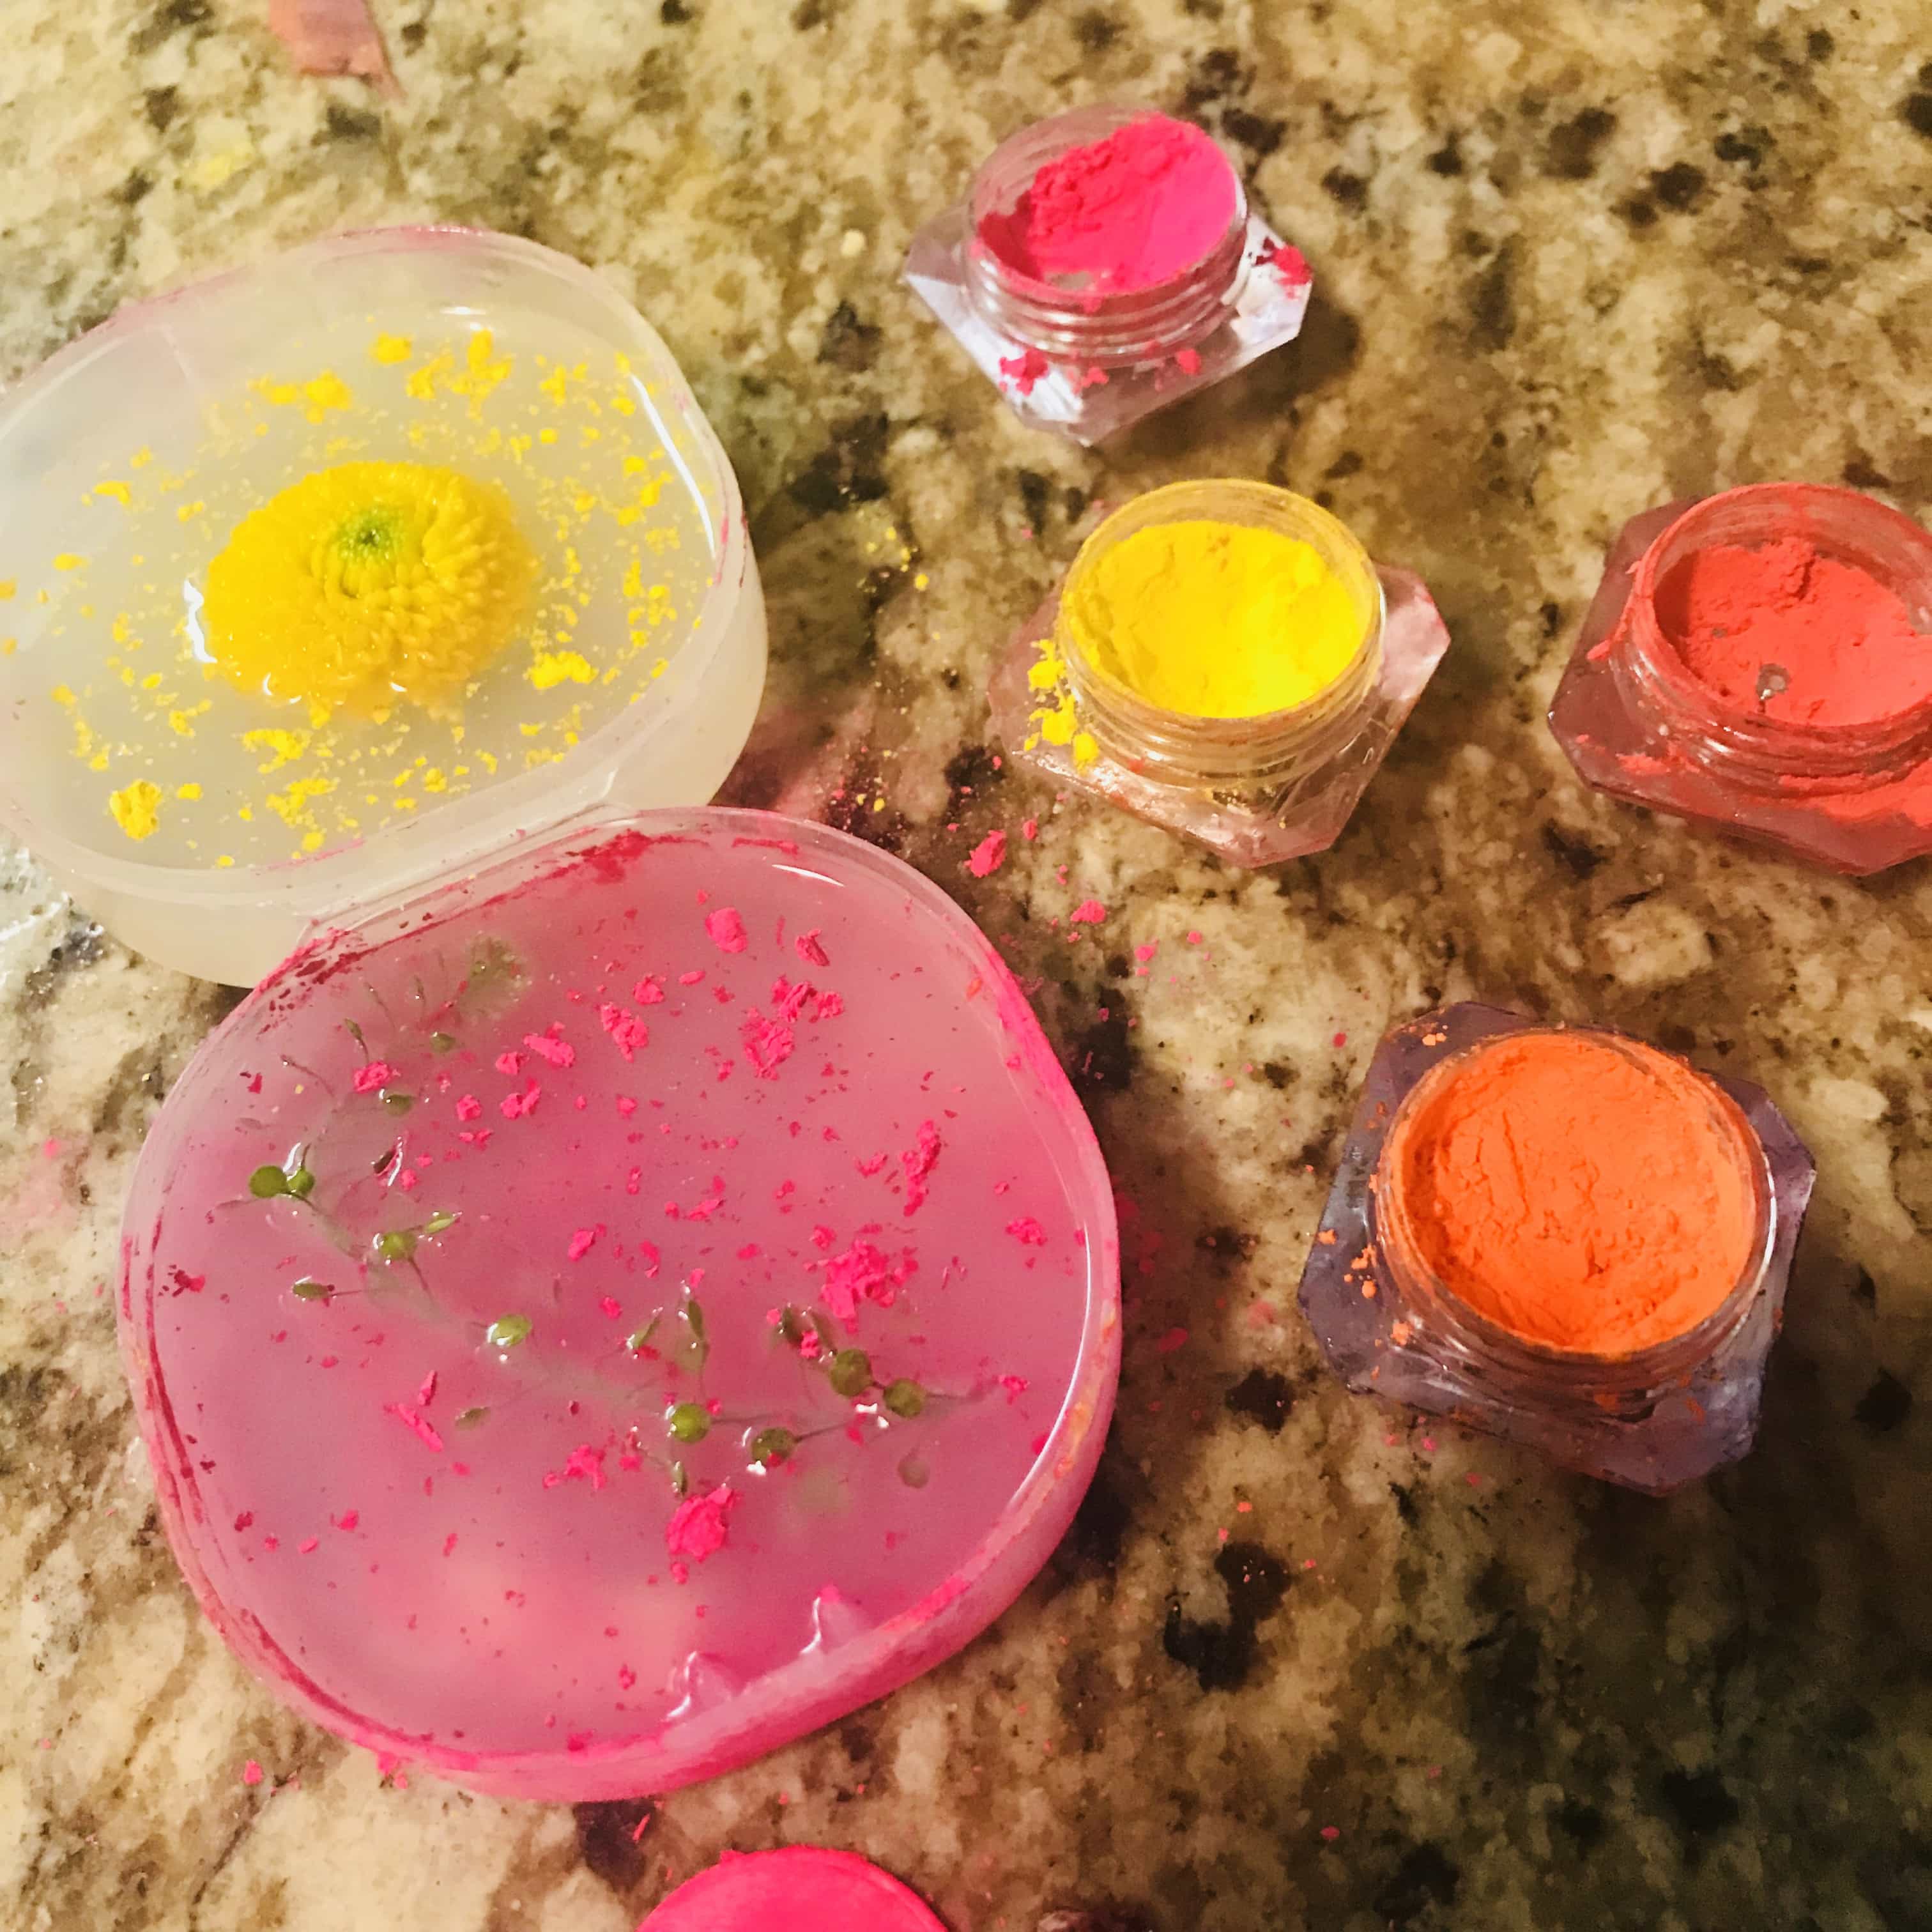
I want to try mixing epoxy with inks and various textures, and wonders how it would be like in the shape of walnut or cashew. So I threw the nuts in oomoo to get the mold. It turned out that the epoxy needs 24 hours to cure, so I'll put it here later (the other day Honghao threw it away as a trash..). The Smooth-cast 300 only need 3 min to cure, which is the blue cashews shown below.