Vinyl cutting

Nathalie du Pasquier, 1984
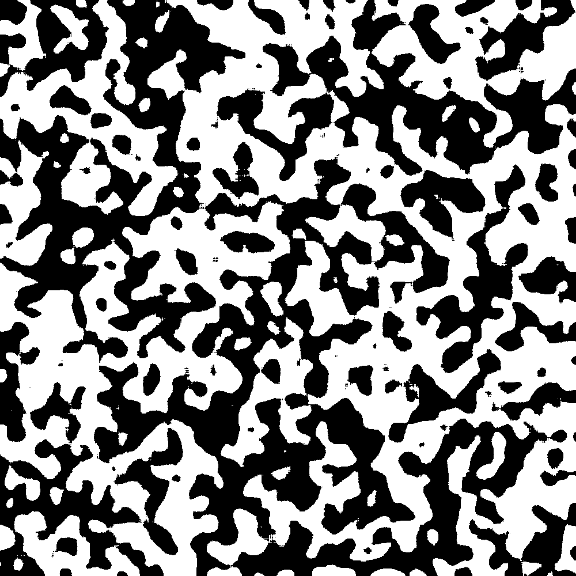
To test the vinyl cutter, I wanted to re-create the marbled pattern used to create the cover of composition books--also used by members of the Italian Memphis Group. The design of the composition book's cover has passed from a slow, craft-oriented, laborious process to mechanization and industrial mass-production (you can read about its history here), and I wanted to see what our age's automation can contribute to its production history. I used Mathematica, following tips here, to recreate the famous pattern and vary it.

Composition book

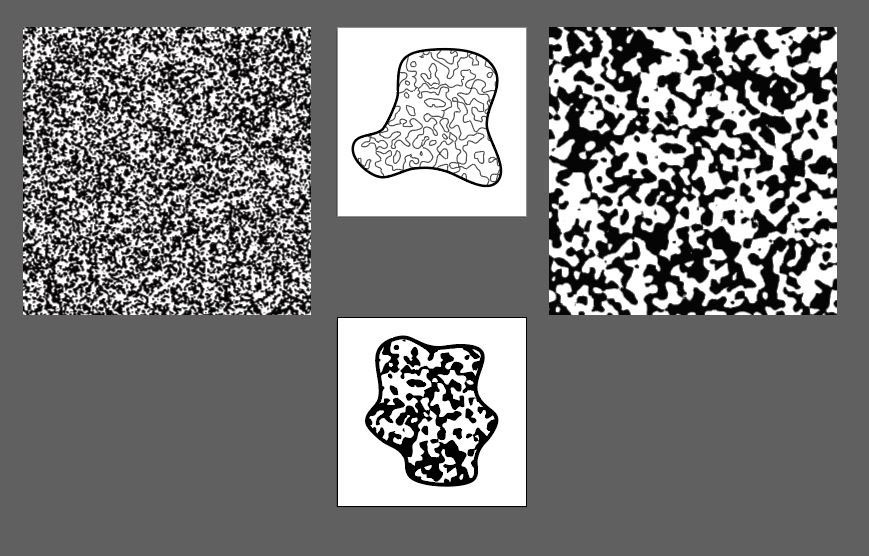
Pattern 1

Pattern 2
Pattern 3

Pattern 4
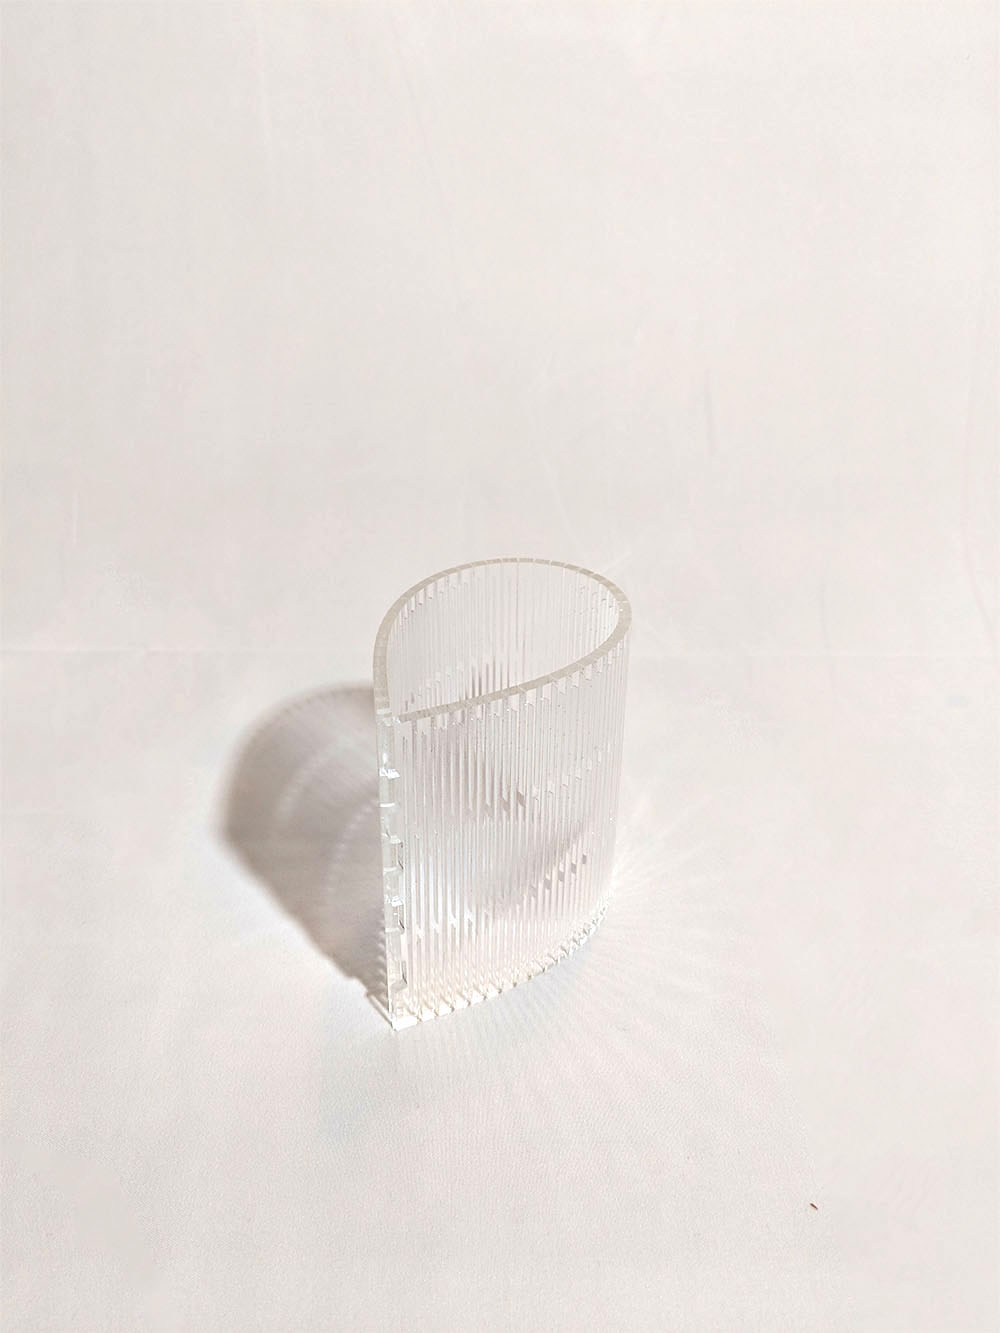
I then traced some of these patterns in Illustrator & added a blob clipping mask to delimit the shape. I wanted to test the pixel limit of what can be cut and removed from the vinyl sheet, so I kept a test piece with linework only. The line weight I ended up using for the top figure was 2 pt.
Tracing pattern & playing with figure-ground
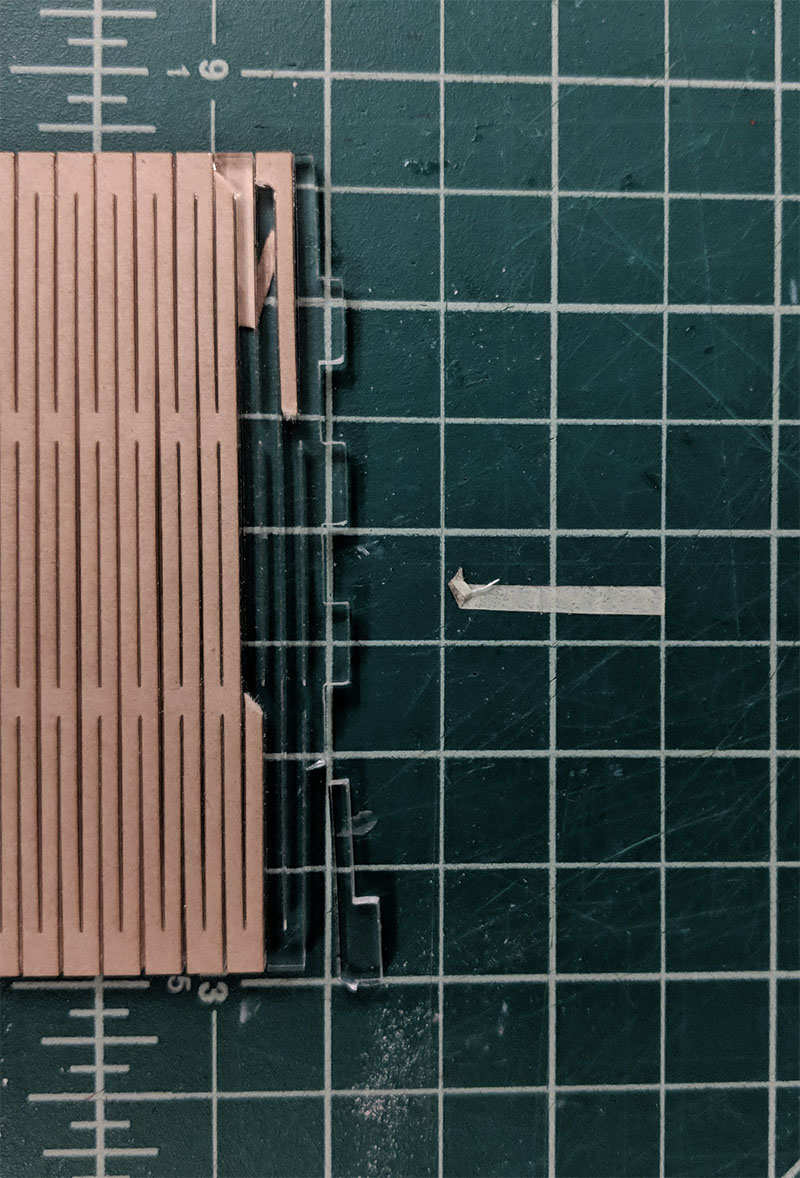
I wanted to see how easy the transfer process would be for small shapes and linework, so I created a set of blobs to test the cutter.
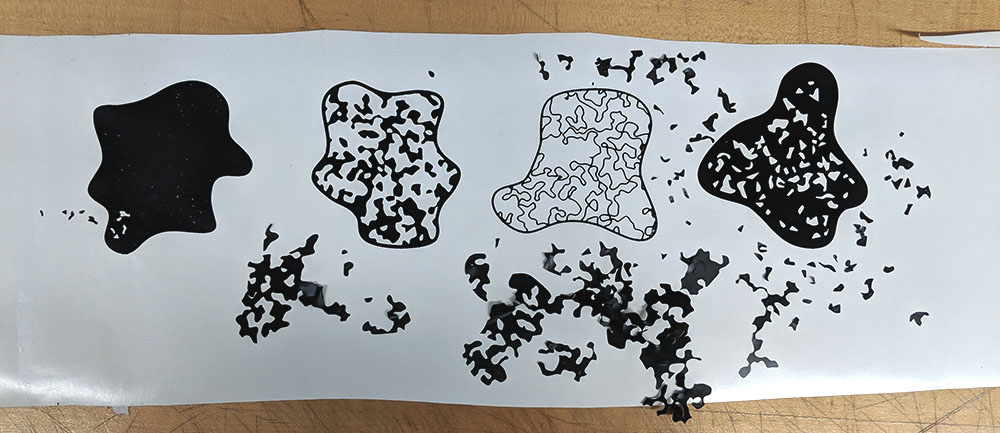
Testing different sizes and densities of cutouts (labor, loss due to transfer, line weight): the transfer process (with the sheet masking tape) was surprisingly successful.

 =======
 >>>>>>> 08520706d138a99a2b6203a034ca12cfb5b833b4