This week we made an in-circuit programmer by milling a copper-coated PCB and soldering components onto it.
As a group, we characterized the CAM bot by cutting a test piece with different trace widths using two different mill bits. The top image uses 1/64" and the bottom uses 1/32".


The first step was to mill the PCB on the Modela. The Modela can be quite finicky. Luckily, our TA Jen printed out an extensive list of instructions on how to use the machine. The copper-coated board that you want to cut should be firmly fixed to the bed of the mill. If it accidentally comes up off the bed during milling, you can destroy your board. The traces were milled out using a 1/64" endmill. I then used a 1/32" endmill to cut out the board.
Advice for using the Modela: Make sure the board is firmly fixed, including the board interior. Be careful removing and installing the endmills--dropping them can easily break the delicate tips. Make sure your z axis is properly zeroed out.

Then I started attaching the components by carefully soldering them on. One trick I found helpful with small components is dabbing a bit of solder onto one of the pads on the board. Then, holding the component with tweezers in one hand, I would use the tip of the soldering iron to melt the solder on the pad and drop the component straight onto the melted solder. Now that one part of the component was fixed to the board, I could then easily solder the rest of the pads.


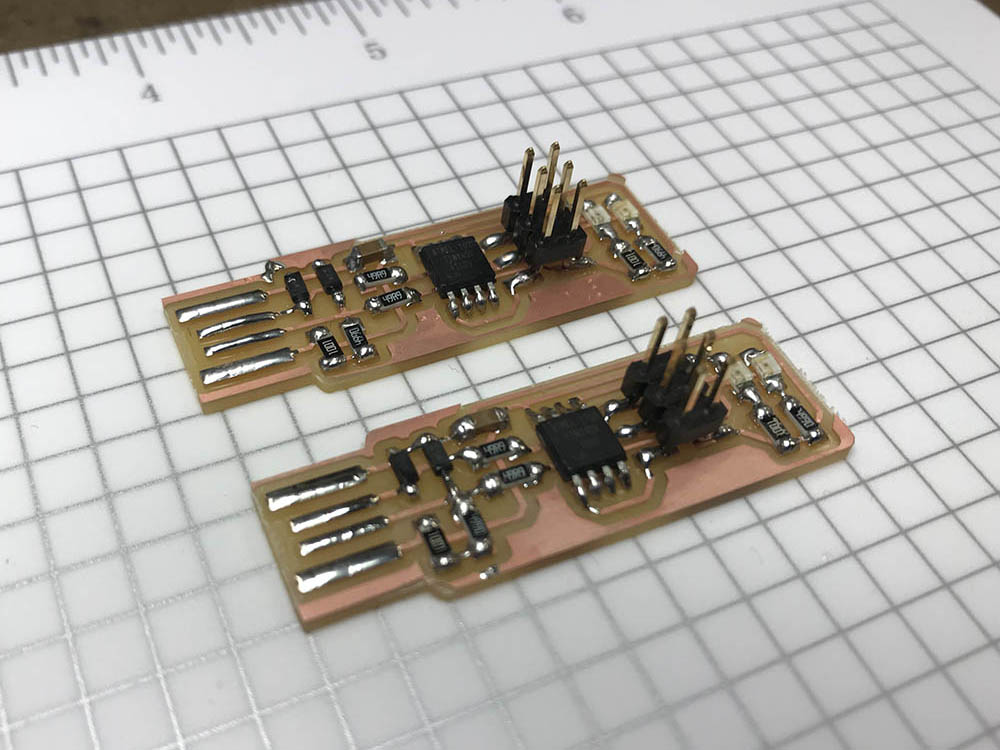
I made two just in case one failed. There were a couple moments I had pull off too much solder or make sure I wasn't melting the component, but luckily it seemed to work. Programming it was a bit more of a pain than I expected. You have to download the firmware and then edit the Makefile before compiling. These instructions were extremely helpful. I got one board to light up and work, but the other board just never worked. Another hint on using this board would be to add a tiny bit of plastic under the USB connection. It needs a bit more thickness than just the board in order to make a good connection to the USB port on your computer or anywhere else.