Time to make something big!
I had lots of grand ideas for this week's assignment. After searching the internet and clicking through the class website links, I knew I wanted to make something usable like furniture. The CNC furniture design website Opendesk was a helpful source of inspiration and design details as I thought through my ideas.

I sketched out a rocking meditation chair with a live hinge top but wasn't happy with the design and the idea itself. I felt like something like it had already been done before. Also, what could I do that was more than just a piece of furniture?
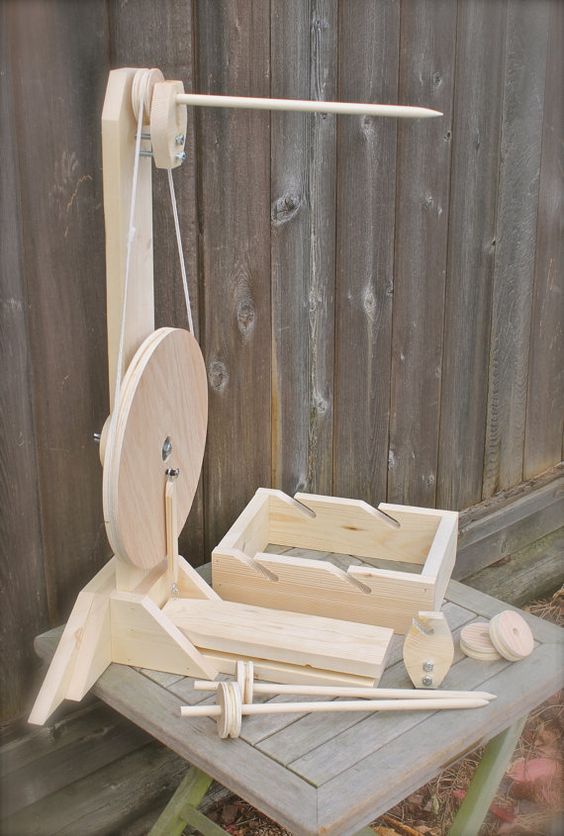
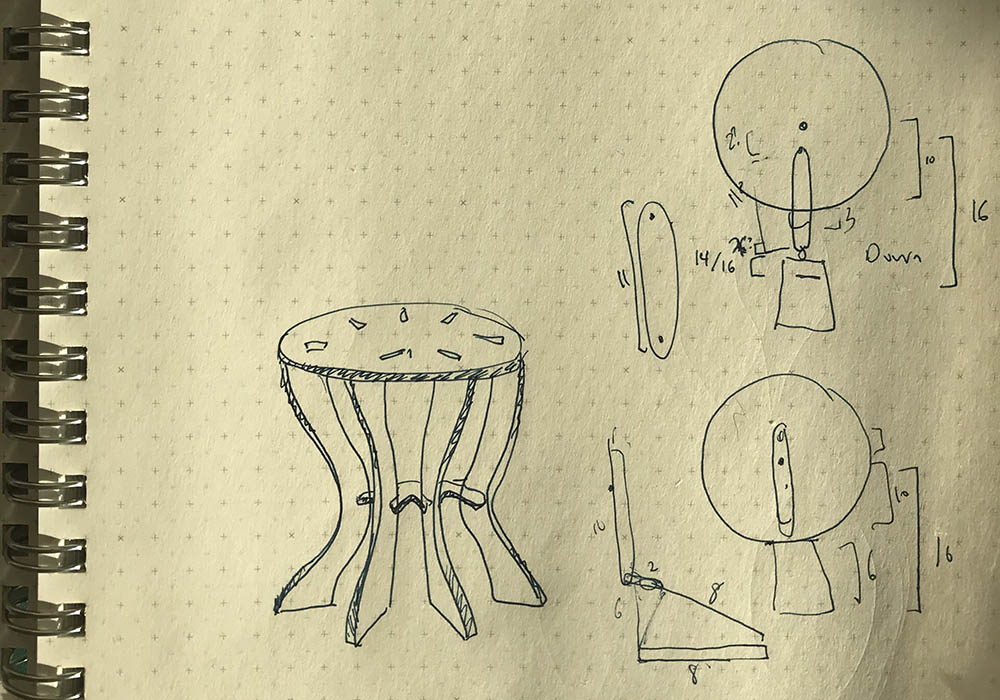
I played around with more furniture ideas, but then I thought, what if I did something fiber related? A loom seemed tedious to get started, so what about a spinning wheel? I found many examples of spinning wheels that were clearly CNCed from plywood, but no free plans that I could build off of. I've never used a spinning wheel myself, so I had to do some research on how people actually spin on them. It turns out that the big wheel we all think of when we imagine a spinning wheel is only the means of propulsion of the little bobbin that the yarn winds itself around. The wheel is usually powered by foot pedals, of which there are many different designs.

As you can see there are different mechanisms for powering the wheel. Some use a single pedal with a loop that pulls the wheel down (and apparently spins it a full revolution so that you can pull it down again). Some use two pedals to give you a more balanced motion on the wheel.
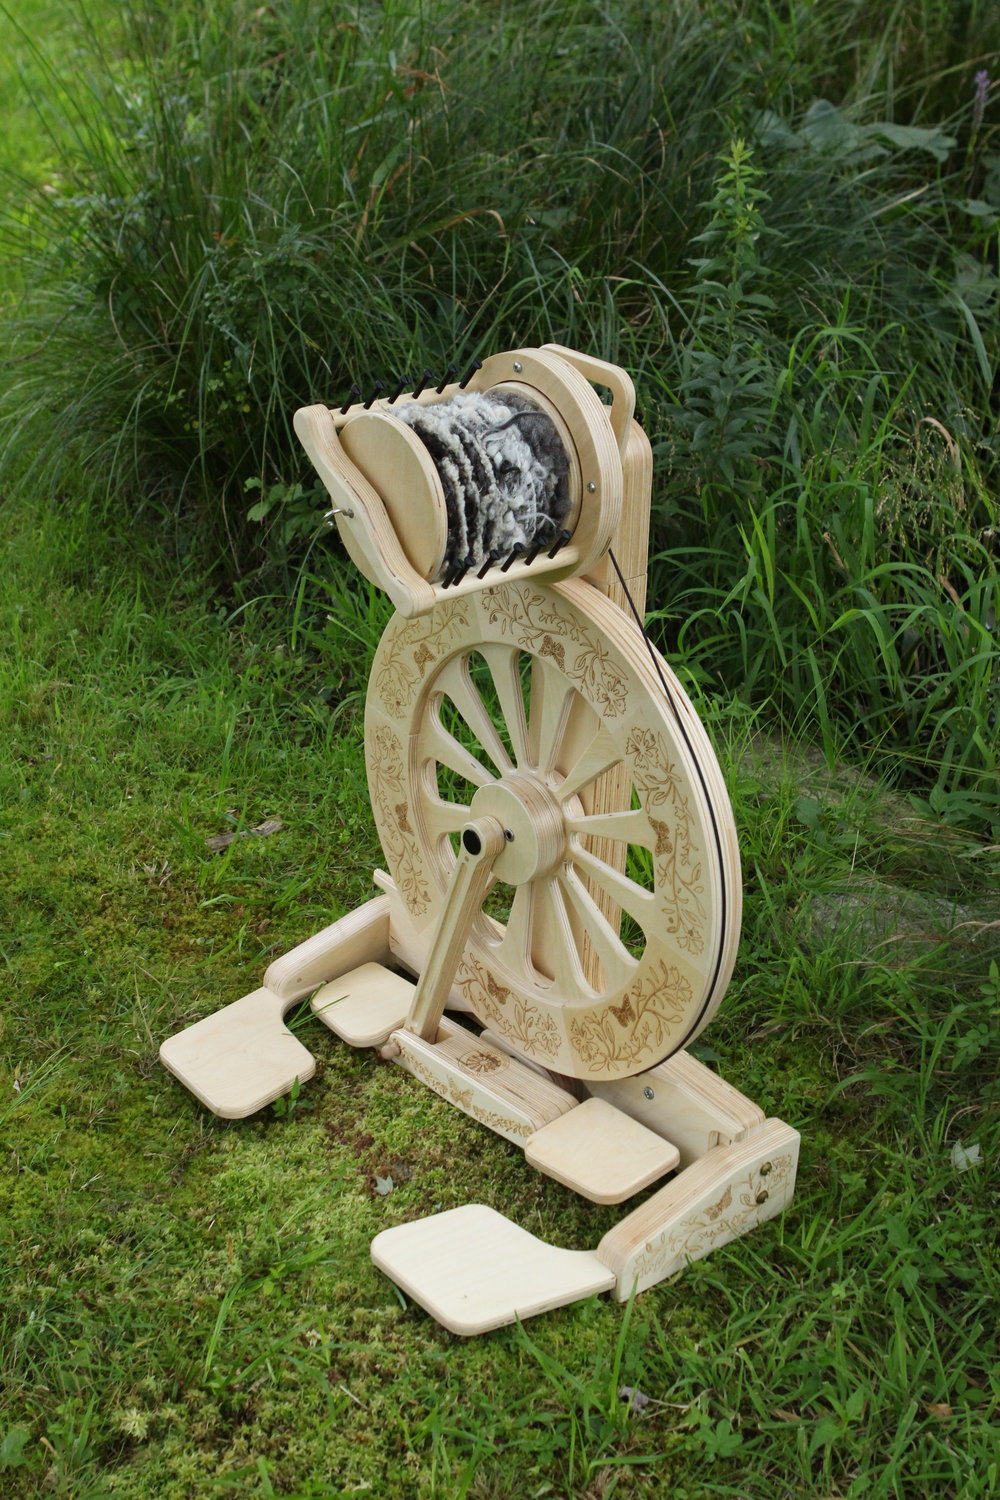
This wheel, for example, uses dual pedals on a lever.
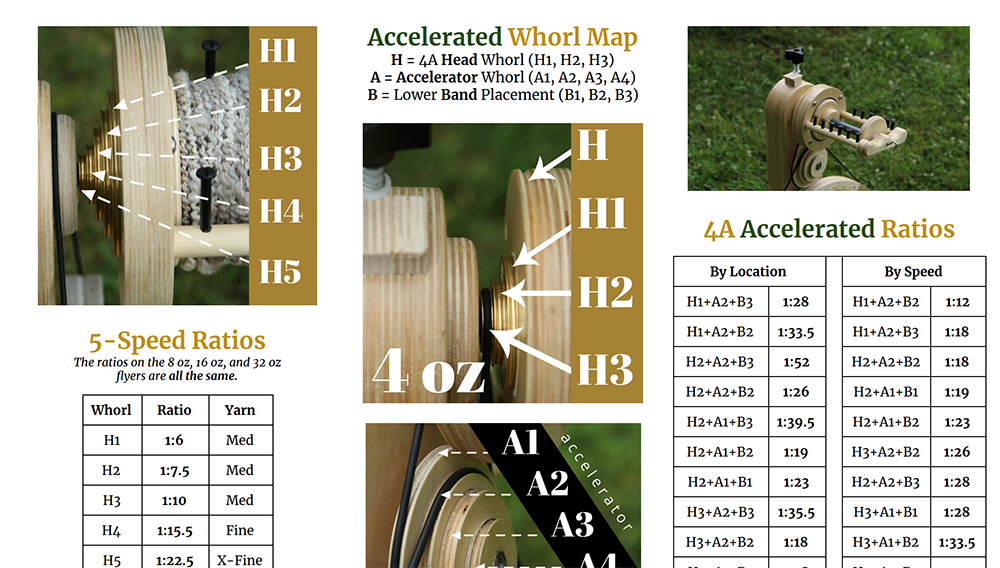
Another key element of the spinning wheel is the wheel ratio. This is basically the number of revolutions the spindle makes for every revolution of the big wheel. The higher the ratio, the tighter the twist of the yarn. This controls the size and gauge of the yarn as you spin it, which is very important when considering the final knitted or woven product.
Some of these designs looked a bit more complicated than I had time to reverse-engineer, so I simplified to the most basic spinning wheel design I could think of.
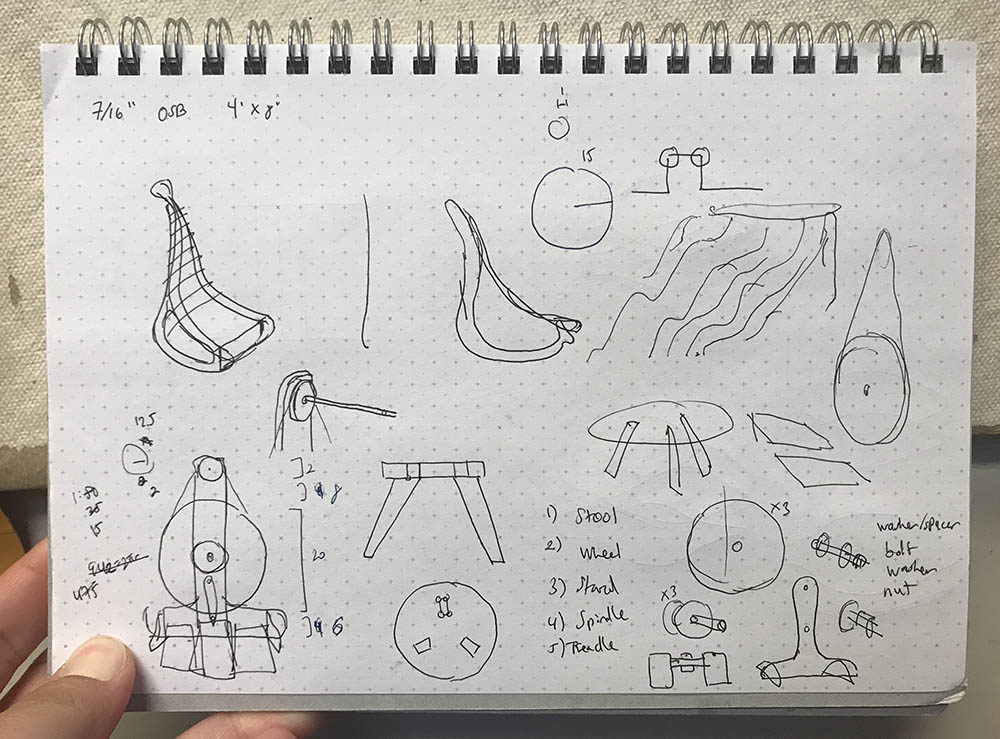
After I gave up on the meditation chair, I sketched out the components of the spinning wheel, thinking through each mechanism and how they needed to relate to each other. I realized I would also need a stool to go with the wheel, which later became much more important as I realized that the design and assembly of the spinning wheel would take much longer than anticipated.
Ultimately, I decided to make sure that I could at least get the stool done and looking decent. As I looked at how Opendesk designed their furniture, I realized that a key component was the "dog bone" notches on each piece. This makes sense when you think through it--the end mill has a diameter, which means it can't get into the corners of the notches. You have to create a round space for it to go in so that your connecting piece can fully sit into the notch.
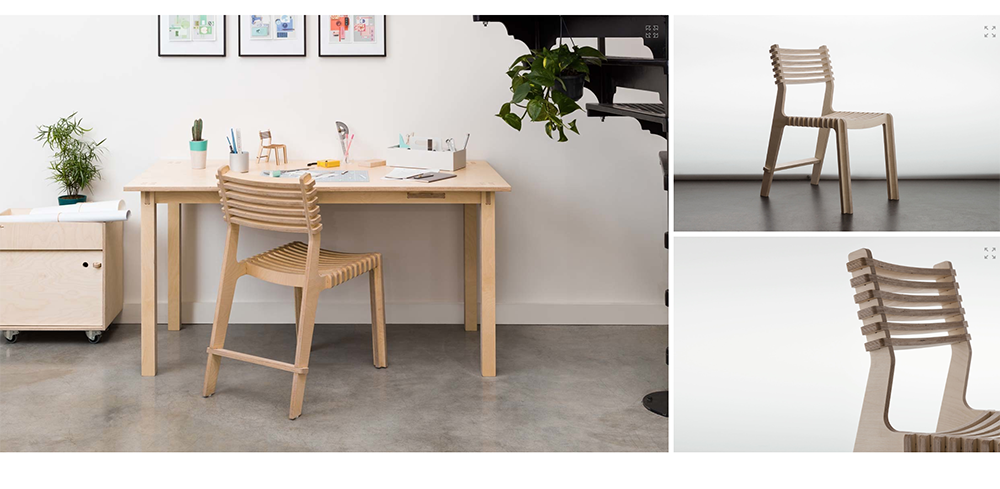
I looked at the Opendesk design for the Valovi Chair, which had many notches.
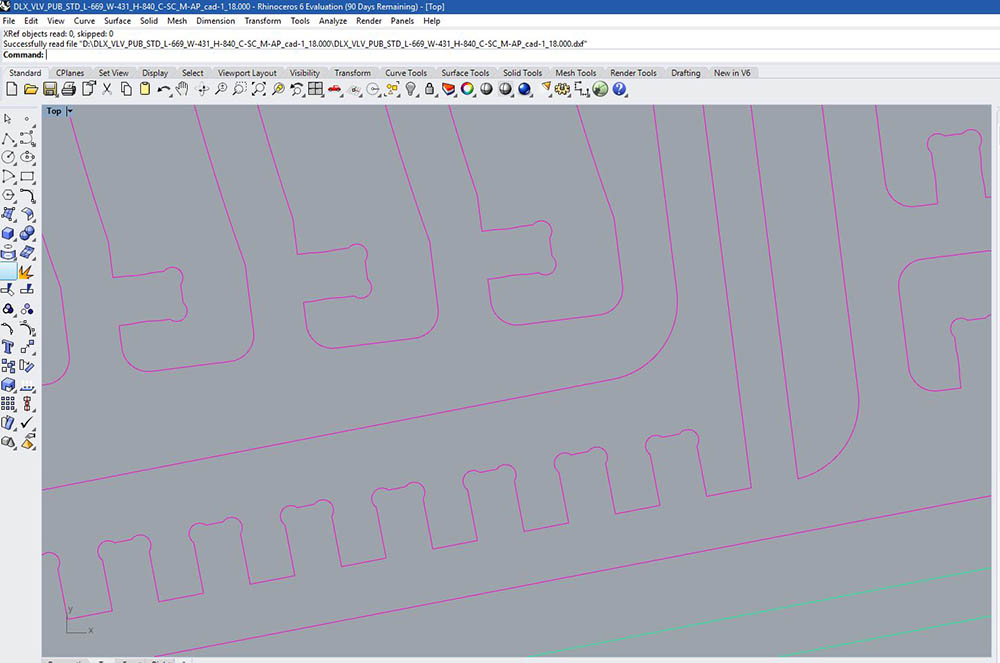
Still hopeful that I might have time to get the spinning wheel done, I designed both the stool and the wheel in Rhino. I added a 0.05" allowance in the notches so that the OSB would definitely fit in, but after I did the CNCing, I realized that this was too much. The OSB was not really 7/16" in width as expected, but probably more like 3/8".
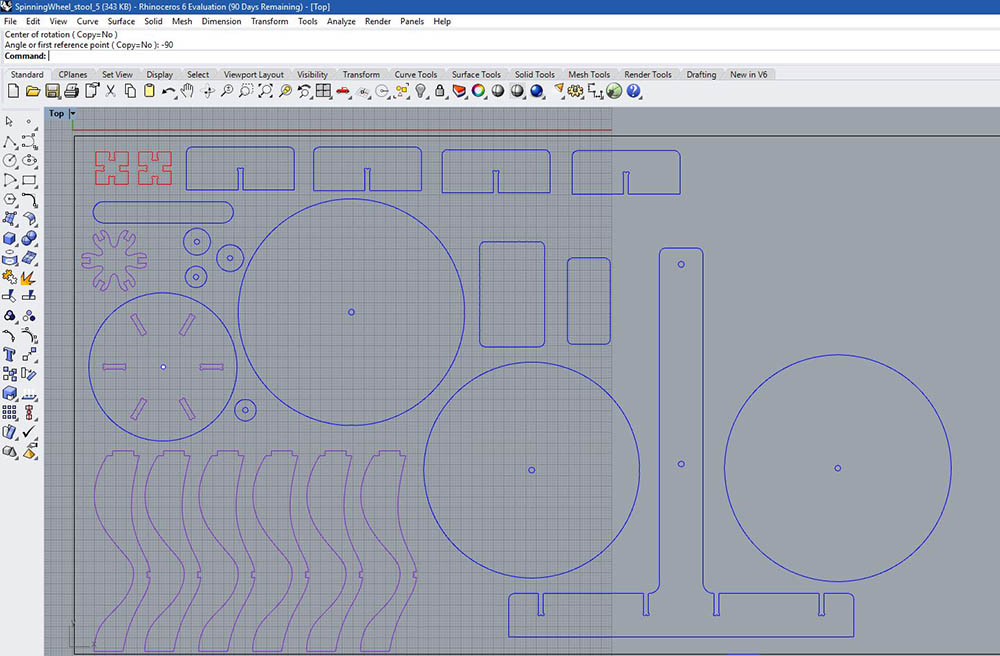
After looking at the OSB and going through MasterCam with Chris in the Architecture Wood Shop, I realized that the spinning wheel was not happening this week. 1) I wanted the wheel to actually work, and the OSB would probably be the worst material and make it functionally impossible. The splinters would catch on the wool and be terrible. Chris showed me some nicer plywoods that could be sanded smooth so that the yarn would glide through. 2) The spinning wheel design was not as refined as I wanted it to be. If I wanted to actually keep it, I want to add in the dual pedal design for comfort. 3) Finally, I was running out of time. The stool would just have to be it.
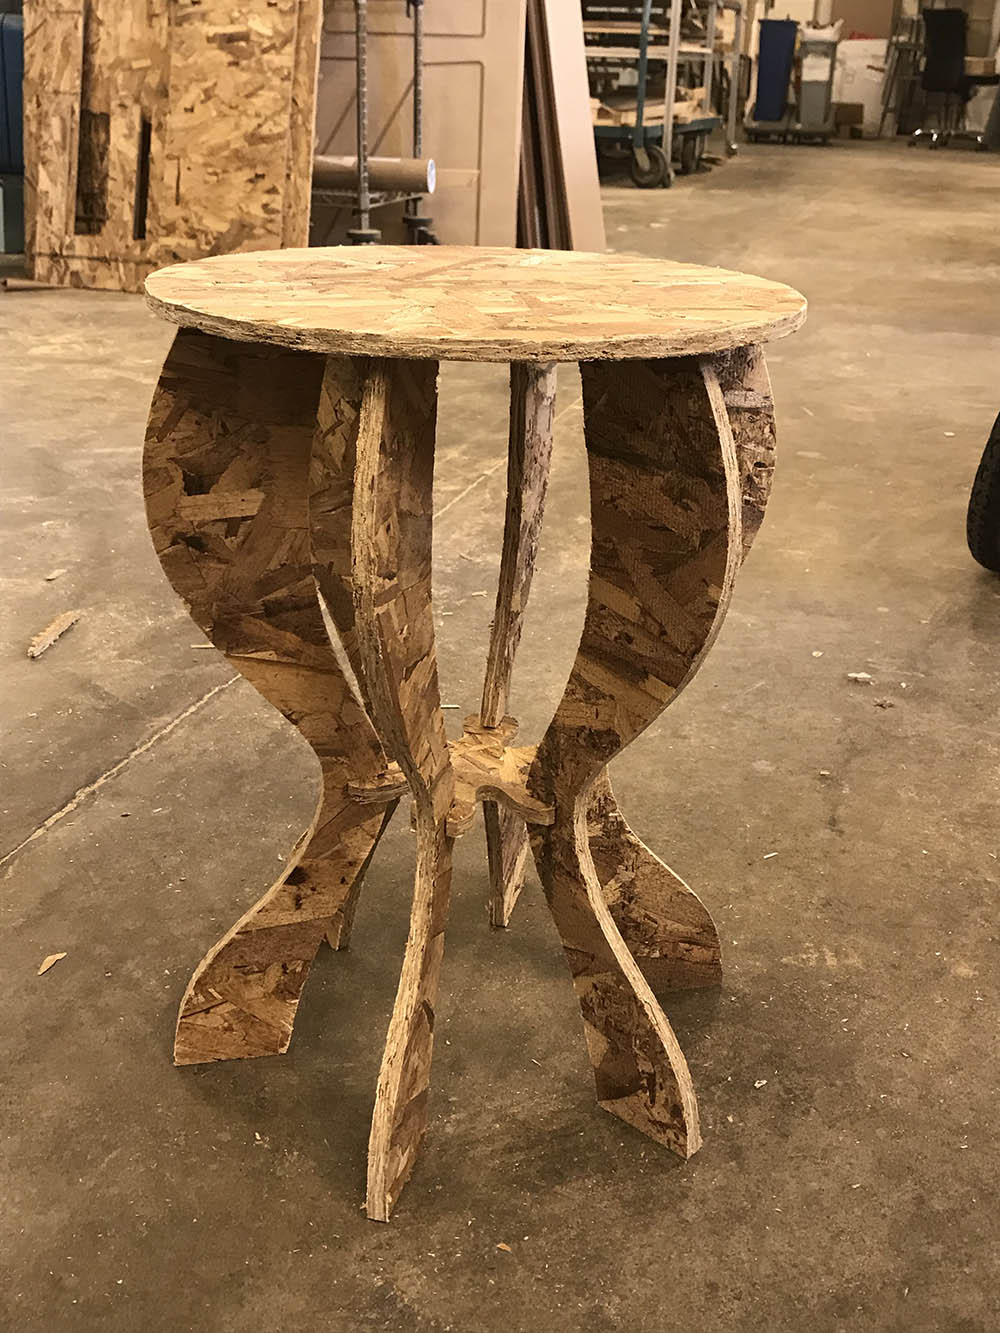
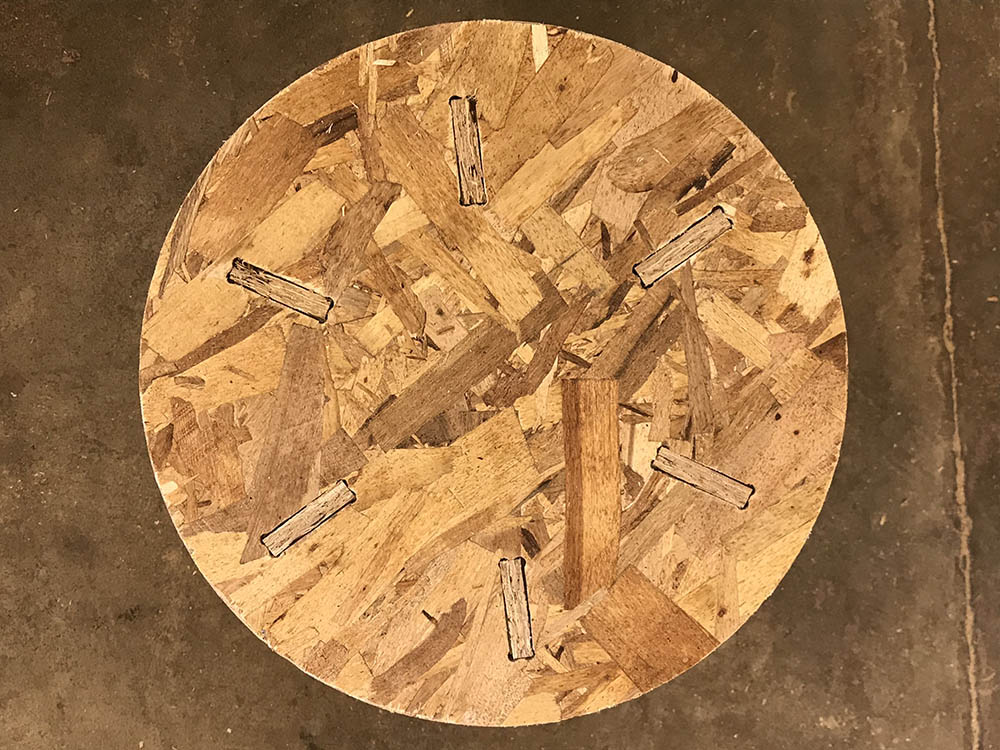
You can see here that I gave too much allowance in addition to the assumed thickness of the material. I also should have measured the width of the OSB first before making the cuts. The stool holds together and looks good in my opinion, but it's structurally a bit wobbly. I think tighter clearances would help this, but I'd like to try having tabs in the middle piece to better hold the legs together. I plan to further refine my design for the spinning wheel and hopefully cut it out of some nicer material!