Week 13
machine knitting
Tools
- Shima Seki SWG 091 N2 Knitting Machine and Workstation
- Photoshop
Files
Overview
For wildcard week, I chose to work with machine knitting. I created a tri-color jacquard knit. Alexandre put together a great tutorial located here: Machine Knitting
There were a few options to choose from, and I decided to create a tri-color jacquard knit pattern.
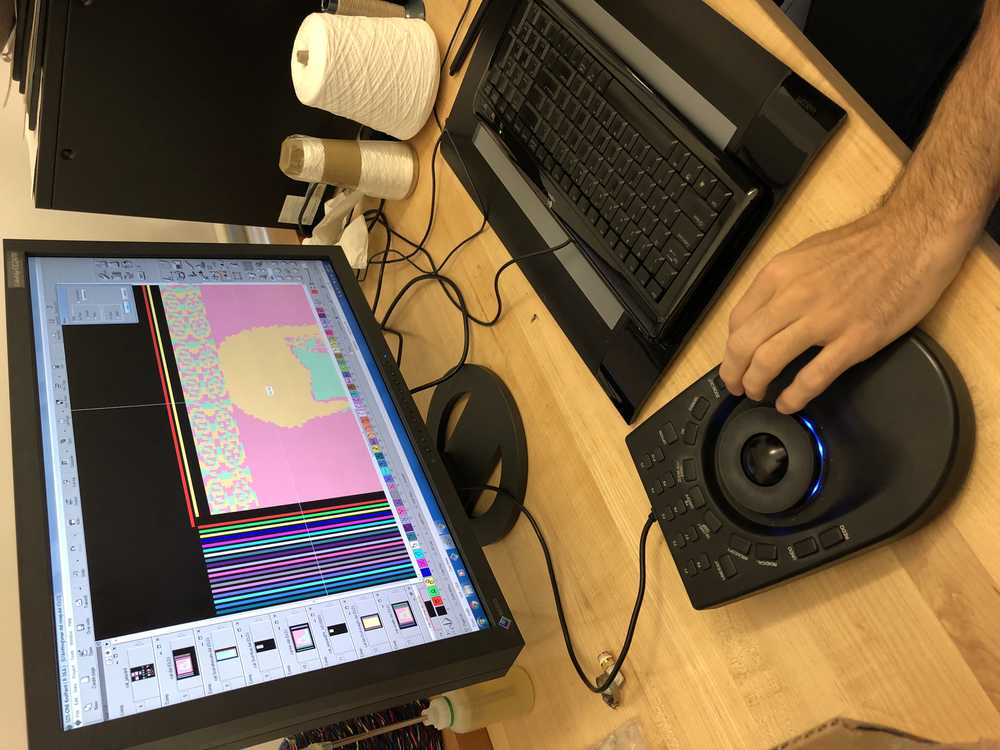
Image and Pattern Design
Since I would use three different colors of yarn, I used photoshop to reduce a photograph into three different tones.
Shima Seki uses a complicated file structure to tell the machine what to do – things like grabbing new thread, tying things off, when hooks catch or release yarn, etc. It has a steep learning curve, so I focused on making changes to an existing file.
I used [Alexandre’s cat]() as a starting point, and matched the overall pixel dimensions in the template file. Each pixel would amount to one instruction to the final knit, so I needed to match the pixel count exactly (at least as a starting point – I could grow the image from the middle later on while preserving all the important instructions).
Once getting the pixel dimensions correct with my reference image, I used the threshold command (Image > Adjustments > Threshold) to reformat the image into three distinct colors, making sure to turn off any blending since each pixel need to have an exact color value for the machine to understand it.
Here are three different pattern options that I tried out:
Albers:

Max Bill:

Noise:
Backing Package
The .png file needs to be converted to a .dat file that provide the machine instructions. Shima Seiki has a few packages which enable this conversion, and also apply a backing pattern. Alexandre had to do this form me since it was part of the proprietary workstation.
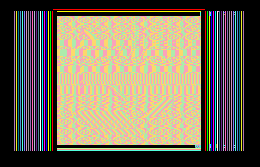
Here’s the .png loaded onto the workstation.
This is what the file looked like after the backing package was calculated:
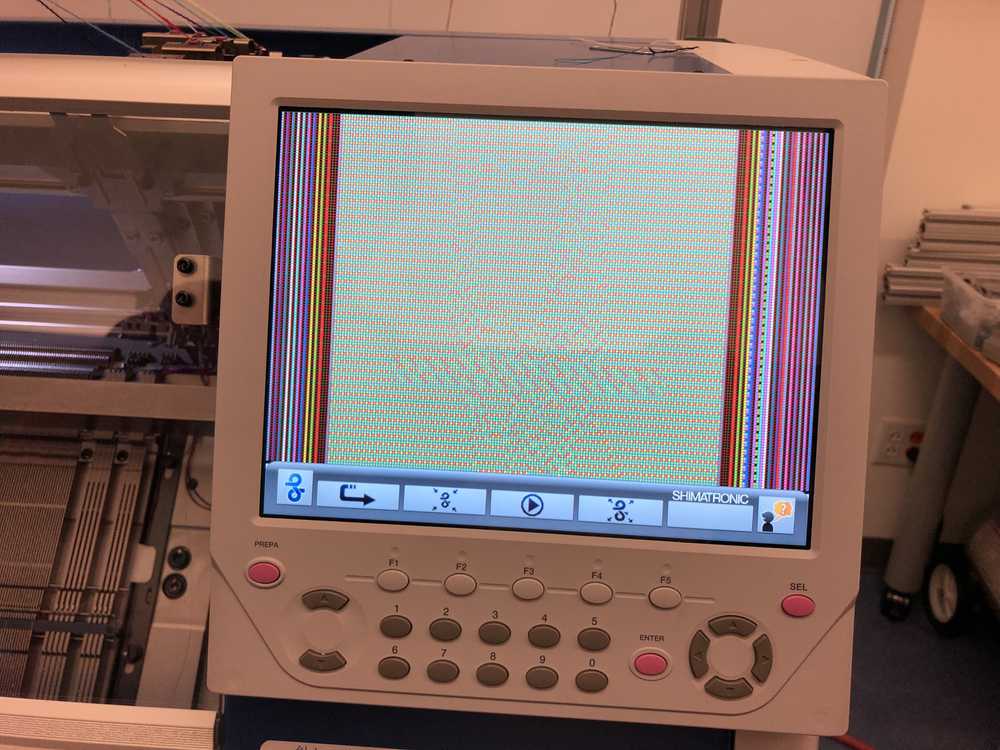
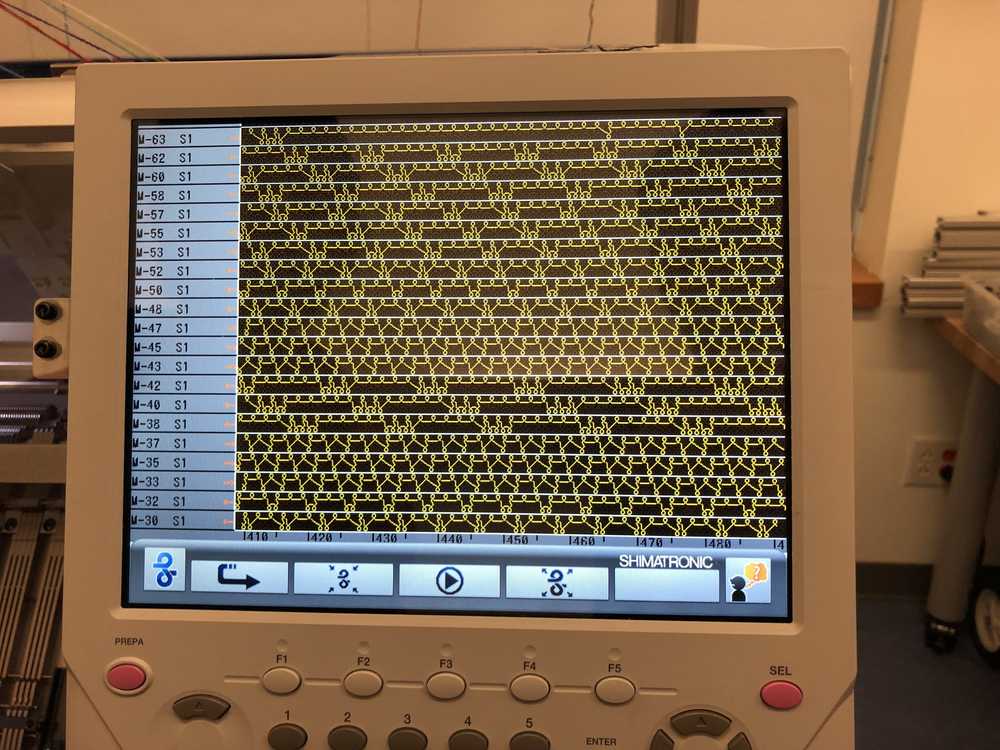
And the resulting line by line instructions sent to the machine:
Knitting
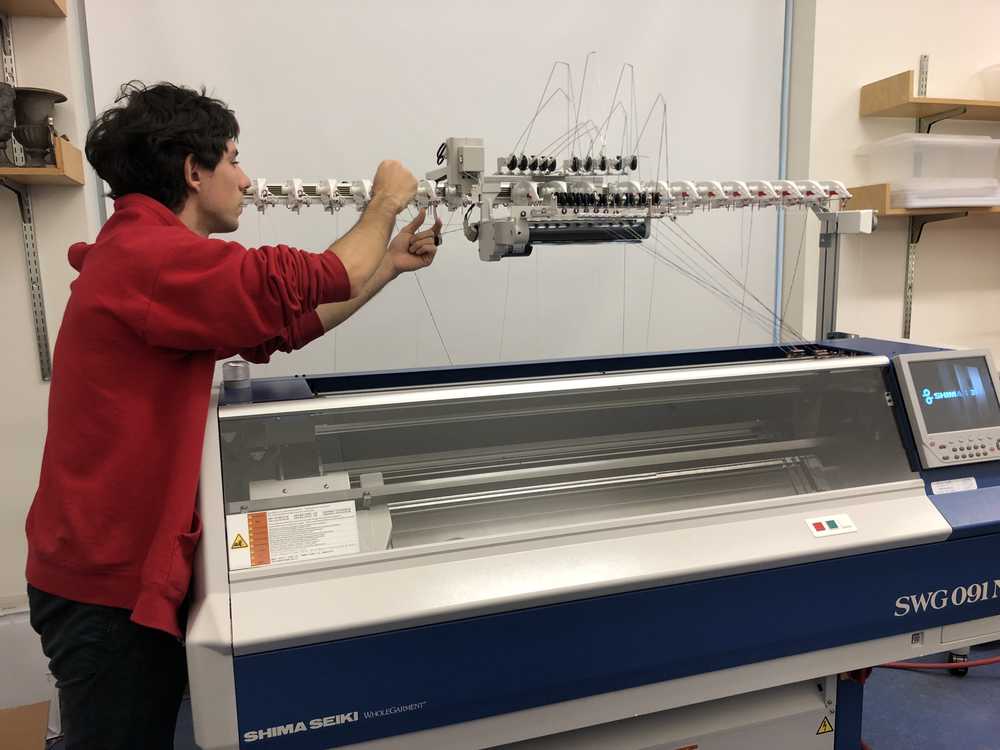
Changing the yarn
I wanted to use different colors than were already threaded. It ended up being a fairly easy (but not unproblemamatic) process. Alexandre broke the thread that was currently loaded and tied the new thread on to the end. This meant that the first row had the wrong color, but was much less painful than I expected, given the complexity.
Here’s what the yarn carriers looked like from above:
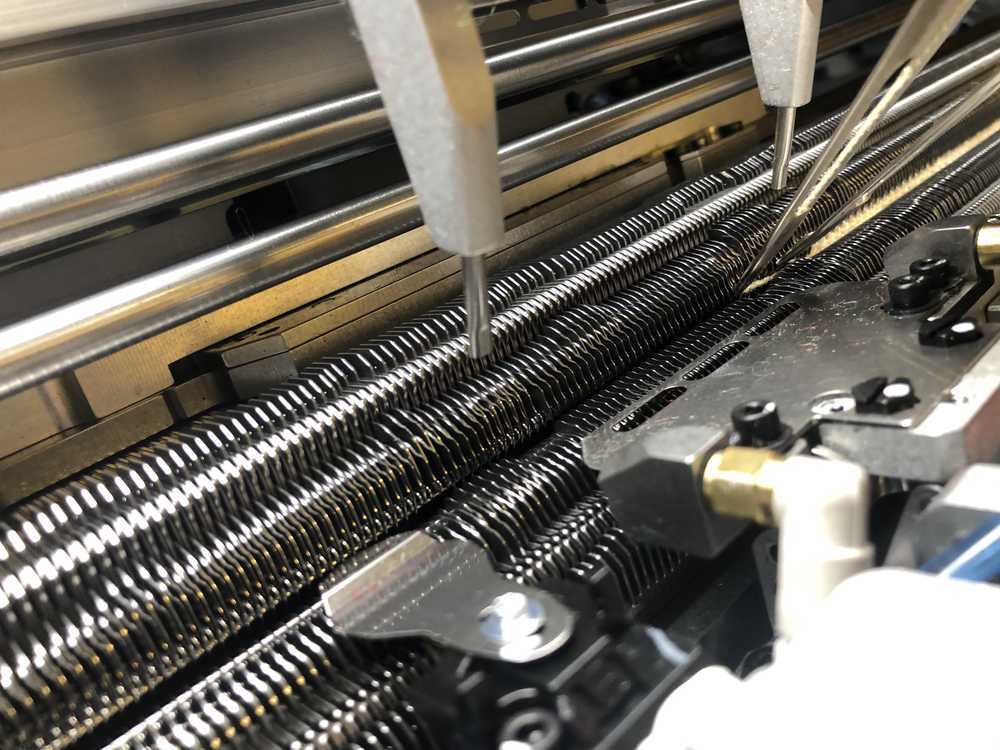
Pressing Go
Here’s what it looked like down below, in slow motion. The pins moved up and down as yarn moved by in order to catch the yarn (or not, depending on the instructions).
Breaking Yarn
We had to stop several times to fix broken yarn. In particular, we couldn’t get the tension right the white colored yarn. The machine stopped automatically, and Alexandre went back in to tie together the loose ends.
Here’s a look inside during one of the pauses.
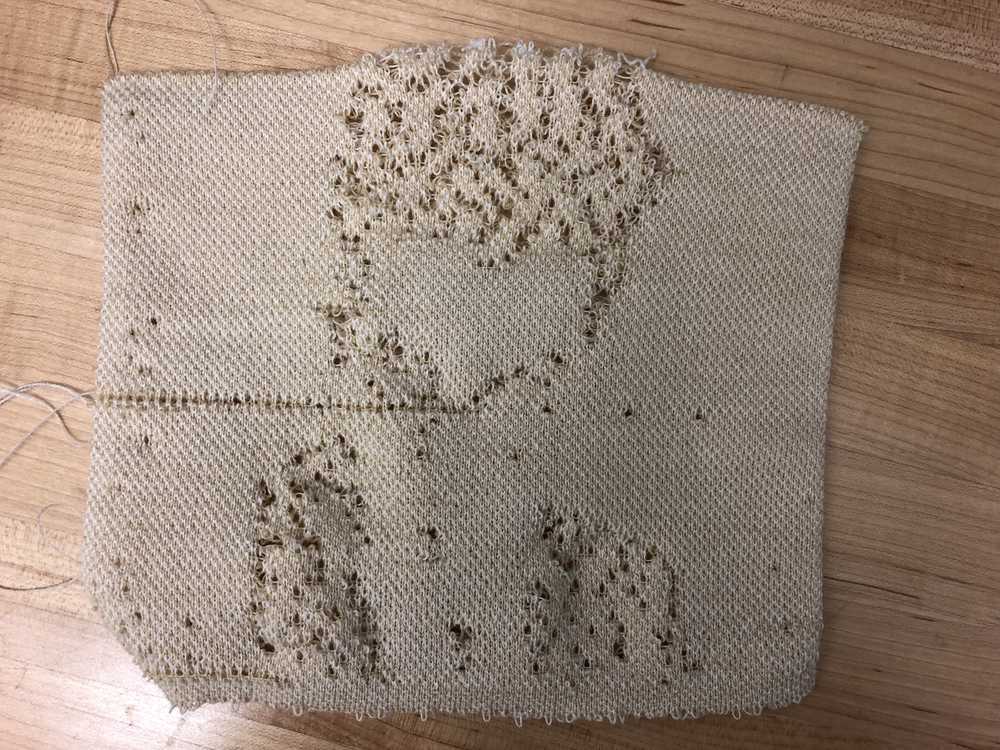
Results
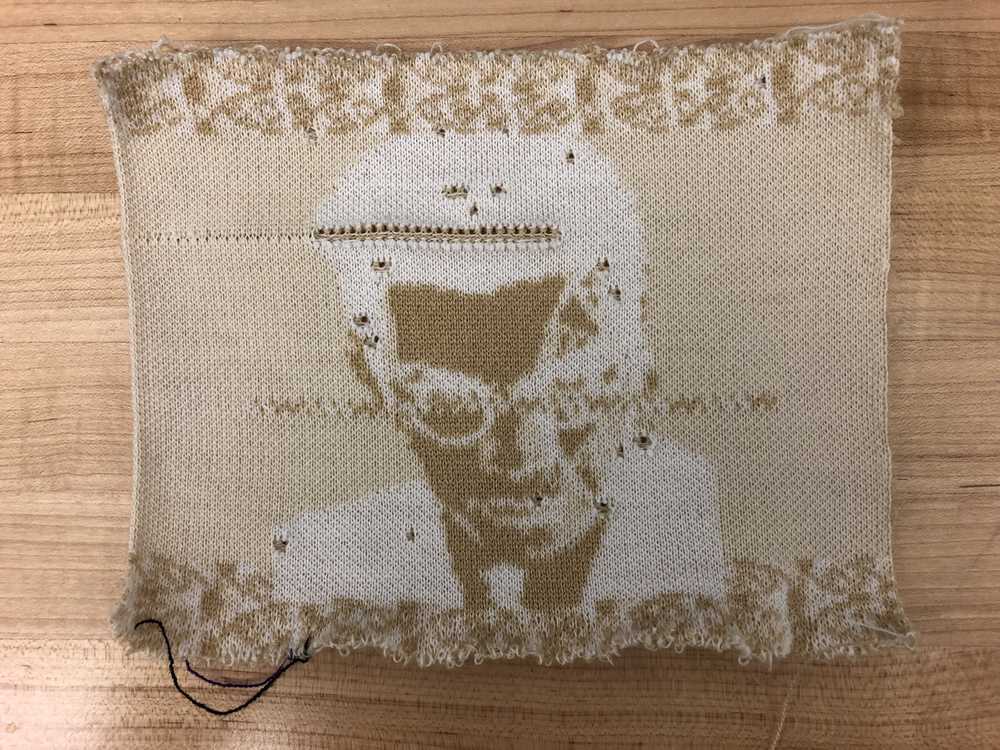
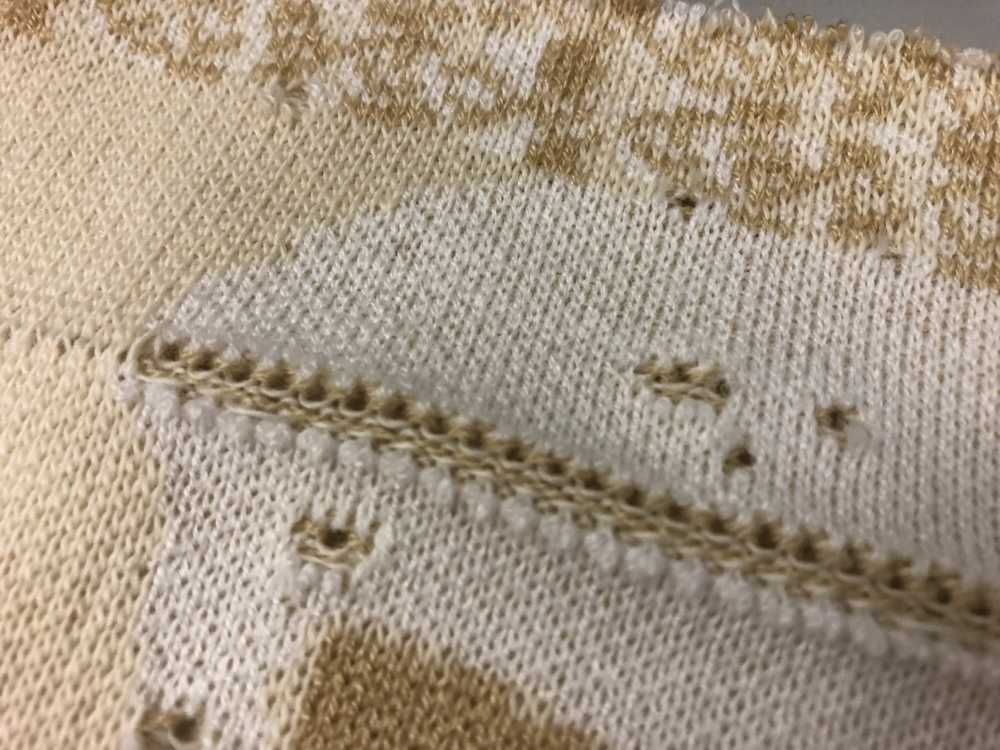
Aside from the broken yarn, it was cool to see the output, which was pretty true to the original image. You can see the black thread in the first row that we swapped out, and lots of little holes where the yarn broke (like the long line in the middle top).
There were also several smaller holes that didn’t stop the machine, which Alexandre thinks might be from the yarn having too high tension and snapping after passing through the machine.
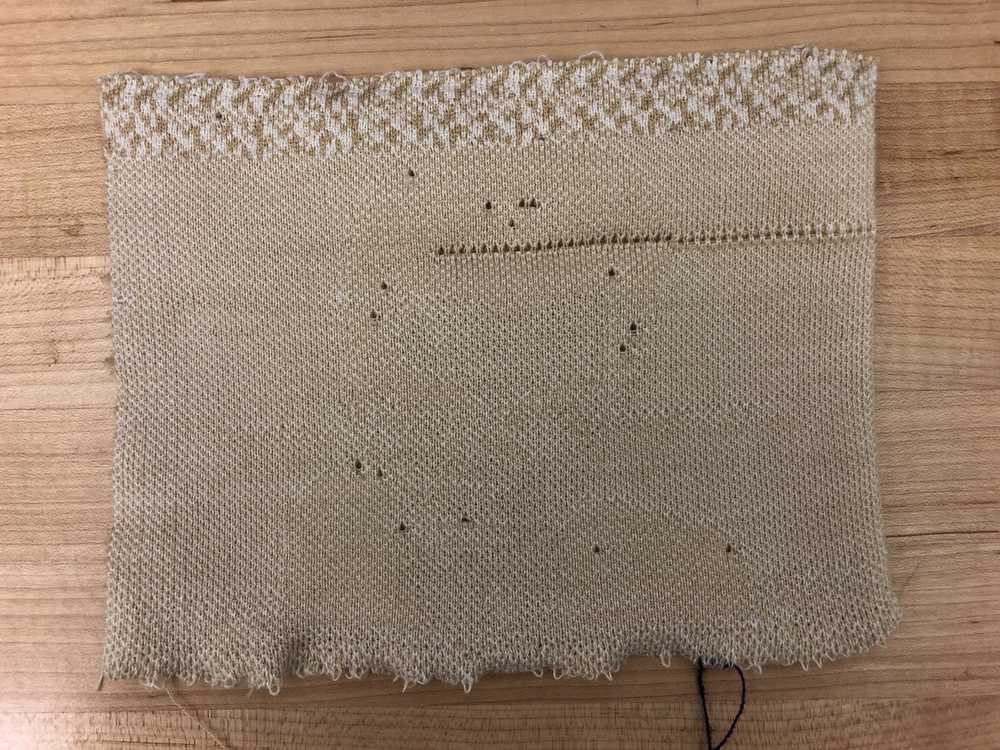
The back – you can barely make out Max Bill’s outline on the back, due to the backing pattern.
Here’s a detail of the broken yarn:
Since the file was already set up, we loosened the tension on the white yarn and tried again. There were fewer stops this time, but we went a little too far in the other direction. The loops were much too loose and caused this texture:

And the back.
This second attempt was much longer than the original, even though we didn’t adjust the file–it was simply a function of the yarn tension.