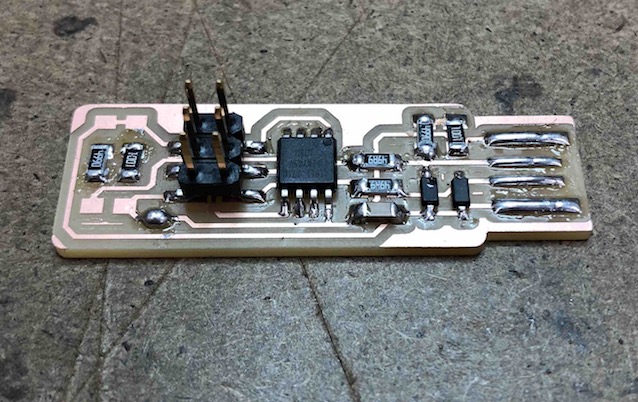
During this week, we learn to make PCB, including milling the board, soldering, and connecting it to the computer.
As much as I saw some circuit boards lying around, I have never mill one by myself. And I was super exciting to watch it being milled, even though I did not design the board.
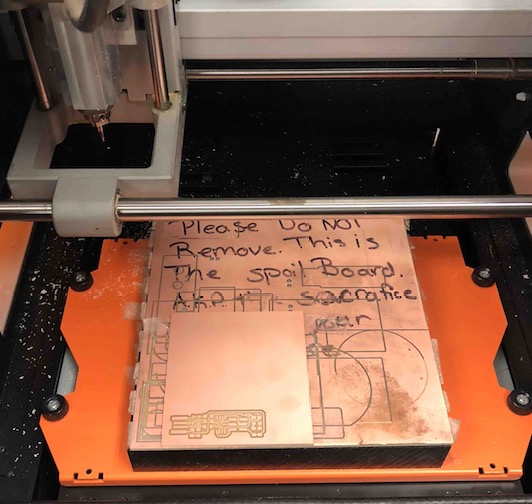
The first step is to trace the circuit path on the board, with the 1/64 drill. I used the Roland mill, which allowed me to jog the drill to the origin I wanted it to be. The process was so satisfying to watch.

The next step is to cut the shape of the USB drive out from the circuit sheet, using the 1/32 drill. This process was definitely less precise compared to the tracing. But I love seeing the dust piling up from the milling.

I tried to connect it to the virtual machine in the arch shop with the blue and white programmer, but what I found is that I can see it under the Windows system, in the printers and drivers. But I could not find when I listed the USB in the virtual machine. So I did not program it, and I definitely need to test if it's working
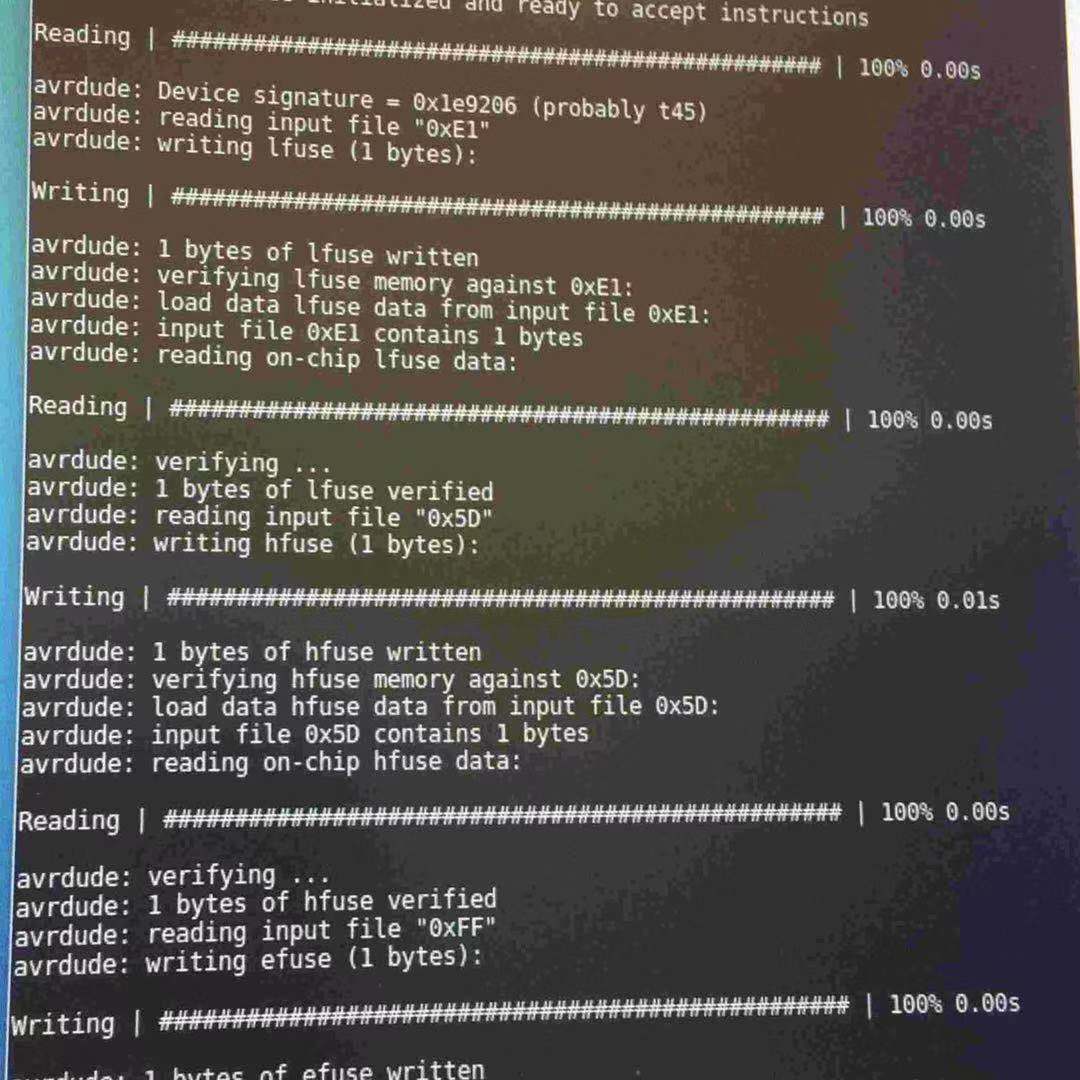
UPDATES: Later I tried it in the Windows system, and I was able to find the usb device. I was also able to follow the documentation to do the following commands.