During this week, I learned more about the process of 3D printing in both powder and PLA materials. I also learned to use the 3D scanner in the shop. Also, I printed some of the meshes I got from photogrammatry in the past summer. Conceptually, I was able to think about what makes such form of additive fabrication different from the cutting we did.
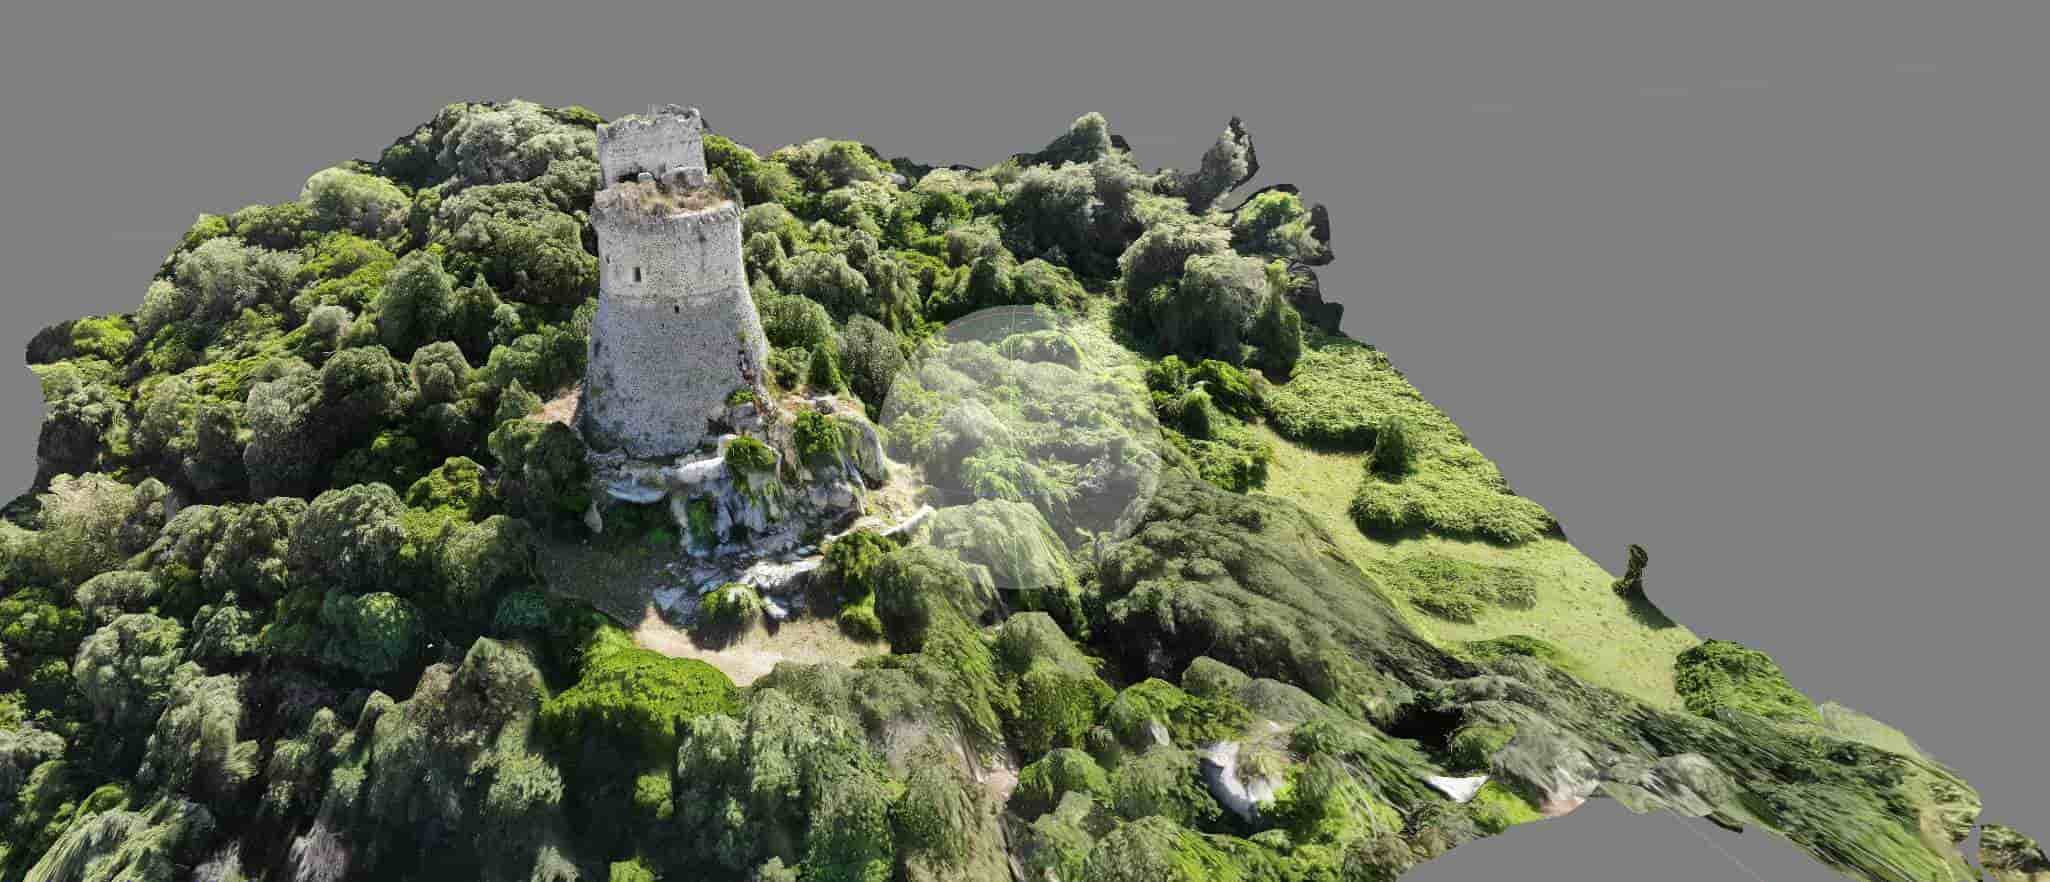
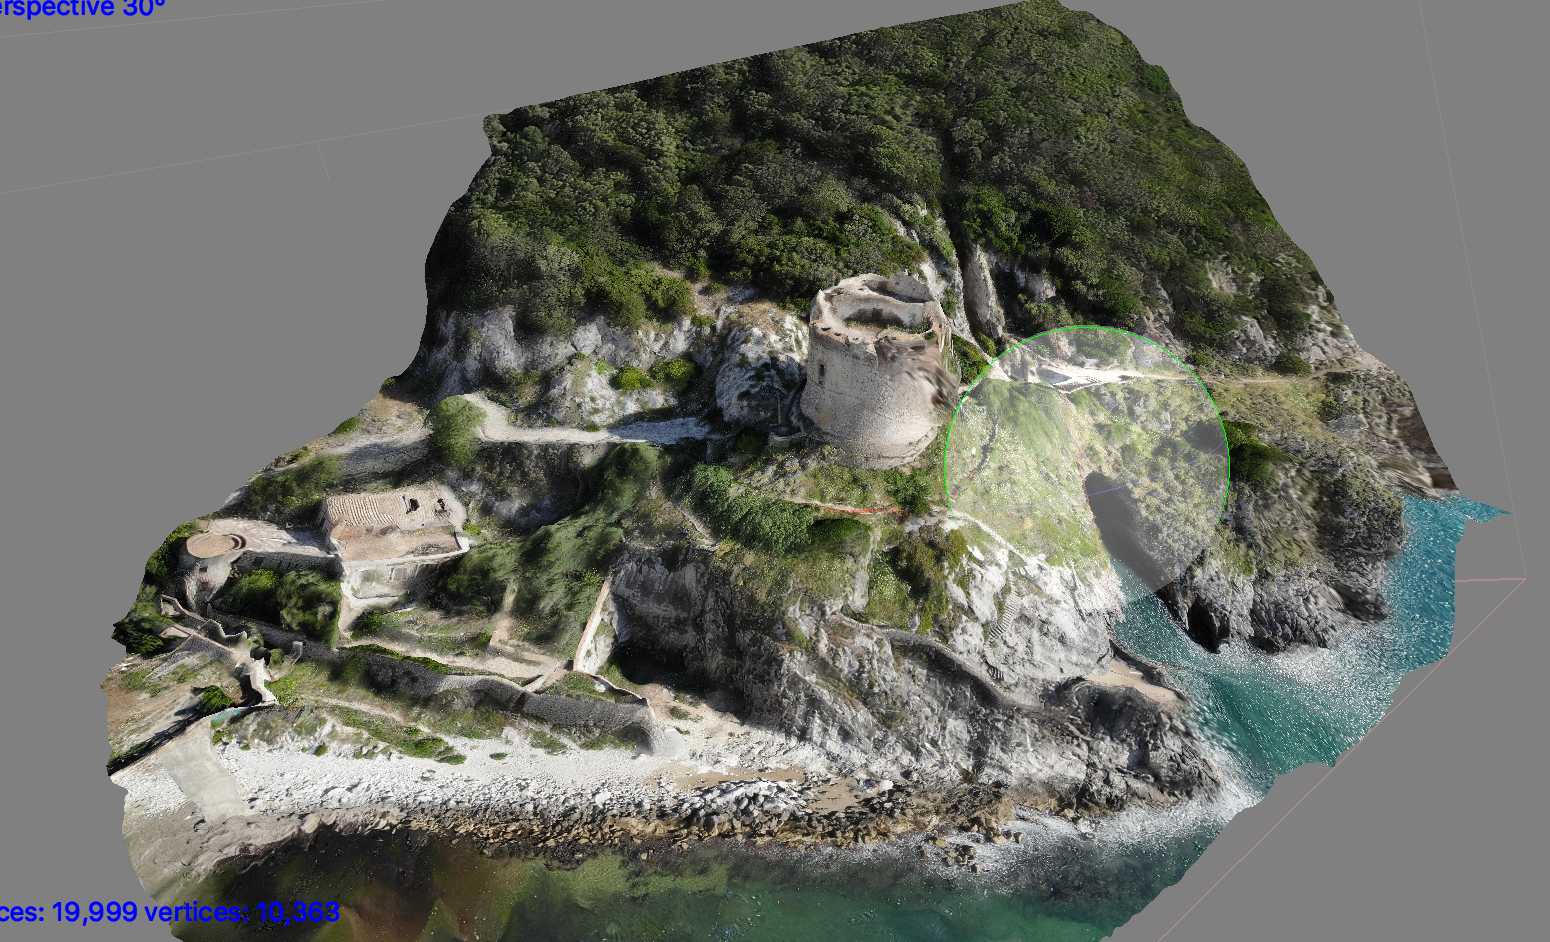
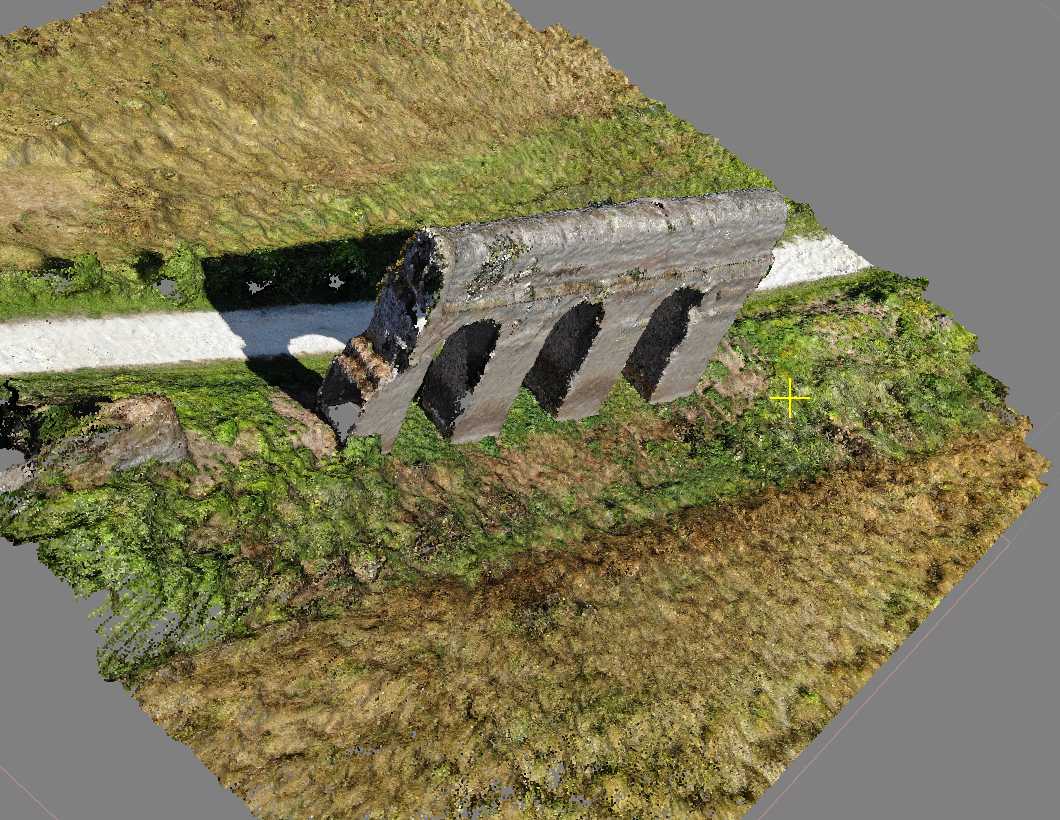
As I went to an archaeology program in Italy with MIT civil engineering department in the past summer, and we were using photogrammetry (with drones and our phones) to collect the picture data of the ancient architecture and some artifacts, and then we used the software PhotoScan to process the photos and made 3D models. I made 3 models of ancient structure in Italy on site, and for MAS. 863, I processed 1 more model also from the pictures I took with my drone in Italy.
Drones : I used the app Pix4Dcapture on my iPhone to control the drone to fly and capture pictures. The overlap between 2 photos is set as 30%, and then it will fly 2 paths (orthogonal with each other), zig-zagging on top of the structures and take pictures automatically.
Phones : For some details, we also used our phone to take pictures. For accuracy, we would mark the picture location with a printed mark so that when we process the photos, the software can recognize the mark and align the photos. We also need to make sure a certain amount of overlap.
The process of using PhotoScan does not need any technical skills, but just to follow the workflow in the software. It was also really good that it does not even need that many photos to create a really nicely textured model.
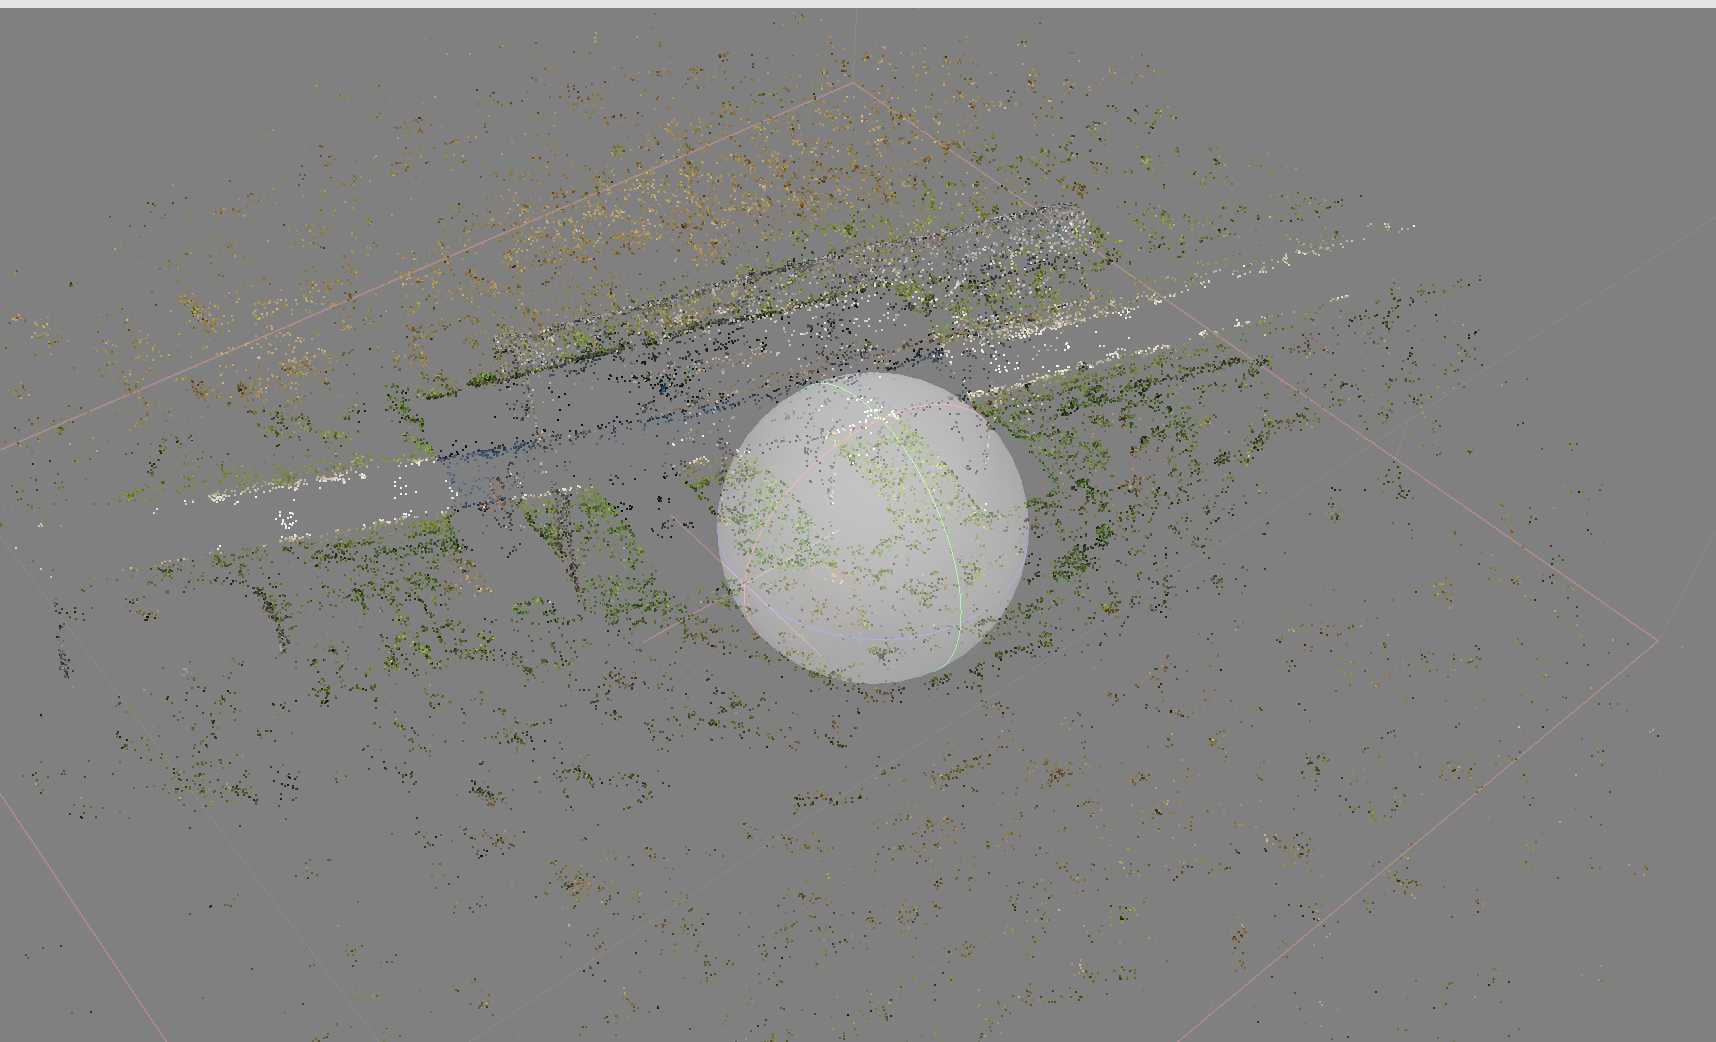
The steps are: aligning the photos, creating sparse cloud, creating the dense cloud, creating the mesh, and then adding on the textures.
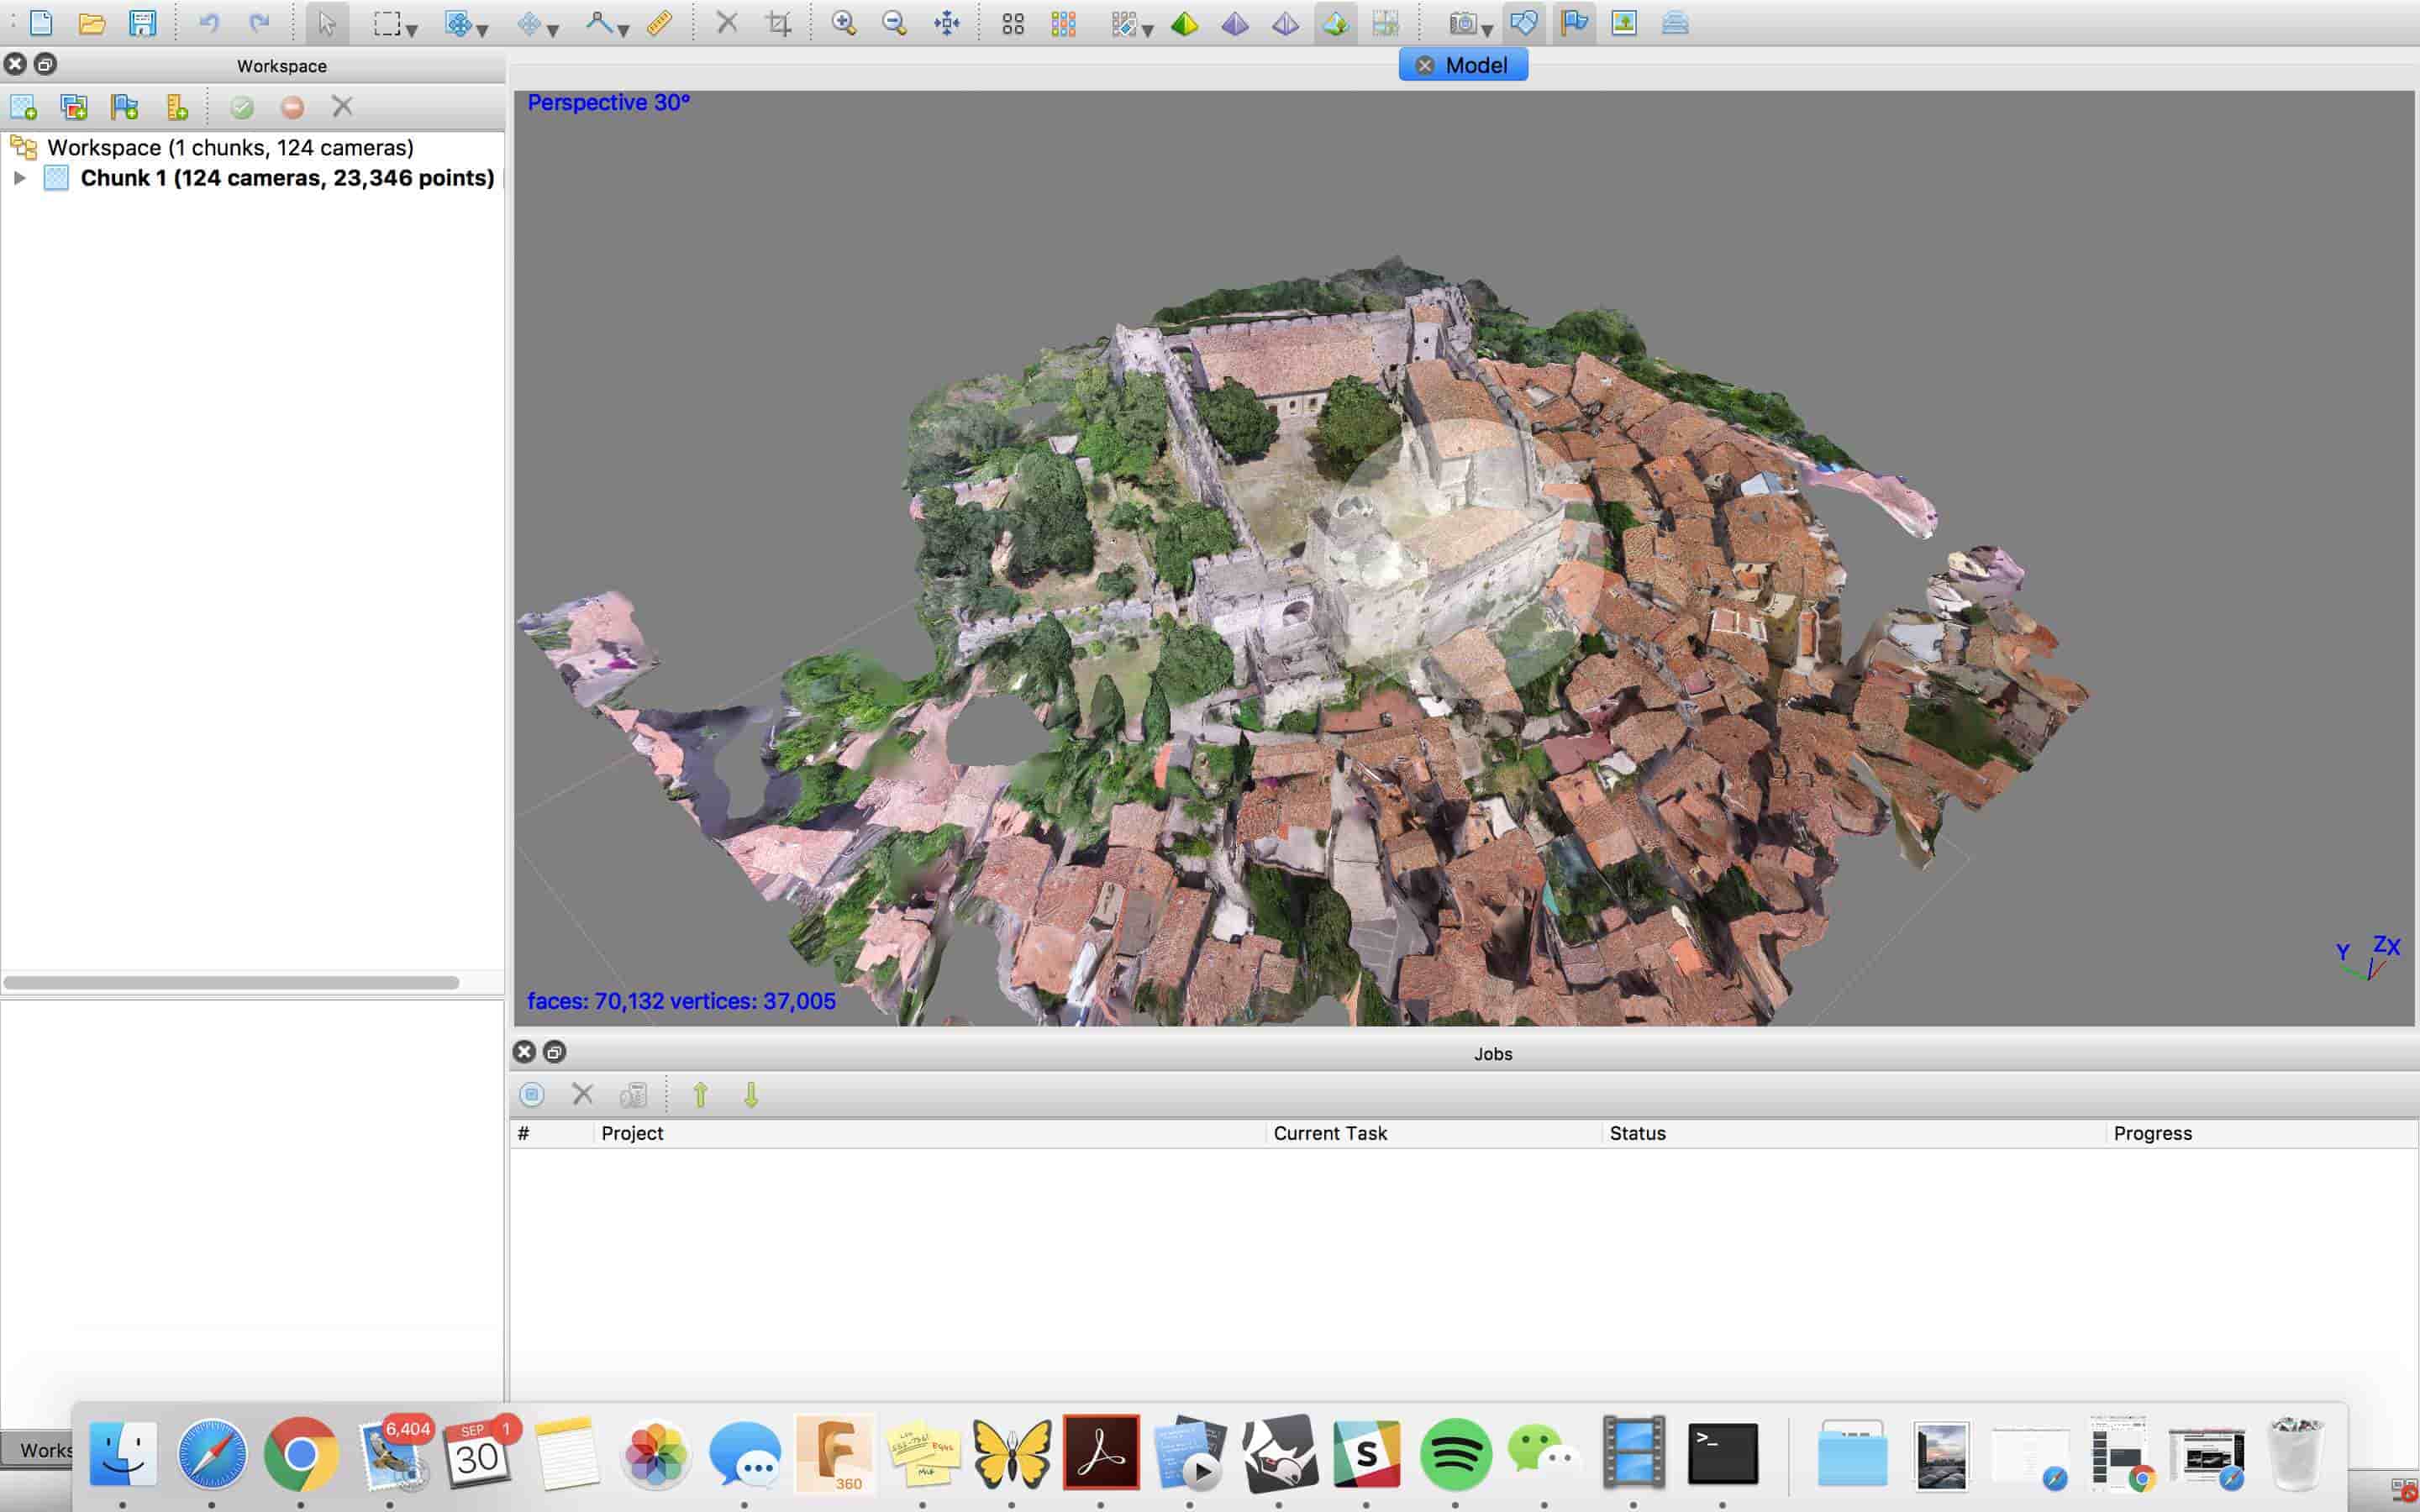
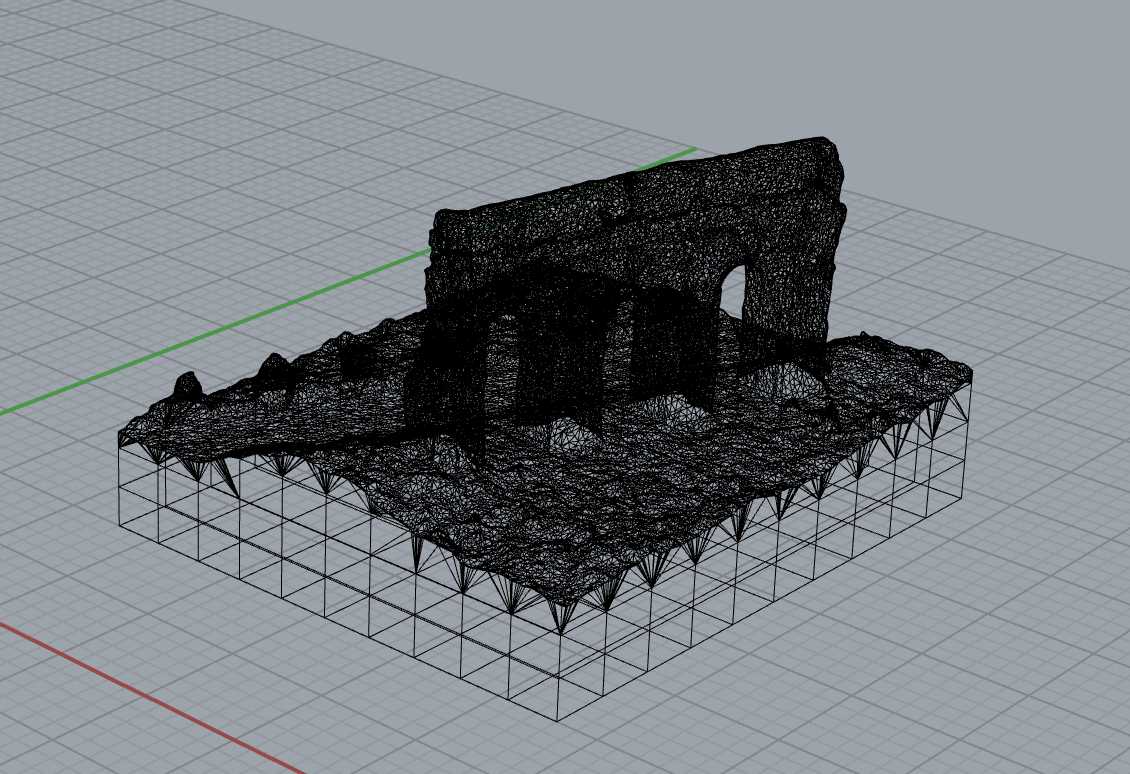
Then I exported the file to a mesh, and then edit the mesh in Rhino.

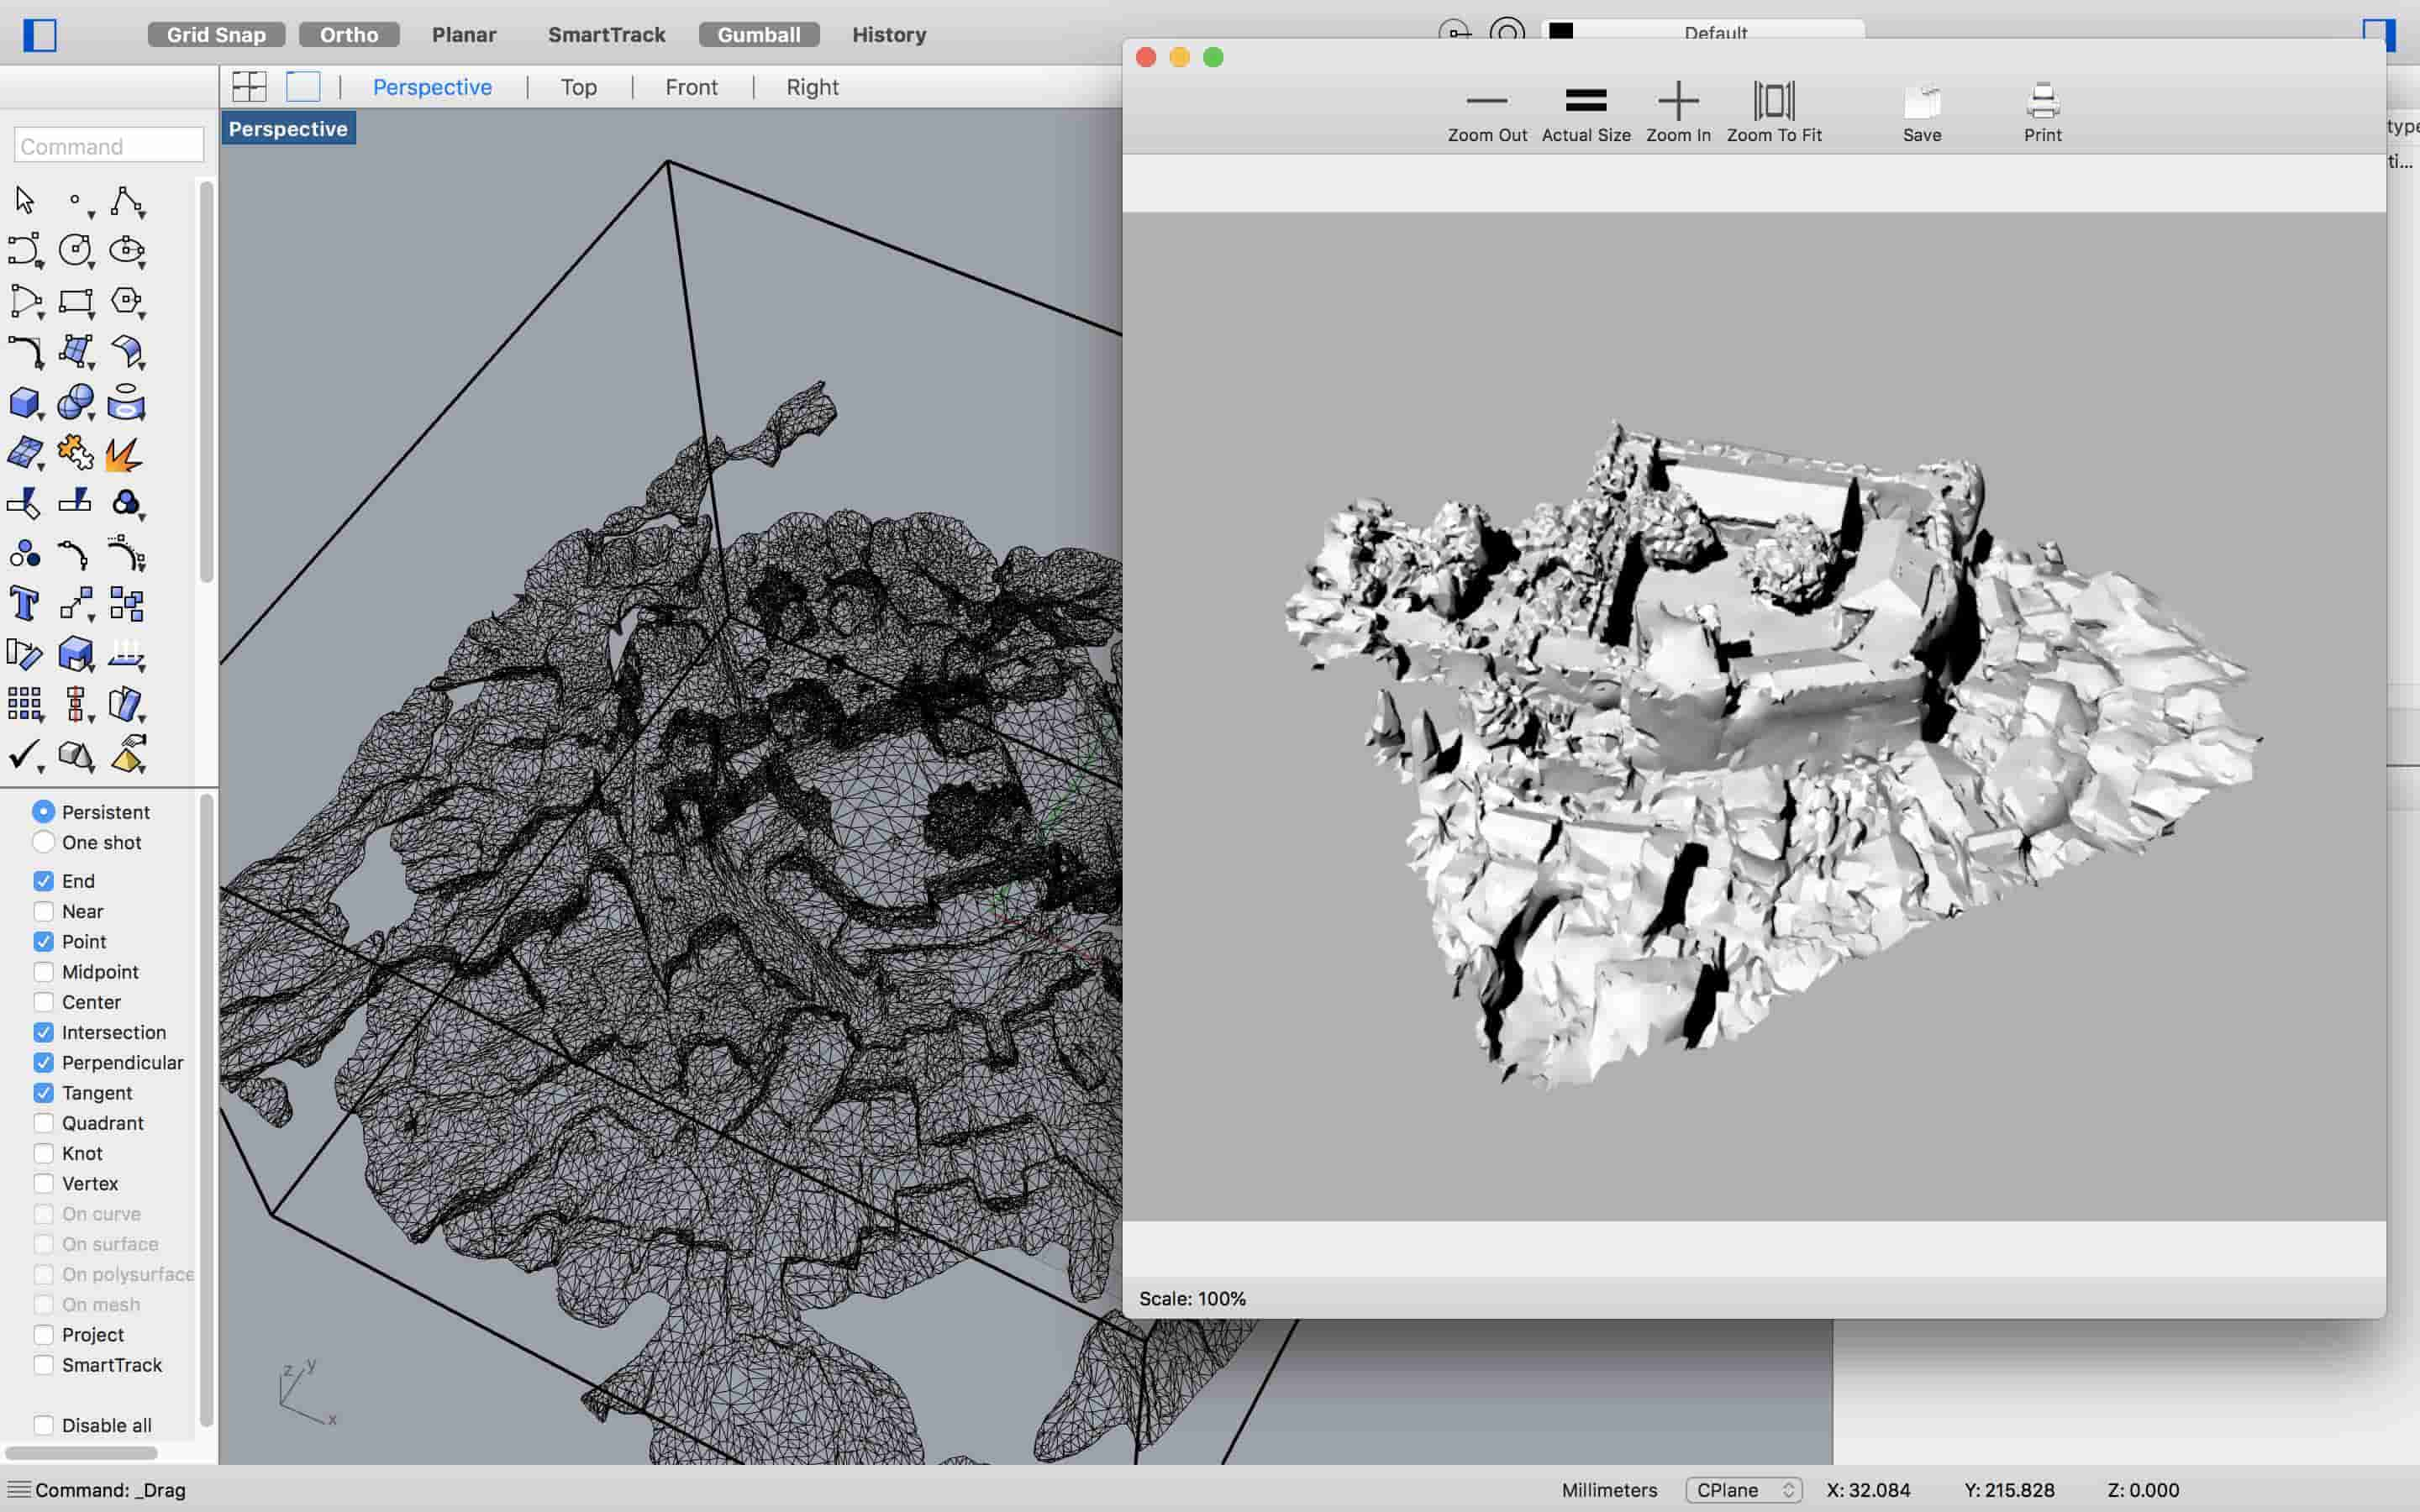
Thus, for some of the models, I only cropped the most detailed parts that are also possible for me to alter it to a closed mesh. I made them into closed meshes by Boolean Intersecting them with a bigger box or cylinder.
Finally, I printed them with ZCorp 3D printer. And besides the fact that the model does not have colors, the mesh details are pretty good. Vacuuming the extra powder off was also super fun.
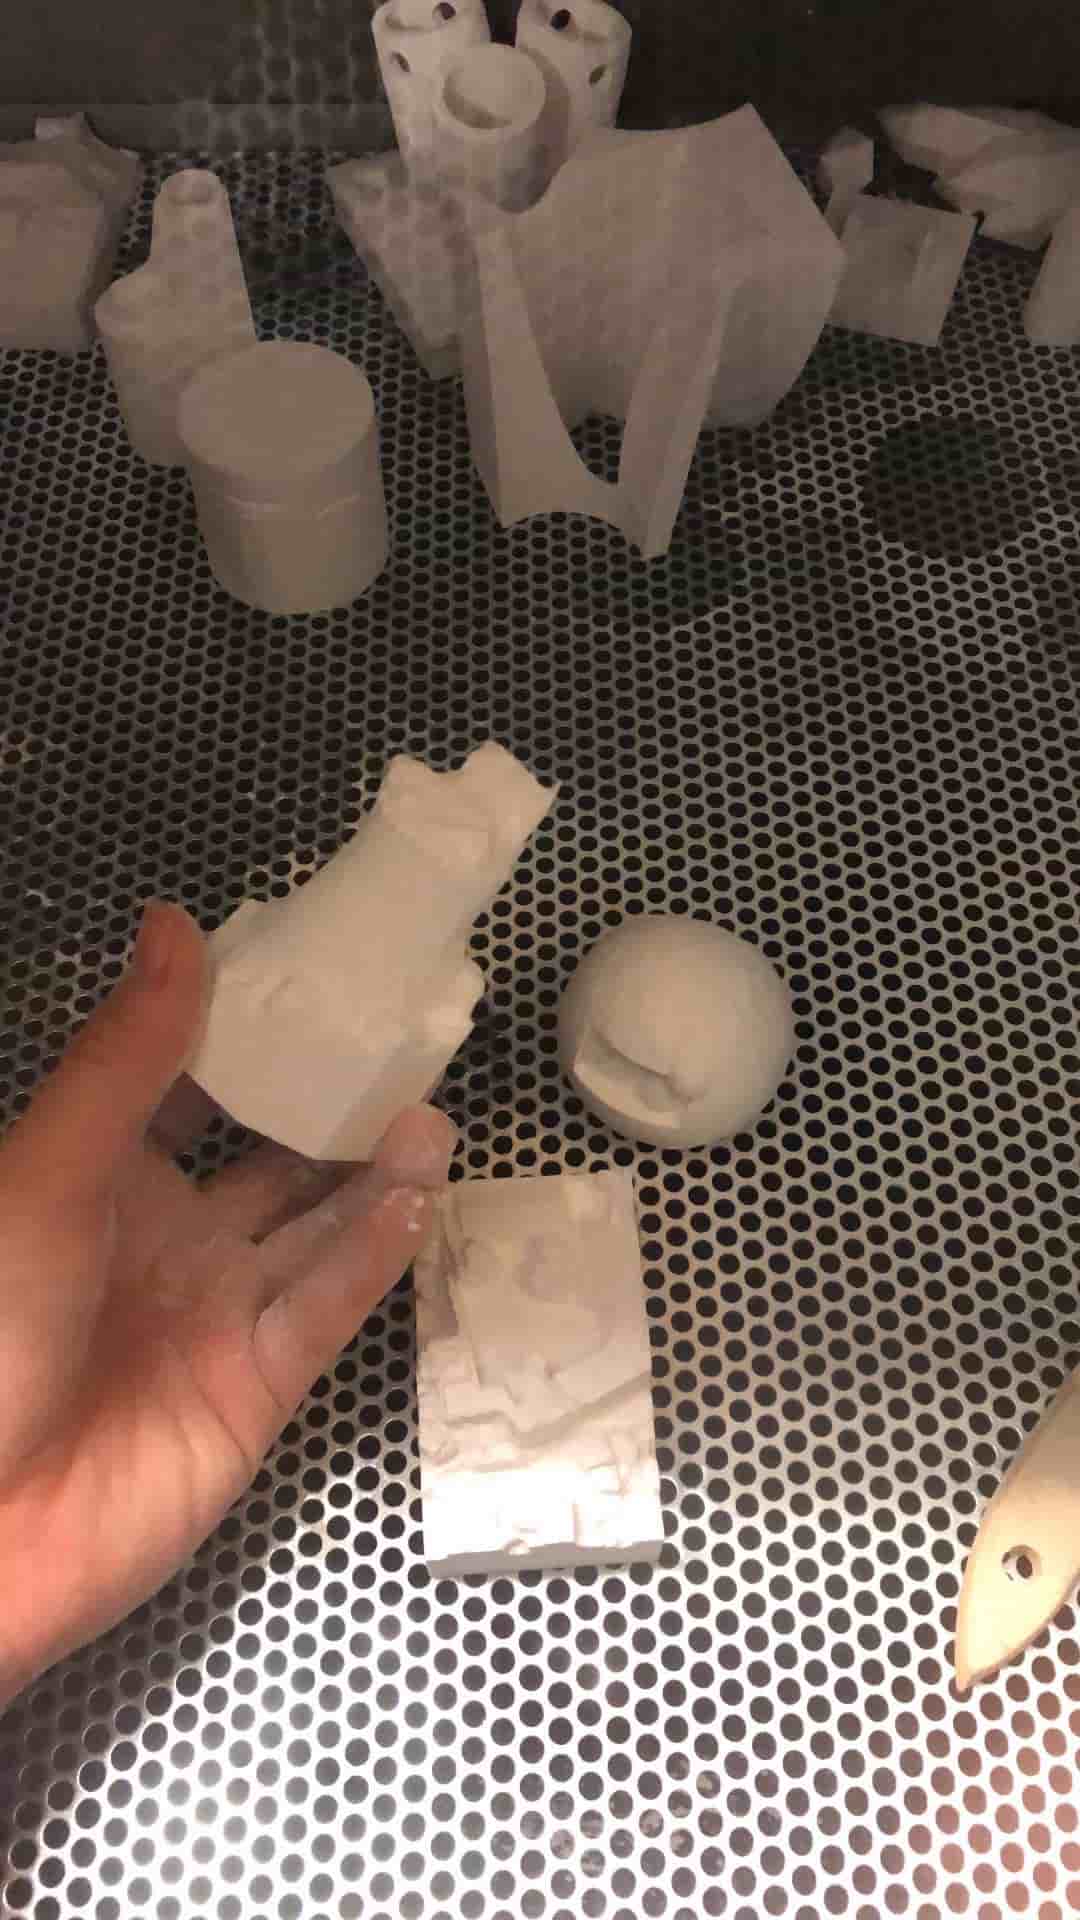
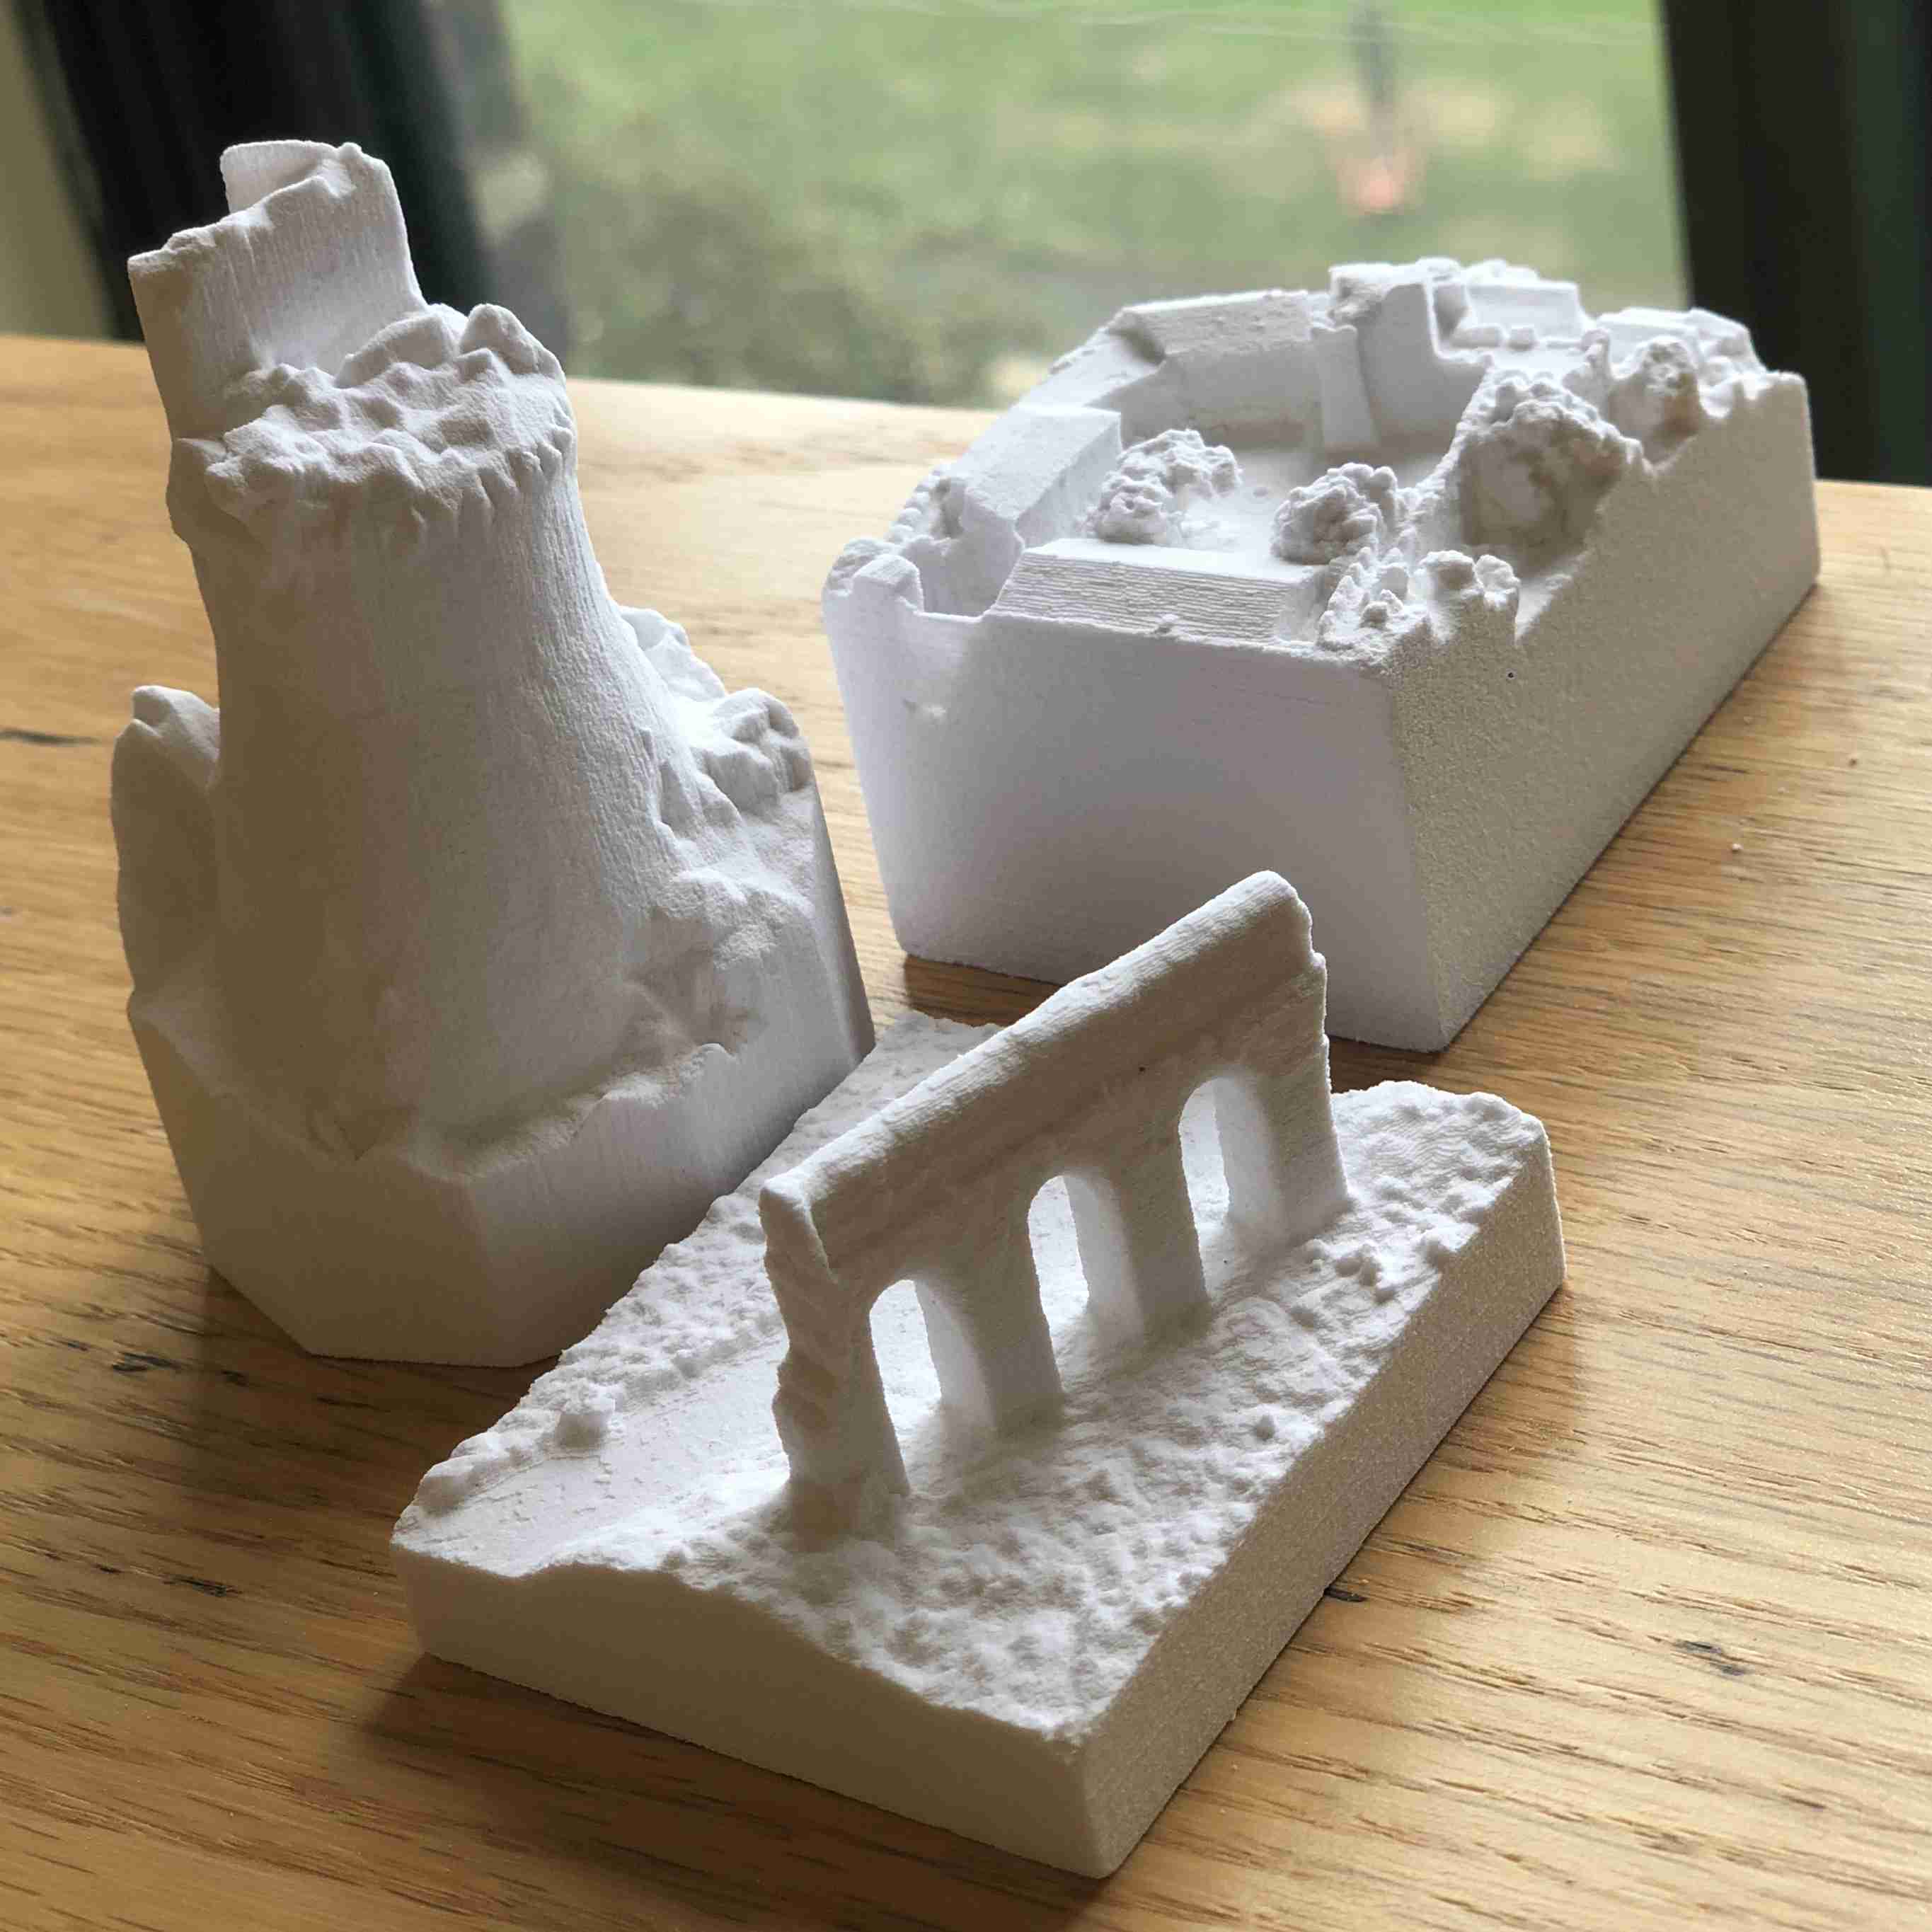
Thinking about what kind of design would be unique for the additive fabrication, I printed a sphere with openings on the ZCorp. It also contains some smaller spheres in one of the openings, proving the uniqueness of 3d printing, as it will be almost impossible for milling to do it. However, it is noticeable that the powder model does not have any structural strength, that some edges of the opening crumbled when I was vacuuming, because they are too thin.
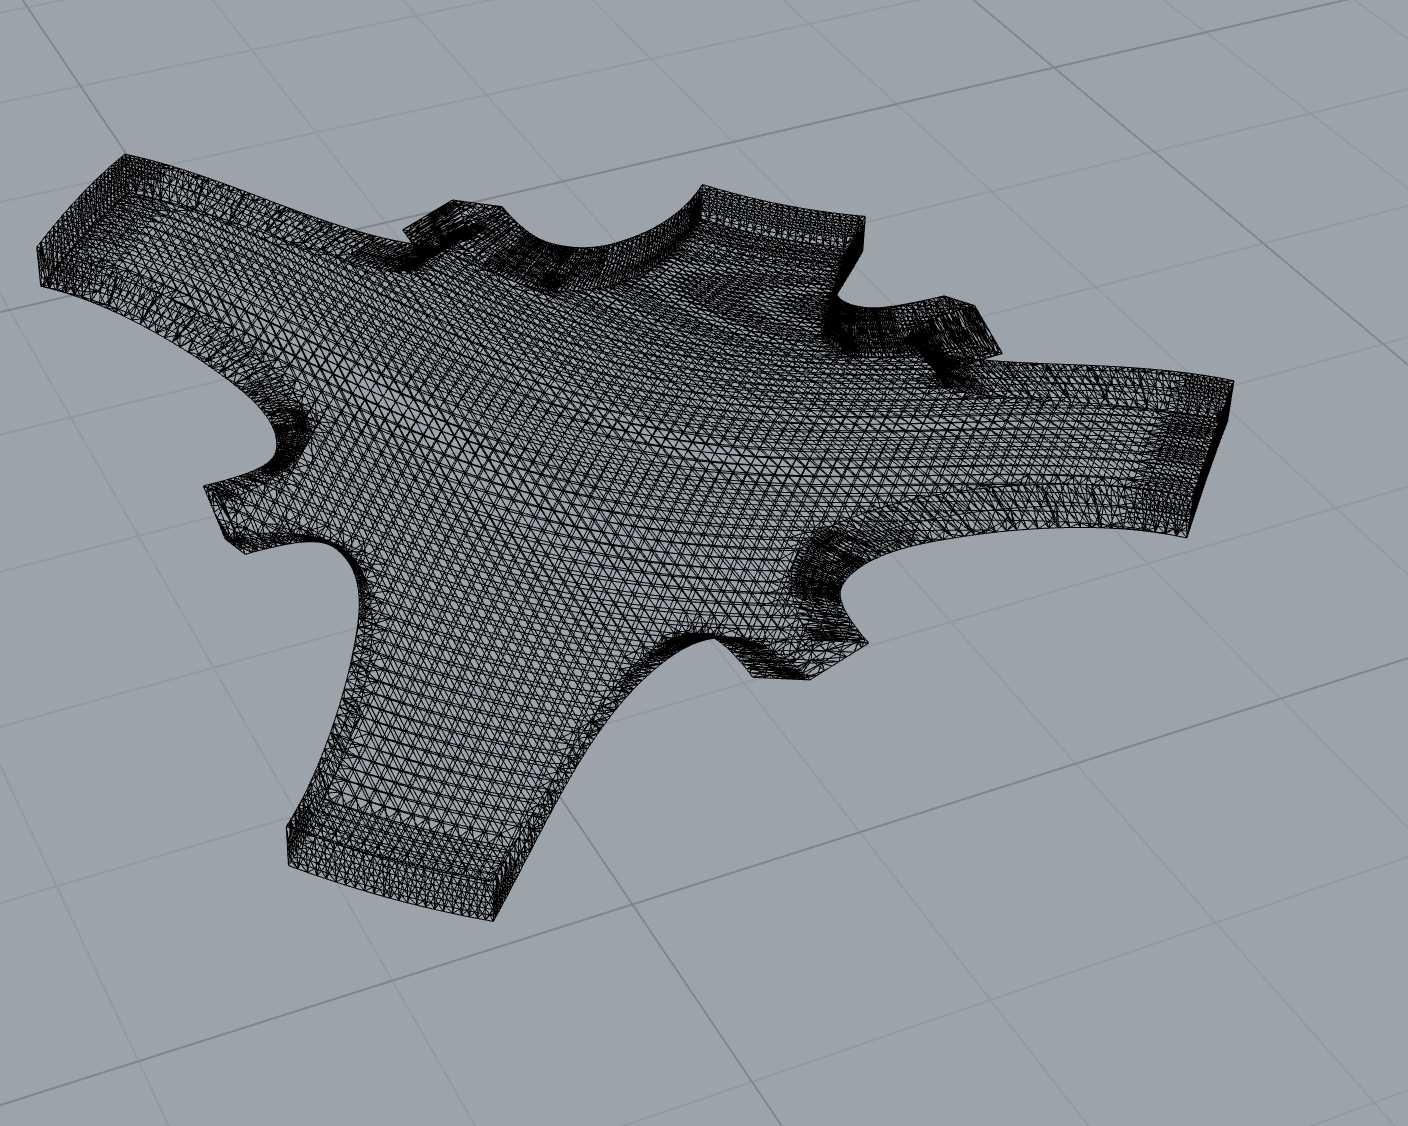
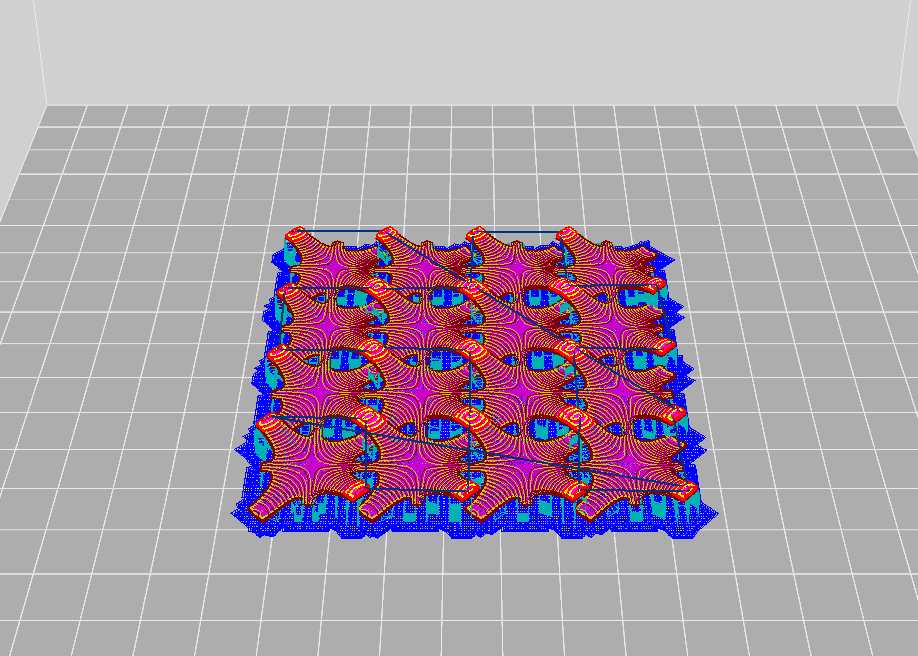
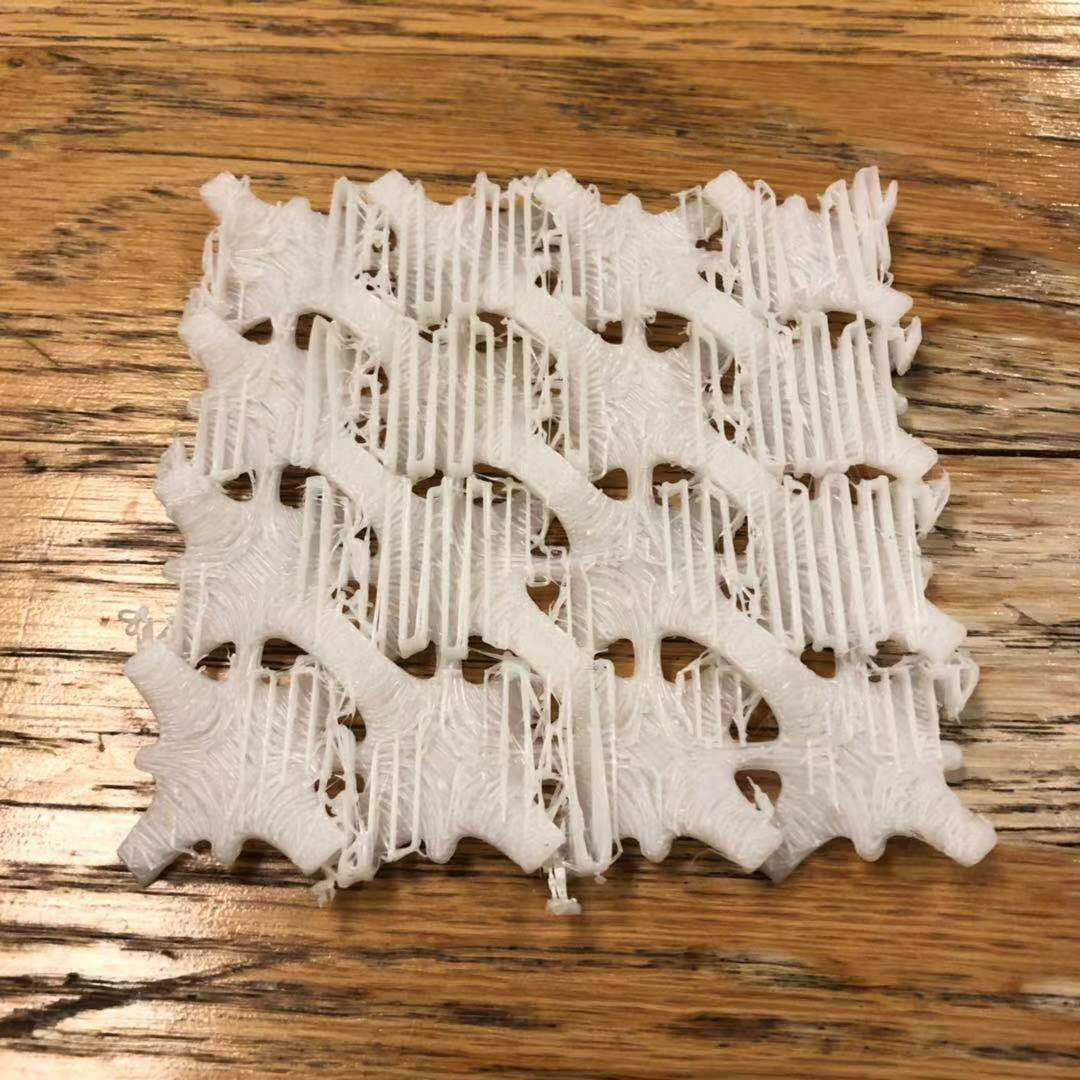
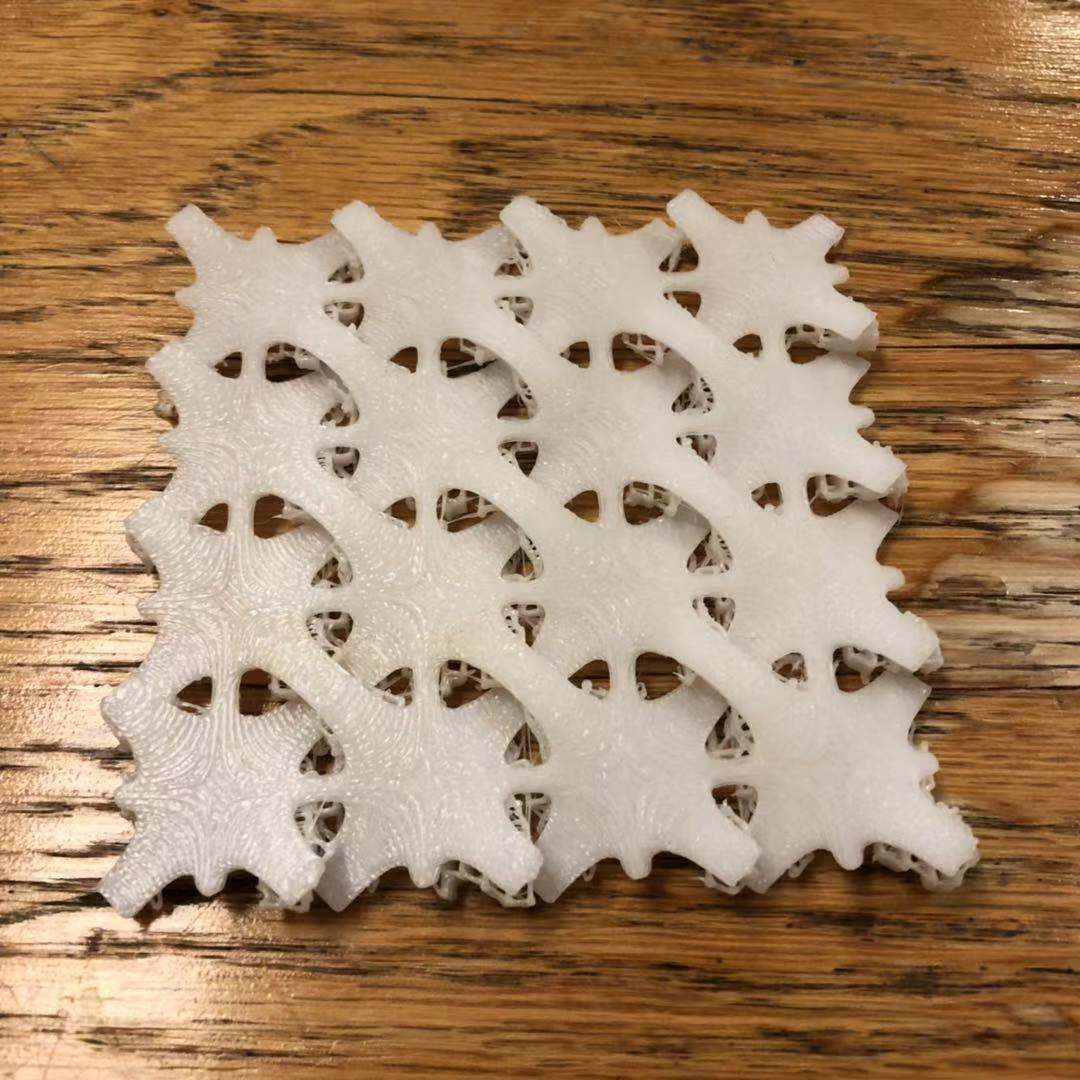
I also printed something on the Sindoh PLA printer. I have always been in love with Erwin Hauer’s modular and interlocking design of facades, and some of his facades are perfect examples of 3D printing. Thus, I found some models for one of his design and then scaled it down, and converted them into meshes, and joined them to make them to a closed mesh, and then printed them.

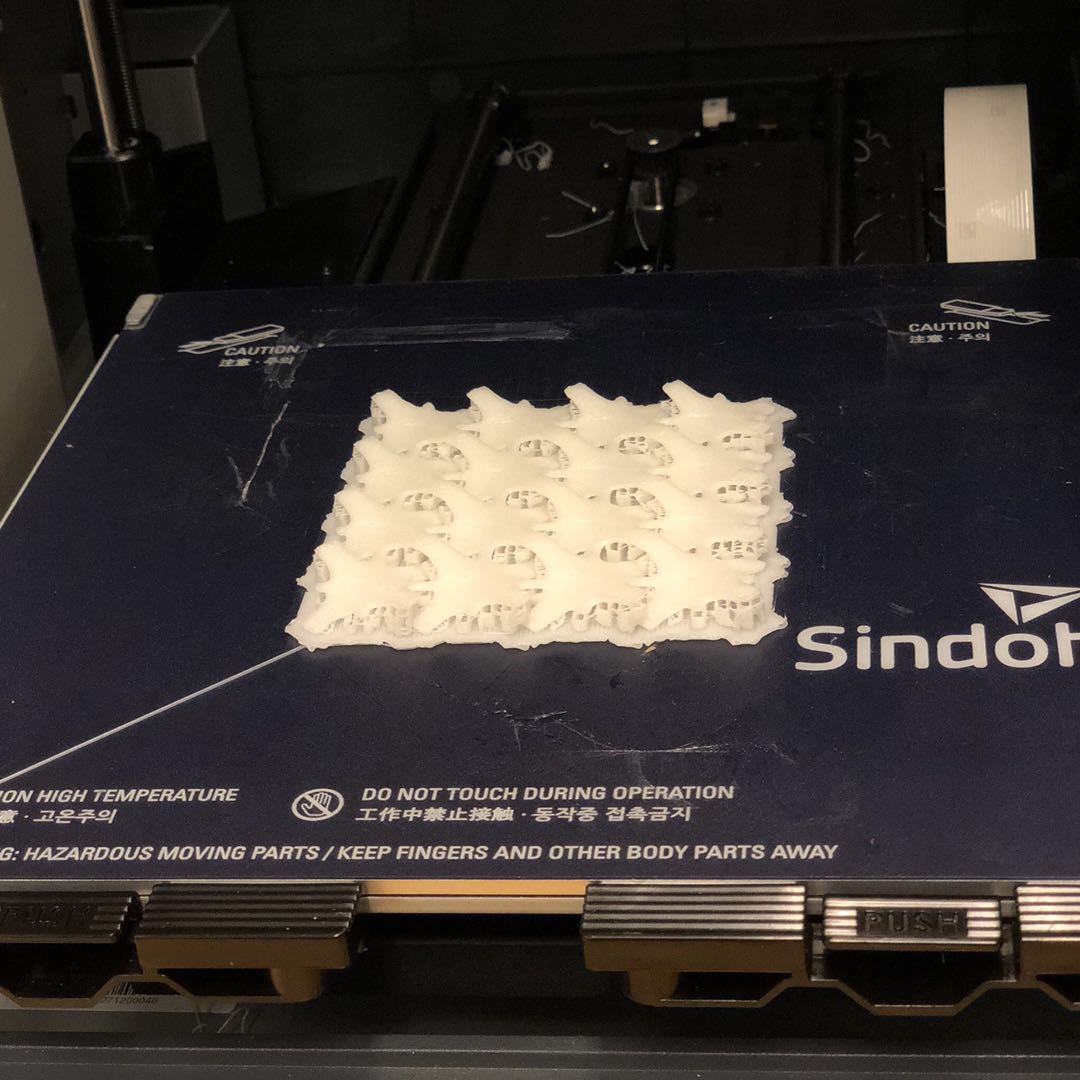
What is really good about Sindoh is that I only needed to choose if I want the support (of course I needed it) and it would do the rest of the calculation of the overhang angle for me. The printing took 2.5 hours (normal printing). The outcome exemplifies the interlocking features of 3D printed work. However, the support was hard to get rid of, because the printed piece was too thin and too fragile; and the surfaces are not fine but coarse with the contours.
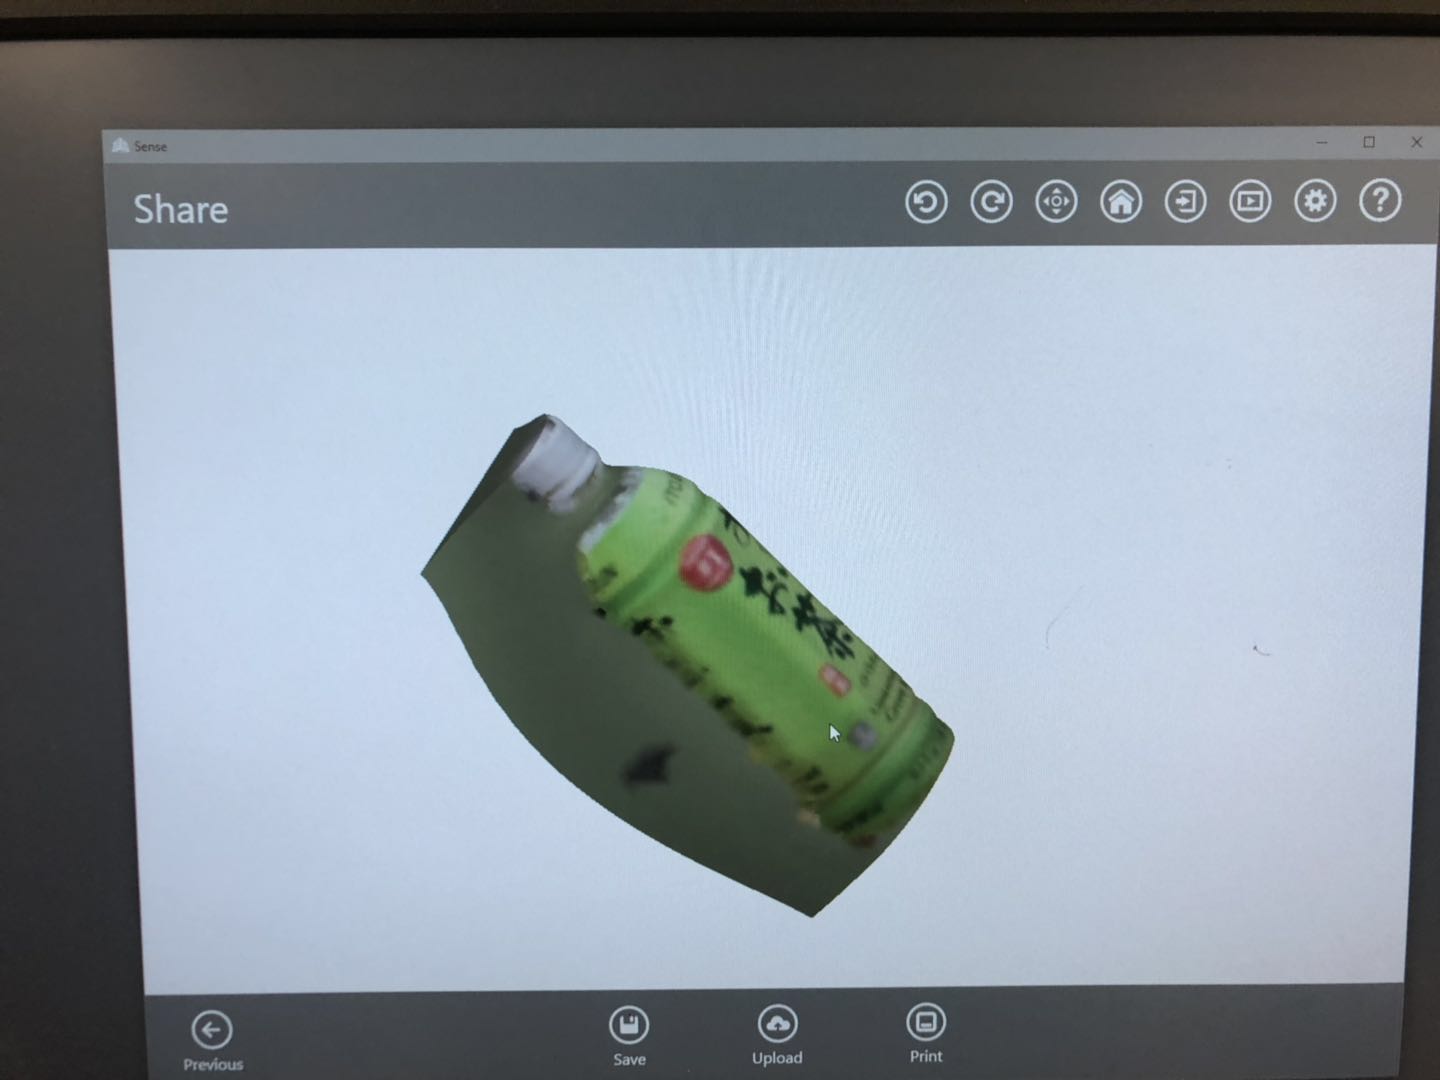
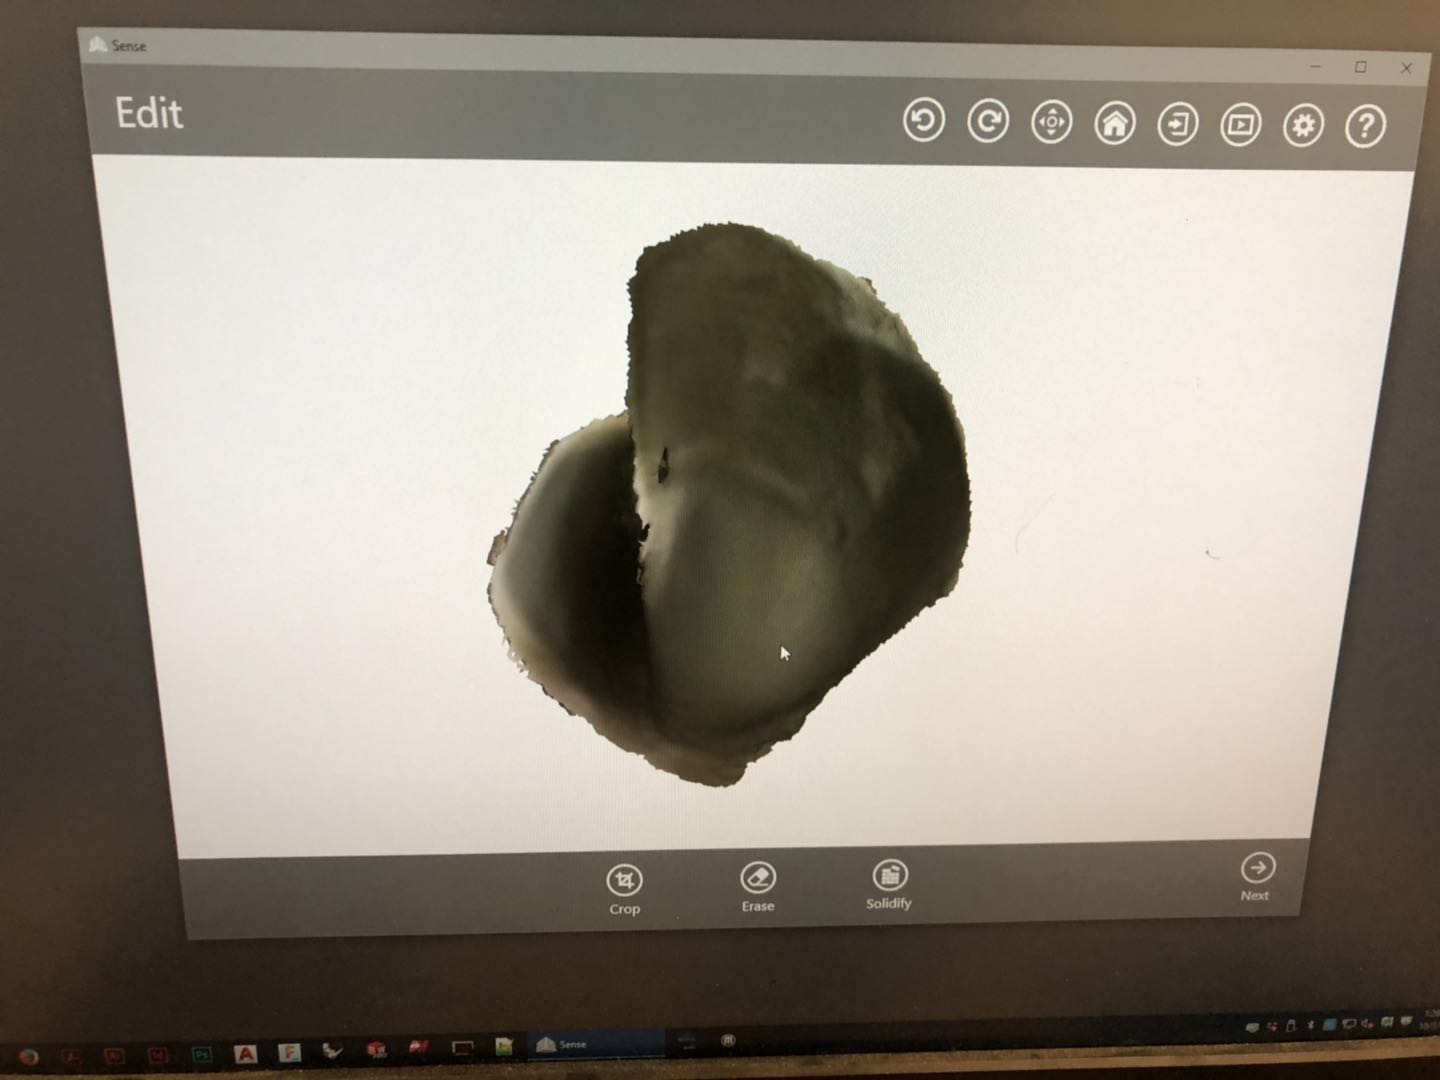
I used the Sense 3D scanner in the arch shop to scan 2 objects: a green tea bottle and my mouse. But both results are not so satisfying. As shown, the green tea bottle only has half of of the volume clear, and the rest was amorphous green. The mouse was barely recognizable. When I was using the scanner, it always said it lost track of the objects, possibly because the environment was too noisy, and the objects were too small.