This week was actually one of the few weeks that I am a little bit afraid of. Because I didn't have a working board from the 2 weeks before, and because I am not familiar with the programming system, I was not sure if I can even make the board to work, and to program it. But I did learn more when I was redesigning and soldering the board, as well as coding it in the Arduino platform. I am lowkey dissapointed in myself as I could not make the board work, but I will remake the baord before week 8. UPDATES: New board made!!!
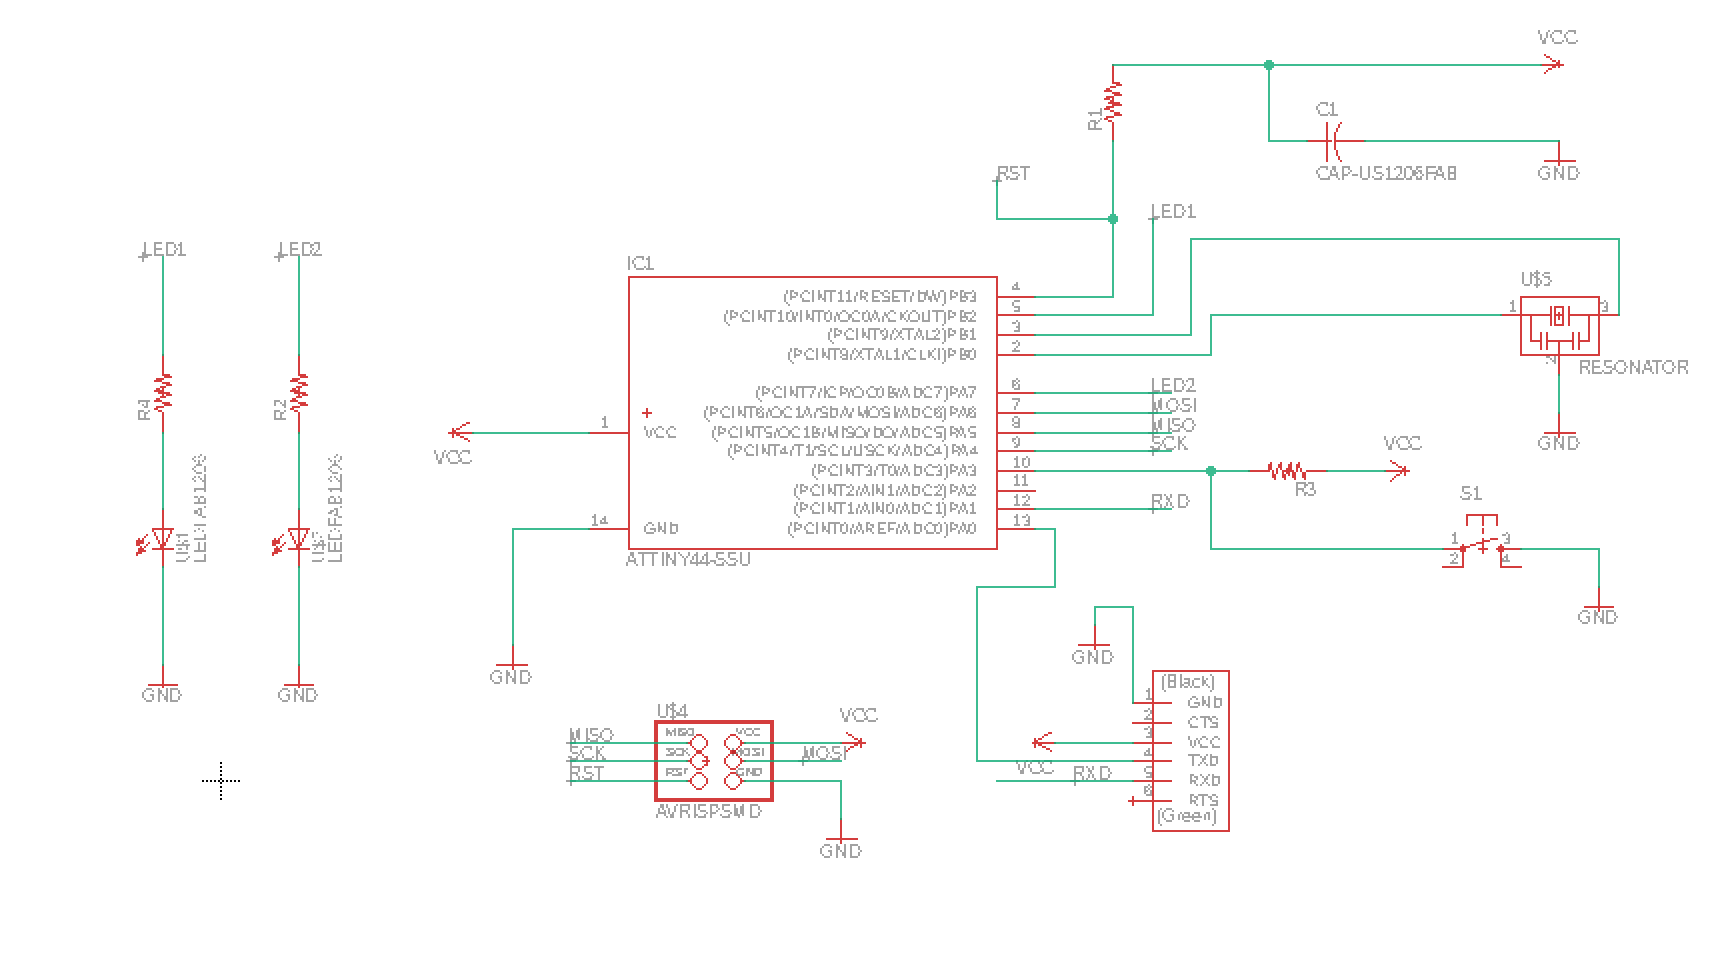
Firstly, I started by redrawing the schematic and rerouting in EAGLE. Last time, what I did not do was to label the nets and use more VCC and GND symbols in the schematic. Thus, my entire board was not organized that I would get confused on how the components are connected. So this time, I first laid out all of the needed components and then connect them separately with VCC and GND. Then I also labeled the other necessary nets in the schematic with what they need to be connected. Thus, the schematic became much more readable.
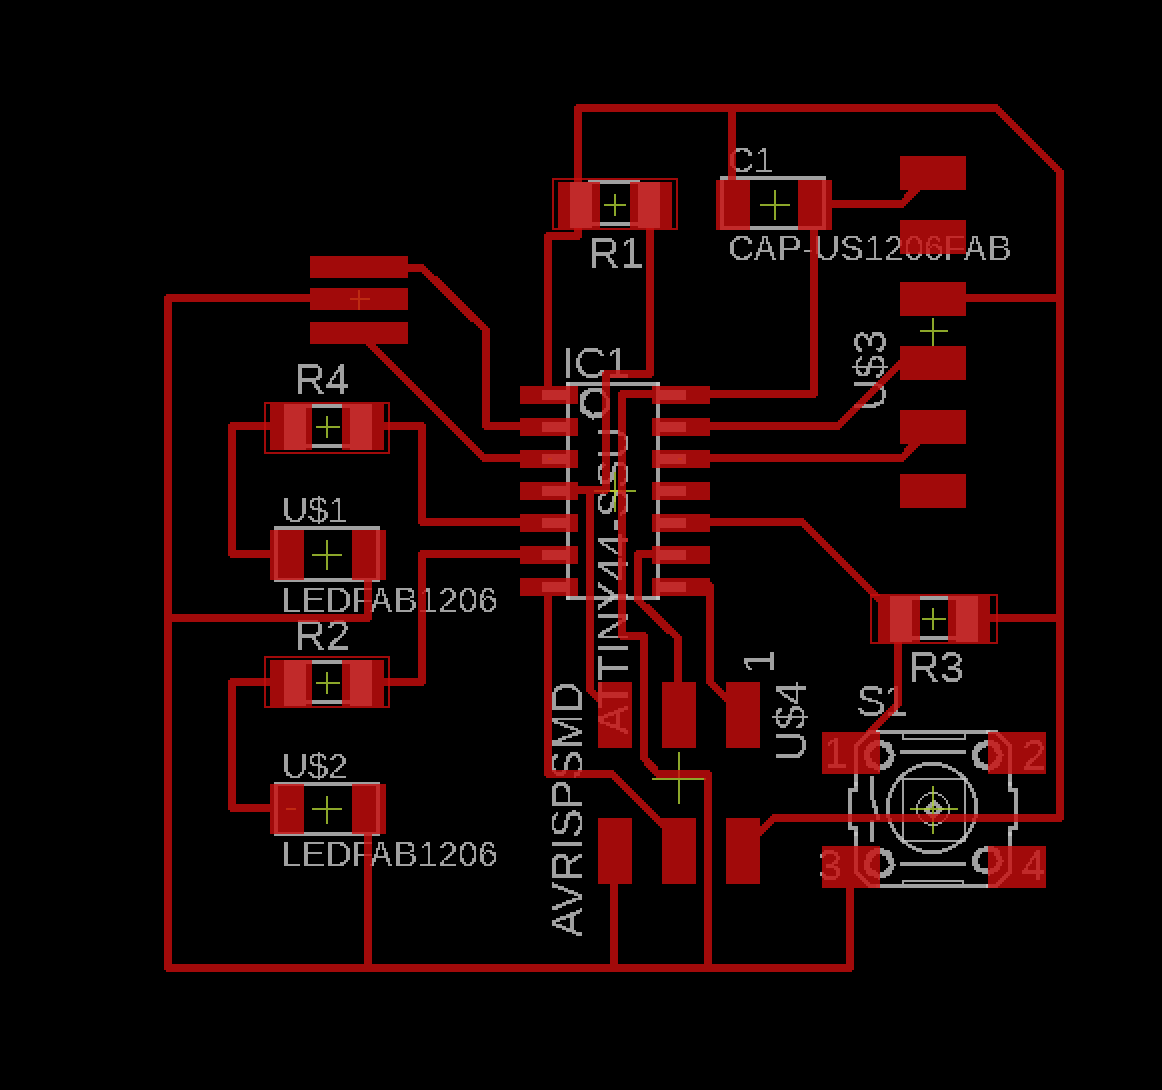
Then I routed the board, and what I learned to do first was to import the design rules at the beginning. So that I can know for sure if some routes can be cut and distinguished.I then route the board. It was super fun when I realized some of the ones don’t have to be directly connected.
Like the previous 2 times, the processes were still the same. What I learned during soldering was to solder the micro controller with less solder on each of them. Up to this point, what I was still not sure was about the 5 pin header, that I was not sure if the angled placement will lead to the correct working of the board. Also, because we ran out of the 2 3 pin in the arch shops, I broke a 2 5 pin header and then sanded it to be smooth.
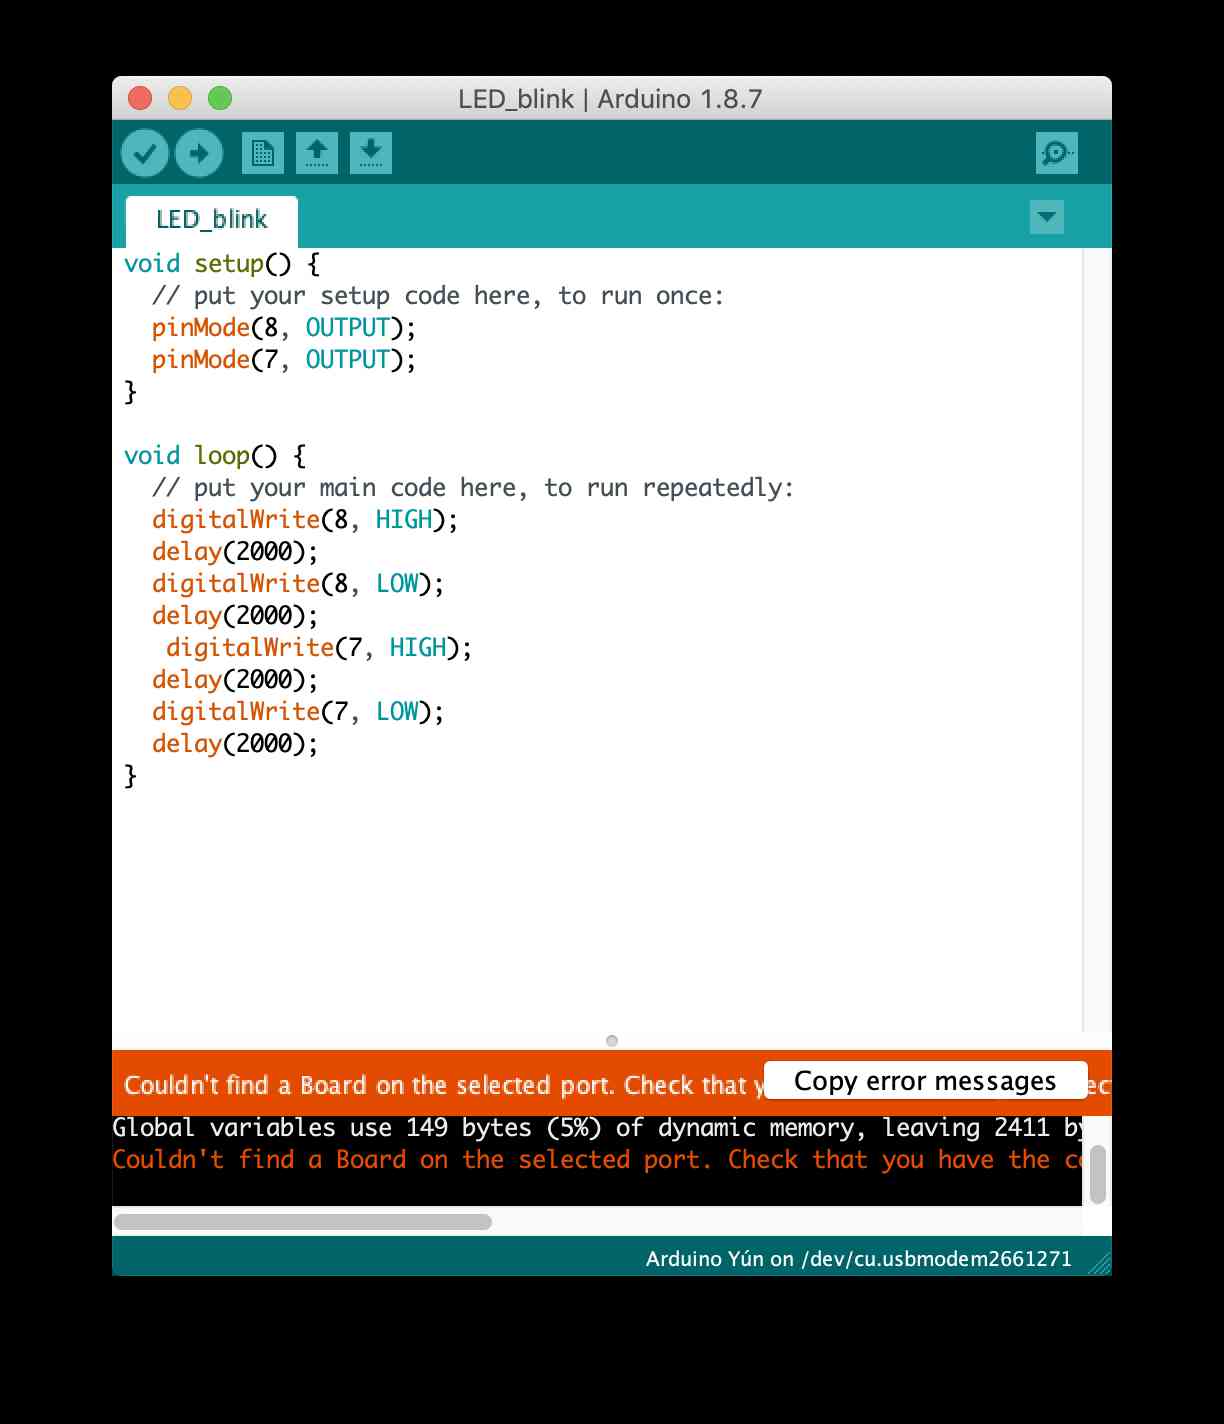
As I did not have that much experience in programming the board, I determined to learn about using Arduino to program my board. So I started to read more into how to program AT-Tiny 44 using Arduino. I looked up the ports of the AT-Tiny44 in Arduino representation. And then I learned more about the syntax of Arduino.
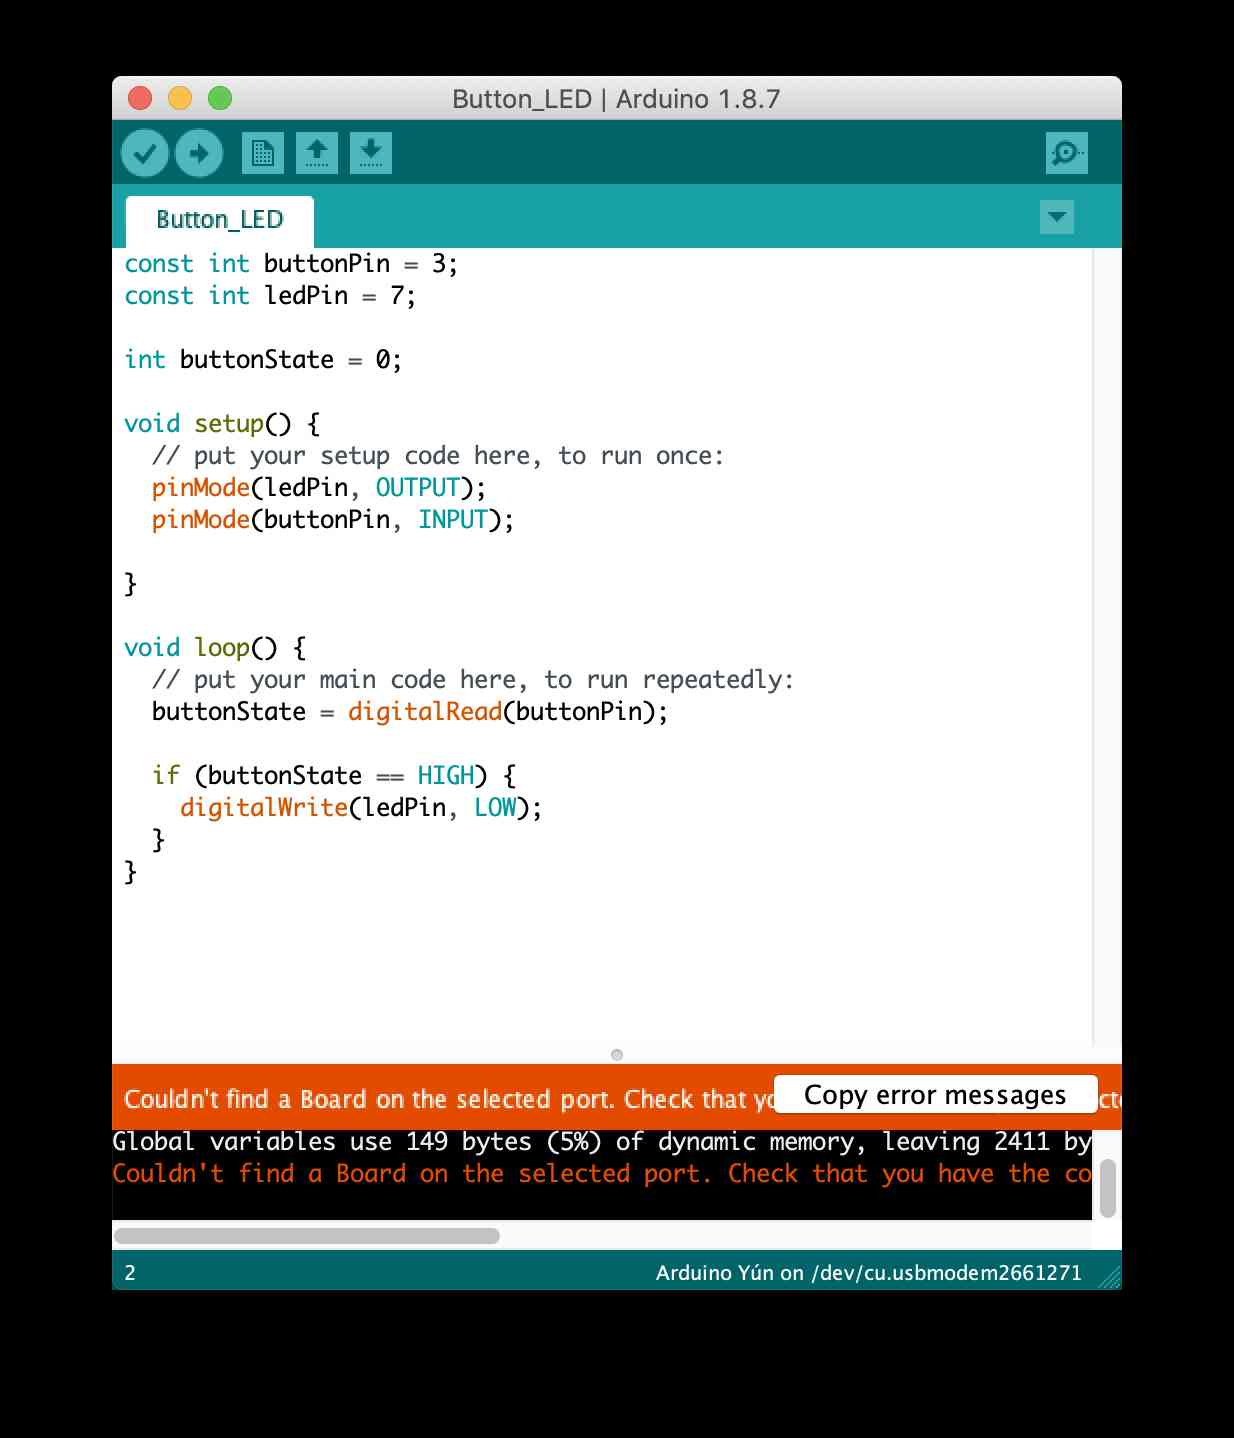
What I first tried was to simply make the 2 LED blink with the delay of 2000. Then I incorporated the button into the function. When you pressed the button, it will stop blinking.
Even though my code that controls the LEDs with the buttons seems simple, but it suggest the potential of using the button (and many other input devices) to control the behaviors of the board. At that point, I truly learned what Neil meant when he said that if we learned to do one thing with the skill, we will know how to make everything happen with that skill.
Because I was not in town during the weekend (for 2 exhibits and a lecture), I finished remaking the board on Thursday and wrote up the code in Arduino in New York at the weekend, and waited after I came back to test the board.
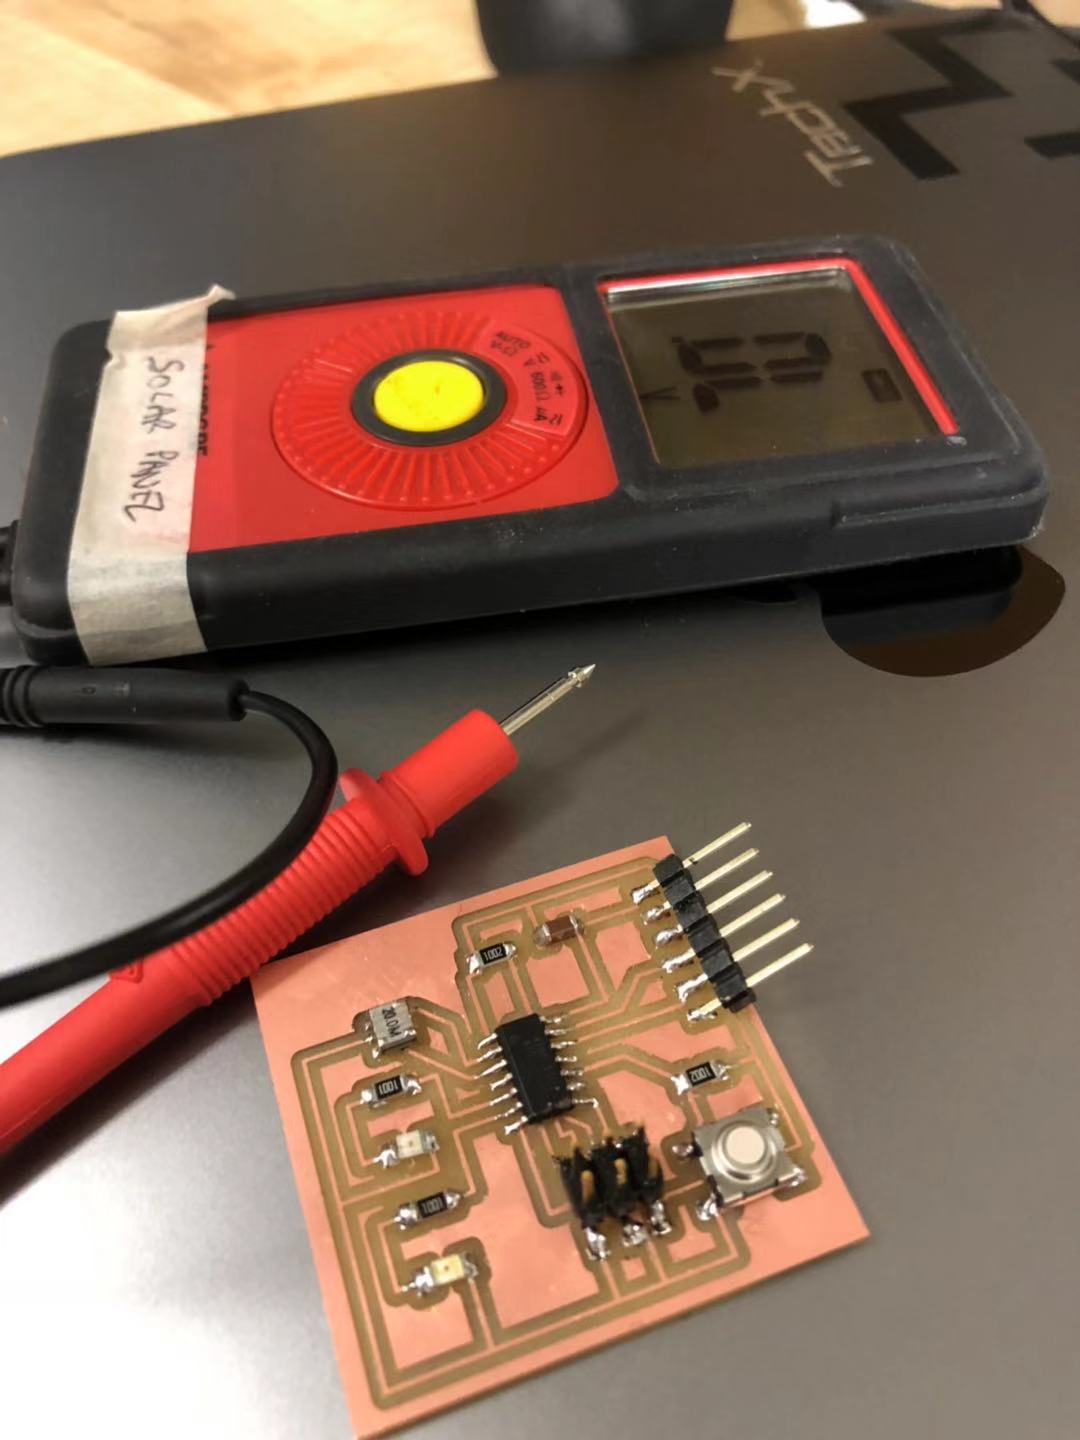
However, I ran into the problem of not being able to find the board when I was uploading them. Then I started to use the multimeter to check the continuity of the board. And I eventually realized the pads of the 2 3 header were connected to some of the nets that were routed under, because the end mill was not thin enough to go in between. But I did check the rest of the net, that they all worked fine.
I tried to take down the header, and resolver the board. But what I found was that not only the pads are connected to the 2 nets, the solder also enhanced the connection. And it was impossible to completely take all of the solder from the board. And it was also impossible to split the net from the pad.
Thus, I was not able to fix the routes, I also did not have the time to remake the board on Tuesday night. But as my codes successfully compiled, and all of the other nets are continuous, I believe the board should work once I fix the problem with the routing under the components.

UPDATES: After the second time soldering, and checking the continuity while I was soldering. Seeing the light lighting up as I coded was so exciting!!!