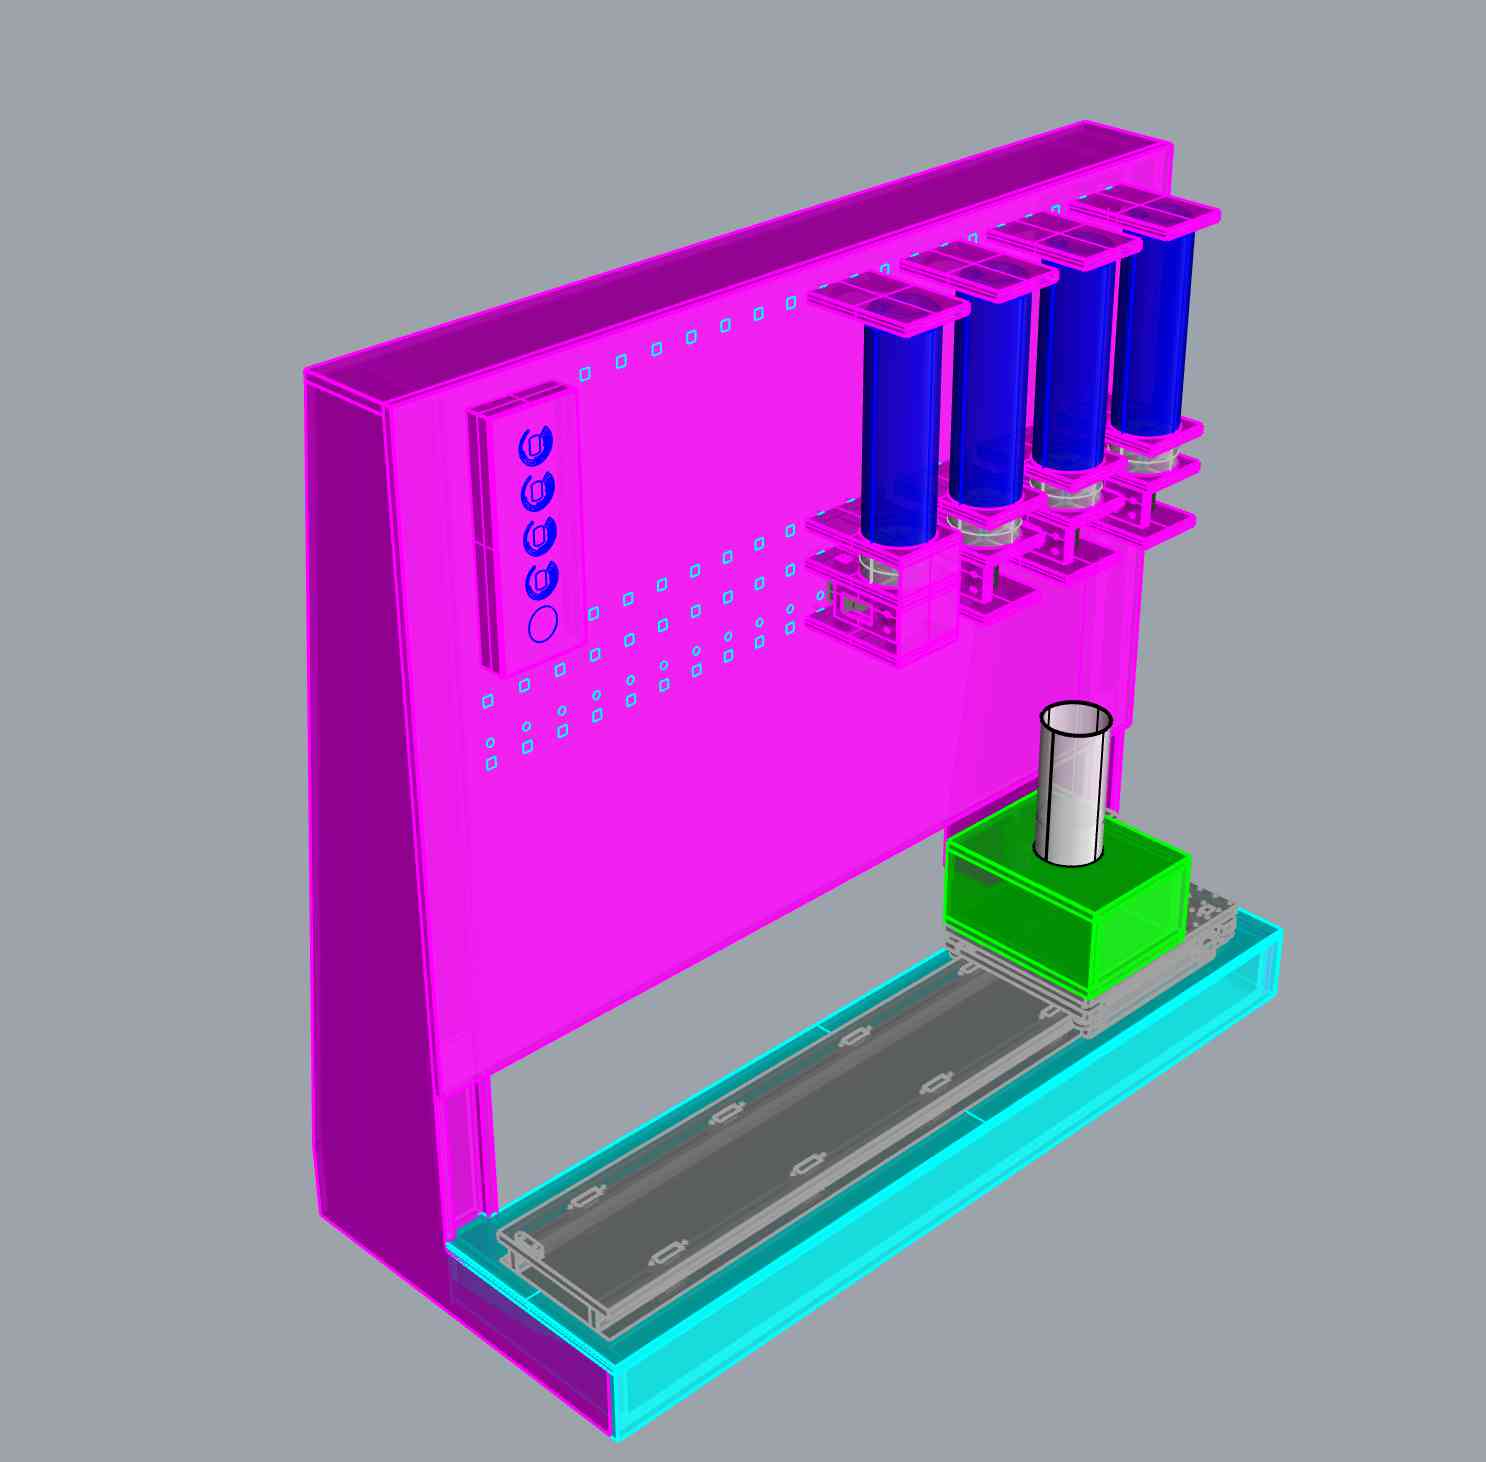
My tasks were to first test the potentiometers (bought in Micro-center) and the button (provided by Lukas), on the Arduino board, and then also design the starting panel box. The panel box is designed in such way that the user can choose the percentage of the 4 kinds of drinks that they want to put in their drinks. They can use the potentiometers as knobs to adjust the percentages, and then once they hit the right most button, the whole process of making the drink will be initiated.
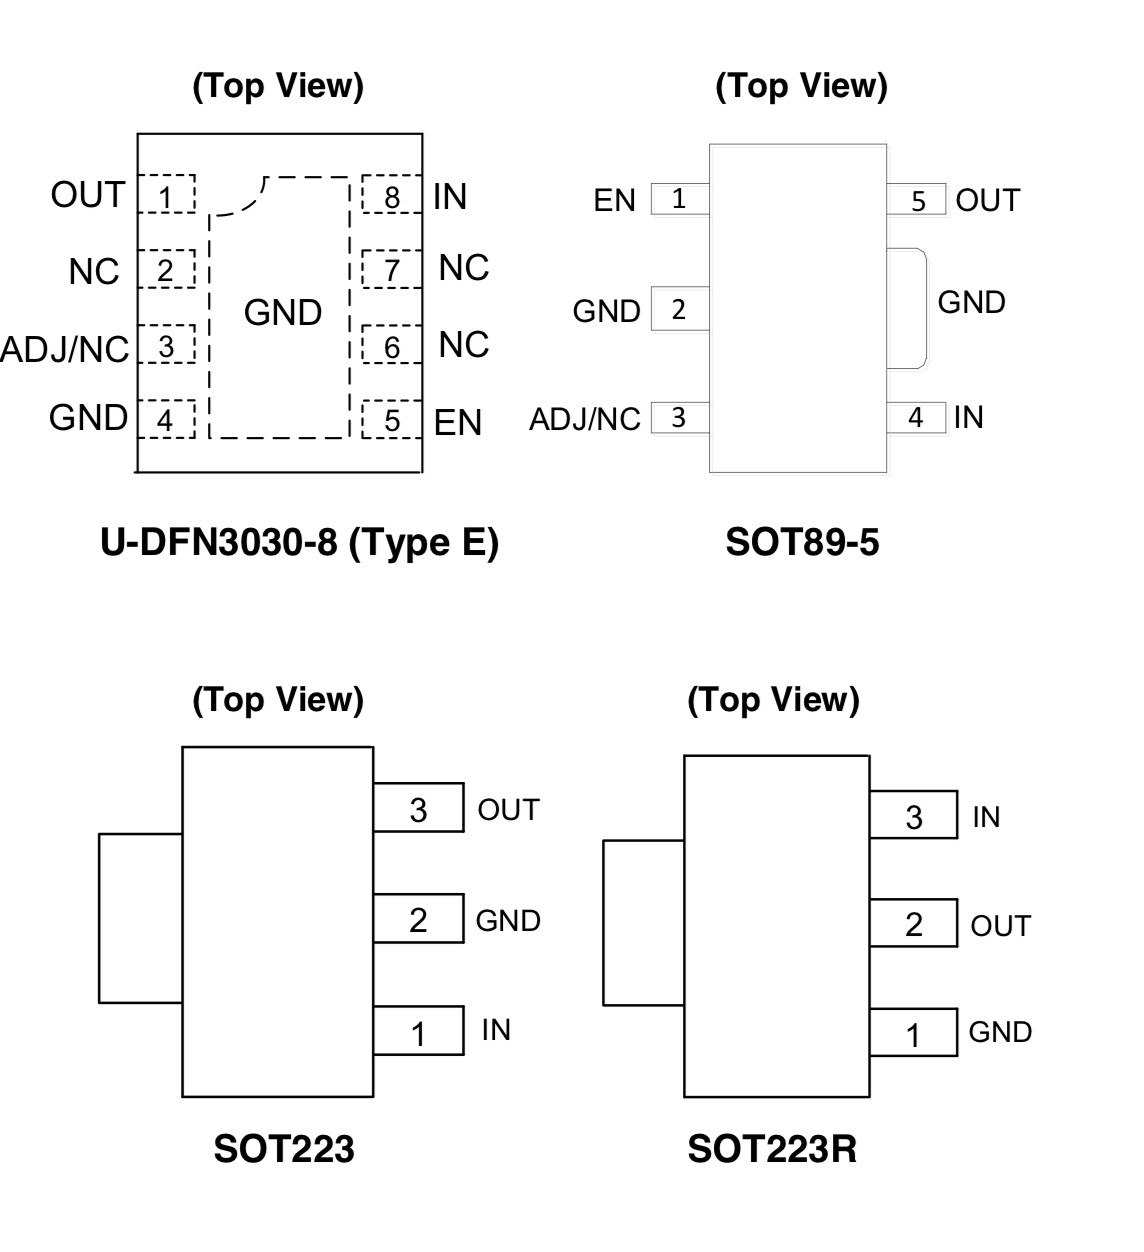
The electrical components of the panel include: 4 50k omega potentiometers, 1 adafruit button, 1-8” clear acrylic boards (original design), 1/8” translucent acrylic board.
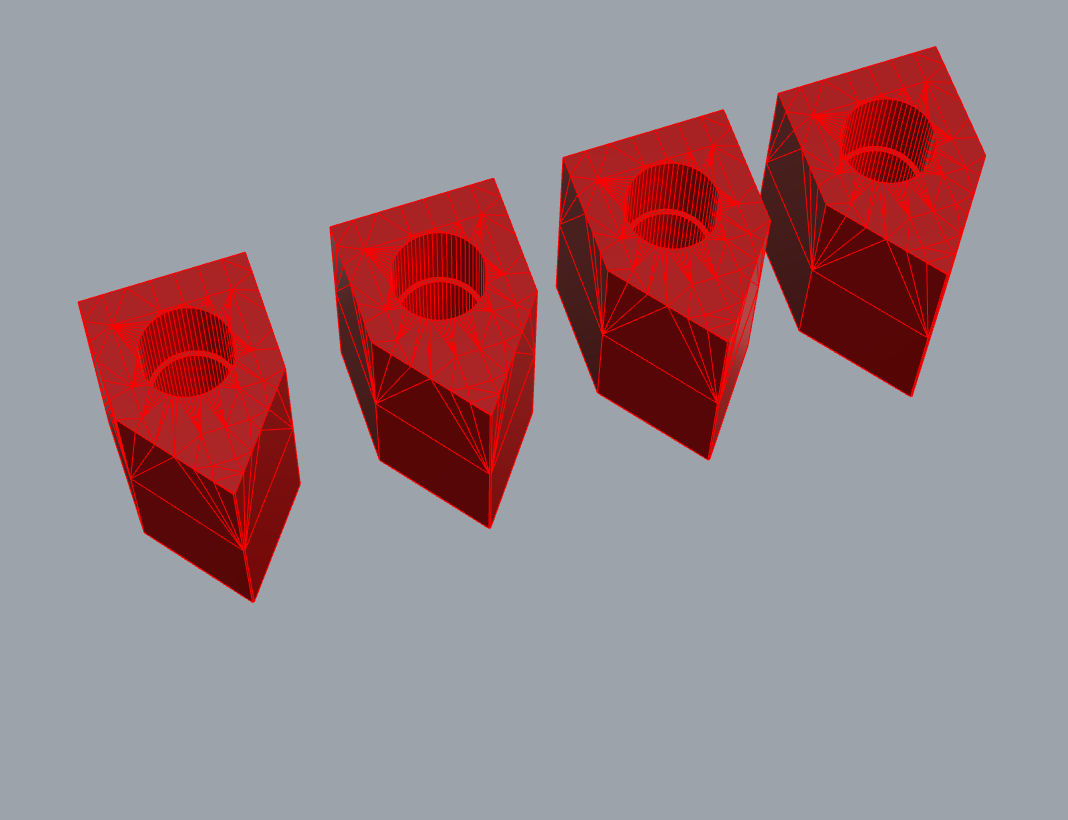
I designed the remote board in rhino. Firstly, i needed to figure out a way to fit the potentiometer on the panel, so that the wires are hidden behind the panel, and the knobs will be protruding out from the front of the panel. Then 3D printed knobs will be installed from the front so that they will indicate the value of the potentiometers.
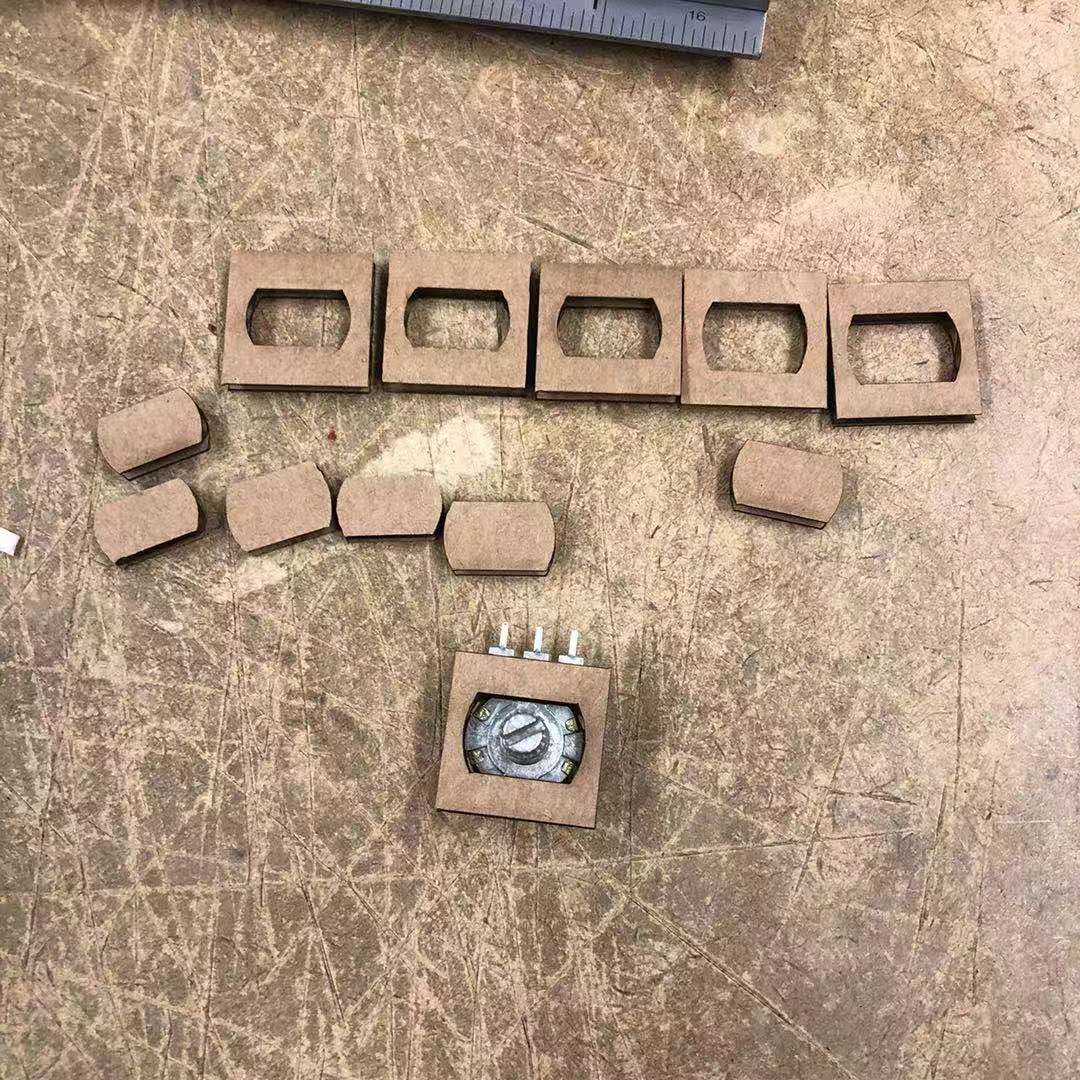
I first measured the size of the potentiometer, and then modeled holes for the top part of the potentiometers. I cut several holes on the cardboard with various tolerance to test out if they fit the holes. I then finalized the sizes of the hold and then did another round of testings on the acrylic boards. What was hard is that the top part is not that tall to be fixed really stably. Thus after installing, we still decided to hot-glue the potentiometers.
The indication graph on the panel contains four ring that suggest the percentage of [0%, 25%, 50%, 75%, 100%]. All of them are scored on the acrylic board.
We integrated the panels to stick on the machine body through the holes on the body. The control box does not have a back, and all of the cords will be wired through the hole to the back. I then cut the 5 sides of the box, and Dalma helped me to glue them into a box.

Here is the image of the 3D models of the knob caps. I tested for several times just to get the right sizing for the knobs so that the top of the potentiometers can fit perfectly into the 3D print.
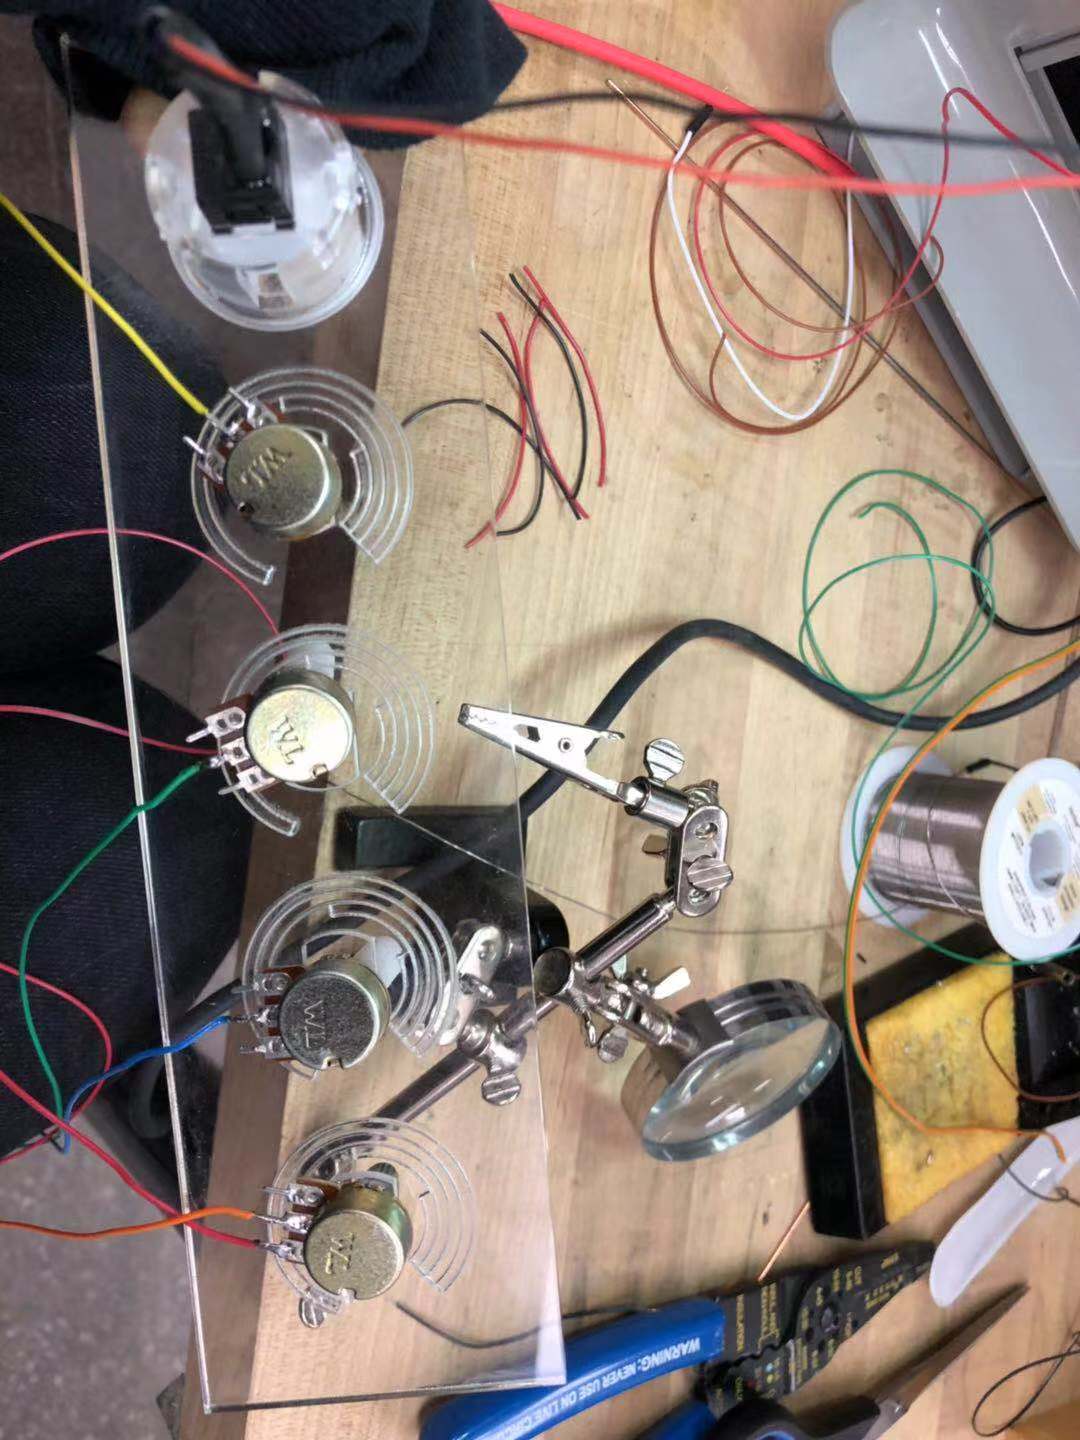

Wiring took us really long time because soldering and connecting the potentiometers was hard to keep them stable. Thus, we keep desoldering it and test the connection. Here are some of the images when we are reconnecting and testing the readings of the potentiometers on Arduino.
Here are the codes I wrote to read the values of the potentiometers. We used the serial monitor to read and display the values. The potentiometers have the value from 0 to 1023. We then wanted to map them to percentage.
At the end, we were able to make all of them have stable and correct readings, and the button was also working as expected.
The next step would be to integrate the control box to the whole machine and program it to initiate the entire making process.
Some of the early testing for the potentiometer