This week, I learned how to intergrate arduino with processing. I always think it is really that we can visualize something on the screen from the analog input. And I always wanted to learn something about Processing. Thus, for this week, I am making an interactive interface between the potentiometer and Processing, in which we can control how blurry the image is from turning the potentiometer.
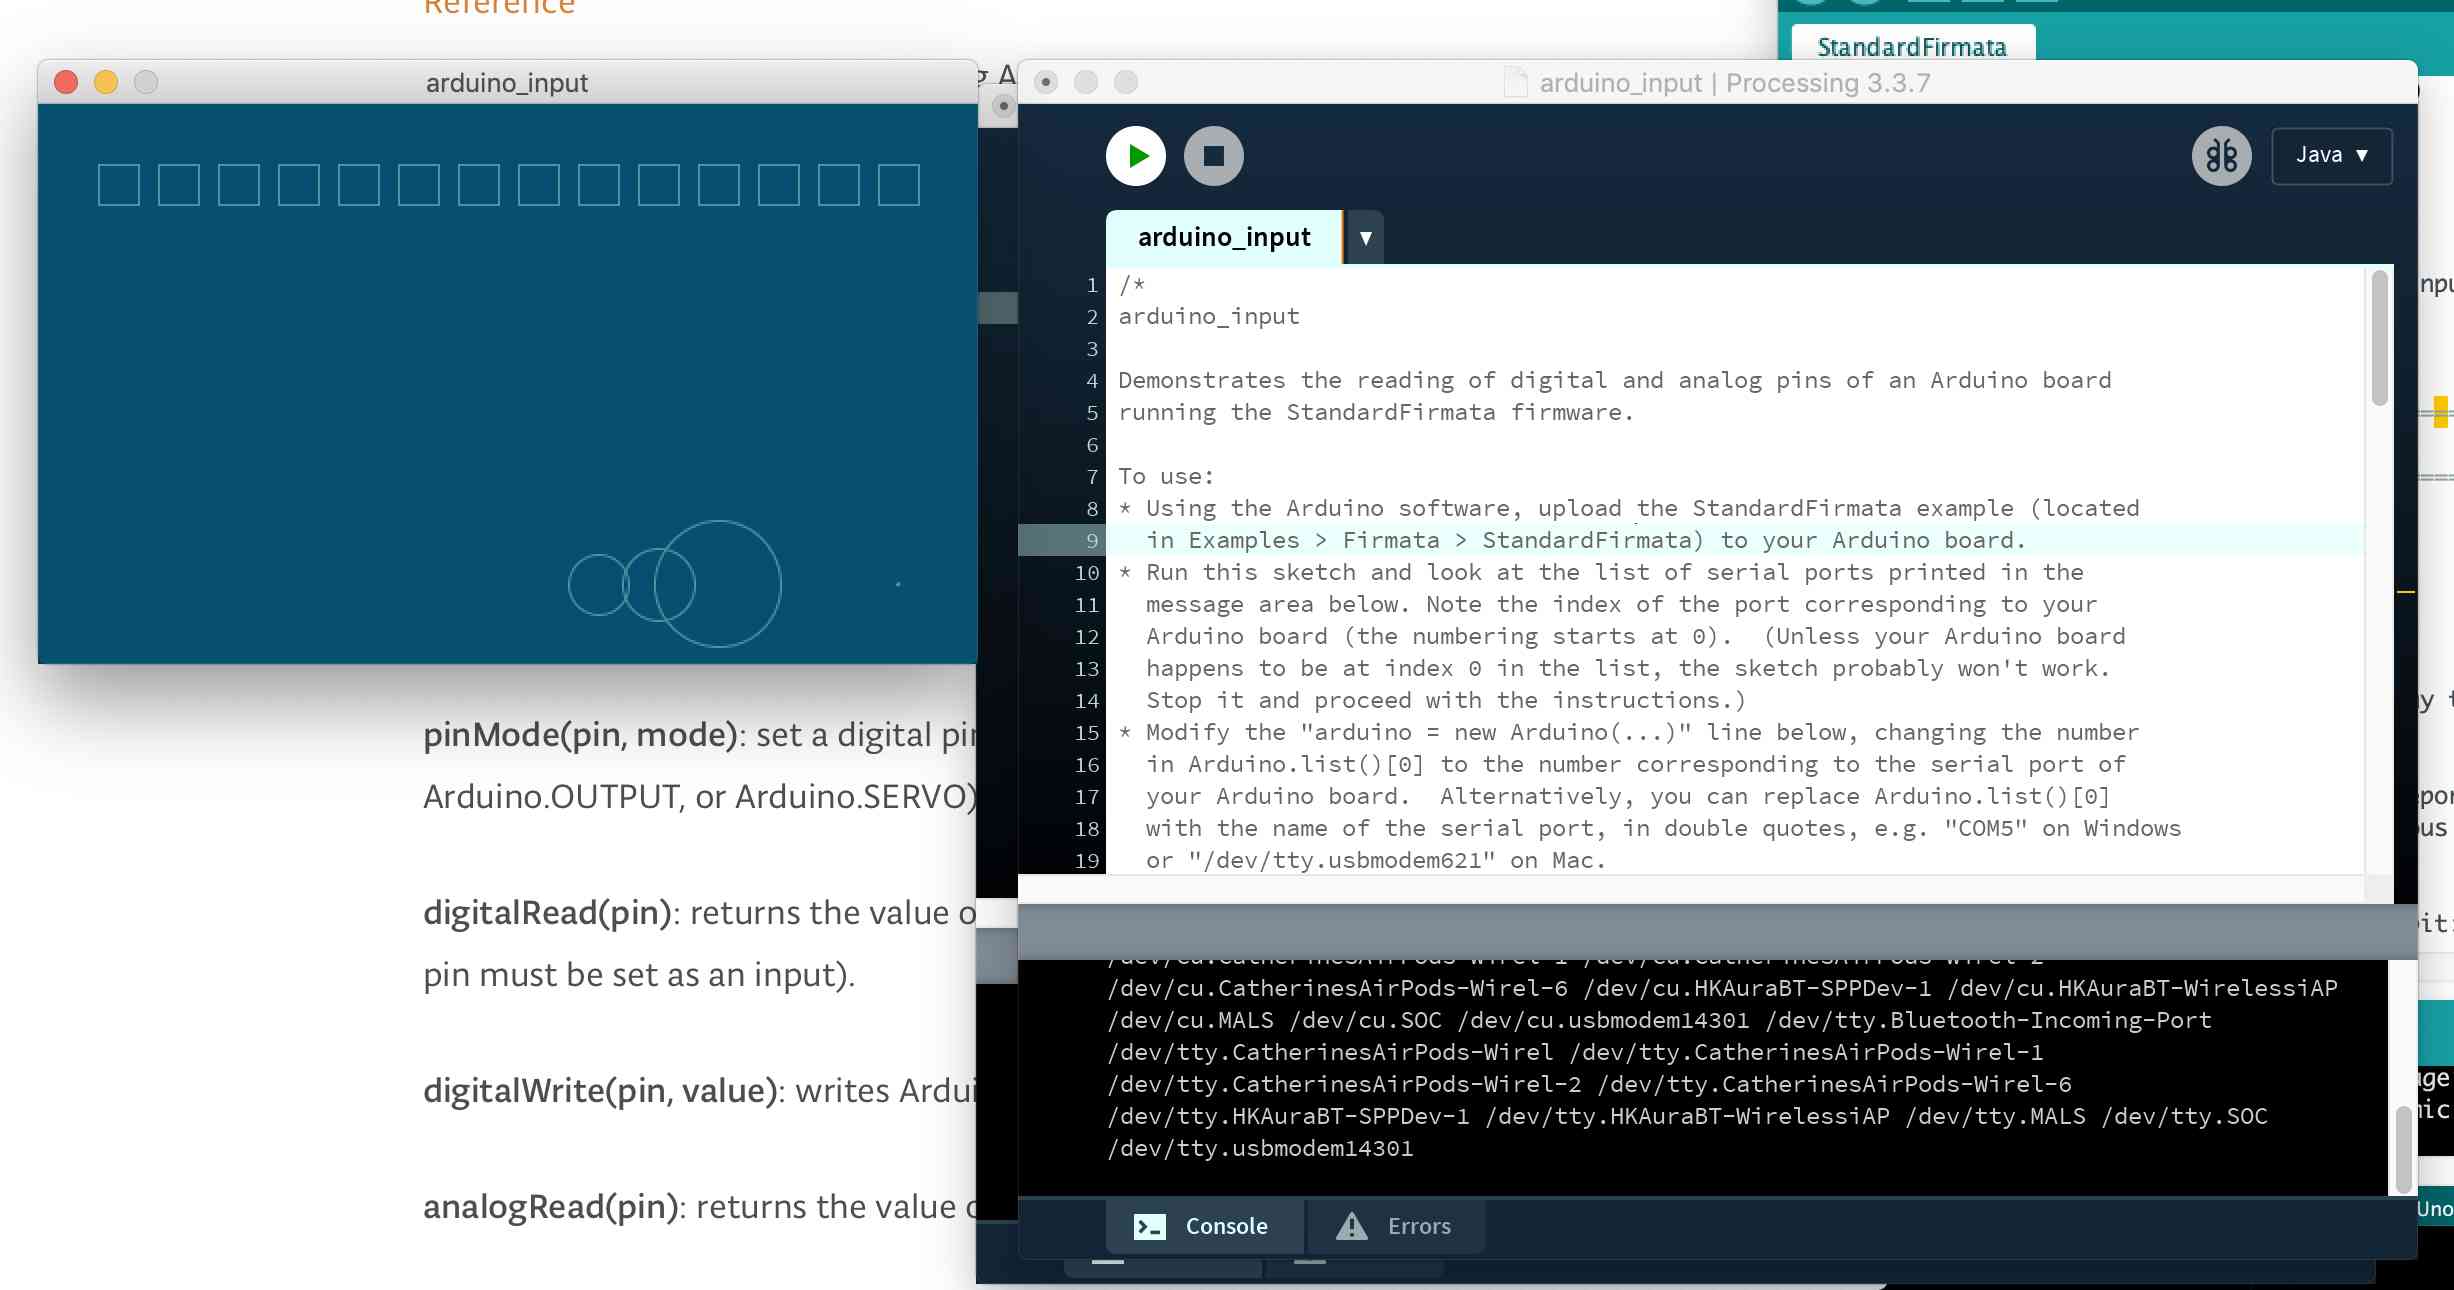
As both arduino and processing have really wonderful documentation, I followed their online tutorials to make the two software and hardware to talk to each other. Here are the links for the documentation.
First, I followed the documentation of Processing plugin for Arduino, and installed the plugin, and tested the first example in the plug in, in which the analog input value is read and then displayed into circles with the radiuses of correlated values with the input. That means that when I turn the knobs, the sizes of circles will change. The fact that seeing the analog input can change the display was so cool. I then also learned to modify the program to make it have other features. What I did included to change the shapes, the positions, the sizes of what was drawn on the screen.
Here are the links for the documentation
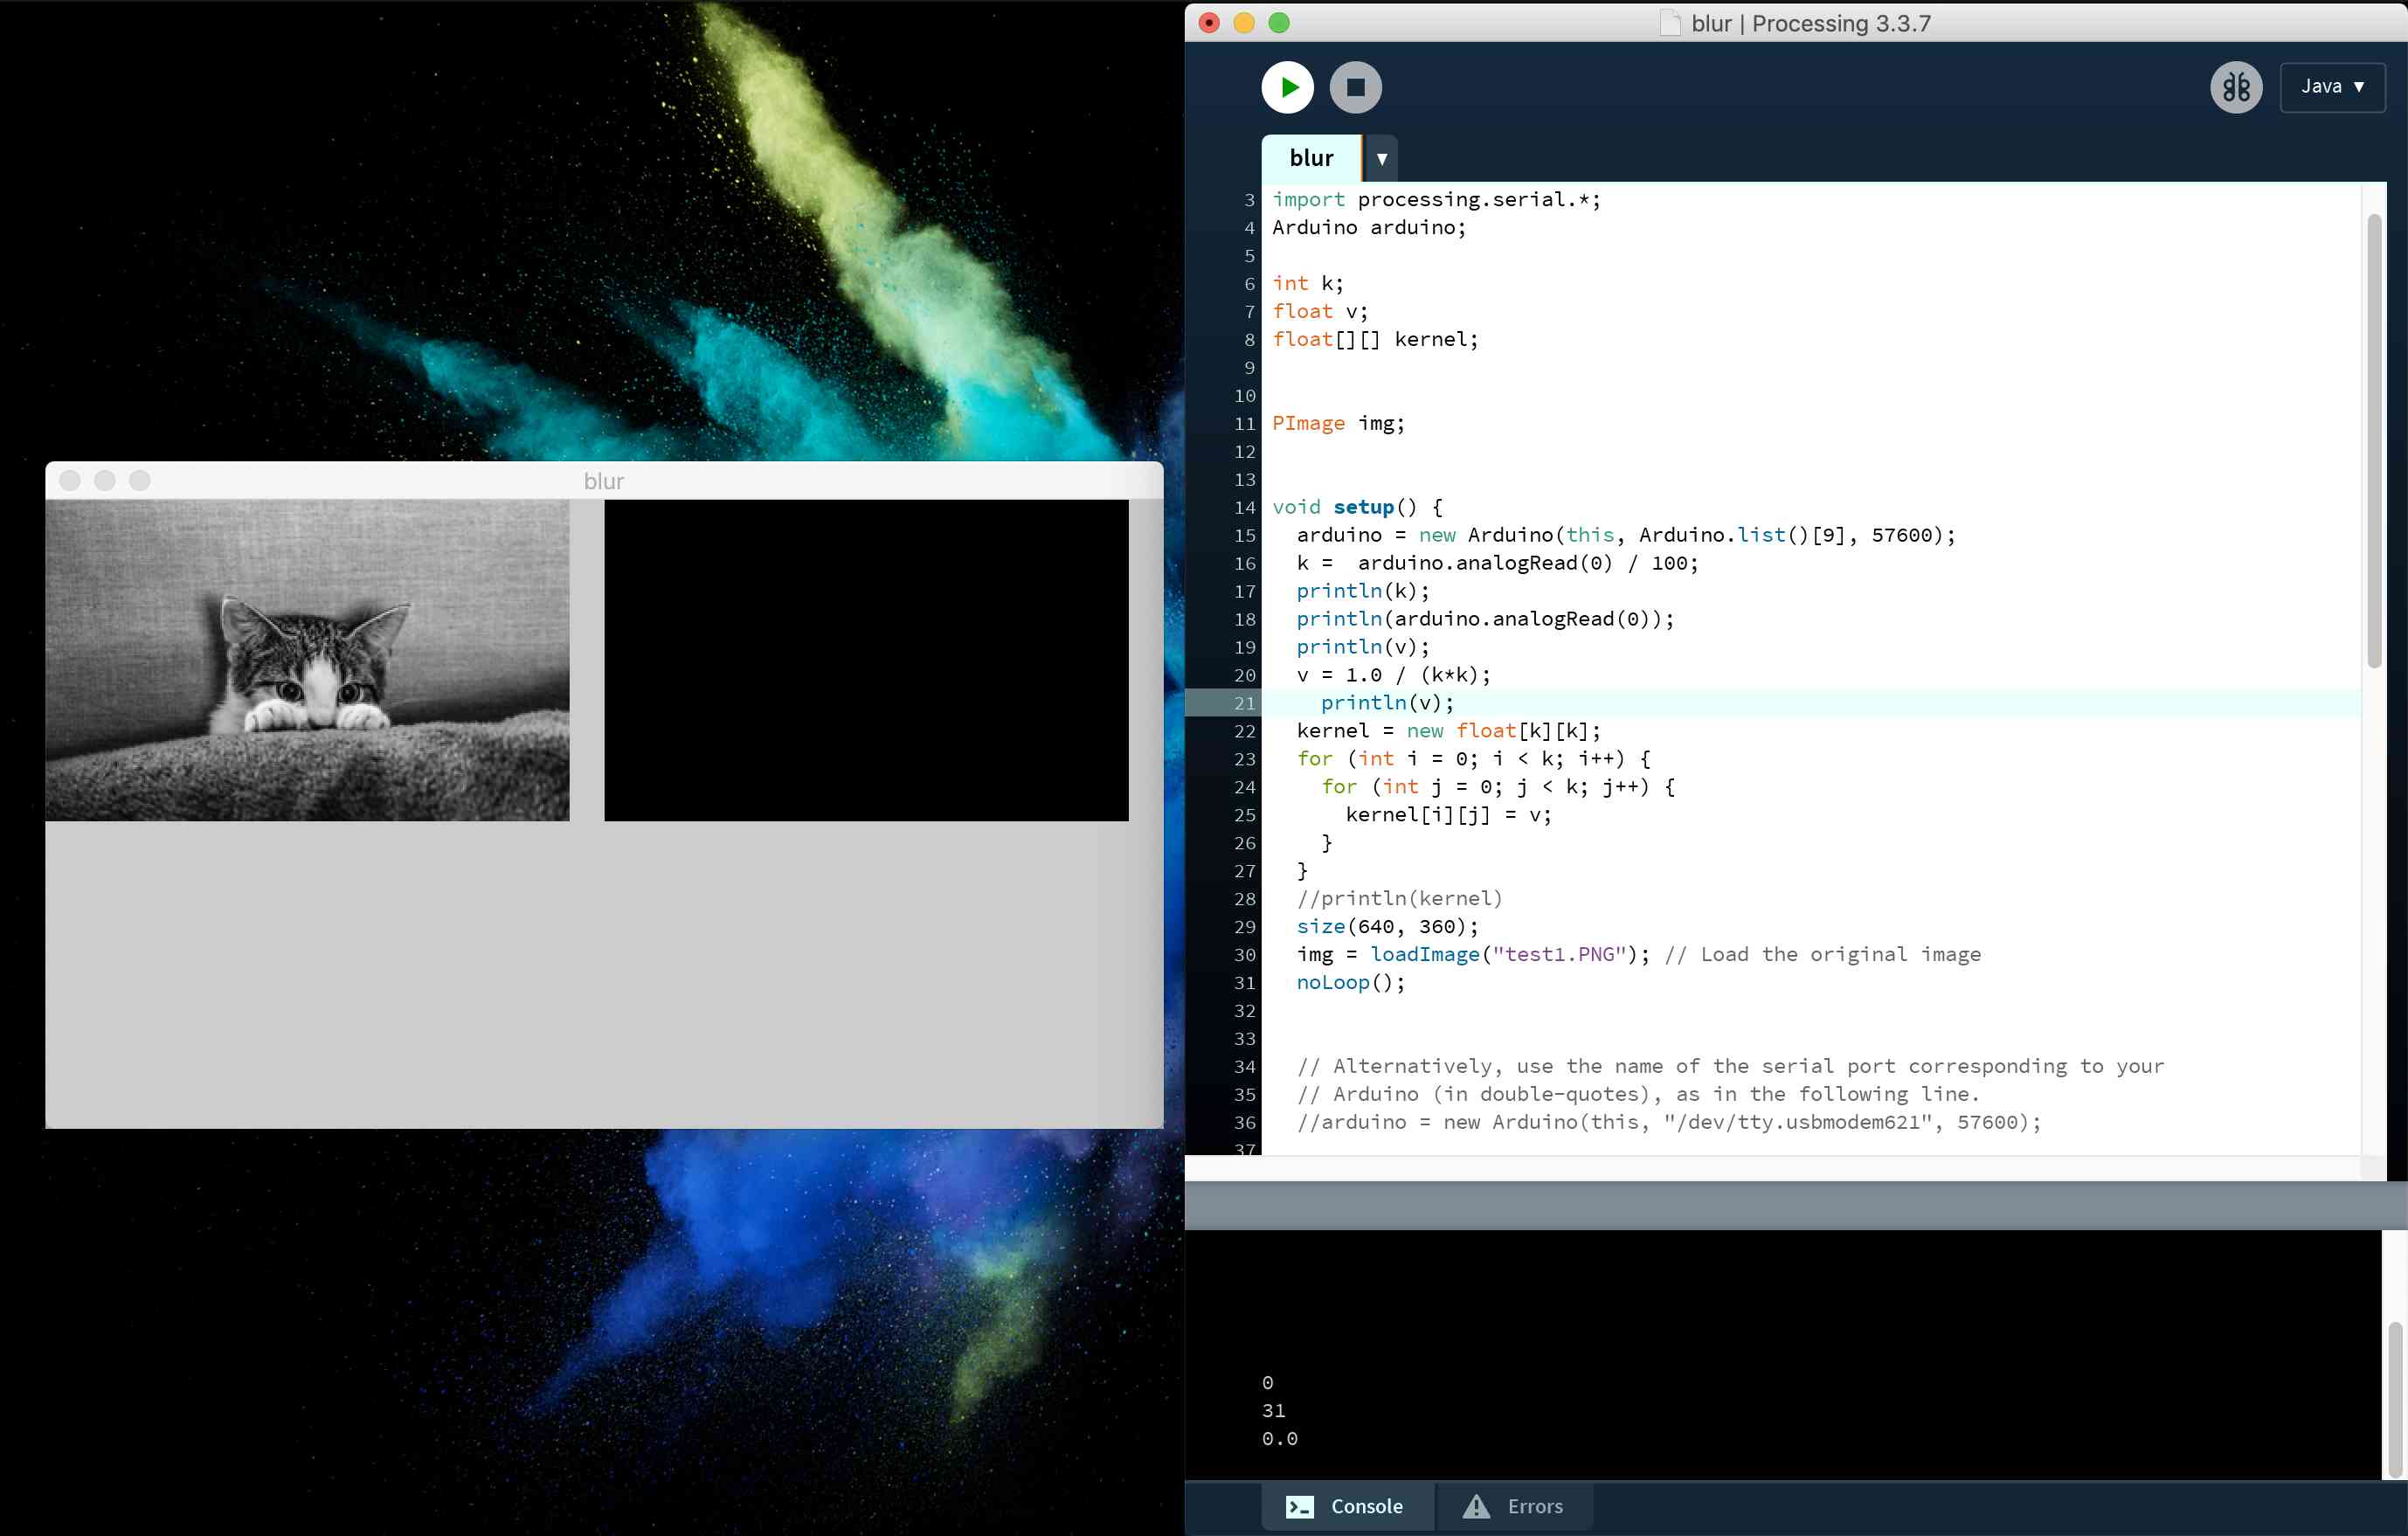
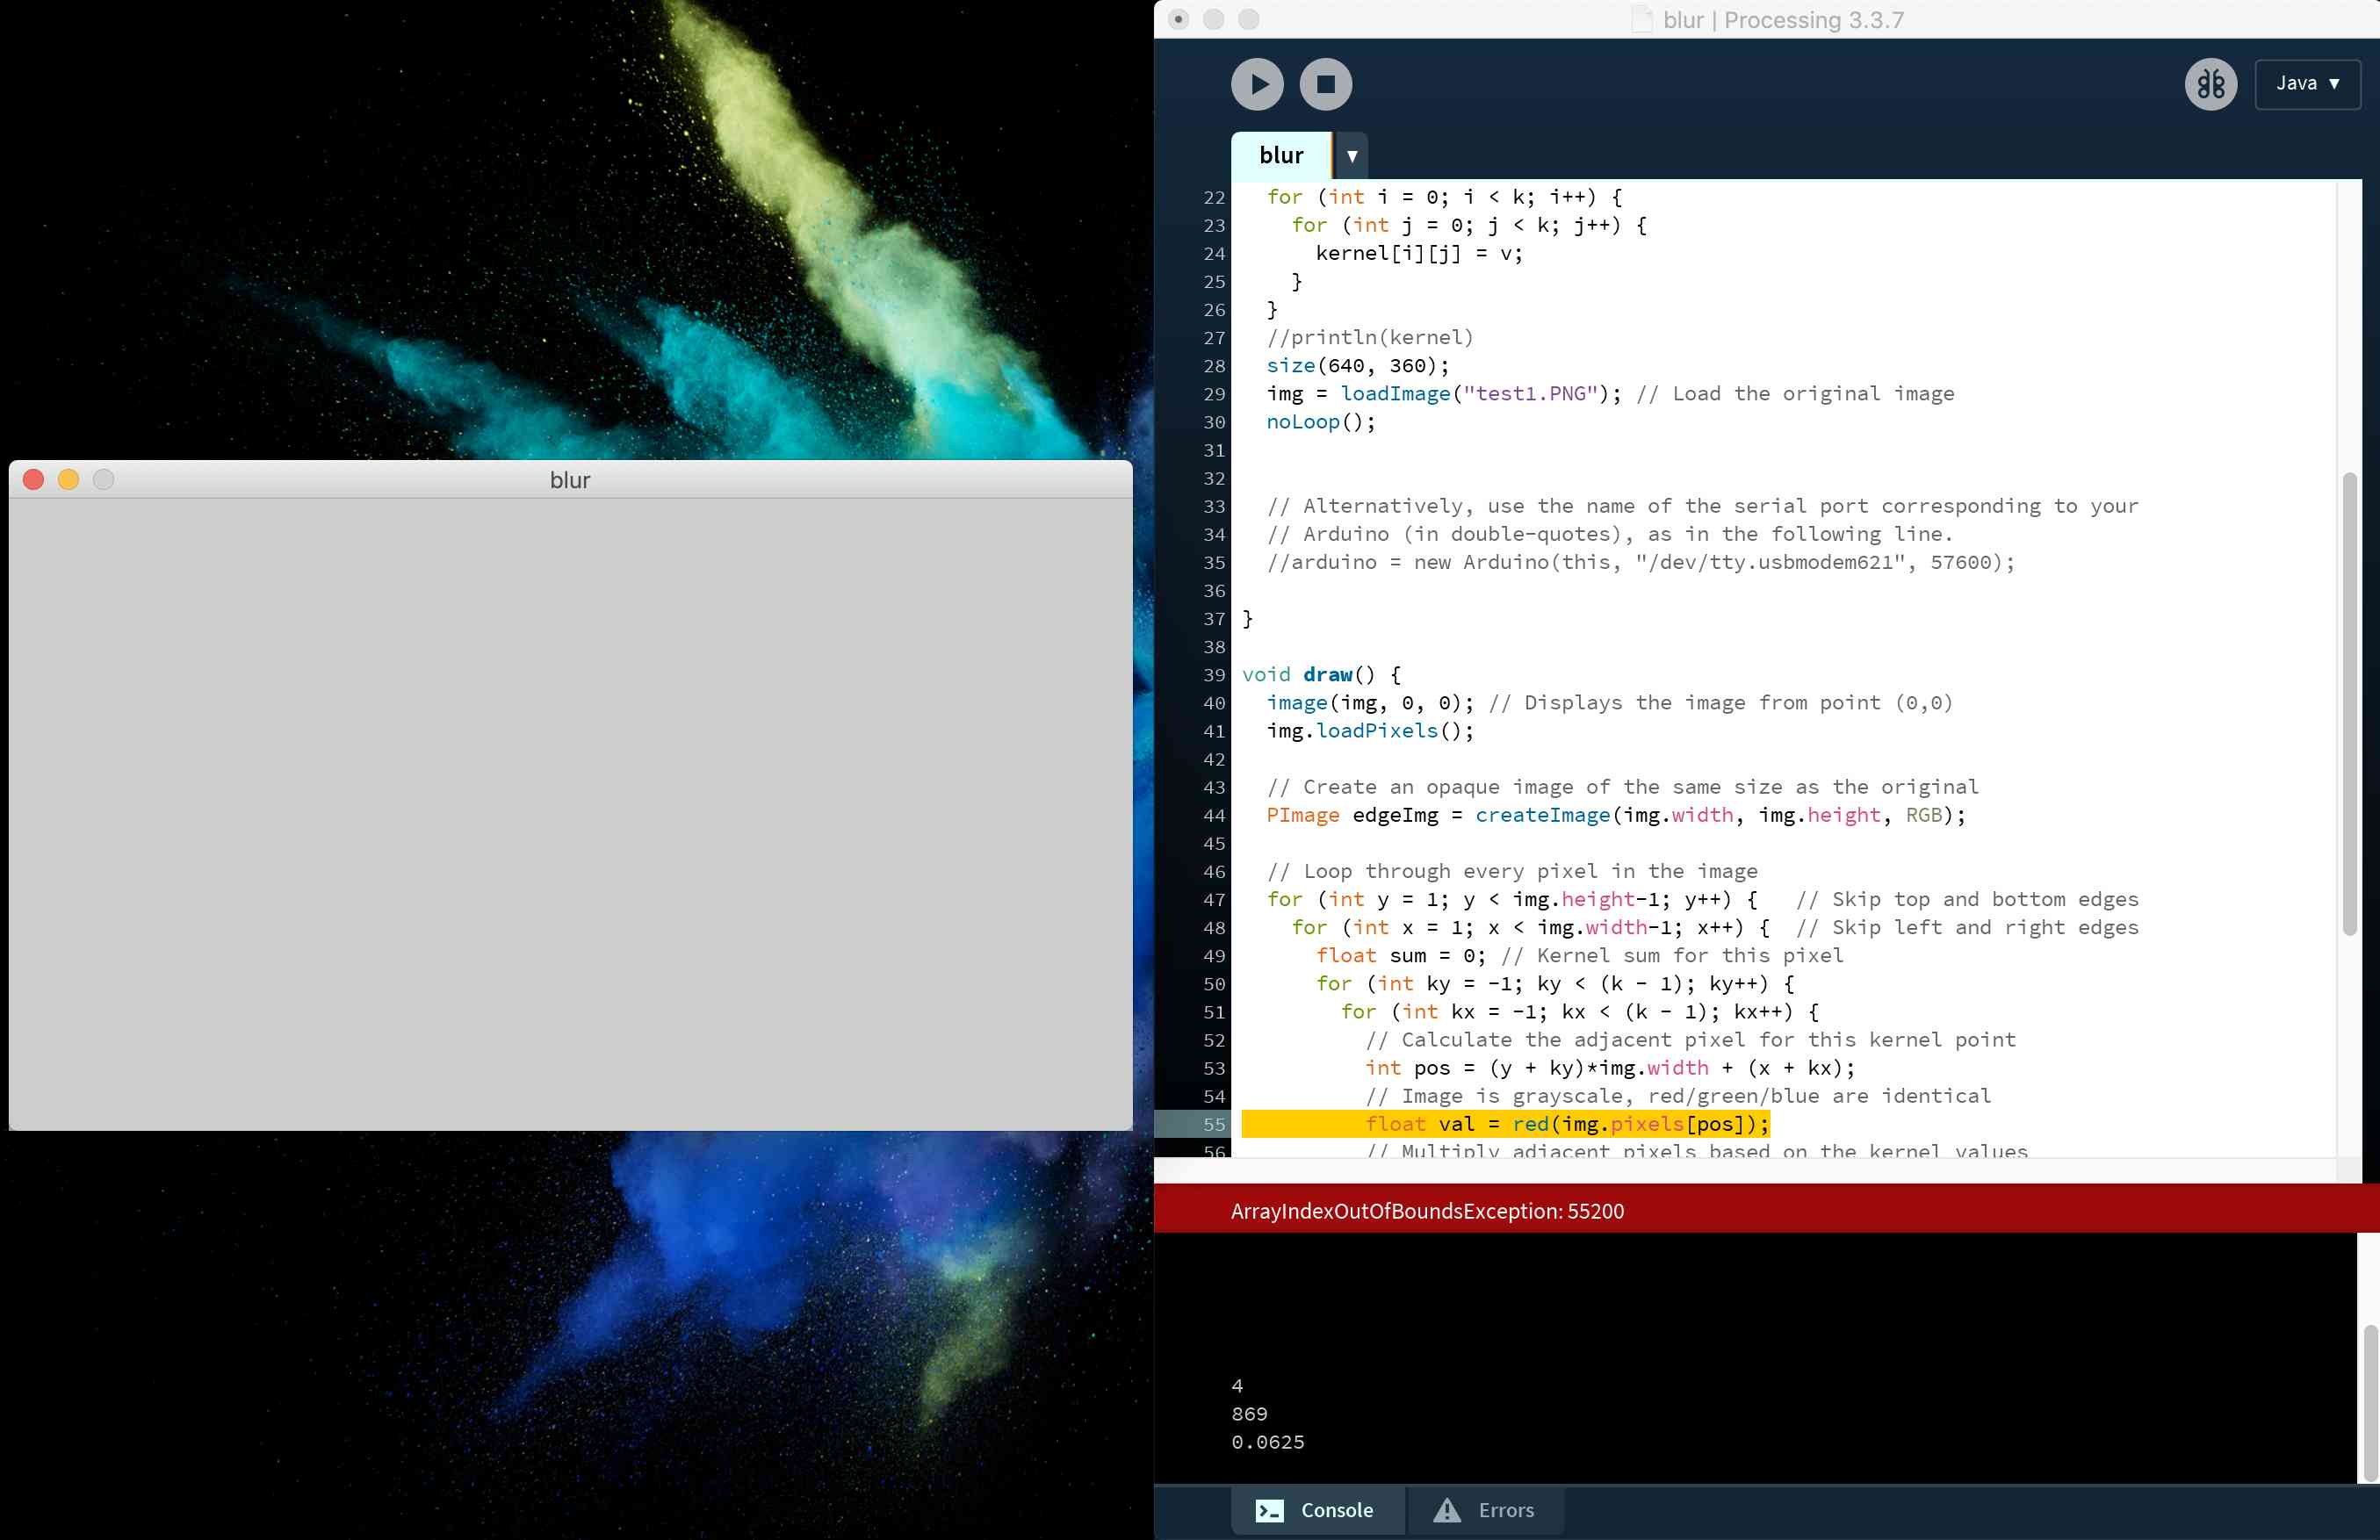
At the same time, I learned a little bit of Processing this week about inserting the picture and then process the picture. What I did first was to learn to code blurring the image. Before this week, I never thought about how does a computer blur an image. Thus, I read a little bit about blurring the image and learned the process. I will be implementing a simple box blur, which means that it does the blurring by feeding an appropriate kernel to our correlation function. For a box blur, the kernel is an n × n square of identical values that sum to 1. We may have different sizes of boxes with different values of n. I then implemented a program that takes in a number n, and returns a new image with height and width equal to the dimensions of the input image that has been blurred with an appropriately-sized box blur kernel.
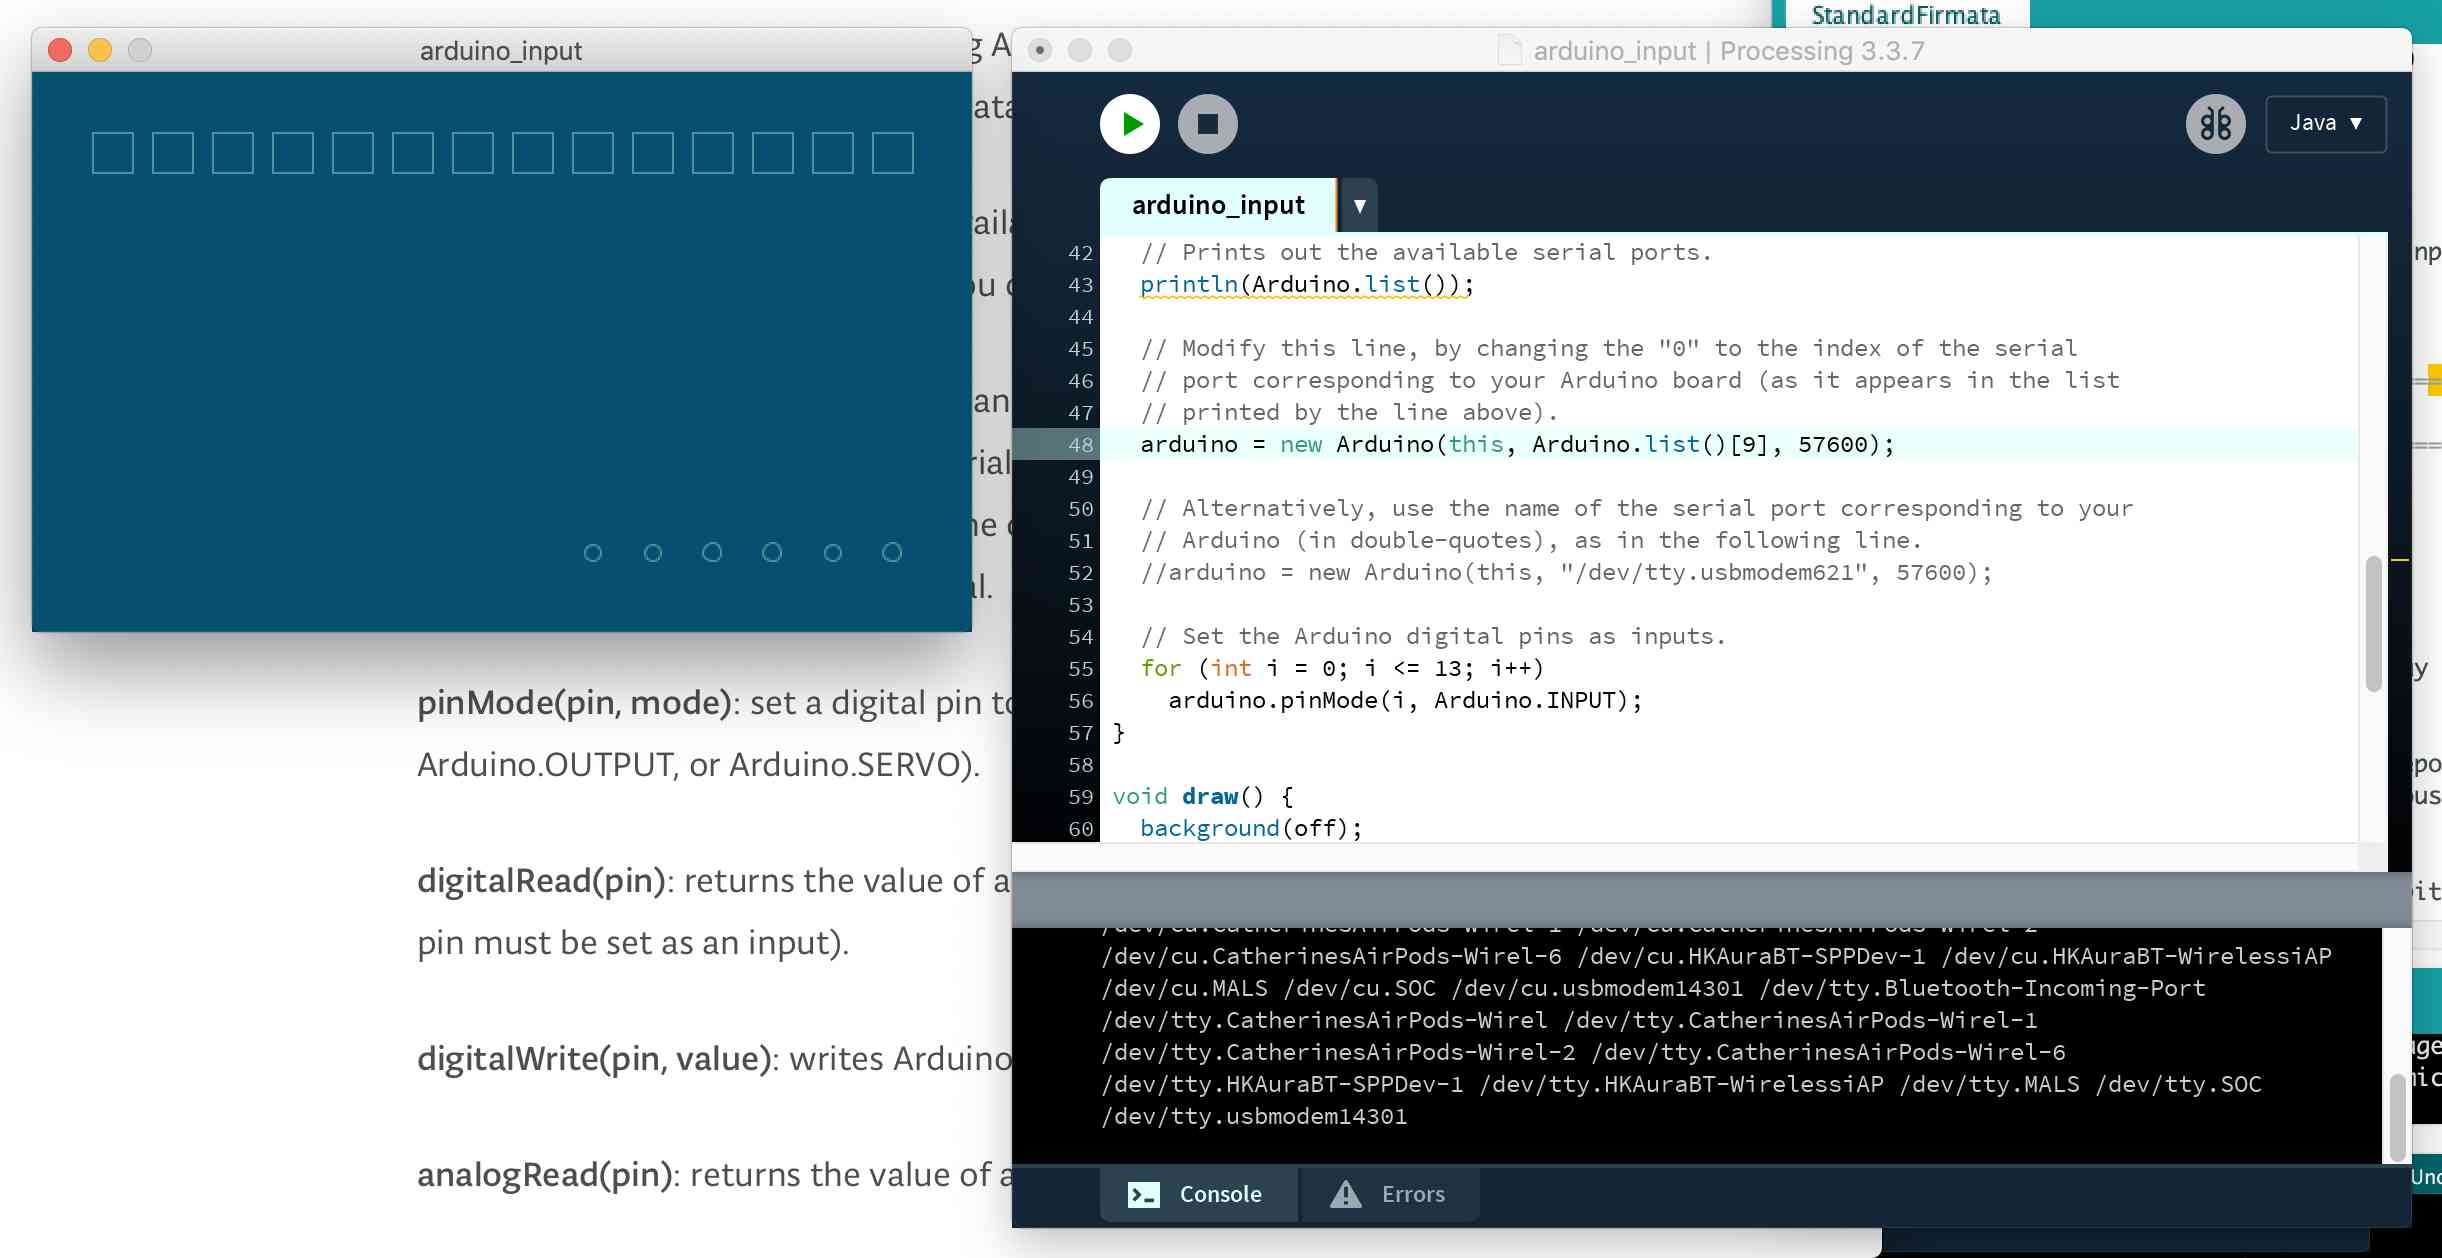
The next step is then to combine the two set of codes, calling the Arduino.h in Processing, and then call the input from the Arduino to set the variable of the blurriness. I mapped the value between 1023 and 0 to an n value from 5 to 0 to test out the functionality of the program. I limited the value of the n to a relative small number because it would take much longer time to process. And then I set up a canvas that displays the original image on the left, and the resulting image on the right. We can also always change the original image by referring to another name. The testing image I chose was really small in order for a faster output. Here are the results of blurring the images:
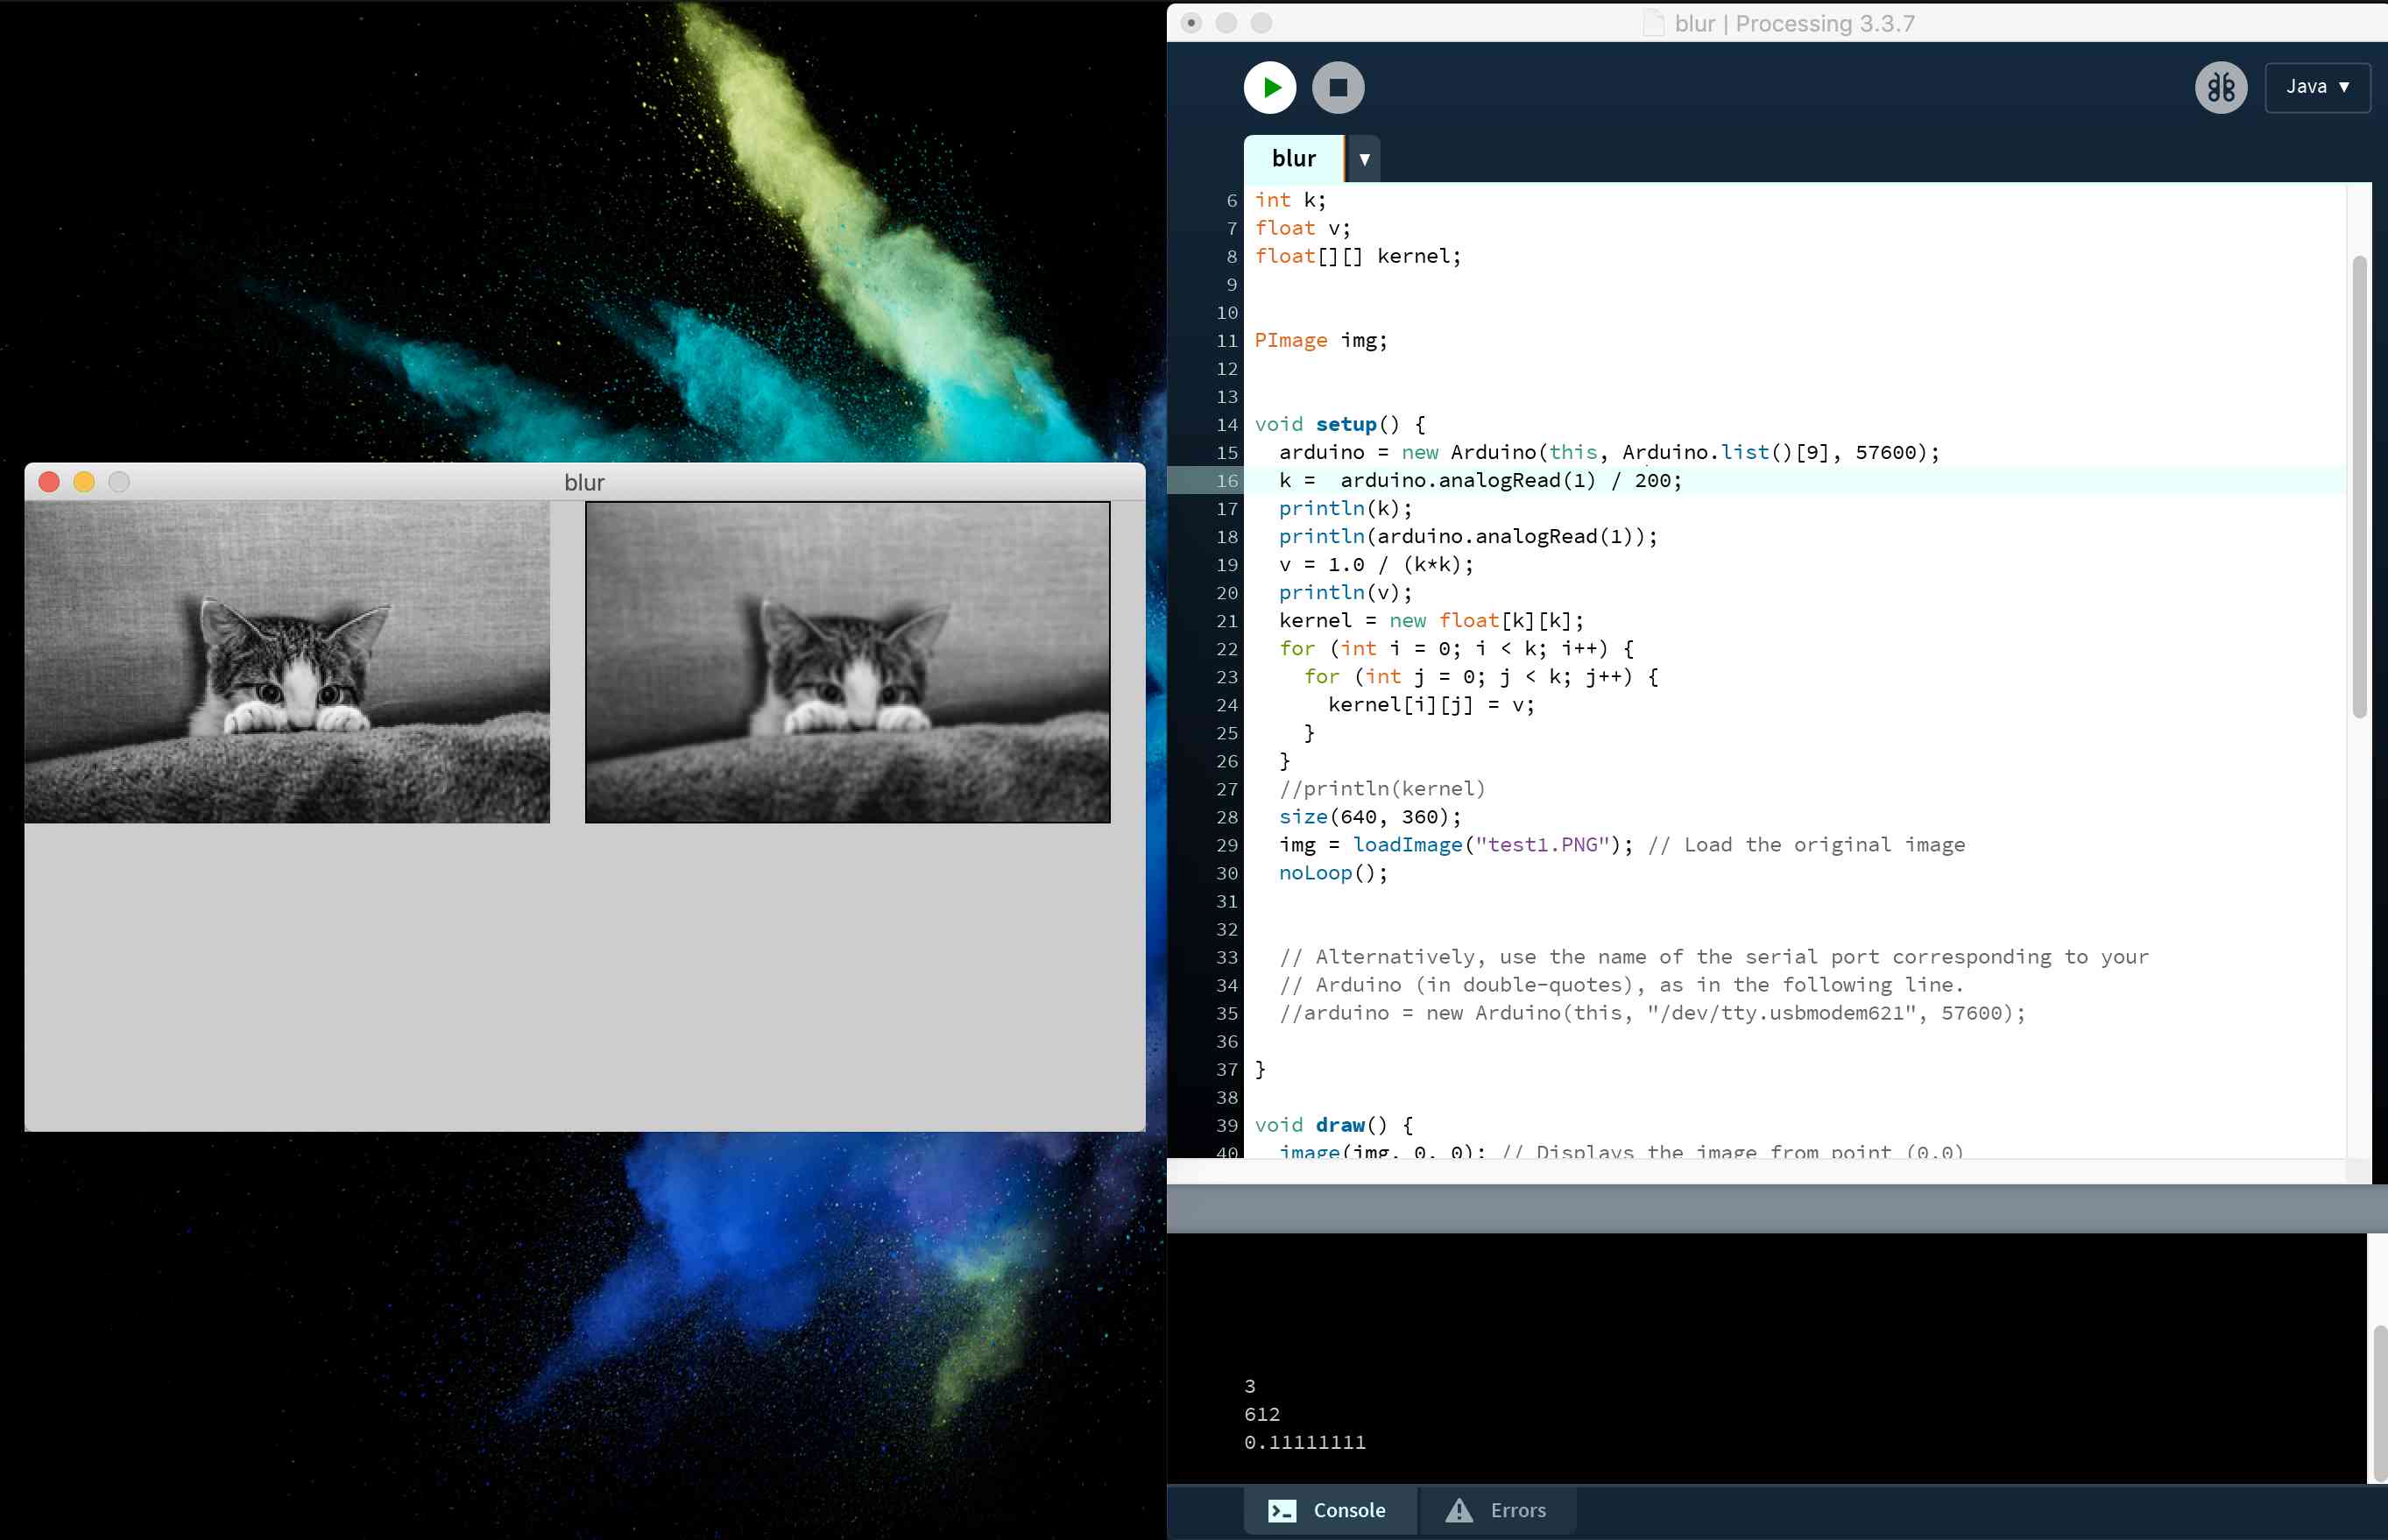

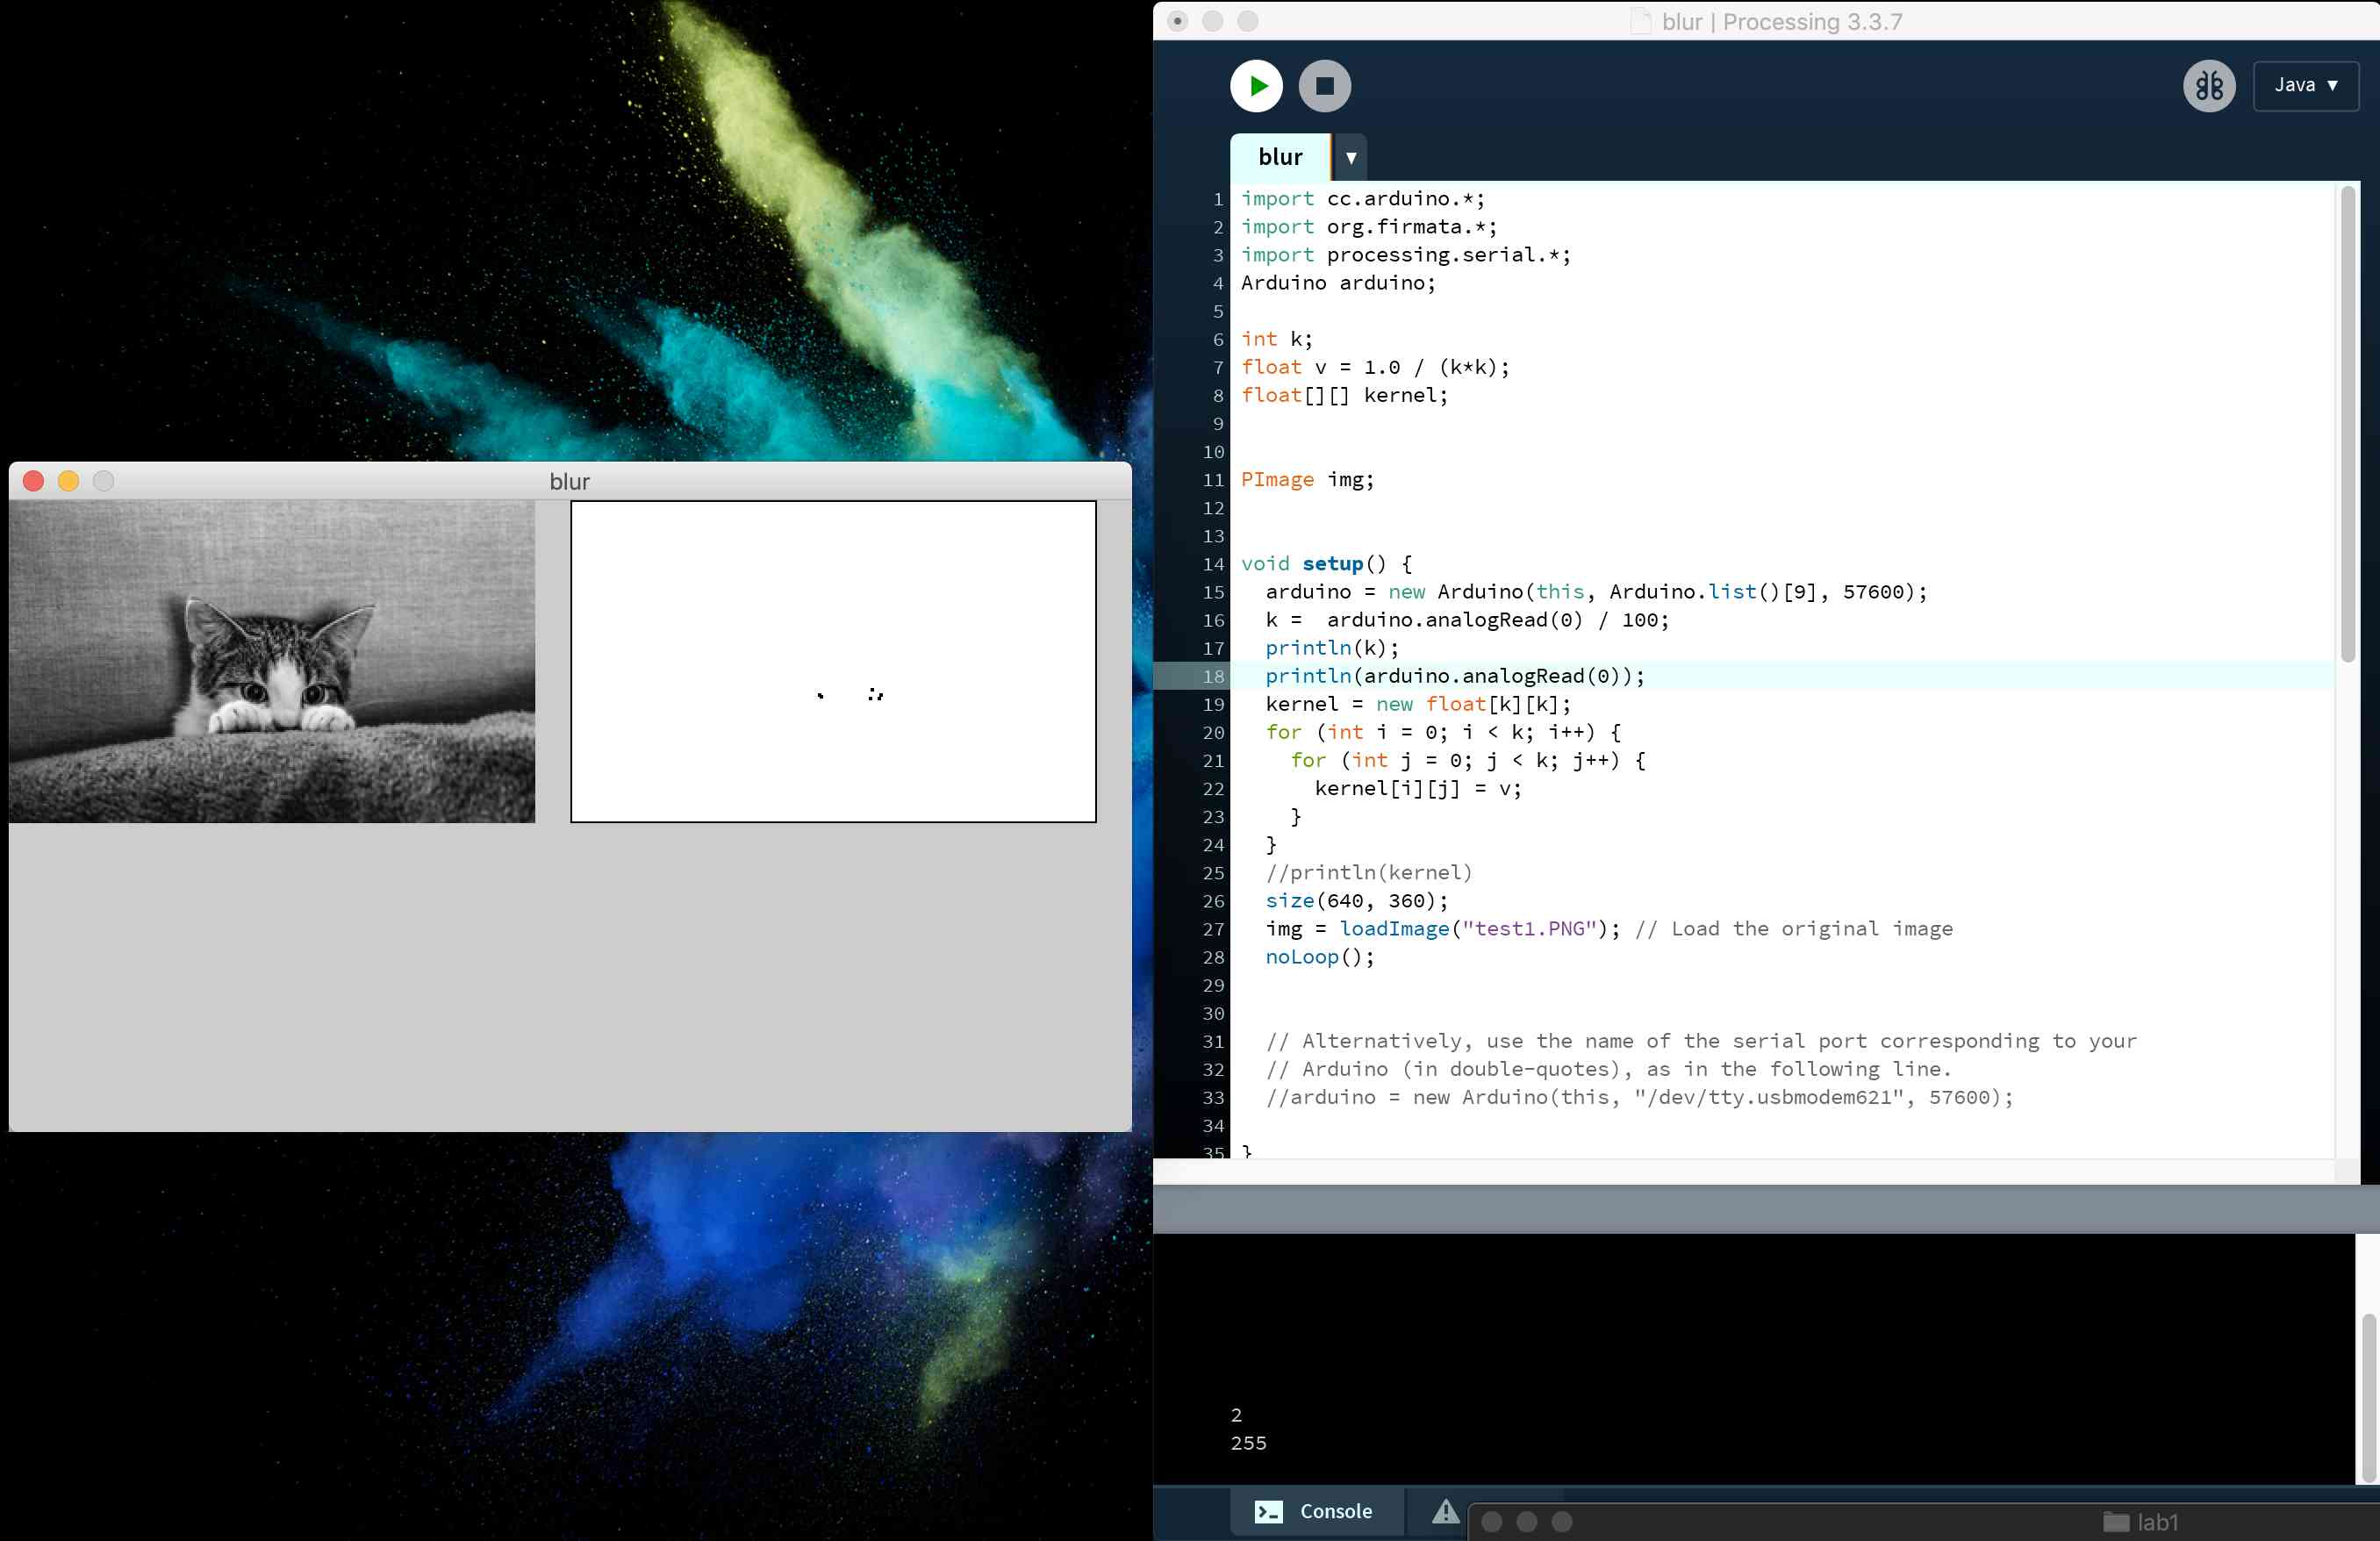
Looking back, what I did not do well enough was about the frequency of reading the input device. I realized that my code suggested that I am always only reading the input value at the beginning of compiling the program. So the potentiometer almost has this static reading from the beginning. And the next time when I do this, I would definitely change the reading input value part to the loop()/draw() section of the code, so that every single time when you turn the knob, the image will change along with the input value. However, constantly computing the n value and the blurring value does require a lot of computing power, especially for a bigger image.
Also, there are definitely more imporvement in the functionality and generality of the code. Here are some bugs I encountered in the midway:
Here are the codes I used for: