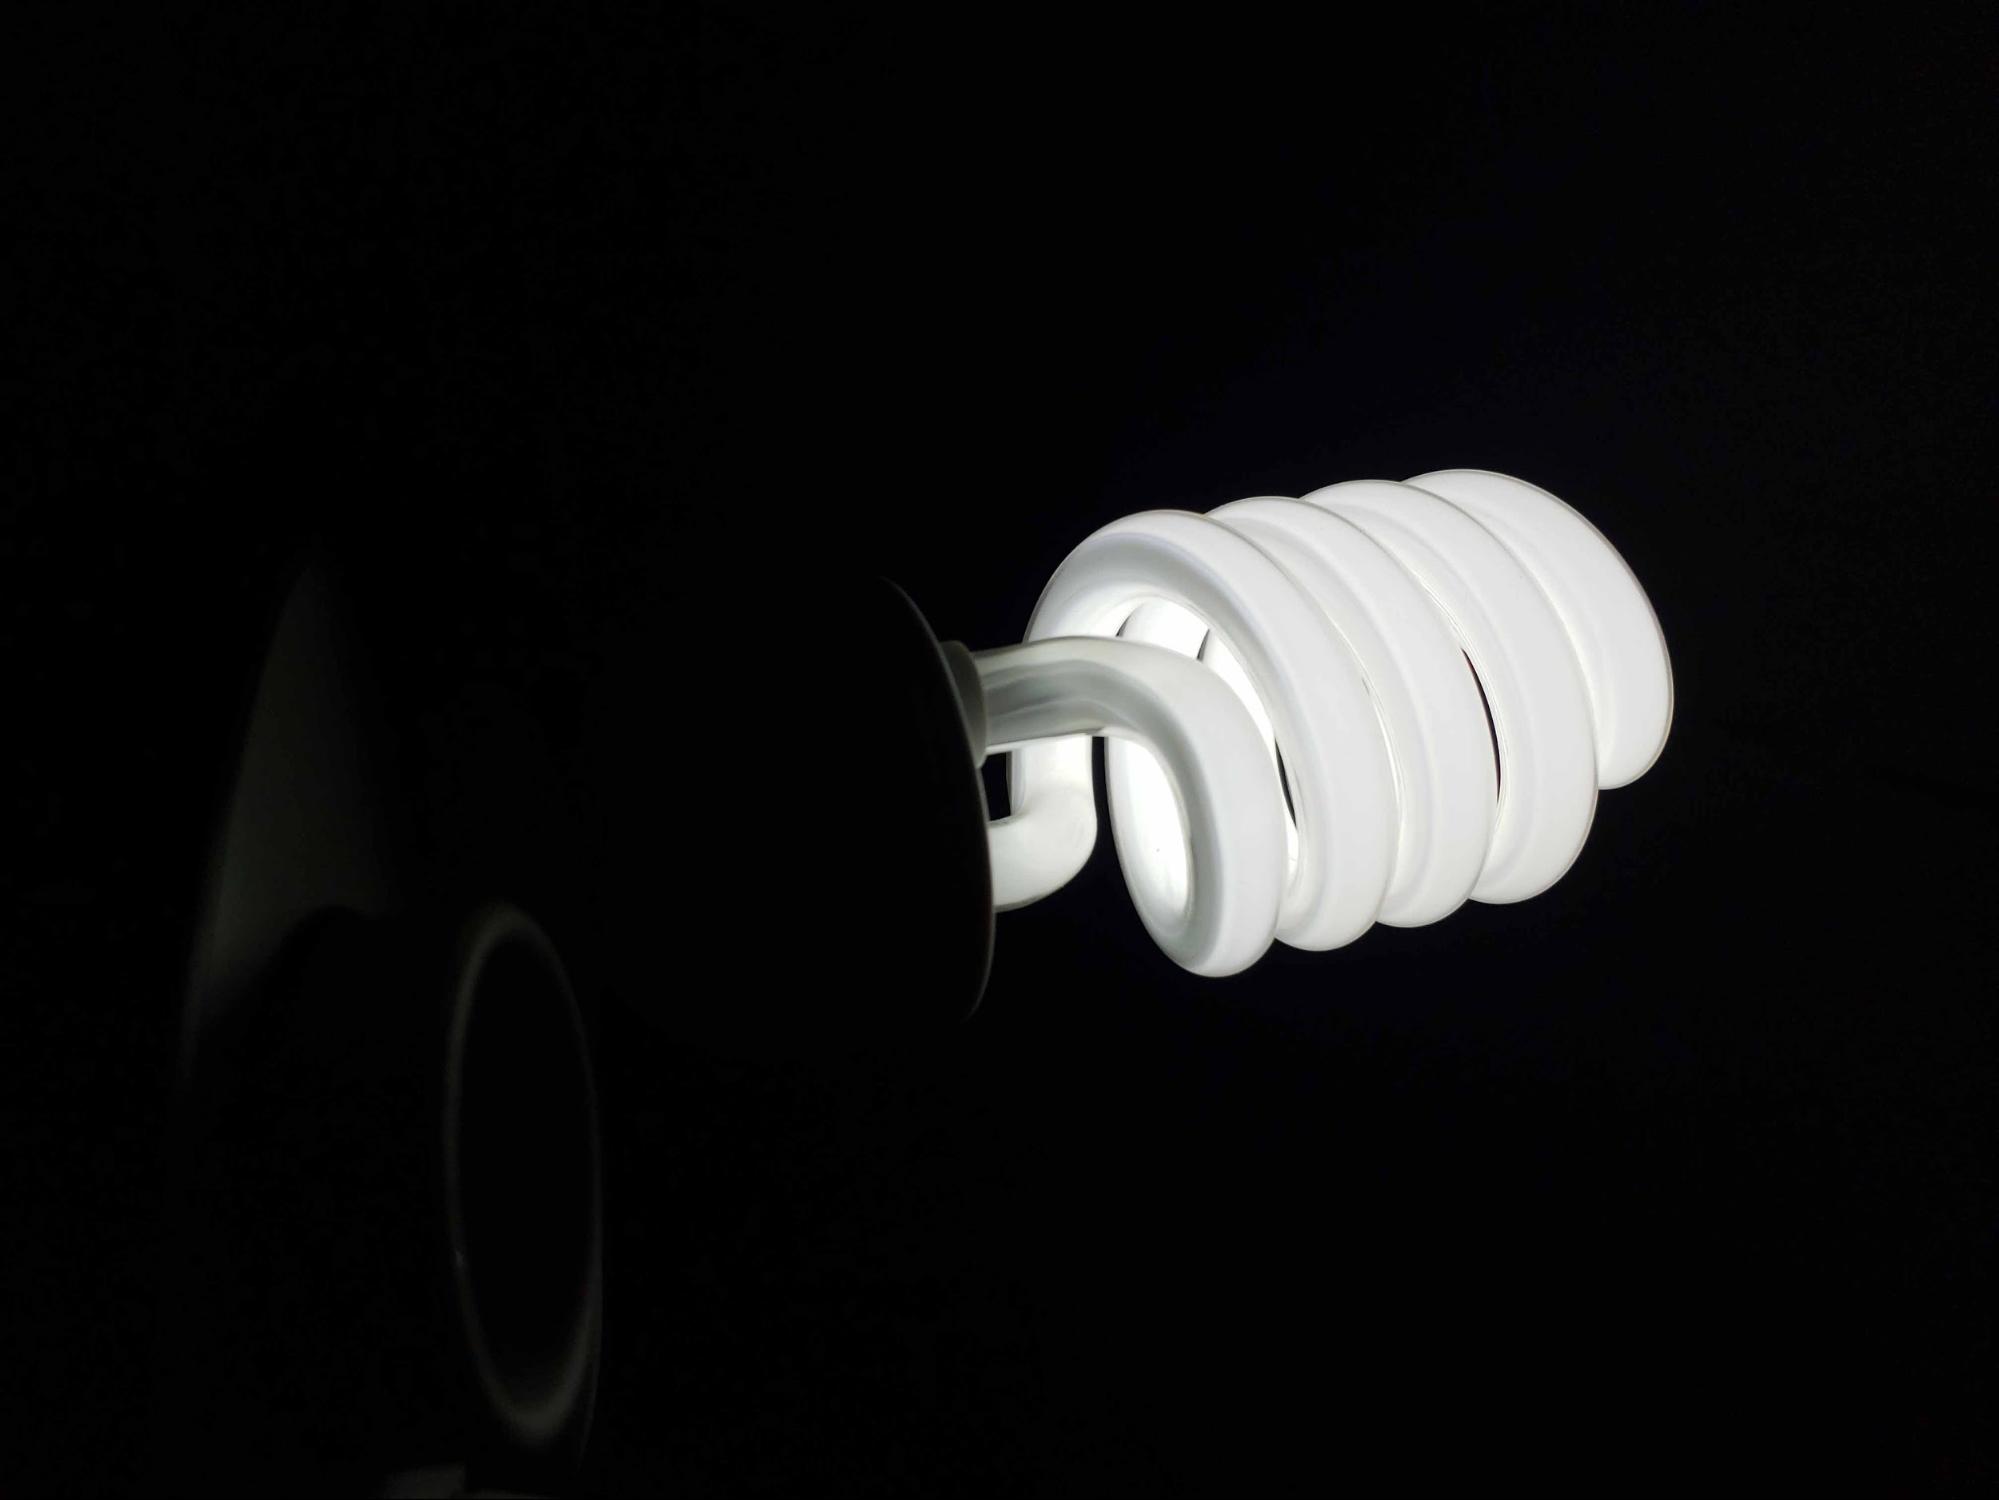
The light bulb
I did not (almost) make this, haha.
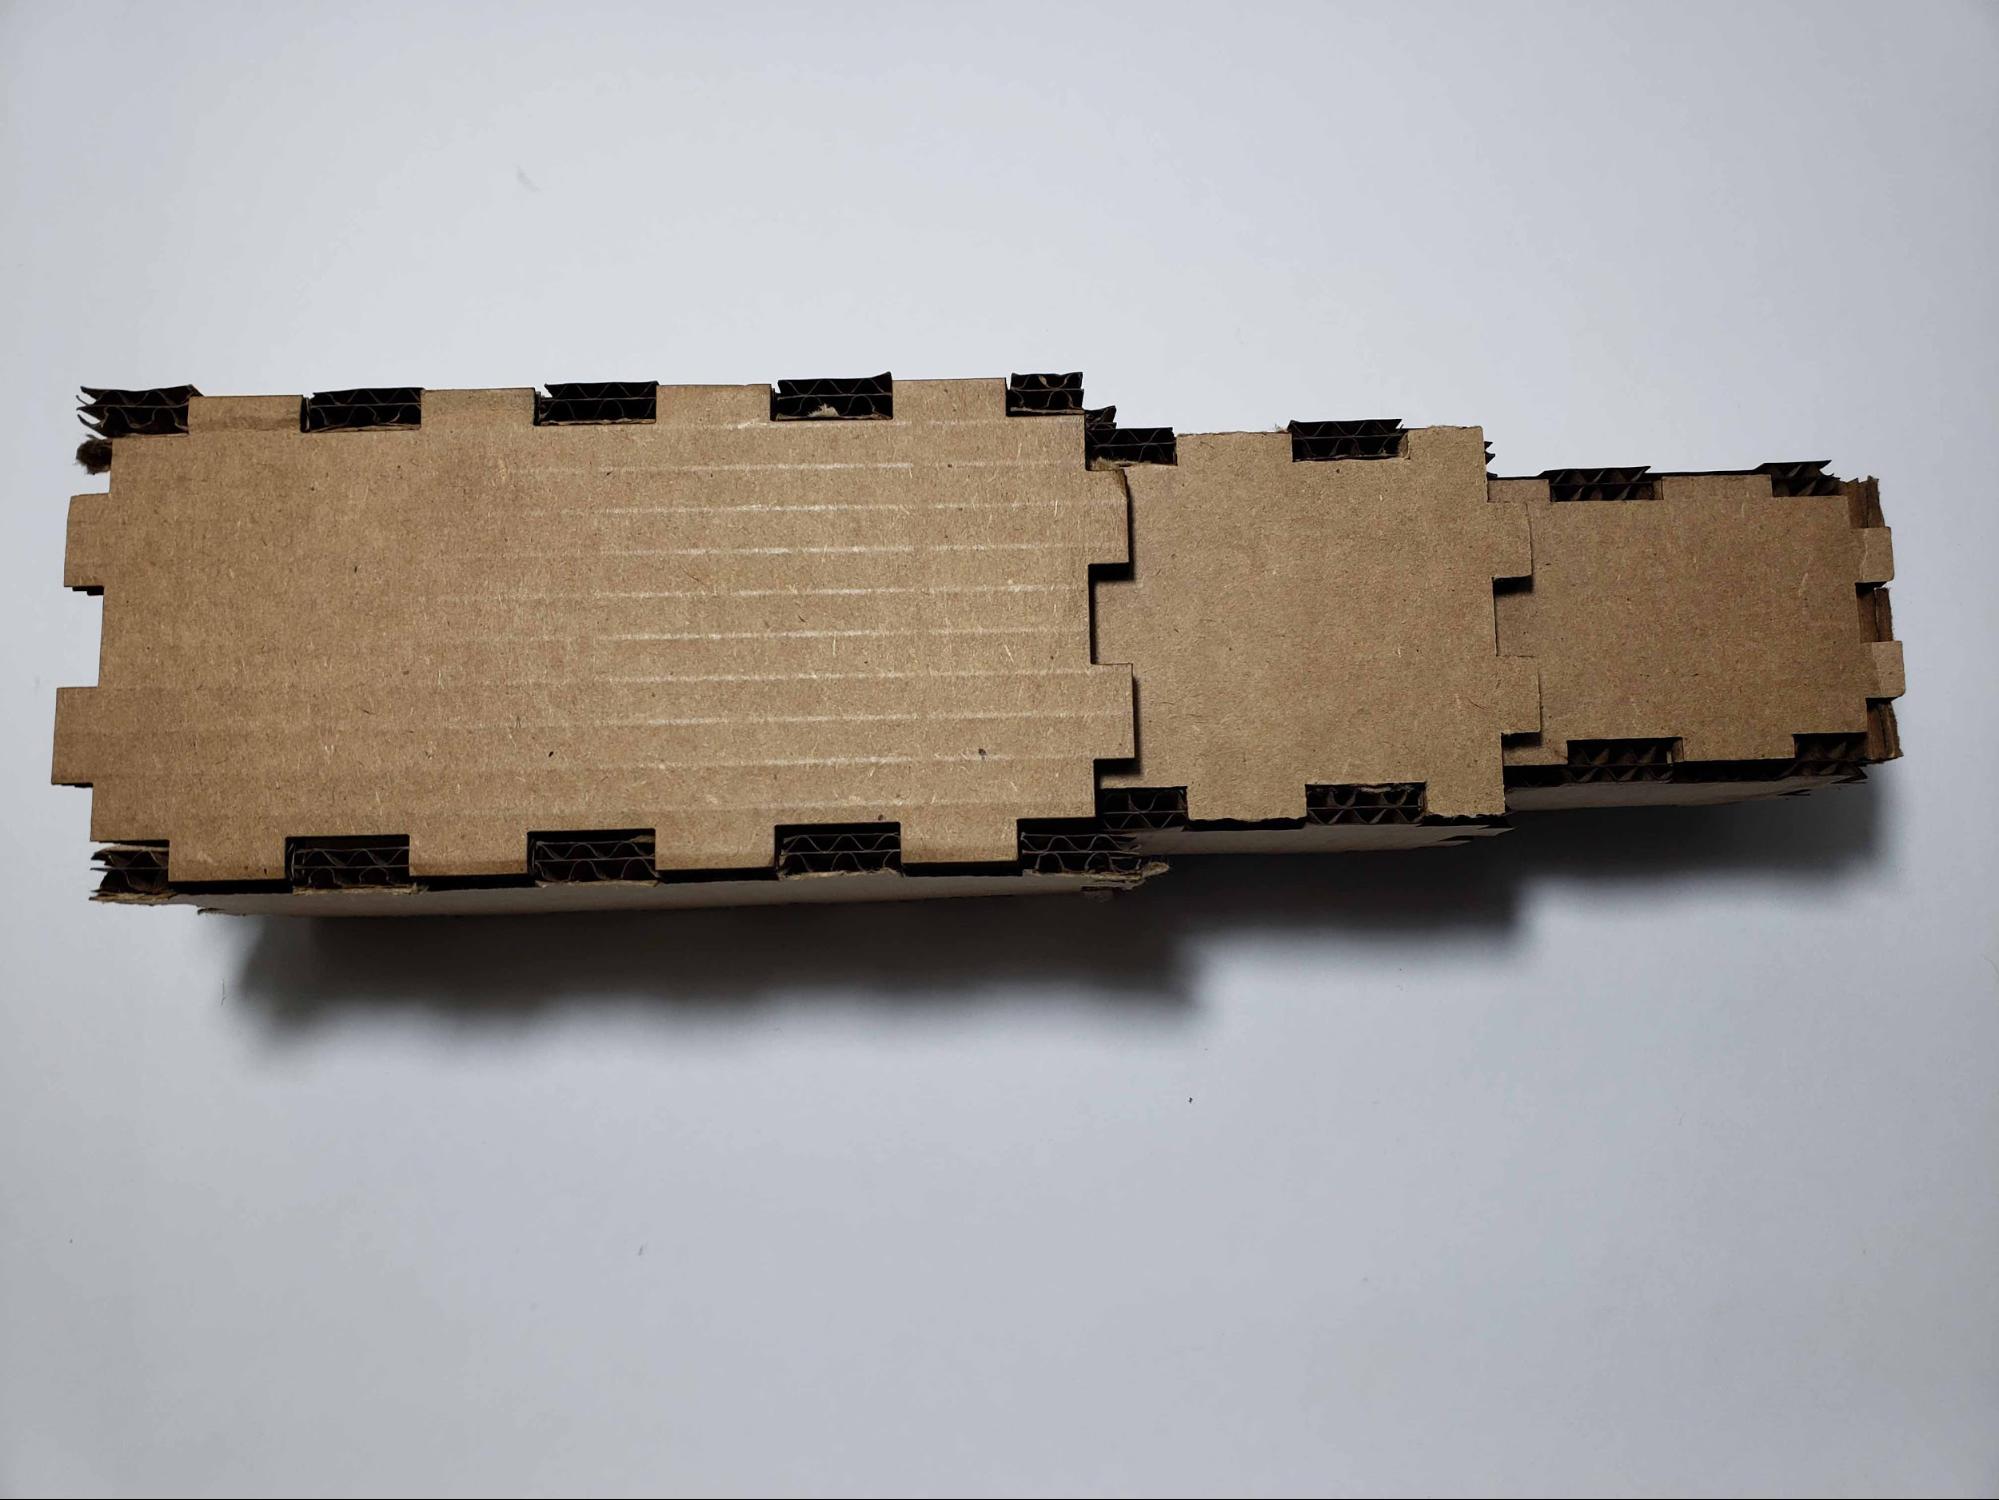
The prototype
Three Empty boxes, one with a pin hole and the last with a cut out paper pattern.
I used this prototype to test out different box lengths.

The Vinyl pattern
Because the inner box chamber is only about 1.5 inches in length, the vinyl patter is 1 x 1 inches. The pattern is the inverse of this Africa drawing - note the pattern png drawing was missing Madagascar, but I later added it to the vinyl pattern.
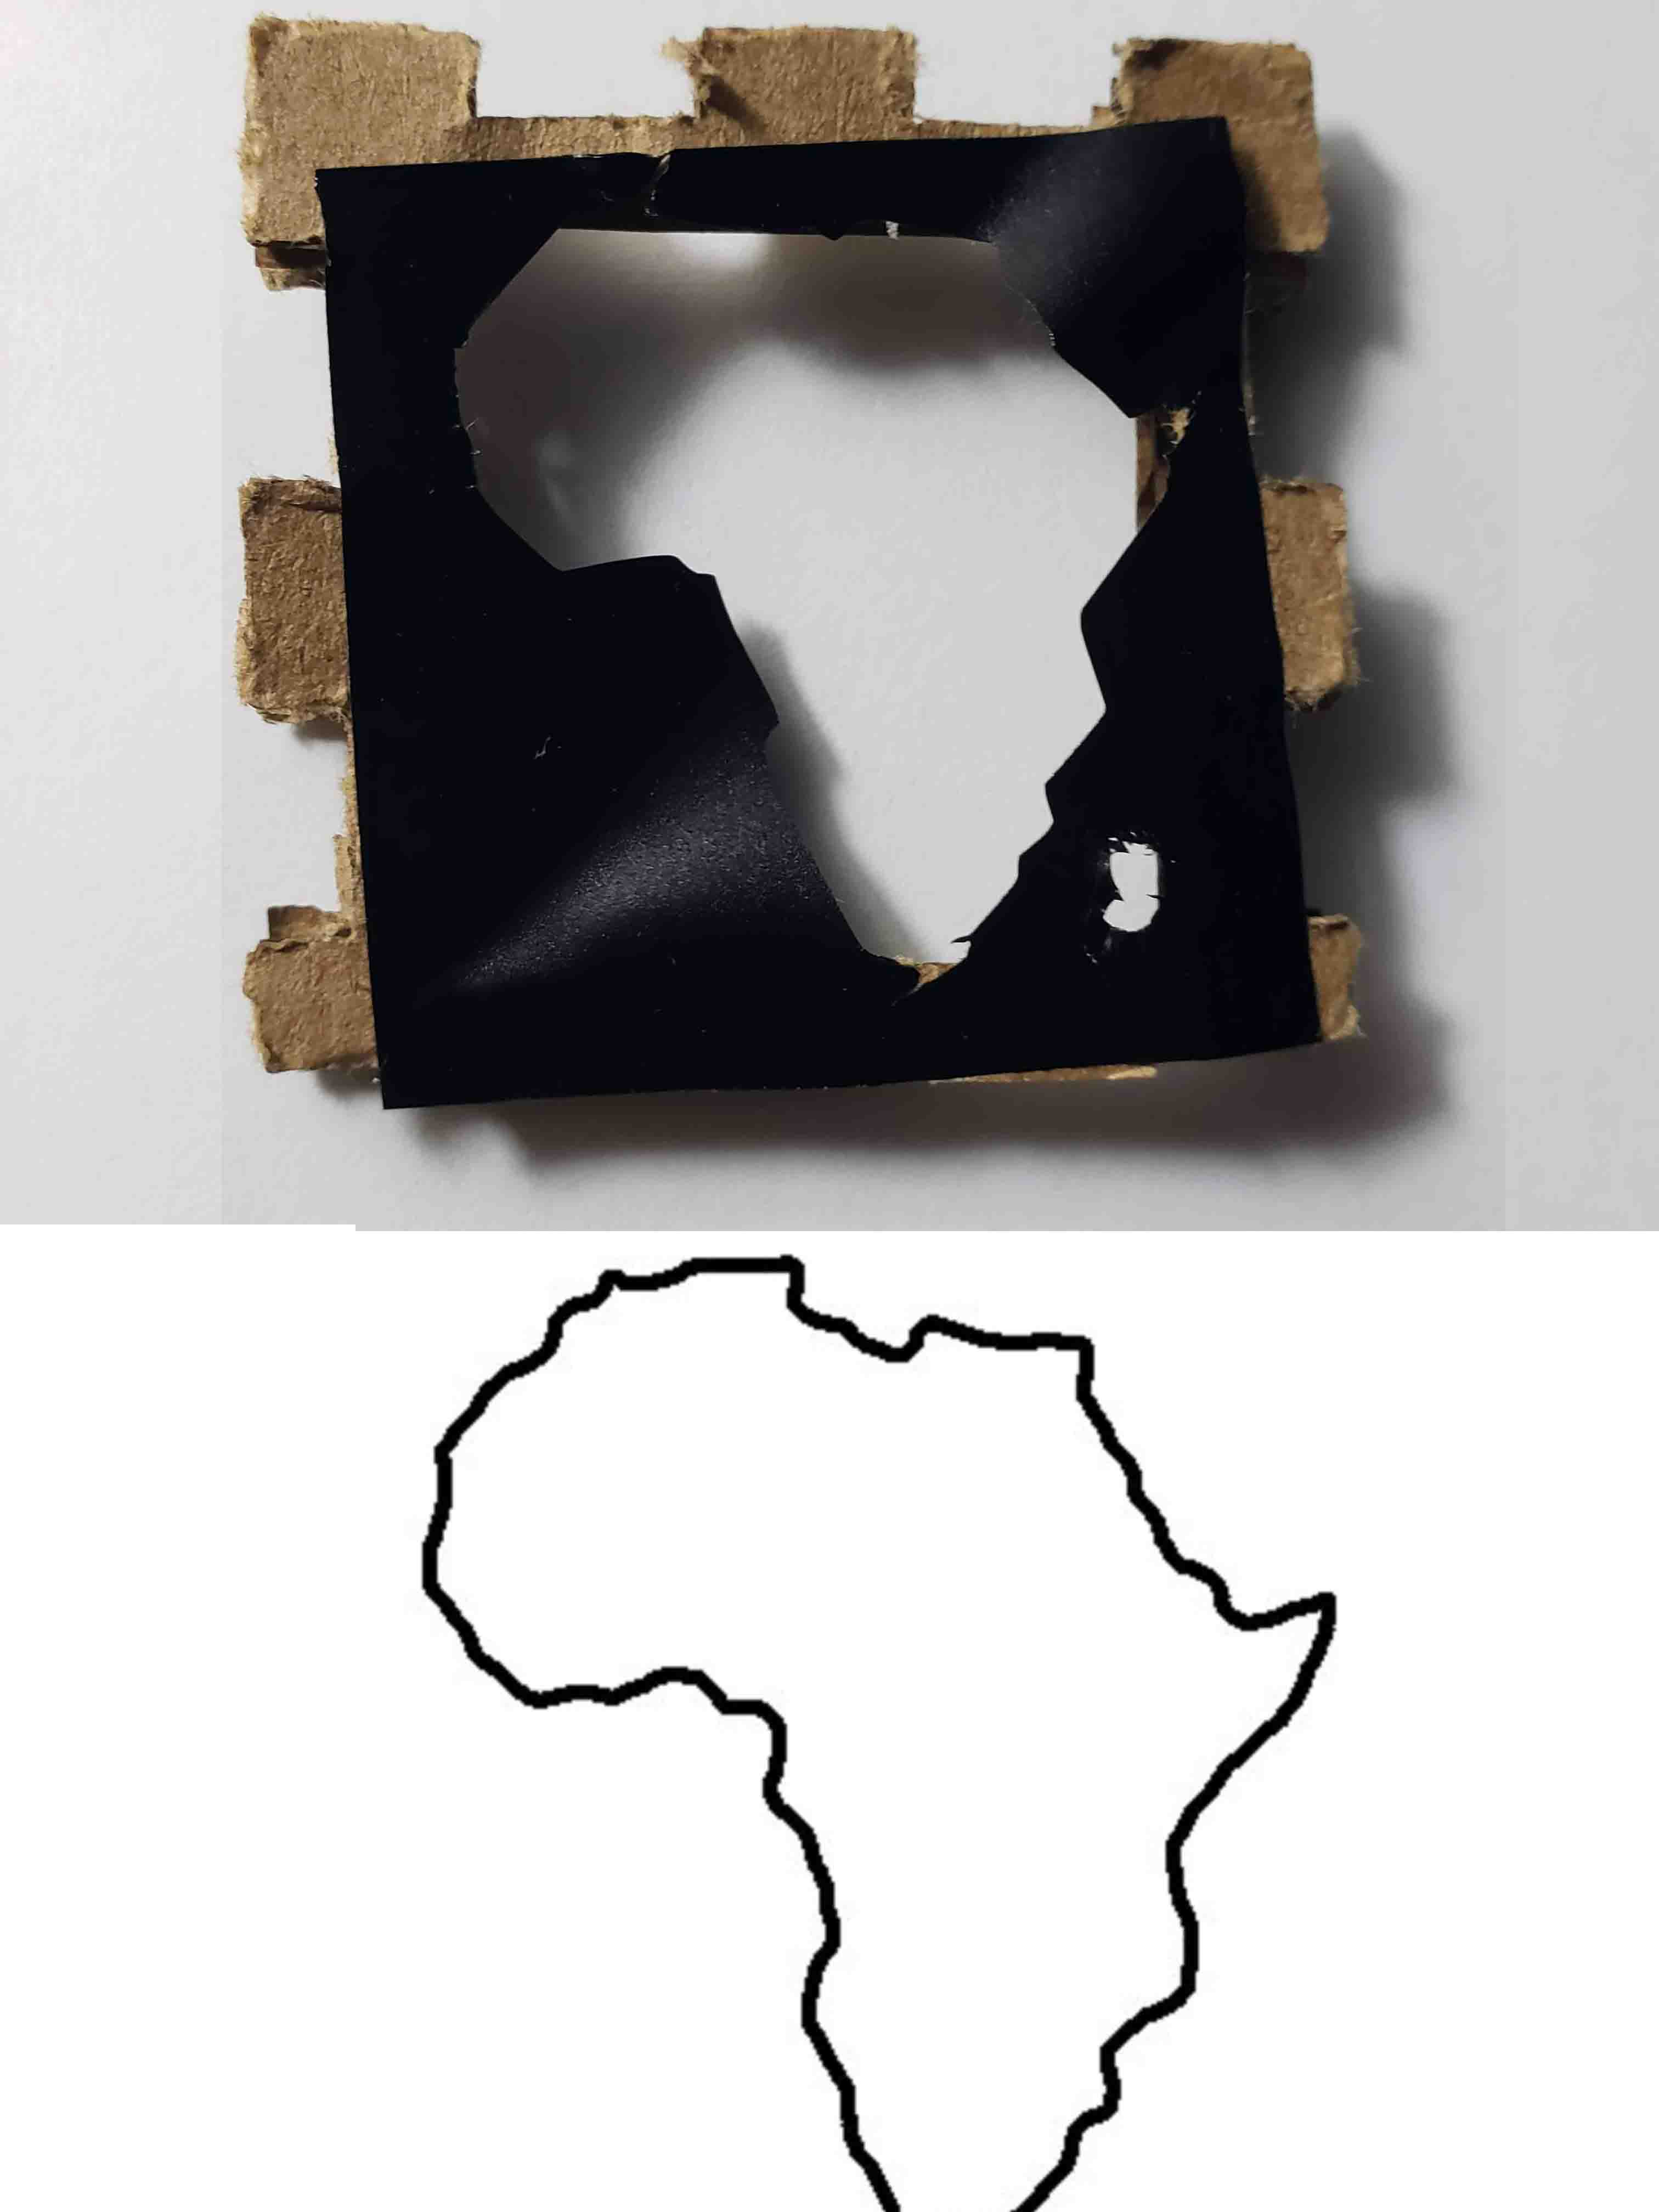
The inner chamber with vinyl pattern
This goes on the very end, of the inner chamber.

The middle chamber with pinhole
I learned that without the pinhole, the light won’t be forced to become directional.

The outer chamber with empty hole for light bulb
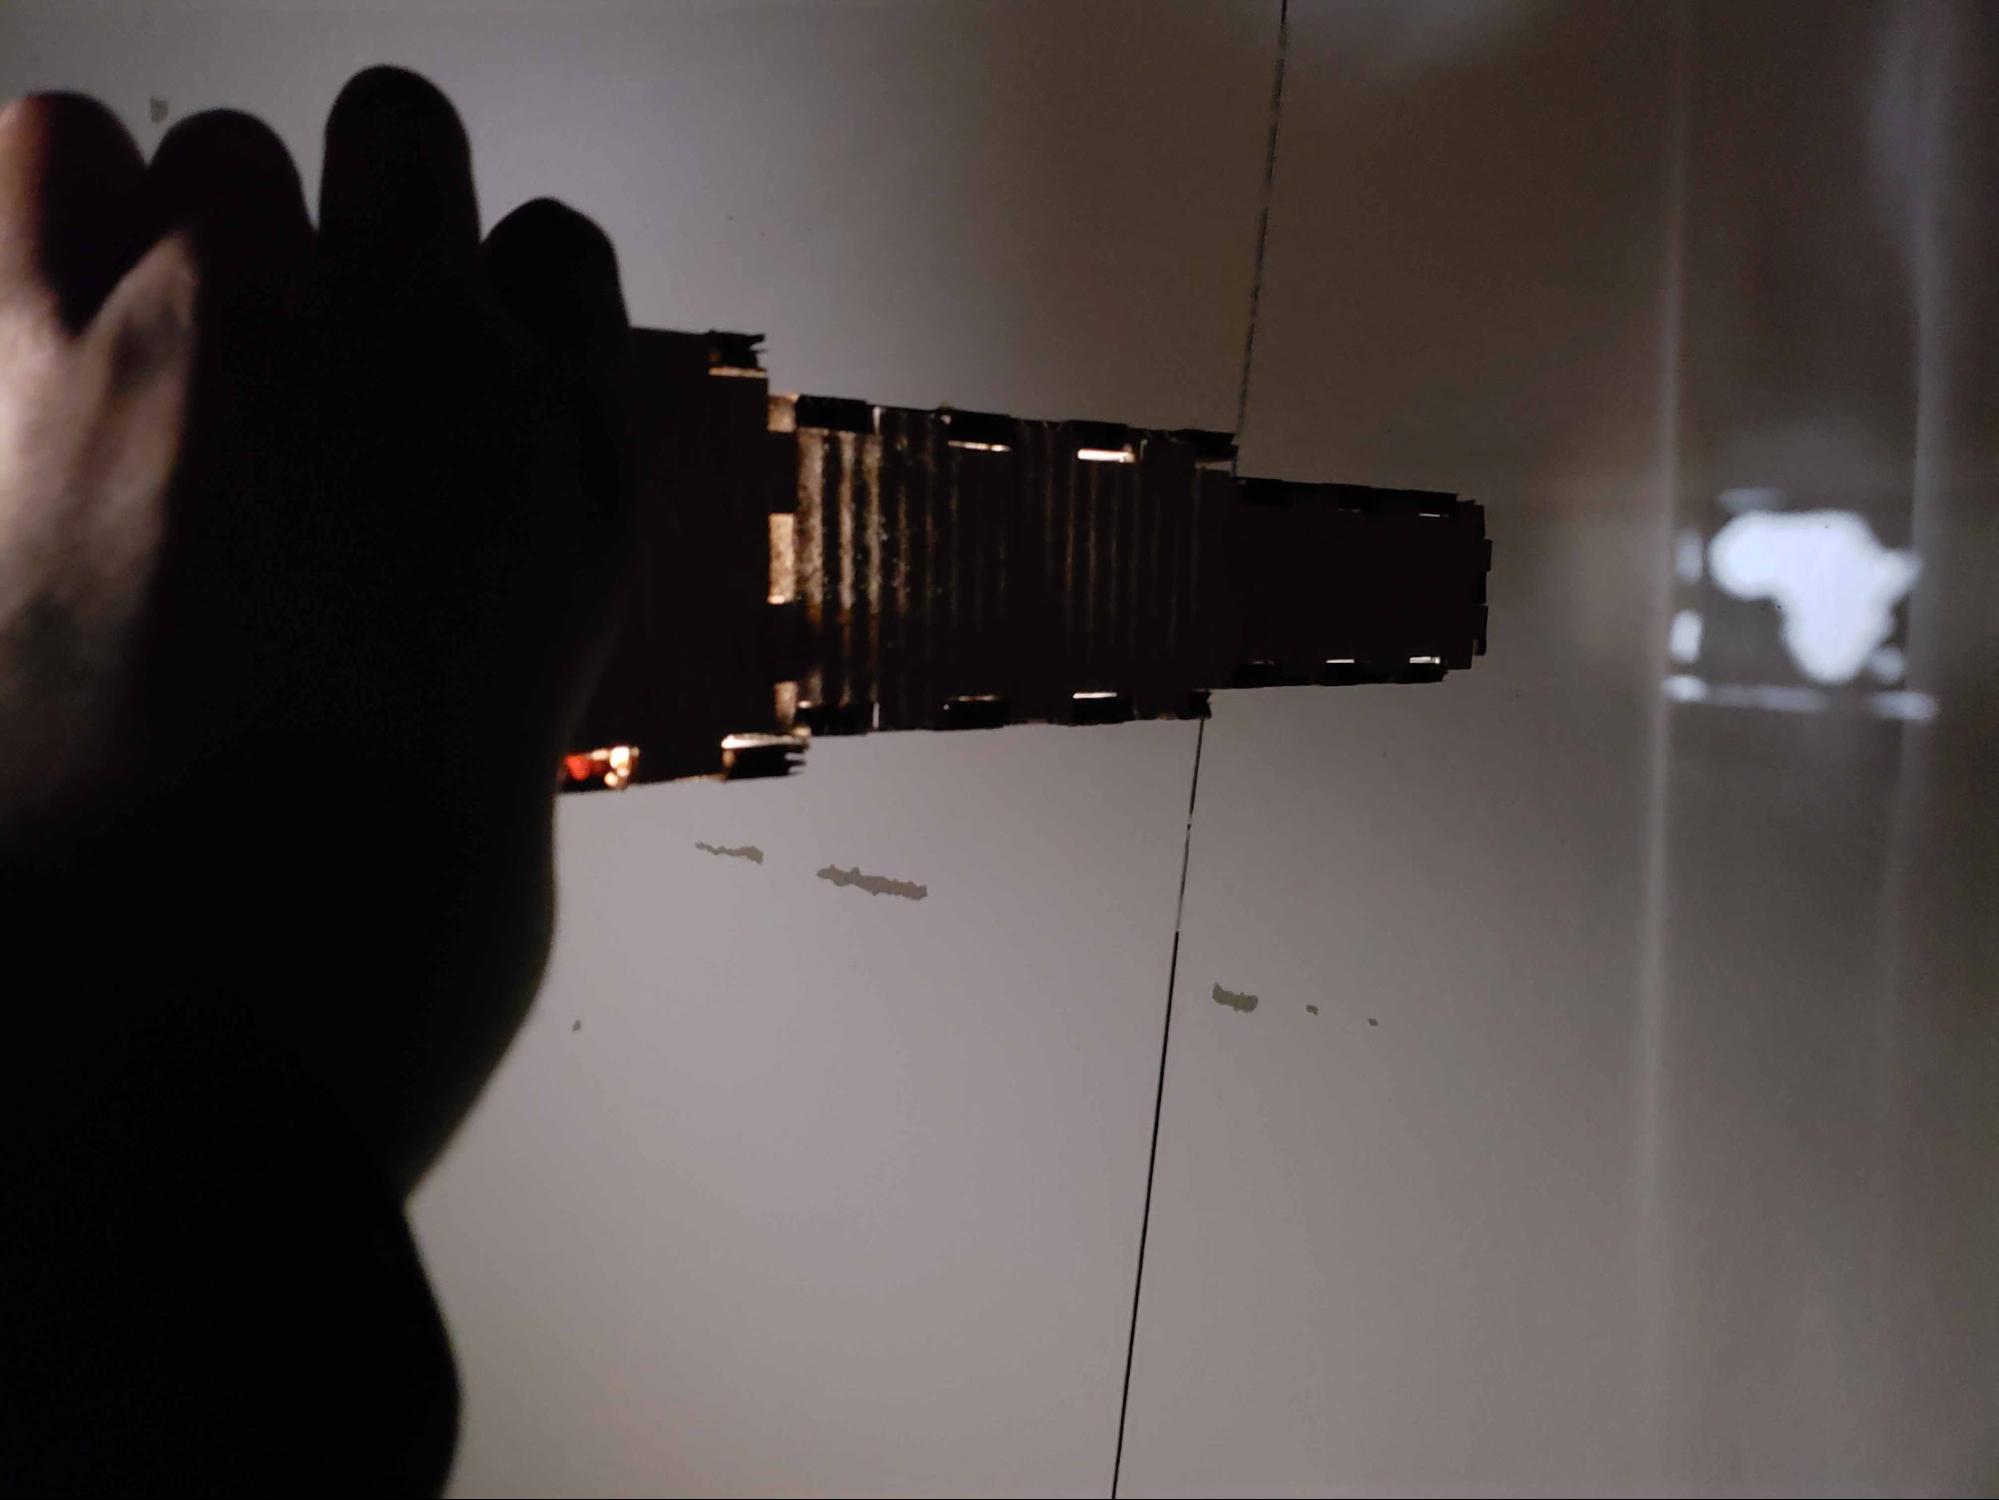
The three chambers combined - note that the pinhole is on the left-end of the middle chamber (somewhere in the middle of that outer large chamber) and that the vinyl pattern is on the right end of the inner chamber.
Final Testing
I was happy with the result but would love to figure out how to control the light leakage so that it looks like 16mm film.
Also, I would love to magnify the pattery somehow, with a lense/magnifying glass perhaps?