How To Make (almost) Anything
week 4 - 3d scanning & printing
This week’s making process was composed of 2 parts:
1. 3D scanning
2. 3D printing
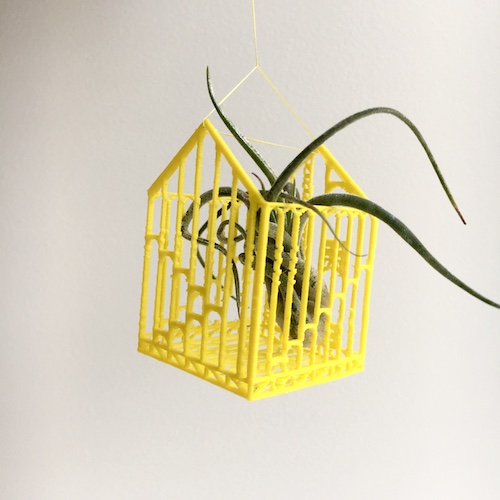
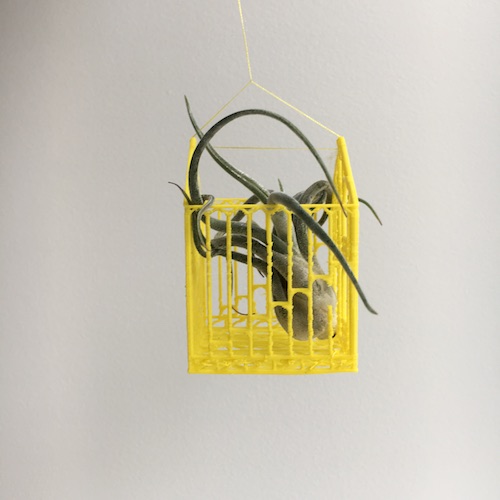
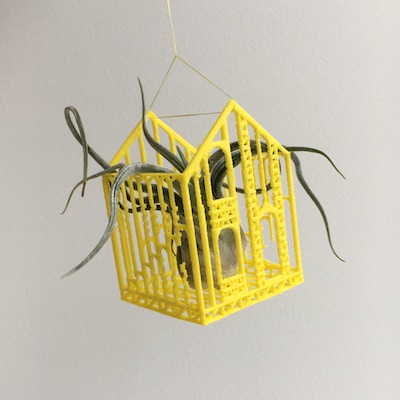
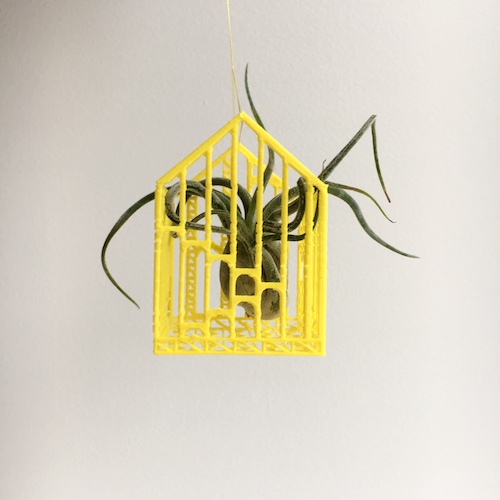
I 3D printed a house for air plants - a small house to hang in the air - and 3D scanned plants to house.

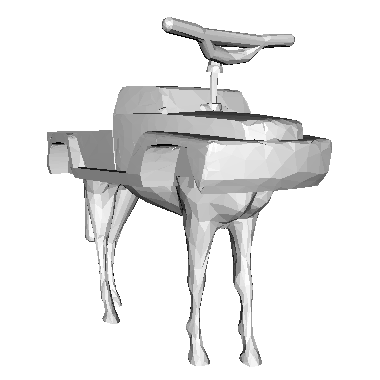
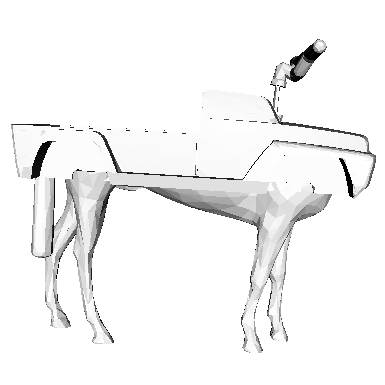
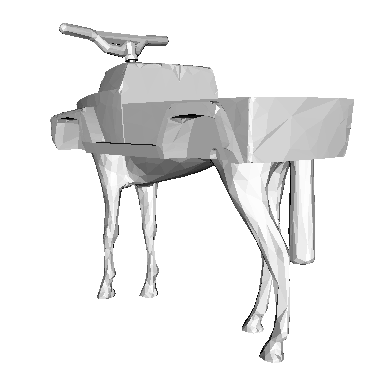
I also experimented by mixing meshes and printing a “mobility mashup” that combined parts from our past and present into a vehicle of transport.
3D Scanning
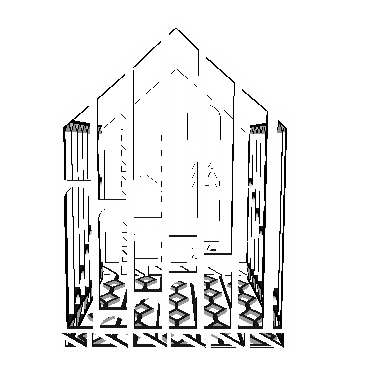
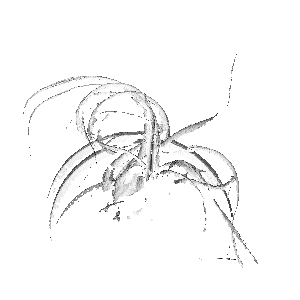
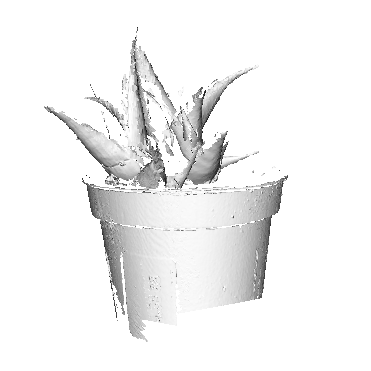
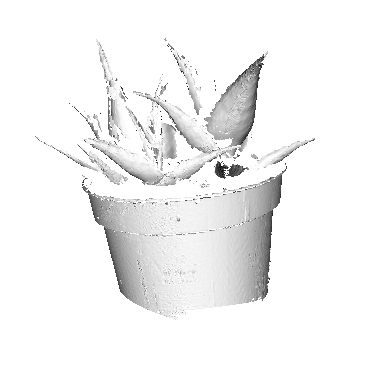
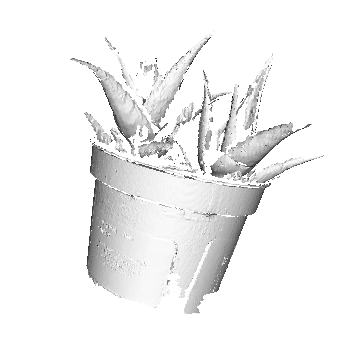
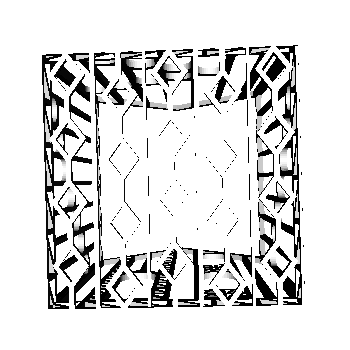
3D scanning air plants does not work. The scanner was unable to capture the plant’s spindly extremities.
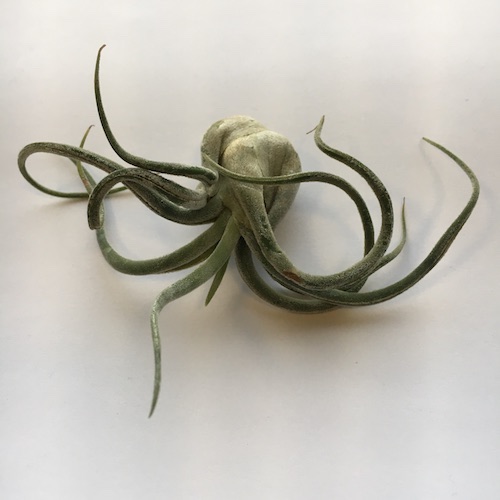
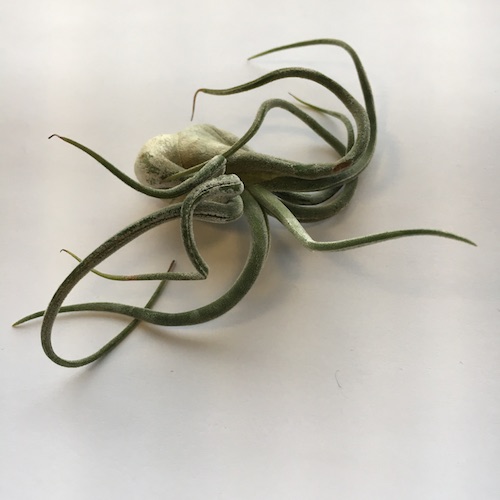
I used a NextEngine 3D scanner’s 360 option and tried increasing numbers of divisions for the scan. The number of divisions controls the degree of rotation between scans and the total number of scans, so the more divisions used, the higher the resolution and the more time the scanning process takes.


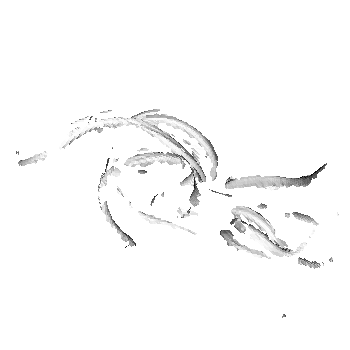


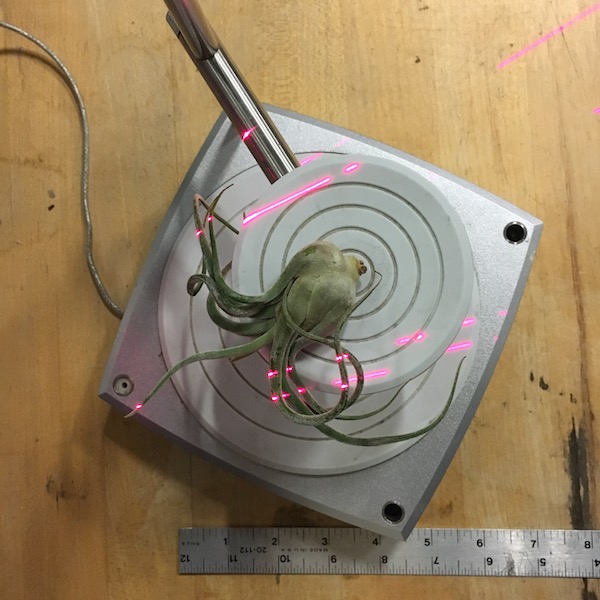
Is there something comforting about how this technology cannot capture nature’s intricacies?
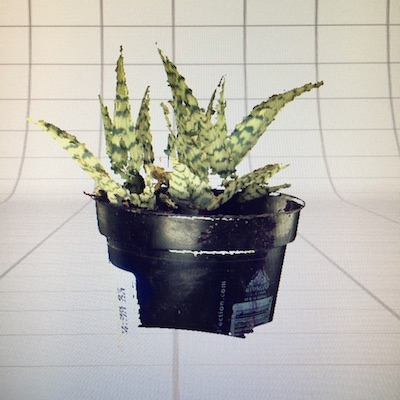
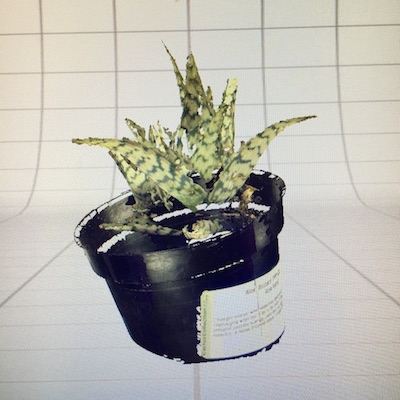
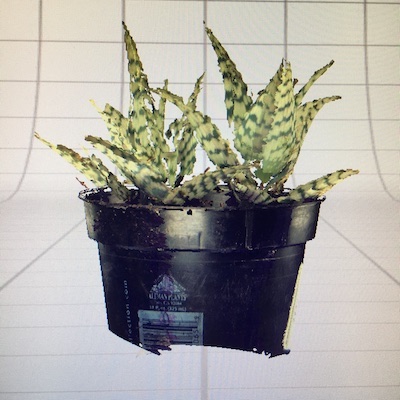
After 3D scanning airplants failed, I scanned a succulent with thicker and more computer-identifiable surfaces.
3D Printing
I used Fusion 360 to design a house for air plants that could hang from a thread. (STL file)
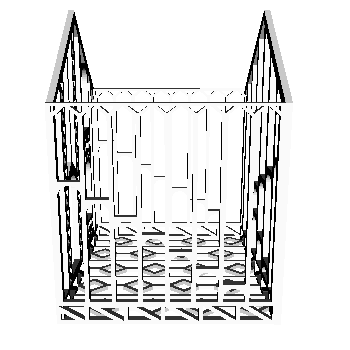
The first print was too small and delicate, so I immediately broke it.
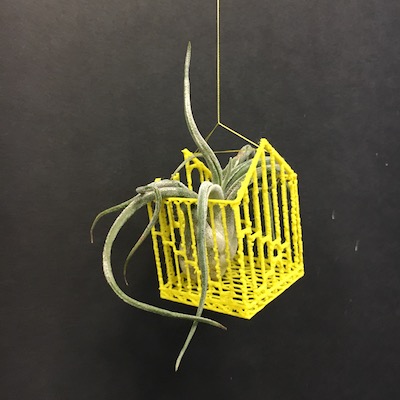
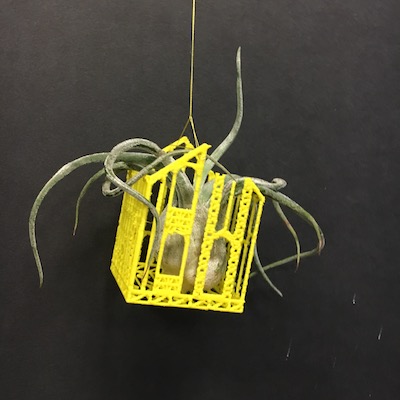
So I tried again with a bigger print.
These prints were made on the Sindoh 3DWox DP200 printer.
3D Mesh Mixing - Mobility Mashup
This was my first time designing a CAD file for 3D printing, so I experimented before attempting the house.
I created a “mobility mashup” - a vehicle of transport composed of parts from our past and present. (STL file)
I did this by combining horse, pickup truck, and bicycle mesh files in Fusion 360. After much frustration and time spent on what had seemed simple, I learned that although mesh files are a common way to transfer designs between softwares, programs like Fusion 360 are not optimized for manipulating them. If I were to do this again I would use a software that specializes in mixing together meshes, like Autodesk’s Meshmixer.
Up until it came time to print, I had been worrying about how to add structural supports for the printed piece - how would I figure out how to place the supports? I was happy to learn the 3D printing software can add the supports automatically. Once printed, I learned how to manually remove the supports with pliers, tweezers, and water (“cleaning”), but did not do this well.
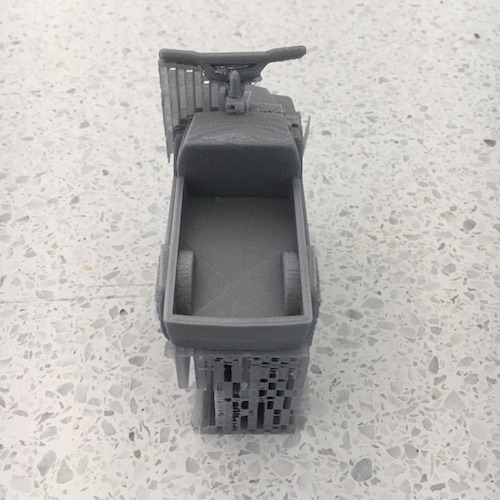

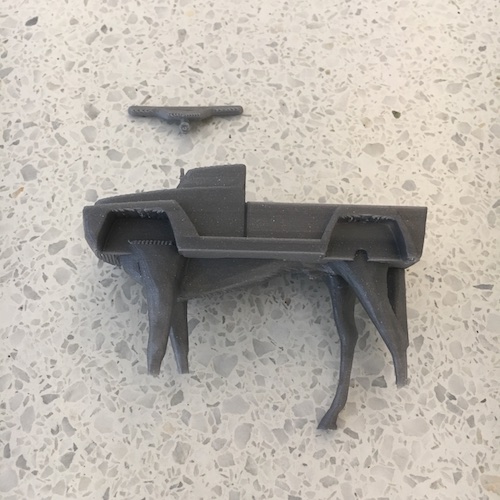
I broke off the handlebars in the process of removing the supports - clumsy.
I also printed the “mobility mashup” on the Eden 3D printer, which uses water soluble supports, but again failed to avoid breaking off the handlebars during the cleaning process.