MAS:863 HOW TO MAKE (ALMOST) ANYTHING 2018
––––––
WEEK 8: Molding and Casting
Design a 3D mold around the stock and tooling that you'll be using, mill it, and use it to cast parts.
We will need to create a 3D model then mill that into the provided blue wax mold. With this mold we will create a negative mold in OOMOO™ and Mold Max® 60 for metal casting. We will be using a ball endmill for an overall smoother finish.
-
Setup your file
- In Shopbot, input material information: X:3.5, Y:3, Z:1.5.

- Create roughing toolpath: this will remove most of the material. Below are the parameters.

- Create finishing toolpath. Below are the parameters.
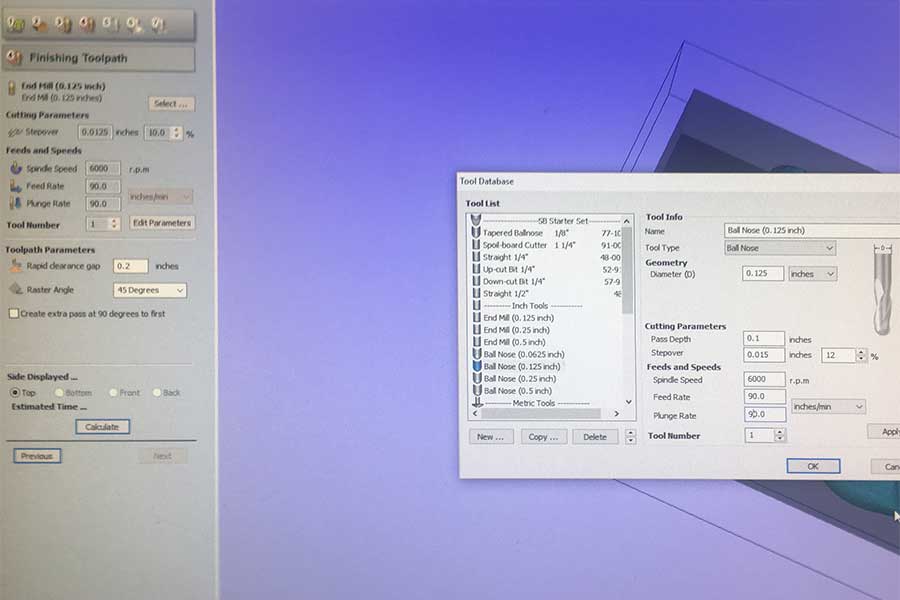
When you finish, save your roughing and finishing toolpath file in case you need to edit them later.
-
Calibrate
- We will 0 the X,Y to the bottom left side of the bluewax
- Now 0 the Z
-
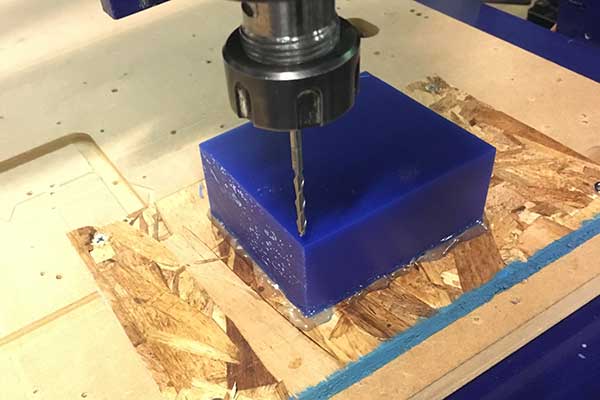
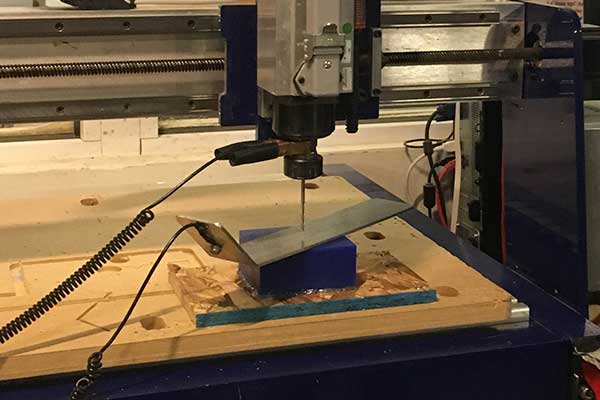
Mill
- Do the rough tool path first.
- Followed by the finishing toolpath.
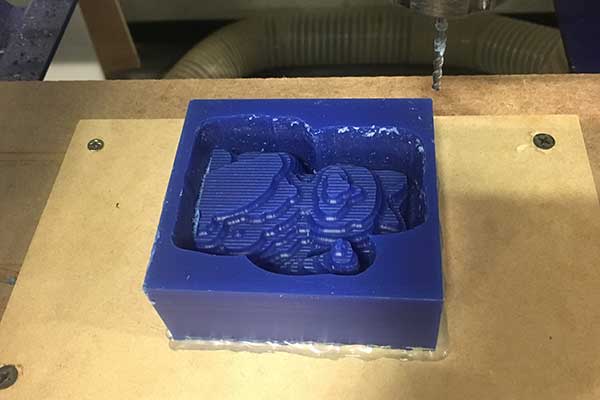
Congrats!🎉. You are done milling, now its time to create the silcone molds.
- OOMOO™: 1:1 ratio
- Mold Max® 60: 100:3 ratio
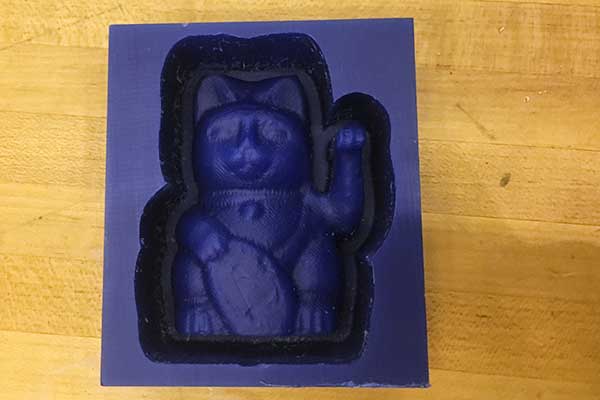
Mold making
We will create one mold in OOMOO™ for the DryStone or Hydro-Stone and another in Mold Max® 60 for metal casting. Follow the instructions on the packaging.
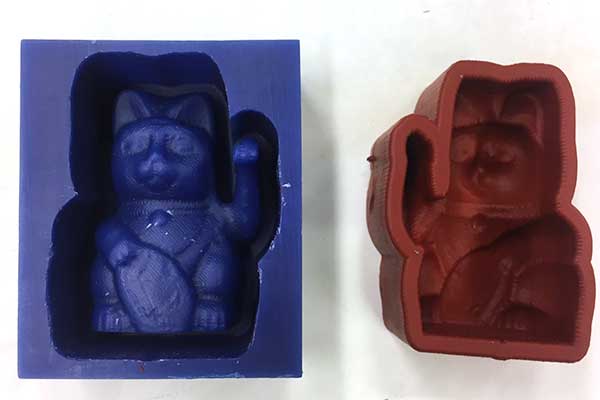
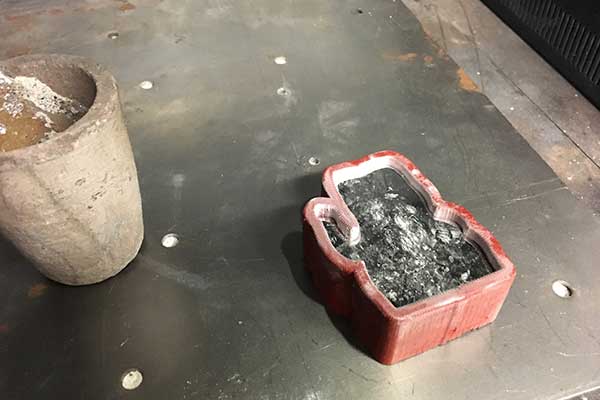
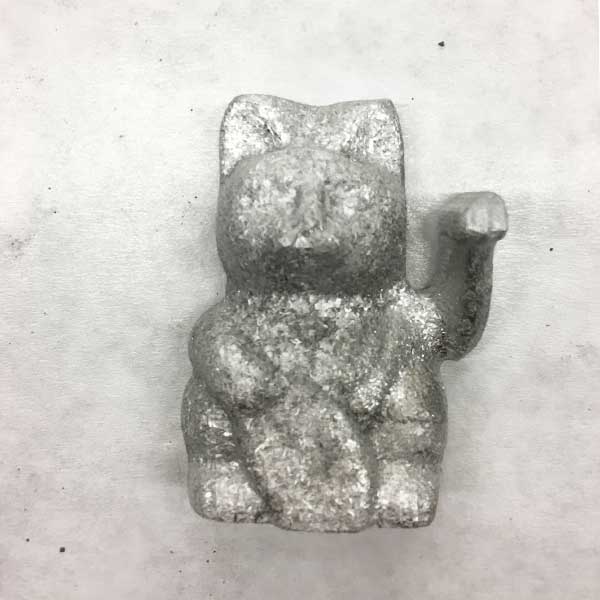
Casting
With the Mold Max® we will create a metal cast. I had to use a bandsaw to cut the metal bars into pieces so they could fit into the melting vessle. The vessle goes into the kiln and is allowed to melt. This takes about 20-30 minutes. Once it is melted, you can pour the melted metal into your mold. It will take about 20-30 minutes to cool.