Week 3. 3D Scanning and Printing
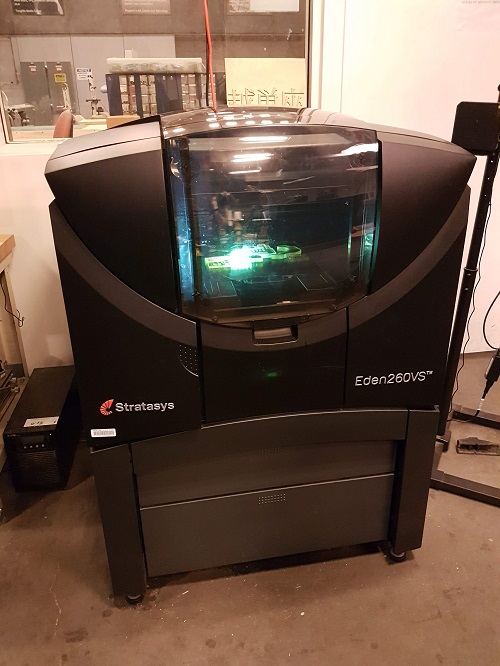
3D Printers: Stratasys Objet Eden260VS with soluble material. Sindoh 3DWOX with PLA filament.
3D Scanners: Sense 3D Scanner, NextGen 3D Scanner.
Software: Fusion360
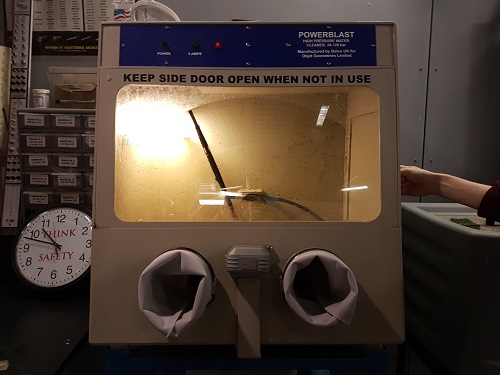
Others: Power Blaster for cleaning off excess soluble material from hinge.
Characterization of the 3D printers
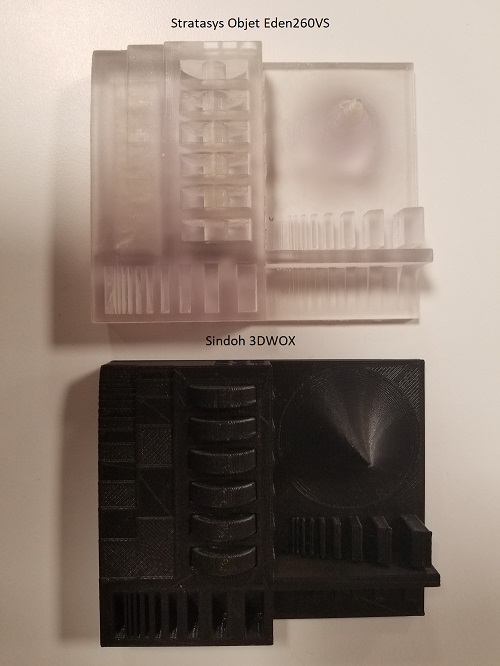
This week assignment is related to 3D scanning and 3D printing. We worked as a group to 3D print two different 3d models that test the design rules for the printers, one made by a student who took HTMAA, Amanda’s design rule, and another one from Thingiverse.com.
We printed both 3d models on the Sindoh 3DWOX printer with PLA material and the Stratasys Objet EDEN260VS with soluble material. We noticed that the Objet have better resolution than the 3DWOX printer, but from the design rules we are not sure on the quantitative information. A better design rule 3D model would be this one.
3D Scanning
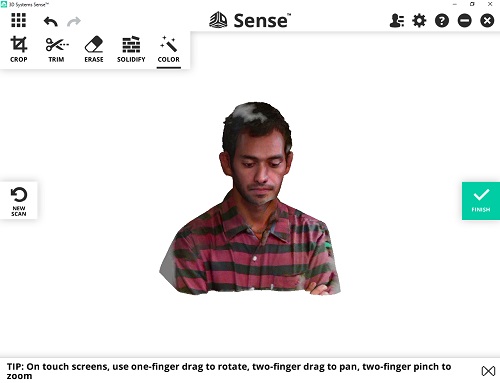
For the 3D scanning assignment, I decided to use the SENSE 3D Scanner to scan Teja’s profile. I noticed that if I start the scan from a side or the back of the head, I would get the face with deformation as seen in this picture. However, if I start the scan from the front face to the back, the 3D scan is much better. Mainly because we dont notice much of the deformation from the hair since it is already nonuniform.
Here is the 3D scan that turned out okay after solidifying some of the gaps.
Here is the deformed 3D scan.

3D Printing
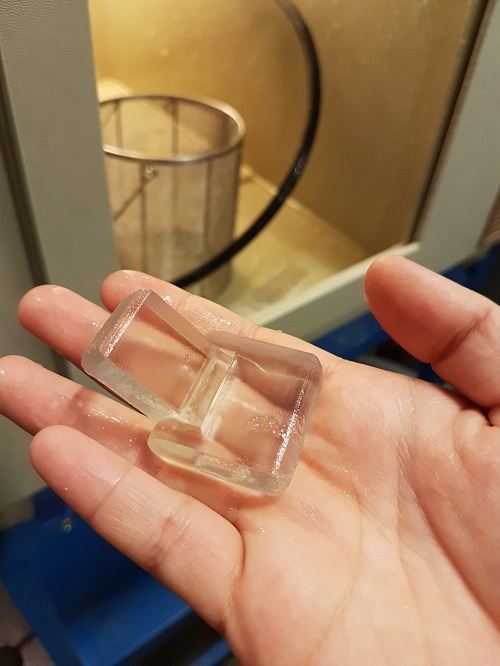
For the 3D printing, I designed a simple hinge with Fusion360 to test the movement of two components attached to each other. Since I have never done this before, I thought it would be great to just learn how to design hinges and figure out if they can indeed be rotated without assembling them.
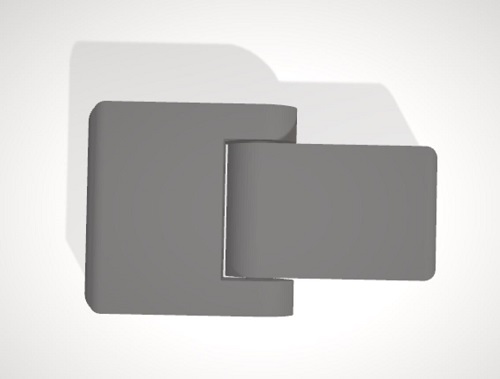
I used the Stratasys Objet EDEN260VS printer with soluble material to print the 3D model. I do not think it would work on a normal printer using the PLA material because of the internal empty gap between the components. Check the hinge.stl file to see what I mean.
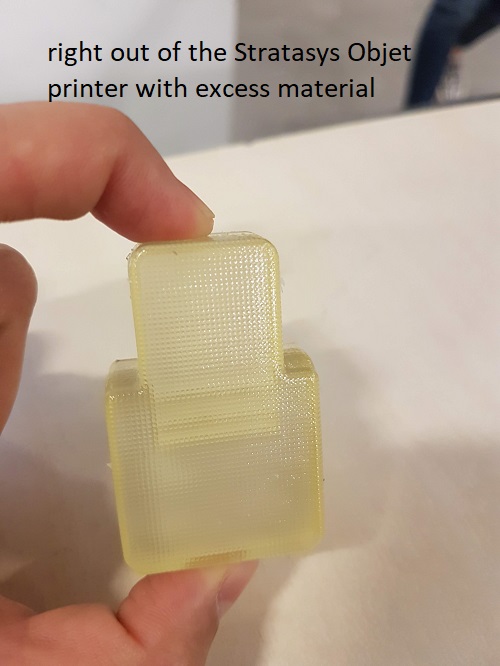
The object that came right out of the Stratasys had excess material that must be cleaned with water.
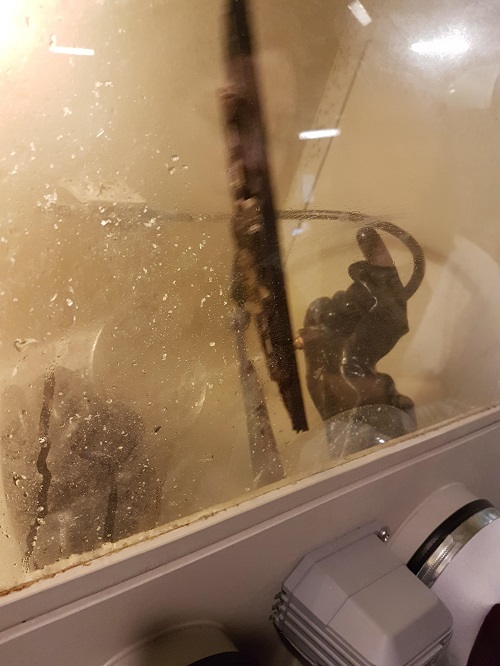
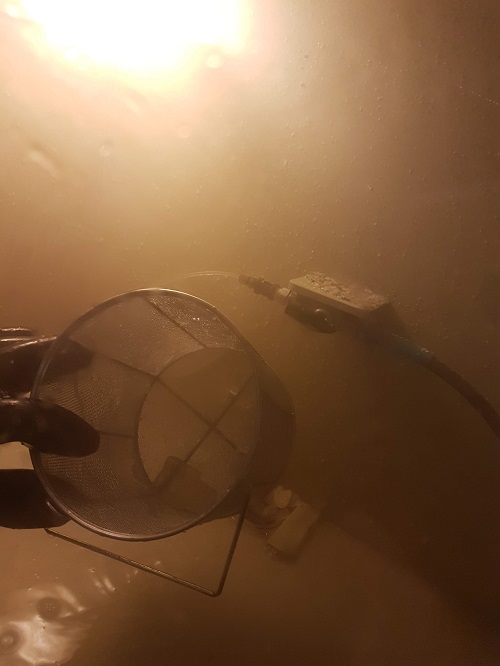
I used the Power Blaster to wash off the excess material from the 3d object.
Here is the resulting hinge after removing the excess material.