Week 5. Computer-Controlled Machining
Machine: Shopbot
Software: Fusion360, Rhinoceros 3D, XCarve ShopBot Edition, Shopbot3
This week we need to make something BIG. However, big is always relative.
Design
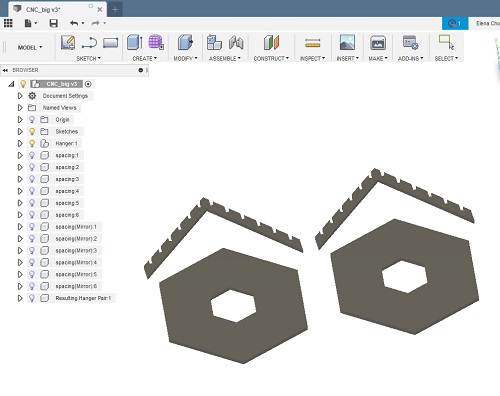
Initially, I looked up perpetual motion machine, and kinetic sculpture. However, with the limited time I had, I decided to work on something simpler since my CAD skill is not that great either. I went for a simple chandelier designed using Fusion360. Next time, I will just try with Rhino because Fusion360 workflow is weird. It saves all files into the cloud and cannot be directly downloaded into my own computer. I have to access myhub.autodesk to get the file sent to my email to finally download it onto my harddrive… really?
This is the first iteration, I did another one but it is not showing on my fusion360 after I closed it. I can only access it on the cloud, but cannot open it on my own fusion360 software. I had to export the dxf and modify it on Rhinoceros 3D because fusion360 cannot export the 3D components into 2D vectors.
Tom told me that we have access to Rhinoceros 3D through the Media Lab. I am planning to just use Rhino in future projects.
We export the design as .DXF and import it into a new XCarve project. We set the origin corner and make sure the dimension of the material is correct, as well as material depth. Select all the path and go to edit/join. It will make sure everything is correctly joint where it is supposed to. Select the path and go to toolpath. Make sure everything there is correct. Follow the tutorial on the computer. Add tabs to prevent object from sliding after it is cut. Calculate and save toolpath. Save xcarve file in case we want to modify the toolpath later.
Shopbot Calibration
There are a lot of parts that we need to do for the calibration.
- Set the wood sheet or material on top of the sacrifitial layer on the shopbot.
- Screw it in to secure it and make sure it is completely flat on the surface.
- Turn on the shopbot with the Knob.
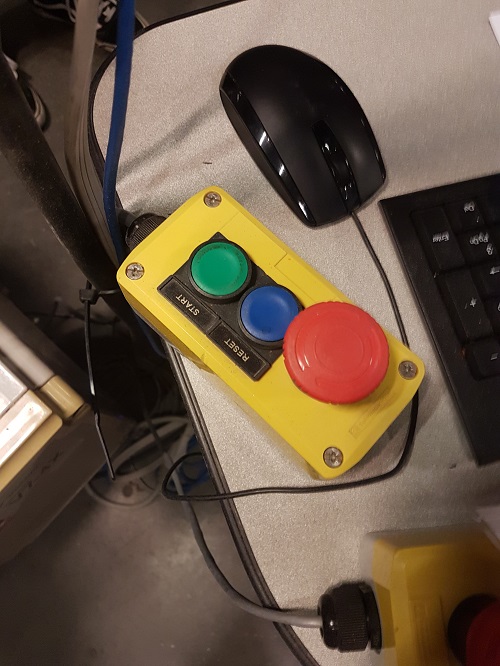
- Press the reset button to open up the ShopBot3 software.
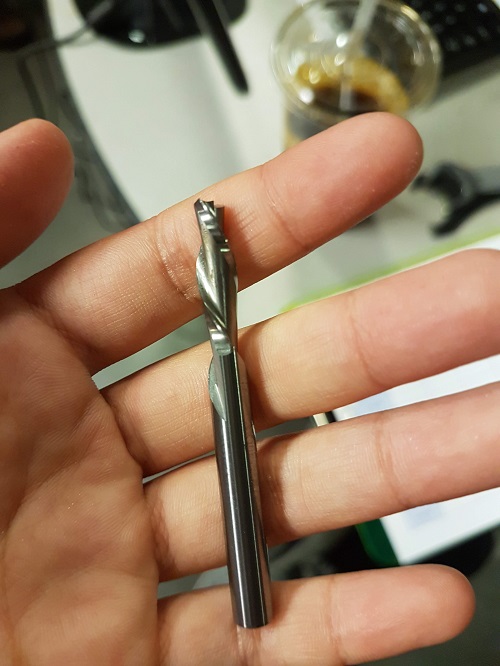
- Place in the endmill.
- Put in the key and turn it.
- Check the rpm on the box. It should be 12000rpm for 1/8” endmill and 10000rpm for 1/4” endmill.
- Open up the keypad (yellow square) on the software and move the head to where you want to set the origin. Make sure it is the same corner that you especified on the XCarve software. Make sure it is at the very corner of the wood.
- Zero X and Y.
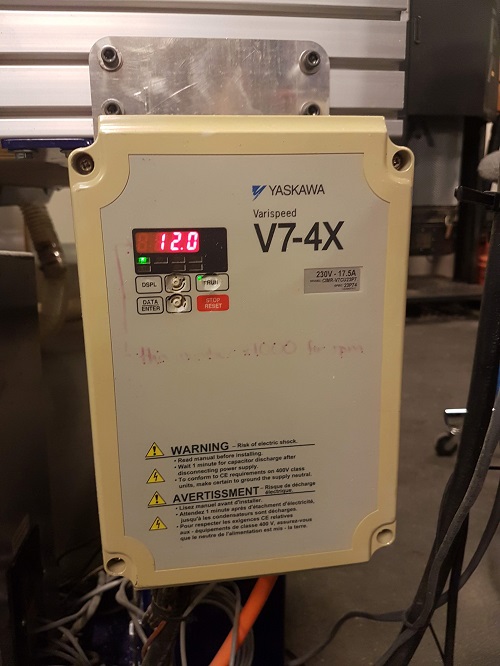
- In the Shopbot3 software, go to Cuts/Zero Z with Z plate.
- Place the Z plate on the platform right below the endmill.
- Press okay to the Z plate instruction in the software and wait for it to execute. Do not place hand below machine once you press okay. It will move down.
This is the shopbot.

Secure the piece of wood on the shopbot. We put three screws on each side. They were placed very close to the edge to avoid milling over it. It could break the endmill and that is extremely dangerous.
Turn the knob on the shopbot to power it on.
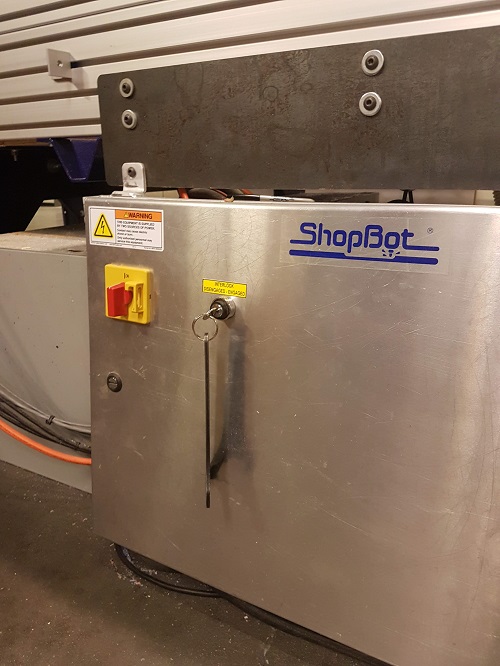
Verify that the box said 10000rpm if using 1/4” endmill or 12000rpm for 1/8” endmill.
Press the reset (blue) botton to connect to Shopbot3 software.
Place in the endmill, this is the 1/4” endmill. I used the 1/8” endmill for my project.
Zero the X and Y, then Zero the Z with the Z plate.

To Zero Z axis with Z plate go to the Shopbot software under Cuts
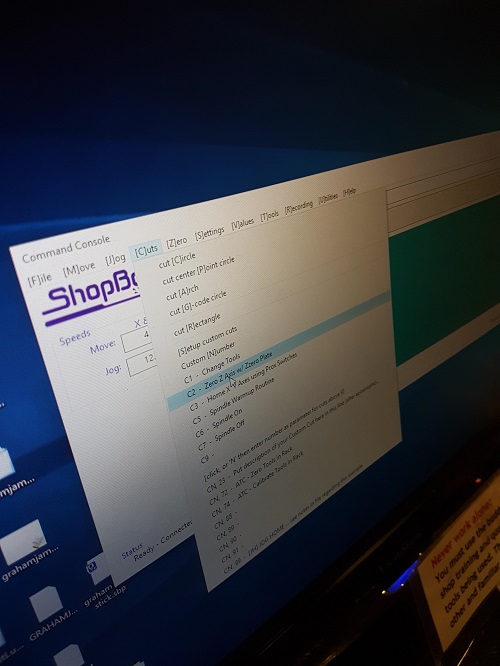
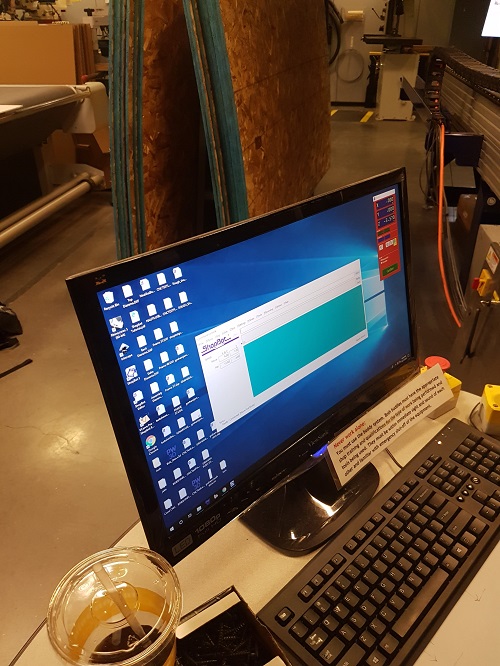
Shopbot3 software.
Fabrication
Once the machine is calibrated, we import the toolpath into Shopbot3 and press start. Make sure the yellow keypad window is closed before importing the toolpath or it wont work. Once we press start, press the “Start” green button. This will run the spindle, then press okay to the popup screen. Turn on the ventilator to clean up a bit.
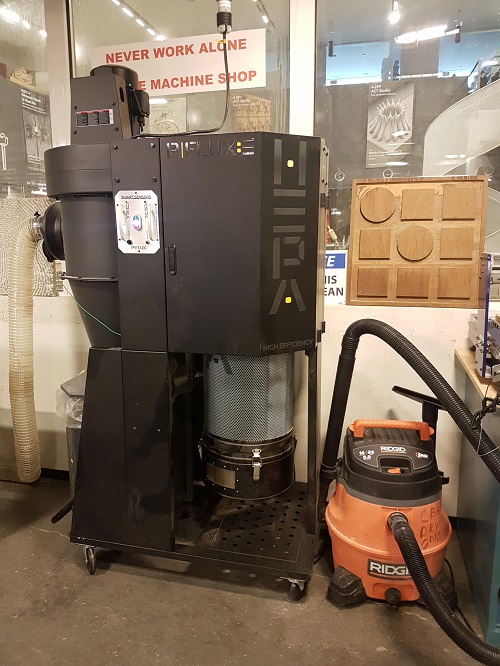
Ventilator
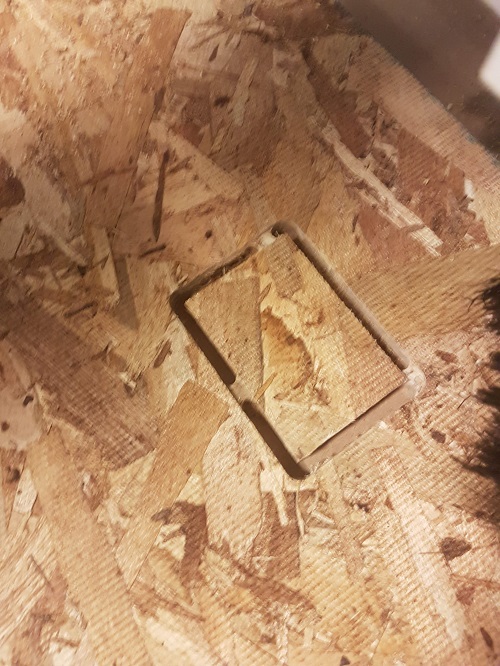
Test square
First cut
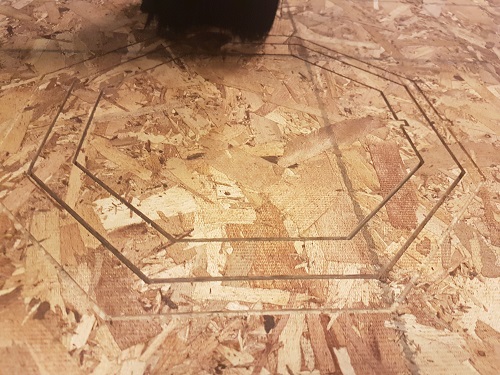
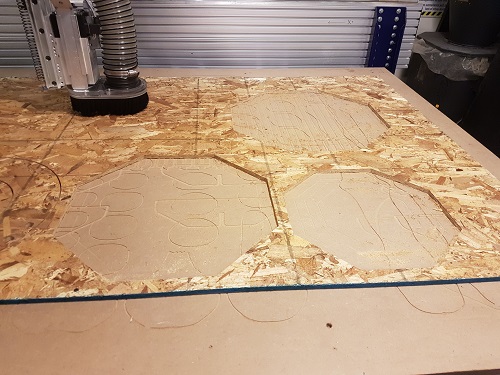
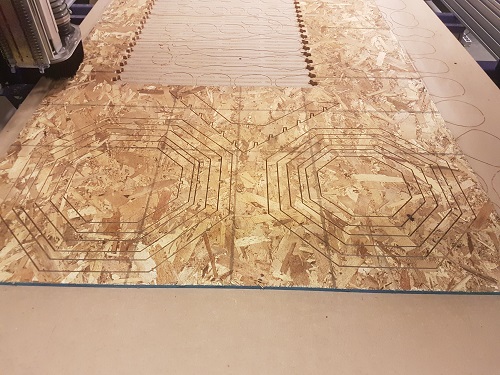
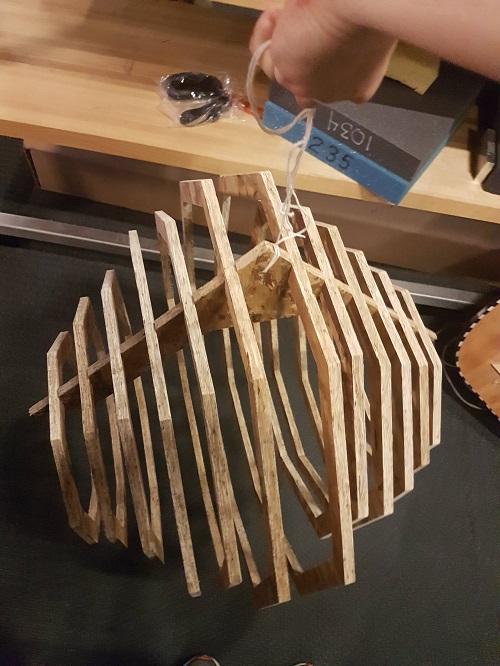
My design all cut out
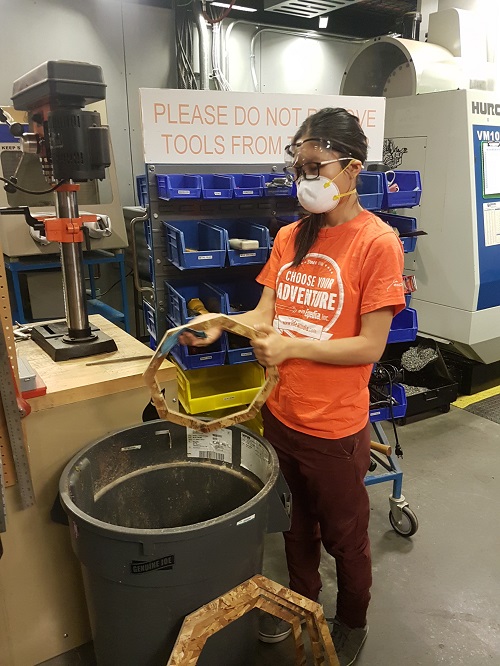
Sanding with a 320 sand paper
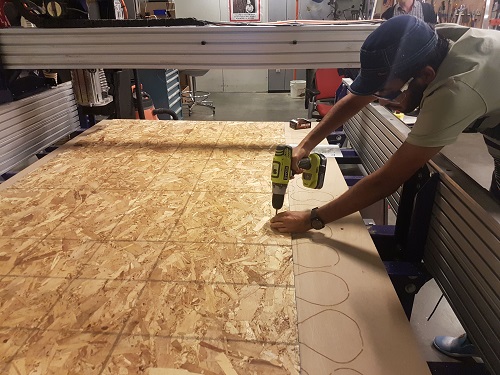
Drill hole on the main piece for hanging.
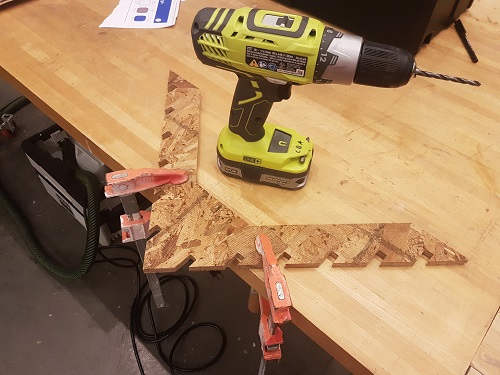
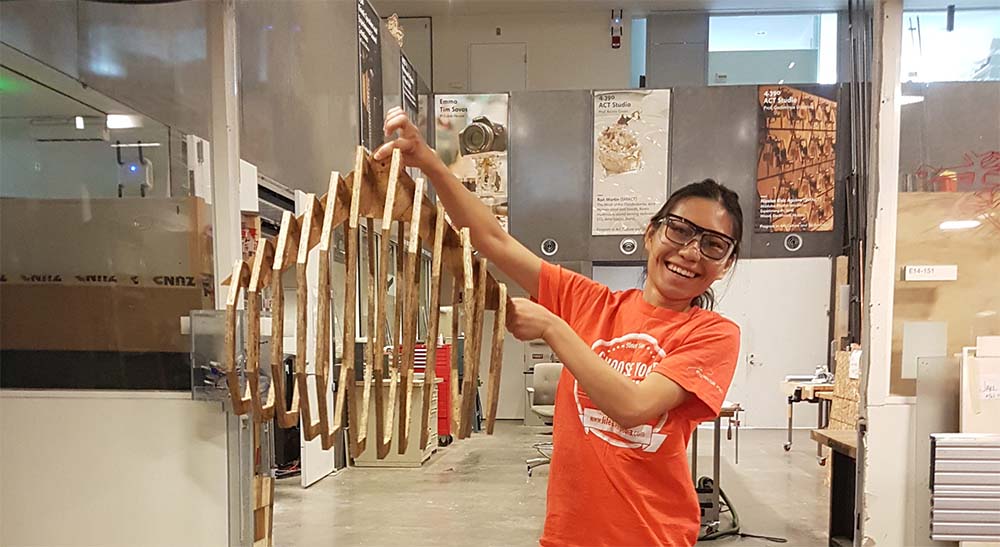
Putting everything together.
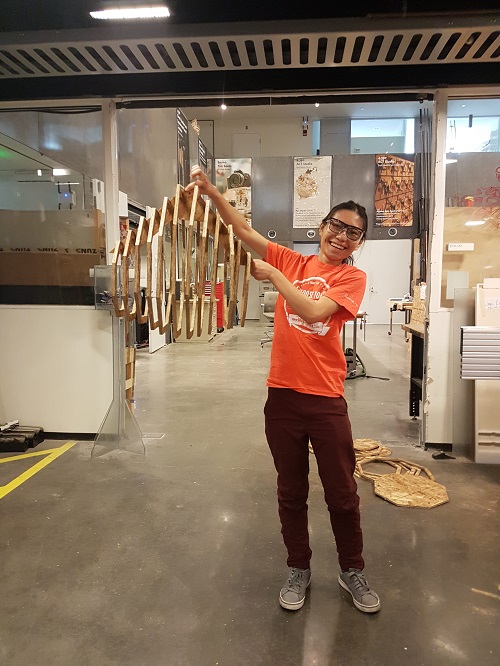
My first art… chandelier… missing the bulb.
This is the resulting piece after removing my stuff. Look at that sacrifitial layer. :D