Week 7. Molding and Casting
Machine: Desktop Shopbot Material: Block of wax, silicon putty, silicon rubber, resin, silicon composite
For this week assignment, I used the Desktop Shopbot to make a mold and used composite to make a diffuser ring. The initial idea was to test the composite to figure out which one is better for diffusing light homogeneously. I was going to test them with LED embedded in them but didnt get enough time to finish it. In addition to that, I also used material from my lab to make a simple ring mold and used clear resin as the composite.
CNC Machining (Roughing and Finishing Toolpaths)
We used the Desktop Shopbot to machine a block of wax for molding. We followed the same calibration process as large scale CNC machining from previous week.
- Hot glue block of wax on a flat wood surface.
- Screw in the wood on the desktop shopbot sacrificial layer.
- Zero the X and Y to the correct origin selected on the Xcarve software.
- Zero Z plate process to get the Z calibrated to the block.
- Prepare the stl file with the provided template on xcarve software.
- Select roughing toolpath and save it.
- Select finishing toolpath and save it.
- Save project file on xcarve for future changes.
- Import roughing toolpath and start it.
- Once the roughing is done, import the finishing toolpath and start it again.
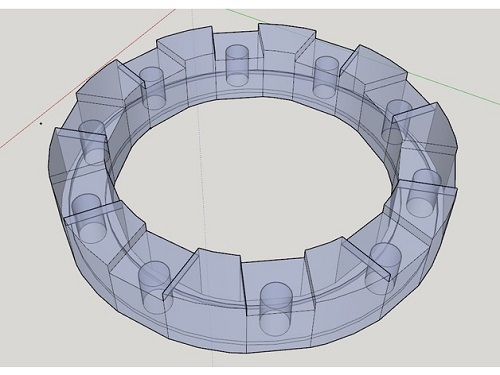
Diffuser ring I want to make. Found stl file from thingiverse, IronMan Arc Reactor.
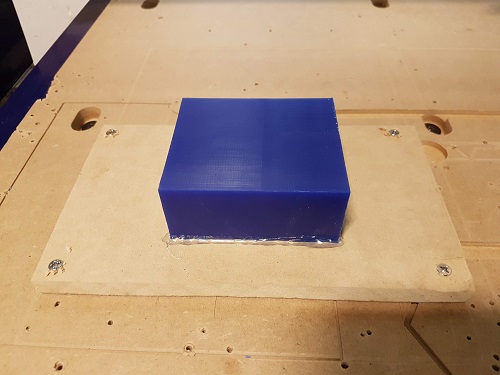
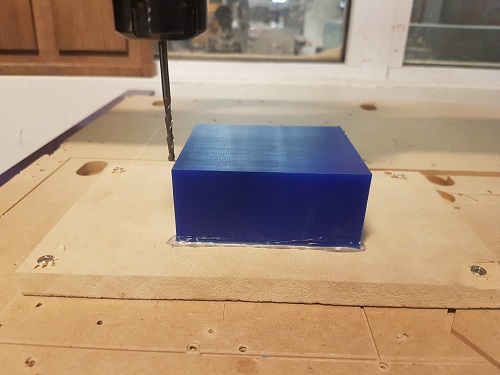
Block of wax for molding
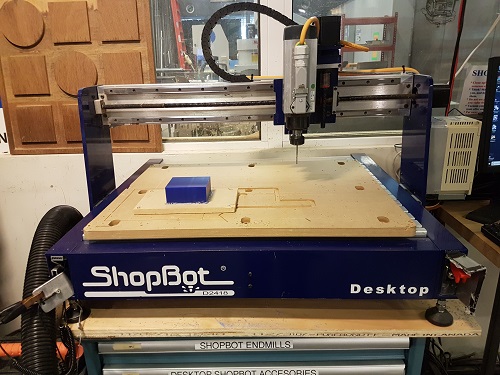
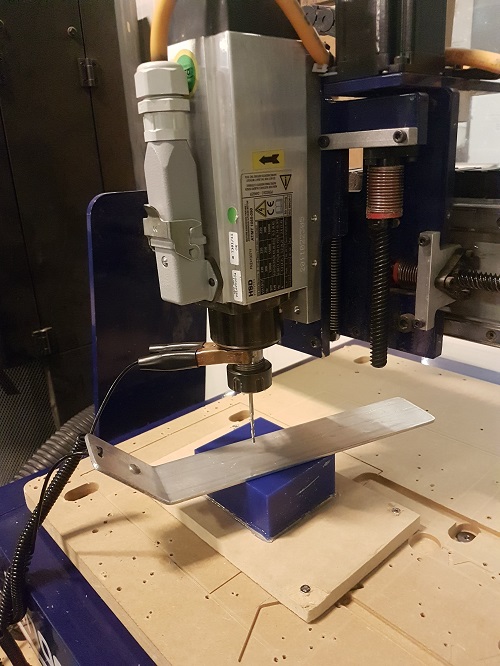
Desktop Shopbot
Zero X and Y
Zero Z plate
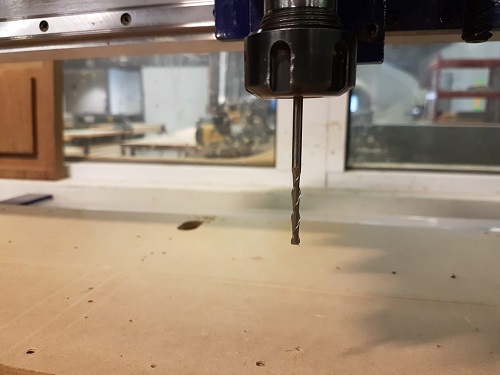
We used a flat endmill
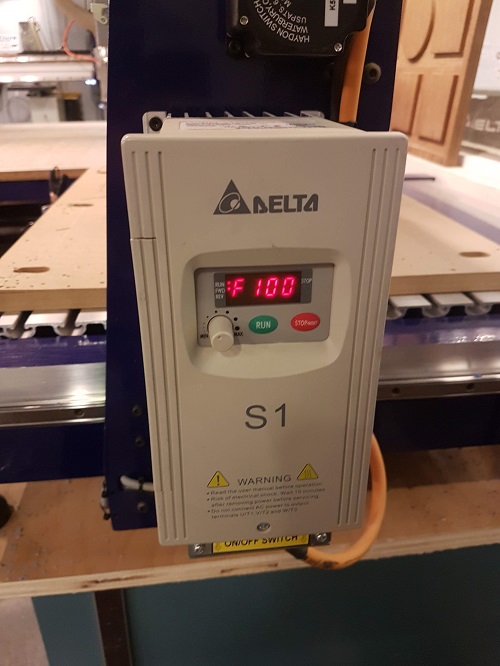
The rpm in frequency
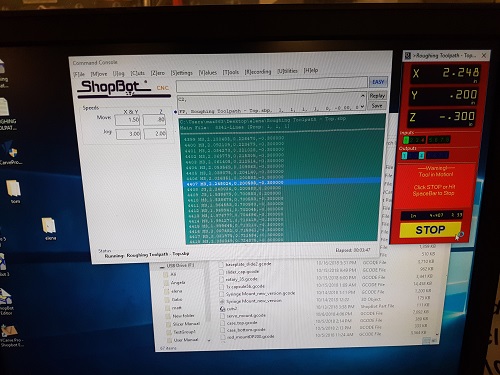
Roughing toolpath in action
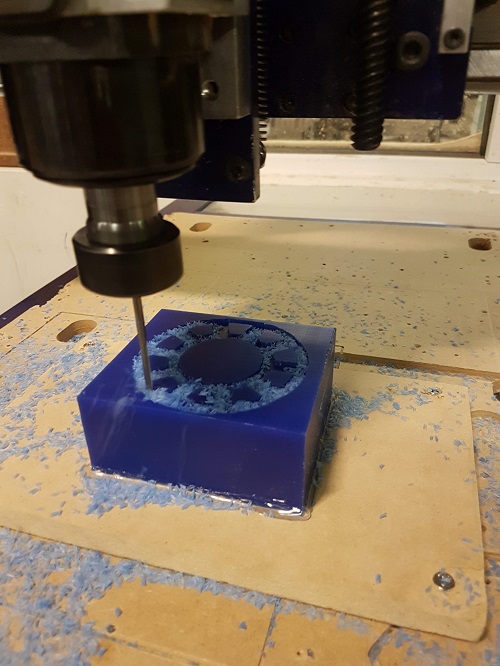
Machining the wax
Molding and Casting
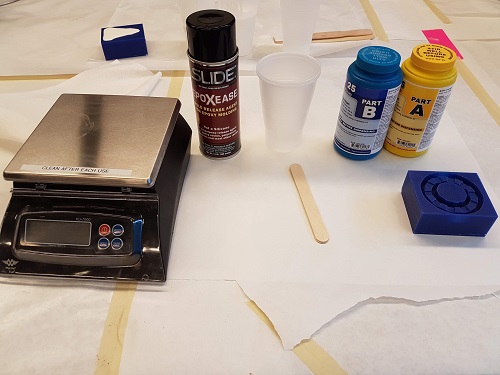
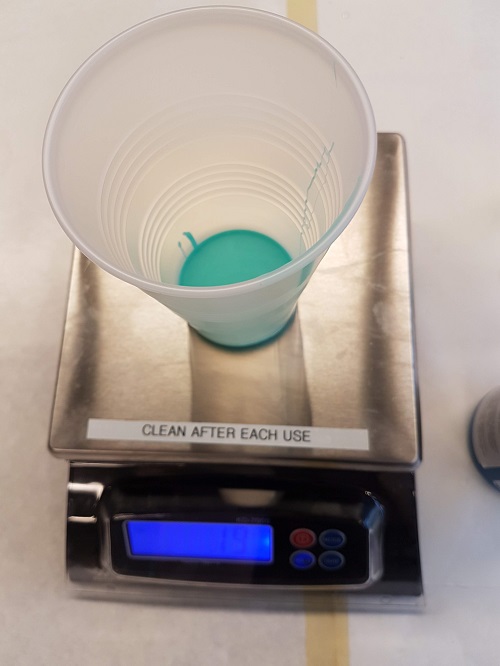
Material used for molding process.
Resolting wax block
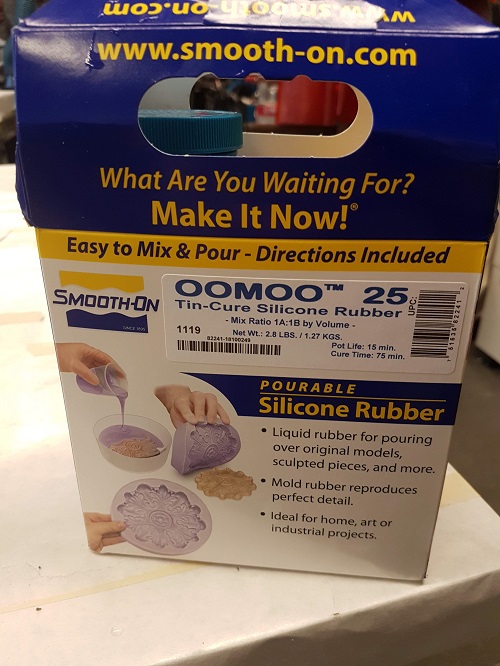
We used OOMOO-25 Silicone Rubber for making the mold
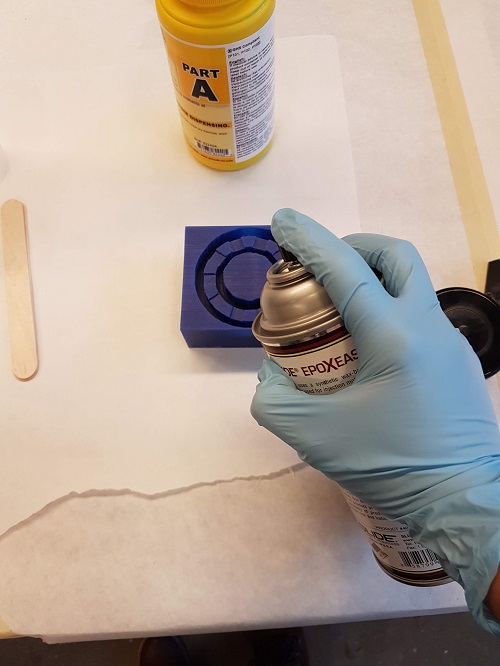
Applied easy remover to the wax block
Read the instruction on the OOMO-25 box and followed it. 1A:1B potion with 15min pot life and 75min cure time.
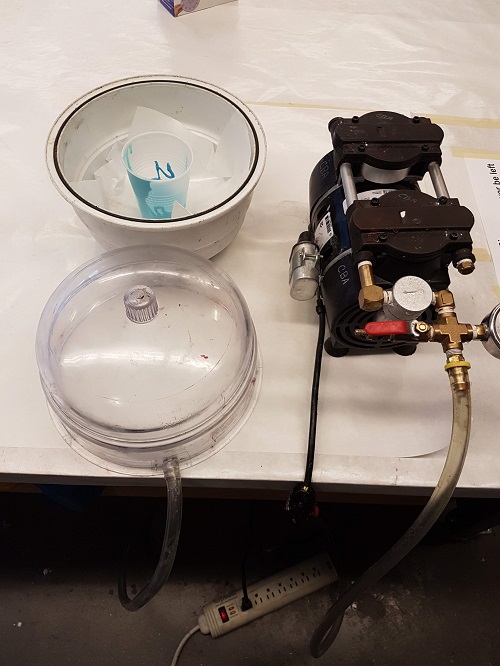
Placed the mixed composite in the vacuum to take out bubbles.
Pour the silicone rubber composite on the wax block
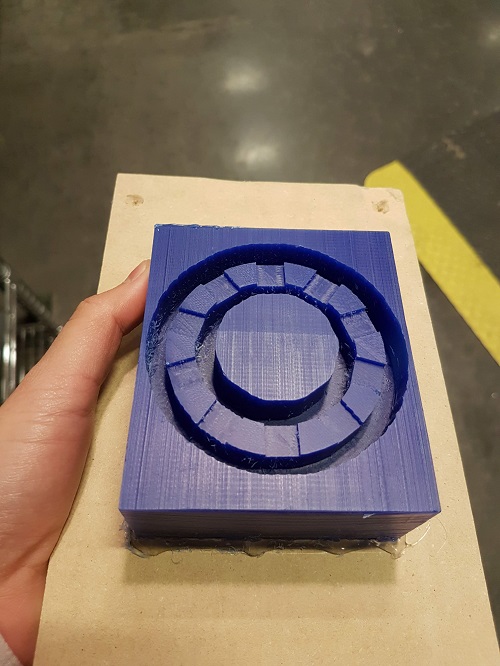
Removed the Silicone Rubber mold out of the wax block
Resulting silicone rubber mold
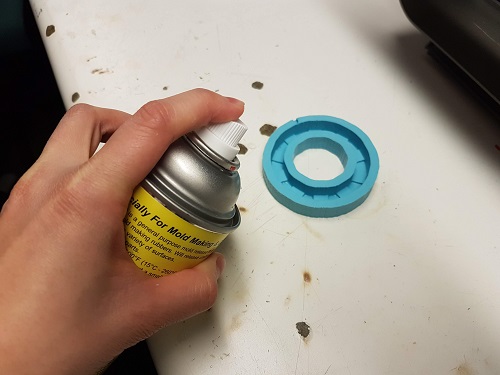
Sprayed easy remover on the silicone rubber
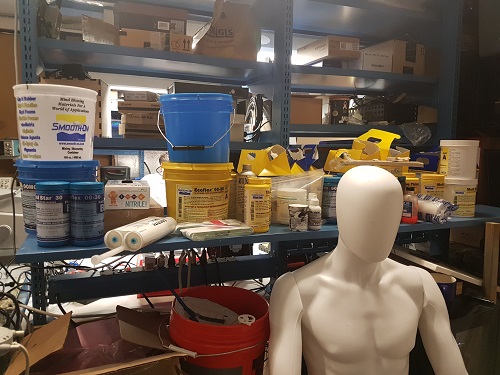
Composite available in my lab
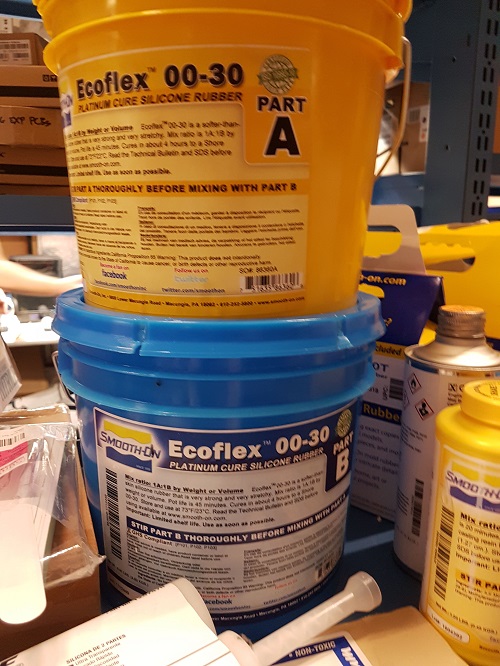
Used Silicone Rubber EcoFlex-0030
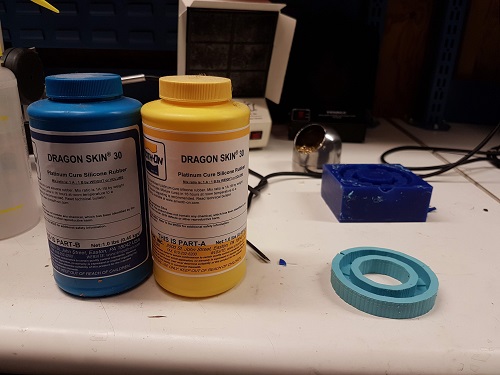
Also tested the Dragon Skin-0030 Composite
Followed instruction on composite boxes and stirred, pressurized, and pour on mold.
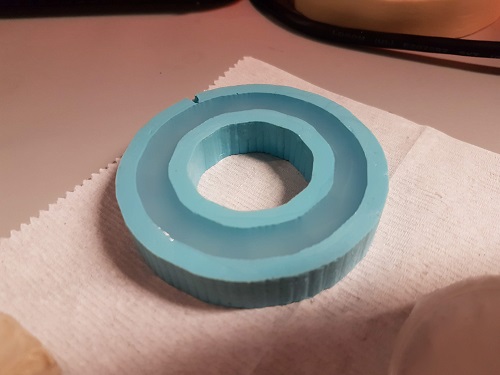
Carefully removed the cast from mold after waiting for the indicated cure time.
Resulting casts were not good, they did not cure correctly even after waiting longer than cure time indicated on box. Could be because of silicone rubber mold to cast another silicone rubber composite.
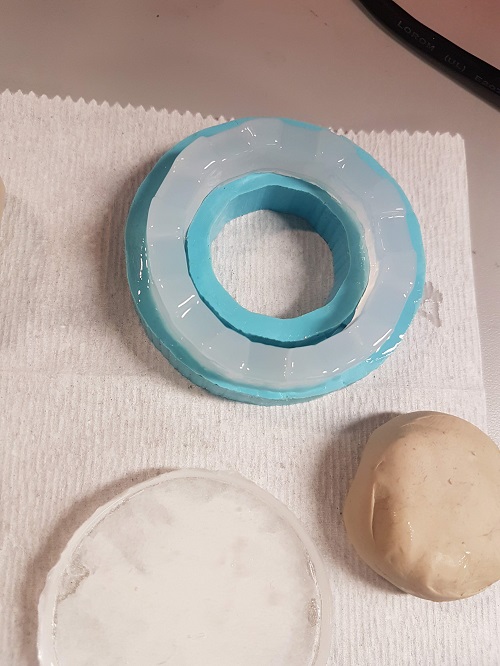
Testing Silicone Putty
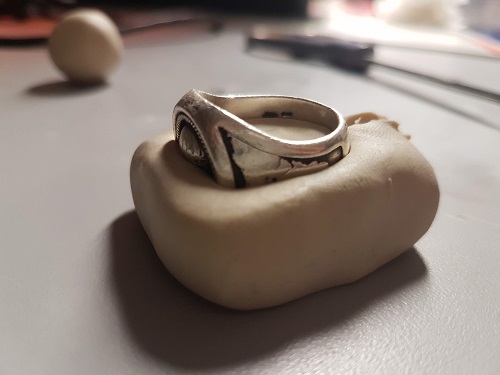
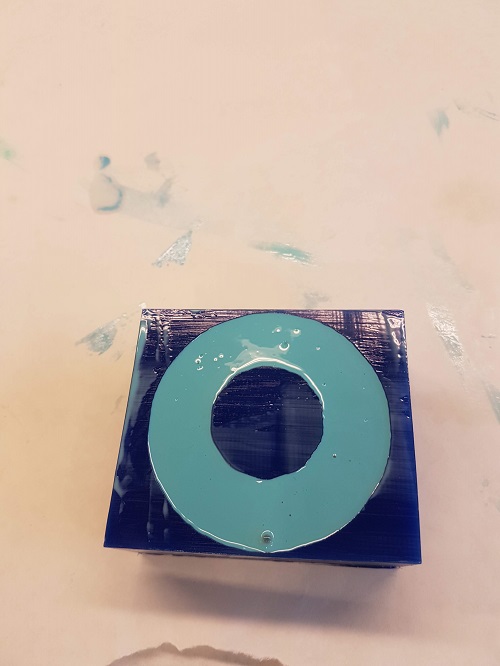
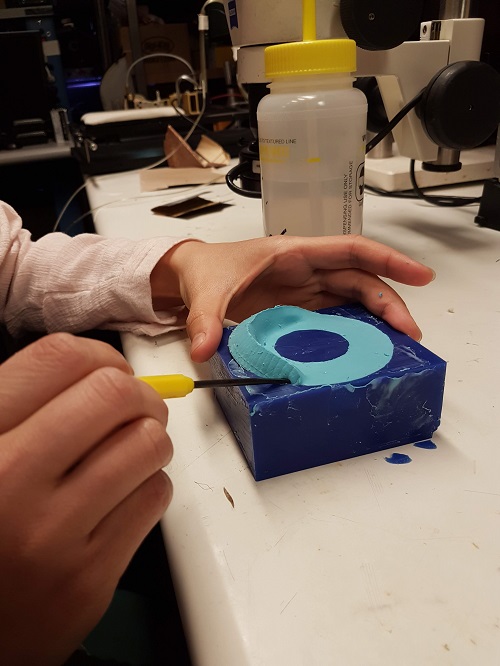
I found a pack of silicone putty, so I made a quick test with it. I took some and put it in the oven to make it easier to shape. I used a labmate ring for creating the mold with the putty. I had to use two parts, one for the bottom half of the ring and the another for the upper part of the ring. I used a syringe to fill the bottom part of the mold with resin, placed the top putty on top of the bottom one and tried to place more resin from the center hole. The resulting ring did not come out well because the mold was not good enough for the resin to fill completely. Since this was a fun and fast test, I didn’t really care how it turned out. This was just to see how the resin would look like and how to use putty to make a mold.
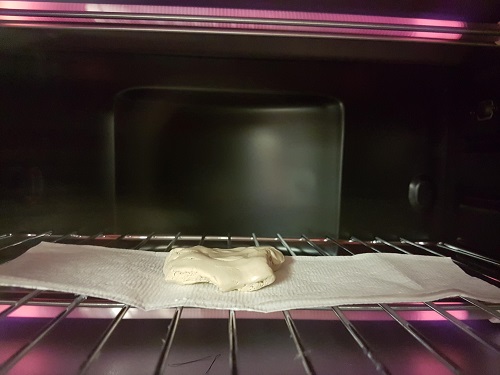
heated up the putty
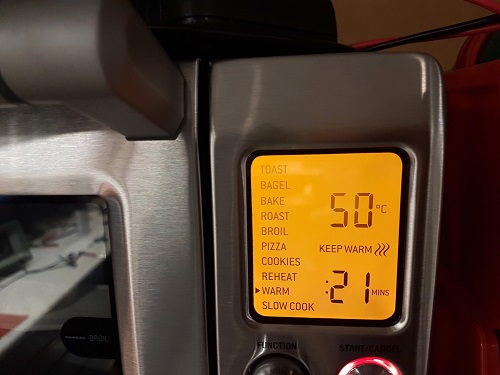
Oven setting. Heating at 50 C.
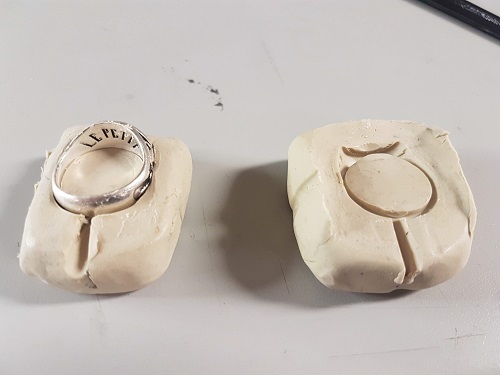
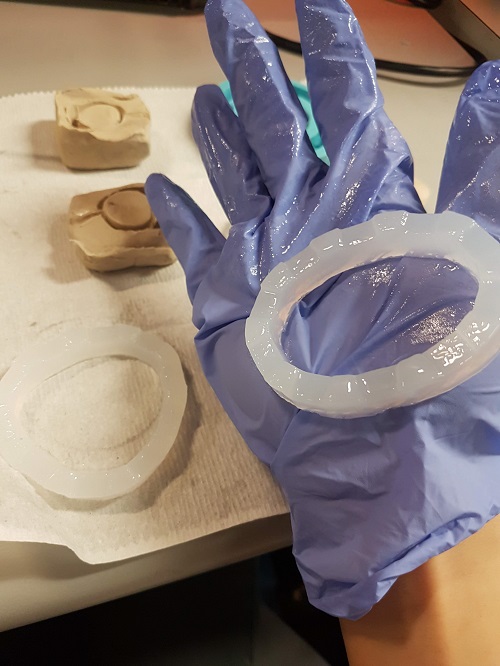
Hand shaping the mold with ring
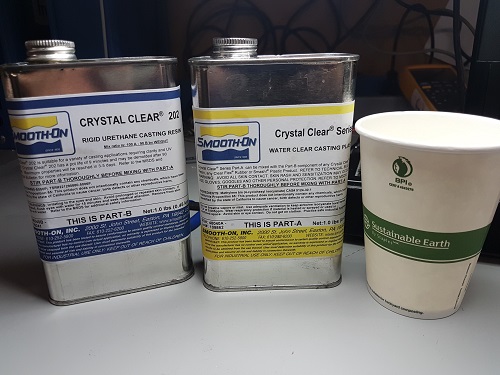
Prepared clear resin following the same process of mixing part A and B with indicated portion, pressurized to get rid of bubble air, and pour on mold
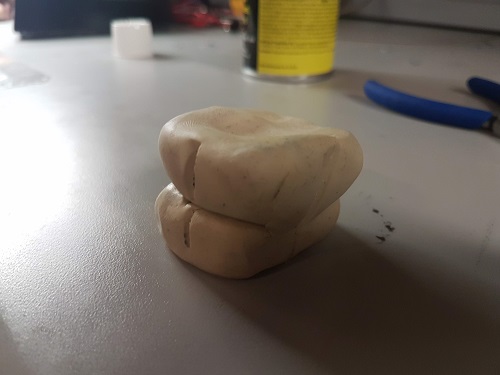
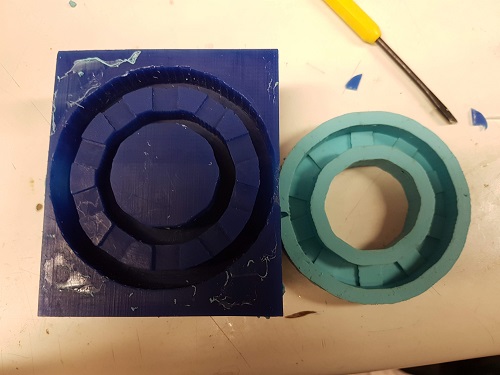
Combined the top and bottom part of the mold
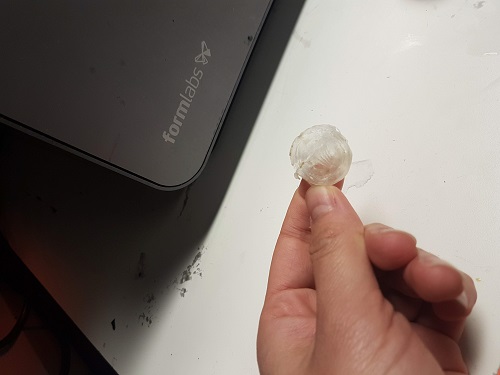
After curing time, this is the resulting ring
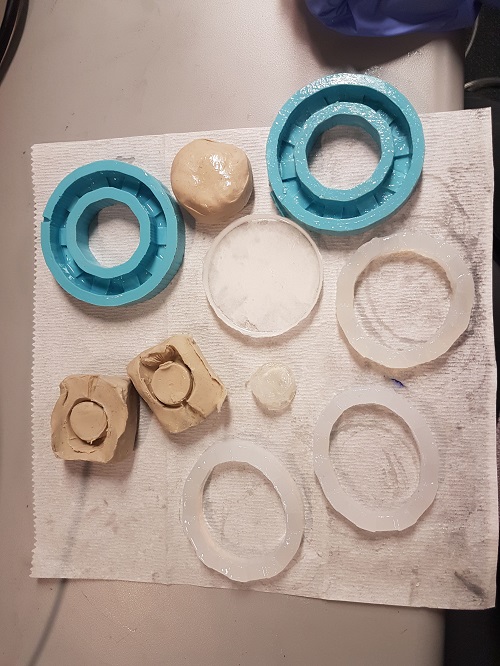
Here are all the tests I made with molding and casting different composites