05 Week
This has been the most challenging week for me so far. We spent several hours this weekend with the ACT cohort figuring out the whole process. I can't say I had success in achieving everything on the assignment, but I hope to give a comprehensive list of everything that went wrong during the process.
The first issue we ran into is actually selecting the correct components to use from the EagleFAB.lib, Initially we selected a crystal instead of a resonator but got some help from the TA's in getting the right components.
We set up our DRC as 16mil clearance and a minimum width of 12, but we found that those traces were too thin and weren't showing up or only partially showing up during the milling process. We also used the grounding method that Tomas taught during his workshop, so we had to find some workarounds as well.
During milling, we also had issues with the traces not cutting well. We tested out various things from changing the board, to adjusting the endmill, to resetting the server and the machine. I think in this case the issue seemed to be a warping of the board caused by the sacrificial layer.
Did another attempt, but this time the endmill seemed to be set too losely, andwhen i aligned it to origin to cut the outline the endmill just did...a thing. And, well, RIP endmill.
Because of the too thin clearance of my outline in my initial file, the mill was unable to fully read all the traces and skipped one instead. I went back into an image editing software to thicken the traces manually and re-loaded the image with the correct settings and same origin. However, the mill seemed to not like this at all and cut right throuh my circuit instead. I got to milling once again this time with an improved outline image and it worked out fine.
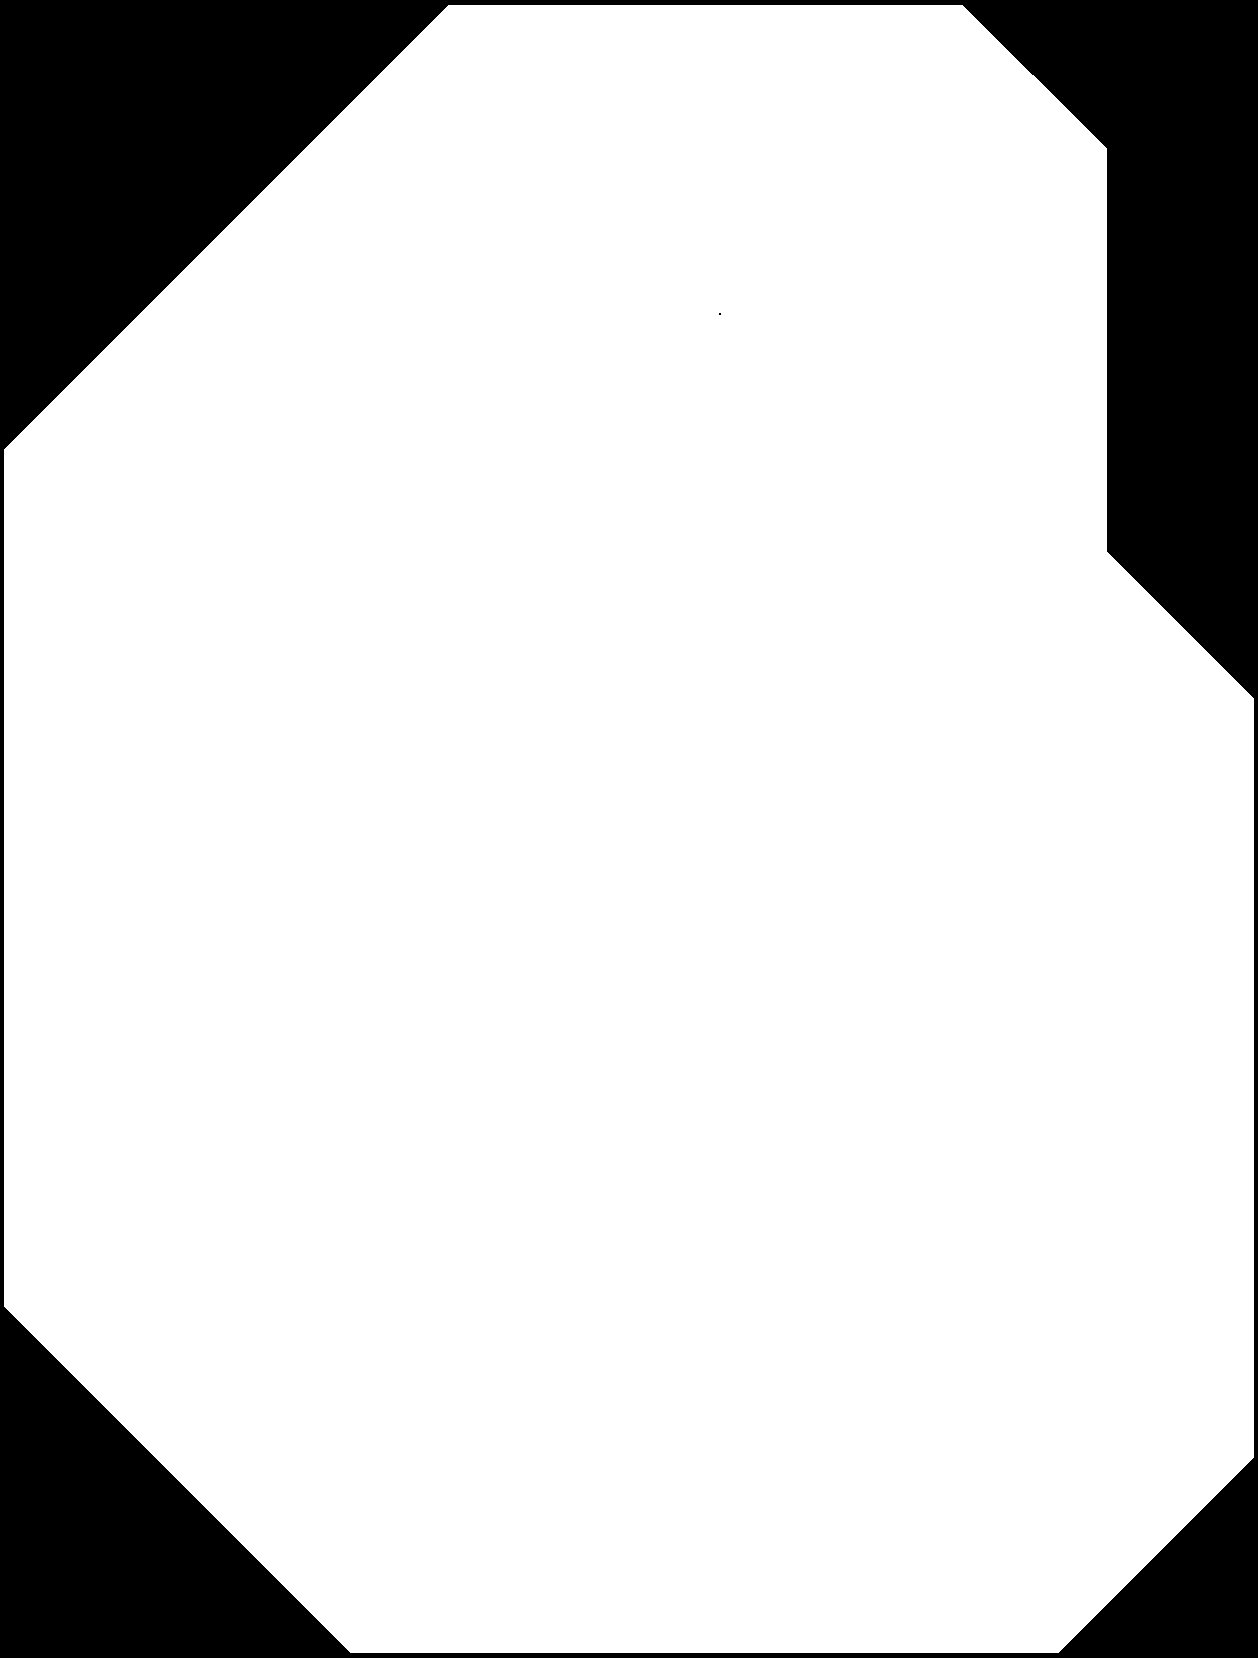
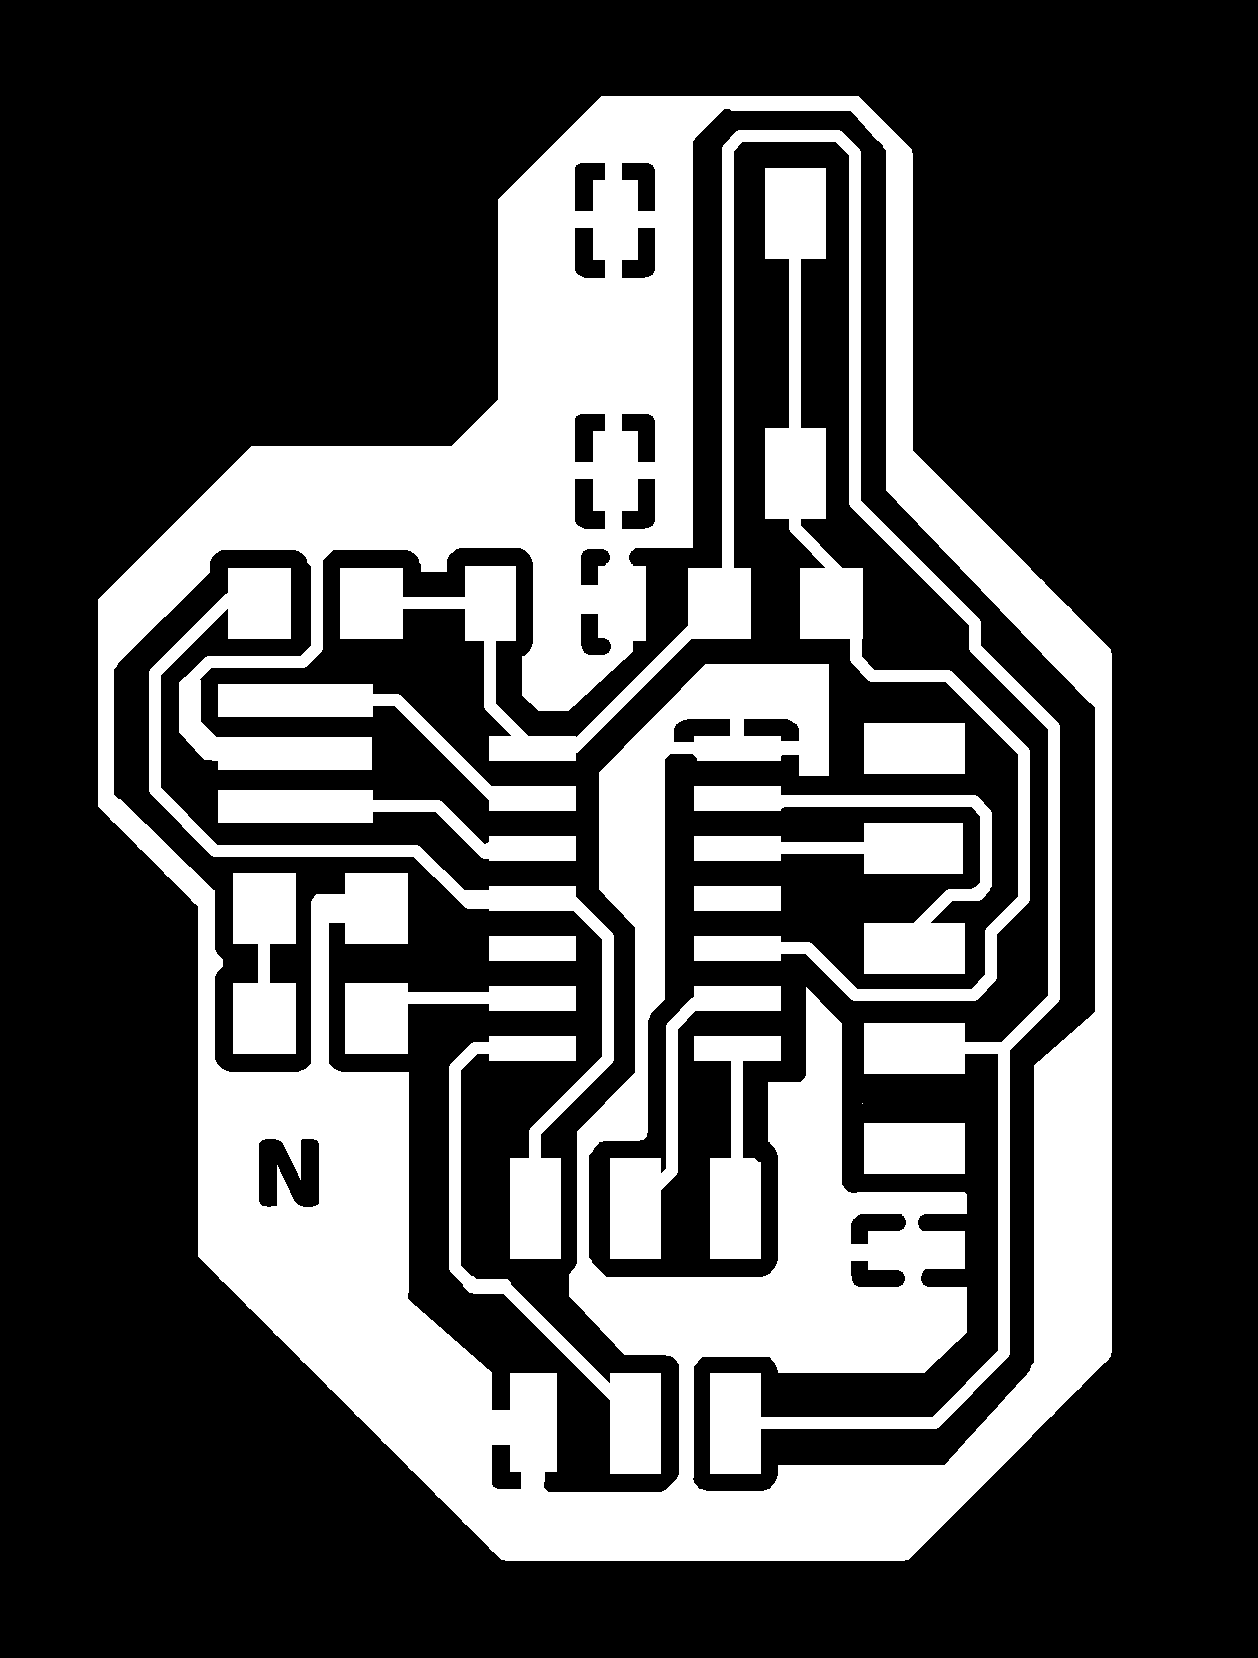
While the milling was decent, I ran into Neil and he mentioned my outlines were too thin and too close to the groungin layer, so during the process of soldering, a bridge could be easily created. In addition, the ground method outlines did not show up at all. So i went back and changed my outlines to be thicker, and added some clearance for the ground also. See below for slight difference.
This was the end traces that seemed to work best:


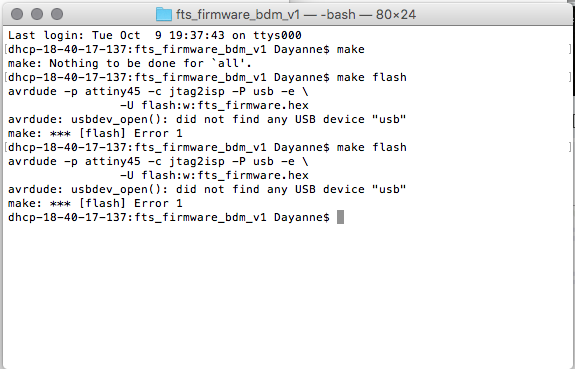
After this the next step was programming, and here is where I got stuck. I attempted to program from a 2011mac, and ran into several issues. The first was that my programmer from week 2 didn't seem to be working at all. It wasn't being recognized or talking to the computer at all, so I tried using 2 different models of programmers available to us in the lab. I ran into a few kinks then, the most prominent one being the same issue other mac users were having, which is getting the computer to even recognize the programmer.
This is a screen cap of the issue: 
Ravi was kind enough to show us how to use a linux computer to run the commands, and that worked for my friend's board, but I didnt get a chance to try mine. This is where I kind of got stuck, and after about 30+ hours this weekend, I put it aside to update at a later date.
In the end, this week proved to be like an obstacle course where there are multiple stages where things can go wrong. Overall I spent a lot of time going in circles, and it would have been helpful to have a workshop for the actual process of programming. Hope I can get it running before the next assignment.