Week 11
Machine Week
Assignment:
1) Design, actuate and automate a machine using an open-source library of parts provided.
2) Document your personal contribution.
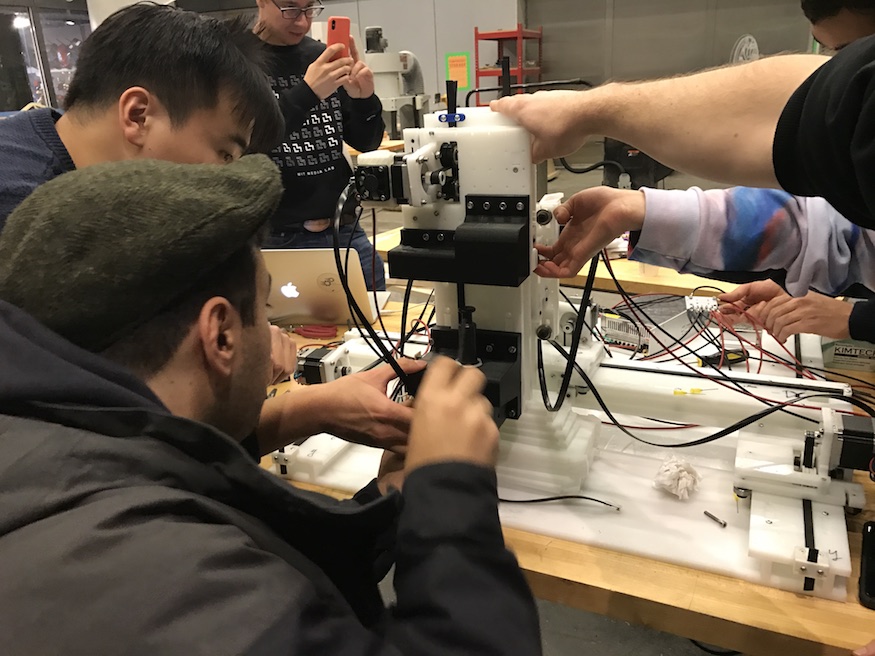
A 3D chocolate printer
Please see the CBA group's dedicated page for full documentation of our splendid machine:
Personal contributions:
Our group split into three main teams: Design & Fabrication, Electronics, and Software. I joined the Design & Fabrication team. During our initial ideation session as a full group, I contibuted the idea of making a chocolate printer (I'm sorry everybody! so, so sorry!). I worked with the rest of the D&F team to plan out how our 3 axis printer will assemble and move, to select parts from the open-source library, and to modify the design of those parts using computer-aided design software (Fusion 360). We collectively made the CAD parts, led by Erik. I personally made the Z-axis, which involved taking a standard axis part, and then shortening the length to 8" as we didn't need more clearance, and didn't want additional length to introduce wobbling and errors. Once the axis was shortened, I cloned and applied the drill-holes to the end of the axis so that we can attach it to other components, as these holes didn't survive the axis shortening step in Fusion. Once the machine's components were cut on Shopbot, I helped assemble them (which included regular steps like screwing parts together but also modifications like trimming down 3D printed parts to properly fit the belts for the motors). I also researched the best chocolate to use, and assembled a mobile chocolate heating system (a double-boiler on a programmable hot-plate) so that we could temper chocolate and keep it at the right temperature for printing over several hours.