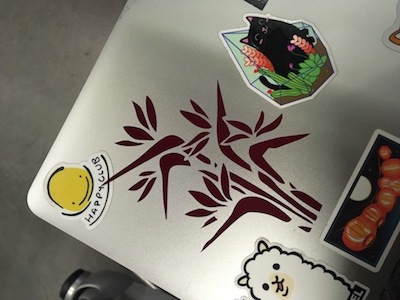
flowers and butterflies
“design, lasercut, and document a parametric press-fit construction kit, accounting for the lasercutter kerf, which can be assembled in multiple ways”
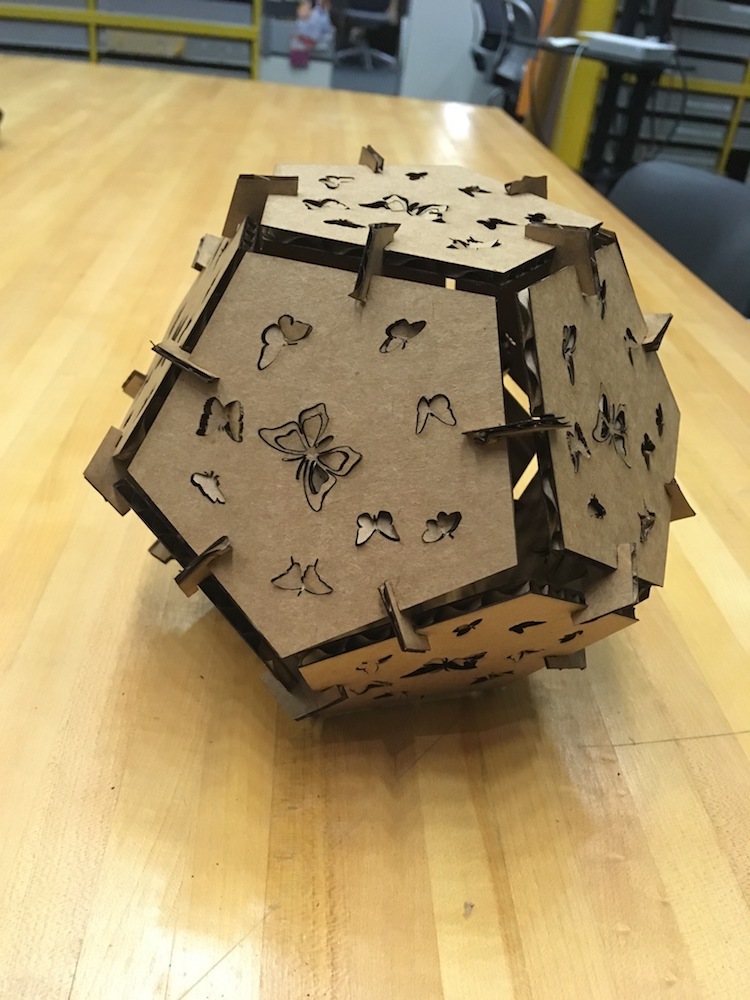
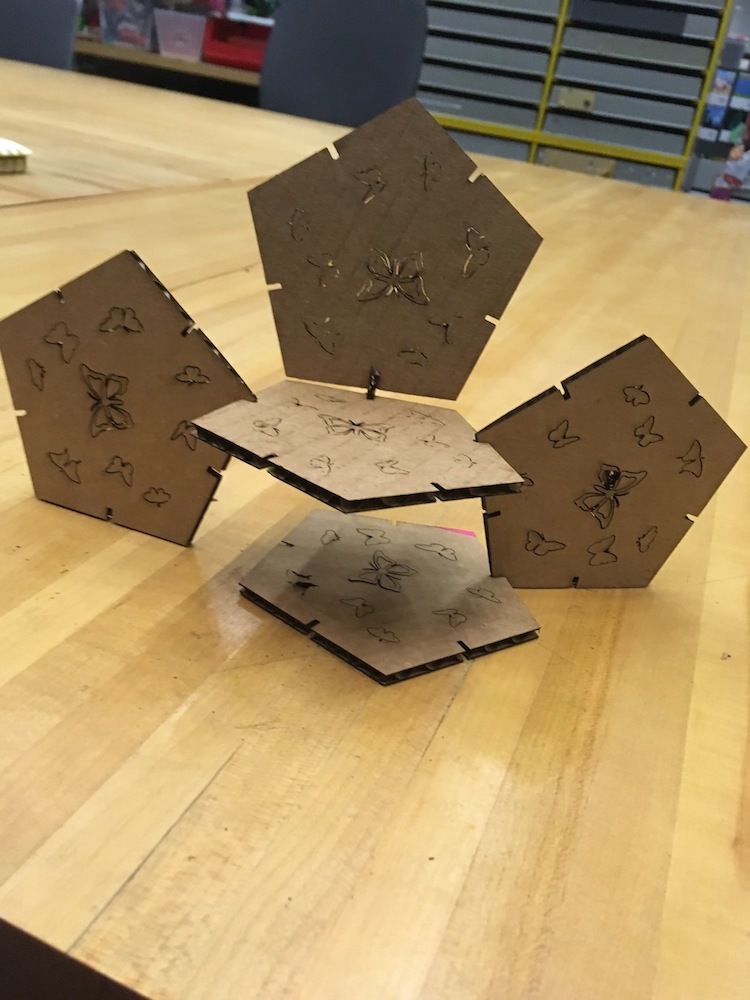
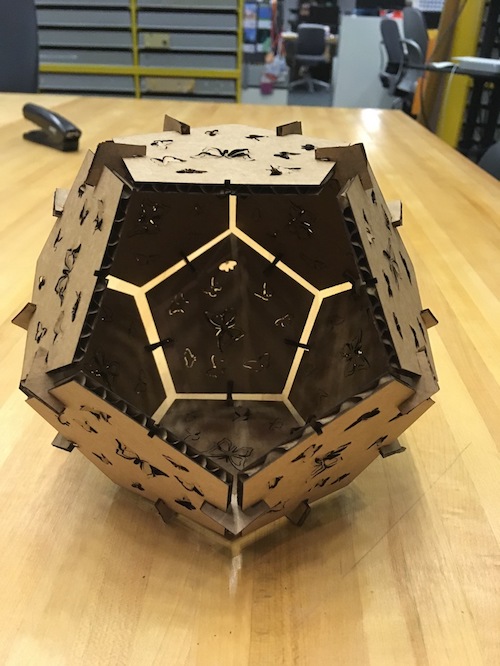

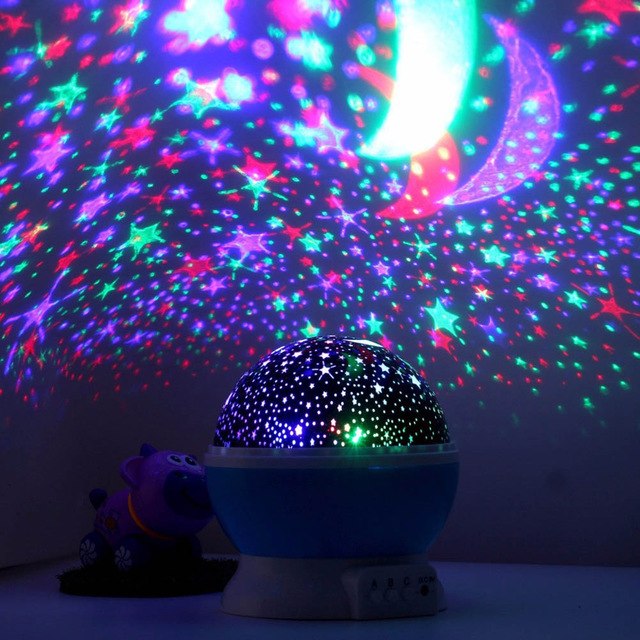

I’ve got a rotating star/moon projector which makes for pretty rad, relaxing visuals… especially paired w/ Sylvan Esso’s “Uncantena”. Instead of just projecting stars and a moon–what if I could project branches, birds, or butterflies? Inspired by geometric construction kits and my love for lights and their projections, I decided to create a new projection dome.
design
I used Autodesk Fusion 360 to model the parts for the dome. I created an assembly, consisting of two components: pentagon and connector. Each component inclded a sketch that I then extruded.
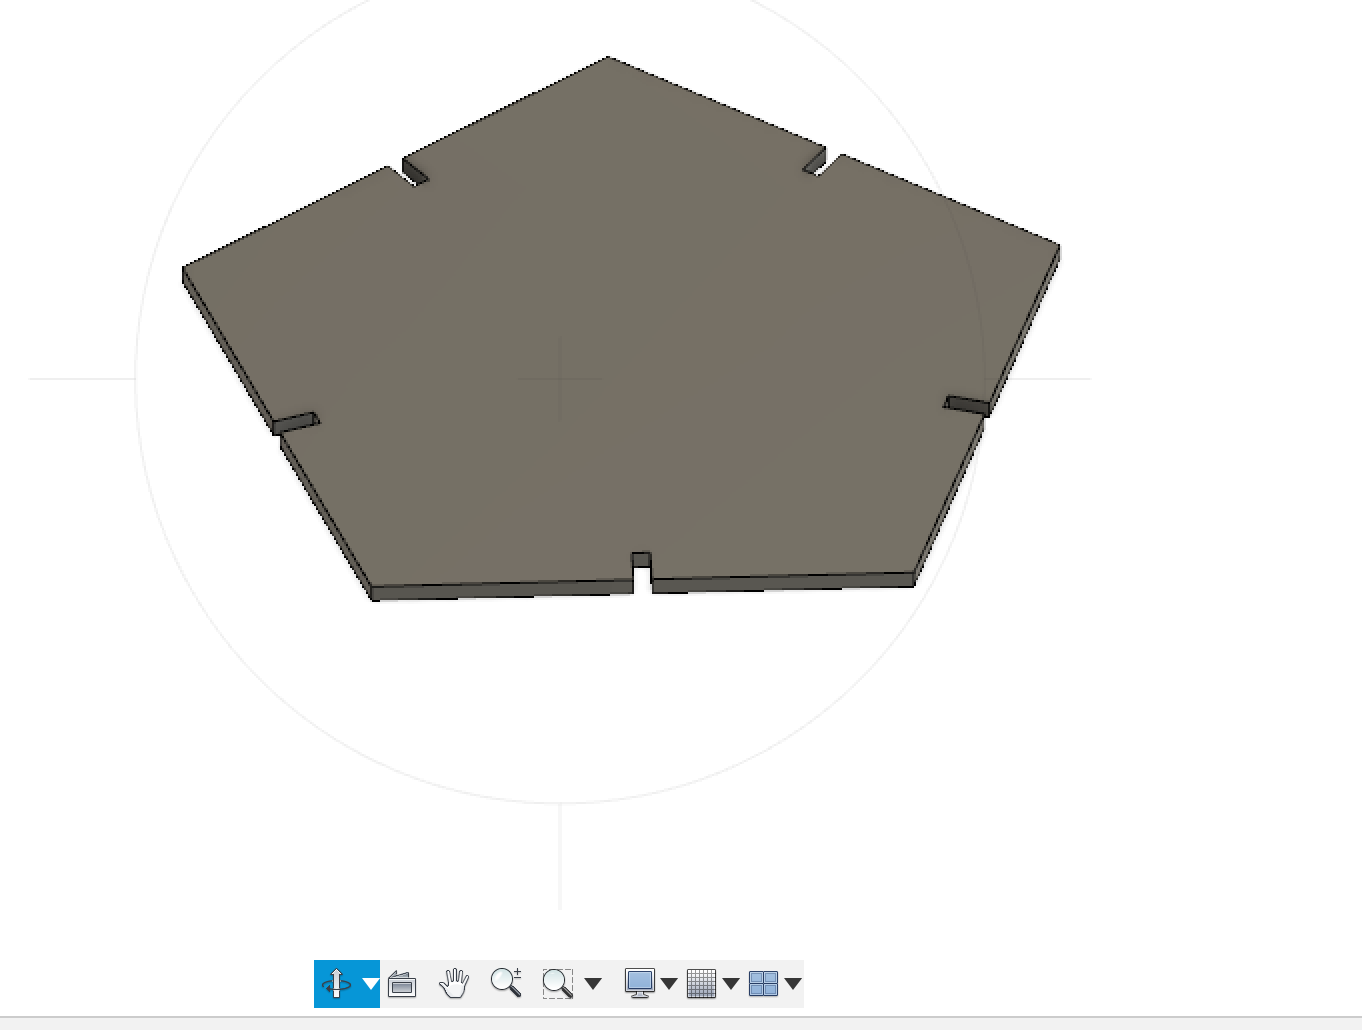
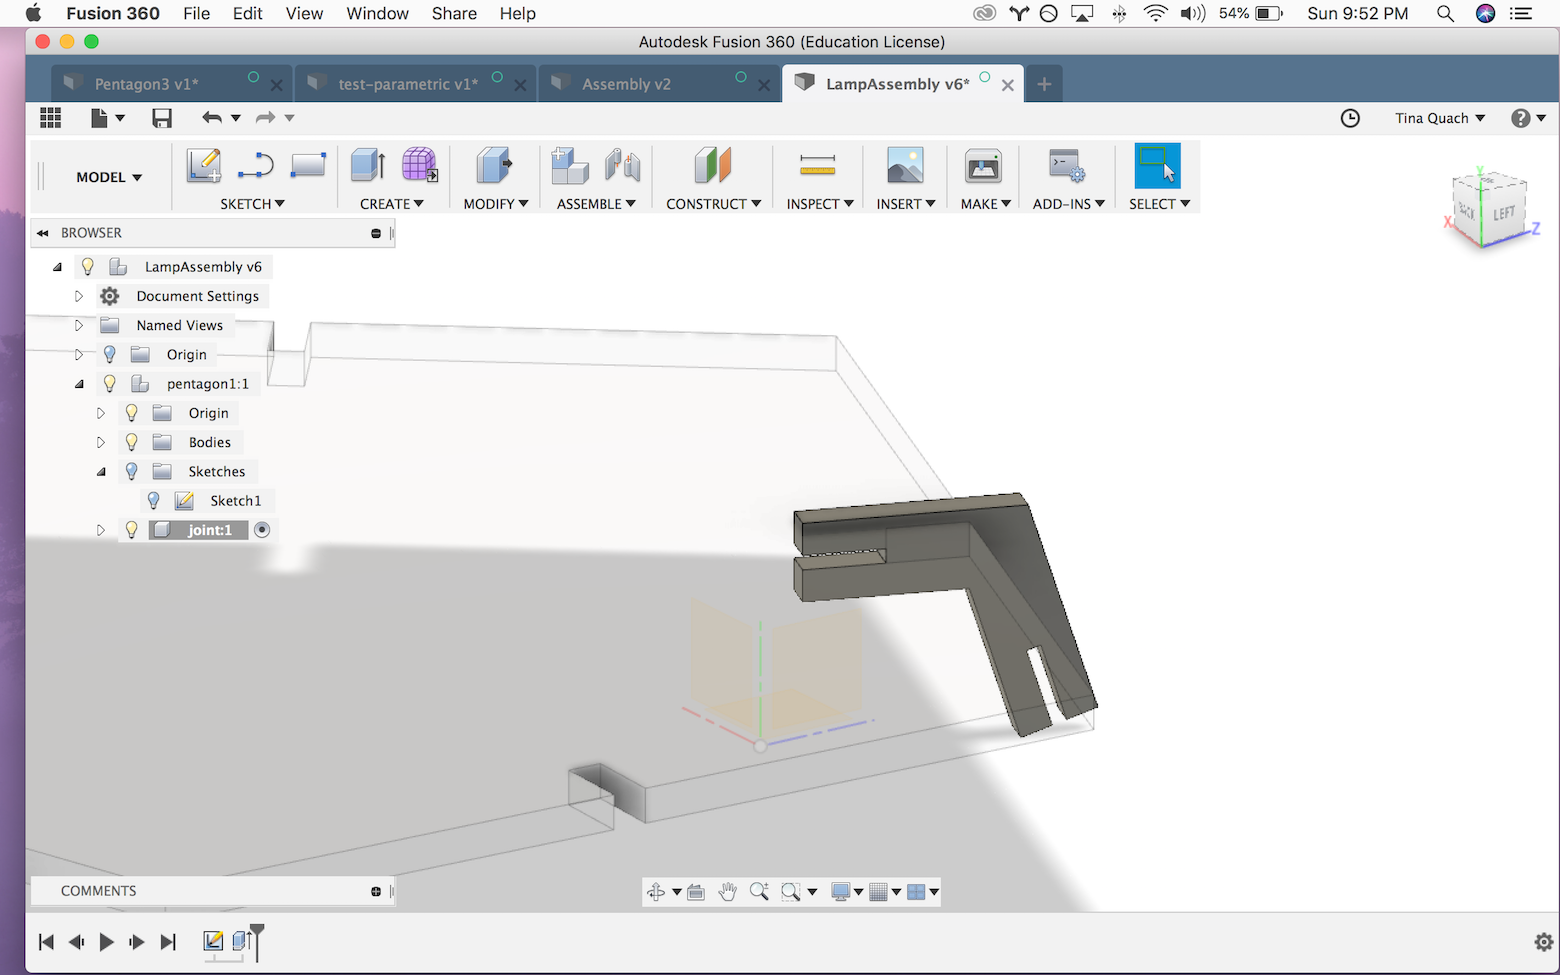
In order to create the pentagonal faces, I set equality constraints on the dimensions of the edges of the face as well as the notches. Knowing that regular pentagons have 108 degree angles, I also constrained the design by requiring two of the angles be 10 degrees. I made this angle the a parameter that could be used by the connector as well. Once the sketch was done, I extruded the pentagon by the thickness of the cardboard (another parameter). Working with the assembly in mind, I sketched the connector directly onto a face of the pentagon’s notch. In the third image below, you can see how the connector interfaces with the pentagonal face.

My parametric design used the following parameters:
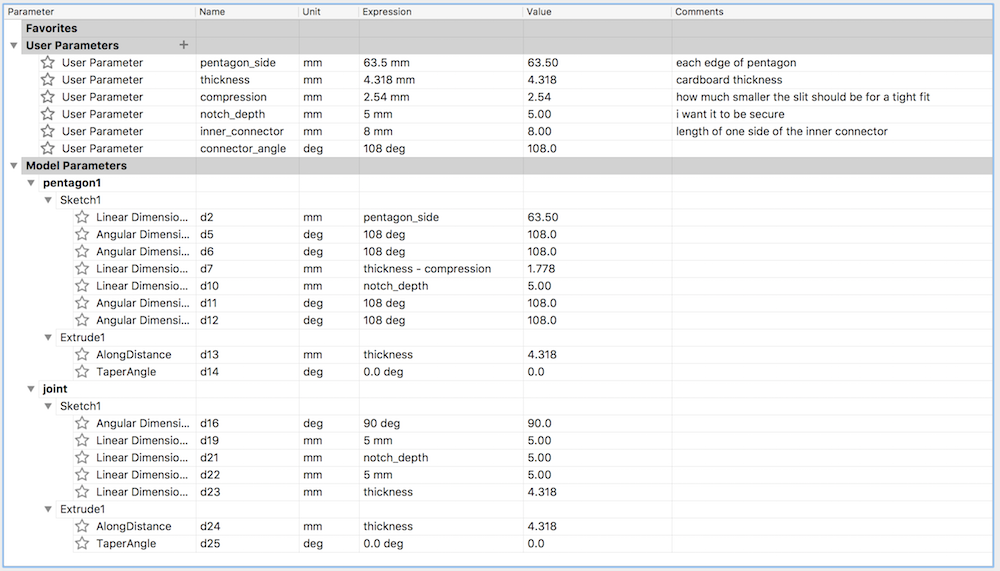
Once I was satisfied with my design, I exported each component’s sketch (pentagon, connector as a .dxf that I could then upload into CorelDraw in order to arrange the butterflies. The butterflies needed to be traced to form paths.
laser cut
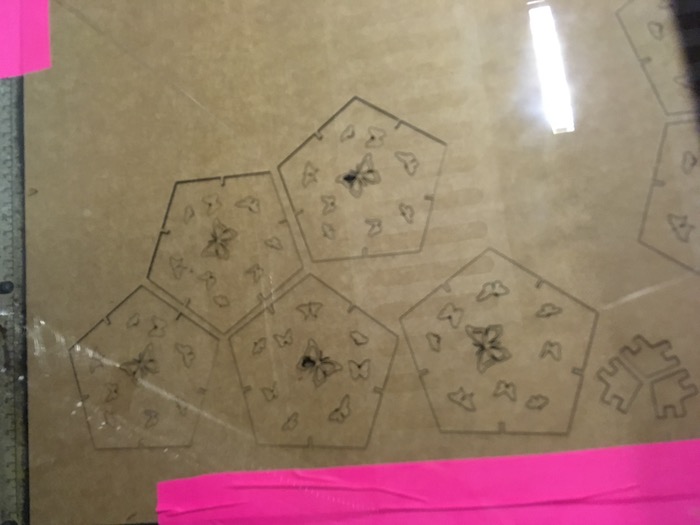
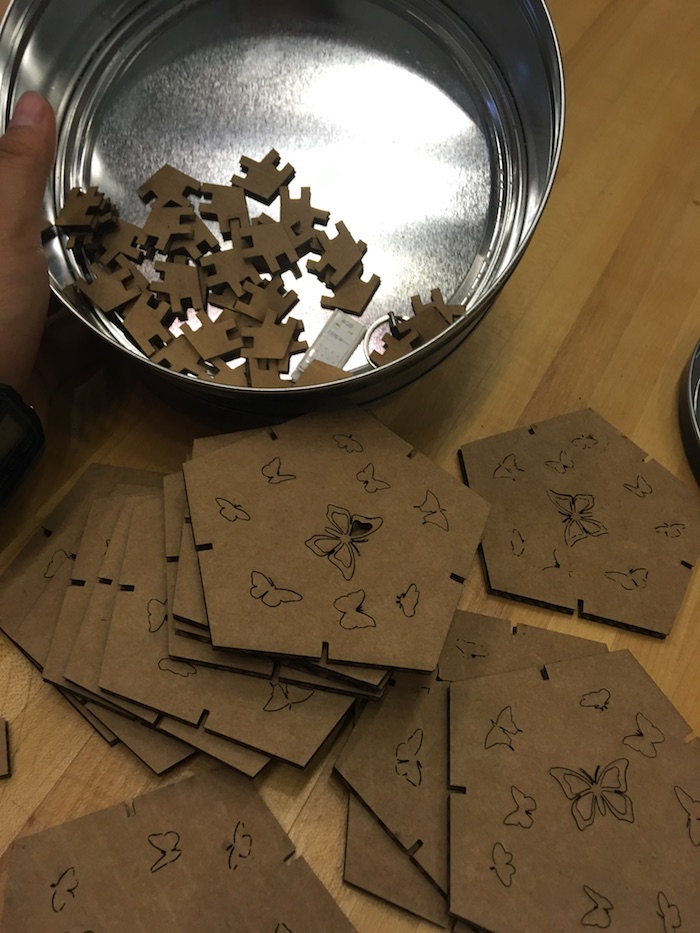
Settings for the Epilog120: speed: 30, power: 80, frequency: 300
“cut something on the vinylcutter”
This was my first time using a vinyl cutter (Roland CAMM-1 GS-24)! I learned that the vinyl cutter works by moving a really small blade in one axis, and moving the sheet of vinyl in the other axis. By moving the sheet and the knife at the same time, the cutter is able to create smooth cuts.
Process Preparing the media


- If the image is a rasteurized image, you can use CorelDraw (or Inkscape) to get the trace of the bitmap image. The result of the trace should be a set of paths that outline the different areas of the image. If you remove all color from the image, you can ensure that you only capture outlines of the black areas.
- From here (using CorelDraw) you can set the fill of the path to be no fill and the outline color to be black. At this point, you can clearly see the path the vinyl cutter will take.
Setting up the vinylcutter
- Get a sheet of vinyl. There is a lever in the upper left hand corner of the vinyl cutter. Push it back to move the wheels up so that you can slide the sheet of vinyl into the cutter. You want to move the wheels so that the ends of the sheet line up with the wheels and so that the sheet is about half way in. This will help the vinylcutter when it’s measuring the dimensions of the space it can use for your cut. Pull the lever back towards you to hold the sheet in place.
- Now, you can go to the buttons on the cutter and select “Piece”. Upon pressing “enter”, the vinyl cutter will measure and display the dimensions of the area.
- Enter this area into CorelDraw so you can size and layout your cut.
-
Preview your print, check/set settings (: cutting speed=20cm/s force=80gf), and send it to the printer!
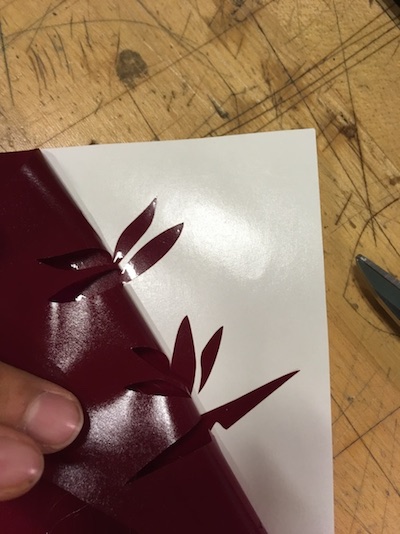
*Transferring the vinyl. I want a bunch of disjoint pieces of vinyl to stay in the same orientation when I stuck it to my laptop. Here’s how I did it.
