03
3D SCANNING AND PRINTING
This week we worked on 3D scanning and printing. Specifically, printing objects that can't be printed subtractively.
| Tools: | Fusion 360, Cura, Ultimaker 3 |
| Files: | Whistle v32.f3d |
| Date: | 10.03.2018 |
Design Process
At first I really wanted to make a 3D printed recorder! Mostly becuase I wanted to print something that was interactive. I looked at some designs for recorders and ultimately decided against it since the design would require a non-trivial level of background knowledge in order to get it to work correctly. Instead, I opted to make a whistle. While not quite as complex, a whistle would still be interactive.
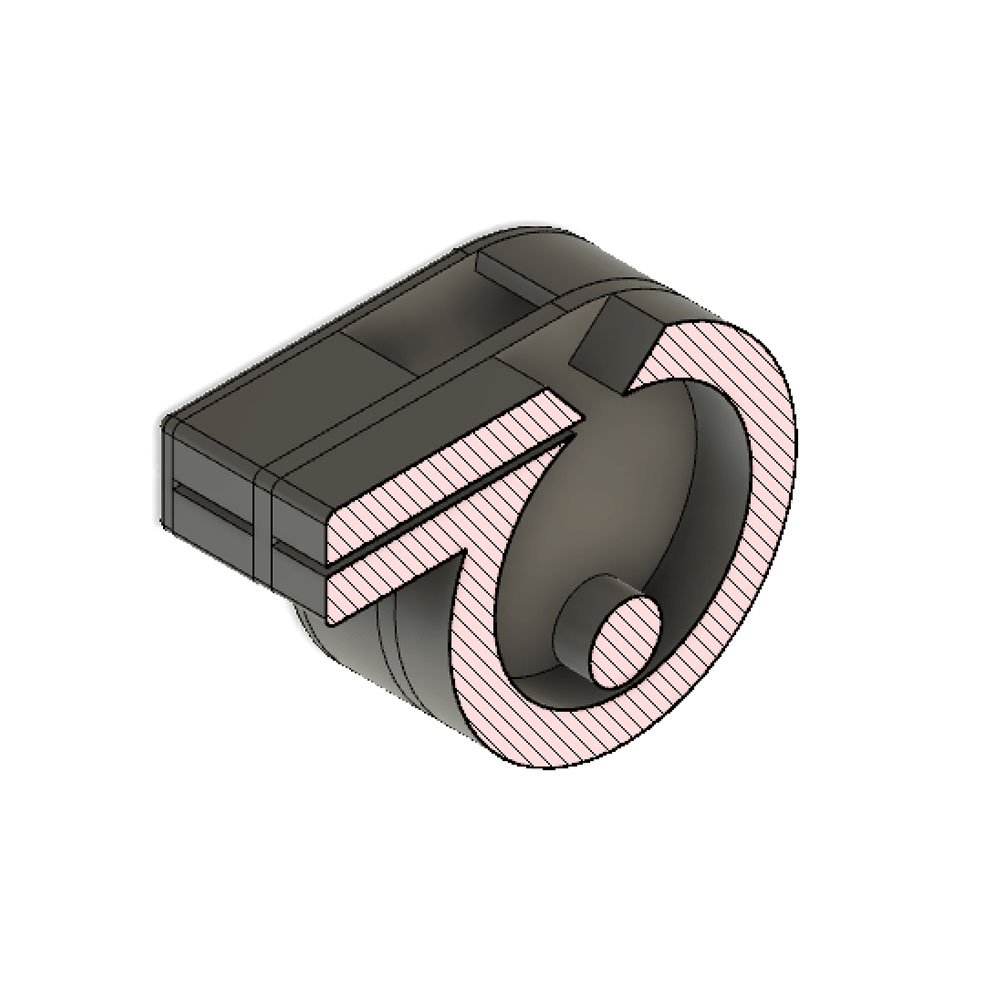
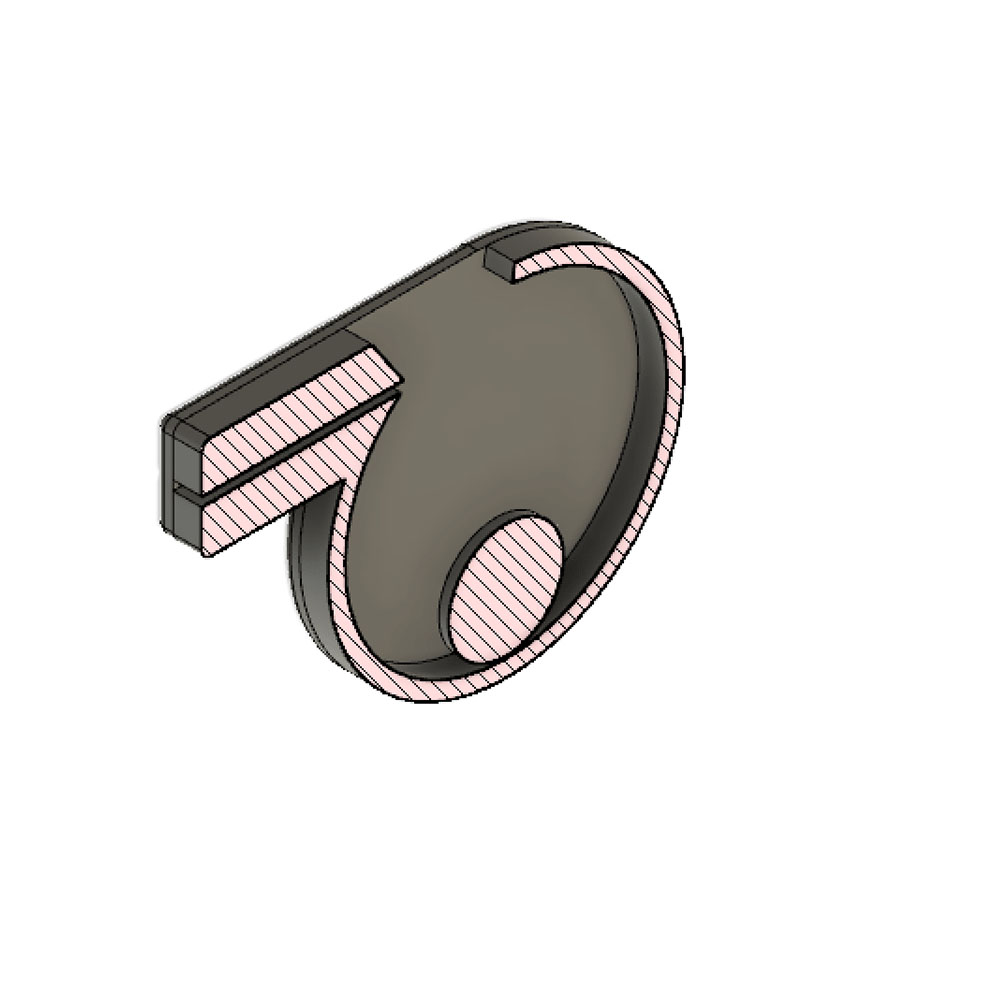
In order to make the project a little more interesting, I designed a dual-tone whistle that will (hopefully) produce two seperate tones. I did this by dividing the whistle into two sections--each with varying volumes for the hollow space.

3D Printing Process
I brought my model (as an STL file) into Cura and sliced my model. This step hardly took any time at all and was pretty strightforward.
Next, I put the GCode file onto a USB drive and brought it to the 3D printer. The print got about halfway through before it mysteriously stopped. After some help from Kenny, we figured out that the material being used was different than the material we normally use and it was causing a jam in the printer. After switching out the material, the rest of the print went fine!
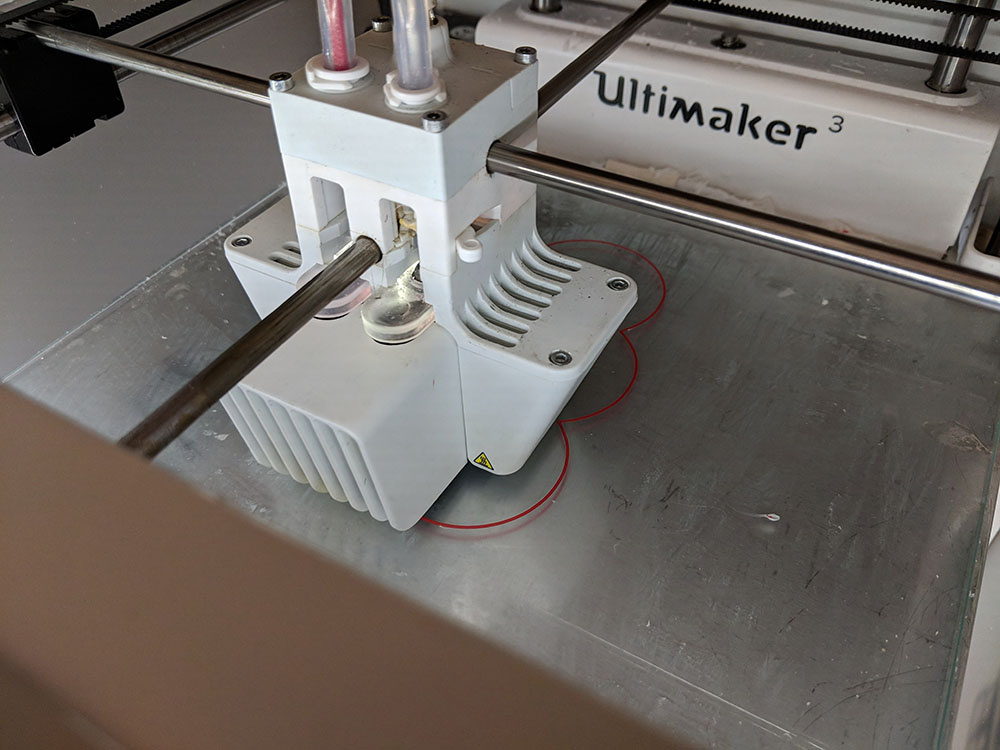
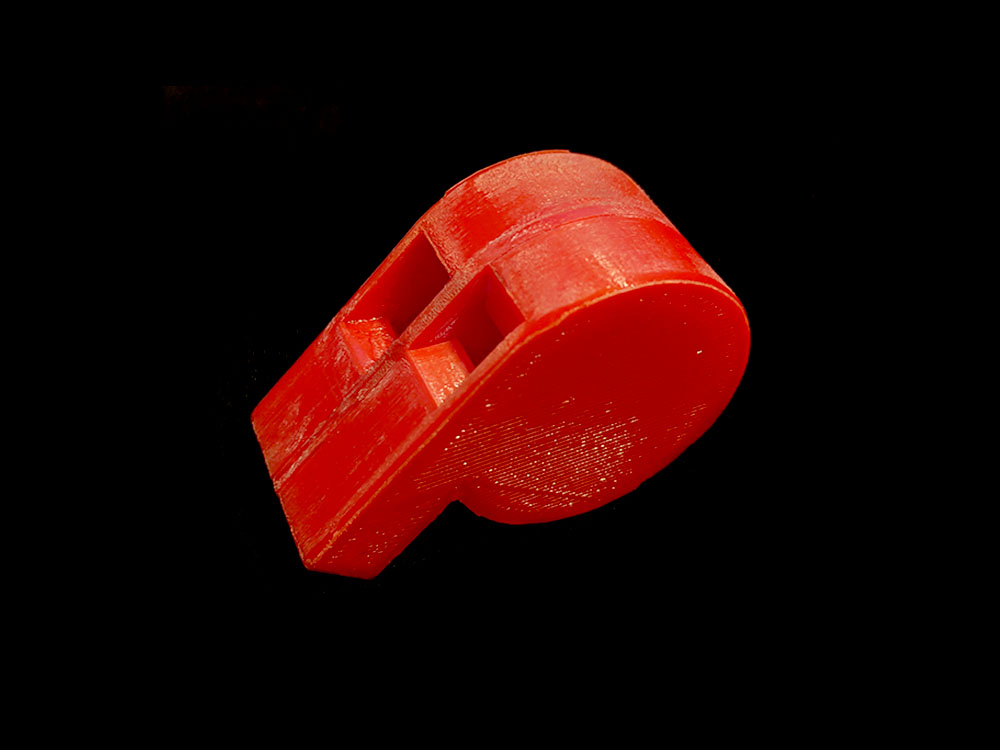
From beginning to end!
Somewhat surprisingly, the whistle actual works pretty well! The two tones are not immediately apparent, but if you listen closely you should be able to differentiate between the two.
3D Scanning
I scanned my face because I wanted to see if the model would end up being high enough quality to use for animation. Unfortunately, the geometery is not super accurate, and the textures were also not high resolution. I wanted to see how I could make the model look best, so I experimented with different lighting conditions and found a few that did a good job of hiding the mistakes in the scan.